Home>Home Maintenance>Hisense Portable Air Conditioner: How To Drain

Home Maintenance
Hisense Portable Air Conditioner: How To Drain
Modified: March 7, 2024
Discover how to effectively drain your Hisense portable air conditioner with our easy-to-follow home maintenance guide. Keep your home cool and comfortable all summer long.
(Many of the links in this article redirect to a specific reviewed product. Your purchase of these products through affiliate links helps to generate commission for Storables.com, at no extra cost. Learn more)
Introduction
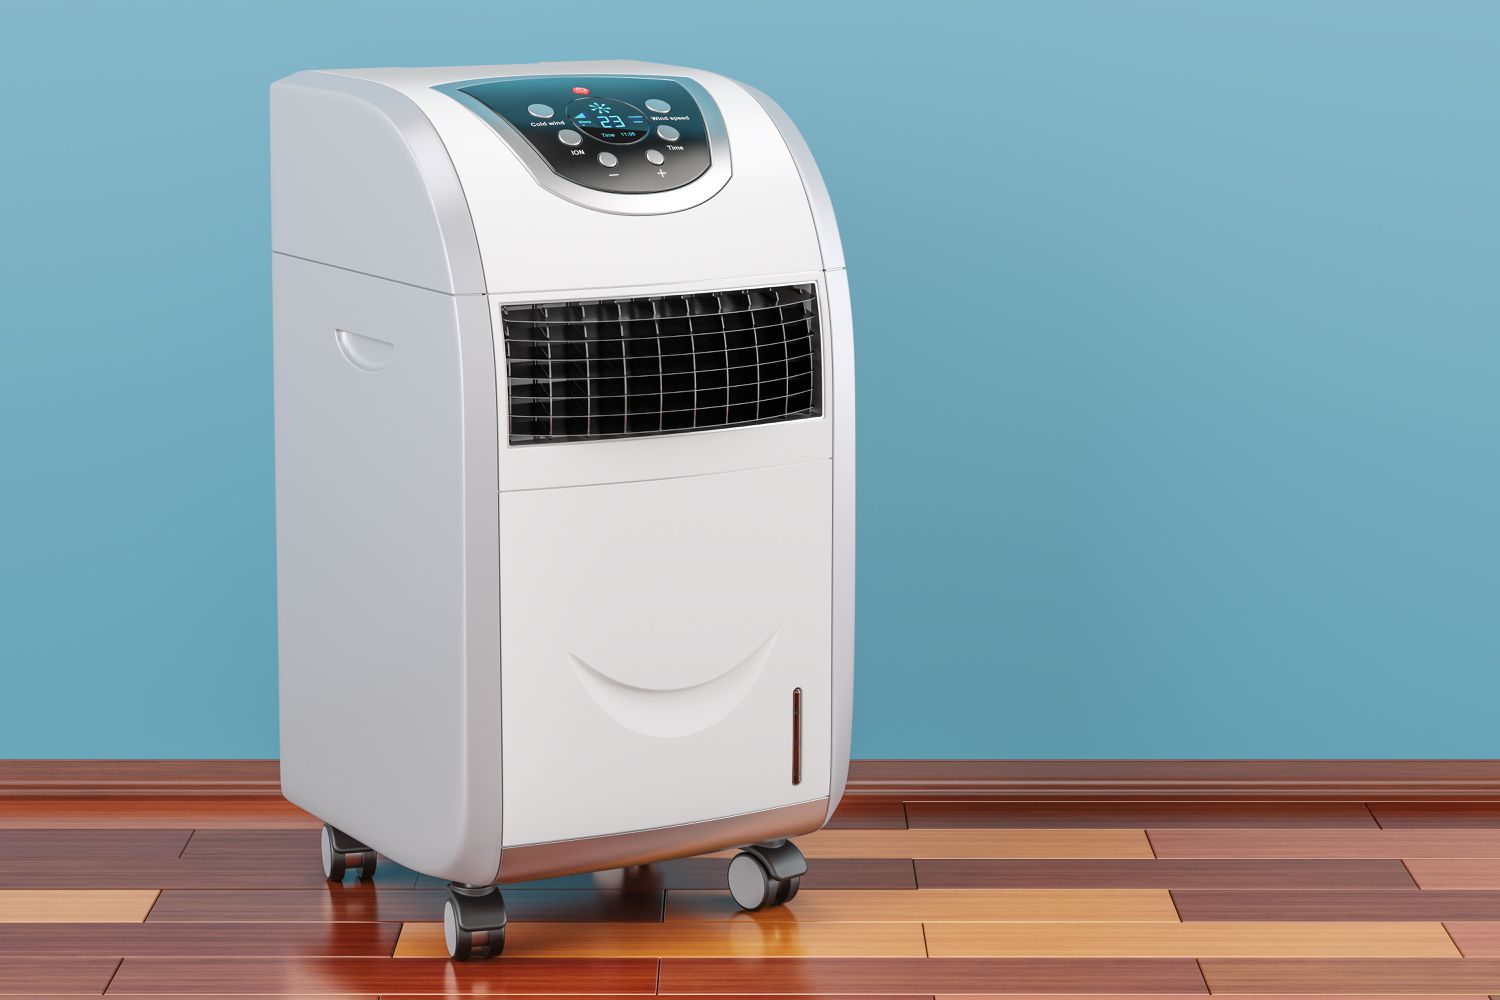
Welcome to our comprehensive guide on how to drain a Hisense portable air conditioner. A portable air conditioner is a convenient and efficient cooling solution for many households. One of the key maintenance tasks for these units is draining the condensate that builds up during operation. This ensures optimal functionality and prevents water leakage.
In this article, we will walk you through the step-by-step process of draining your Hisense portable air conditioner. We will explain why draining is necessary, the tools and materials you will need, and provide detailed instructions to help you successfully complete the task.
Understanding and performing regular maintenance on your air conditioner is vital to extend its lifespan and keep it running smoothly. By following these steps, you can ensure that your Hisense portable air conditioner remains efficient and reliable for years to come.
So, let’s dive in and learn how to properly drain your Hisense portable air conditioner!
Key Takeaways:
- Regularly draining the condensate from your Hisense portable air conditioner is crucial to prevent water leakage, mold growth, and maintain efficient cooling performance.
- Gather the necessary tools, turn off the unit, locate the drainage port, and prepare the system before draining. Regular cleaning and maintenance ensure long-lasting cooling comfort.
Understanding the Need to Drain a Hisense Portable Air Conditioner
Before we delve into the details of how to drain a Hisense portable air conditioner, it’s essential to understand why this maintenance task is crucial. Portable air conditioners work by cooling the air in your room and removing excess humidity. As they cool the air, moisture condenses and collects in the unit.
This condensed moisture, known as condensate, needs to be drained properly to prevent it from overflowing and causing damage to your air conditioner or the surrounding area. Failure to drain the condensate can result in water leakage, reduced cooling efficiency, and potential mold or mildew growth.
A Hisense portable air conditioner is equipped with a drainage system designed to collect the condensate and safely remove it from the unit. Depending on the model, the drainage system may include an internal reservoir, a drainage hose, or a combination of both.
Regularly draining the condensate is essential for the proper functioning of your Hisense portable air conditioner. It helps to maintain optimal cooling performance, prevents water damage, and ensures a healthier indoor environment.
Additionally, by regularly draining the condensate, you can prevent the formation of mold and mildew. Excess moisture and stagnant water provide the perfect breeding ground for these microorganisms, which can negatively affect the air quality in your home and potentially cause respiratory issues.
By understanding the importance of draining your Hisense portable air conditioner, you can take proactive steps to prevent potential issues and keep your unit running efficiently.
Tools and Materials Required
Before you start draining your Hisense portable air conditioner, it’s important to gather the necessary tools and materials. Having everything prepared beforehand will make the process smoother and more efficient. Here’s a list of what you’ll need:
- A small container or bucket
- A towel or rag
- A screwdriver (if required for accessing the drainage port)
- Cleaning solution or water and mild detergent
- A soft brush or pipe cleaner
The small container or bucket will be used to collect the condensate that drains from the air conditioner. Make sure it’s large enough to hold a sufficient amount of water to avoid the need for frequent emptying.
The towel or rag will come in handy for wiping any spills or moisture during the draining process. It’s important to keep the surrounding area clean and dry to prevent slips and falls.
If your Hisense portable air conditioner has a drainage port that requires unscrewing for access, you will need a screwdriver that fits the screws. Not all units may have this requirement, so check your specific model’s manual or instructions.
In addition, you may need a cleaning solution or a mix of water and mild detergent to clean the drainage system. Over time, dust and debris can accumulate, which can hinder the drainage process. A soft brush or pipe cleaner will help you remove any dirt or clogs present in the drainage system.
Now that you have all the necessary tools and materials gathered, you’re ready to proceed with draining your Hisense portable air conditioner!
Step 1: Turn Off the Air Conditioner
Before you begin the process of draining the condensate from your Hisense portable air conditioner, it’s important to ensure the unit is turned off and unplugged. This step is crucial for your safety and to prevent any damage to the air conditioner.
Here’s how to properly turn off the air conditioner:
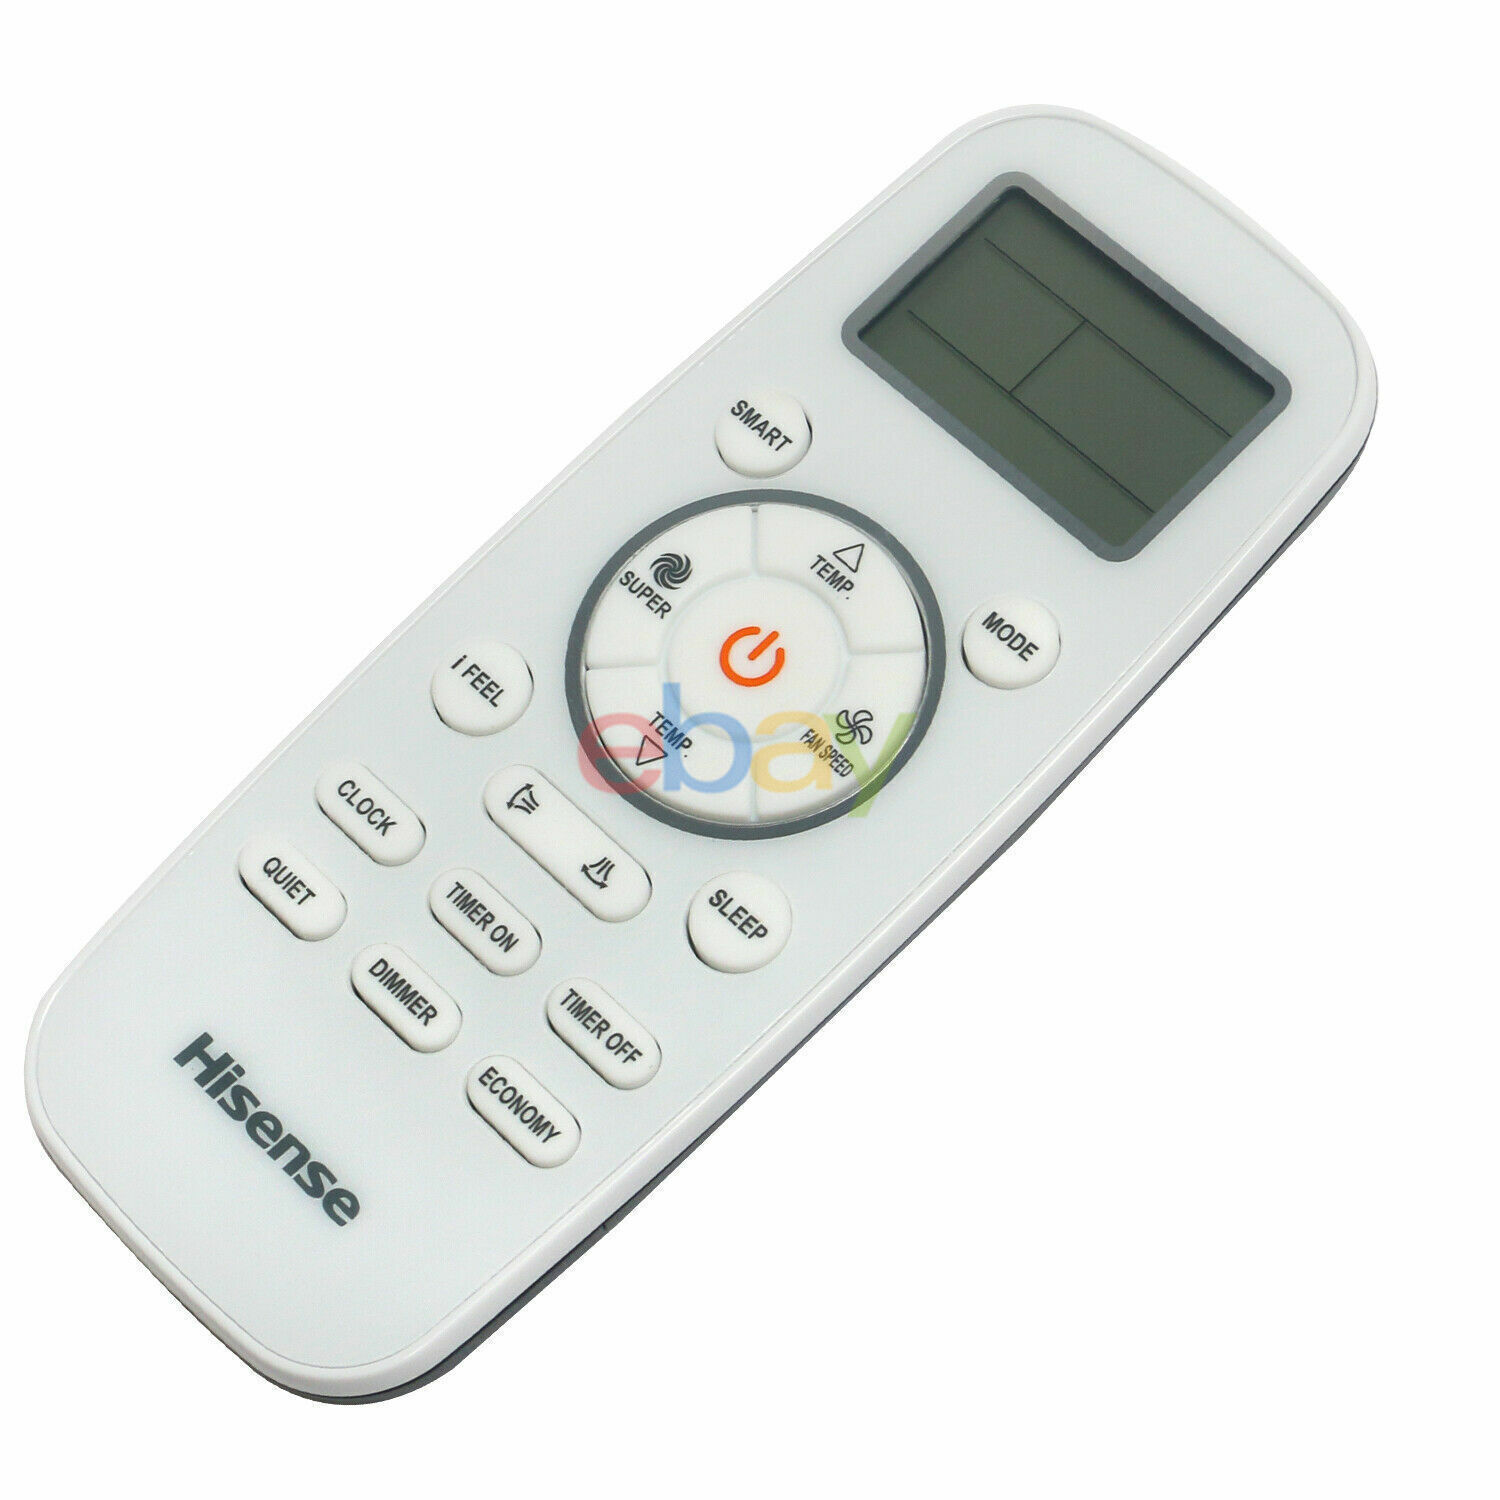
- Locate the power button or switch on the control panel of your Hisense portable air conditioner.
- Press the power button or switch to turn off the unit. You may need to hold the button for a few seconds until the display or indicator lights turn off.
- Unplug the air conditioner from the electrical outlet. This will prevent any accidental power supply and ensure your safety during the draining process.
It’s important to note that turning off the air conditioner will allow the unit to cool down, preventing any potential burns or injuries while handling the drainage system.
Make sure to double-check that the air conditioner is completely powered off and unplugged before moving on to the next steps.
By following this first step and ensuring the air conditioner is turned off and unplugged, you’re ready to proceed with draining the condensate from your Hisense portable air conditioner.
Step 2: Locate the Drainage Port
Once you have turned off and unplugged your Hisense portable air conditioner, the next step is to locate the drainage port. This is where the condensate will be drained from the unit.
Here’s how to find the drainage port:
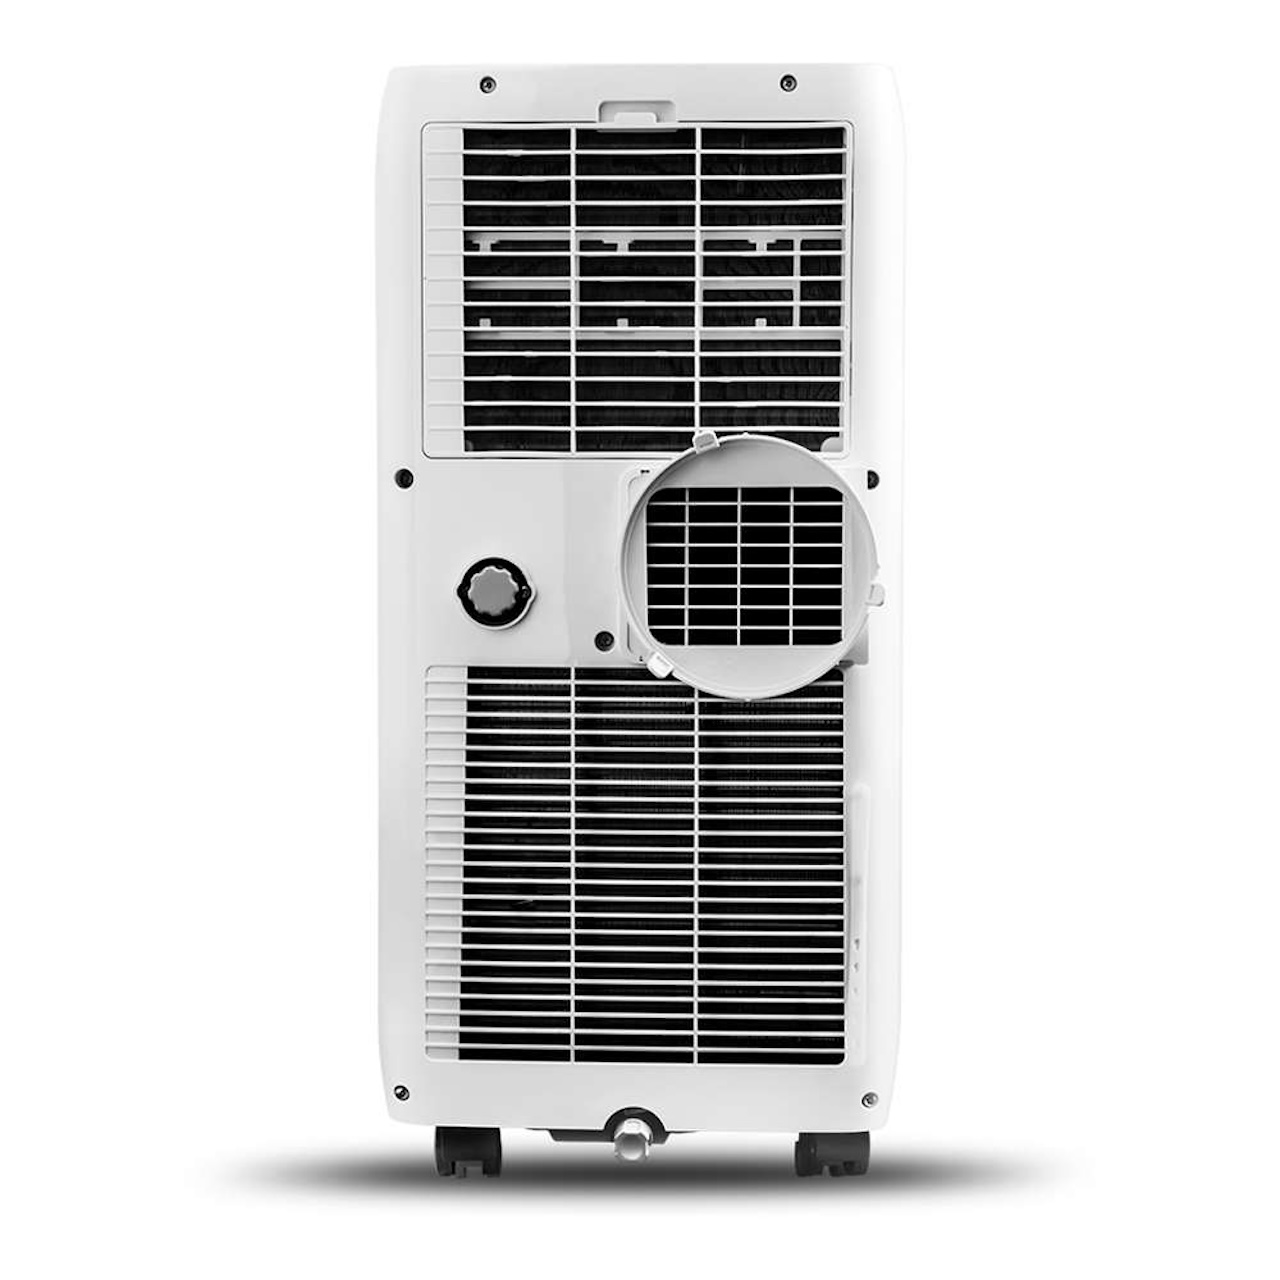
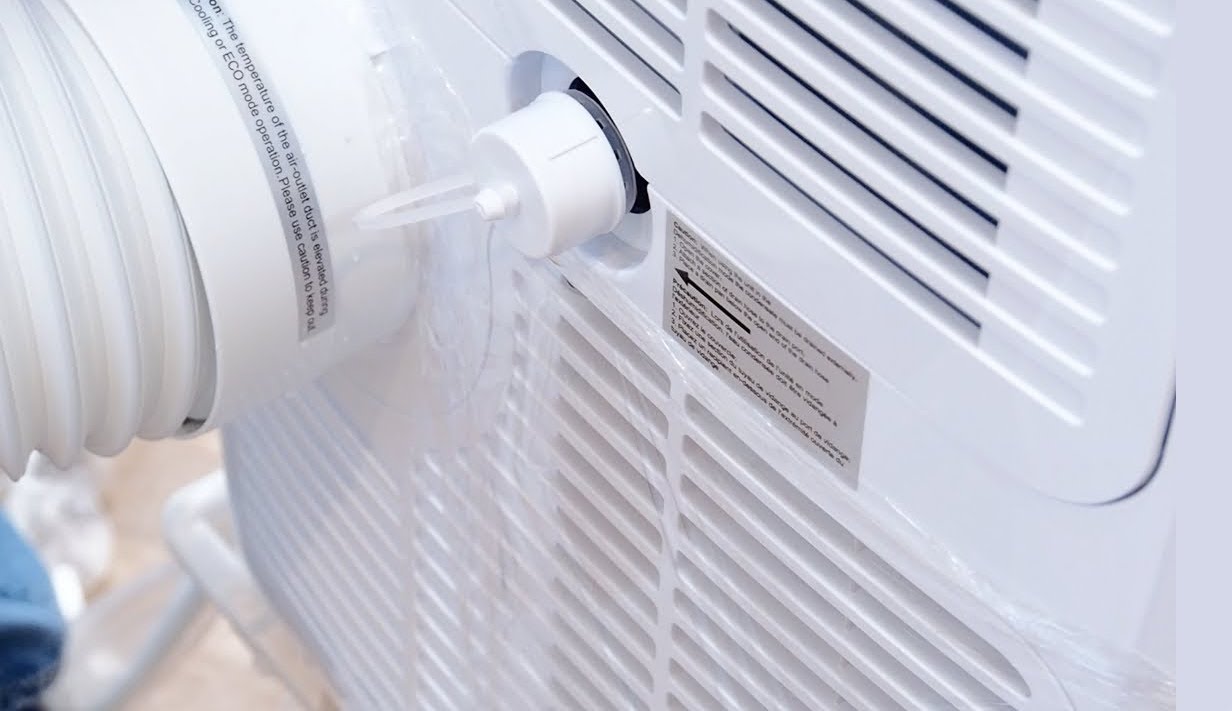
- Inspect the back or bottom of the air conditioner. Look for a small opening or a marked area specifically for draining.
- Refer to the user manual or instructions provided by Hisense for your specific model. The manual will typically include a diagram or explanation of where the drainage port is located and how it can be accessed.
- If necessary, use a screwdriver to remove any screws that may be covering the drainage port. Keep in mind that not all units will have screws, so check your model’s manual.
It’s important to locate the drainage port before proceeding with the next steps. This will ensure that the condensate is properly drained from the unit and prevent any potential leaks or blockages.
If you are unable to locate the drainage port or have any doubts, it is recommended to consult the user manual or contact the Hisense customer support for assistance.
Once you have successfully located the drainage port, you are ready to move on to the next step and prepare the drainage system for draining the condensate from your Hisense portable air conditioner.
To drain a Hisense portable air conditioner, locate the drain plug at the bottom of the unit. Place a shallow pan or bowl underneath the plug, then carefully unscrew the plug to release the water. Make sure to empty the pan regularly to prevent overflow.
Step 3: Prepare the Drainage System
After locating the drainage port on your Hisense portable air conditioner, it’s important to prepare the drainage system for efficient and effective draining of the condensate. This step involves setting up the proper equipment and ensuring a clear path for the water to flow.
Follow these steps to prepare the drainage system:
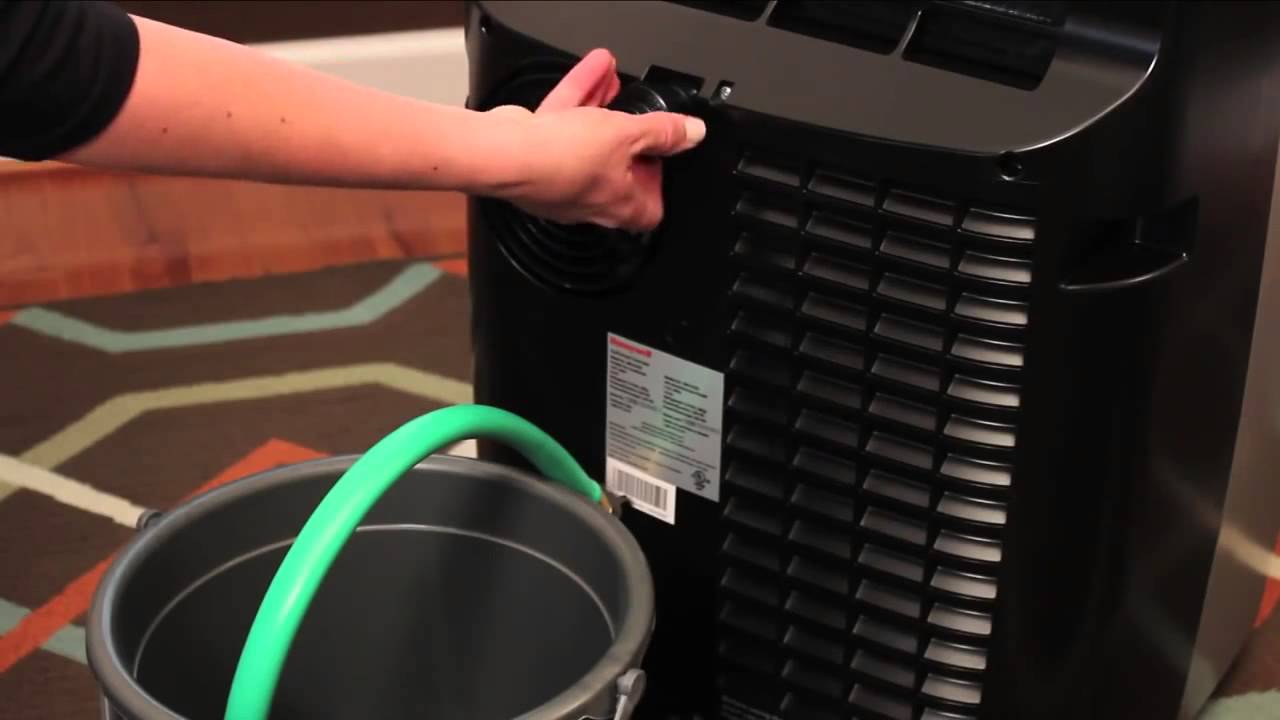
- Place a small container or bucket near the air conditioner, directly beneath the drainage port. This will serve as a collection point for the condensate.
- Make sure the container is stable and secure to prevent any accidental spills or tipping over during the draining process.
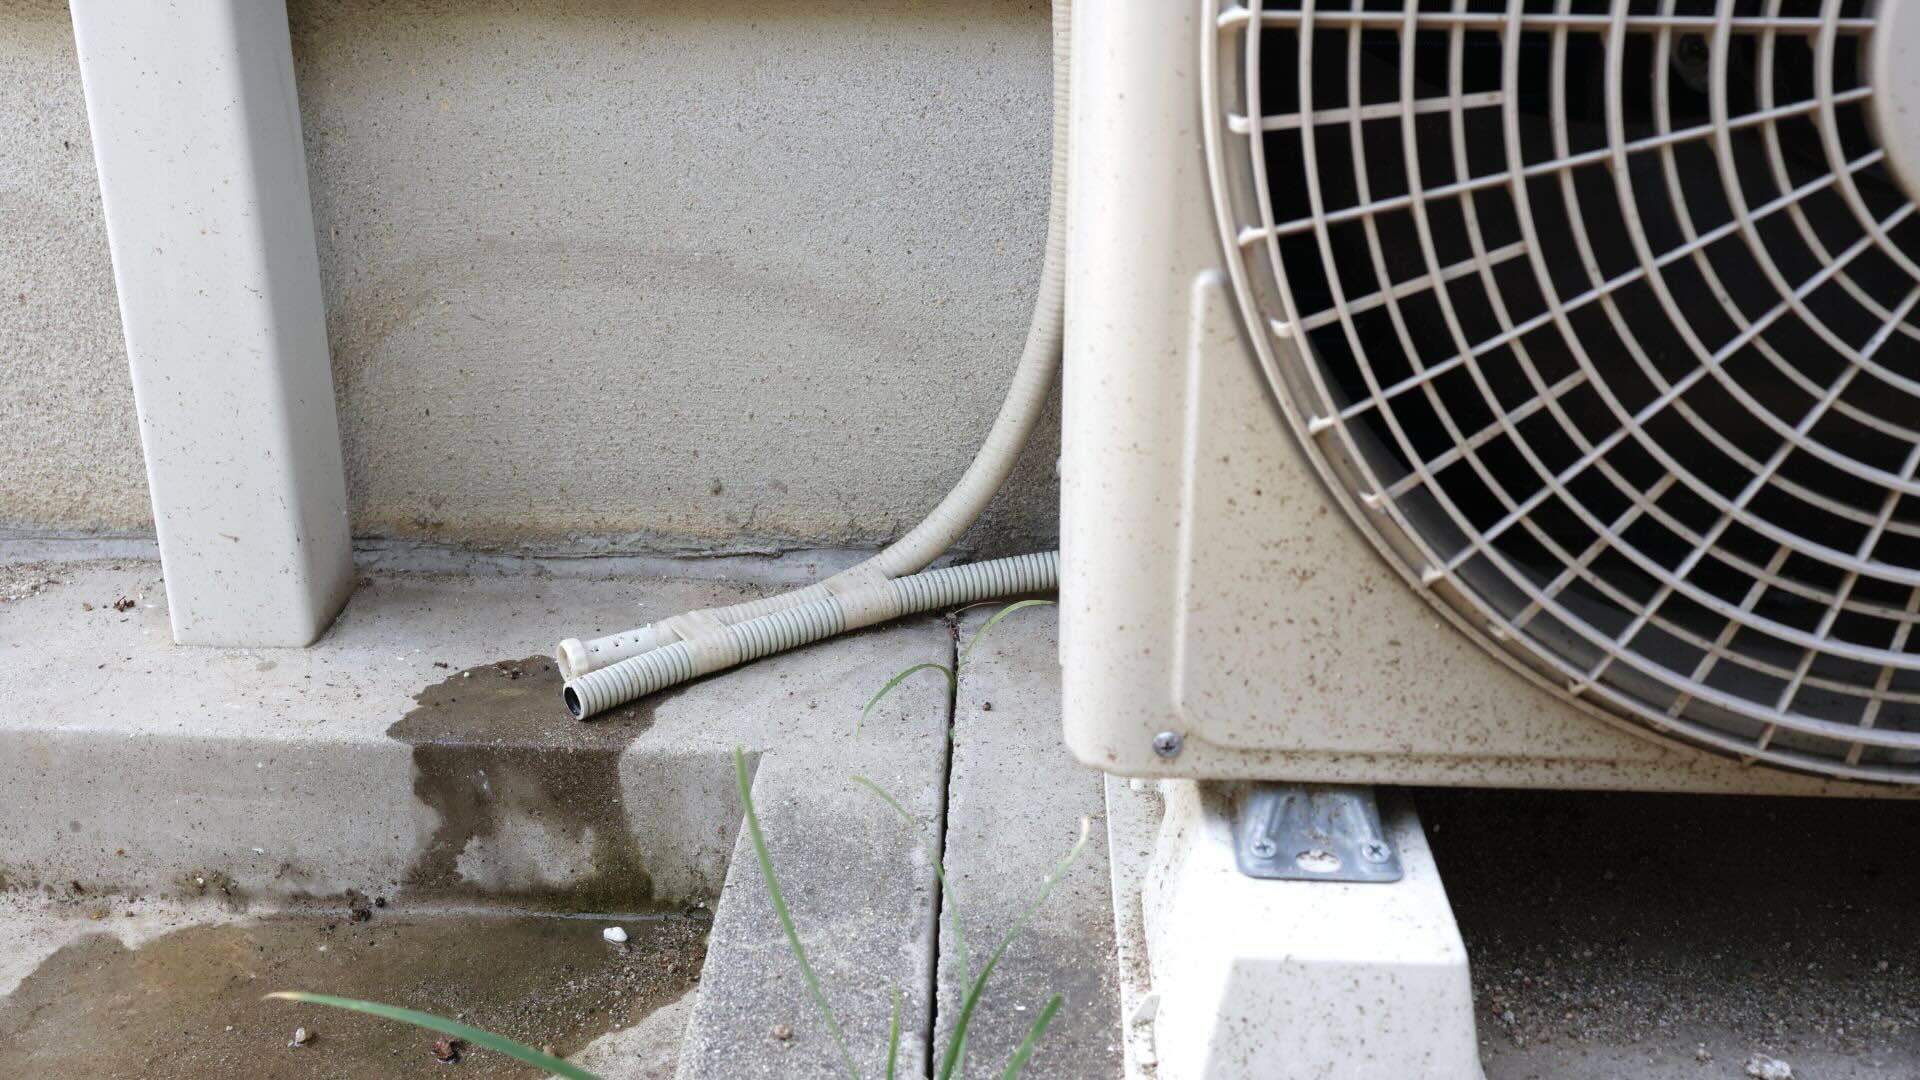
- If your Hisense portable air conditioner has a drainage hose, ensure that it is properly connected to the drainage port and directed towards the container. This hose allows the condensate to drain directly, avoiding the need for frequent emptying of the container.
- Check for any obstructions or blockages in the drainage system. Clear away any debris or dirt present in the drainage port or hose to allow for unrestricted flow of the condensate.
By properly preparing the drainage system, you can ensure a smooth and efficient process of draining the condensate from your Hisense portable air conditioner. This will help prevent water leakage and maintain optimal functionality of the unit.
Once you have completed the preparation of the drainage system, you are ready to proceed with draining the condensate in the next step.
Step 4: Drain the Condensate
With the drainage system set up and ready, it’s time to proceed with draining the condensate from your Hisense portable air conditioner. Follow these steps carefully to ensure a successful draining process:
- Carefully remove any caps or plugs that may be covering the drainage port. This will allow the condensate to flow freely.
- If your air conditioner has an internal reservoir, you may need to remove it to access the condensate. Refer to the user manual for specific instructions on how to safely remove the reservoir.
- If the condensate doesn’t begin to drain immediately, gently tilt the air conditioner towards the drainage port. This will help facilitate the flow of the water.
- Stay by the unit and monitor the drainage process. Ensure that the condensate is flowing steadily into the container or through the drainage hose.
- If you notice any leaks or excessive water accumulation, pause the draining process and check for any blockages or issues in the drainage system. Address the problem before continuing.
- Allow the condensate to drain completely from the air conditioner. Depending on the humidity levels and the size of the unit, this may take several minutes to an hour.
It’s important to note that the amount of condensate produced by your air conditioner will vary depending on factors such as runtime, humidity levels, and room temperature. Regularly monitor the draining process to ensure that it is functioning as intended.
Once all the condensate has been drained from your Hisense portable air conditioner, you can proceed to the next step to clean and maintain the drainage system.
Congratulations! You have successfully drained the condensate from your Hisense portable air conditioner and taken an important step towards maintaining its optimal performance.
Step 5: Clean and Maintain the Drainage System
After draining the condensate from your Hisense portable air conditioner, it’s essential to clean and maintain the drainage system to ensure its continued efficiency. Over time, dust, debris, and potential mold or mildew can accumulate, leading to clogs or reduced functionality.
Follow these steps to clean and maintain the drainage system:
- Prepare a mixture of water and mild detergent or a cleaning solution recommended by the manufacturer.
- Dip a soft brush or pipe cleaner into the cleaning solution and gently scrub the drainage port and hose to remove any dirt or buildup. Be careful not to damage any delicate parts.
- Use the brush or pipe cleaner to carefully clean the internal reservoir (if applicable) to remove any residue or impurities.
- Rinse the drainage port, hose, and reservoir thoroughly with clean water to ensure all cleaning solution or detergent is completely removed.
- Allow the drainage system to dry completely before reattaching or reinstalling any parts.
- Regularly inspect the drainage system for any signs of damage, such as cracks or leaks. If you notice any issues, contact the manufacturer or a professional for repairs or replacement.
Maintaining a clean and functioning drainage system is crucial for preventing water leaks, ensuring optimal performance, and prolonging the lifespan of your Hisense portable air conditioner.
Additionally, it’s important to check the drainage system periodically, especially during peak usage periods or in humid environments, to ensure it remains free from clogs and obstructions.
By following these steps, you can ensure that your Hisense portable air conditioner’s drainage system remains in excellent condition, and your unit continues to operate efficiently and effectively.
With proper cleaning and maintenance, you can enjoy the cooling comfort of your Hisense portable air conditioner for years to come!
Conclusion
Congratulations! You have successfully learned how to drain a Hisense portable air conditioner. By following the step-by-step process outlined in this guide, you can ensure optimal functionality and prevent any water leakage or damage to your unit.
Regularly draining the condensate from your Hisense portable air conditioner is an essential maintenance task that ensures efficient cooling performance and a healthier indoor environment. It prevents the buildup of excess moisture, reduces the risk of mold or mildew growth, and extends the lifespan of your air conditioner.
Remember to gather the necessary tools and materials, turn off the air conditioner, locate the drainage port, and prepare the drainage system before draining the condensate. After draining, it’s important to clean and maintain the drainage system to ensure its continued efficiency.
Ultimately, by following these steps and incorporating regular maintenance into your routine, you can enjoy the benefits of a well-performing Hisense portable air conditioner for years to come.
If you have any uncertainties or encounter difficulties during the process, it’s always recommended to consult the manufacturer’s instructions or contact Hisense customer support for assistance.
Thank you for taking the time to learn how to drain a Hisense portable air conditioner. Stay cool and enjoy the comfort of your home!
Frequently Asked Questions about Hisense Portable Air Conditioner: How To Drain
Was this page helpful?
At Storables.com, we guarantee accurate and reliable information. Our content, validated by Expert Board Contributors, is crafted following stringent Editorial Policies. We're committed to providing you with well-researched, expert-backed insights for all your informational needs.
