Home>Home Maintenance>How To Plant Herbs In Containers With Adequate Drainage

Home Maintenance
How To Plant Herbs In Containers With Adequate Drainage
Modified: March 7, 2024
Learn how to plant herbs in containers at home with proper drainage for optimal growth. Enhance your home maintenance skills with this useful guide.
(Many of the links in this article redirect to a specific reviewed product. Your purchase of these products through affiliate links helps to generate commission for Storables.com, at no extra cost. Learn more)
Introduction
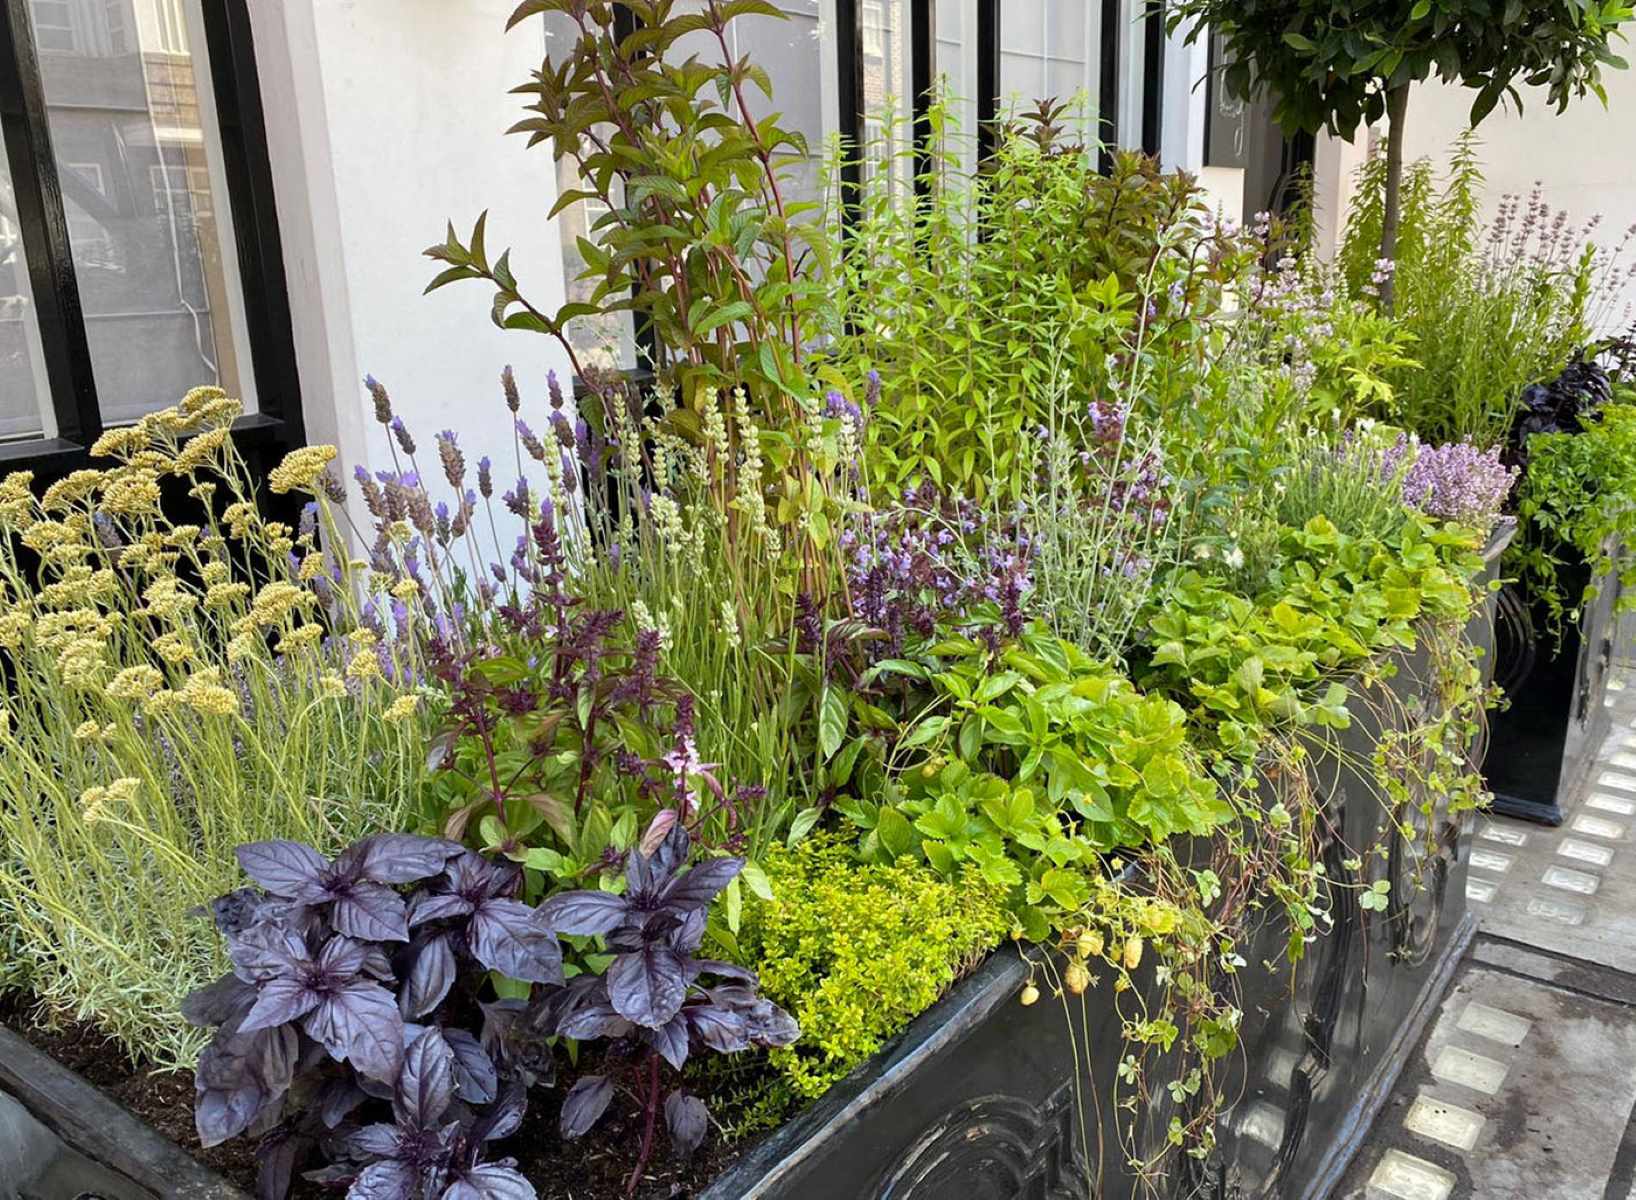
Welcome to the world of container gardening, where you can transform any small space into a thriving herb garden. Whether you have a balcony, a patio, or even just a sunny window sill, you can enjoy the fresh flavors and aromatic scents of homegrown herbs. Planting herbs in containers is not only convenient, but it also allows you to control the soil quality, moisture levels, and sunlight exposure, ensuring optimal growth and flavor.
In this article, we will guide you through the process of planting herbs in containers with adequate drainage. We’ll explore the importance of selecting the right container, choosing the perfect soil mix, ensuring proper drainage, and the essential steps to take for successful herb growth. So, let’s get started and create your very own mini herb garden!
Key Takeaways:
- Create a thriving herb garden in small spaces by choosing the right container, soil mix, and drainage. Regular maintenance and proper sunlight exposure are key to growing healthy and flavorful herbs.
- Enjoy the convenience of harvesting fresh herbs at home. With proper watering, fertilizing, and care, you can cultivate a flourishing container herb garden, adding fresh flavors to your culinary creations.
Read more: What Kind Of Plants To Plant For Drainage
Selecting the Right Container
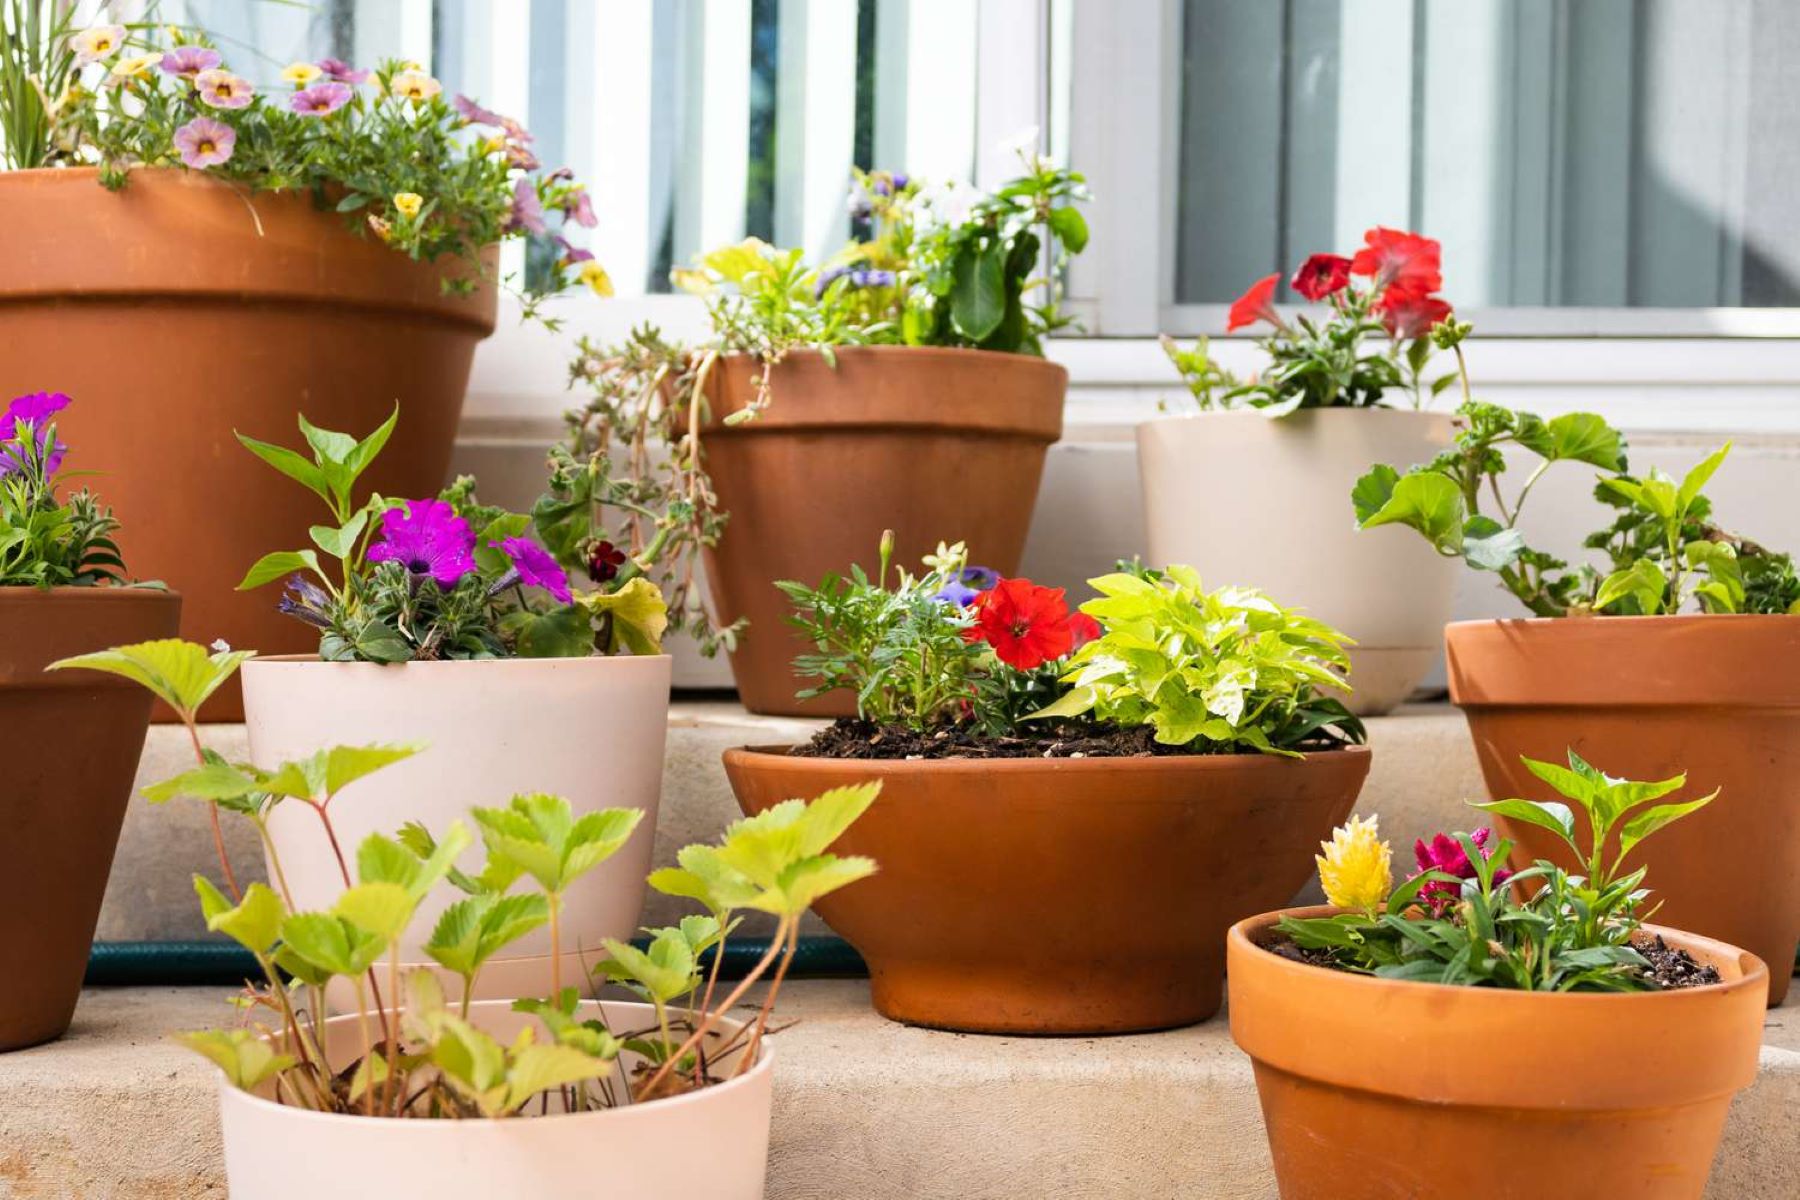
When it comes to choosing a container for your herb garden, there are a few factors to consider. First and foremost, size matters. Ensure that the container is spacious enough to accommodate the size and growth habit of the herbs you intend to plant. Additionally, make sure that the container has adequate drainage holes to prevent waterlogging and root rot.
The material of the container is another important consideration. Clay or terracotta pots are popular choices as they are porous, allowing for better air circulation and moisture regulation. However, they can dry out quickly, so you’ll need to monitor the moisture levels closely. Plastic or resin pots, on the other hand, are lightweight and retain moisture better, making them ideal for herbs that prefer slightly moist soil.
Consider the aesthetic appeal of the container as well. Herb gardens are not only practical but can also be visually pleasing. Choose a container that complements your outdoor or indoor space, whether it’s a vibrant ceramic pot or a rustic wooden crate.
Lastly, check the depth of the container. Herbs generally have shallow root systems, so a container that is at least 6 to 8 inches deep will provide sufficient room for root growth. Avoid using containers that are too deep, as excess soil can retain moisture and cause the roots to rot.
With these considerations in mind, you can now select the perfect container for your herb garden that not only meets the functional requirements but also adds a touch of style and charm to your space.
Choosing the Perfect Soil Mix
The soil you choose for your container herb garden plays a crucial role in the growth and health of your plants. Unlike in-ground gardens, where soil composition can vary, container gardens require a specific soil mix that provides adequate drainage, moisture retention, and nutrient availability.
Start by selecting a high-quality potting mix specifically formulated for container gardening. These mixes are lightweight and well-draining, allowing excess water to flow freely and preventing the roots from becoming waterlogged. Avoid using garden soil or topsoil, as they can compact in containers and impede drainage.
Once you have your potting mix, consider enhancing its texture and nutrient content by adding organic matter. You can incorporate compost or well-rotted manure to improve soil structure, water retention, and nutrient availability. Additionally, adding perlite or coarse sand to the mix can enhance drainage, preventing the soil from becoming too compacted.
Some herbs, such as rosemary and lavender, prefer slightly alkaline soil, while others, like basil and parsley, thrive in slightly acidic soil. To cater to the specific needs of your herbs, you can adjust the pH level of the soil. A simple pH testing kit will help you determine the acidity or alkalinity of your mix, and you can make adjustments accordingly by adding lime to raise the pH or sulfur to lower it.
Remember to use fresh soil mix for each planting season and refrain from reusing the soil from previous years, as it may become compacted and nutrient-depleted. Starting with a high-quality, well-balanced soil mix will provide your herbs with the necessary foundation for healthy growth and optimal flavor.
Ensuring Proper Drainage
Adequate drainage is essential for the health and well-being of your container herb garden. Without proper drainage, excess water can accumulate in the soil, leading to root rot and other moisture-related issues.
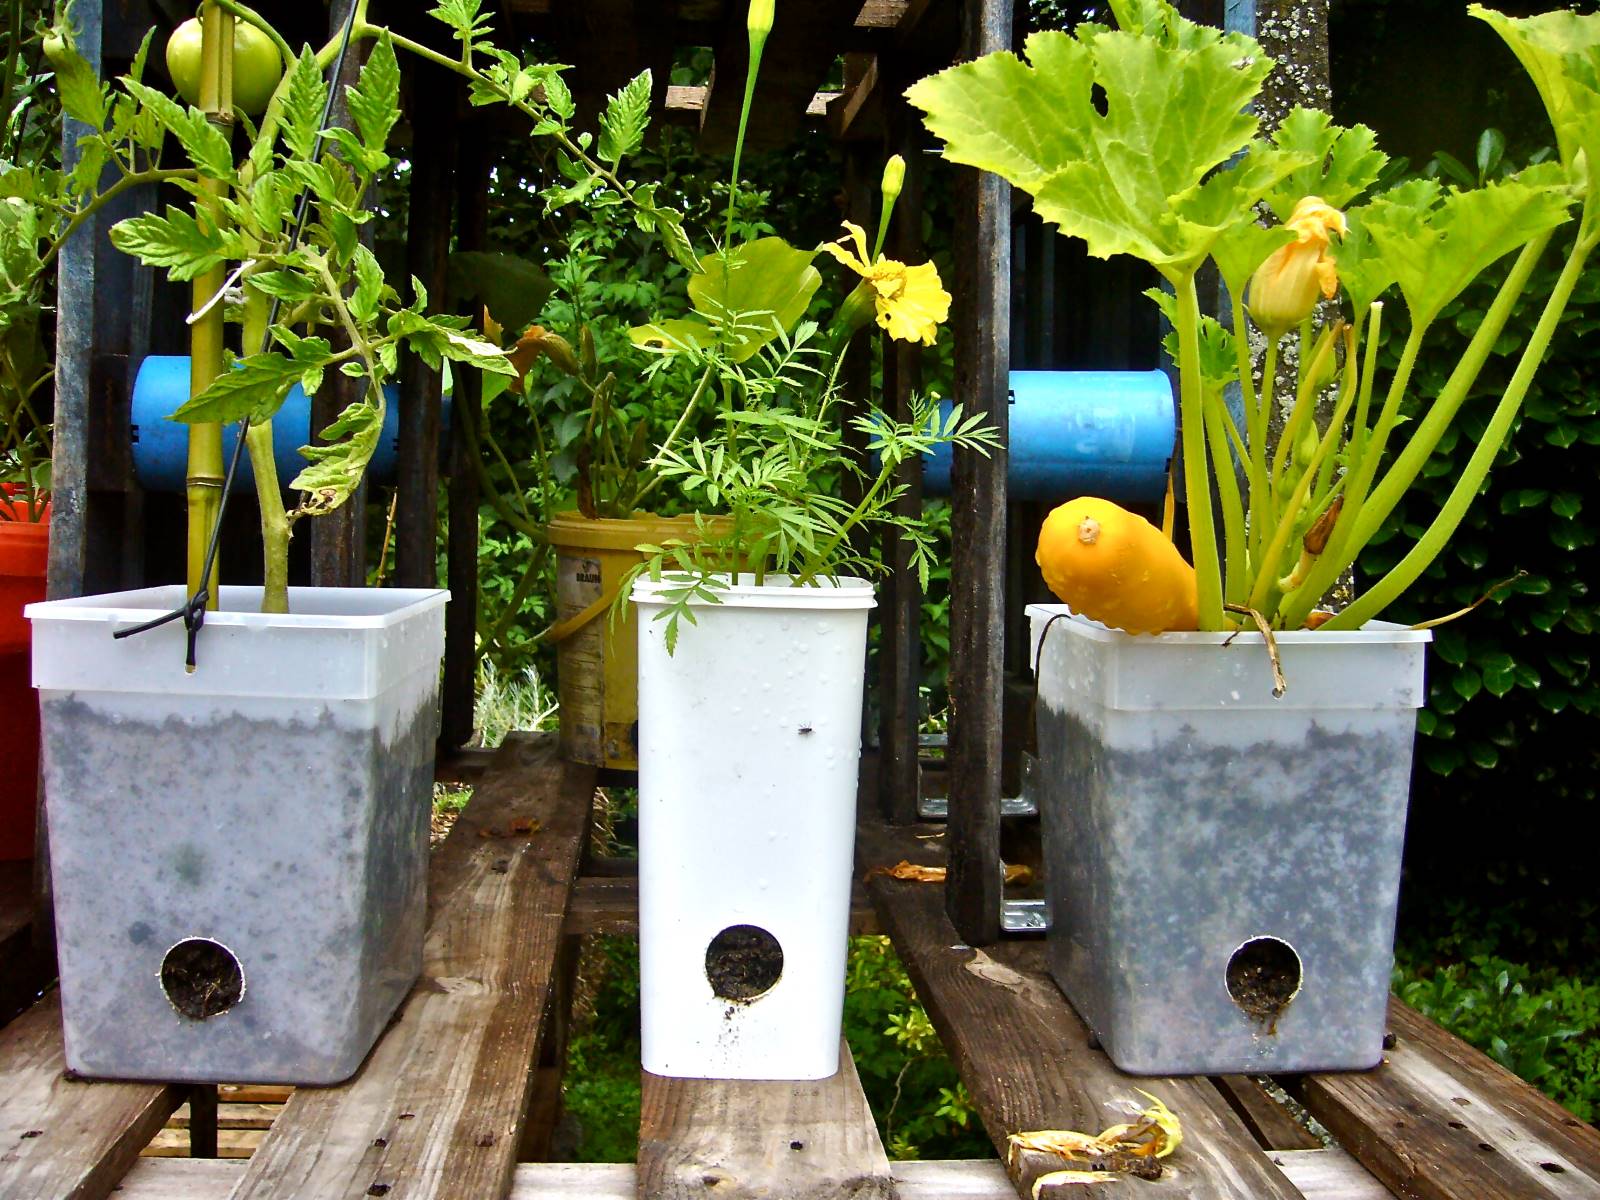
To ensure proper drainage, start by selecting a container with drainage holes. These holes allow excess water to escape, preventing it from pooling at the bottom of the container. If your chosen container does not have drainage holes, you can drill or punch holes in the bottom to facilitate drainage.
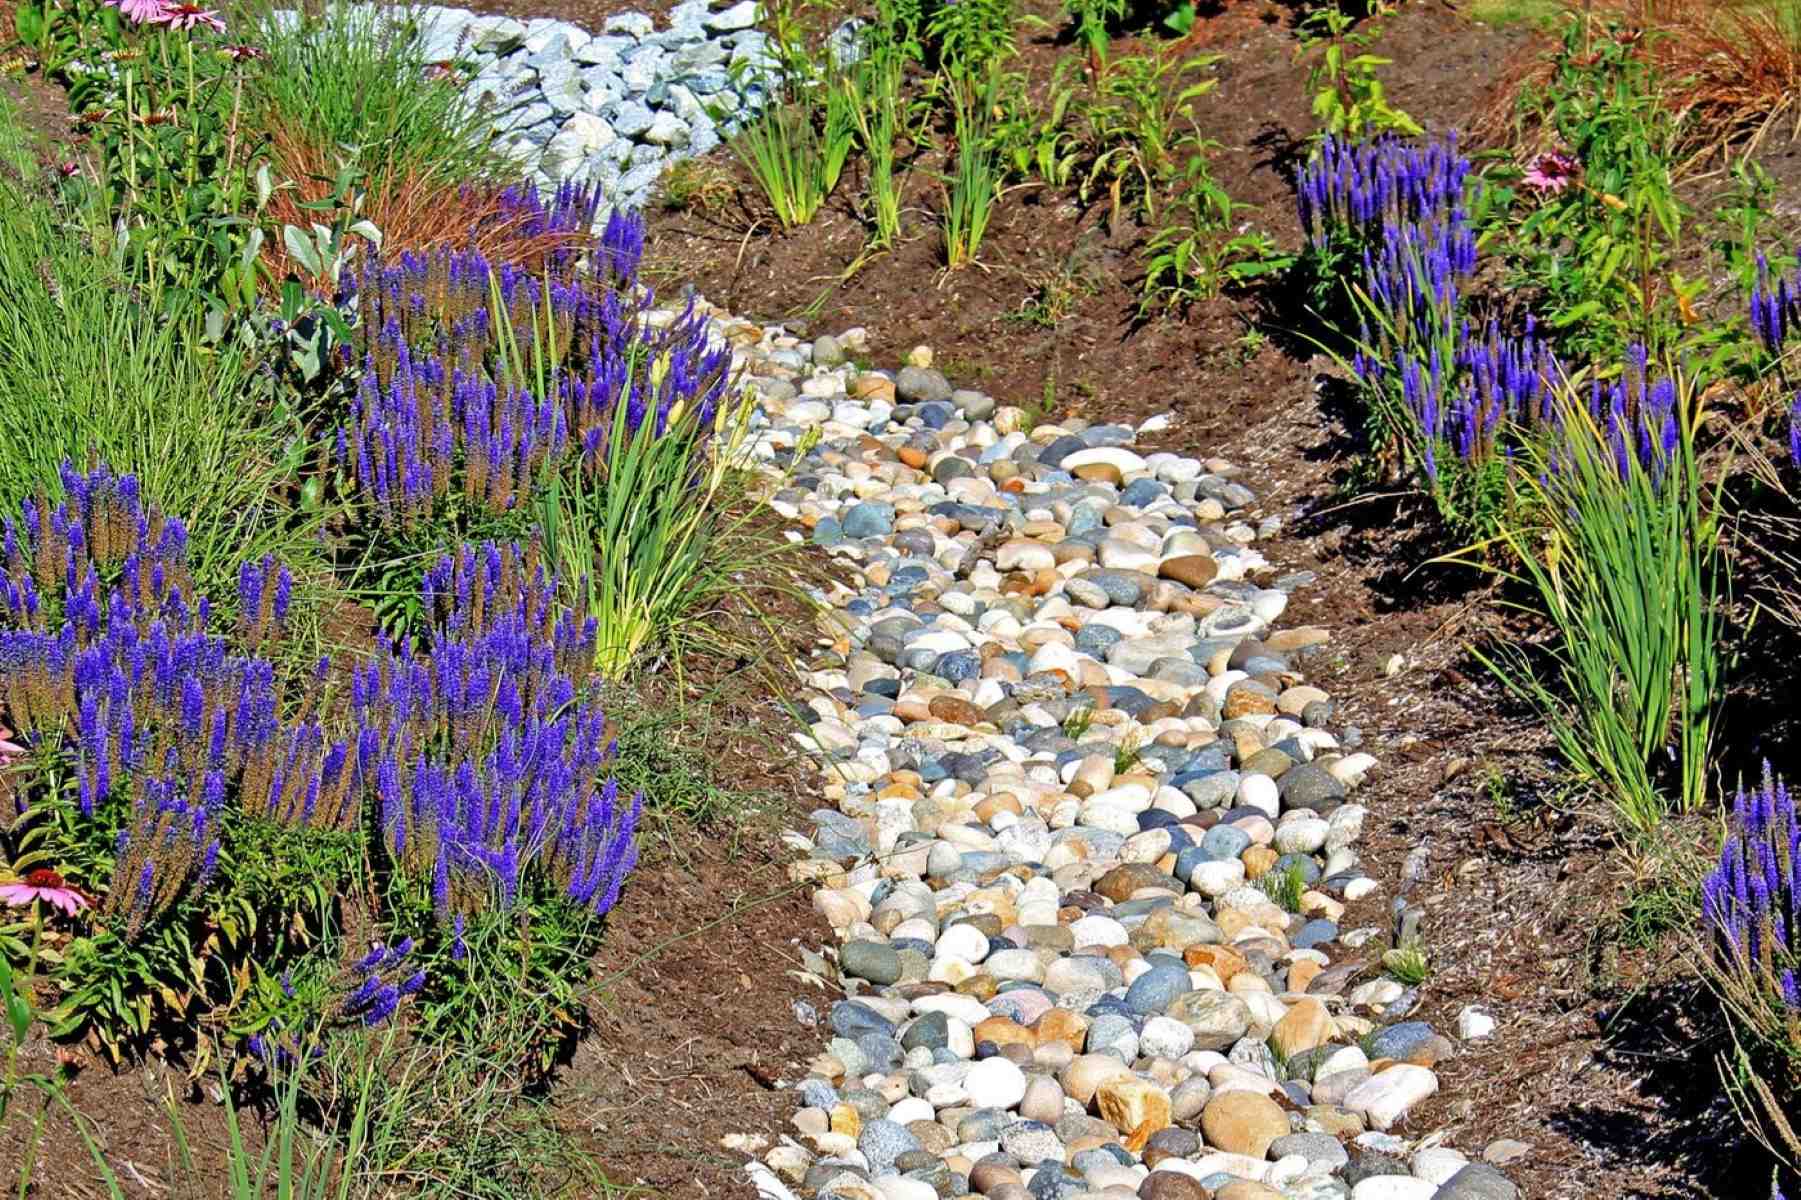
Next, place a layer of small stones or pebbles at the bottom of the container. This layer acts as a drainage layer, providing a space for water to collect without saturating the soil. It helps prevent the soil from becoming waterlogged and encourages proper airflow.
Once you’ve added the drainage layer, fill the container with the chosen potting mix, leaving enough space at the top for watering.
Another way to improve drainage is by using a potting mix that contains perlite or vermiculite. These materials are lightweight and porous, enhancing the drainage capacity of the soil. They create air pockets, allowing excess water to pass through while retaining enough moisture for the herbs to thrive.
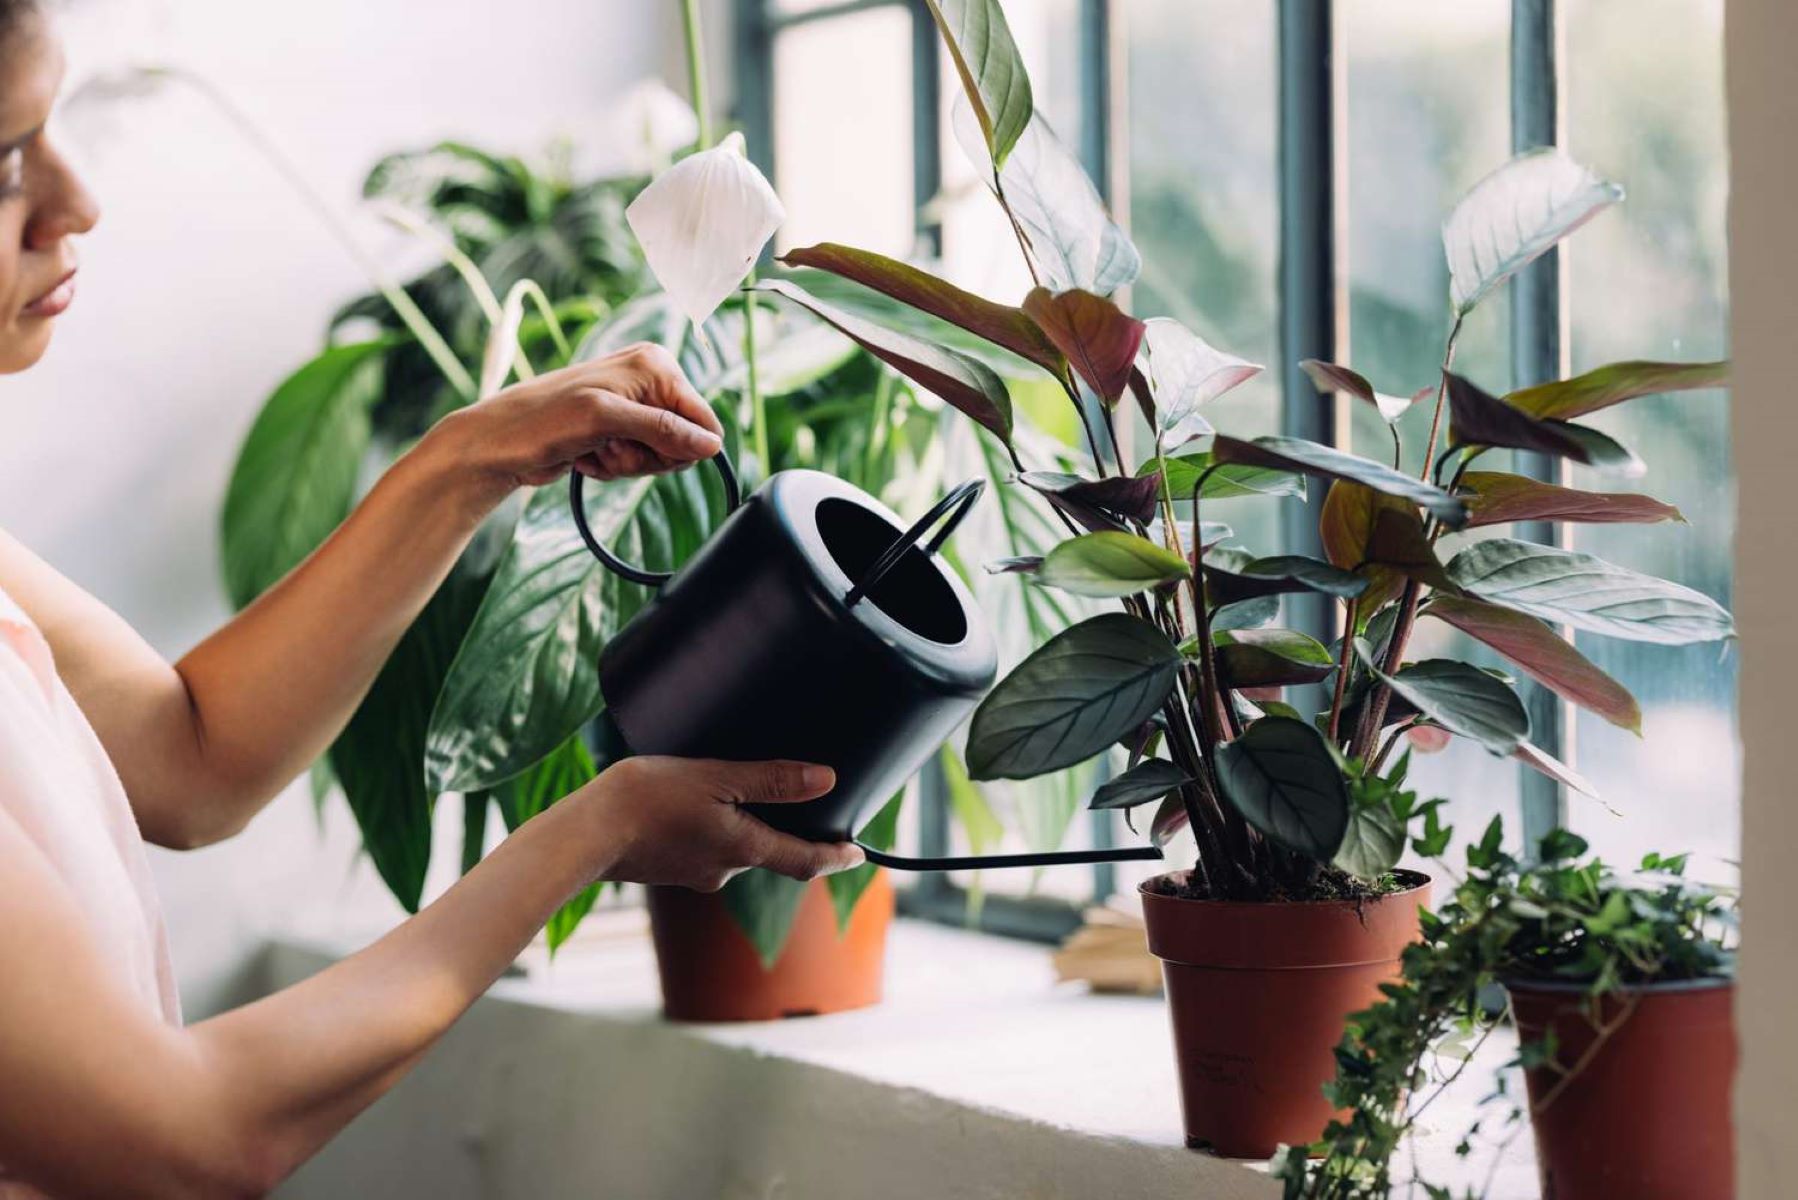
When watering your container herb garden, it’s important to water thoroughly but avoid overwatering. Water until you see water flowing out of the drainage holes, indicating that the excess water has drained away. Empty the saucer or tray underneath the container to prevent the roots from sitting in standing water.
Regularly check the moisture level of the soil by inserting your finger about an inch deep. If it feels dry, it’s time to water your herbs. Remember, different herbs have different water requirements, so it’s essential to understand the needs of each herb in your container garden.
By ensuring proper drainage, you’ll provide your herbs with a healthy root environment, preventing waterlogged soil and promoting optimal growth and flavor.
Preparing the Container
Before planting your herbs, it’s important to properly prepare the container to create an ideal growing environment. Taking a few necessary steps will help set your herbs up for success.
Start by thoroughly cleaning the container if it has been used before. Remove any dirt or debris from previous plantings to prevent the transfer of diseases or pests. Use a mild detergent or a solution of 1 part bleach to 10 parts water to sanitize the container. Rinse it thoroughly and allow it to dry before proceeding.
If your container does not have pre-drilled drainage holes, carefully drill or punch holes in the bottom to ensure proper drainage. These holes will allow excess water to escape, preventing waterlogging and root rot.
Next, place a layer of small stones or pebbles at the bottom of the container. This layer will act as a drainage layer, allowing excess water to collect without saturating the soil. It helps promote proper airflow and prevents the soil from becoming too compacted.
Now it’s time to add the potting mix to the container. Fill the container with the chosen potting mix, leaving enough space at the top for watering. Gently pat down the soil to remove any air pockets and create a firm surface for planting.
If desired, you can also add a layer of mulch on top of the soil. This will help conserve moisture, prevent weed growth, and maintain a more consistent soil temperature. Organic mulches like straw or wood chips are popular choices for container herb gardens.
With the container properly prepared, you are now ready to move on to the next step: planting your herbs.
Remember, a well-prepared container provides the foundation for healthy herb growth. By taking the time to clean, create drainage, and prepare the soil, you’re setting the stage for a thriving herb garden.
When planting herbs in containers, make sure to use pots with drainage holes to prevent waterlogged soil. This will help the herbs thrive by allowing excess water to escape.
Read more: What Helps With Plant Drainage
Planting the Herbs
Now that your container is prepared, it’s time to plant your herbs and bring your mini herb garden to life. Follow these steps to ensure successful planting:
1. Choose your herbs: Select the herbs you want to grow based on your personal preferences and culinary needs. Consider the growth habits and sizes of the herbs to determine how many plants can comfortably fit in your container.
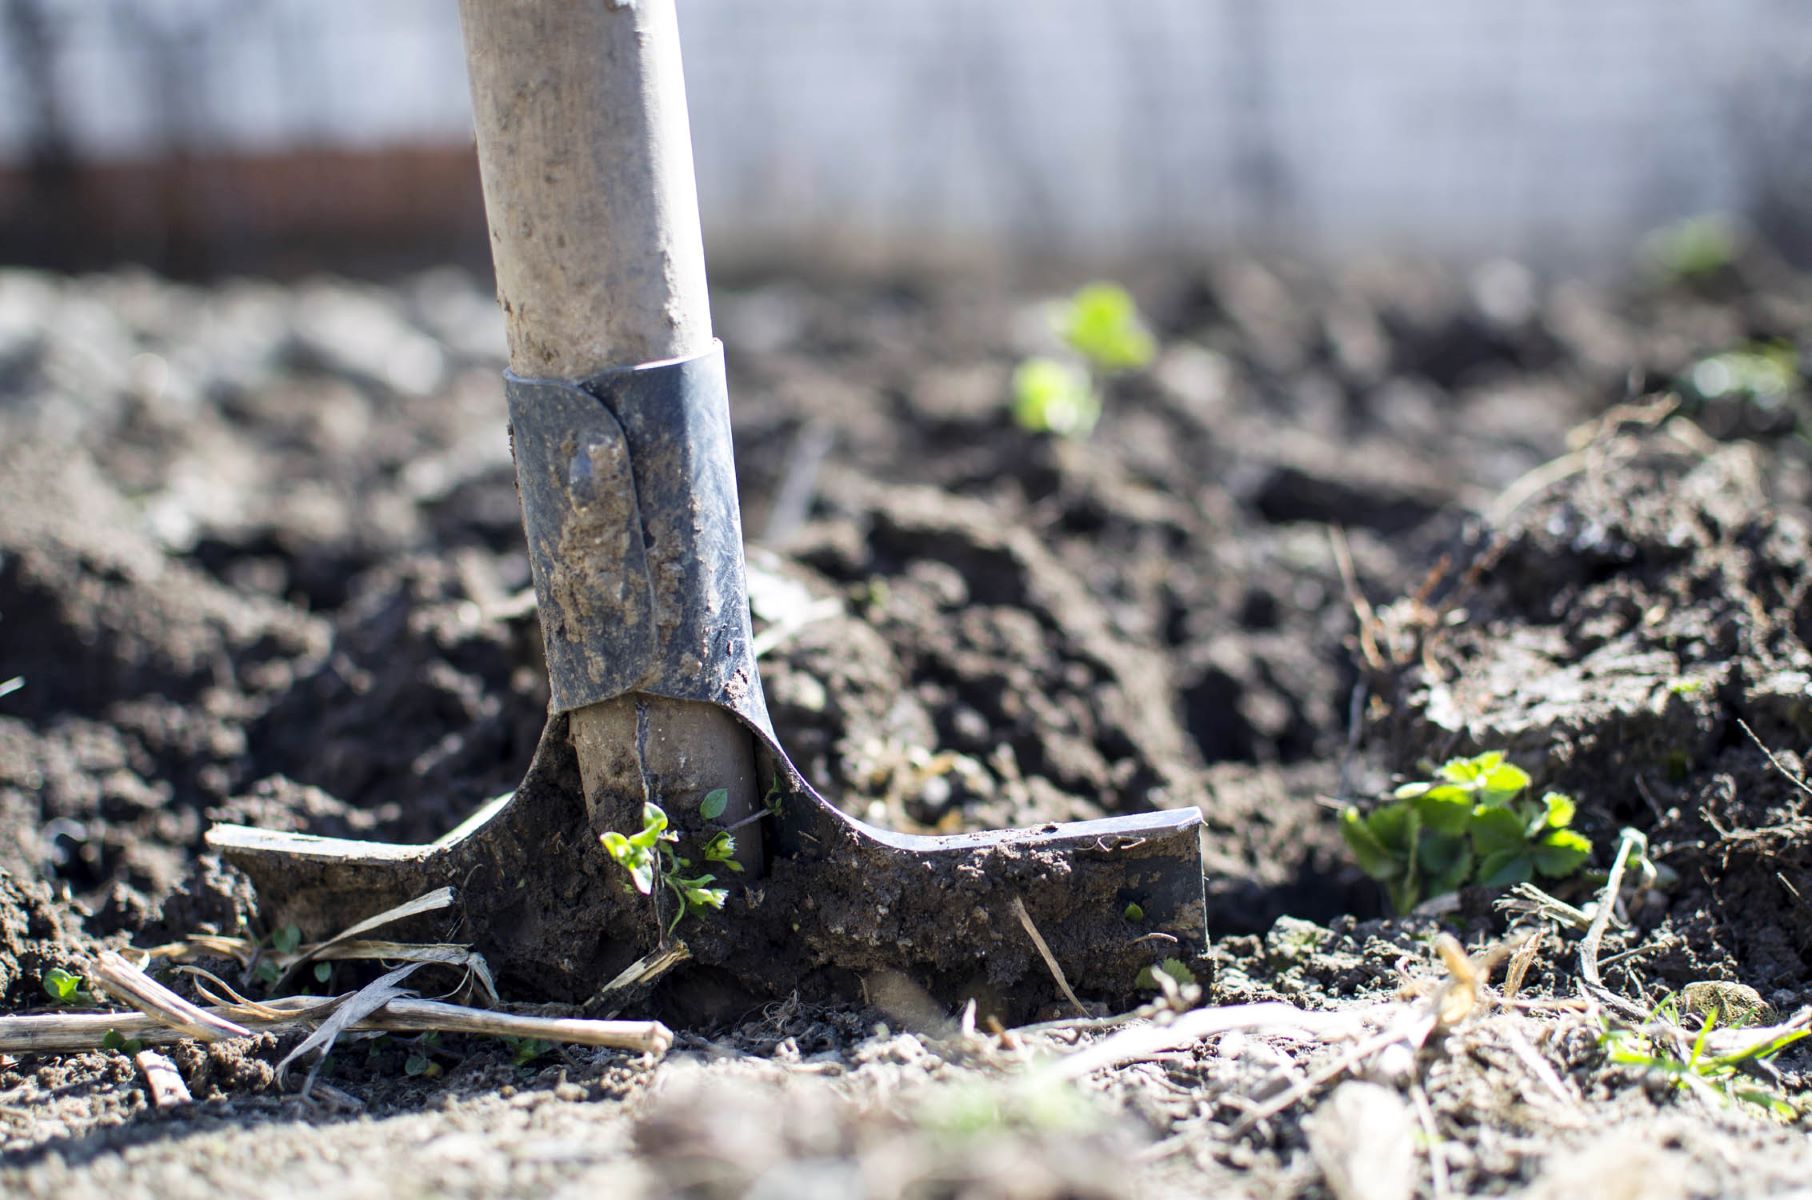
2. Dig holes: Make small indentations in the soil for each herb plant. The depth of the hole should be slightly larger than the root ball of the plant.
3. Remove the plants from their pots: Gently tap the bottom of the pot to loosen the root ball. Carefully remove the plant from the pot, being mindful not to disturb the roots too much.
4. Place the plants in the holes: Position each plant in its respective hole and fill in the gaps with soil. Press the soil gently around the base of the plant to secure it in place.
5. Space the plants properly: Be sure to provide adequate space between each herb plant to allow for growth and airflow. Overcrowding can lead to poor air circulation and increase the risk of disease.
6. Water thoroughly: After planting, give your herbs a good drink of water. Water until you see water coming out of the drainage holes, ensuring that the root zone is thoroughly hydrated.
7. Label your herbs: To keep track of what you’ve planted, it’s a good idea to label each herb. This will help you differentiate between the plants and ensure you know which herbs you’re harvesting.
Remember to consider the individual needs of each herb when planting. Some herbs prefer full sun, while others tolerate partial shade. Make a note of the sunlight requirements for each herb and position them in your container accordingly.
By following these steps, you’ll have successfully planted your herbs and set the stage for a flourishing and aromatic herb garden right in your own home.
Watering and Fertilizing
Proper watering and fertilizing are crucial for the health and growth of your container herbs. By following these guidelines, you’ll ensure that your herbs receive the right amount of water and nutrients:
Watering:
Container herbs require regular watering to keep the soil consistently moist but not waterlogged. Here are some tips for watering your herbs:
– Monitor soil moisture: Check the moisture level of the soil by inserting your finger about an inch deep. If it feels dry, it’s time to water your herbs. Remember, different herbs have different water requirements, so adjust your watering schedule accordingly.
– Water deeply: When watering, make sure to thoroughly soak the soil until you see water flowing out of the drainage holes. This ensures that the water reaches the roots and encourages healthy growth.
– Avoid overwatering: While it’s important to keep the soil moist, overwatering can lead to root rot and other moisture-related issues. Make sure the excess water can drain freely by emptying the saucer or tray underneath the container.
– Consider the weather: During hot and dry periods, you may need to increase the frequency of watering. Conversely, during cooler and rainy seasons, monitor the soil moisture and adjust your watering accordingly to prevent waterlogged soil.
Fertilizing:
Container herbs rely on you for their nutrient supply since the potting mix can become depleted over time. Here’s how to fertilize your herbs effectively:
– Choose the right fertilizer: Use a balanced, water-soluble fertilizer specifically formulated for herbs or vegetables. These fertilizers contain the necessary nutrients for optimal growth and flavor.
– Follow the instructions: Read and follow the instructions on the fertilizer packaging for the correct dosage and application frequency. Over-fertilizing can lead to excessive growth or nutrient burn, so it’s important to apply the fertilizer as directed.
– Apply during the growing season: Fertilize your herbs during the active growing season, typically in spring and summer. This is when they need the most nutrients to support their growth and development.
– Avoid fertilizing near harvest time: To prevent the buildup of chemical residues in your herbs, avoid fertilizing them close to the time you plan to harvest. Follow the instructions on the fertilizer packaging for the recommended waiting period before harvesting.
– Consider organic options: If you prefer to use organic fertilizers, there are many options available, such as compost, worm castings, or seaweed extracts. These natural fertilizers provide nutrients without the use of synthetic chemicals.
By providing your herbs with the right amount of water and nutrients, you’ll help them thrive and produce the flavorful leaves and aromatic scents that make herbs so delightful.
Placement and Sunlight Requirements
Proper placement and sunlight exposure are essential for the healthy growth and development of your container herbs. Different herbs have varying sunlight requirements, so it’s important to understand their needs and position them accordingly:
– Full Sun: Some herbs, such as basil, rosemary, and thyme, thrive in full sun. These herbs require at least six to eight hours of direct sunlight per day. Place them in the sunniest spot available, whether it’s on a sunny balcony or by a south-facing window.
– Partial Shade: Other herbs, like mint, cilantro, and parsley, prefer partial shade. They can handle about four to six hours of direct sunlight per day but may benefit from some shade during the hottest part of the day. Consider placing them in an area that receives morning sun and afternoon shade or in a spot with dappled sunlight.
– Indoor Placement: If you’re growing herbs indoors, ensure they receive adequate sunlight. Place your container near a bright window, ideally facing south or west. If natural sunlight is limited, you can supplement it with grow lights to provide the necessary light intensity.
– Rotating Sunlight: If your herbs receive sunlight from only one direction, consider rotating the container every few days to allow all sides of the plant to receive equal sunlight. This helps ensure balanced growth and prevents the plant from leaning or stretching towards the light source.
– Protection from Harsh Conditions: While herbs generally thrive in sunlight, extreme heat or intense sunlight can sometimes be too harsh for them. If you live in a particularly hot climate, provide some shade during the hottest part of the day to prevent stress or damage to the herbs.
– Outdoor Considerations: If you’re growing herbs on a balcony or patio, consider the surrounding environment. Tall buildings or structures may cast shadows and limit sunlight exposure. Additionally, pay attention to wind patterns, as excessive wind can dry out the soil and stress the plants. Provide windbreaks if necessary.
Remember to monitor your herbs for any signs of stress or sunburn. If the leaves appear scorched or wilted, the herbs may be getting too much sunlight. Conversely, if the herbs appear leggy or pale, they may require more sunlight. Adjust their placement accordingly to achieve the optimal sunlight exposure.
By understanding the sunlight requirements of your herbs and placing them in the right location, you’ll provide them with the ideal growing conditions and ensure their successful growth and development.
Maintaining Container Herb Garden
Maintaining your container herb garden is essential to promote healthy growth, prevent diseases, and ensure a bountiful harvest. Here are some key maintenance practices to keep your herb garden thriving:
Regular Watering: Consistent watering is crucial for container herbs. Check the soil moisture regularly and water when the top inch of soil feels dry. Avoid overwatering, as it can lead to root rot. Remember to adjust the watering frequency based on the specific needs of each herb.
Weeding: Keep an eye out for weeds in your container garden. Regularly inspect the soil surface and remove any unwanted plants that compete for nutrients and space with your herbs. Use gentle techniques to avoid disturbing the roots of your herbs.
Pruning: Pruning helps stimulate bushier growth, prevents herbs from becoming leggy, and encourages the production of fresh leaves. Regularly trim back any dead or yellowing leaves, and pinch off the tips of the herbs to encourage branching. Harvesting herbs regularly can also serve as a form of pruning.
Pest Control: Monitor your herbs for signs of pests such as aphids, mealybugs, or spider mites. Inspect the leaves and stems regularly and take appropriate action if you notice any infestations. Natural remedies like neem oil or homemade insecticidal soap can help control pests without harmful chemicals.
Fertilizing: Container herbs benefit from regular fertilization to replenish the nutrients in the potting mix. Follow the instructions on your chosen fertilizer and feed your herbs accordingly. Avoid over-fertilizing, as it can lead to nutrient imbalances or burn the roots.
Seasonal Care: During extreme weather conditions, such as frost or heatwaves, take special care of your herb garden. Move the containers indoors or provide shade and protection as needed. Be mindful of seasonal changes in sunlight and temperature and adjust your care routine accordingly.
Monitor for Diseases: Keep a close watch on your herbs for signs of diseases, such as fungal infections or powdery mildew. Prune affected leaves, improve air circulation, and consider applying organic disease control measures, such as copper sprays or sulfur dust, if necessary.
Regular Harvesting: Harvesting your herbs regularly not only allows you to enjoy their fresh flavors but also promotes new growth. Pinch or cut off leaves as needed, focusing on the outer sprigs. Avoid removing more than one-third of the plant’s growth at a time to ensure continued health.
Container Maintenance: Periodically assess the condition of your containers, including checking for cracks or signs of wear. Repot your herbs every 1-2 years to replenish the soil and provide fresh growing conditions. Clean the containers between plantings to prevent the build-up of diseases or pests.
By implementing these maintenance practices, you’ll ensure the long-term health and productivity of your container herb garden. Enjoy the pleasure of growing and harvesting your own fresh herbs!
Read more: When To Plant Herbs From Seed
Conclusion
Creating a container herb garden is a rewarding and enjoyable way to bring the flavors and scents of fresh herbs into your home. With the right container, soil mix, drainage, and care practices, you can successfully cultivate a thriving herb garden in even the smallest of spaces.
Remember to select the right container size, material, and depth to accommodate the growth of your herbs. Choose a high-quality potting mix that provides proper drainage and ample nutrients for healthy plant growth. Ensuring adequate drainage by using drainage holes and a layer of pebbles will prevent waterlogging and promote optimal root health. Properly preparing the container by cleaning, drilling drainage holes, and adding soil will provide a sturdy foundation for your herbs.
When planting your herbs, consider their individual sunlight requirements and position them accordingly. Water your herbs regularly, ensuring the soil is moist but not waterlogged. Fertilize them as needed to provide essential nutrients for healthy growth. Regular maintenance practices, such as pruning, weeding, and pest control, will help keep your herb garden in top shape. Be mindful of seasonal changes and adjust your care routine accordingly.
By following these guidelines and paying attention to the needs of your herbs, you’ll be rewarded with a flourishing container herb garden. Enjoy the convenience and satisfaction of harvesting your own fresh herbs to elevate the flavors of your culinary creations.
So, whether you’re an experienced gardener or just starting your gardening journey, don’t hesitate to create a container herb garden. With a bit of care and dedication, you can cultivate a vibrant and aromatic oasis right at your fingertips. Embrace the joy of growing and using fresh herbs in your daily life!
Frequently Asked Questions about How To Plant Herbs In Containers With Adequate Drainage
Was this page helpful?
At Storables.com, we guarantee accurate and reliable information. Our content, validated by Expert Board Contributors, is crafted following stringent Editorial Policies. We're committed to providing you with well-researched, expert-backed insights for all your informational needs.

0 thoughts on “How To Plant Herbs In Containers With Adequate Drainage”