Home>Home Maintenance>How To Recharge An RV Air Conditioner
Home Maintenance
How To Recharge An RV Air Conditioner
Modified: April 23, 2024
Learn how to recharge your RV air conditioner at home with our simple step-by-step guide. Keep your RV cool and comfortable all summer long.
(Many of the links in this article redirect to a specific reviewed product. Your purchase of these products through affiliate links helps to generate commission for Storables.com, at no extra cost. Learn more)
Introduction
Welcome to our comprehensive guide on how to recharge an RV air conditioner. As a homeowner, maintaining your RV’s air conditioner is crucial to ensure optimal performance and comfort during your travels. Over time, your RV’s air conditioner may begin to lose its cooling efficiency, resulting in less comfort on your trips. However, recharging the air conditioner can help restore its performance and provide you with a cool and comfortable environment in your RV.
In this article, we will take you through the step-by-step process of recharging an RV air conditioner. We will cover everything from gathering the necessary tools and materials to testing the cooling efficiency after the recharge. So, let’s dive in and get your RV’s air conditioner back in top shape!
Key Takeaways:
- Regular maintenance of your RV air conditioner, including cleaning the air filter and coils, is crucial for optimal cooling performance and a comfortable travel experience.
- Recharging your RV air conditioner involves gathering tools, locating the unit, turning off power, cleaning components, and testing cooling efficiency to ensure a cool and refreshing environment during your travels.
Read more: How To Recharge A Window Air Conditioner
Step 1: Gather the Necessary Tools and Materials
Before you start recharging your RV air conditioner, you will need to gather a few essential tools and materials. Here’s a list of what you’ll need:
- Refrigerant recharge kit: This will typically contain a can of refrigerant and a charging hose.
- Gloves and safety goggles: These will protect your hands and eyes during the recharge process.
- Screwdriver or wrench: This will be necessary for removing the air conditioner cover and accessing the unit.
- Cleaning supplies: You’ll need a soft brush, mild detergent, and water for cleaning the air filter, condenser coils, and evaporator coils.
- Towels or rags: These will come in handy for wiping down and drying the components.
Once you have gathered all the necessary tools and materials, you can proceed to the next step in recharging your RV air conditioner.
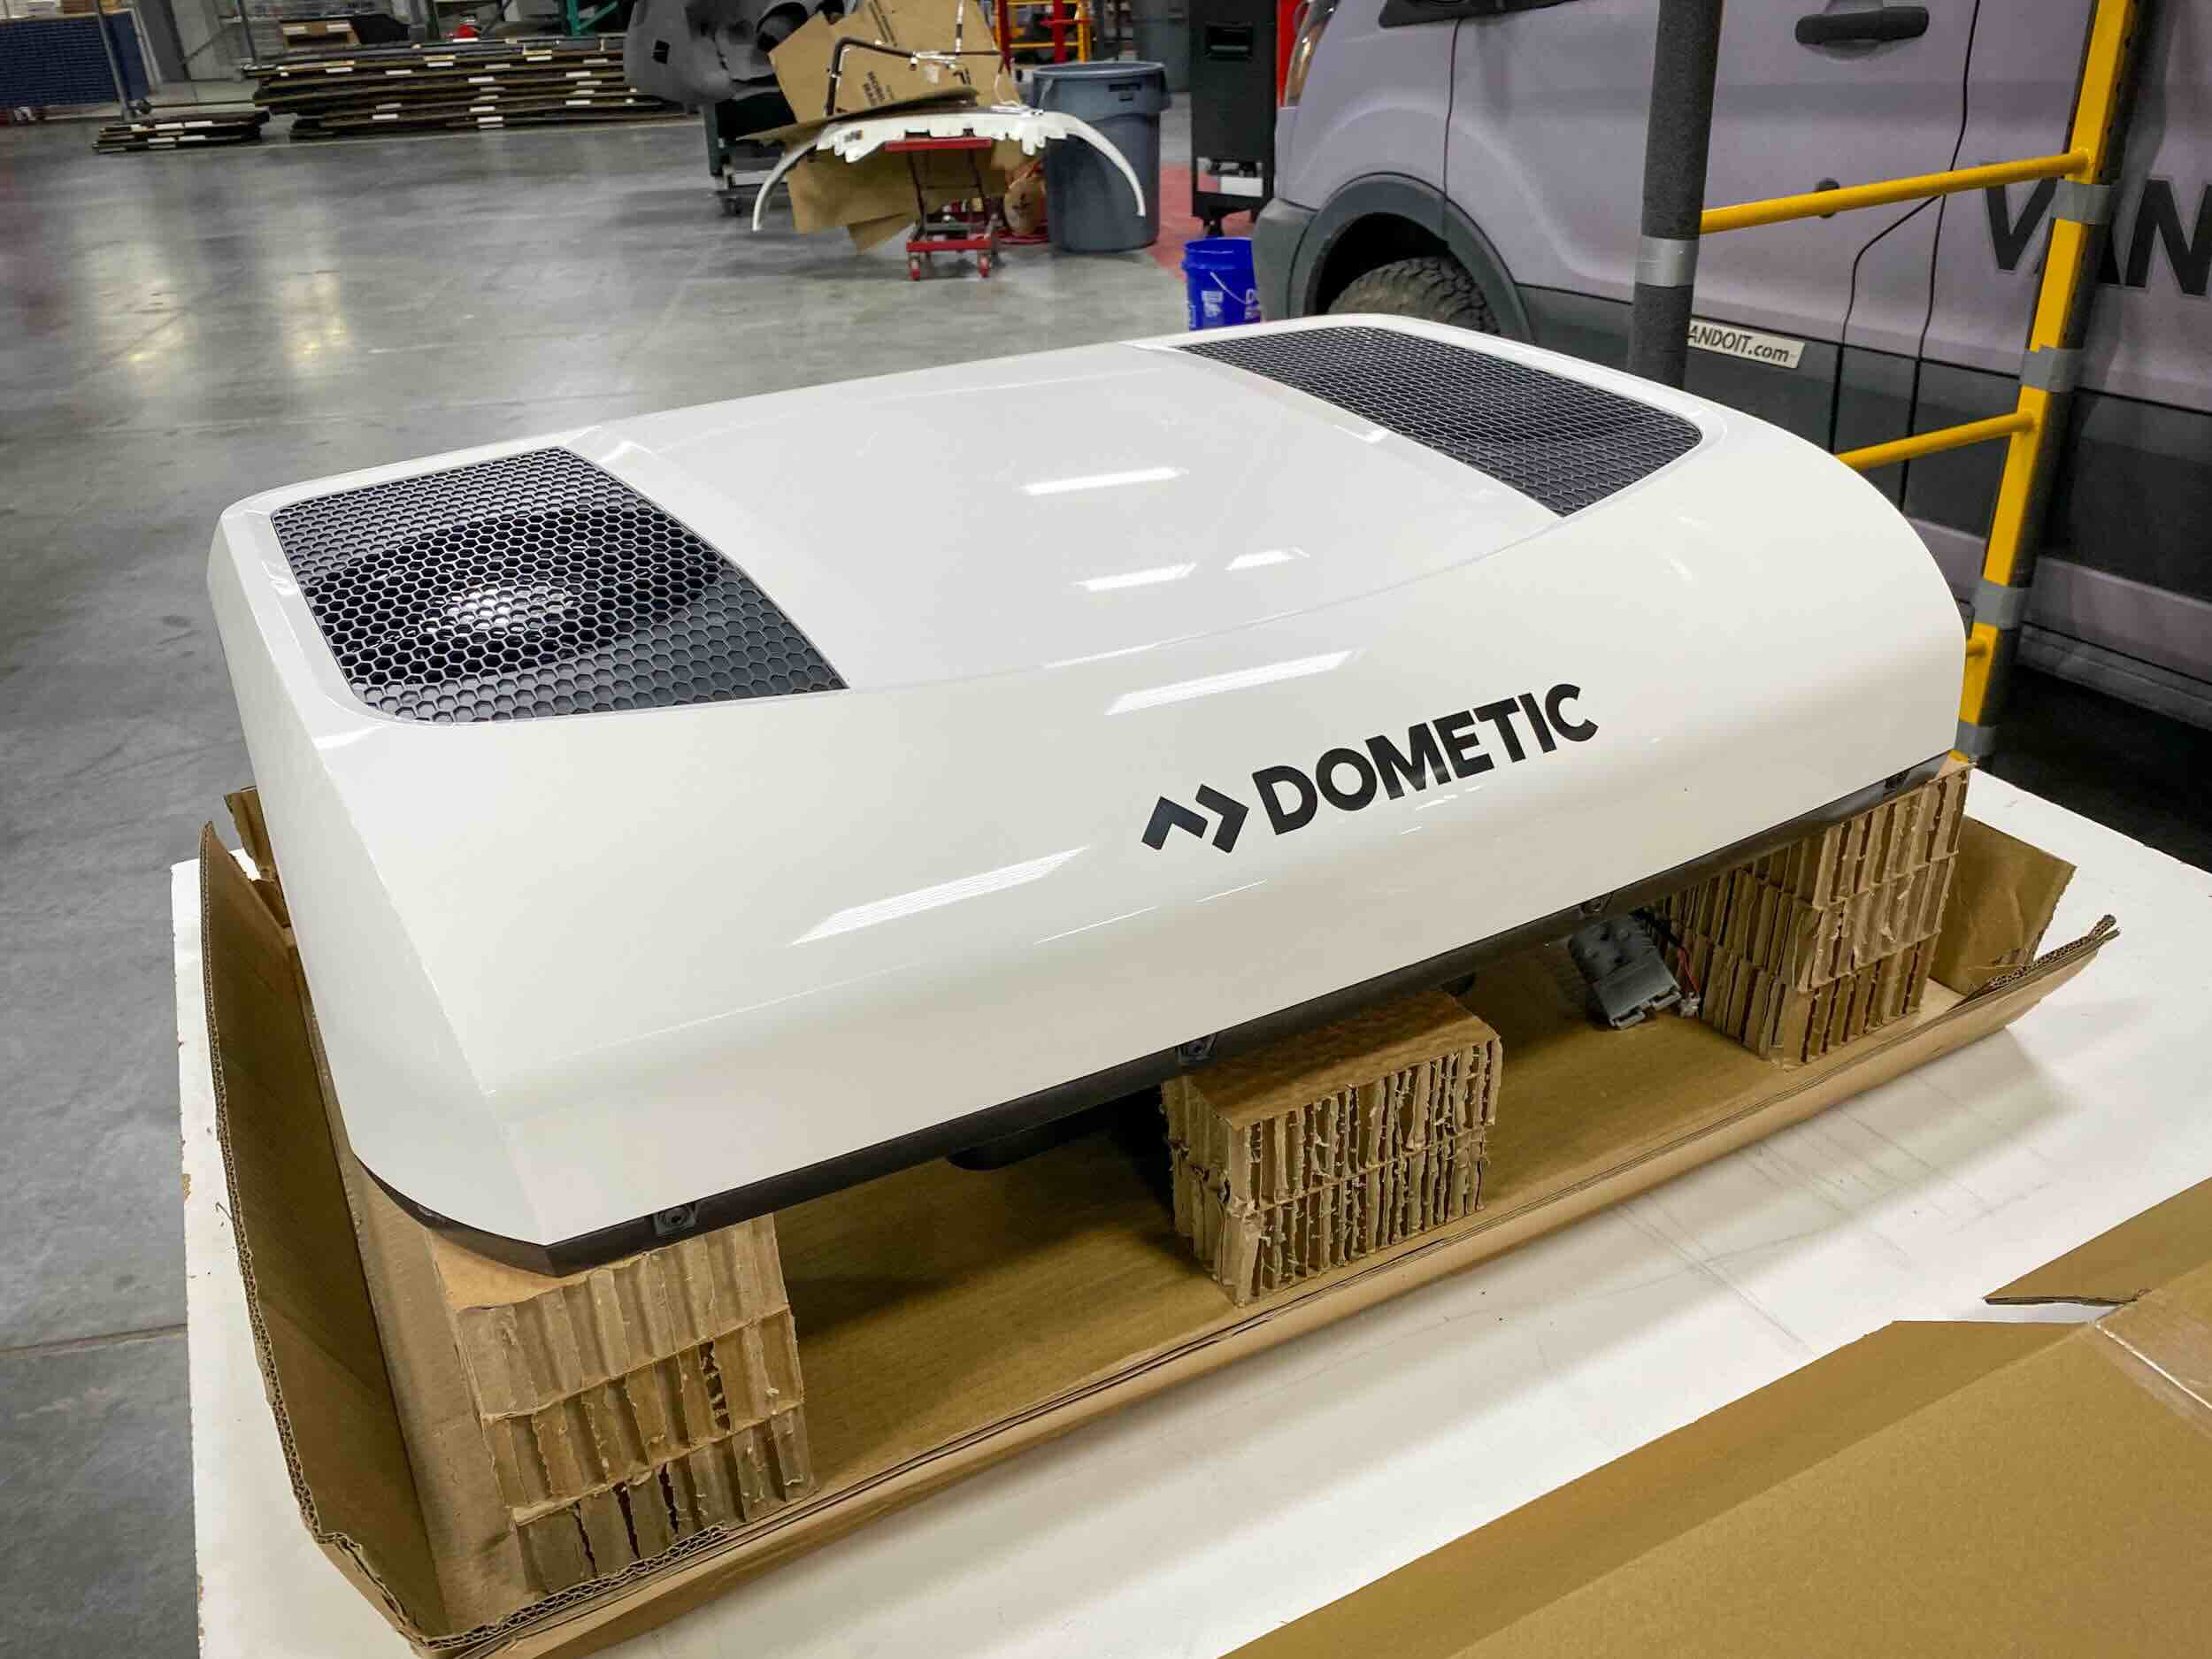
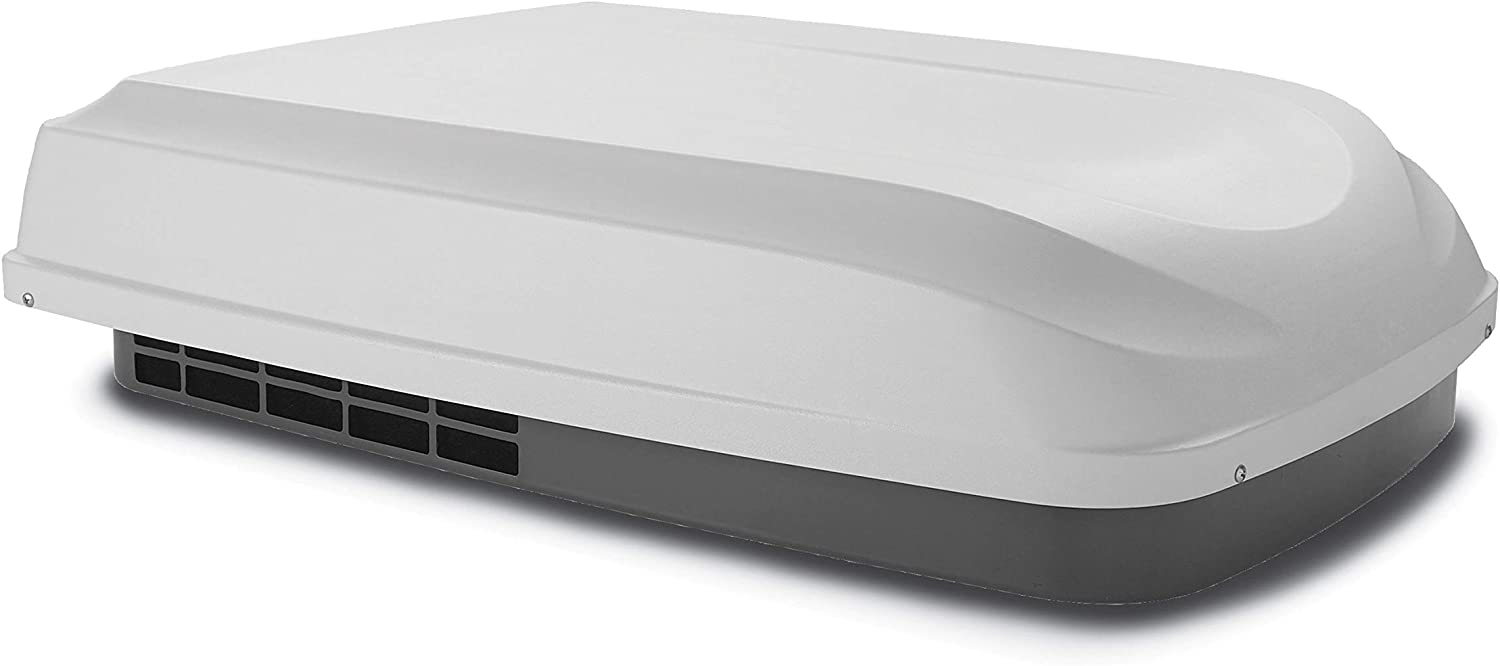
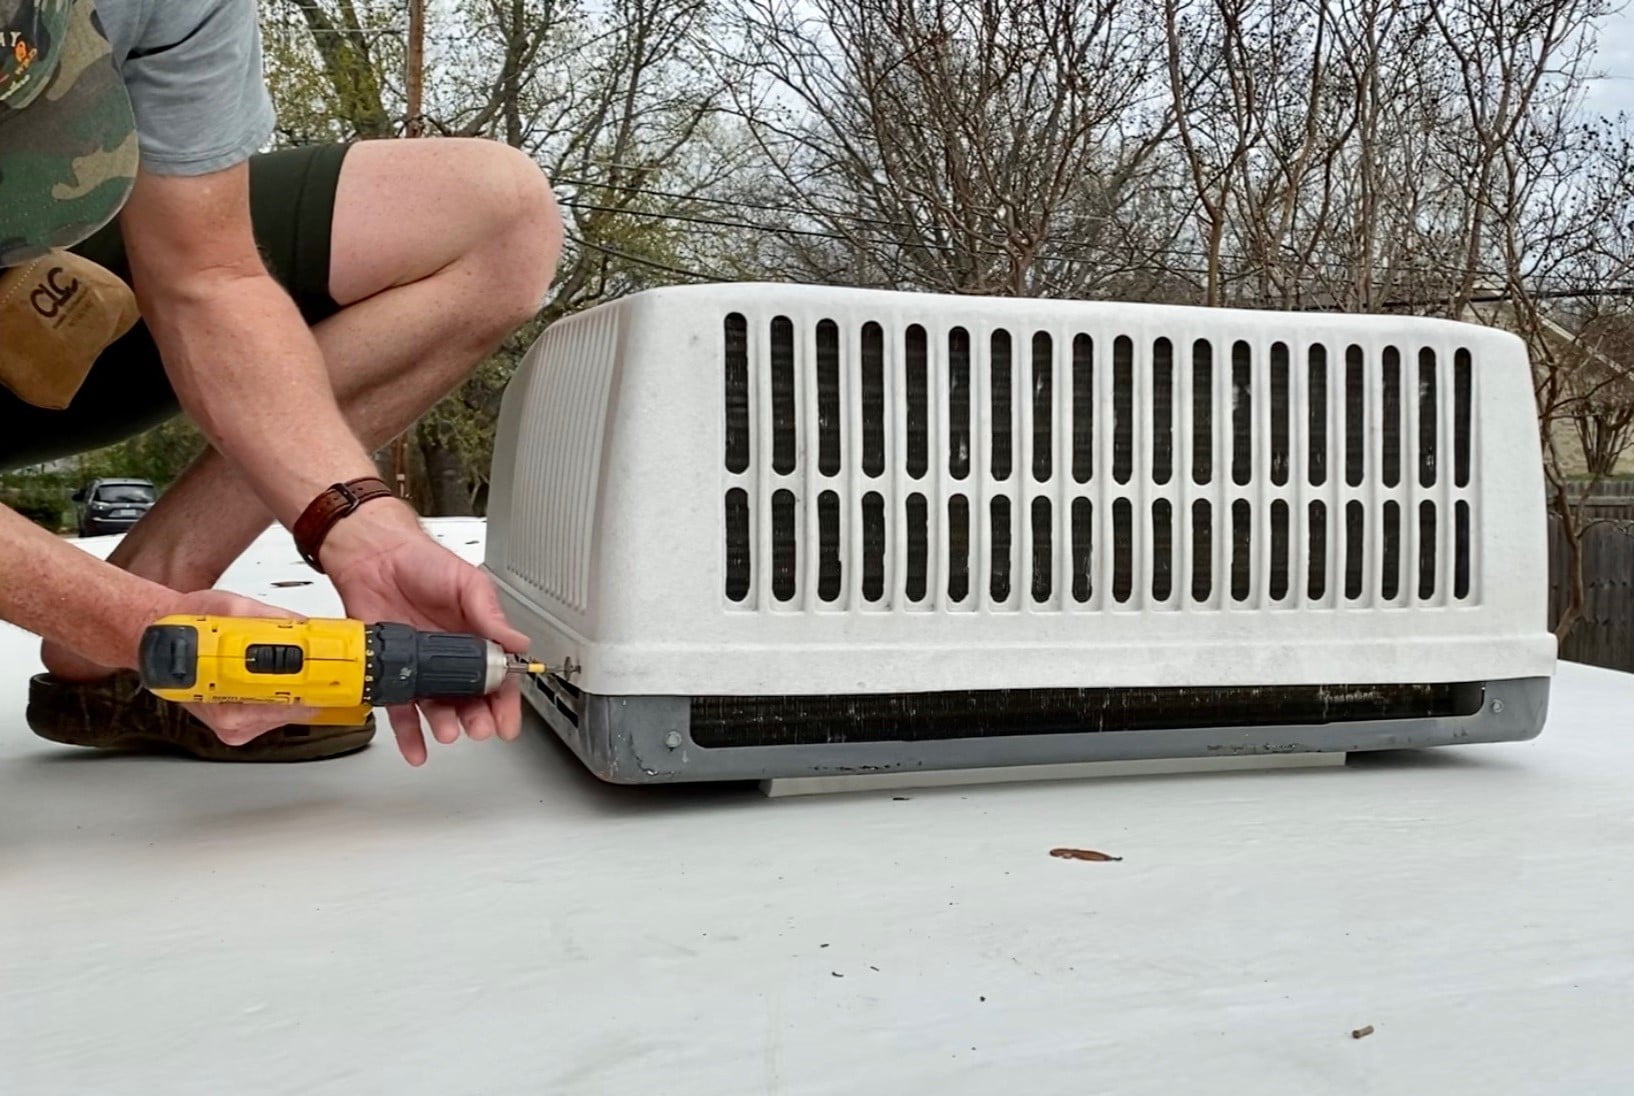
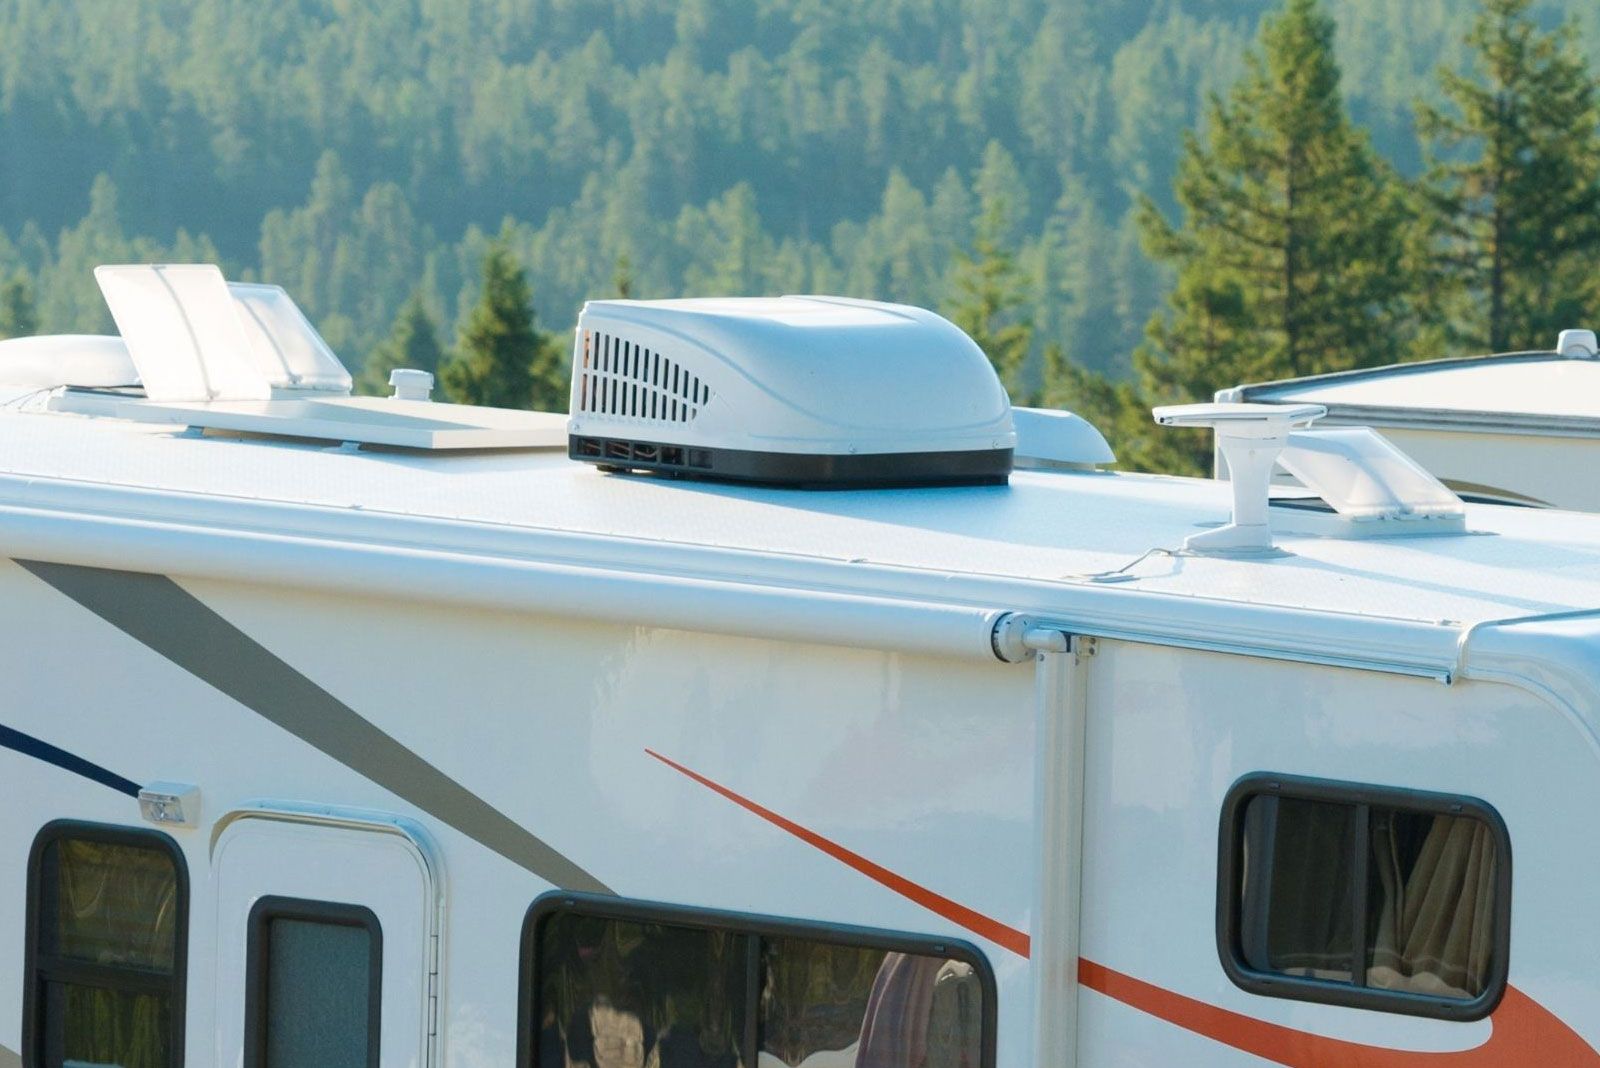
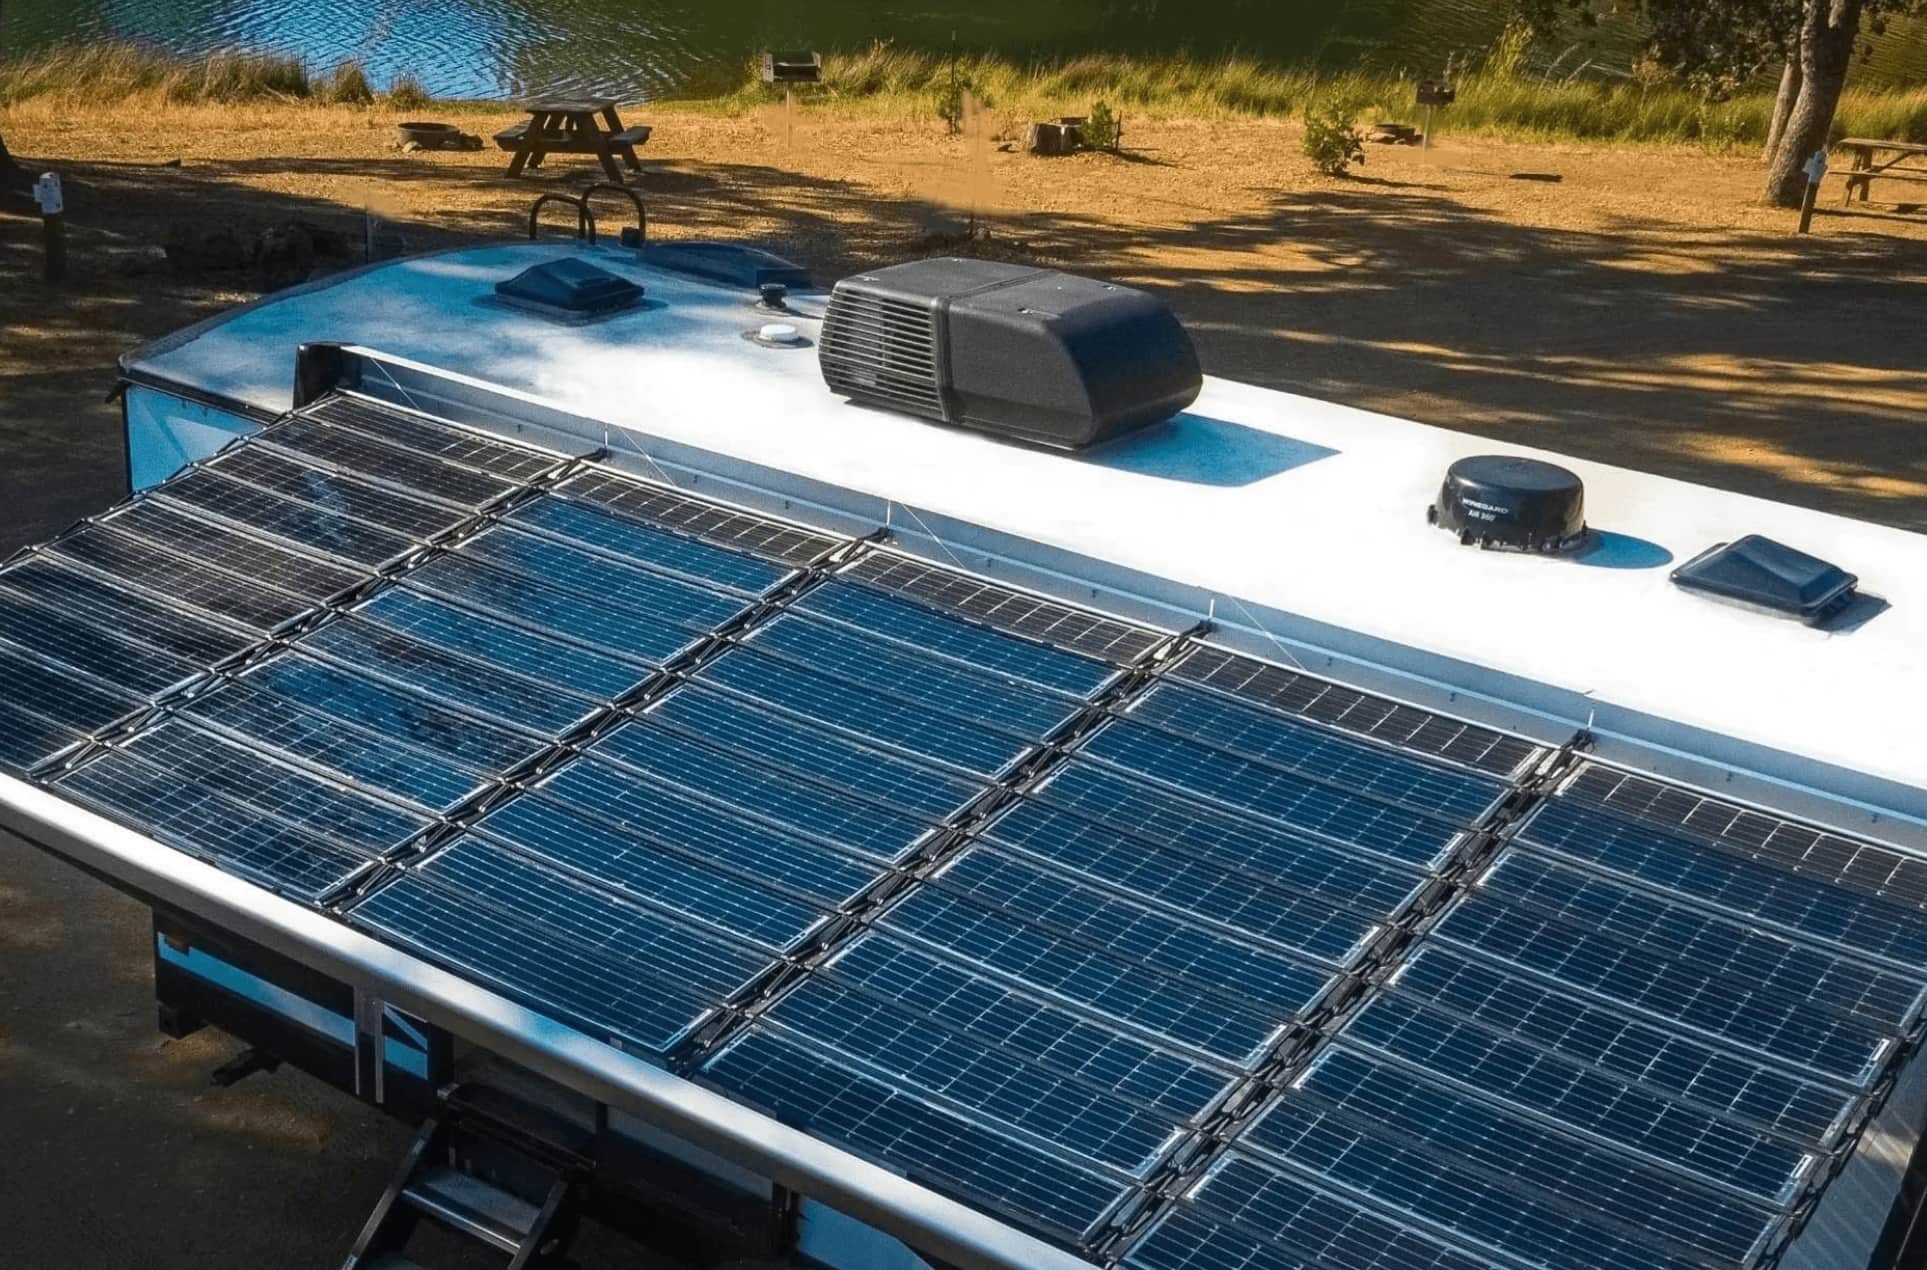
Step 2: Locate the RV Air Conditioner Unit
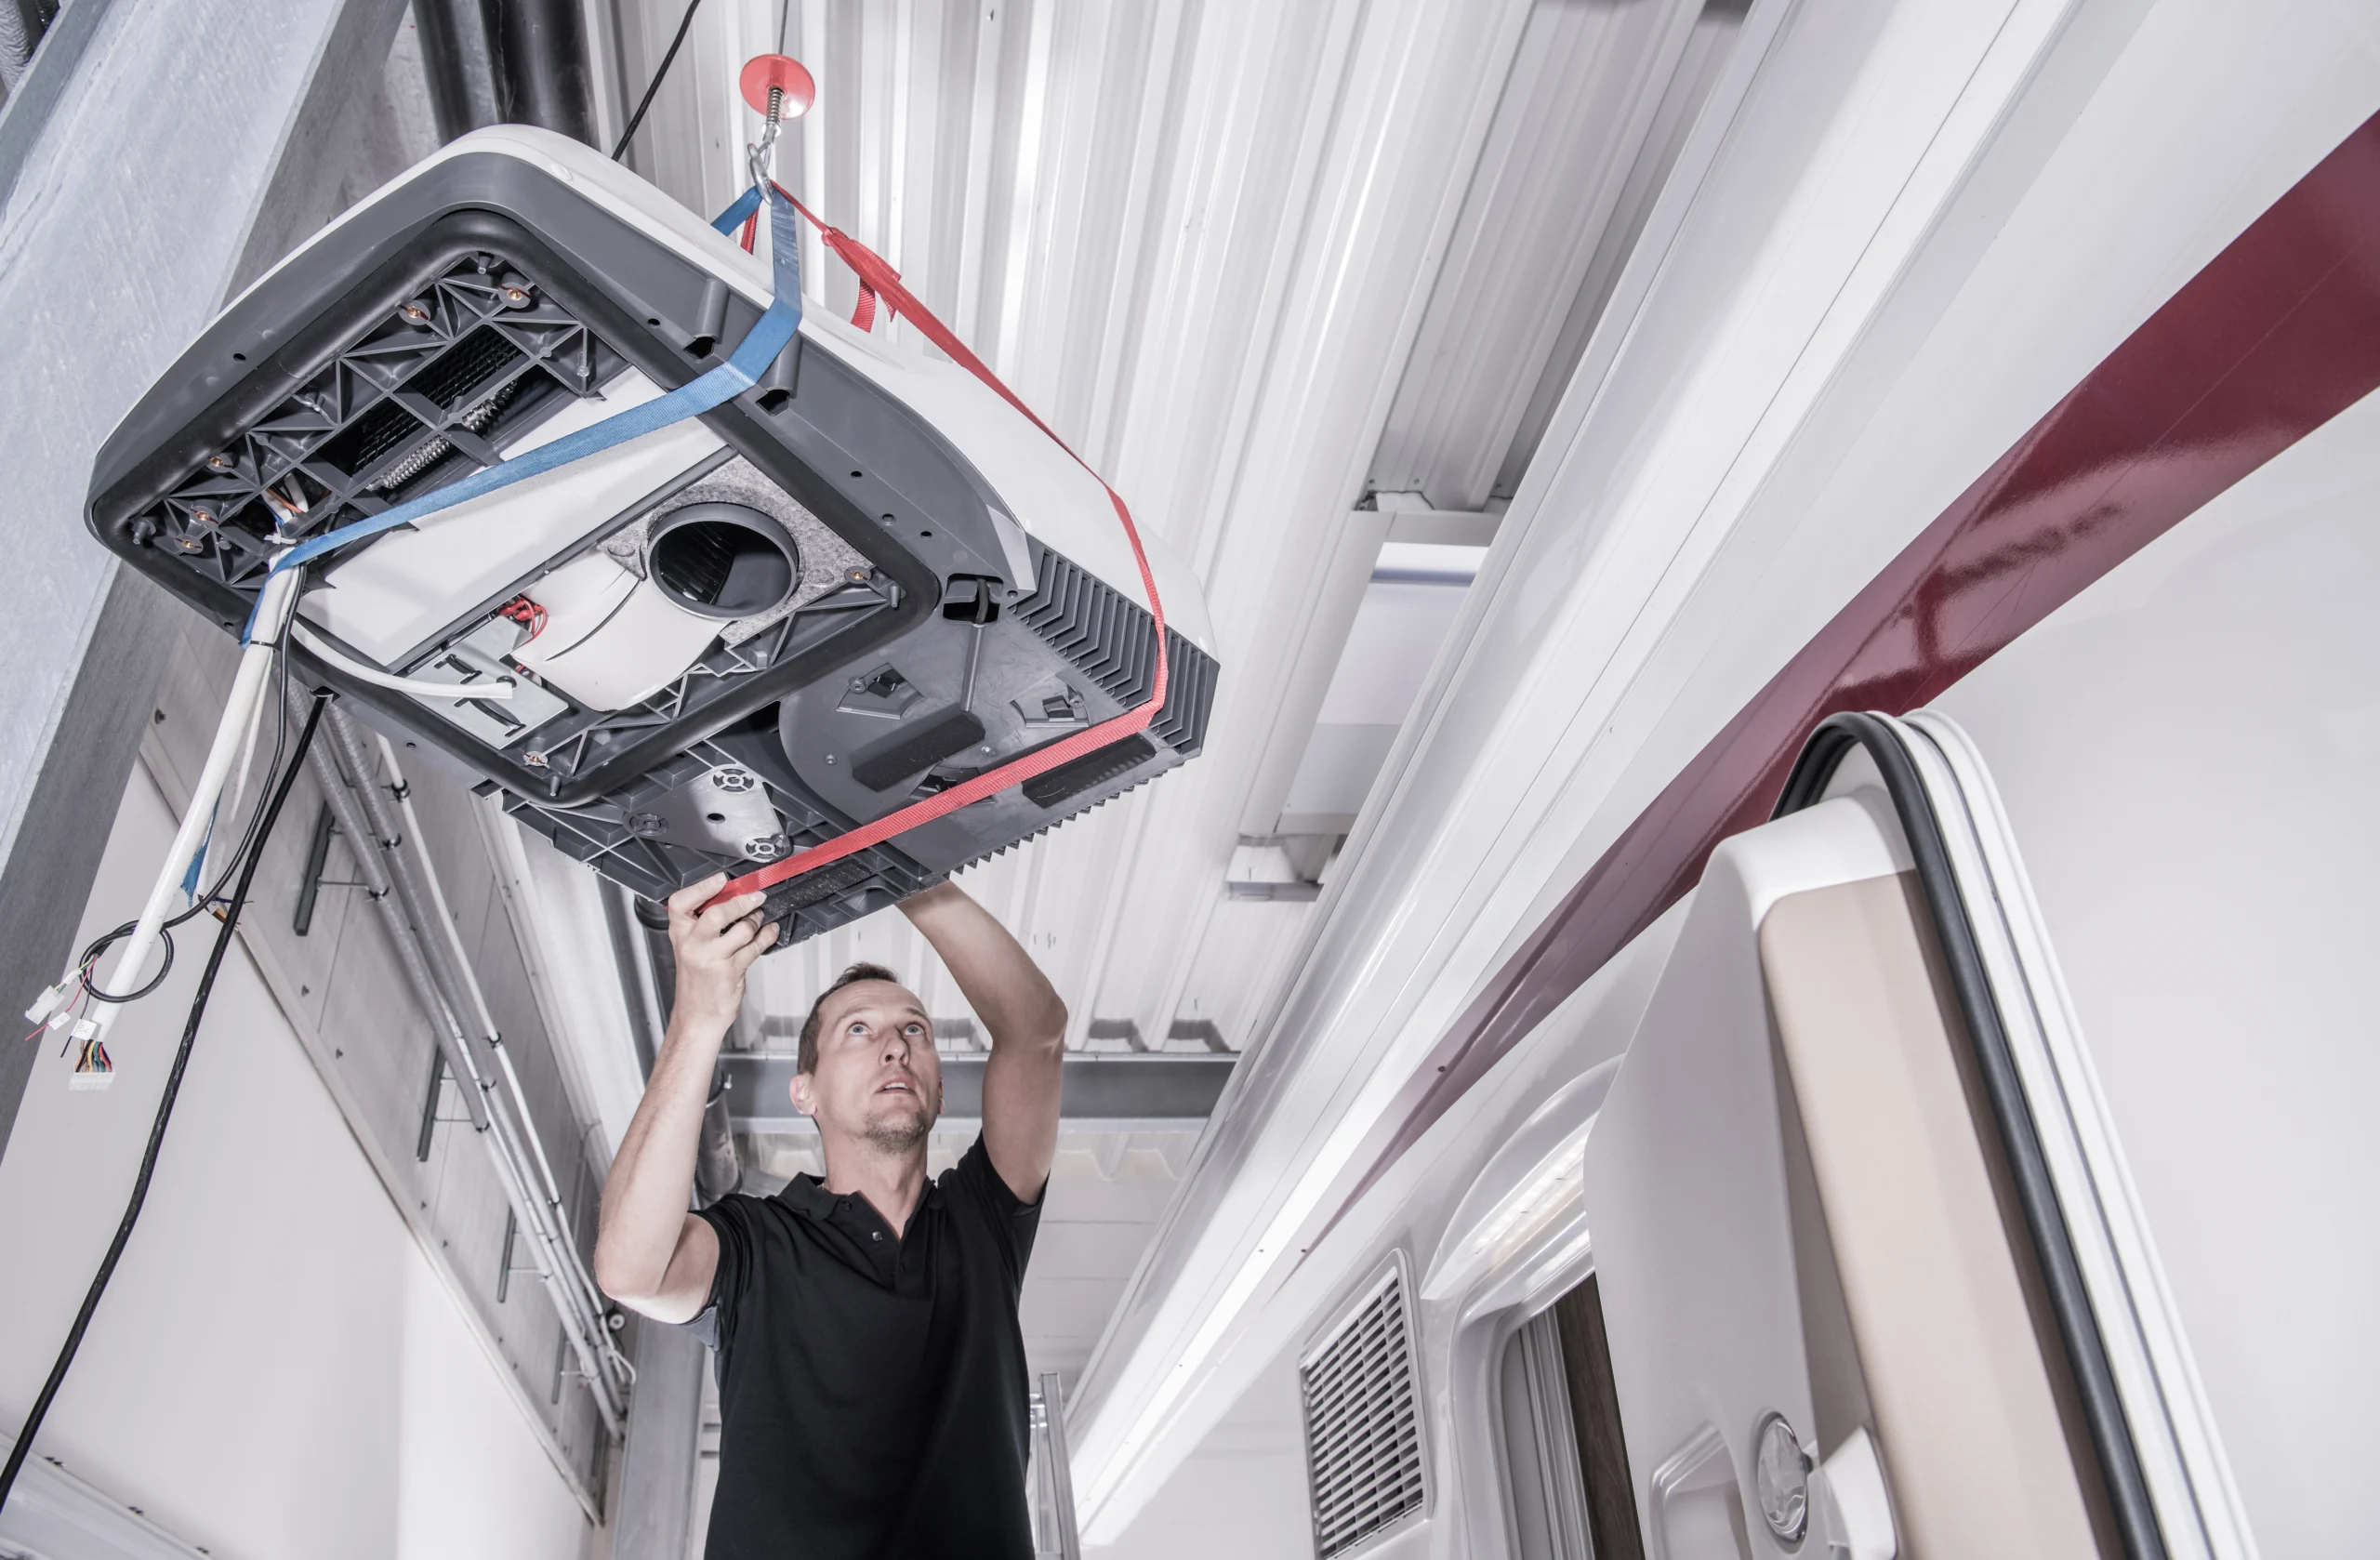
The next step in recharging your RV air conditioner is to locate the unit itself. In most RVs, the air conditioner unit is installed on the roof. Take a moment to familiarize yourself with the layout of your RV and find the exact location of the air conditioner.
Once you have located the air conditioner, you may need to remove the cover or access panel to gain full access to the unit. Use a screwdriver or wrench, depending on the type of fasteners used, to remove any screws or bolts that secure the cover in place. Set the cover aside in a safe place.
If your RV has a ducted air conditioning system, you may have additional ductwork in the interior of the vehicle. It’s important to ensure that all access points to the unit are open and easily accessible before proceeding.
Now that you have located and accessed the RV air conditioner, you can move on to the next step: turning off the power.
Step 3: Turn Off the Power
Before proceeding with any maintenance or recharging tasks, it’s crucial to turn off the power to the RV air conditioner. This will ensure your safety and protect the unit from any electrical damage during the process.
Locate the circuit breaker panel in your RV. It is typically located in a convenient and easily accessible area. Open the panel and locate the breaker that controls the air conditioner. Flip the switch to the “off” position to cut off power to the unit.
Alternatively, you can also disconnect the RV from its power source, whether it’s plugged into shore power or running on a generator. This will completely eliminate the risk of accidental power supply to the air conditioner while you work on it.
Make sure to double-check that the power to the air conditioner is completely shut off before proceeding to the next steps. Safety should always be a top priority when working with electrical equipment.
Now that you have turned off the power to the RV air conditioner, you can move on to the next step: removing the air filter.
Step 4: Remove the Air Filter
Now that the power is turned off, it’s time to remove the air filter from your RV air conditioner. The air filter is responsible for capturing dust, debris, and other airborne particles to ensure clean and healthy air circulation. Over time, the filter can become clogged with dirt, affecting the efficiency of the air conditioner.
Locate the air filter compartment on the air conditioner unit. It is usually located behind a small access panel. Use a screwdriver or simply lift a latch to open the panel and reveal the air filter. Take note of how the filter is positioned before removing it so you can easily reinstall it later.
Gently remove the air filter from its housing. If it’s a washable filter, rinse it with water and a mild detergent to remove dirt and debris. Allow the filter to dry completely before reinstalling it. If it’s a disposable filter, replace it with a new one. Ensure that the new filter is the correct size and type for your RV air conditioner model.
Inspect the air filter compartment for any dust or debris. Use a soft brush or a damp cloth to clean the compartment, removing any accumulated dirt. This will help ensure proper airflow and prevent any blockage that can affect the cooling efficiency of your RV air conditioner.
With the air filter removed and the compartment cleaned, you’re ready to move on to the next step: checking the condenser coils.
Read more: How To Recharge A Portable Air Conditioner
Step 5: Clean the Air Filter
Now that you have removed the air filter from your RV air conditioner, it’s important to give it a proper cleaning. Cleaning the air filter will help maintain the efficiency of your air conditioning system and ensure proper airflow.
If your air filter is washable, start by rinsing it under running water. Use a mild detergent to gently scrub away any accumulated dirt and debris. Rinse the filter thoroughly to ensure all the detergent is removed.
If the filter is heavily soiled, you can also soak it in a mixture of warm water and mild detergent for a few minutes before rinsing. Be sure to follow the manufacturer’s instructions for cleaning, as some filters require specific cleaning methods or solutions.
After cleaning, allow the air filter to air dry completely. Avoid installing a wet or damp filter, as it can lead to mold growth and reduced airflow. Once the filter is dry, inspect it for any damage or signs of wear. If the filter is damaged, it’s best to replace it with a new one.
While the filter is drying, you can move on to the next step: checking the condenser coils of your RV air conditioner.
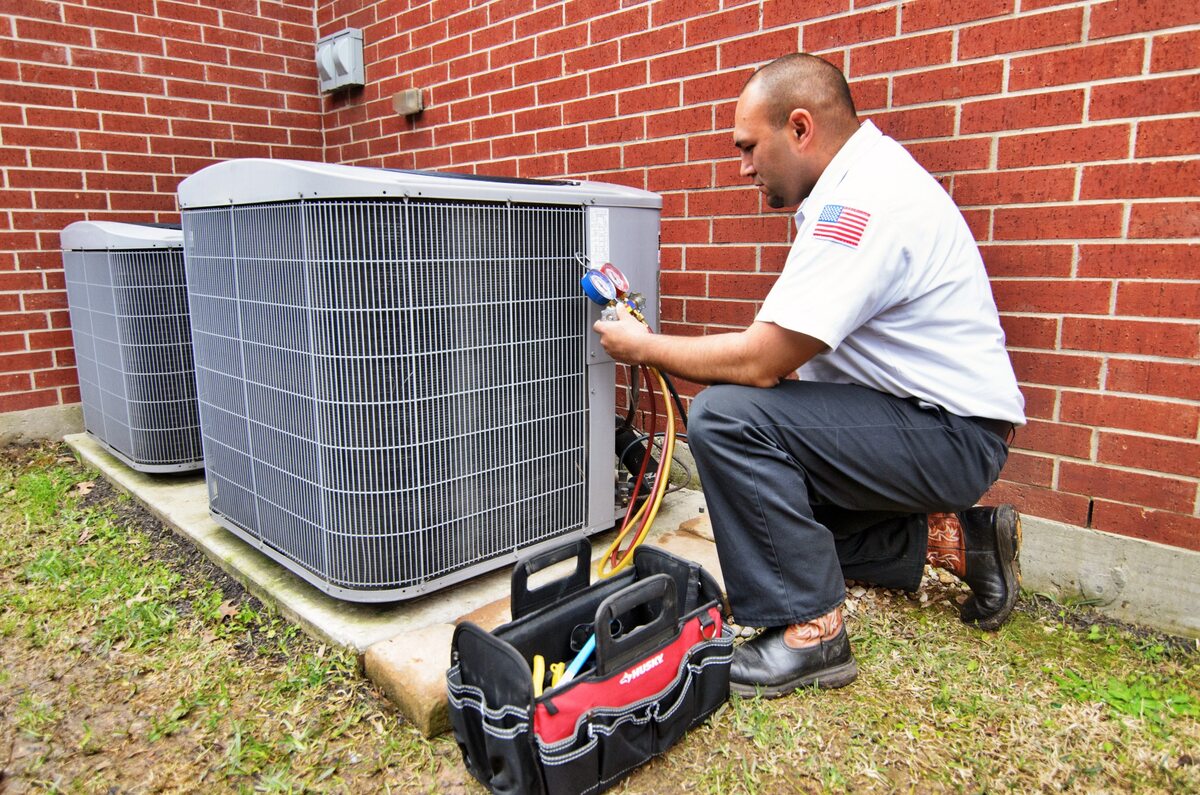
Step 6: Check the Condenser Coils
The condenser coils are an integral part of your RV air conditioner’s cooling system. Over time, these coils can become dirty and covered in debris, affecting the unit’s efficiency. Therefore, it’s important to check the condenser coils and clean them if necessary.
Locate the condenser coils, which are typically located on the exterior of the RV air conditioner unit. They are responsible for releasing heat from the refrigerant, allowing it to cool down and continue the cooling cycle. Inspect the coils for any visible dirt, dust, or debris.
If you notice a buildup of dirt, it’s essential to clean the condenser coils. You can use a soft brush or a coil cleaning brush to gently remove the dirt and debris. Be careful not to damage the fins of the coils while cleaning. You can also use compressed air to blow away any loose dirt or dust.
Pay extra attention to any stubborn or stuck-on dirt. In some cases, you may need to use a specialized coil cleaning solution to remove tough grime. Follow the manufacturer’s instructions for any coil cleaning products, as they may require specific usage guidelines.
Once the condenser coils are clean, take a moment to inspect the surrounding area. Remove any leaves, grass, or other debris that may have collected around the air conditioner unit. This will ensure proper airflow and prevent any blockages that could reduce the unit’s cooling efficiency.
With the condenser coils checked and cleaned, you’re ready to move on to the next step: inspecting the evaporator coils.
Make sure to clean the air filters and check for any leaks in the system before recharging the RV air conditioner. This will ensure optimal performance and prevent any potential issues.
Step 7: Inspect the Evaporator Coils
The evaporator coils play a crucial role in cooling the air inside your RV. These coils work in conjunction with the condenser coils and refrigerant to absorb heat from the inside air and transfer it outside. Over time, the evaporator coils can become dirty and affect the cooling efficiency of your RV air conditioner.
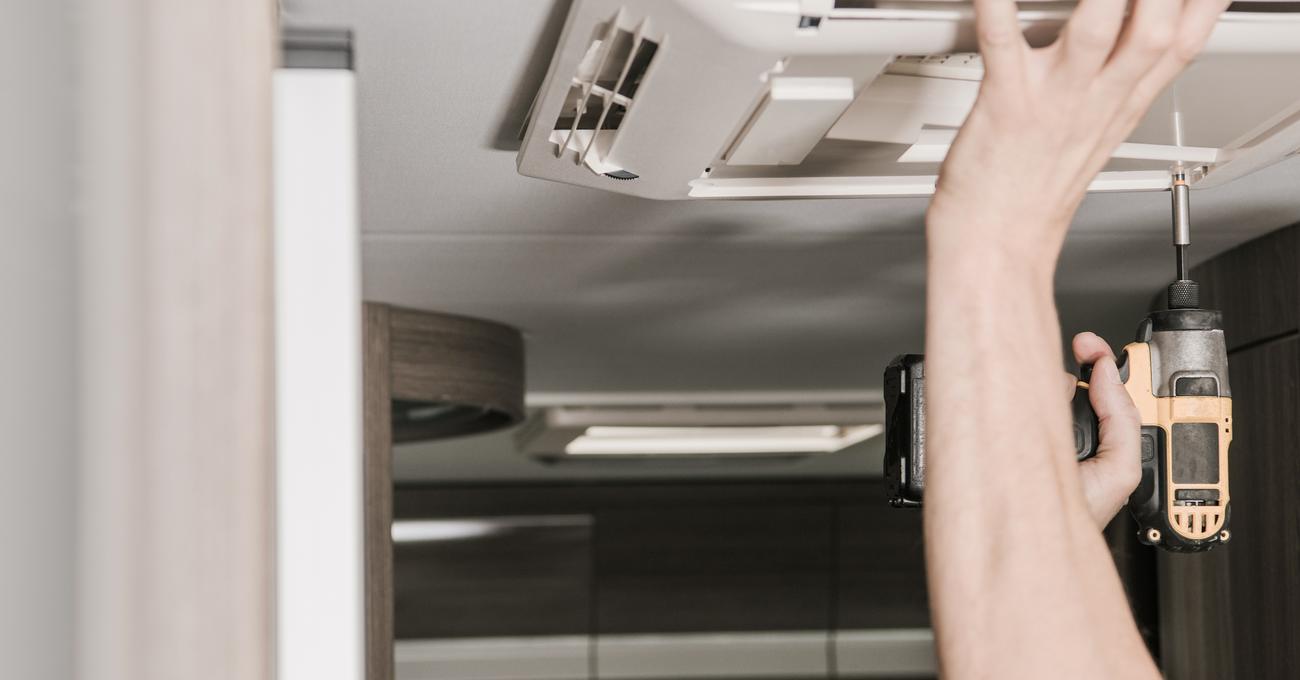
To inspect the evaporator coils, you will need to access the interior of the air conditioner unit. Refer to the manufacturer’s instructions or consult your RV’s owner’s manual for the specific steps to remove the necessary panels or covers.
Once you have access to the evaporator coils, visually inspect them for any signs of dirt, dust, or debris. These coils are typically located near the blower inside the air conditioner unit. Look for any buildup or blockage that may restrict airflow and reduce cooling efficiency.
If the evaporator coils appear dirty, it’s important to clean them to restore optimal performance. Using a soft brush or a coil cleaning brush, gently remove any dirt or debris from the coils. Be careful not to bend or damage the delicate fins of the coils while cleaning.
If the coils are heavily soiled, you may need to use a specialized coil cleaning solution to effectively remove the dirt. Follow the manufacturer’s instructions for the coil cleaning product and be sure to rinse the coils thoroughly after cleaning.
After cleaning the evaporator coils, take a moment to inspect the surrounding area for any signs of water leakage or moisture buildup. If you notice any leaks or excessive moisture, it may indicate a separate issue that requires further attention.
Once the evaporator coils are inspected and cleaned, it’s time to move on to the next step: cleaning the condenser and evaporator coils.
Step 8: Clean the Condenser and Evaporator Coils
Now that you have completed the individual inspections of the condenser and evaporator coils, it’s time to clean them to ensure optimal performance and efficiency of your RV air conditioner.
Start by preparing a cleaning solution. In a spray bottle, mix equal parts water and mild detergent. This solution will effectively remove any remaining dirt, debris, or grime from the coils.
Begin by applying the cleaning solution to the condenser coils. Spray the solution evenly over the coils, making sure to coat all surfaces. Allow the solution to sit for a few minutes to loosen any stubborn dirt or debris.
Next, use a soft brush or a coil cleaning brush to gently scrub the coils. Be careful not to apply too much pressure or bend the fins of the coils. Work in a back-and-forth motion, focusing on areas with visible dirt or buildup.
After cleaning the condenser coils, repeat the process for the evaporator coils. Apply the cleaning solution and let it sit for a few minutes. Use the brush to gently scrub the coils, paying attention to any areas that may be heavily soiled.
Once you have thoroughly cleaned both sets of coils, rinse them with clean water. This will ensure that all the cleaning solution and loosened dirt are completely removed.
After rinsing, gently pat the coils dry with a towel or allow them to air dry before proceeding to the next step. Ensure that both the condenser and evaporator coils are completely dry before reassembling the air conditioner.
With the condenser and evaporator coils now cleaned, you’re ready to move on to the next step: reinstalling the air filter.
Read more: How To Clean An RV Air Conditioner
Step 9: Reinstall the Air Filter
Now that you have cleaned the condenser and evaporator coils of your RV air conditioner, it’s time to reinstall the air filter. The air filter plays a crucial role in trapping dust, debris, and other particles, ensuring clean and healthy air circulation inside your RV.
Begin by taking the air filter, whether it is a washable or disposable filter, and position it correctly in the air filter compartment. Refer to the markings or arrows on the filter and make sure it aligns with the designated slots or grooves.
Ensure that the air filter fits snugly and securely in its housing. This will prevent any air leaks and maintain proper airflow through the air conditioner unit.
If you are using a washable air filter, double-check that it is completely dry before reinstalling it. Installing a damp filter can lead to mold growth and reduce the efficiency of the air conditioner.
If you are using a disposable air filter, make sure it is the correct size and type for your RV air conditioner model. Incorrectly sized or incompatible filters can lead to reduced airflow and limited cooling performance.
Once the air filter is properly installed, inspect the compartment for any dirt, dust, or debris. Use a soft brush or a damp cloth to clean the compartment, ensuring it is clear of any blockages that can affect the airflow. A clean and unobstructed air filter compartment will help maintain the efficiency of your RV air conditioner.
Now that the air filter is back in its place, you can proceed to the next step: connecting the AC power and preparing to test the cooling efficiency of your RV air conditioner.
Step 10: Connect the AC Power
With the air filter reinstalled in your RV air conditioner, it’s time to connect the AC power and prepare for testing the cooling efficiency. This step involves restoring power to the unit and ensuring that it is properly connected.
If you had previously disconnected the RV from the power source, such as shore power or a generator, connect it back to the appropriate power supply. Ensure that the power source is stable and functioning correctly.
If you had turned off the circuit breaker that controls the air conditioner, locate the breaker panel and flip the switch back to the “on” position to restore power. Alternatively, follow the specific instructions for turning on the air conditioning system in your RV’s owner’s manual.
Once the power is restored, you should hear the air conditioner unit start up. Listen for any unusual sounds, such as grinding or rattling, which may indicate a problem that needs further investigation.
Allow the air conditioner to run for a few minutes to ensure that it is functioning properly. Check for cool airflow coming out of the vents in your RV. You should feel a noticeable difference in the temperature inside your vehicle as the air conditioner works to cool the space.
If you notice any issues, such as weak airflow or lukewarm air, it may indicate a problem with the refrigerant levels or other components of the air conditioner. In such cases, it may be necessary to consult a professional for further inspection and repairs.
Now that the AC power is connected and the air conditioner is running, you can proceed to the final step: testing the cooling efficiency of your RV air conditioner.
Step 11: Test the Cooling Efficiency
After connecting the AC power and allowing your RV air conditioner to run for a few minutes, it’s time to put its cooling efficiency to the test. This step will help you determine if the recharge and maintenance tasks have successfully restored the unit’s performance.
Start by checking the temperature inside your RV before turning on the air conditioner. Note down the initial temperature using a thermometer or a temperature gauge. This will serve as a baseline for comparison.
Once you have recorded the initial temperature, set your thermostat to the desired cooling temperature. Depending on the model of your RV air conditioner, you may have different temperature control options.
Monitor the air conditioner’s performance as it works to cool the space. Pay attention to the airflow, ensuring that it is strong and consistent. The air coming out of the vents should be cool and refreshing, providing you with a comfortable environment inside your RV.
Allow the air conditioner to run for at least 10 to 15 minutes to give it enough time to reach its full cooling capacity. During this time, you can check the temperature inside your RV periodically using the thermometer or temperature gauge.
Compare the current temperature with the baseline temperature you recorded earlier. If there is a significant drop in temperature, it indicates that the RV air conditioner is efficiently cooling the space. However, if there is only a minor change in temperature or no noticeable difference at all, it may indicate an underlying issue that requires further attention.
If you encounter any cooling issues or problems during the testing process, it’s recommended to consult a professional HVAC technician who specializes in RV air conditioner repairs. They will have the expertise and knowledge to diagnose and resolve any complex issues that may be affecting the cooling efficiency of your RV air conditioner.
By testing the cooling efficiency, you can ensure that your RV air conditioner is functioning optimally and providing you with the desired level of comfort during your travels.
Congratulations! You have successfully completed the process of recharging and maintaining your RV air conditioner. Regular maintenance and upkeep of your air conditioner will help prolong its lifespan and ensure a cool and comfortable environment inside your RV.
Safe travels!
Conclusion
Recharging and maintaining your RV air conditioner is essential to ensure a cool and comfortable environment during your travels. Following the steps outlined in this comprehensive guide, you have gained the knowledge and skills to keep your air conditioner in optimal condition.
By gathering the necessary tools, locating the air conditioner unit, and turning off the power, you set the foundation for a safe and effective recharging process. Removing and cleaning the air filter, as well as inspecting and cleaning the condenser and evaporator coils, help improve the overall efficiency of the unit.
Reinstalling the air filter and reconnecting the AC power allow you to test the cooling efficiency of your RV air conditioner. By monitoring the airflow and temperature change, you can determine if the recharge and maintenance tasks have been successful.
Regular maintenance, such as cleaning the air filter and coils, should be performed on a regular basis to keep your RV air conditioner running smoothly. Additionally, it’s important to consult a professional if you encounter any major issues or require more extensive repairs.
Remember, maintaining your RV air conditioner not only enhances your comfort but also extends its lifespan. By following the steps outlined in this guide, you can ensure that your air conditioner provides reliable cooling performance on all your adventures.
Enjoy your travels with a cool and comfortable RV air conditioner!
Frequently Asked Questions about How To Recharge An RV Air Conditioner
Was this page helpful?
At Storables.com, we guarantee accurate and reliable information. Our content, validated by Expert Board Contributors, is crafted following stringent Editorial Policies. We're committed to providing you with well-researched, expert-backed insights for all your informational needs.