Home>Home Maintenance>How To Clean A Dometic RV Air Conditioner

Home Maintenance
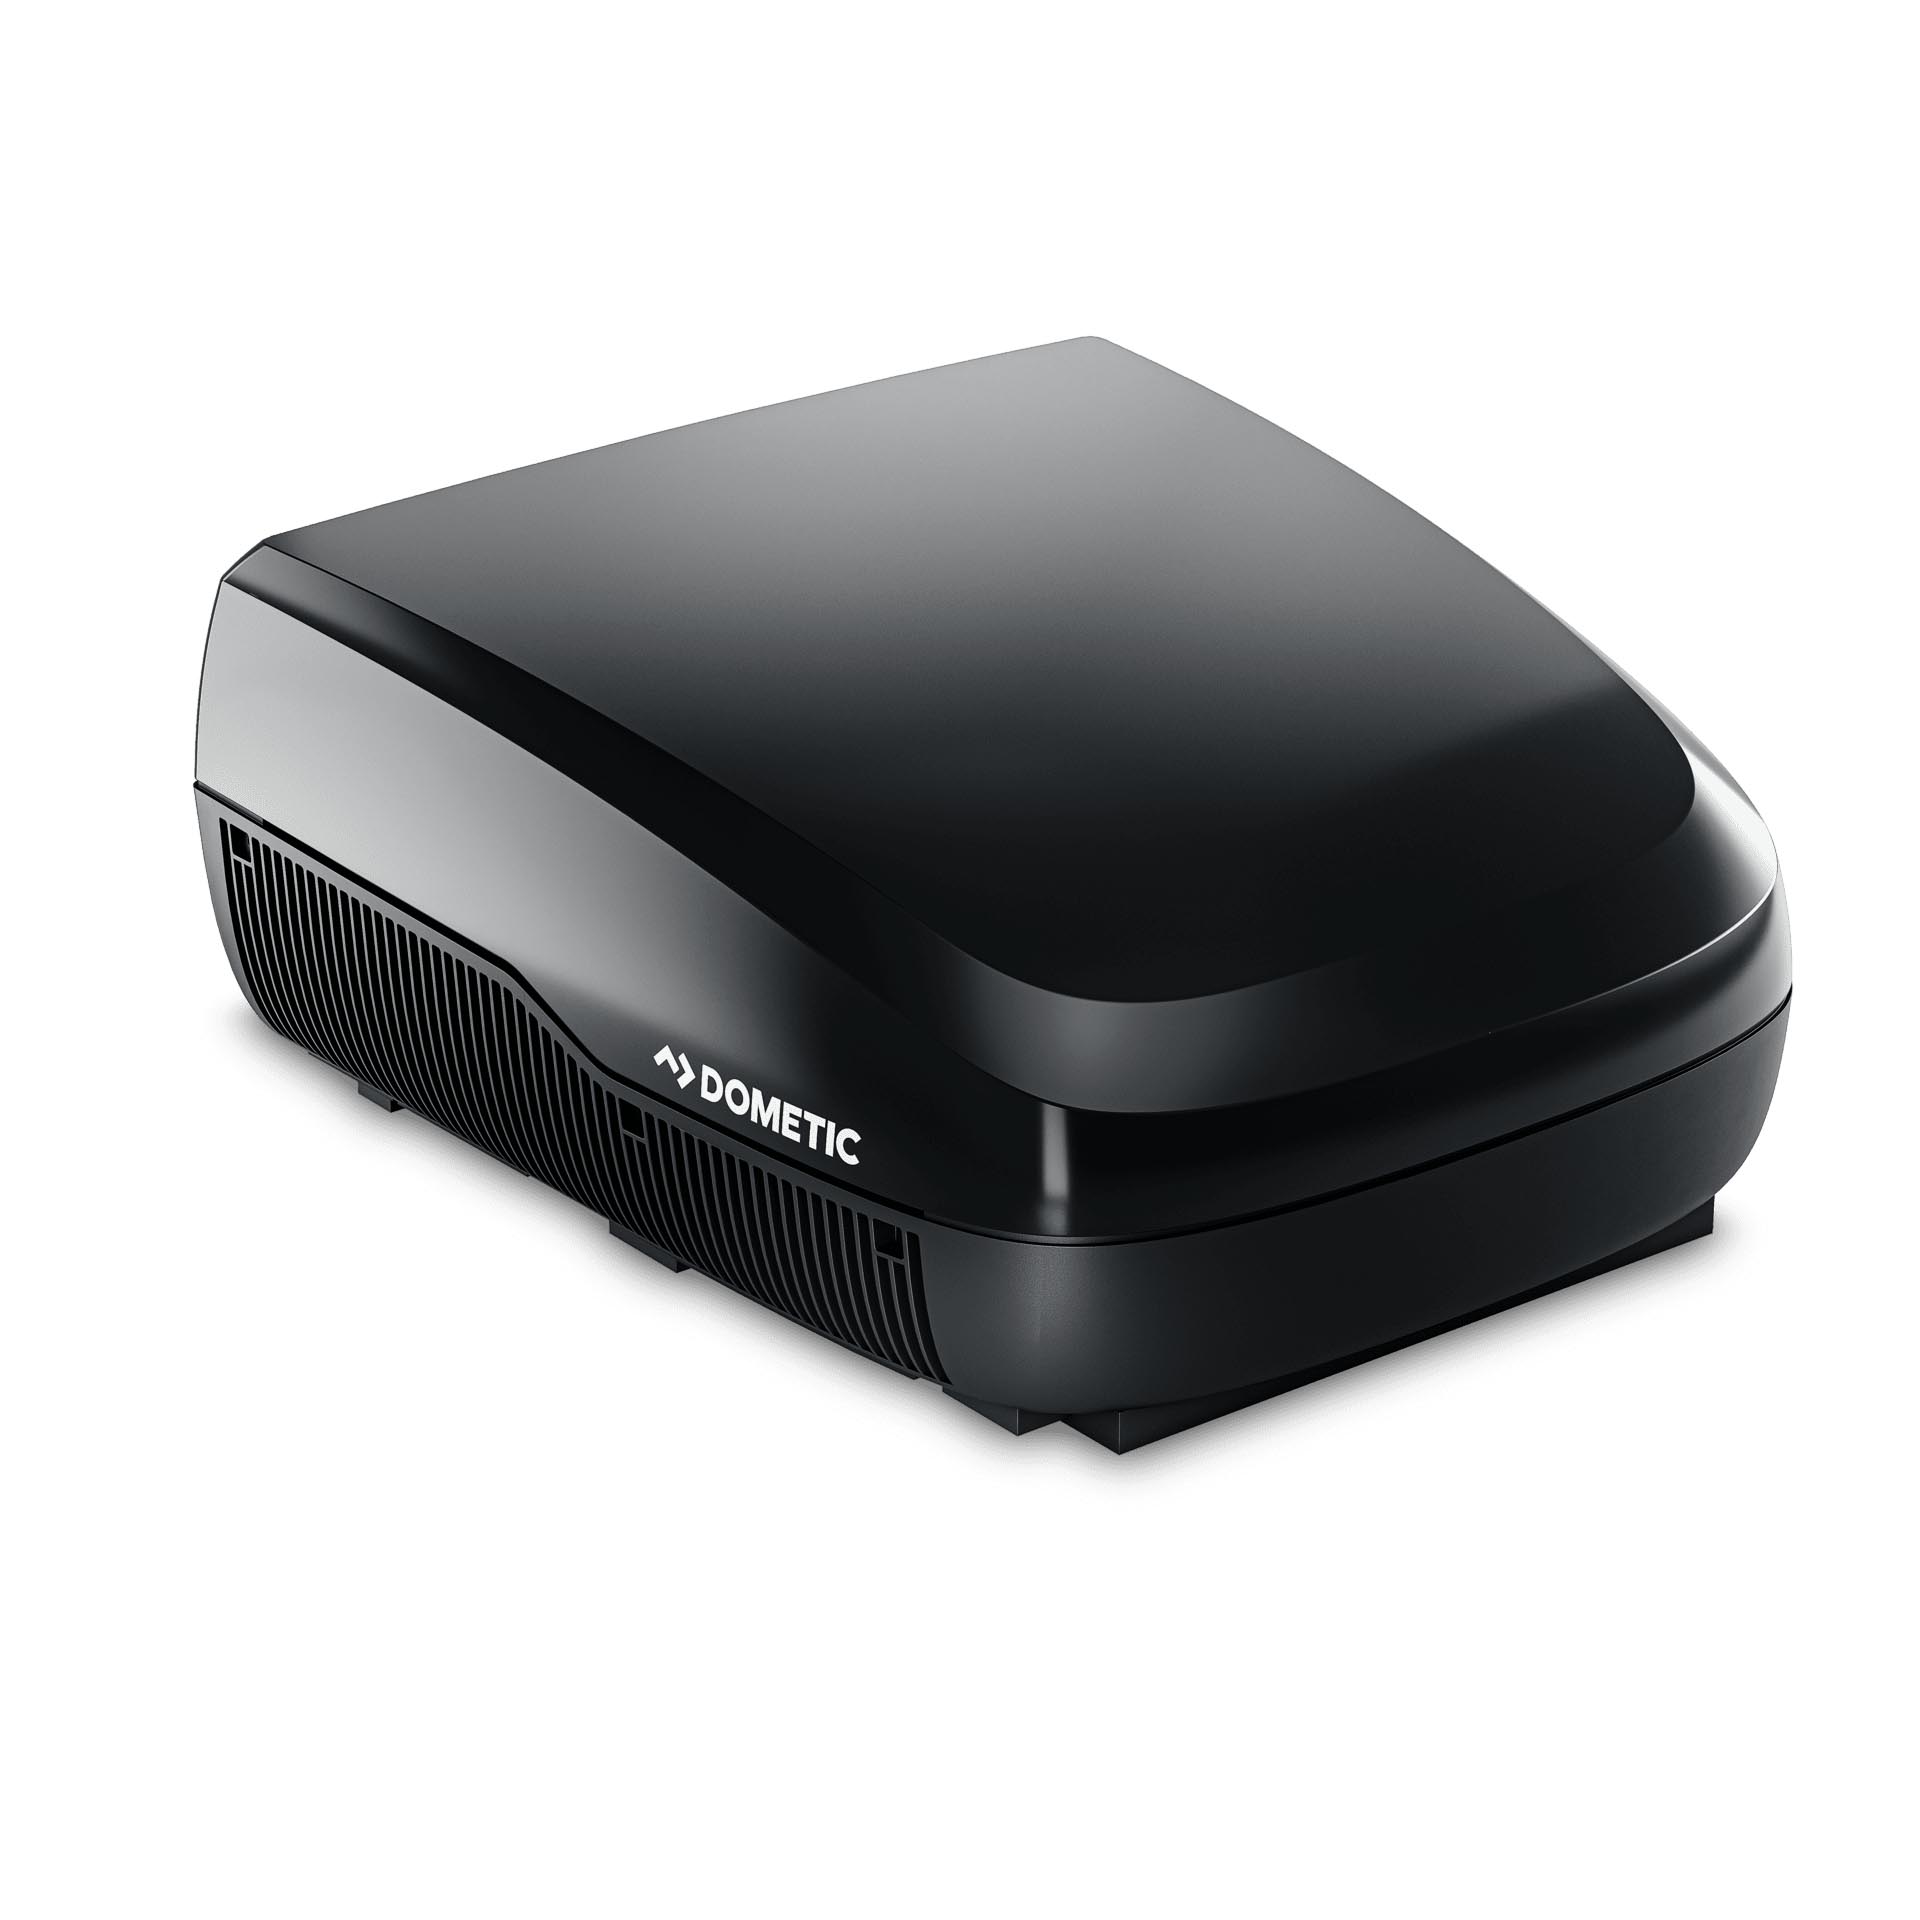
How To Clean A Dometic RV Air Conditioner
Modified: March 7, 2024
Learn the best techniques for cleaning your Dometic RV air conditioner and maintaining optimal home comfort. Impress visitors with clean, efficient cooling.
(Many of the links in this article redirect to a specific reviewed product. Your purchase of these products through affiliate links helps to generate commission for Storables.com, at no extra cost. Learn more)
Introduction
Welcome to our comprehensive guide on how to clean a Dometic RV air conditioner. Your RV air conditioner plays a crucial role in making your camping trips comfortable, especially during hot summer days. To keep it running efficiently and avoid potential problems, regular maintenance and cleaning are essential.
In this article, we will walk you through the step-by-step process of cleaning your Dometic RV air conditioner. By following these instructions, you can ensure that your unit functions optimally and maintains a high level of performance in cooling your RV.
Before we dive into the cleaning process, it’s important to note that safety should always be a top priority. Make sure to read and follow the manufacturer’s instructions and take necessary precautions to protect yourself and prevent any damage to your unit.
So, let’s get started cleaning your Dometic RV air conditioner!
Key Takeaways:
- Regular maintenance and cleaning of your Dometic RV air conditioner, including cleaning the air filter and condenser coils, ensures optimal performance and extends the unit’s lifespan, providing cool comfort during camping trips.
- Prioritize safety by following precautions, such as turning off the power and wearing protective gear, when cleaning your Dometic RV air conditioner. Regular maintenance can improve energy efficiency and save on utility bills.
Read more: How To Reset A Dometic RV Air Conditioner
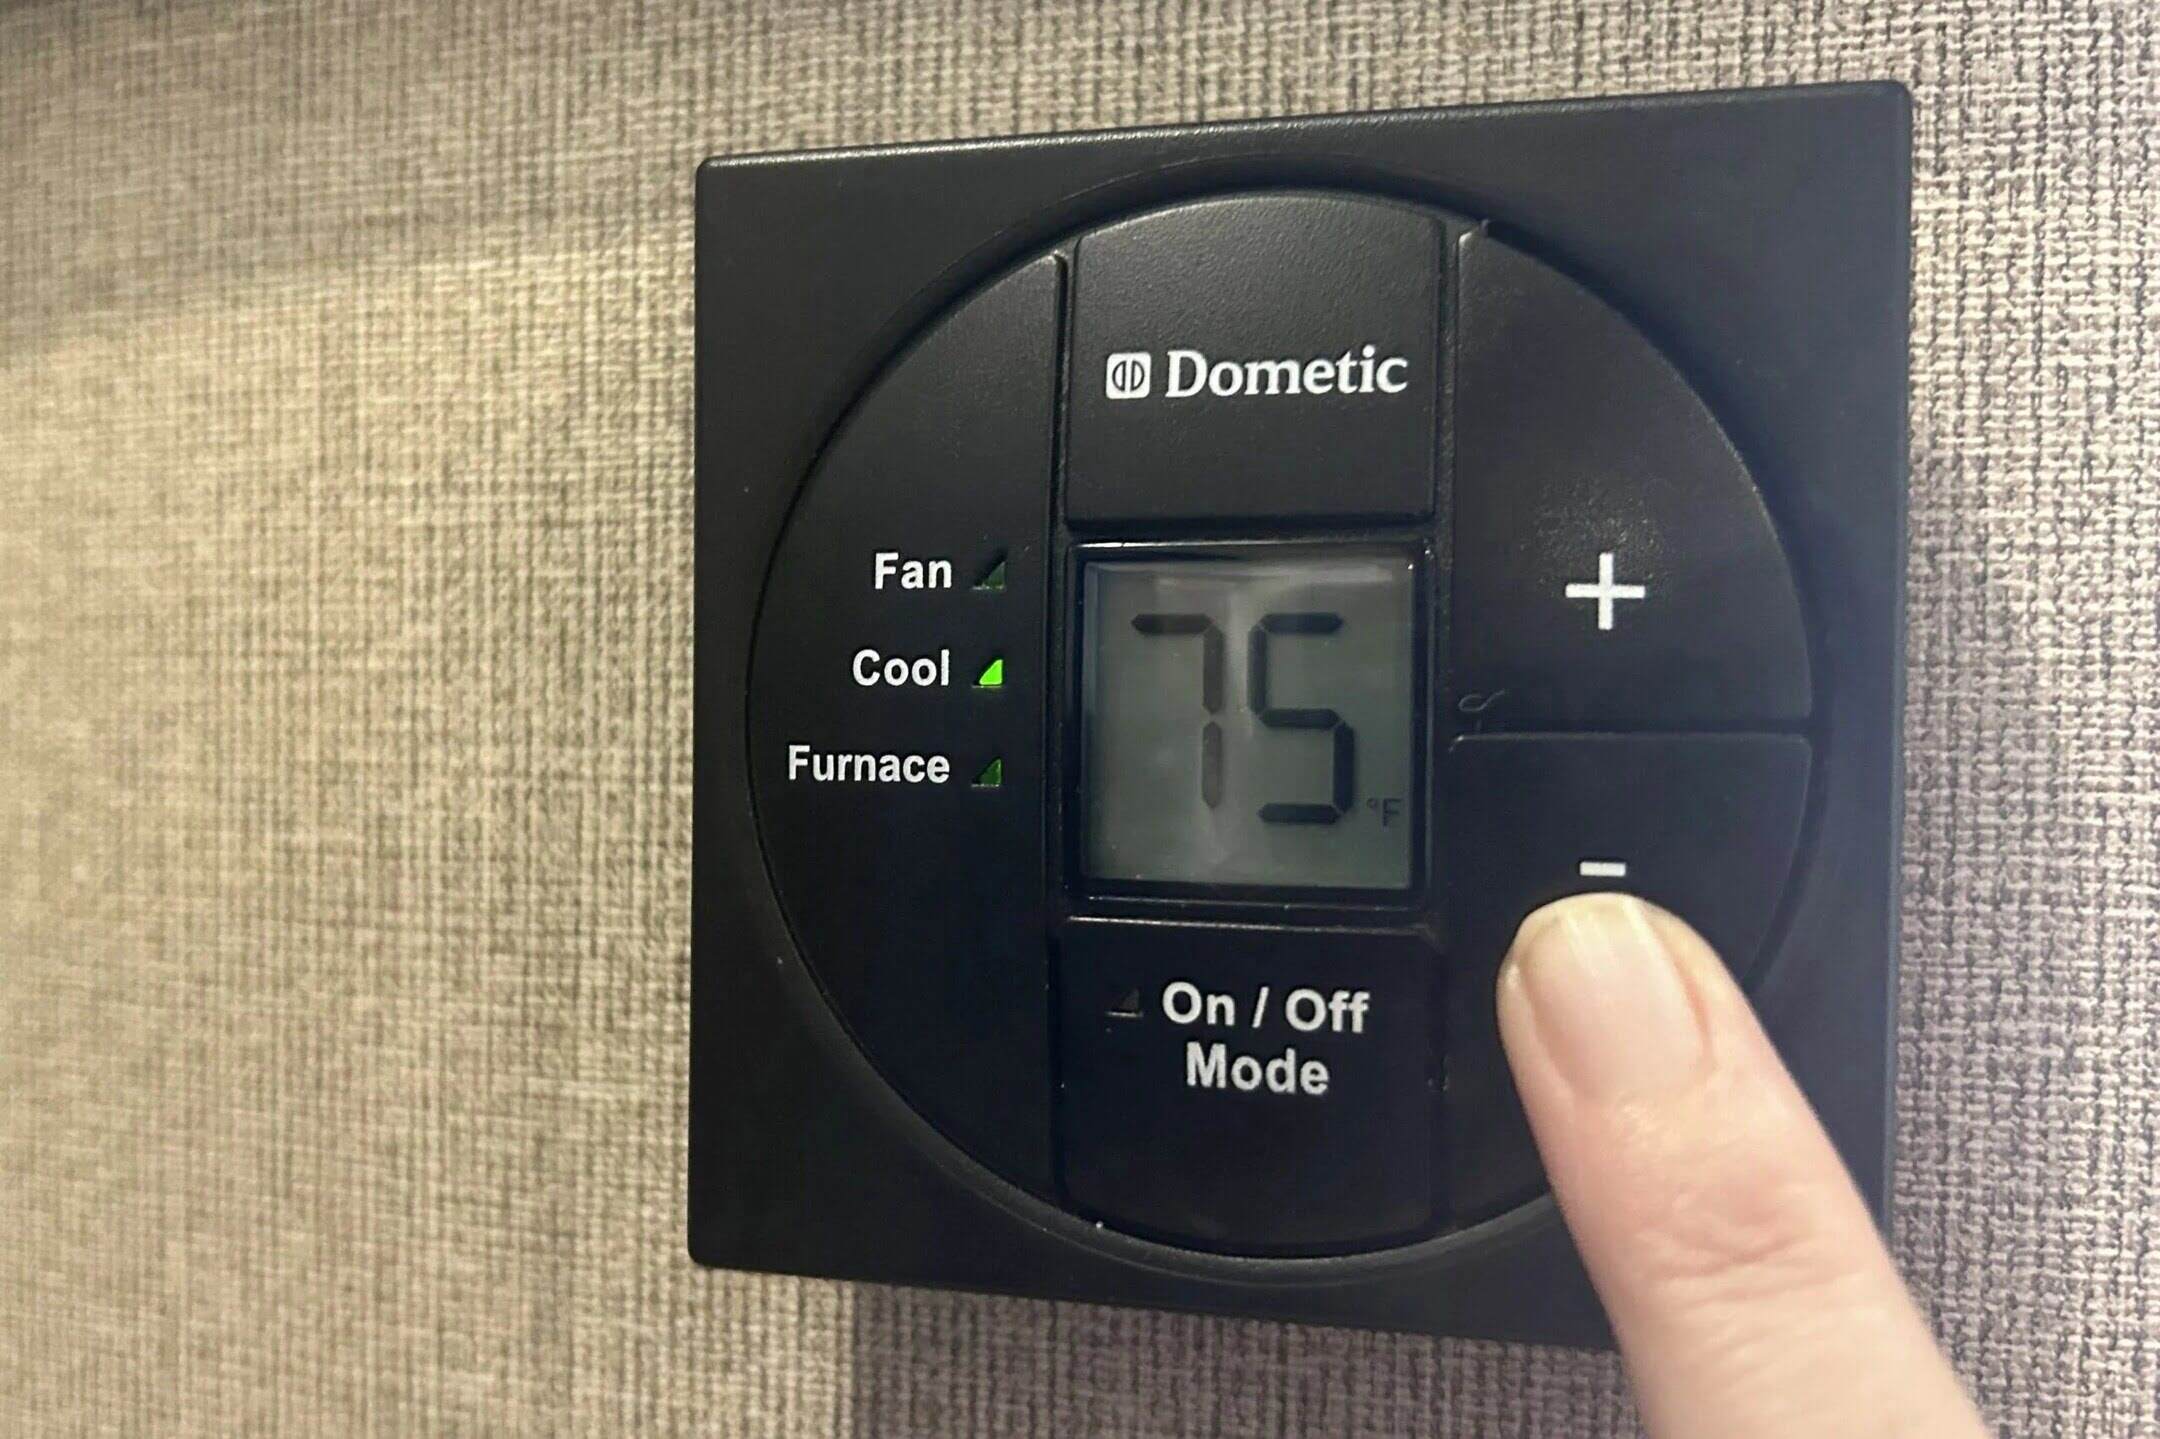
Safety Precautions
Before you begin cleaning your Dometic RV air conditioner, there are a few important safety precautions to keep in mind:
- Turn off the power: Before starting any maintenance or cleaning tasks, ensure that the power to the air conditioner is completely turned off. This will prevent any accidental electrical shocks or injuries.
- Wear protective gear: Cleaning an air conditioner involves handling potentially dirty or dusty components. It is recommended to wear gloves, safety glasses, and a face mask to protect yourself from allergens, mold, or other harmful particles.
- Use a stable ladder: If you need to access the top of your RV to clean the air conditioner, make sure to use a stable and secure ladder. This will help prevent falls and injuries while you are working at heights.
- Be cautious of sharp edges: The air conditioner unit may have sharp edges or corners. Take care to avoid getting cut or injured during the cleaning process.
- Follow manufacturer’s instructions: Every air conditioner model may have specific cleaning instructions provided by the manufacturer. It’s important to read and follow these instructions to ensure safe and effective cleaning.
- Avoid using harsh chemicals: While cleaning, avoid using harsh chemicals or cleaning agents that could potentially damage your air conditioner. Stick to mild soaps or specially formulated coil cleaners recommended by the manufacturer.
By following these safety precautions, you can ensure a smooth and risk-free cleaning process for your Dometic RV air conditioner.
Step 1: Turn off the Power
Before you start cleaning your Dometic RV air conditioner, it’s essential to turn off the power to avoid any potential accidents or damage. Here’s how you can do it:
- Locate the circuit breaker: The circuit breaker for your air conditioner is typically located in your RV’s electrical panel. Consult your RV’s owner’s manual or look for a labeled breaker switch specifically for the air conditioner.
- Switch off the circuit breaker: Once you find the breaker switch, flip it to the “off” position. This will cut off power supply to the air conditioner unit, ensuring that it is completely de-energized.
- Double-check the power supply: To be certain that no power is flowing to the air conditioner, test it by turning on the fan or temperature controls. If it doesn’t turn on, you can proceed with confidence that the power is off.
It’s important to note that some RVs may have an additional power switch on the air conditioner unit itself. If this is the case, make sure to switch off that power switch as well.
By following this step, you can ensure your safety and prevent any risk of electrical shock or damage to the air conditioner unit during the cleaning process.
Step 2: Remove the Air Filter
Once you have safely turned off the power to your Dometic RV air conditioner, the next step is to remove the air filter. The air filter plays a critical role in trapping dust, dirt, and other airborne particles, ensuring that the air circulated by the unit is clean. Here’s how you can remove the air filter:
- Locate the air filter access panel: Depending on the model and design of your Dometic air conditioner, the air filter access panel is usually located on the interior side of the unit, near the ceiling of your RV.
- Open the access panel: Gently remove the access panel by undoing any screws or clips holding it in place. Carefully set aside the screws or clips in a safe place to avoid misplacing them.
- Remove the air filter: Take out the air filter by sliding it out of its slot. It may be held in place by clips or tabs. Be gentle to avoid damaging the filter or the unit.
- Inspect the air filter: Take a moment to inspect the air filter for any visible dirt, dust, or debris. If the filter appears extremely dirty or clogged, it may need replacement rather than just cleaning.
- Note the filter type and size: Before cleaning or replacing the air filter, make a note of its type (such as foam, pleated, or washable) and its size. This information will be helpful when purchasing a new filter or cleaning it later on.
With the air filter removed, you’re now ready to move on to the next step: cleaning the air filter to restore its efficiency and improve air quality.
Step 3: Clean the Air Filter
After removing the air filter from your Dometic RV air conditioner, it’s time to clean it thoroughly. Cleaning the air filter is crucial to ensure optimal performance and proper airflow. Follow these steps to clean the air filter:
- Inspect the filter: Before cleaning, take a close look at the air filter. If it is heavily covered in dirt, dust, or debris, it may be best to replace it with a new one. Otherwise, proceed with cleaning.
- Use a vacuum cleaner: Start by using a vacuum cleaner with a hose attachment to remove loose dust and debris from the air filter. Gently run the vacuum along both sides of the filter to capture any accumulated particles.
- Wash the filter: If your air filter is washable, fill a sink or basin with warm water and add a mild detergent. Submerge the filter in the soapy water and gently agitate it to dislodge any remaining dirt or debris.
- Rinse thoroughly: After washing, rinse the filter under running water to remove any soap residue. Avoid using hot water, as it can potentially damage the filter material. Ensure that all traces of soap are thoroughly rinsed away.
- Dry the filter: Shake off any excess water from the air filter and allow it to air dry completely before reinstalling it. Avoid using excessive heat or direct sunlight to speed up the drying process, as this can also cause damage to the filter.
- Inspect for damage: While the filter is drying, take a moment to inspect it for any tears, holes, or signs of deterioration. If the filter is damaged, it’s best to replace it with a new one to maintain the optimal performance of your air conditioner.
Once the air filter is thoroughly cleaned and dry, you’re ready to move on to the next step: cleaning the condenser coils to improve the overall efficiency of your Dometic RV air conditioner.
Read more: How To Clean An RV Air Conditioner
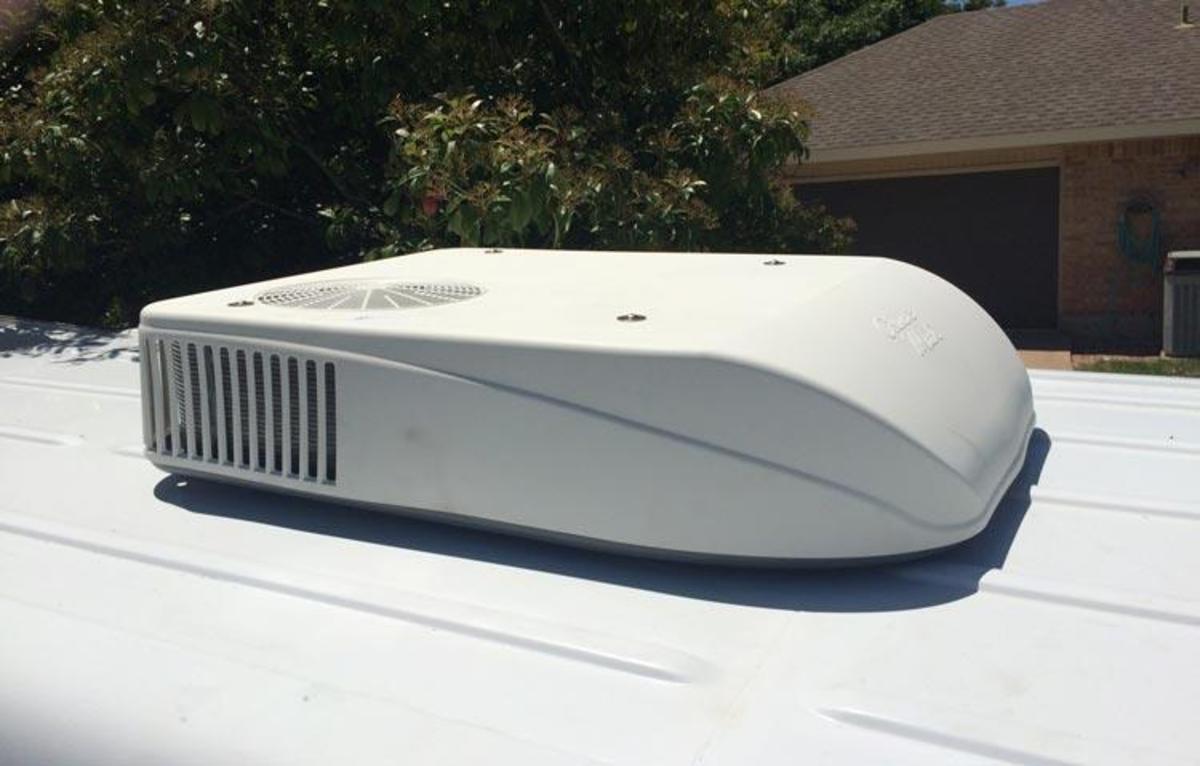
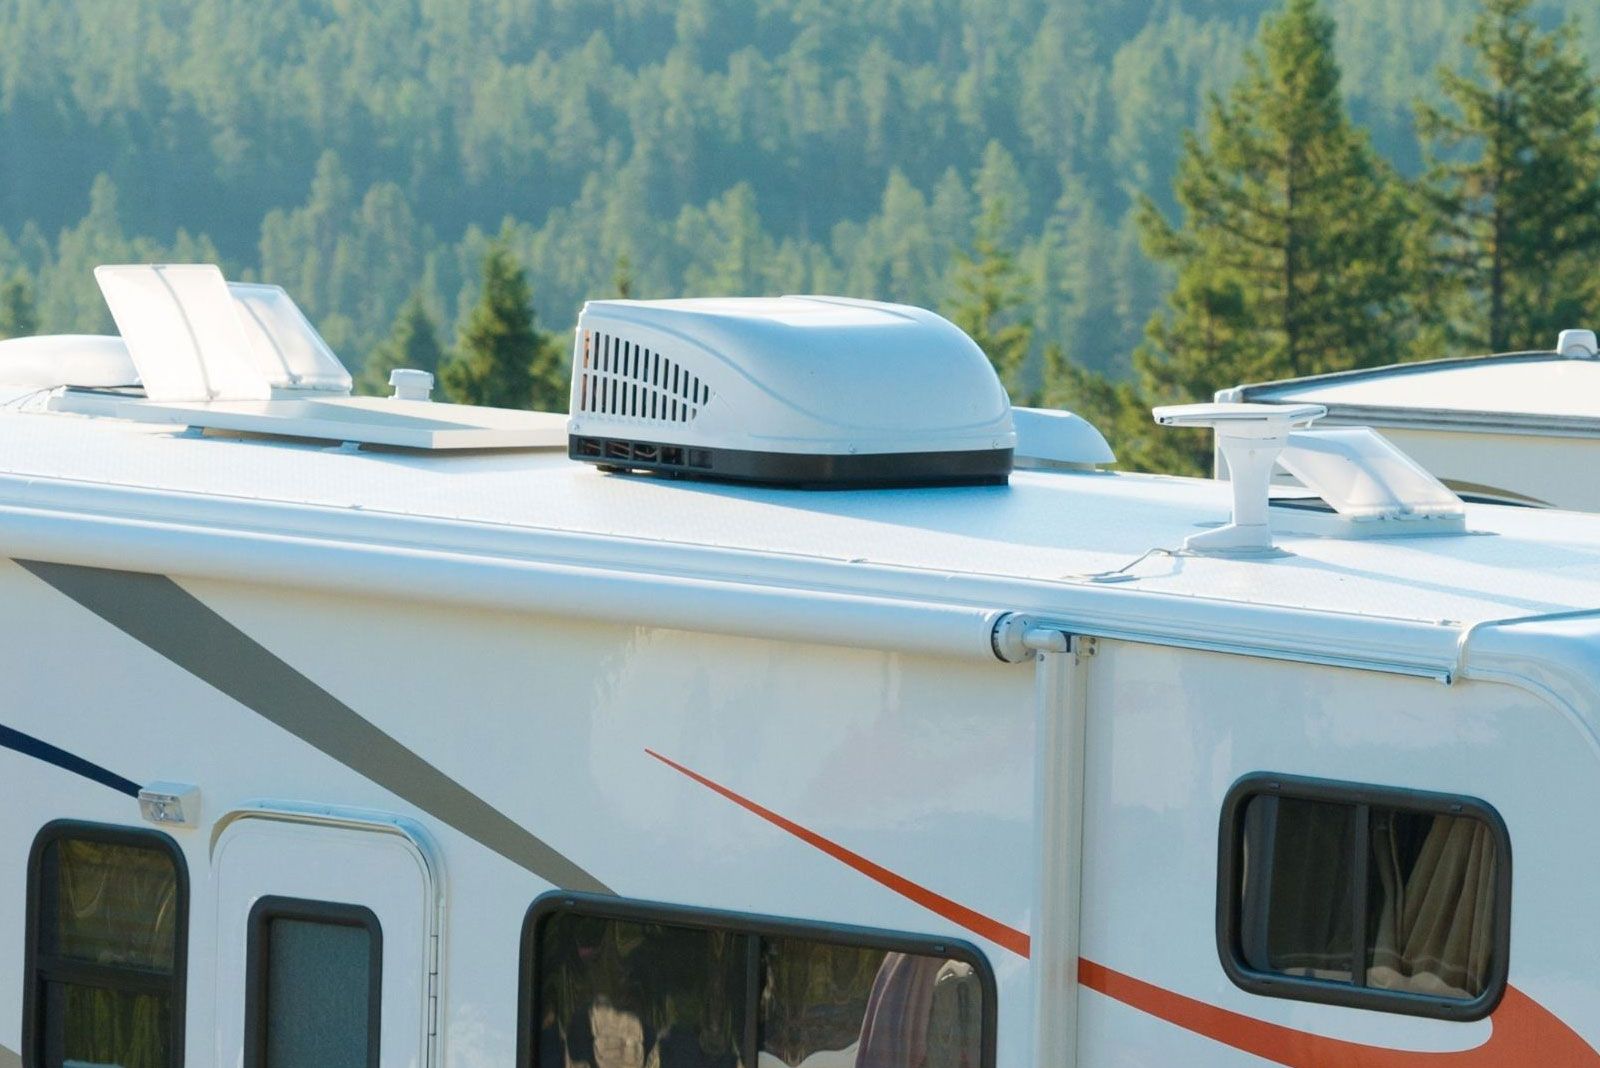
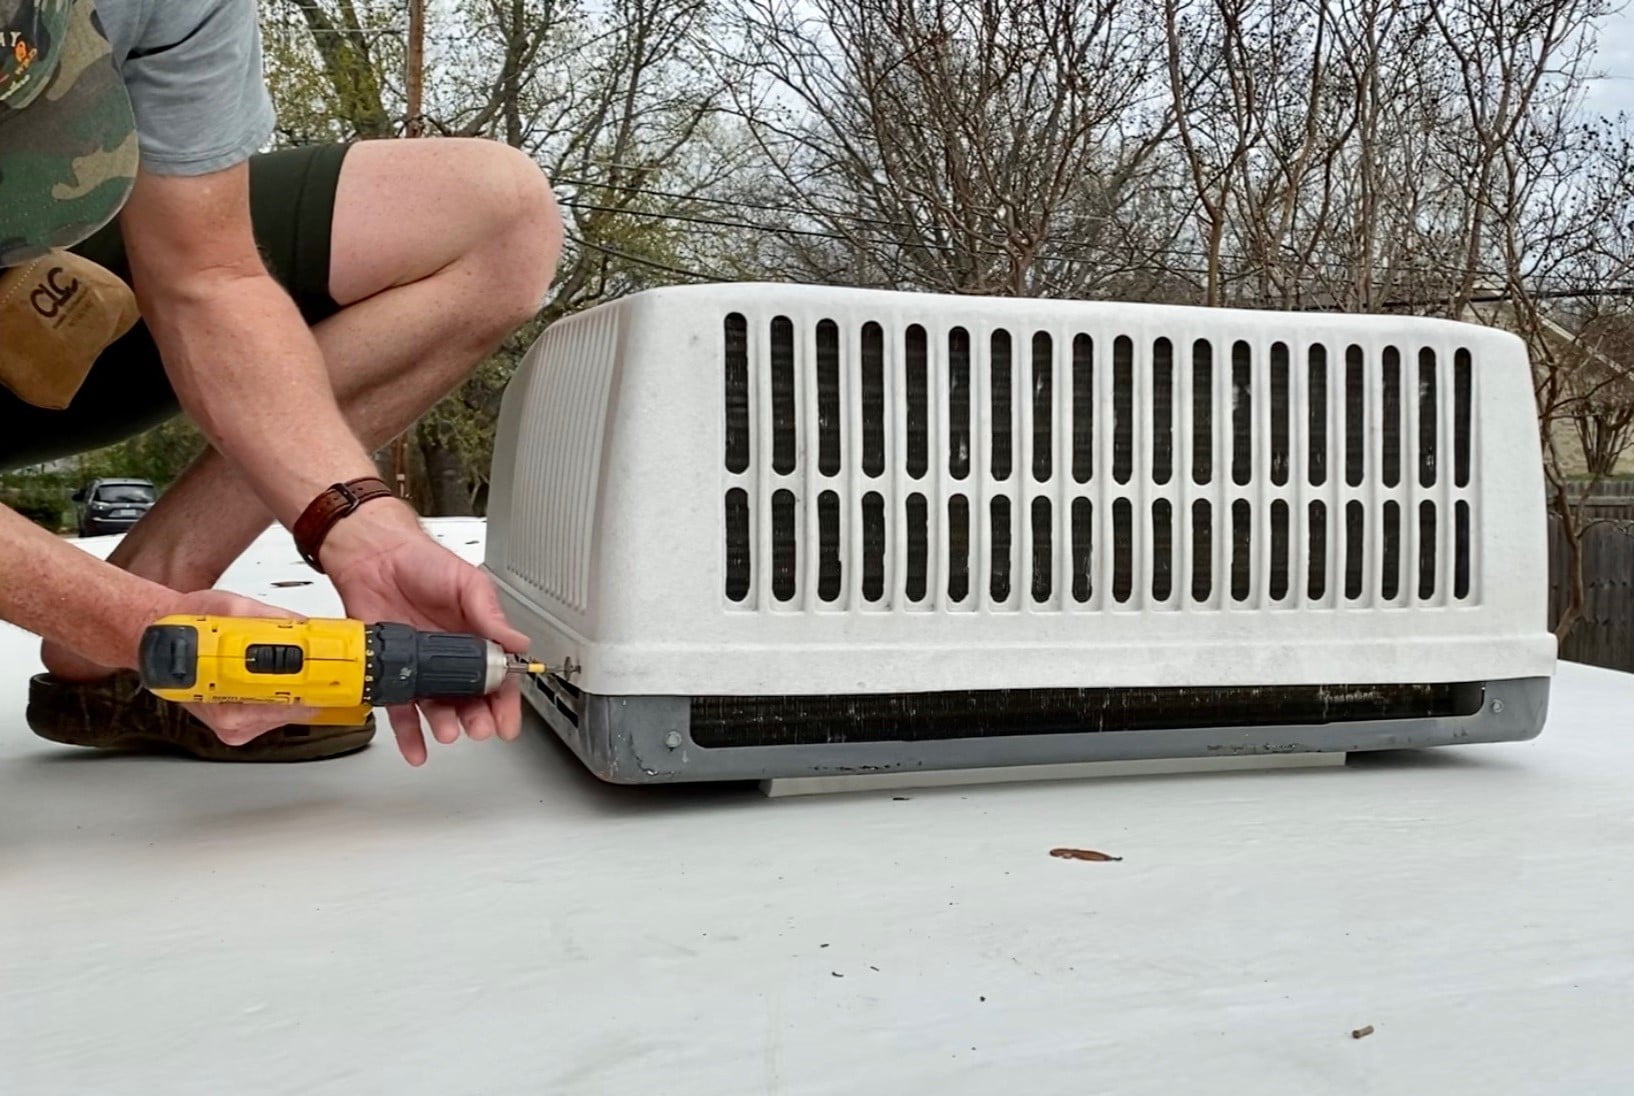
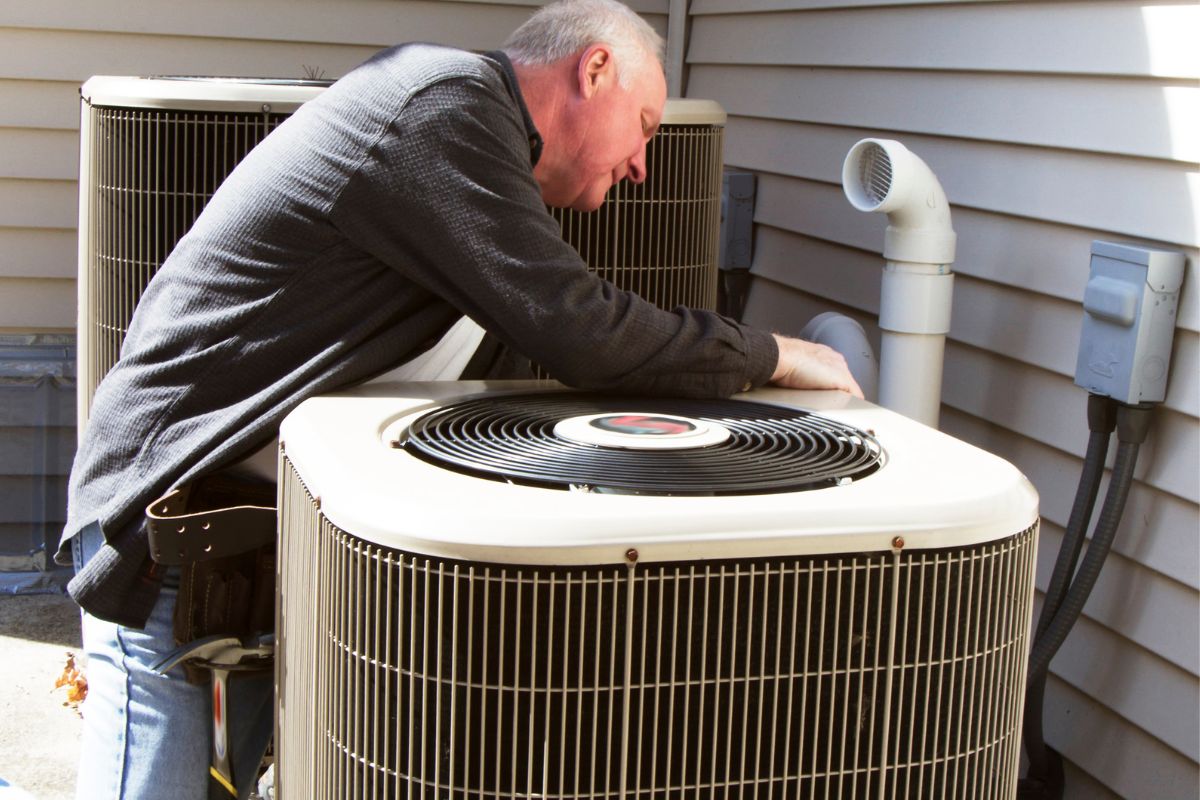
Step 4: Clean the Condenser Coils
The condenser coils in your Dometic RV air conditioner play a crucial role in dissipating heat and maintaining optimal cooling efficiency. Over time, these coils can become dirty and clogged, reducing the effectiveness of your air conditioner. Cleaning the condenser coils is essential to ensure proper airflow and efficient cooling. Follow these steps to clean the condenser coils:
- Access the condenser unit: Locate the condenser unit on the exterior of your RV. It is usually situated on the roof or on the side of the RV, depending on the model of your Dometic air conditioner.
- Remove any debris: Before cleaning the coils, carefully remove any leaves, twigs, or other debris that may have accumulated on or around the condenser unit. You can use a soft brush or a vacuum cleaner with a brush attachment for this task.
- Clean the coils: Use a coil cleaner specifically designed for air conditioner coils. Apply the cleaner according to the instructions provided on the product label. Typically, you will need to spray the cleaner onto the coils, ensuring thorough coverage.
- Wait and rinse: Allow the coil cleaner to sit on the coils for the recommended time specified on the product label. This will allow it to break down any dirt or debris adhered to the coils. Afterward, rinse the coils with water to remove the cleaner and dislodged particles.
- Dry the coils: After rinsing, let the condenser coils air dry completely. Ensure that no excess water remains on the coils before proceeding.
- Reinstall the access panel: Once the condenser coils are dry, reattach the access panel or cover that was removed earlier. Make sure it is securely fastened to prevent any potential damage or water infiltration.
With the condenser coils clean and the access panel in place, you can now move on to the next step: cleaning the evaporator fins to further improve the performance of your Dometic RV air conditioner.
Regularly clean the air filters and coils of your Dometic RV air conditioner to ensure optimal performance. Use a soft brush or vacuum to remove dust and debris, and a mild detergent to clean the filters.
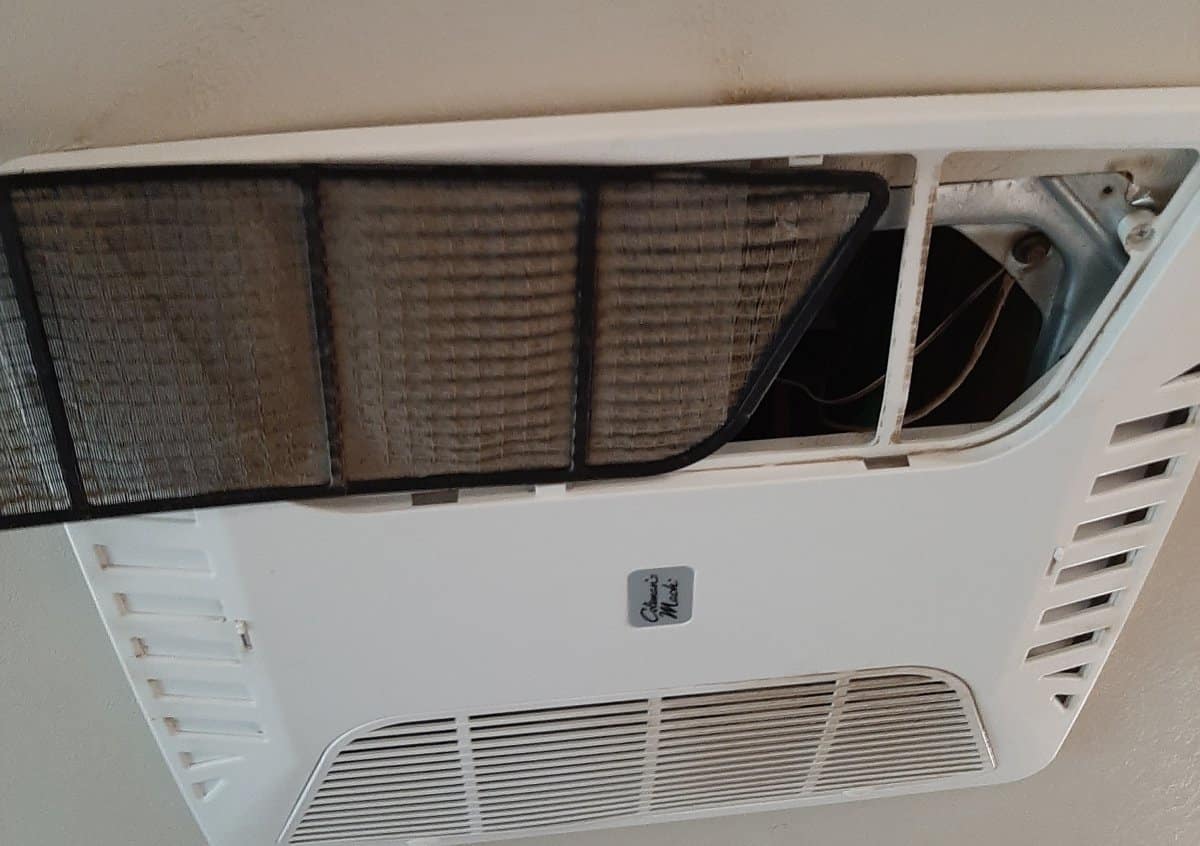
Step 5: Clean the Evaporator Fins
The evaporator fins in your Dometic RV air conditioner are responsible for absorbing heat from the air and cooling it before distributing it back into your RV. Over time, these fins can get dirty and become clogged with dust, hindering their efficiency. Cleaning the evaporator fins will help improve airflow and maintain optimal cooling performance. Follow these steps to clean the evaporator fins:
- Access the evaporator unit: Locate the evaporator unit on the interior of your RV, usually positioned near the ceiling in the same area where the air filter is located.
- Remove the protective cover: Depending on the model of your Dometic air conditioner, you may need to remove a cover or access panel to gain access to the evaporator fins. Carefully undo any screws or clips holding the cover in place.
- Inspect the fins: Take a close look at the evaporator fins to assess their condition. If they appear heavily soiled or clogged, it is necessary to clean them to restore their efficiency.
- Use a soft brush or fin comb: Gently brush the fins using a soft-bristled brush or a fin comb. Start from the top and work your way down, using light strokes to dislodge any dirt, dust, or debris. Be cautious not to bend or damage the fins in the process.
- Vacuum or blow out debris: Once you have brushed the fins, use a vacuum cleaner with a brush attachment or a can of compressed air to remove any loosened debris. Direct the airflow perpendicular to the fins to blow out the particles effectively.
- Wipe with a damp cloth: Dampen a cloth with water or a mild detergent solution and gently wipe down the evaporator fins to remove any remaining dirt or residue. Make sure the cloth is not soaking wet to prevent water from seeping into the air conditioner unit.
- Dry the fins: After cleaning, allow the evaporator fins to air dry completely before reassembling the air conditioner. Ensure that no excess moisture remains on the fins, as this can lead to mold or mildew growth.
With the evaporator fins clean and dry, you can now proceed to the next step: cleaning the condensate drain to maintain proper drainage and prevent water damage.
Step 6: Clean the Condensate Drain
The condensate drain in your Dometic RV air conditioner is responsible for removing the excess moisture that is generated during the cooling process. Over time, the drain can become clogged with dirt, debris, or mold, resulting in improper drainage and potential water damage. Cleaning the condensate drain is crucial to ensure effective moisture removal. Follow these steps to clean the condensate drain:
- Locate the condensate drain: The condensate drain is typically located at the bottom of the air conditioner unit, inside or outside your RV. It may be a small hole or a tube leading to a drainage system. Refer to your RV’s owner’s manual or manufacturer’s instructions to locate the drain.
- Clean the drain opening: Using a small brush or pipe cleaner, carefully clean the opening of the condensate drain to remove any visible dirt or debris. Gently insert the brush into the opening and rotate it a few times to dislodge any obstructions.
- Flush the drain with water: Once the opening is cleaned, pour a mixture of warm water and mild detergent into the drain. This will help flush out any remaining dirt or buildup. Use a funnel or a small container to guide the water into the drain opening.
- Use a wet/dry vacuum (optional): If the drain is severely clogged, you can also use a wet/dry vacuum to suction out any debris or blockages. Attach the vacuum hose to the drain opening and create a seal. Set the vacuum to suction mode and allow it to extract any obstructions from the drain.
- Repeat the process if necessary: Depending on the level of clogging, you may need to repeat the cleaning process a few times to ensure that the drain is fully cleared. Continue flushing with water and using the vacuum until the water flows freely through the drain.
- Inspect for proper drainage: After cleaning the condensate drain, observe the flow of water to ensure that it is properly draining. If you notice any slow drainage or blockages, repeat the cleaning steps or seek professional assistance if needed.
With the condensate drain thoroughly cleaned and functioning properly, you can now proceed to the next step: inspecting the fan blades for any dirt or damage.
Step 7: Inspect the Fan Blades
The fan blades in your Dometic RV air conditioner are responsible for circulating the air and facilitating the cooling process. Over time, these blades can accumulate dirt, dust, or debris, which can affect their efficiency and potentially cause damage. Inspecting and cleaning the fan blades is essential to ensure proper airflow and prevent any issues. Follow these steps to inspect the fan blades:
- Access the fan section: Locate the fan section of your Dometic RV air conditioner. This area is usually accessible by removing a cover or panel on the interior side of the unit.
- Inspect the fan blades: Carefully examine the fan blades for any visible dirt, dust, or debris. Look for signs of damage, such as bent or chipped blades, which may affect the fan’s performance. If you notice any significant damage, it may be necessary to replace the fan blades.
- Clean the fan blades: If the blades are dirty but undamaged, use a soft brush or dusting cloth to gently remove any loose debris. Be cautious not to exert too much pressure on the blades, as this can cause them to bend or break.
- Use a vacuum or compressed air: For more stubborn debris, you can use a vacuum cleaner with a brush attachment or a can of compressed air to blow away any accumulated dirt. Hold the vacuum or compressed air nozzle at a safe distance from the fan blades to avoid causing any damage.
- Recheck and repeat if necessary: After cleaning, recheck the fan blades to ensure that all dirt and debris have been removed. If there are still traces of dirt or particles, repeat the cleaning process until the blades are thoroughly clean.
- Reassemble the fan section: Once the fan blades are clean and dry, securely reattach the cover or panel that was removed earlier to access the fan section. Make sure all screws or clips are tightly fastened to prevent any potential issues while the unit is in operation.
With the fan blades inspected and cleaned, you have completed an important step in maintaining the optimal performance of your Dometic RV air conditioner. Now, you can proceed to the final step: reassembling the air conditioner for operation.
Read more: How Does A Dometic RV Air Conditioner Work
Step 8: Reassemble the Air Conditioner
After completing the cleaning and inspection process for your Dometic RV air conditioner, it’s time to reassemble the unit to ensure it is ready for operation. Follow these steps to properly reassemble your air conditioner:
- Replace the air filter: Take the cleaned and dry air filter and slide it back into its slot. Make sure it is properly aligned and securely in place to ensure optimal filtration.
- Reinstall the access panel: If you removed any access panels or covers during the cleaning process, carefully position them back in their original positions. Reattach any screws or clips to secure them tightly.
- Reconnect the power: Ensure that the circuit breaker for the air conditioner is still in the off position. Once you have confirmed this, switch the breaker back on to restore power to the unit.
- Test the air conditioner: Turn on the air conditioner and verify that it is running smoothly and cooling effectively. Check for any unusual noises, vibrations, or issues with airflow. If you notice any problems, consult a professional for further inspection or repairs.
- Monitor performance: Observe the performance of your air conditioner over the next few days to ensure that it is running optimally. Pay attention to cooling efficiency, proper airflow, and the absence of any leaks or unusual smells.
- Schedule regular maintenance: To maintain the long-term performance of your Dometic RV air conditioner, it is recommended to schedule regular maintenance checks and cleanings. This will help prevent any issues and prolong the lifespan of your unit.
By carefully reassembling your air conditioner and keeping up with routine maintenance, you can enjoy a properly functioning and efficient cooling system in your RV.
Remember, if you are unsure about any step or encounter any difficulties during the cleaning process, it is always best to seek professional assistance to ensure the safety and effectiveness of your Dometic RV air conditioner.
With that, you have successfully completed the process of cleaning and maintaining your Dometic RV air conditioner. Now, sit back, relax, and enjoy the cool comfort on your next camping adventure!
Conclusion
Congratulations! You have successfully learned how to clean and maintain your Dometic RV air conditioner. By following the step-by-step process outlined in this guide, you can ensure that your air conditioner operates at its best, providing you with cool and comfortable air during your camping trips.
Regular maintenance and cleaning are essential to keep your air conditioner running efficiently and to avoid potential issues. By turning off the power, removing and cleaning the air filter, cleaning the condenser coils and evaporator fins, clearing the condensate drain, inspecting the fan blades, and reassembling the unit, you have taken important steps to maintain the optimal performance of your air conditioner.
Remember to follow safety precautions, such as turning off the power before starting any maintenance work, wearing protective gear, and using the appropriate cleaning products for your unit. Safety should always be your top priority.
By incorporating these cleaning and maintenance practices into your routine, you can extend the lifespan of your Dometic RV air conditioner and ensure that it continues to cool your RV effectively for years to come. Additionally, regular maintenance can help improve energy efficiency, reduce energy consumption, and save you money on utility bills.
If you ever feel unsure or encounter any difficulties during the cleaning process, it is always best to consult a professional or contact the manufacturer for guidance. They can provide you with specific instructions and assistance tailored to your model of air conditioner.
Remember, a well-maintained and clean air conditioner contributes to a comfortable and enjoyable camping experience. So, take the time to clean your Dometic RV air conditioner regularly, and embark on your next adventure with peace of mind, knowing that you have optimized the cooling system in your RV.
Frequently Asked Questions about How To Clean A Dometic RV Air Conditioner
Was this page helpful?
At Storables.com, we guarantee accurate and reliable information. Our content, validated by Expert Board Contributors, is crafted following stringent Editorial Policies. We're committed to providing you with well-researched, expert-backed insights for all your informational needs.