Home>Home Maintenance>How To Recharge A Home Air Conditioner
Home Maintenance
How To Recharge A Home Air Conditioner
Modified: August 25, 2024
Learn how to recharge your home air conditioner with this comprehensive guide on home maintenance. Keep your home cool and comfortable.
(Many of the links in this article redirect to a specific reviewed product. Your purchase of these products through affiliate links helps to generate commission for Storables.com, at no extra cost. Learn more)
Introduction
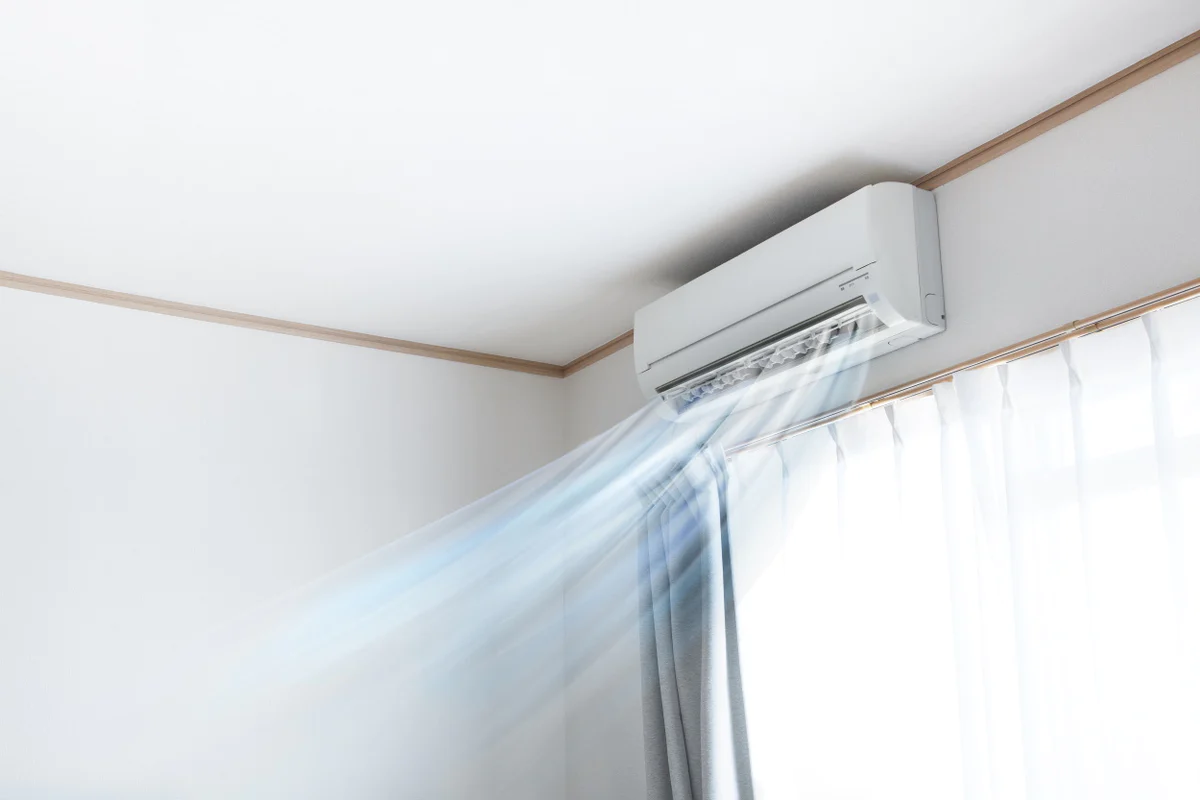
Welcome to our comprehensive guide on how to recharge a home air conditioner. As the temperature rises, your air conditioner plays a crucial role in keeping your home cool and comfortable. However, over time, the refrigerant in your air conditioner may become depleted, resulting in reduced cooling performance. In such cases, recharging the air conditioner with refrigerant can help restore its efficiency and effectiveness.
In this article, we will walk you through the step-by-step process of recharging your home air conditioner. Whether you are a seasoned DIY enthusiast or a beginner, we have got you covered. But before we dive into the details, let’s take a moment to understand the basics of a home air conditioner and the signs that indicate it needs to be recharged.
Understanding how your air conditioner works is essential for successfully recharging it. A typical home air conditioner consists of a compressor, condenser, evaporator, expansion valve, and refrigerant lines. The refrigerant, usually a chemical called R-22 or R-410A, is responsible for absorbing heat from inside your home and releasing it outside. This process helps to cool the air circulating in your home.
Over time, refrigerant levels can decrease due to minor leaks or normal wear and tear. As a result, your air conditioner may start to exhibit certain symptoms that indicate a need for recharging. Pay attention to signs such as reduced cooling capacity, longer cooling cycles, uneven cooling, or ice buildup on the evaporator coil. If you notice any of these signs, it’s time to proceed with recharging your air conditioner.
Before you begin the recharging process, it’s important to properly prepare and gather all the necessary tools and equipment. This will ensure a smooth and hassle-free experience. In the next section, we will guide you through the preparation steps to help you get started.
Key Takeaways:
- Keep your home air conditioner running smoothly by recharging it when needed. Look out for signs like reduced cooling, longer cycles, uneven cooling, ice buildup, and hissing noises.
- Prioritize safety, follow the manual, and consider professional help for a successful air conditioner recharge. Regular maintenance and environmental responsibility are key for long-term cooling comfort.
Read more: How To Recharge A Window Air Conditioner
Understanding the Basics of a Home Air Conditioner
Before you recharge your home air conditioner, it’s important to have a basic understanding of how it works. A typical home air conditioner consists of several key components that work together to cool and dehumidify the air in your living space.
The main components of a home air conditioner include the compressor, condenser, evaporator, expansion valve, and refrigerant lines. Understanding the role each component plays will help you navigate the recharging process more effectively.
1. Compressor: The compressor is the heart of your air conditioner. It compresses the refrigerant, increasing its pressure and temperature. The high-pressure, high-temperature refrigerant then flows to the condenser.
2. Condenser: The condenser is located outside your home. It receives the hot refrigerant from the compressor and helps dissipate the heat. As the refrigerant passes through the condenser coils, it releases heat to the surrounding air and becomes a high-pressure, cool liquid.
3. Evaporator: The evaporator is located inside your home, often connected to a furnace or air handler. The cool, low-pressure liquid refrigerant from the condenser enters the evaporator coil. As warm air from your living space passes over the coil, heat is absorbed, and the refrigerant evaporates into a gas. This process cools and dehumidifies the air.
4. Expansion Valve: The expansion valve regulates the flow of refrigerant into the evaporator coil. It acts as a restriction or metering device, causing a pressure drop that allows the refrigerant to expand and cool rapidly as it enters the evaporator coil.
5. Refrigerant Lines: These are the copper tubes that connect the various components of your air conditioner. Refrigerant travels through these lines, transferring heat and changing states from liquid to gas and back.
Now that you have a basic understanding of the components, it’s important to note that most modern air conditioners use two types of refrigerants – R-22 and R-410A. R-22 is gradually being phased out due to its environmental impact, while R-410A is the more environmentally friendly option. Make sure to check the type of refrigerant your air conditioner uses before proceeding with the recharging process.
In the next section, we will explore the signs that indicate your air conditioner needs to be recharged, helping you determine if it’s time for a recharge.
Signs that Your Air Conditioner Needs to be Recharged
It’s important to recognize the signs that indicate your air conditioner needs to be recharged. When the refrigerant levels are low, your air conditioner may not be able to cool your home as effectively as it used to. Here are some common signs to look out for:
1. Reduced Cooling Capacity: If you notice that your air conditioner is no longer keeping your home as cool as it used to, it could be a sign of low refrigerant levels. When there’s not enough refrigerant, the cooling capacity of your air conditioner decreases, leading to insufficient cooling performance.
2. Longer Cooling Cycles: Another sign of low refrigerant levels is when your air conditioner runs for longer periods to reach the desired temperature. If you notice that your air conditioner is constantly running without achieving the desired coolness, it’s a clear indication that a recharge may be necessary.
3. Uneven Cooling: Do you experience hotspots or inconsistent cooling throughout your home? Low refrigerant levels can cause uneven cooling, where some rooms might be colder than others. If you notice significant temperature differences between different areas of your home, it’s a sign that your air conditioner may need to be recharged.
4. Ice Buildup on the Evaporator Coil: A visible buildup of ice or frost on the evaporator coil is a clear indication of low refrigerant levels. When the refrigerant is insufficient, the coil may become too cold, causing moisture in the air to freeze and accumulate on the coil. If you see ice forming on the evaporator coil, it’s time to recharge your air conditioner.
5. Hissing or Bubbling Noises: If you hear unusual noises coming from your air conditioner, such as hissing or bubbling sounds, it could indicate a refrigerant leak. Low refrigerant levels are often caused by leaks in the system. It’s important to address these leaks and recharge the system to ensure optimal performance.
6. Increased Energy Bills: If you notice a sudden increase in your energy bills without any other noticeable changes in your household, it could be a result of low refrigerant levels. When the refrigerant is low, your air conditioner has to work harder and longer to cool your home, leading to higher energy consumption.
It’s important to keep an eye out for these signs to catch any issues with your air conditioner early on. If you notice one or more of these signs, it’s time to proceed with recharging your air conditioner. In the next section, we will guide you through the necessary preparations before starting the recharge process.
Preparing for Recharging
Before you dive into the process of recharging your home air conditioner, it’s essential to properly prepare to ensure a smooth and successful recharge. Here are a few essential steps to follow:
1. Safety First: Safety should always be a top priority when working with any electrical or mechanical system in your home. Start by turning off the power to your air conditioning system. Locate the main electrical panel and switch off the breaker that controls the air conditioner. This precaution will protect you from any potential electrical hazards while working on the system.
2. Gather the Necessary Tools and Equipment: To recharge your air conditioner, you will need a few specific tools and equipment. Make sure you have the following items on hand:
- Recharging hose: This specialized hose connects your refrigerant canister to the air conditioner’s service valve.
- Gauges: Gauges are essential for monitoring the pressure levels in your air conditioning system.
- Refrigerant: Purchase the appropriate type of refrigerant for your specific air conditioner model. Be sure to check the manufacturer’s guidelines or consult an HVAC professional to ensure you select the correct refrigerant.
- Safety goggles and gloves: These will protect your eyes and hands from any potential refrigerant leaks or spills.
- Leak detection solution: This solution helps you identify any leaks in the system by producing bubbles at the site of the leak.
3. Check for Leaks: Before recharging your air conditioner, it’s crucial to check for any existing leaks in the system. Leaks can cause refrigerant levels to deplete quickly, and simply recharging without addressing the leaks will result in the same issue occurring again. Use a leak detection solution to check all the fittings, hoses, and connections for any signs of leaks. If you detect any leaks, it’s recommended to repair them before proceeding with the recharge process.
4. Clean the Condenser Coil: A dirty condenser coil can impact the efficiency and performance of your air conditioner. It’s a good idea to clean the condenser coil before recharging the system. Use a soft brush or a vacuum cleaner to remove any dirt, debris, or dust that may have accumulated on the coils. This will allow for better heat exchange during the recharge process.
By following these preparation steps, you will ensure that you have all the necessary tools and equipment and that your air conditioning system is ready for the recharge process. In the next section, we will guide you through the process of locating the AC service valve.
Gathering the Required Tools and Equipment
Gathering the necessary tools and equipment is a crucial step in preparing to recharge your home air conditioner. Having the right tools on hand will ensure a smooth and successful recharge process. Here are the essential tools and equipment you will need:
1. Recharging Hose: A recharging hose is a specially designed hose that connects the refrigerant canister to the air conditioner’s service valve. It allows for the controlled flow of refrigerant into the system. Make sure to choose a recharging hose that is compatible with your air conditioner’s service valve.
2. Gauges: Gauges are important for monitoring the pressure levels in your air conditioning system. They provide valuable information about the system’s performance and help you determine the appropriate amount of refrigerant to recharge. There are different types of gauges available, including low-pressure and high-pressure gauges. Be sure to choose the appropriate gauges for your specific system.
3. Refrigerant: The type of refrigerant you need will depend on the make and model of your air conditioner. It’s crucial to use the correct type of refrigerant as specified by the manufacturer. Typically, air conditioners use refrigerants such as R-22 or R-410A. Check your system’s documentation or consult an HVAC professional to determine the appropriate refrigerant for your air conditioner.
4. Safety Goggles and Gloves: When handling refrigerant, it’s important to protect your eyes and skin from any potential harm. Safety goggles will shield your eyes from any splashes or leaks, while gloves will prevent direct contact with the refrigerant. Choose safety goggles that provide proper coverage and fit securely, and use gloves made from materials resistant to refrigerant chemicals.
5. Leak Detection Solution: Detecting and addressing any leaks in your air conditioning system is crucial before recharging. A leak detection solution helps identify leaks by producing bubbles at the site of a leak. Apply the solution to all fittings, connections, and hoses while the system is pressurized. If bubbles form, it indicates a leak that needs to be repaired before proceeding with the recharge process.
6. Additional Tools: Depending on your specific air conditioner, you may need some additional tools such as a wrench or pliers to loosen or tighten fittings, a screwdriver to access certain components, or a brush to clean the condenser coils. Make sure to have these tools on hand to aid you during the recharge process.
It’s important to gather all these tools and equipment before starting the recharge process. Having everything readily available will save you time and ensure a smoother experience. Once you have gathered the required tools and equipment, you can proceed to the next step, which involves locating the air conditioner’s service valve.
Read more: How To Recharge A Portable Air Conditioner
Locating the AC Service Valve
Locating the AC service valve is an important step in the process of recharging your home air conditioner. The service valve is the access point where you will connect the recharging hose to add refrigerant to the system. Here are the steps to help you find the AC service valve:
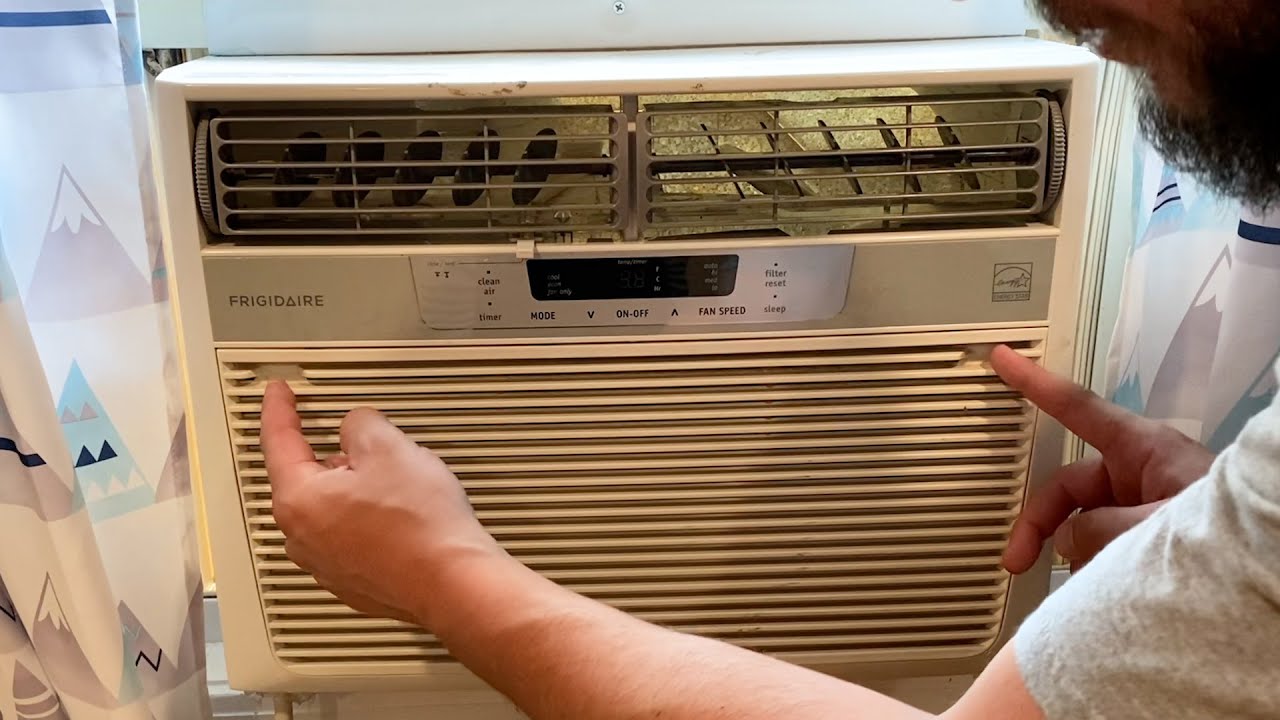
1. Turn off the Air Conditioner: Before you start locating the service valve, it is essential to turn off the air conditioner. Make sure the power is completely shut off to avoid any accidents or injuries.
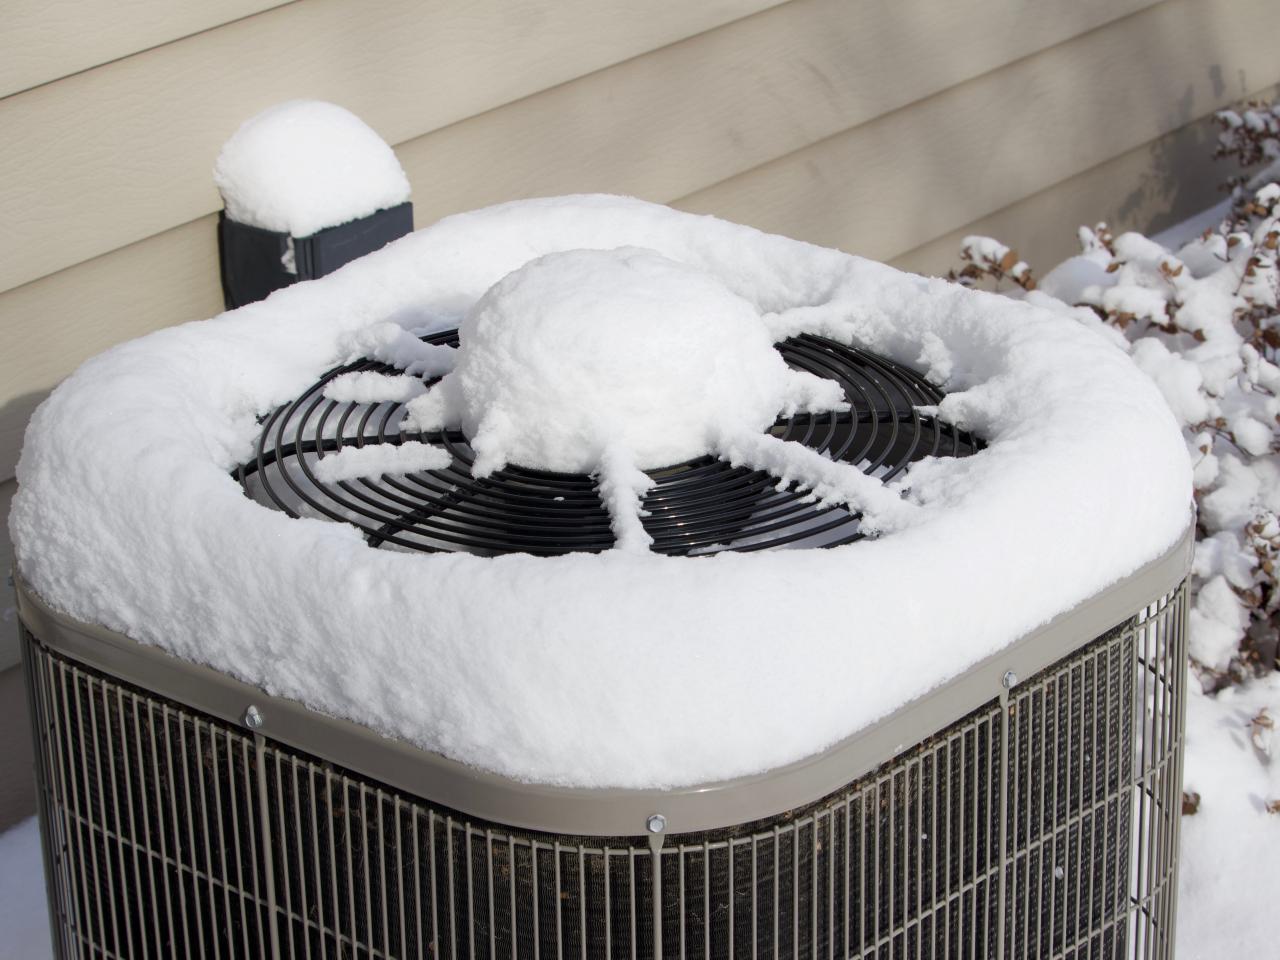
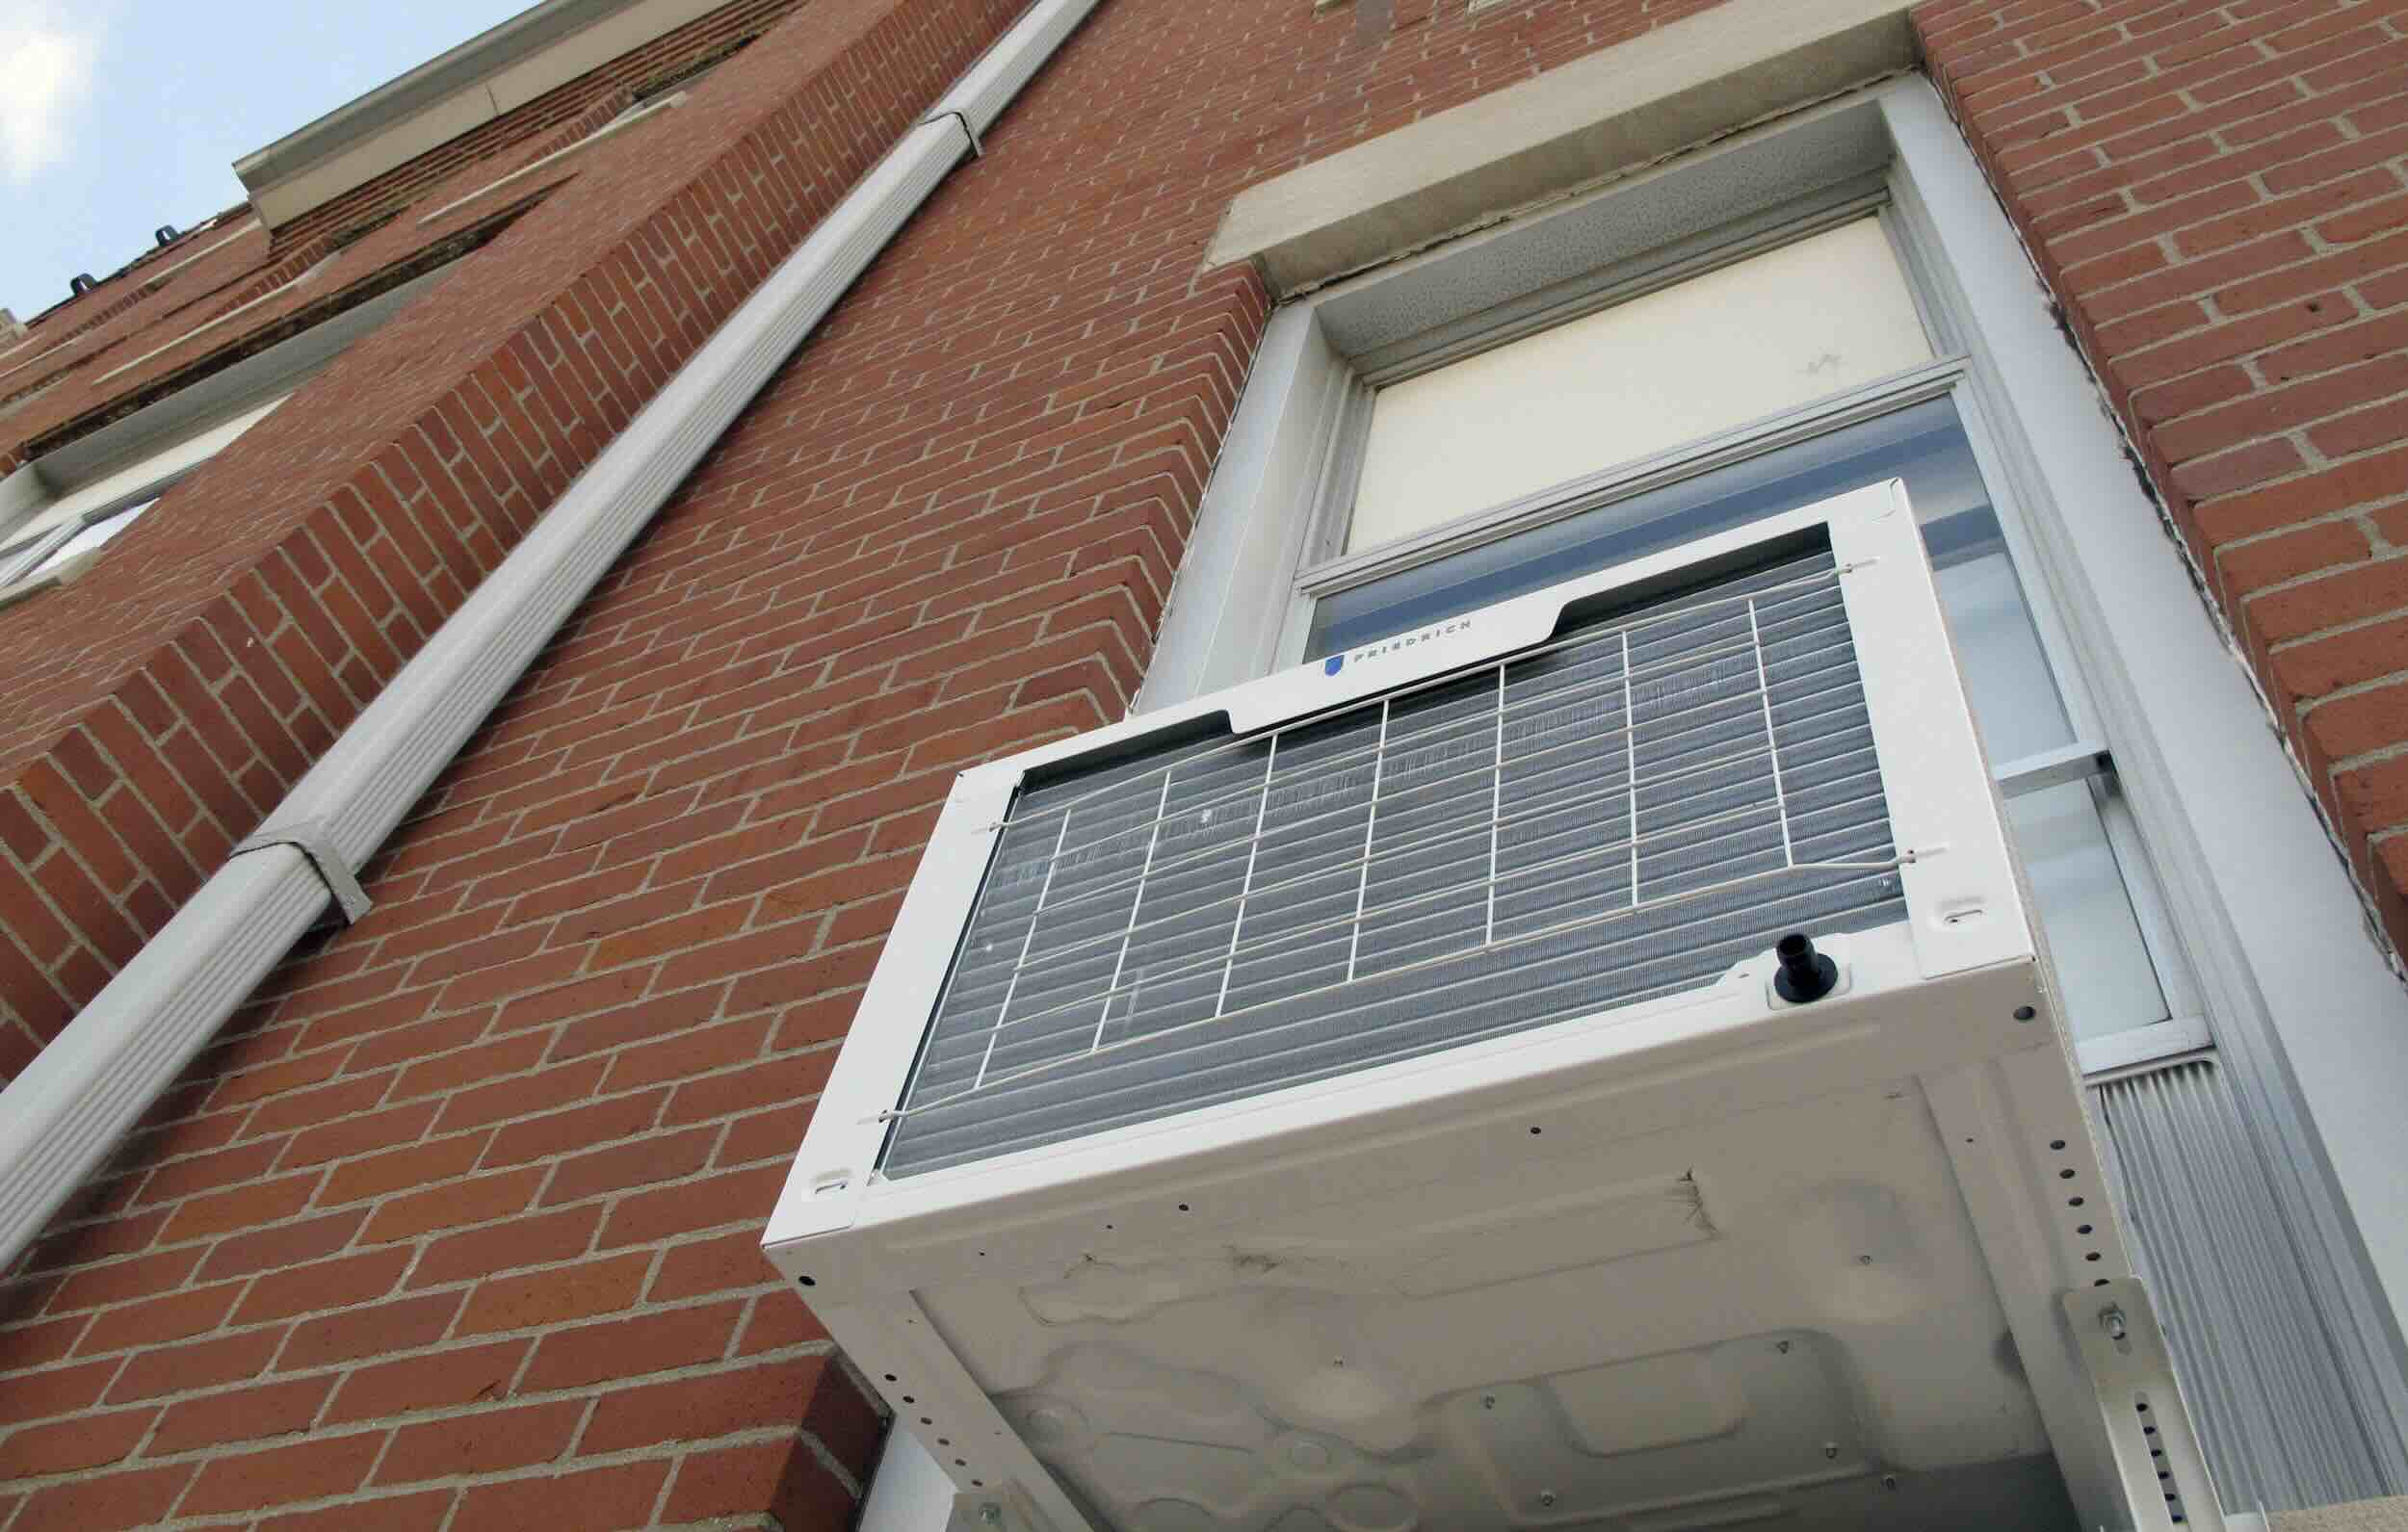
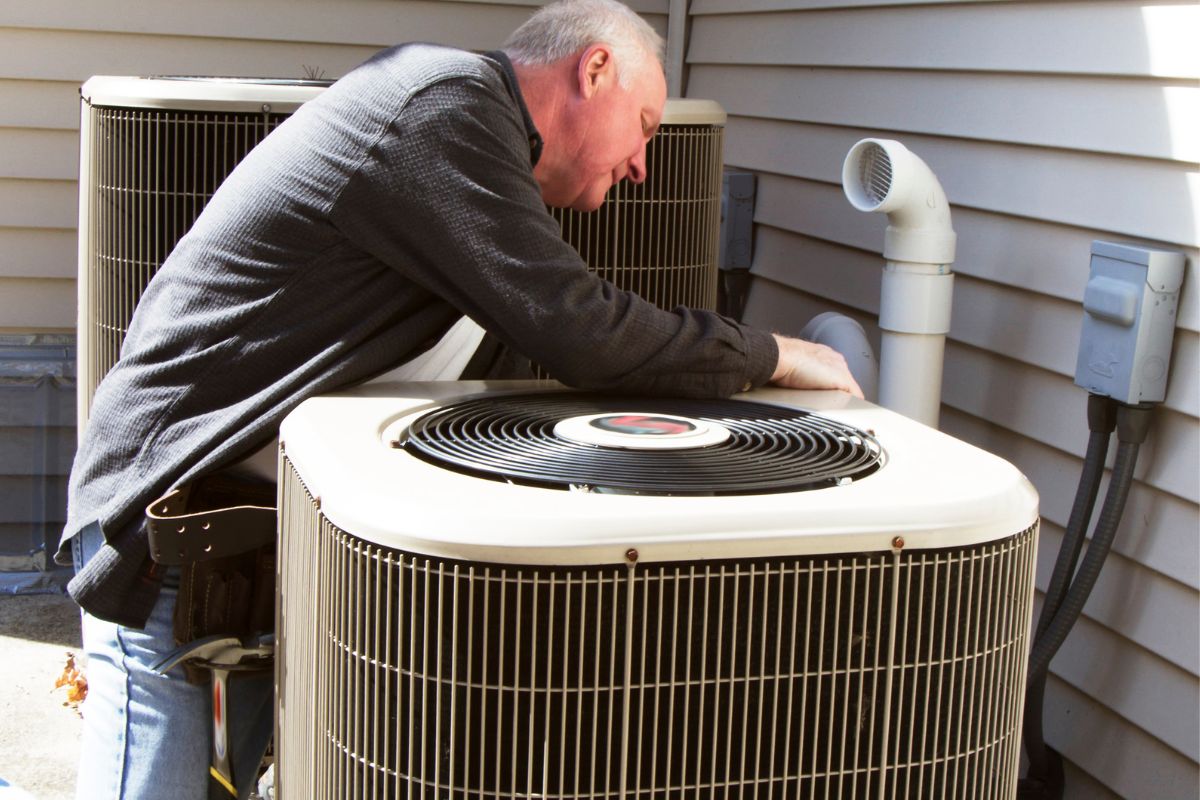
2. Find the Condenser Unit: The condenser unit is typically located outside your home. It’s a large metal box that contains the compressor and condenser coils. Look for the condenser unit near the foundation or on a concrete pad outside your house. It may also be on the roof if you have a rooftop air conditioning system.
3. Identify the Refrigerant Lines: Once you have located the condenser unit, you need to identify the refrigerant lines. These lines are usually made of copper and transport refrigerant between the compressor, condenser, and evaporator. Look for two refrigerant lines running from the condenser unit into your home through a small hole or conduit in the wall. One line is larger and insulated (suction line), while the other is smaller and uninsulated (liquid line).
4. Locate the Service Valve: Now that you have identified the refrigerant lines, you can focus on finding the service valve. The service valve is typically located near the condenser unit, close to where the refrigerant lines enter the unit. It may be located on the larger, insulated suction line or on a separate valve manifold near the condenser unit.
5. Understand the Valve Types: There are two types of service valves – the high-side valve and the low-side valve. The high-side valve is usually smaller and has a smaller diameter compared to the low-side valve. The low-side valve is the one you will use to recharge your air conditioner, as it allows for the addition of refrigerant. It is important to identify the correct valve to ensure a successful recharge.
6. Consult the Air Conditioner’s Manual: In some cases, the location of the service valve may vary depending on the make and model of your air conditioner. If you are having difficulty locating the service valve or are unsure about which valve to use, consult the air conditioner’s manual. The manual will provide specific instructions and diagrams for your particular system.
By following these steps, you will be able to locate the AC service valve on your home air conditioner. Once you have found the service valve, you can move on to the next step, which involves attaching the recharging hose to the valve.
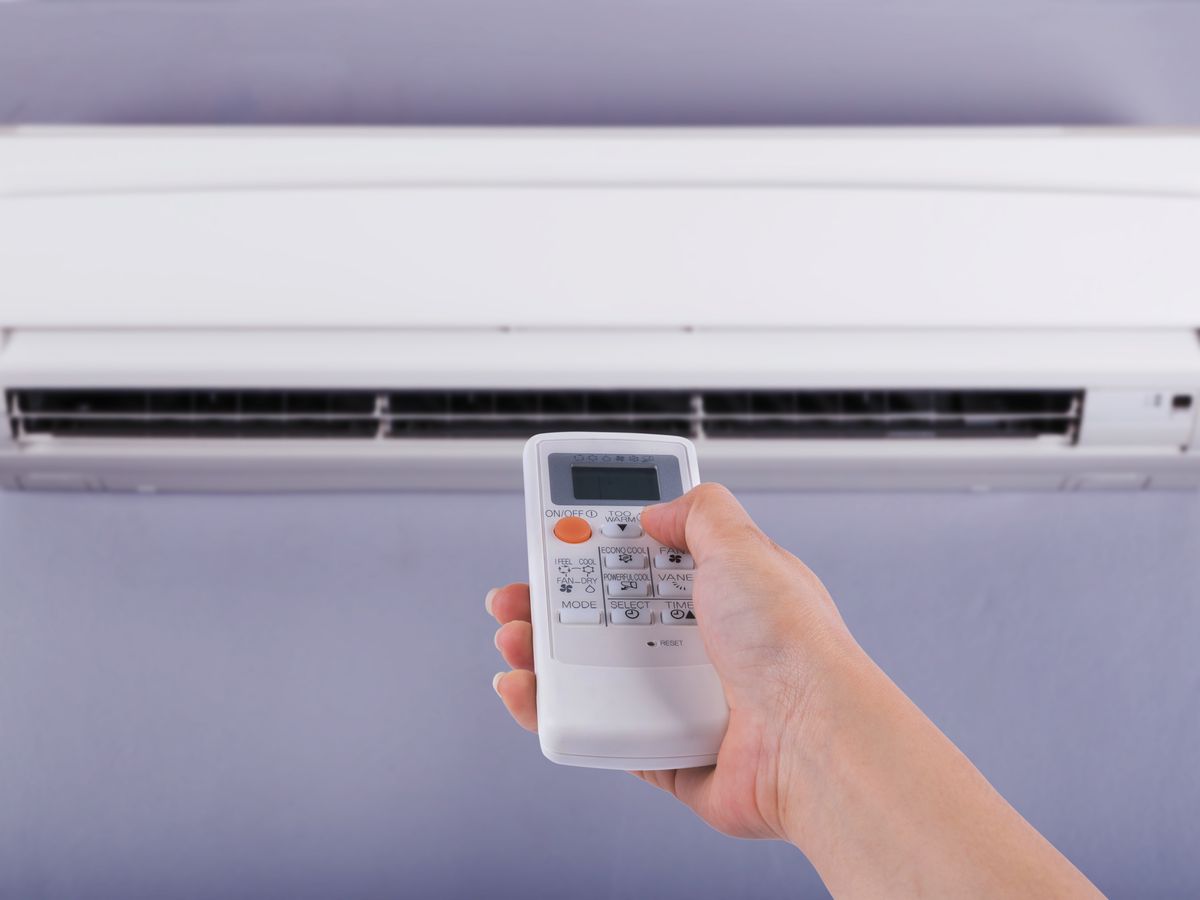
Make sure to turn off the power to the air conditioner before attempting to recharge it. Use a refrigerant specifically designed for home air conditioners and follow the manufacturer’s instructions carefully.
Attaching the Recharging Hose
Attaching the recharging hose to the AC service valve is a crucial step in the process of recharging your home air conditioner. The recharging hose allows you to connect the refrigerant canister to the system and control the flow of refrigerant. Here’s how to properly attach the recharging hose:
1. Safety First: Before you begin, ensure that you are wearing safety goggles and gloves to protect your eyes and skin from any potential leaks or spills. Safety should always be a top priority when working with refrigerants.
2. Identify the Low-Side Service Valve: As mentioned in the previous section, there are two service valves – the high-side valve and the low-side valve. It’s important to identify the low-side valve, as it is the one you will use for recharging. The low-side valve is usually larger and has a bigger diameter compared to the high-side valve.
3. Remove the Valve Cap: Once you’ve located the low-side service valve, you’ll likely find a plastic cap covering it. Remove the valve cap by twisting it counterclockwise. Set the cap aside in a safe place, as you will need to replace it once the recharge process is complete.
4. Attach the Recharging Hose: Take the recharging hose and securely attach it to the low-side service valve. The hose should fit snugly onto the valve, forming a tight seal. Ensure that the connection is secure to prevent any leaks during the recharging process.
5. Turn the Recharging Hose Valve: The recharging hose will have its own valve to control the flow of refrigerant from the canister to the air conditioning system. Before opening the valve, make sure it is tightly closed. Rotate the valve counterclockwise to open it, allowing the refrigerant to flow through the hose.
6. Check for Leaks: Once the recharging hose is securely attached and the valve is open, check for any signs of leaks. Keep a close eye on the connections and fittings for any bubbles or hissing sounds. If you notice any leaks, immediately close the valve, detach the hose, and address the issue before proceeding.
7. Place the Canister: Place the refrigerant canister in an upright position, ensuring it is stable and won’t tip over. Follow the instructions on the canister for proper handling and operation. Some refrigerant canisters may require specific positioning or handling techniques to ensure safe usage.
By following these steps, you will successfully attach the recharging hose to the air conditioner’s service valve. Once the hose is securely attached, you can move on to the next step, which involves adding refrigerant to the system.
Adding Refrigerant
Adding refrigerant to your home air conditioner is a crucial step in the recharge process. The refrigerant is responsible for removing heat from your home and providing cool air. Here’s a step-by-step guide on how to add refrigerant to your air conditioning system:
1. Position yourself near the refrigerant canister and ensure that the recharging hose is securely attached to the air conditioner’s low-side service valve.
2. With the valve on the recharging hose open, begin adding refrigerant to the system. Slowly open the valve to allow the refrigerant to flow into the system. It’s important to add the refrigerant in small increments to prevent overcharging the system.
3. Observe the pressure gauges: The pressure gauges attached to the recharging hose will provide important information about the system’s pressure levels. Monitor the gauges closely as you add refrigerant. The target pressure may vary depending on factors such as ambient temperature and the specific manufacturer’s guidelines. Consult the air conditioner’s manual or an HVAC professional for the recommended pressure range for your system.
4. Keep an eye on the sight glass or refrigerant flow: Some air conditioning systems may have a sight glass or an indicator that allows you to visualize the refrigerant flow. It may appear as bubbles or a stream of refrigerant. As you add refrigerant, monitor the flow to ensure it is consistent and not indicating any issues such as a blockage or excessive bubbles.
5. Add refrigerant in short bursts: Instead of continuously adding refrigerant, it’s best to add in short bursts. This approach allows the system to stabilize and achieve the desired pressure levels gradually. Pause between each burst to monitor the pressure and the refrigerant flow.
6. Check for any signs of leaks: While adding refrigerant, continue to inspect the connections, fittings, and hoses for any signs of leaks. Look for bubbles or hissing sounds that may indicate a leak. If you detect a leak, immediately close the valve, detach the recharging hose, and address the issue before proceeding.
7. Refer to the refrigerant canister instructions: Follow the instructions provided on the refrigerant canister for the recommended amount of refrigerant to add. Different systems may have varying requirements, and it’s important to use the appropriate amount for optimal performance and energy efficiency.
8. Be cautious of overcharging: Overcharging the system with too much refrigerant can cause damage and lead to inefficient cooling. It’s crucial to add the refrigerant in accordance with the manufacturer’s guidelines and the recommended pressure levels.
Adding refrigerant to your air conditioning system requires careful monitoring and attention to the pressure gauges and refrigerant flow. By following these steps and being cautious throughout the process, you can effectively add refrigerant to your home air conditioner. Once you have added the appropriate amount of refrigerant, you can move on to the next step: checking for leaks in the system.
Checking for Leaks
Checking for leaks in your home air conditioning system is a crucial step after adding refrigerant to ensure optimal performance and prevent future issues. Detecting and addressing leaks early on can help maintain the efficiency and effectiveness of your air conditioner. Here’s how to check for leaks:
1. Close the recharging hose valve: Before you begin checking for leaks, ensure that the valve on the recharging hose is tightly closed to prevent any additional refrigerant from flowing into the system.
2. Use a leak detection solution: A leak detection solution, available at most hardware or HVAC supply stores, is a helpful tool for identifying leaks in your air conditioning system. Apply the solution to all fittings, connections, and joints in the system while it is pressurized. The solution will produce bubbles at the site of a leak, indicating the presence of a leak.
3. Inspect visually: In addition to using a leak detection solution, visually inspect the entire system for any signs of refrigerant leaks. Look for oil stains, residue, or any wet spots around the fittings, connections, or components of the air conditioner. These can indicate potential leaks that need to be addressed.
4. Listen for hissing sounds: While the air conditioner is running, carefully listen for any hissing sounds near the service valves, refrigerant lines, or other components. Hissing sounds can indicate that refrigerant is escaping, which is a clear sign of a leak.
5. Monitor the pressure gauges: After adding refrigerant and closing the recharging hose valve, monitor the pressure gauges for any sudden drops in pressure. A significant drop in pressure could indicate a leak in the system. If you observe such a drop, it’s important to investigate and repair the leak before continuing to use the air conditioner.
6. Addressing leaks: If you find any leaks during the inspection, take immediate action to address them. Depending on the severity of the leak, you may need to replace damaged or worn-out components, tighten loose connections, or repair damaged fittings. It is often recommended to seek the help of a professional HVAC technician for leak repairs to ensure proper handling and prevent further damage.
By thoroughly checking for leaks in your air conditioning system, you can prevent refrigerant loss, increase energy efficiency, and maximize the lifespan of your system. Regular maintenance and addressing leaks promptly are essential to maintain the performance of your air conditioner. Once you have completed the leak detection process and made any necessary repairs, it’s time to move on to the next step: testing the air conditioner to ensure it’s functioning correctly.
Read more: How To Recharge An RV Air Conditioner
Testing the Air Conditioner
After recharging your home air conditioner and checking for leaks, it’s essential to test the system to ensure it’s functioning correctly. Conducting a thorough test will help verify the effectiveness of the recharge and ensure that your air conditioner is providing optimal cooling performance. Here are the steps to follow when testing your air conditioner:
1. Restore Power: Before you begin testing, ensure that you have restored power to the air conditioning system. Turn on the breaker at the main electrical panel to supply power to the unit.
2. Set the Thermostat: Adjust the thermostat to a temperature that requires the air conditioner to activate. Set it a few degrees lower than the current room temperature to prompt the system to start cooling.
3. Listen for Normal Operation: As the air conditioner starts, listen for normal operation sounds. It should run smoothly without any unusual or excessive noise. The sound of the compressor cycling on and off, the fan running, and the airflow are all typical sounds for a functioning air conditioner.
4. Observe the Cooling Performance: Pay attention to the cooling performance of the air conditioner. Do you feel cool air coming from the vents? Is the airflow strong and consistent? Ensure that the air conditioner is effectively cooling the space and that the air feels comfortable and refreshing.
5. Monitor the Temperature: Use a thermometer to measure the temperature of the air coming out of the air conditioner’s vents. The temperature should be noticeably cooler than the room temperature. If the air is not as cool as expected, it may indicate a problem that needs further investigation or adjustment.
6. Check for Even Cooling: Walk around your home or the area being cooled by the air conditioner. Observe if the cooling is consistent throughout the space. Ensure there are no noticeable hotspots or areas where the cooling is insufficient. If you encounter uneven cooling, it may indicate a problem with the distribution system or other issues that need attention.
7. Monitor Energy Consumption: Keep an eye on your energy consumption after recharging the air conditioner. If the air conditioner is operating for extended periods or there is a significant increase in energy usage, it could suggest an underlying issue that requires professional diagnosis and correction.
8. Schedule Regular Maintenance: Regular maintenance is crucial to keep your air conditioner in top working condition. Consider scheduling professional maintenance at least once a year to ensure optimal performance, prevent potential problems, and extend the lifespan of your air conditioner.
By carefully testing your air conditioner, you can ensure that the recharge process has been successful and that the system is providing efficient and effective cooling. If you encounter any issues or concerns during the testing phase, it’s always advisable to consult with a professional HVAC technician for further guidance and assistance.
With the testing phase complete, let’s move on to the final section of this guide, where we’ll provide some important tips and precautions to keep in mind when recharging your home air conditioner.
Final Tips and Precautions
As you wrap up the process of recharging your home air conditioner, here are some final tips and precautions to keep in mind:
1. Safety First: Prioritize safety throughout the recharge process. Wear safety goggles and gloves to protect yourself from any refrigerant leaks or spills. Follow all safety instructions provided by the manufacturer and take necessary precautions when working with electrical components.
2. Read the Manual: Always refer to the air conditioner’s manual for specific instructions and guidelines. Different air conditioners may have unique requirements or procedures, and it’s important to follow the manufacturer’s recommendations for successful recharging.
3. Consult an HVAC Professional: If you are unsure about any aspect of recharging your air conditioner, or if you encounter complex issues like refrigerant leaks or system malfunctions, it’s best to seek assistance from a qualified HVAC professional. They have the knowledge and expertise to handle the task safely and effectively.
4. Regular Maintenance: Recharging your air conditioner should not be your only form of maintenance. Regularly scheduled maintenance, such as cleaning the filters, coils, and fins, is important for the overall performance and longevity of your air conditioner. Consider scheduling professional maintenance at least once a year.
5. Proper Refrigerant Handling: Ensure you handle refrigerant according to industry best practices. Improper handling of refrigerant can harm the environment and pose health risks. Follow local regulations for disposing of refrigerant canisters and seek advice from recycling facilities or HVAC professionals.
6. Keep the Area Well-Ventilated: When recharging your air conditioner, ensure that the area is well-ventilated to allow any released refrigerant gases to disperse. Work in an open, well-ventilated space to minimize the risk of inhalation.
7. Mind the Environment: Be mindful of the environmental impact of refrigerants. R-22, for example, is a hydrochlorofluorocarbon (HCFC) that is gradually being phased out due to its ozone-depleting potential. Consider transitioning to newer, more environmentally friendly refrigerants, such as R-410A.
8. Consider Professional Assistance: While recharging your air conditioner can be a DIY task, it’s important to know your limitations. If you are uncomfortable or have concerns about handling refrigerants or working with complex equipment, it may be best to hire a professional HVAC technician to recharge your air conditioner.
By following these tips and taking precautions, you can successfully recharge your home air conditioner while ensuring the safety and efficiency of the system. Remember, if you are ever unsure or encounter any difficulties, it’s always best to seek professional assistance. Regular maintenance and proper care are key to enjoying optimal cooling comfort in your home for years to come.
With that, you have reached the end of our comprehensive guide on how to recharge a home air conditioner. We hope this information has been helpful and that you feel confident in maintaining your air conditioning system. Stay cool and comfortable!
Conclusion
Congratulations! You have successfully reached the end of our comprehensive guide on how to recharge a home air conditioner. We have covered everything you need to know to confidently recharge your air conditioner and restore its cooling performance. By following the steps and tips outlined in this guide, you can effectively maintain your air conditioning system and enjoy a comfortable and cool home.
Throughout this guide, we discussed the basics of a home air conditioner, signs that indicate a need for recharging, important preparation steps, locating the AC service valve, attaching the recharging hose, adding refrigerant, checking for leaks, testing the air conditioner, and important tips and precautions to keep in mind. Armed with this knowledge, you are now equipped to recharge your air conditioner with confidence.
Remember, safety should always be a top priority. Wear appropriate protective gear, follow safety guidelines, and consult the air conditioner’s manual for specific instructions. If you have any doubts or encounter complex issues during the recharge process, it’s best to seek assistance from a qualified HVAC professional.
Regular maintenance is also essential for the longevity and optimal performance of your air conditioner. Schedule annual maintenance to ensure your system is clean, free of leaks, and operating efficiently. Additionally, be mindful of the environmental impact of refrigerants and handle them responsibly, in accordance with local regulations.
We hope this guide has been a valuable resource for you and has empowered you to effectively recharge your home air conditioner. Remember, a well-maintained air conditioning system provides cool and comfortable living spaces, allowing you to beat the heat and enjoy your home even during the hottest months.
Thank you for joining us on this informative journey. Stay cool and enjoy the refreshing coolness of your newly recharged air conditioner!
Frequently Asked Questions about How To Recharge A Home Air Conditioner
Was this page helpful?
At Storables.com, we guarantee accurate and reliable information. Our content, validated by Expert Board Contributors, is crafted following stringent Editorial Policies. We're committed to providing you with well-researched, expert-backed insights for all your informational needs.