Home>Home Maintenance>How To Replace An Outside Dryer Vent Cover

Home Maintenance
How To Replace An Outside Dryer Vent Cover
Modified: March 6, 2024
Learn how to replace an outside dryer vent cover in this comprehensive home maintenance guide. Ensure proper ventilation for your dryer with our step-by-step instructions.
(Many of the links in this article redirect to a specific reviewed product. Your purchase of these products through affiliate links helps to generate commission for Storables.com, at no extra cost. Learn more)
Introduction
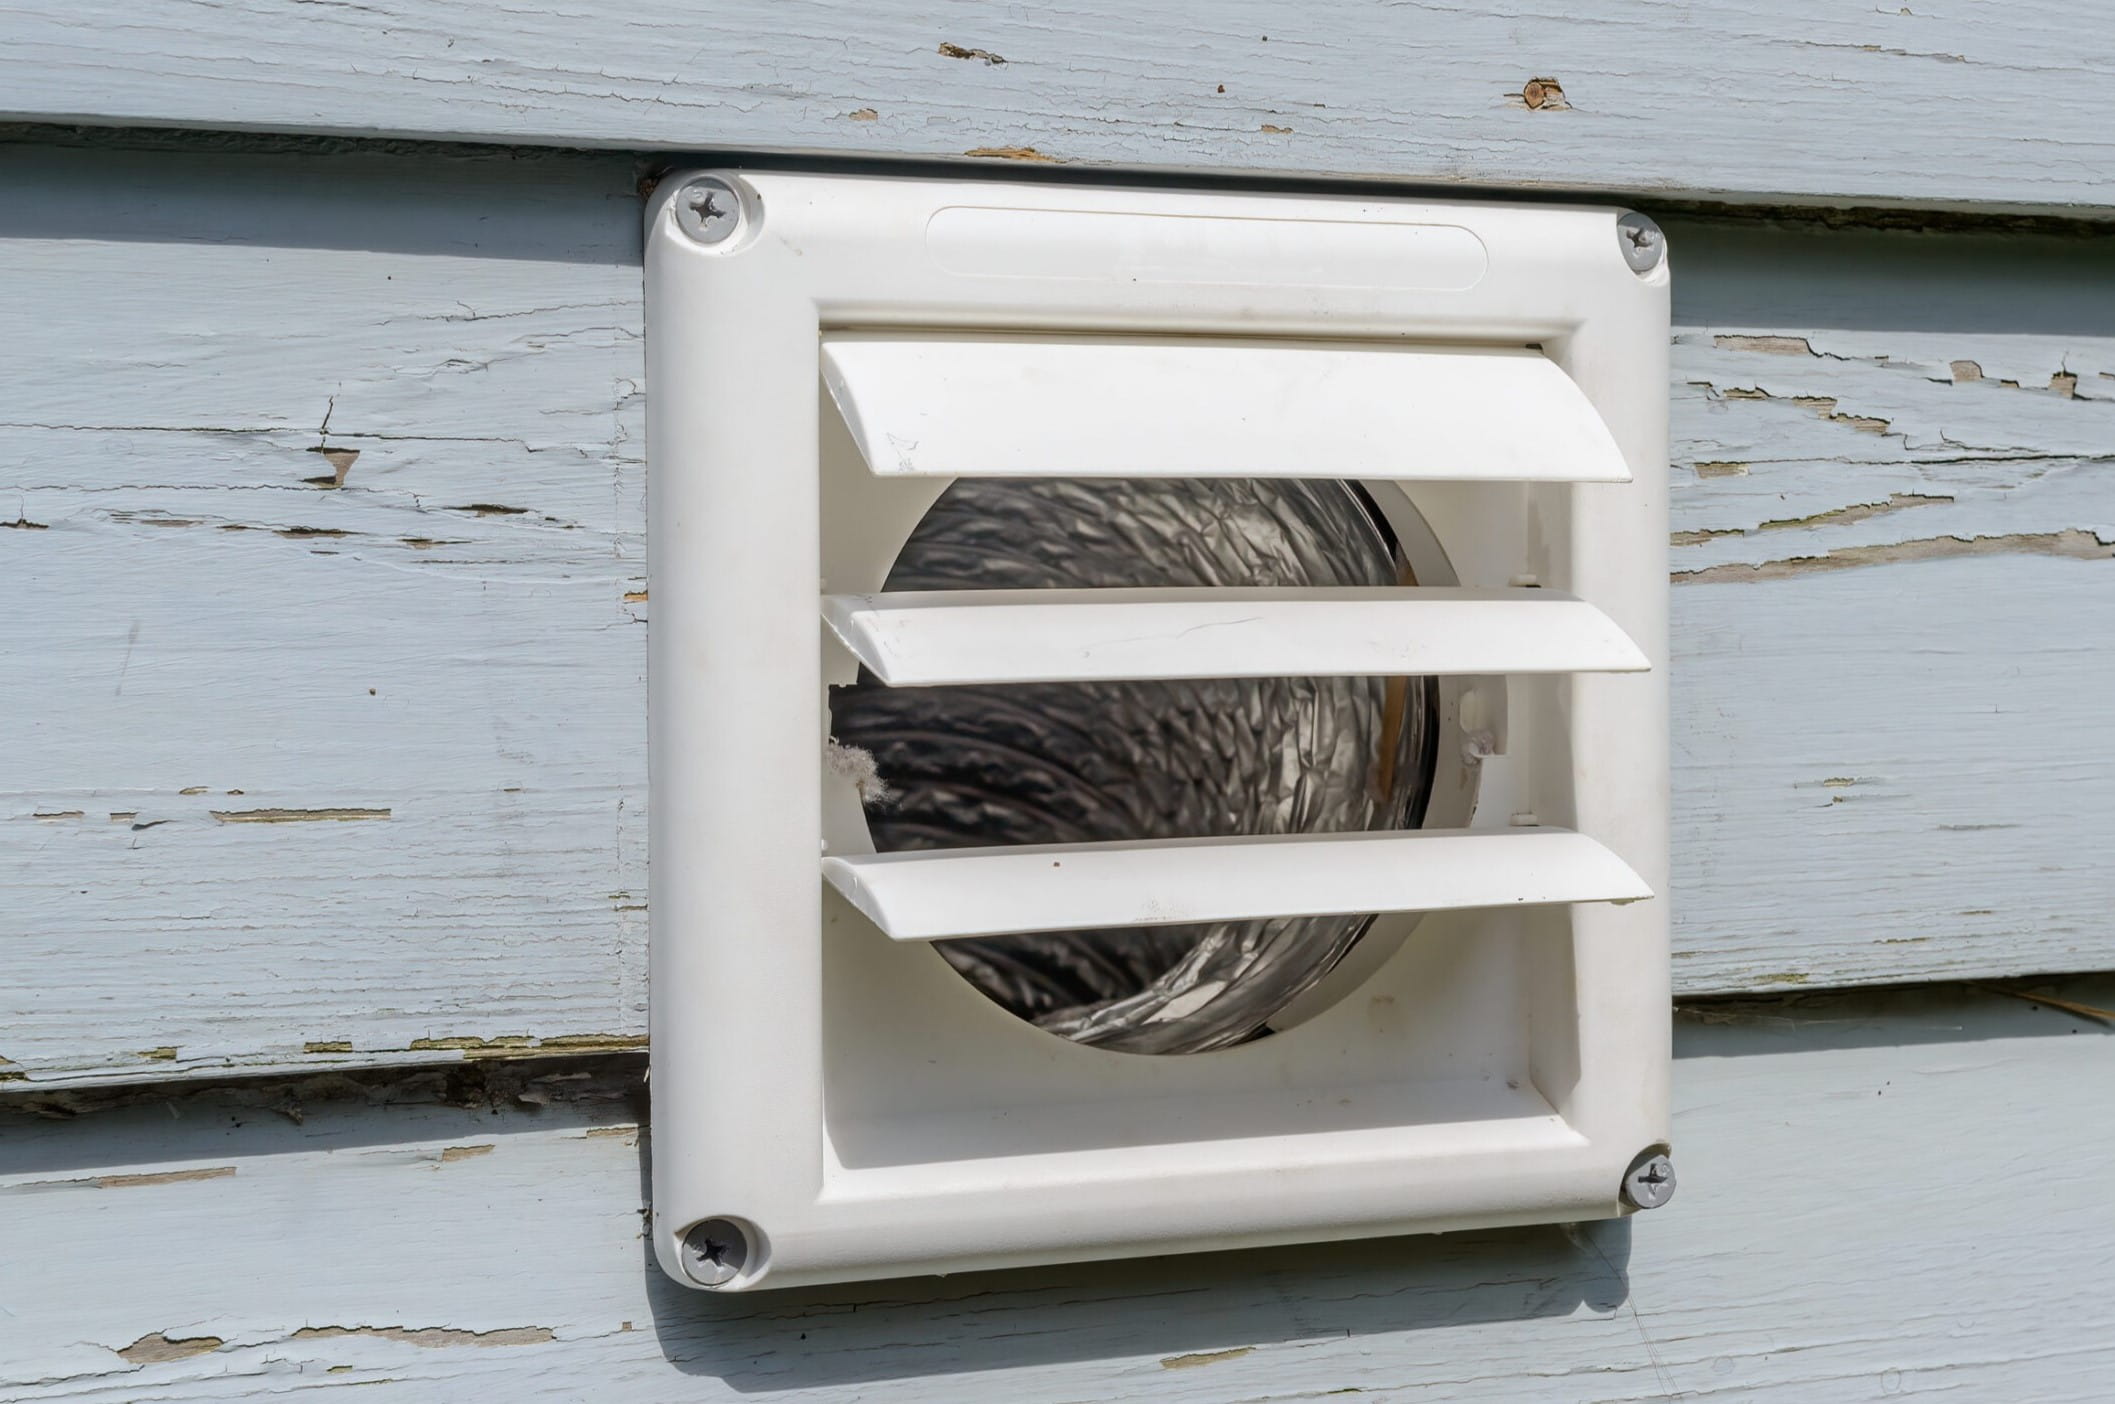
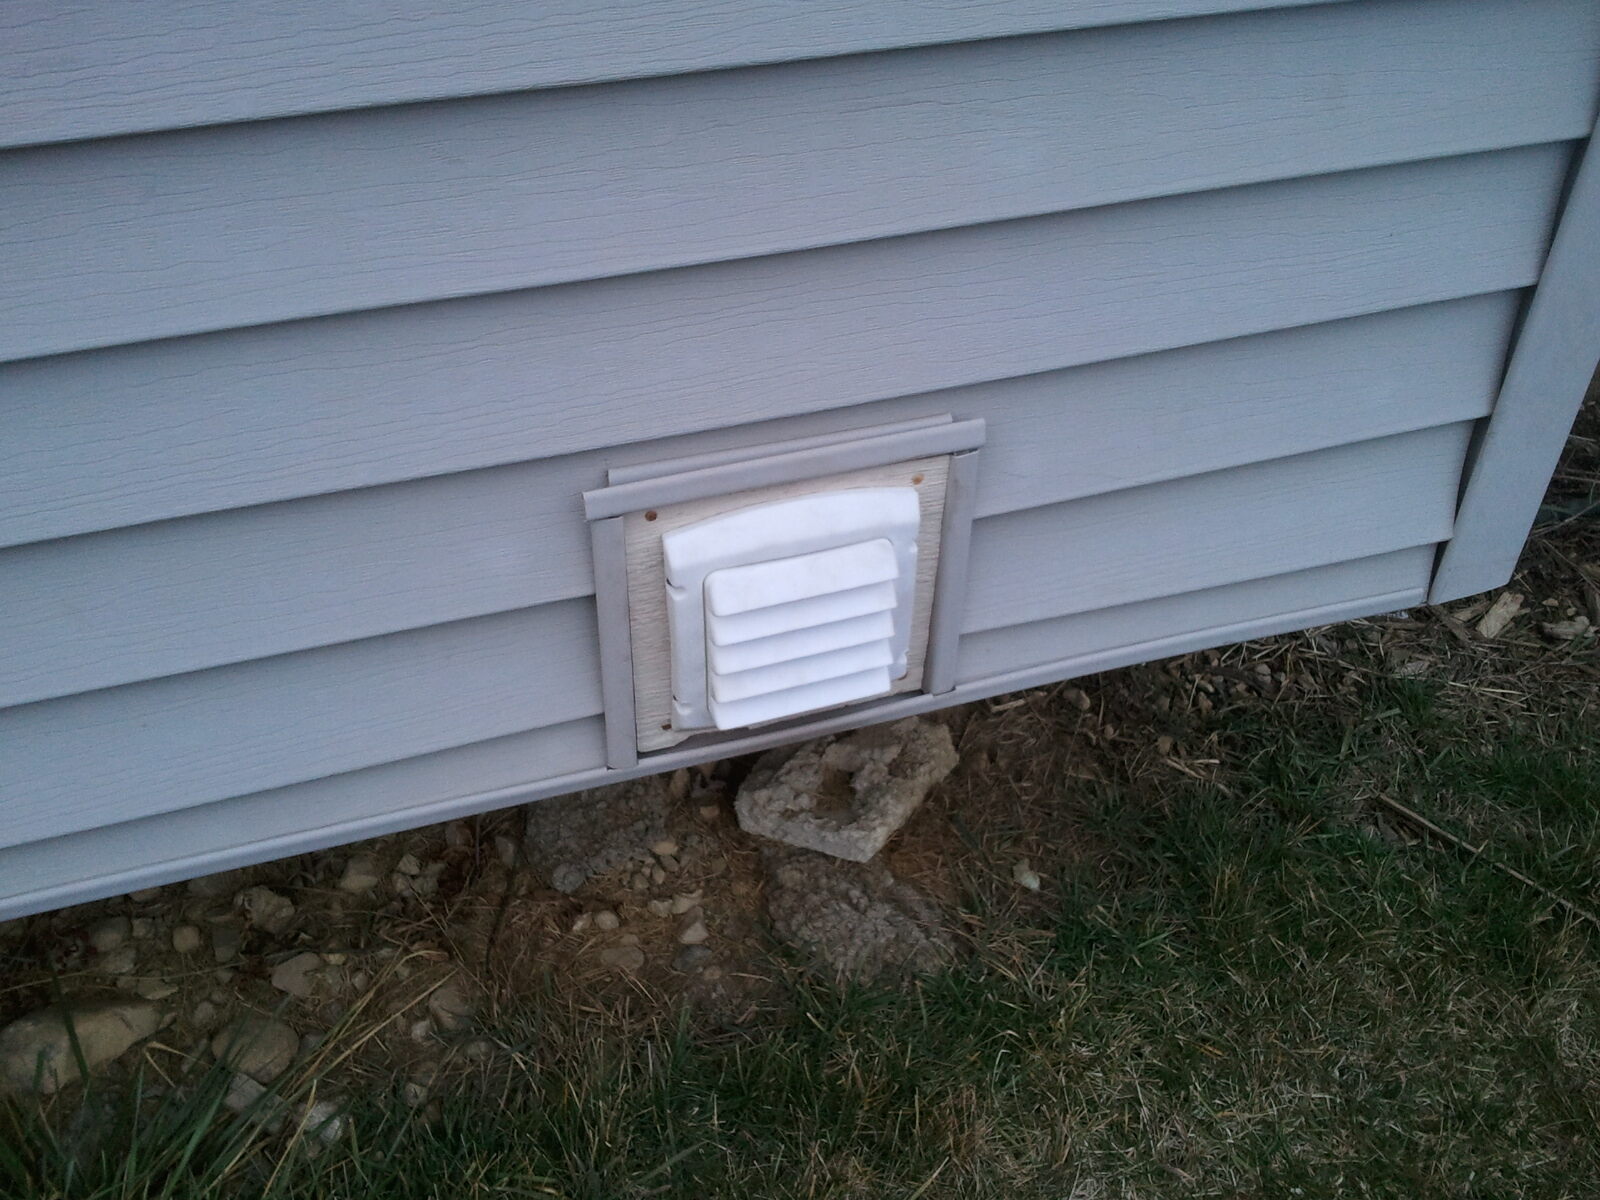
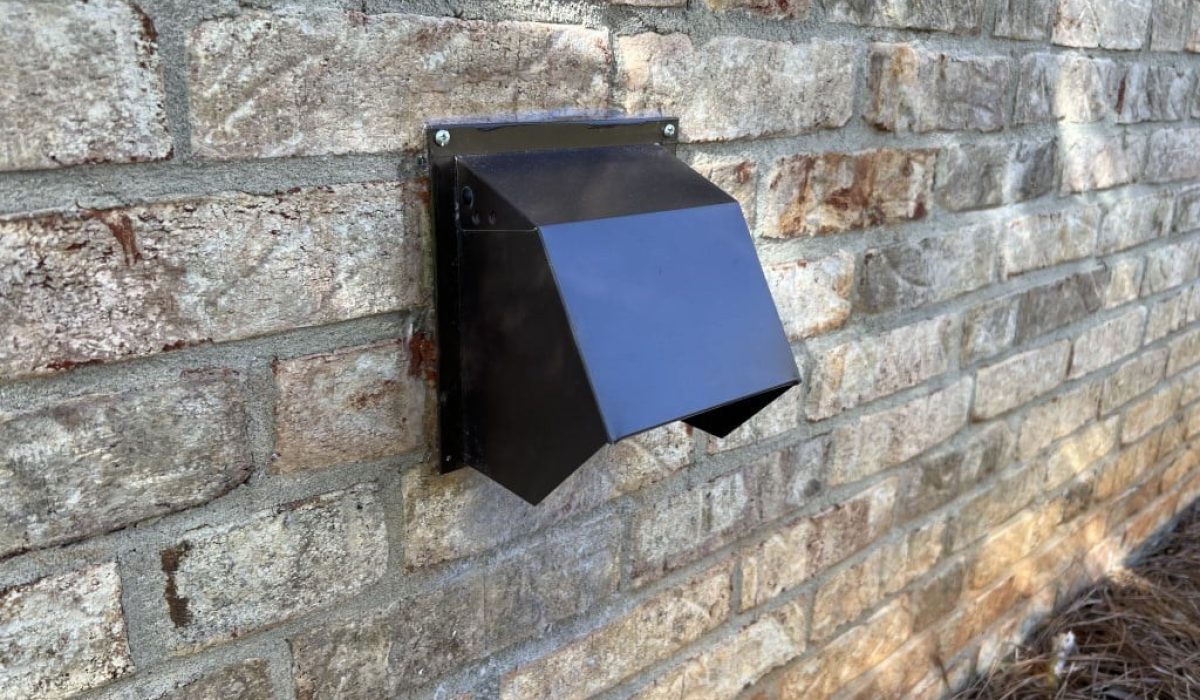
Welcome to our guide on how to replace an outside dryer vent cover. Your dryer vent cover plays a crucial role in protecting your home from outside elements while allowing hot air and moisture to escape. Over time, these covers can become damaged or worn out, compromising their functionality and aesthetics.
Replacing the dryer vent cover is a relatively simple task that you can do yourself with the right tools and a little know-how. In this article, we will walk you through the step-by-step process of replacing the outside dryer vent cover, ensuring that your ventilation system remains efficient and your home stays well-protected.
Before we dive into the details, it’s important to mention that safety should always be your top priority when working on any electrical appliance. Make sure to disconnect the power to the dryer before attempting any repairs to avoid the risk of electric shock.
Now that we’ve established the importance of replacing a damaged vent cover and outlined the necessary safety precautions, let’s move on to the first step of the process: gathering the necessary tools and materials.
Key Takeaways:
- Safety first! Always turn off the power before replacing the dryer vent cover. Gather the right tools and materials, and follow the step-by-step process for a smooth and efficient repair.
- Keep it clean! Cleaning the area around the vent and testing the new cover ensures proper airflow and functionality. Regular maintenance is key to a well-maintained and efficient dryer vent system.
Read more: How To Cover A Dryer Vent Outside
Step 1: Gather the necessary tools and materials
Before starting the process of replacing your outside dryer vent cover, it’s essential to gather all the tools and materials you’ll need. By having everything prepared in advance, you can ensure a smooth and efficient repair process.
Here’s a list of the tools and materials you’ll need:
- Screwdriver (either flathead or Phillips, depending on the type of screws)
- New dryer vent cover
- Drill (if required)
- Screws
- Measuring tape
- Caulk or weatherproof sealant
- Safety gloves
The type of tools and materials required may vary depending on the specific vent cover you’re replacing, so make sure to check the instructions or manufacturer’s recommendations for any specific requirements.
Once you’ve gathered all the necessary tools and materials, you’re ready to move on to the next step: turning off the power.
Step 2: Turn off the power
Before you begin working on replacing the outside dryer vent cover, it’s crucial to ensure your safety by turning off the power to the dryer. This step will eliminate the risk of electric shock or damage to the appliance.
To turn off the power, follow these steps:
- Locate the electrical panel in your home. This panel is usually found in the basement, utility room, or garage.
- Open the panel door by removing any screws or latches that may be holding it in place.
- Locate the circuit breaker that controls the power to your dryer. It is typically labeled as “dryer” or may be identified by a specific number.
- Switch the circuit breaker to the “off” position. You may need to flip the switch all the way down or to the opposite side, depending on the design of your panel.
- Double-check that the power is indeed off by attempting to turn on the dryer from the control panel. If it doesn’t start, then you have successfully turned off the power.
By taking this precautionary step, you can work on replacing the vent cover without worrying about electrical hazards. Safety should always be your top priority when working with any electrical appliance.
With the power turned off, you’re now ready to move on to the next step: removing the old dryer vent cover.
Step 3: Remove the old dryer vent cover
Now that you’ve gathered the necessary tools, materials, and turned off the power, it’s time to remove the old dryer vent cover. Follow these steps to complete this task:
- Inspect the vent cover for any visible screws or fasteners that are holding it in place. Use a screwdriver (either flathead or Phillips) to remove these screws and set them aside carefully.
- If the vent cover is sealed with caulk or adhesive, gently score along the edges using a utility knife or putty knife. This will help loosen the seal and make it easier to remove.
- Once the screws and sealant have been dealt with, grasp the old vent cover firmly and pull it away from the wall or siding. Be cautious not to damage any surrounding materials.
- If necessary, use a prying tool or a flathead screwdriver to help loosen the vent cover from its position.
While removing the old vent cover, take note of any damage or wear that might have contributed to its failure. This information will help you assess the condition of your ventilation system and make any necessary repairs or replacements.
After successfully taking out the old vent cover, set it aside for disposal. Now, it’s time to proceed to the next step: cleaning the area around the vent.
Step 4: Clean the area around the vent
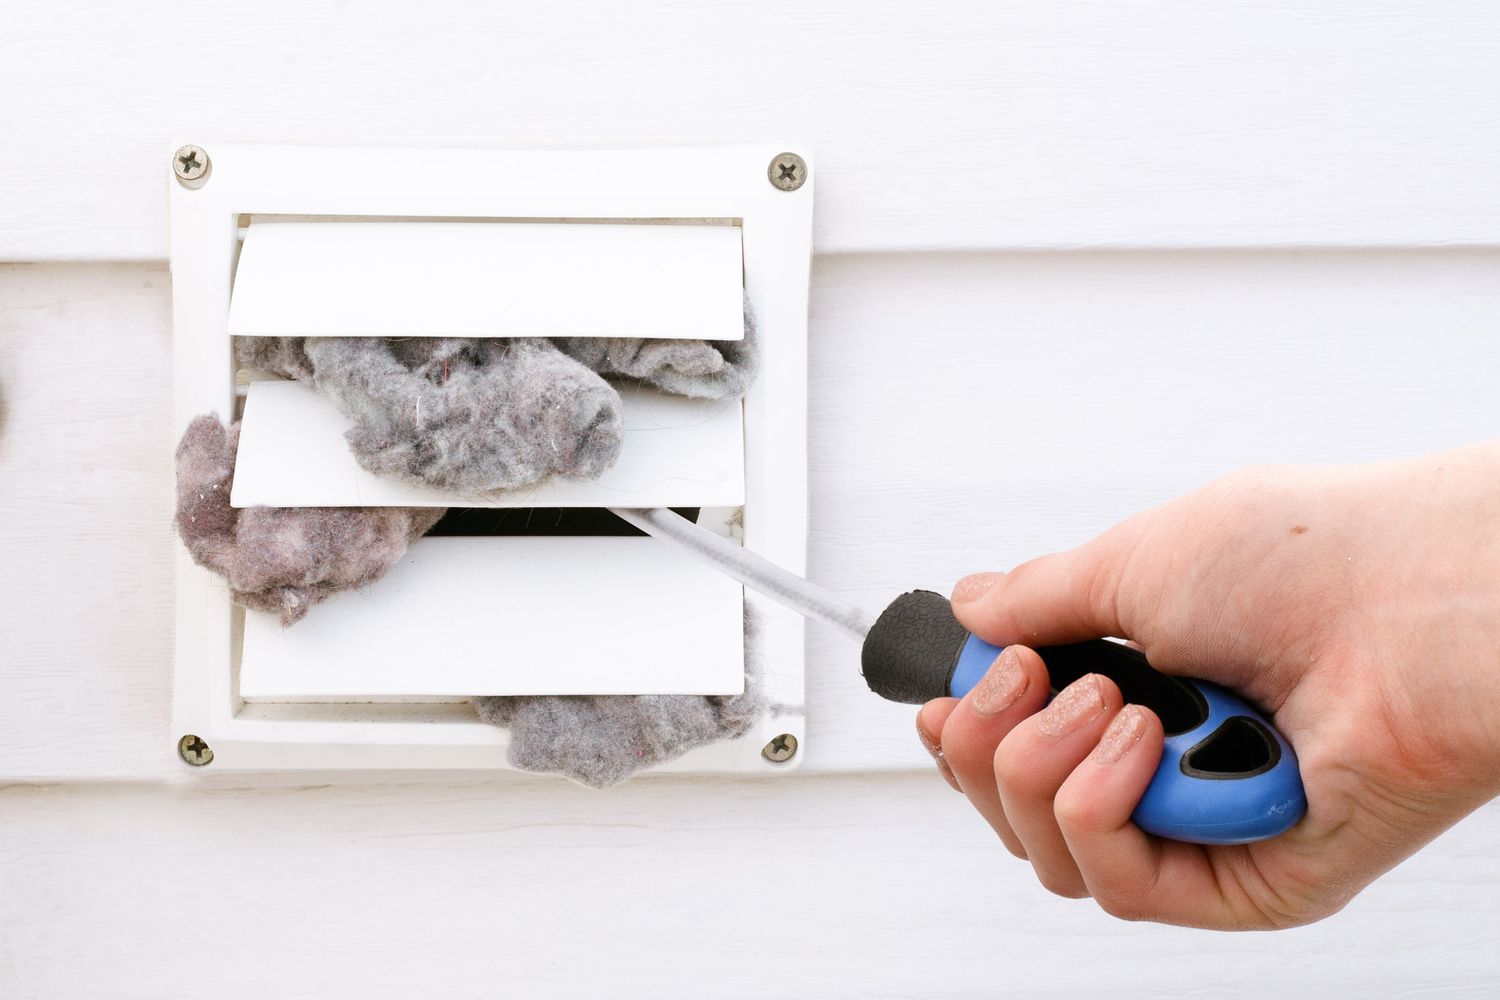
With the old dryer vent cover removed, it’s important to clean the area around the vent to ensure a proper installation of the new cover. Over time, dust, debris, and lint can accumulate, obstructing the airflow and potentially causing ventilation issues.
Follow these steps to clean the area around the vent:
- First, put on a pair of safety gloves to protect your hands from any sharp edges or debris.
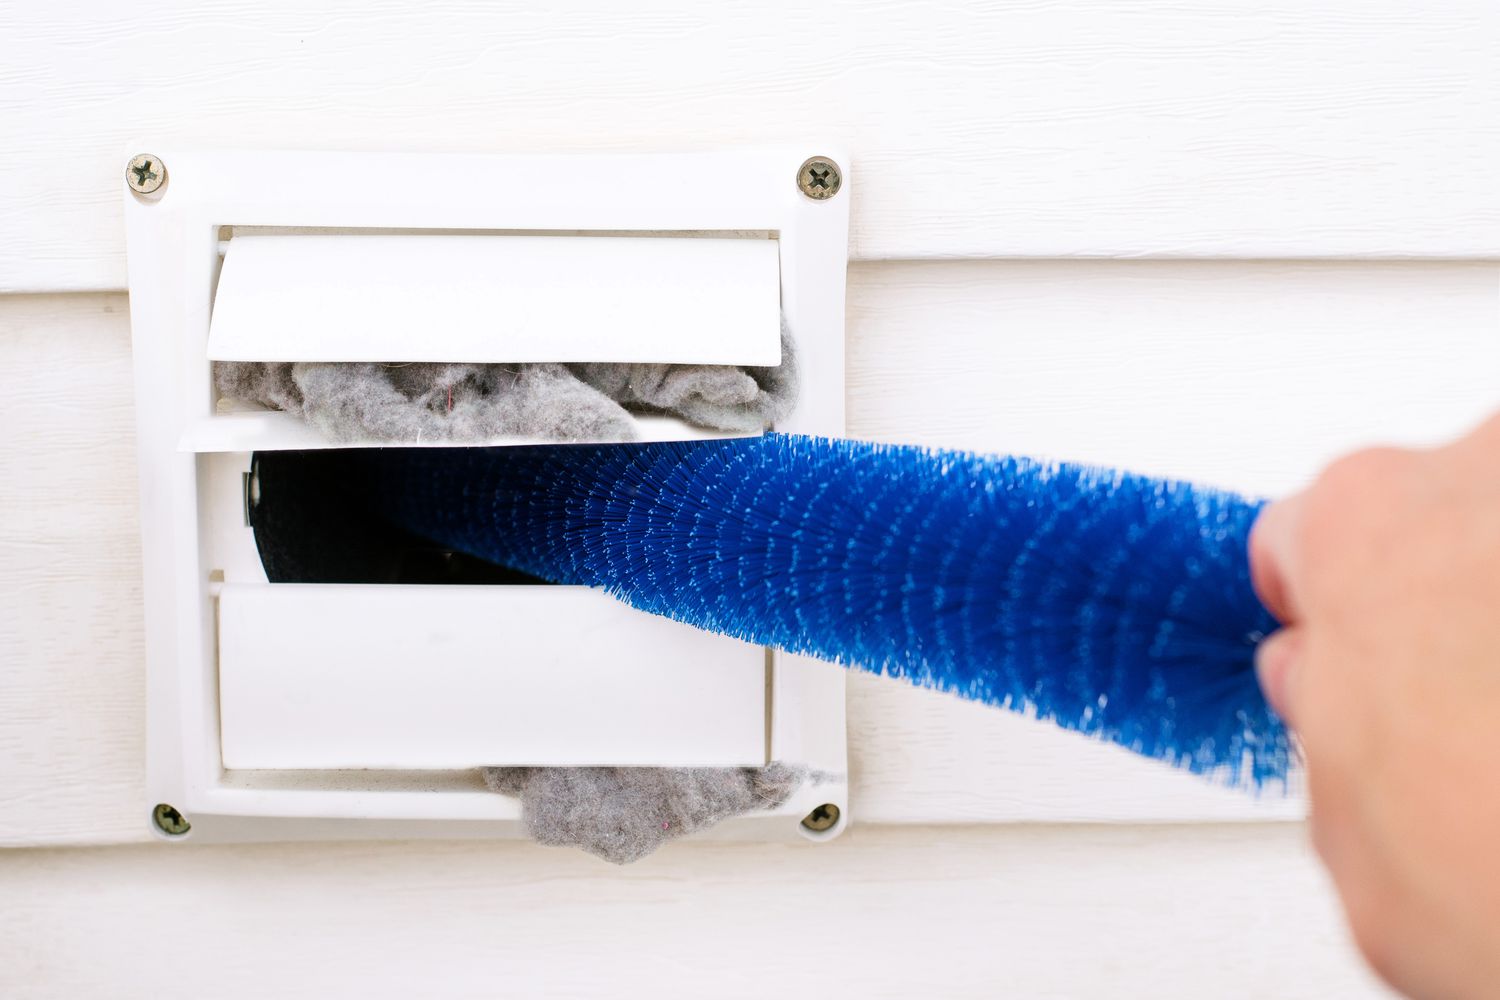
- Use a vacuum cleaner or a brush attachment to remove any loose dirt, lint, or debris from the vent opening. Pay extra attention to the inside walls of the vent pipe, as lint buildup can be a fire hazard.
- Inspect the area carefully for any signs of damage, such as cracks or gaps in the wall or siding. If you notice any, you may need to make repairs before installing the new vent cover. Consulting a professional might be necessary in such cases.
- Wipe down the area around the vent with a damp cloth to remove any remaining dirt or dust. This will provide a clean surface for the new vent cover to adhere to.
By thoroughly cleaning the area, you ensure that the new dryer vent cover will fit properly and promote optimal air circulation. Now that the area is clean, we can move on to the next step: installing the new dryer vent cover.
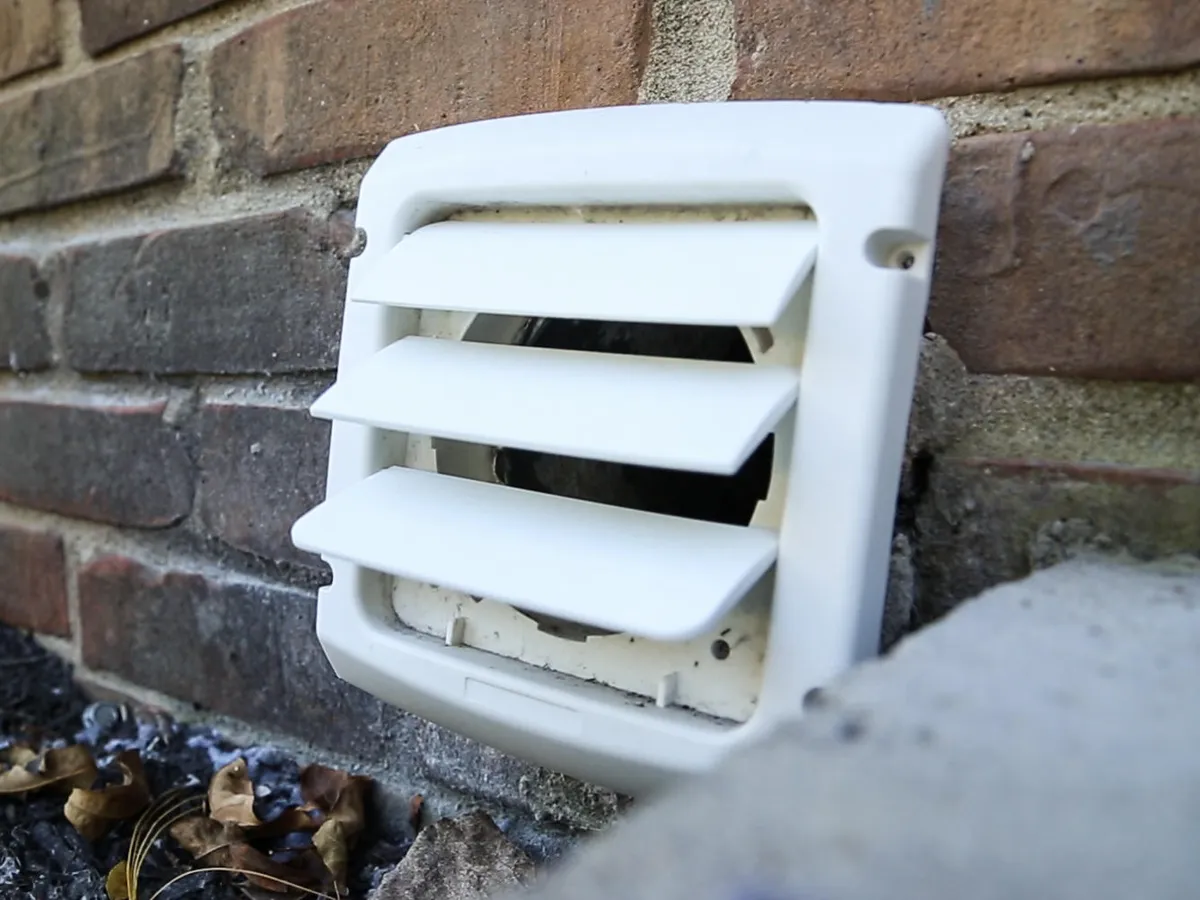
When replacing an outside dryer vent cover, make sure to measure the existing cover before purchasing a new one to ensure a proper fit. Use a screwdriver to remove the old cover and install the new one using the same screws.
Read more: How To Remove An Outside Dryer Vent Cover
Step 5: Install the new dryer vent cover
Now that you have cleaned the area around the vent, it’s time to install the new dryer vent cover. Follow these steps to ensure a proper installation:
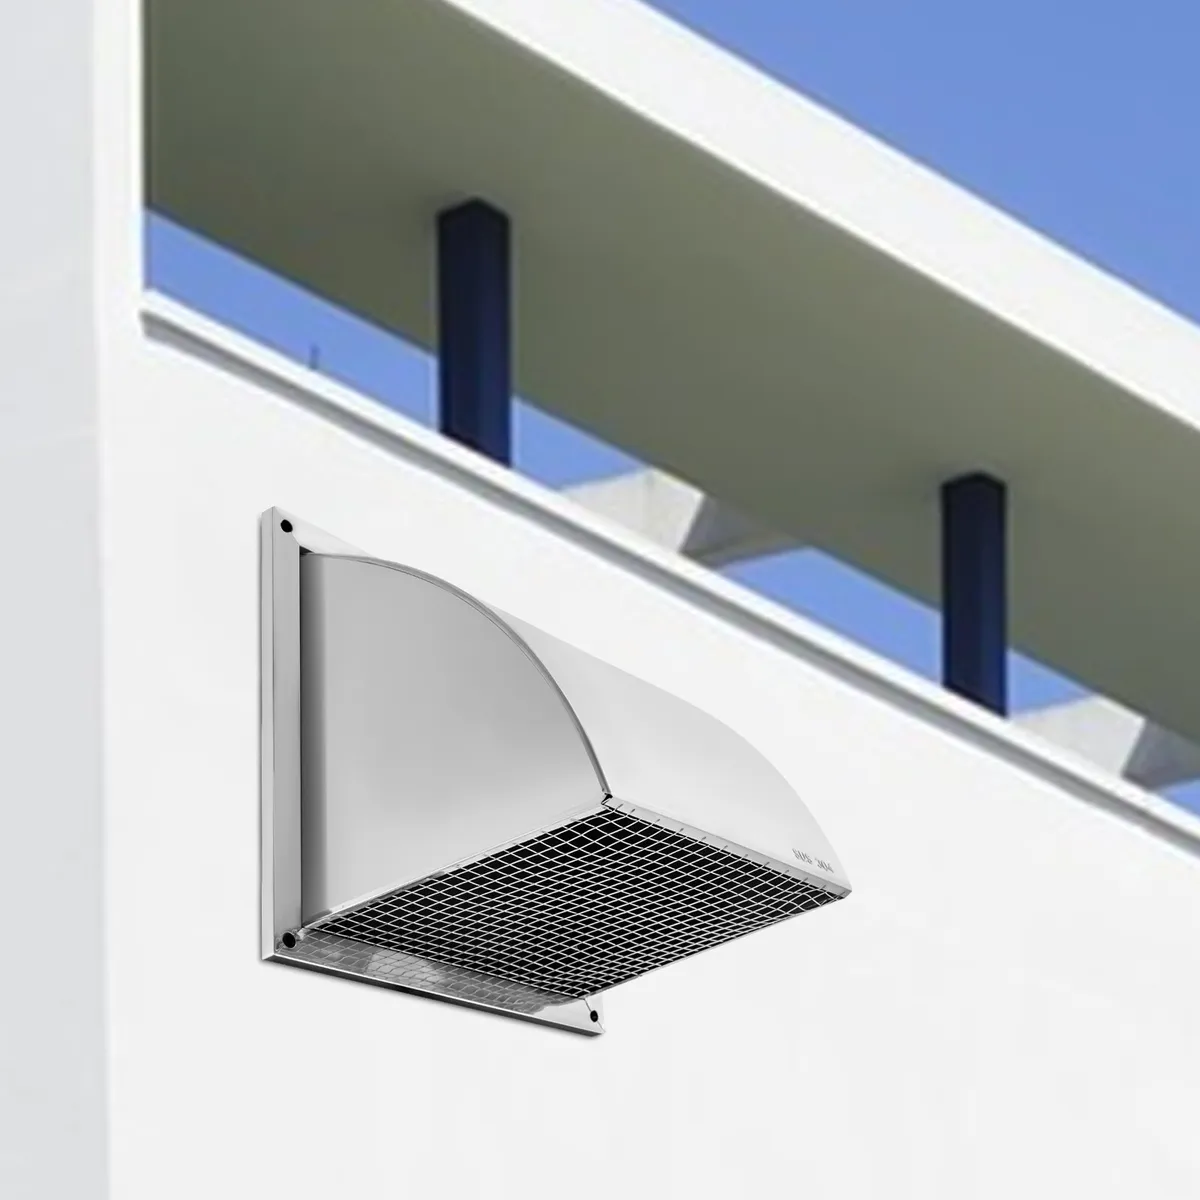
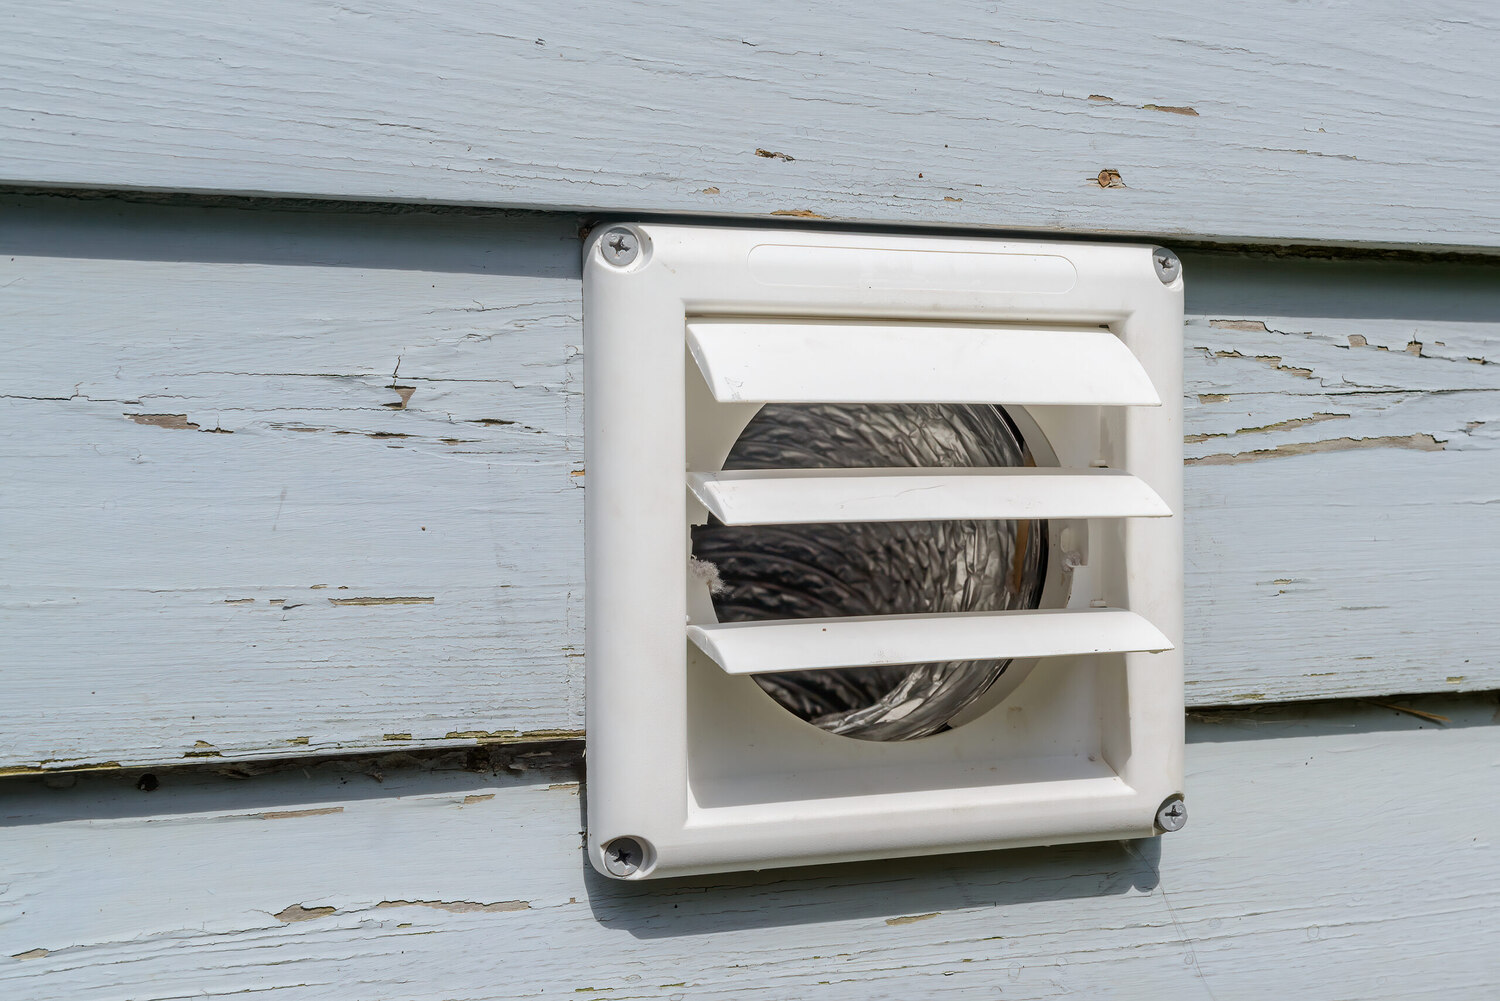
- Take the new dryer vent cover and position it over the vent opening. Make sure it aligns properly and covers the entire opening.
- Use a measuring tape to ensure that the vent cover is centered and level. This will help achieve a neat and aesthetic look.
- If necessary, mark the locations for screw holes on the wall or siding using a pencil or marker. This step is especially important if your new vent cover requires additional screws for installation.
- If your new vent cover comes with a mounting plate, attach it securely to the wall or siding using screws and a drill, following the manufacturer’s instructions.
- Place the new vent cover onto the mounting plate or directly over the vent opening.
It’s important to note that the installation process may vary depending on the type and design of the vent cover you have chosen. Follow the specific instructions provided by the manufacturer to ensure a proper and secure installation.
Once the new vent cover is securely in place, we can move on to the next step: securing the cover to prevent any unnecessary movement or damage.
Step 6: Secure the new cover in place
With the new dryer vent cover installed, the next step is to ensure it is securely fastened to prevent any movement or damage. Properly securing the vent cover will help maintain its functionality and longevity. Follow these steps to secure the new cover:
- If your new vent cover requires screws for attachment, use a screwdriver or drill to tighten them. Make sure to follow the manufacturer’s instructions to determine the appropriate screw size and placement.
- Check that the vent cover is flush against the wall or siding. Adjust it if necessary to ensure a snug fit.
- If your new cover has any built-in clips or latches, engage them to further secure the vent cover in place.
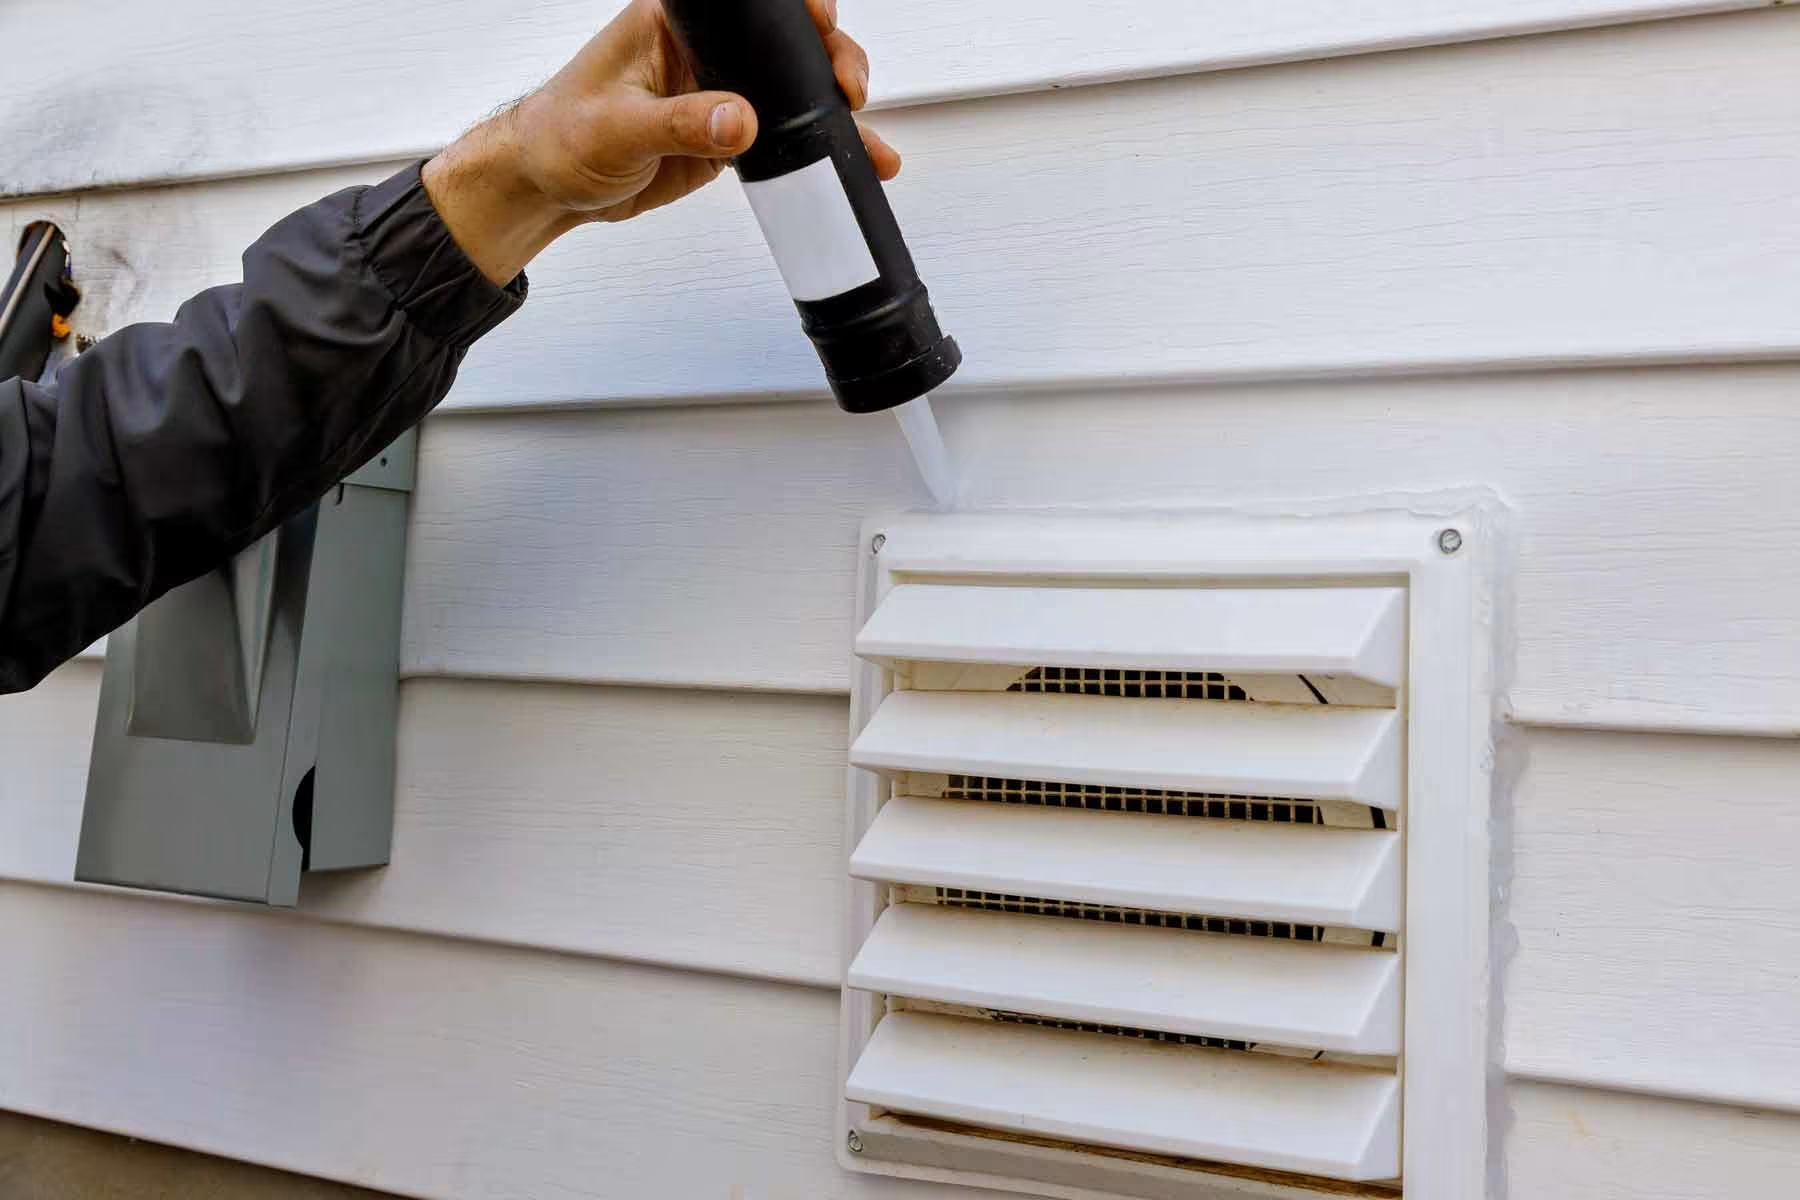
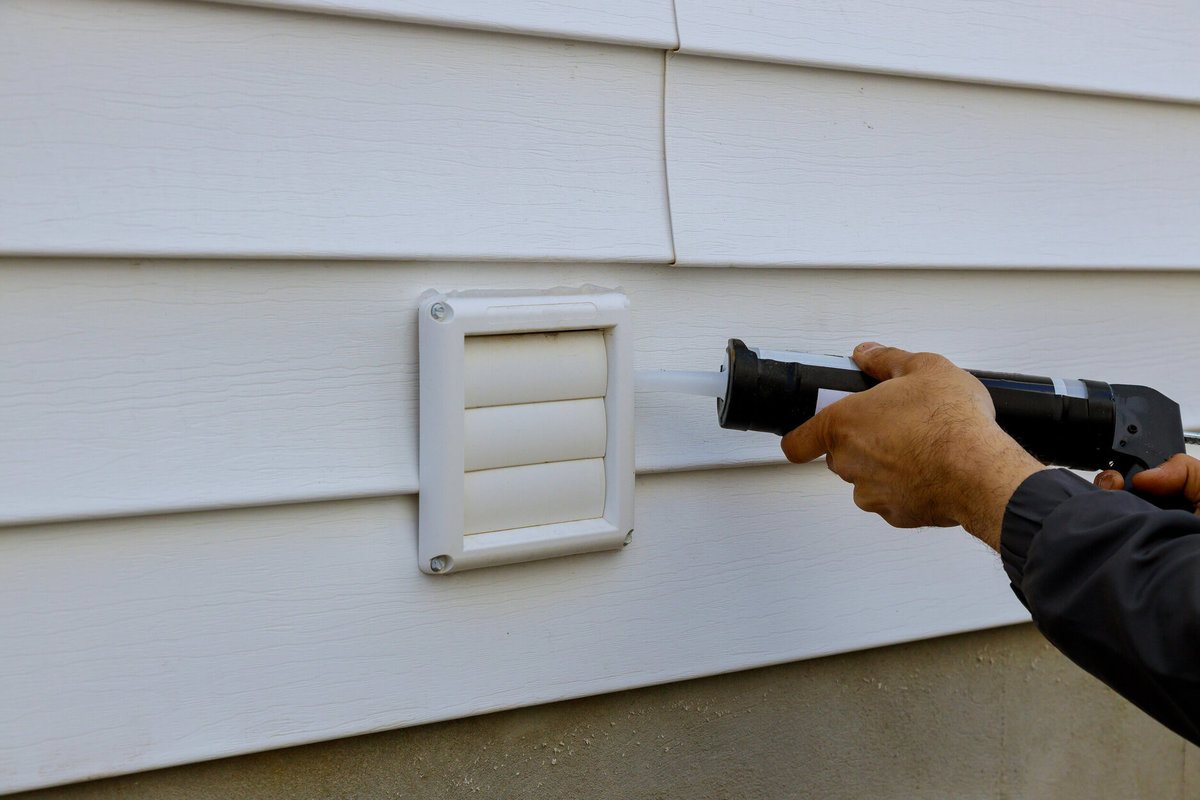
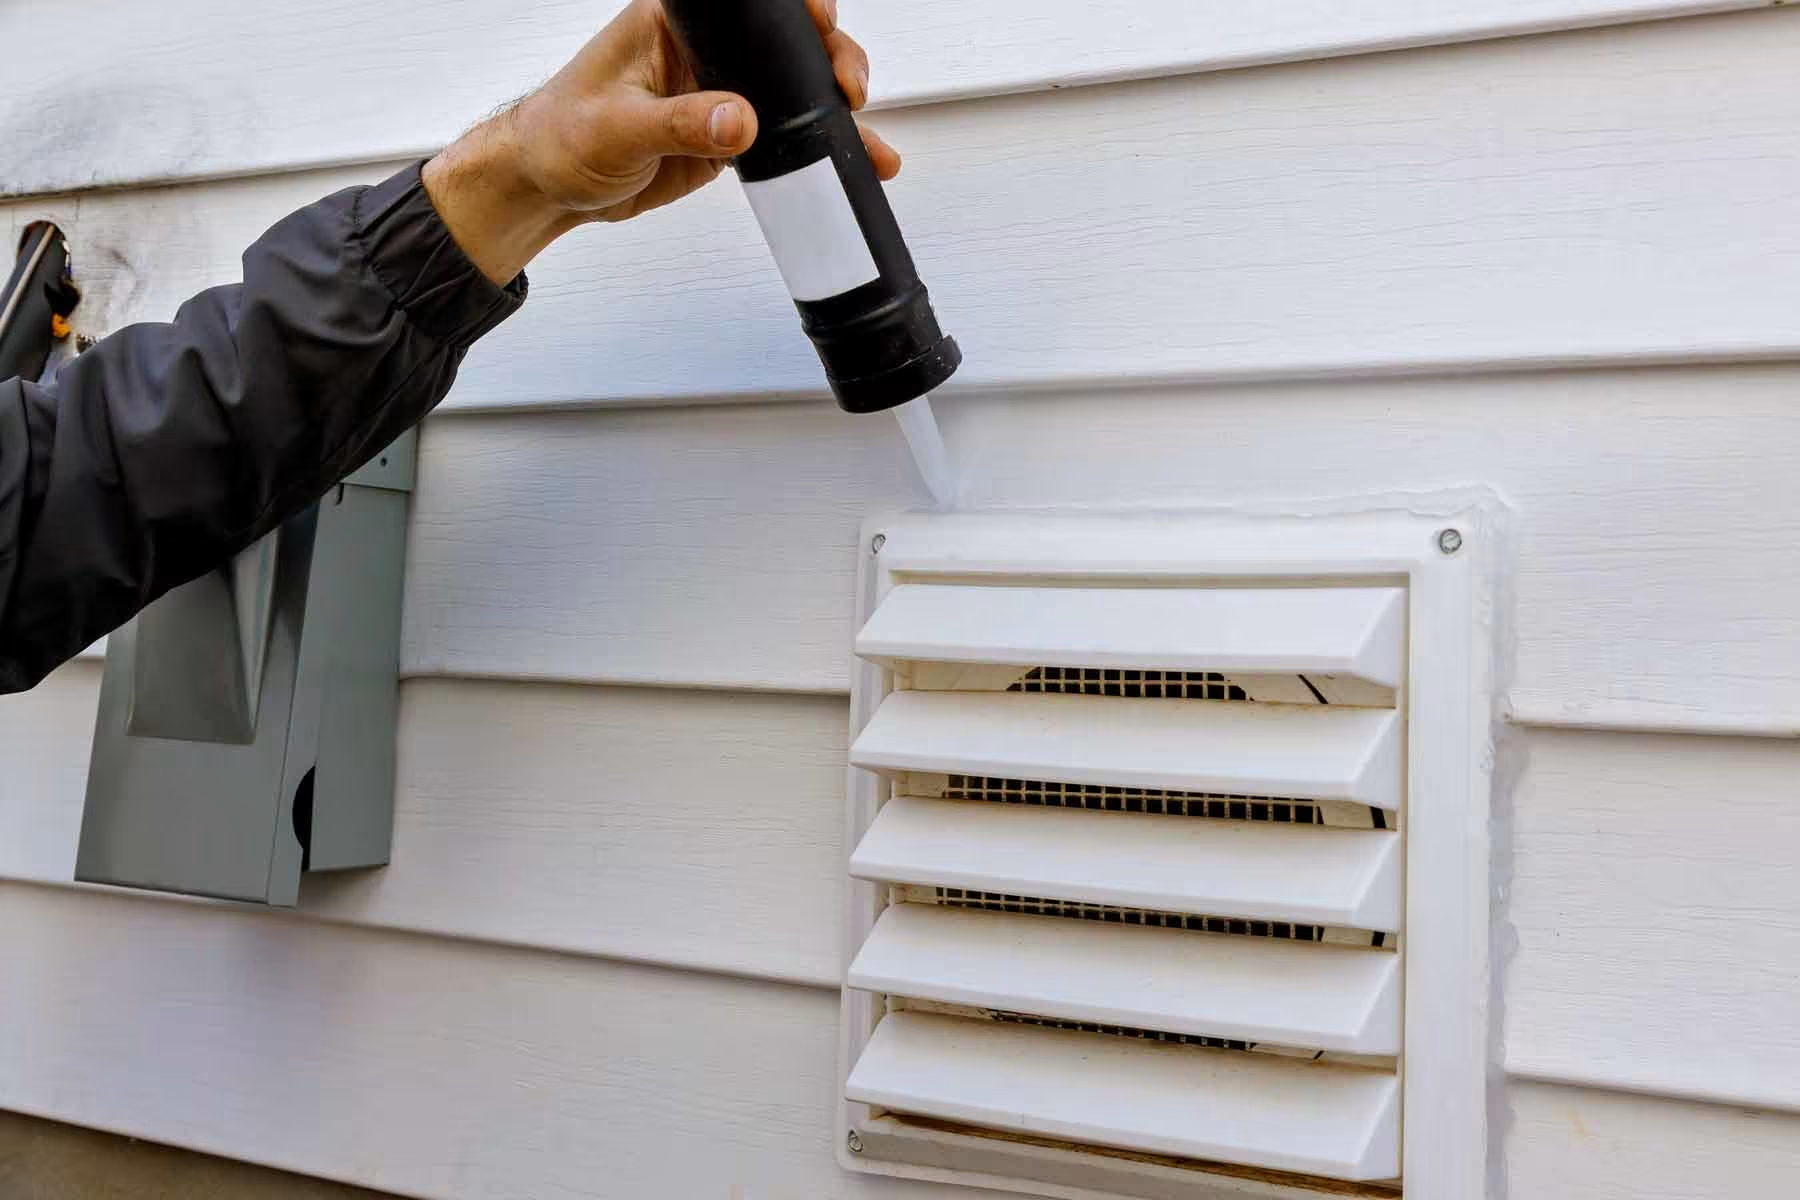
- Inspect the perimeter of the vent cover for any gaps or spaces. If you notice any, consider using caulk or weatherproof sealant to fill them. This will help prevent the entry of insects, drafts, or moisture.
By properly securing the new vent cover, you can ensure it stays in place and functions effectively. Take your time during this step to ensure that everything is tightly secured.
Now that the new vent cover is securely installed and fastened, we can move on to the final step: testing the new vent cover to ensure proper airflow.
Step 7: Test the new vent cover
After installing and securing the new dryer vent cover, it’s important to test it to ensure proper airflow and functionality. This final step will help you confirm that the vent cover is working effectively and that there are no obstructions or issues.
Follow these steps to test the new vent cover:
- Turn on the power to the dryer by flipping the circuit breaker back to the “on” position.
- Allow the dryer to run for a few minutes, and then check for any signs of ventilation issues, such as reduced airflow or unusual noises.
- Inspect the vent cover from the outside. Ensure that it opens and closes smoothly as the dryer runs.
- Feel the airflow around the vent cover to verify that there is a steady and strong flow of warm air.
If you notice any problems during the testing process, such as weak airflow or abnormal sounds, you may need to recheck the installation or consult a professional. It’s crucial to address any ventilation issues promptly to ensure the safety and efficiency of your dryer.
Congratulations! You have successfully replaced the outside dryer vent cover. By following these steps, you can enjoy proper ventilation, improved energy efficiency, and a well-maintained home.
Remember to periodically check and clean your dryer vent system to prevent lint buildup and potential hazards. Regular maintenance will help extend the lifespan of your dryer and ensure its optimal performance.
Thank you for following our guide on how to replace an outside dryer vent cover. We hope this article has been informative and helpful. If you have any further questions or need assistance, feel free to reach out to a professional for guidance.
Happy dryer vent maintenance!
Conclusion
Replacing an outside dryer vent cover is a simple and important task that can improve the functionality and aesthetics of your home’s ventilation system. By following the step-by-step guide outlined in this article, you can confidently replace the old vent cover with a new one, ensuring optimal airflow and protection.
Remember, before starting the replacement process, always prioritize your safety by turning off the power to the dryer. Additionally, gather all the necessary tools and materials to ensure a seamless repair process.
Once the power is disconnected and the old vent cover is removed, take the time to clean the area around the vent, removing any lint, debris, or dirt that may obstruct airflow. This will create a clean surface for the new vent cover to be installed.
When installing the new vent cover, make sure it is centered and level, using measurements and markings if necessary. Secure the cover with screws or other fasteners, and consider sealing any gaps or spaces with caulk or weatherproof sealant to prevent unwanted drafts or moisture from entering.
After installation, test the new vent cover by turning on the power and running the dryer. Check for proper airflow, any unusual sounds, and make sure the vent cover opens and closes smoothly. If any issues arise, address them promptly to ensure the efficient operation of your dryer.
Regular maintenance and cleaning of your dryer vent system are essential to prevent lint buildup or obstructions that can compromise safety and efficiency. By following these guidelines and remaining proactive, you can ensure the longevity and reliability of your dryer and ventilation system.
Thank you for following our comprehensive guide on how to replace an outside dryer vent cover. We hope this article has been informative and valuable. If you have any further questions or require professional assistance, do not hesitate to seek help. Enjoy the benefits of a properly functioning and well-maintained dryer vent system!
Frequently Asked Questions about How To Replace An Outside Dryer Vent Cover
Was this page helpful?
At Storables.com, we guarantee accurate and reliable information. Our content, validated by Expert Board Contributors, is crafted following stringent Editorial Policies. We're committed to providing you with well-researched, expert-backed insights for all your informational needs.
