Home>Home Maintenance>How Long Should A Dryer Vent Be
Home Maintenance
How Long Should A Dryer Vent Be
Modified: October 20, 2024
Learn about the optimal length for a dryer vent in this comprehensive guide on home maintenance. Keep your home safe and efficient!
(Many of the links in this article redirect to a specific reviewed product. Your purchase of these products through affiliate links helps to generate commission for Storables.com, at no extra cost. Learn more)
Introduction
Having a properly installed and maintained dryer vent is essential for the efficient operation of your dryer and the safety of your home. When it comes to the length of your dryer vent, getting it right is crucial. A dryer vent that is too short or too long can result in various issues, including decreased dryer performance, increased energy consumption, and even potential fire hazards.
In this article, we will explore the importance of determining the correct length for your dryer vent and the factors to consider when making this decision. We will also discuss common mistakes to avoid and the consequences of an incorrect dryer vent length. Additionally, we will provide a step-by-step guide for measuring and installing your dryer vent, along with tips for testing and maintaining its efficiency.
By following the guidelines and recommendations outlined in this article, you can ensure that your dryer vent is optimized for efficient airflow, minimize the risk of lint buildup and fire hazards, and extend the lifespan of your dryer.
So, let’s dive in and discover everything you need to know about finding the ideal length for your dryer vent!
Key Takeaways:
- Properly measuring and installing a dryer vent is crucial for efficient drying and safety. Follow manufacturer recommendations and avoid common mistakes to prevent reduced performance, energy consumption, and fire hazards.
- Regularly inspect and clean your dryer vent system to prevent lint buildup and ensure proper airflow. Following safety measures like not overloading the dryer is also critical for efficient and safe operation.
Read more: How Long Can A Dryer Vent Be
Importance of Proper Dryer Vent Length
The length of your dryer vent plays a vital role in ensuring the optimal performance of your dryer and maintaining a safe environment in your home. Here’s why it’s important to get the length of your dryer vent right:
1. Efficient Airflow: A properly sized and installed dryer vent allows for smooth airflow, which is essential for effective drying. When the vent is too short, it can lead to restricted airflow, resulting in longer drying times and less efficient operation. On the other hand, if the vent is too long, it can cause airflow resistance, leading to reduced drying efficiency.
2. Energy Efficiency: When your dryer vent is the correct length, your dryer operates at its optimal efficiency. This means it uses less energy to dry your clothes, which can result in significant cost savings over time. Additionally, an efficient dryer consumes less electricity, reducing your carbon footprint and contributing to a more sustainable environment.
3. Fire Safety: Lint accumulation is a major fire hazard in dryer vents. If the vent is too long, it increases the likelihood of lint buildup, as the lint has more distance to travel before it reaches the outside. This can potentially lead to clogs and blockages that restrict airflow and increase the risk of a dryer fire. By ensuring the proper length of your dryer vent, you can minimize the accumulation of lint and reduce the risk of a dangerous fire hazard.
4. Prevents Mold and Mildew: A dryer vent that is too short may not efficiently expel the moist air from the dryer to the outside. As a result, excessive moisture can accumulate in the vent system, leading to the growth of mold and mildew. These types of contaminants not only pose health risks but can also cause damage to your dryer and the surrounding areas.
5. Extends Dryer Lifespan: An improperly installed or excessively long dryer vent can put unnecessary strain on your dryer’s components, leading to premature wear and tear. When the vent is too long, the dryer has to work harder to push the air through the system, which can lead to increased stress on the motor and other internal parts. By ensuring the proper length of your dryer vent, you can help extend the lifespan of your dryer and avoid costly repairs or replacements.
In summary, having the correct length for your dryer vent is crucial for efficient airflow, energy savings, fire safety, prevention of mold and mildew, and the longevity of your dryer. In the following sections, we will discuss the factors to consider when determining the optimal length for your dryer vent and the manufacturer recommendations you should follow.
Factors to Consider when Determining Dryer Vent Length
Before determining the length of your dryer vent, it’s important to consider several factors that can influence the optimal size and configuration. Taking these factors into account will help ensure a well-functioning and safe dryer vent system. Here are the key factors to consider:
1. Manufacturer Specifications: The first and most important factor to consider is the manufacturer’s recommendations for your specific dryer model. Manufacturers provide guidelines for the maximum allowable vent length, as well as any specific requirements for the venting material and configuration. These specifications should always be followed to ensure proper airflow and prevent any potential warranty voids.
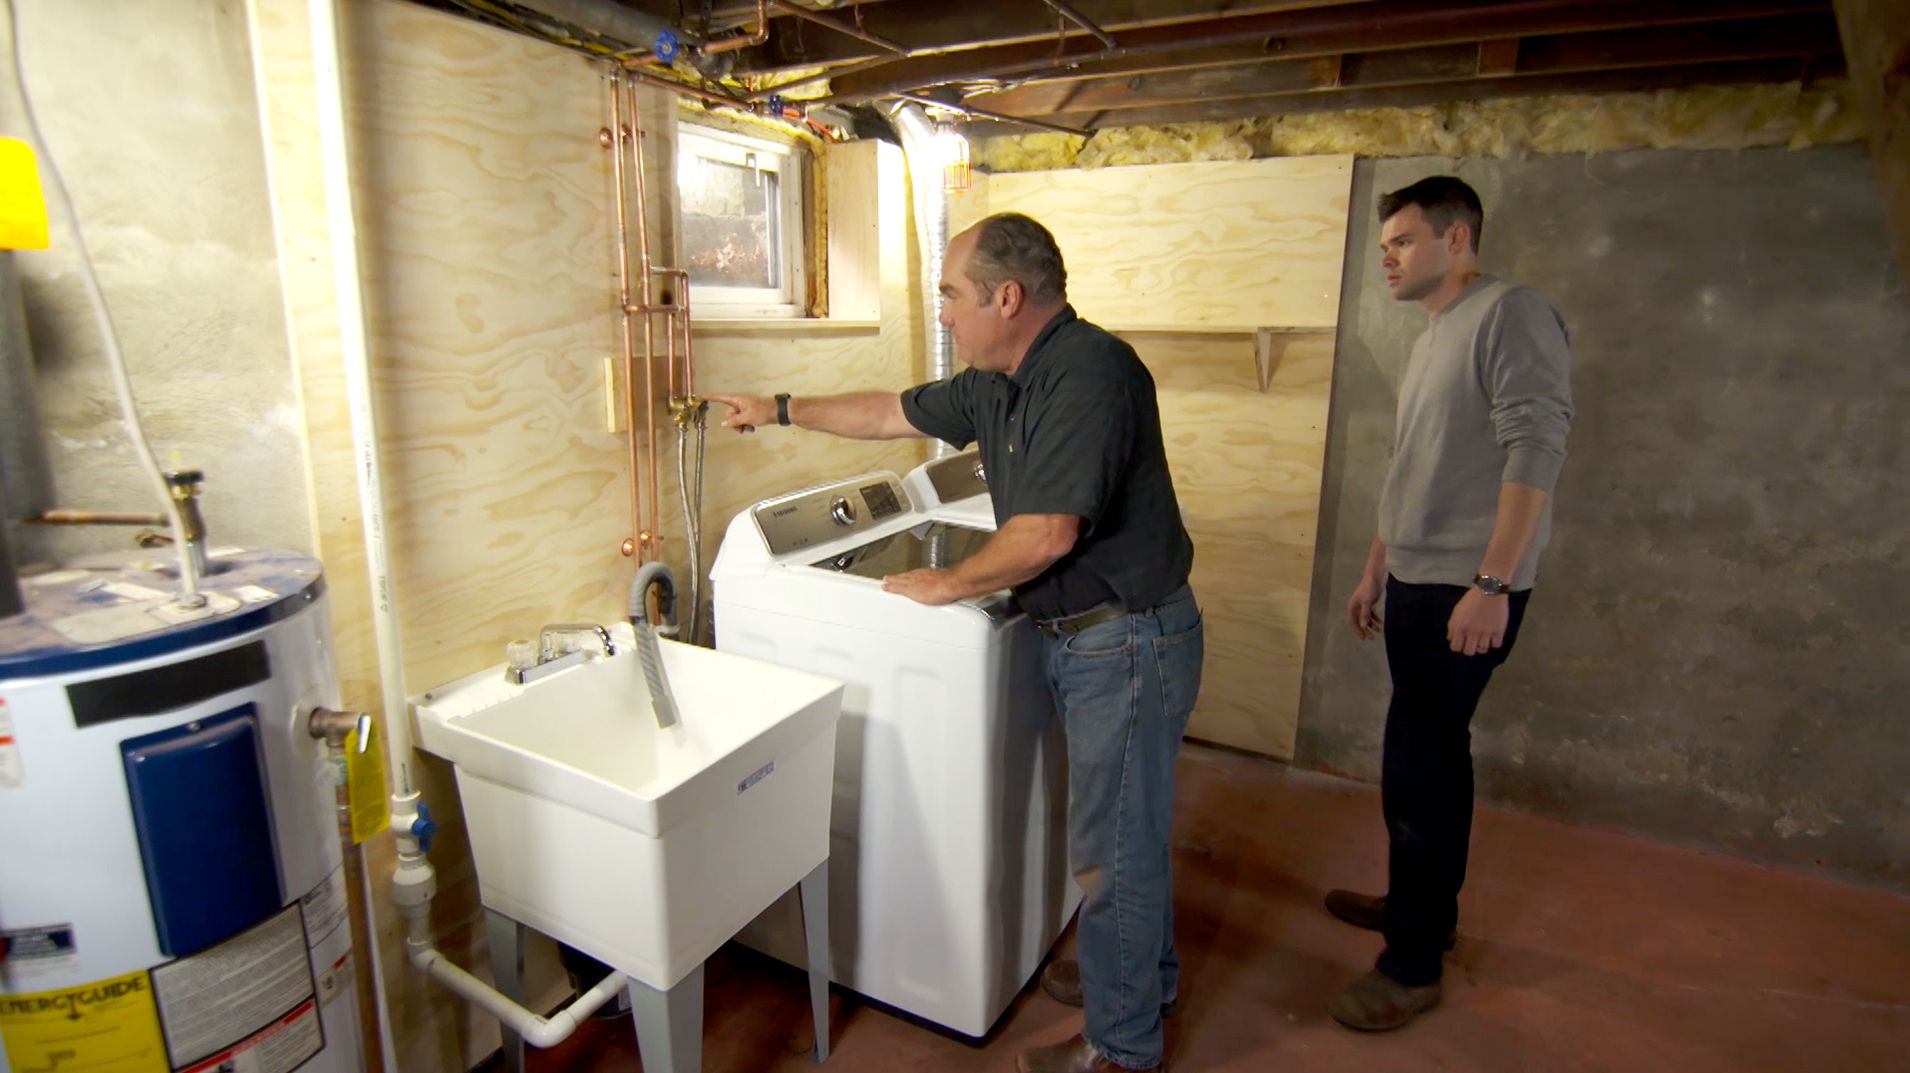
2. Dryer Location: The location of your dryer in relation to exterior walls or vents can affect the length of the vent. If the dryer is positioned near an exterior wall, the vent length will likely be shorter. However, if the dryer is located further inside the house or on a higher floor, a longer vent length may be required to reach an appropriate exterior venting location.
3. Venting Path: The path that the vent will take to reach the outside of the house should be considered. Ideally, the vent should follow a direct and unobstructed path with minimal bends or turns. Each bend or turn in the vent introduces resistance to the airflow, so it’s important to keep the vent as straight and short as possible.
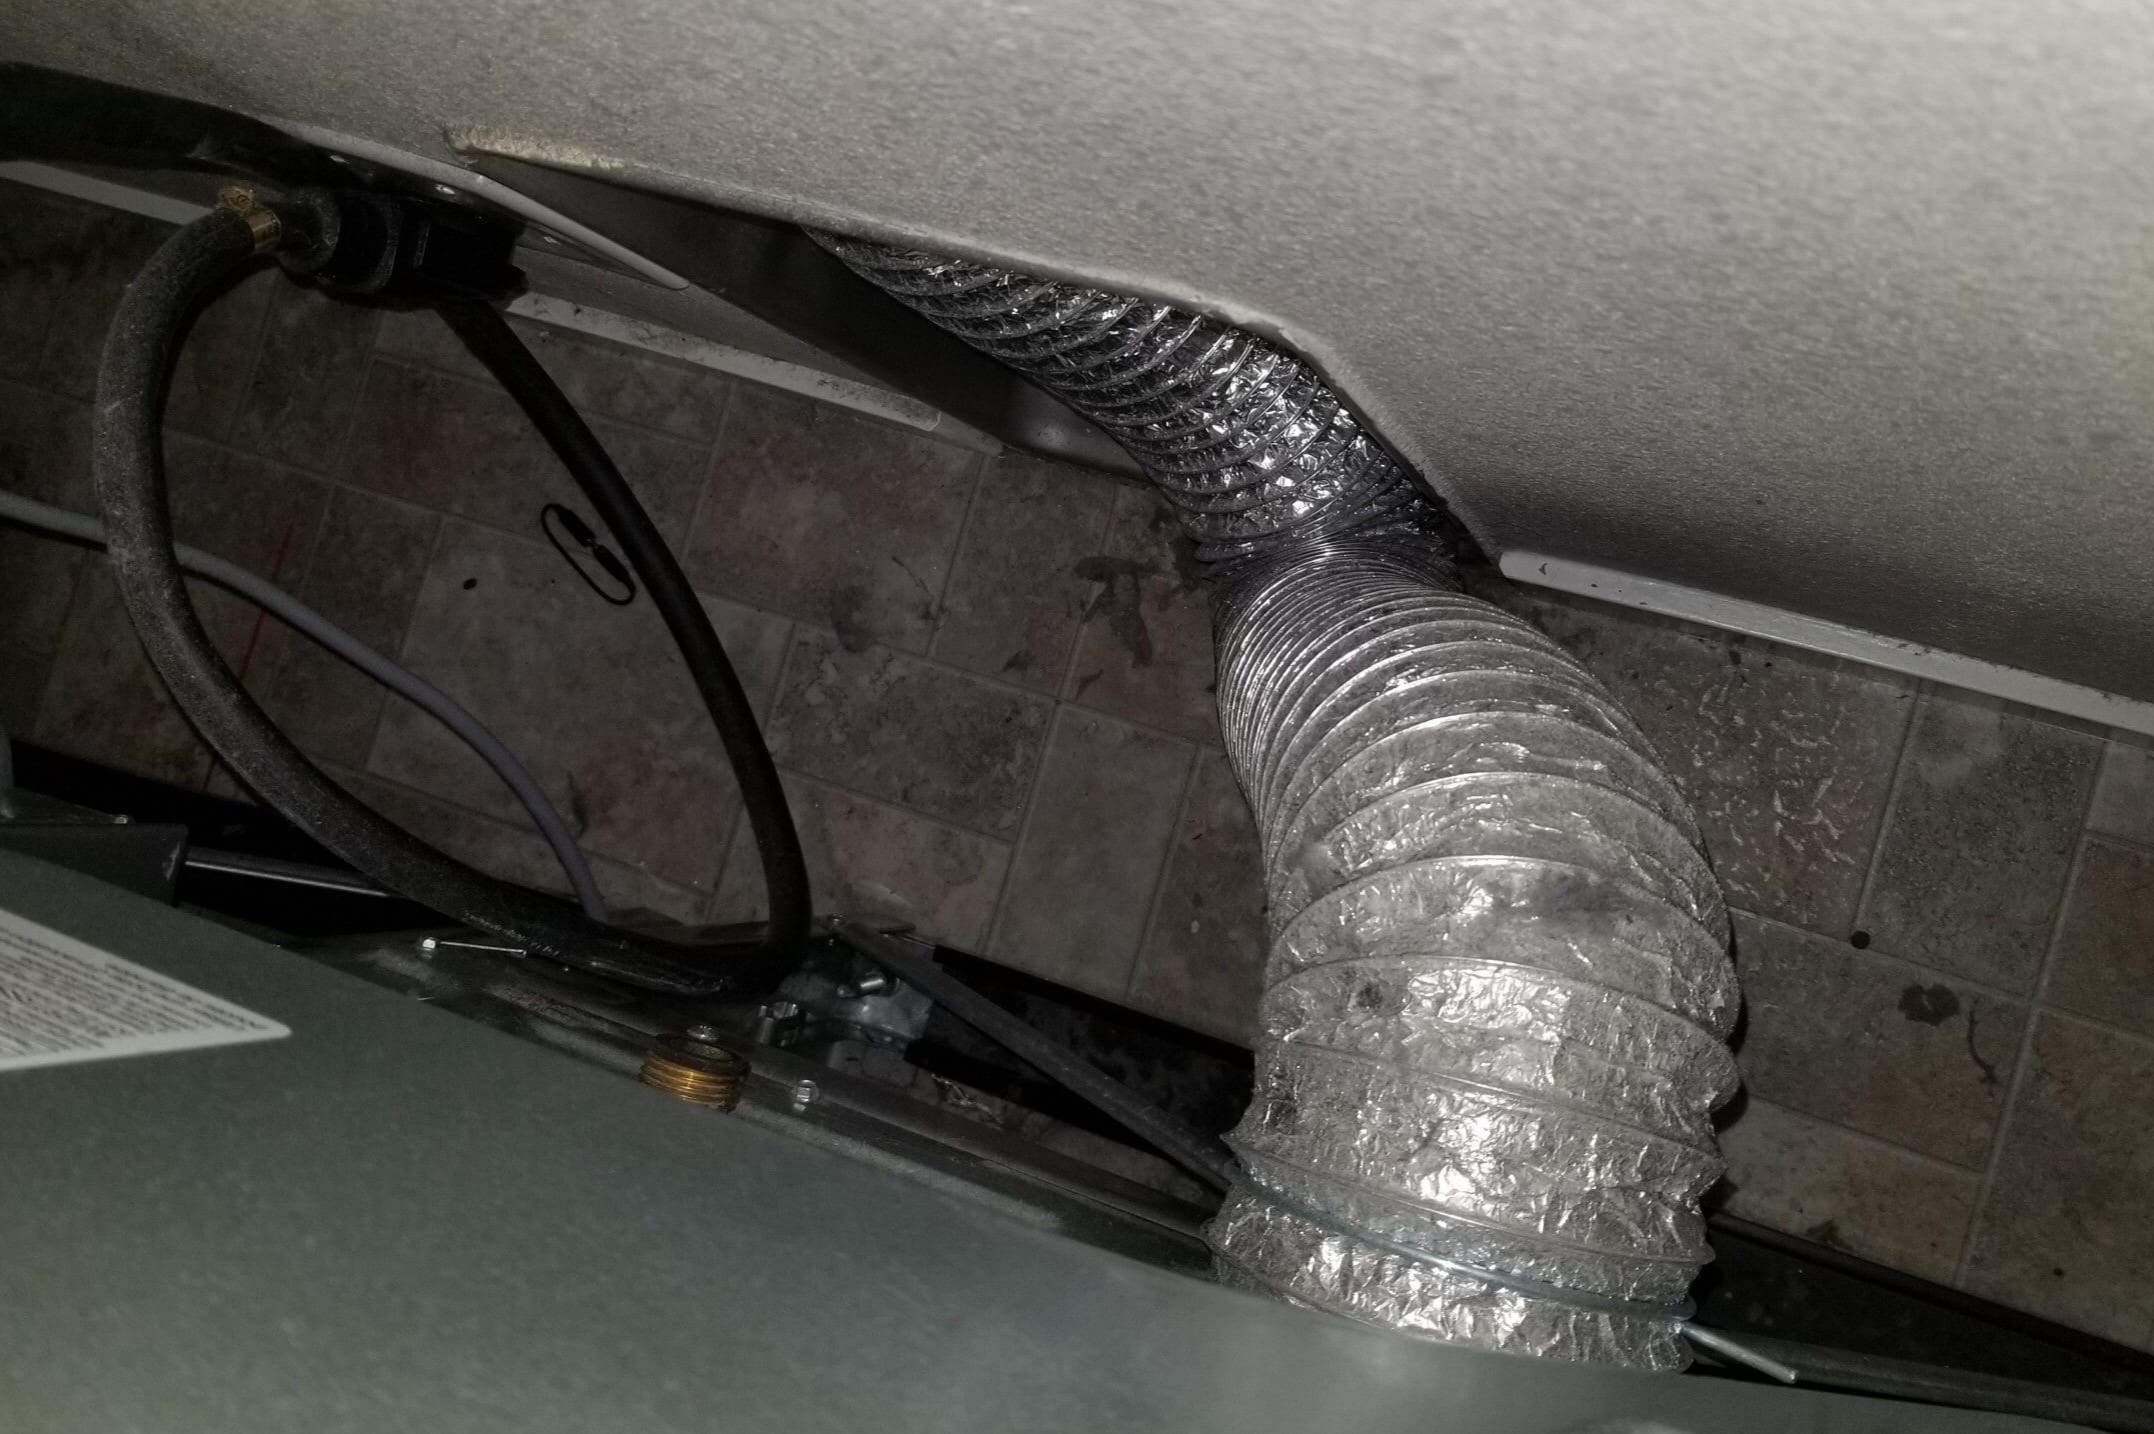
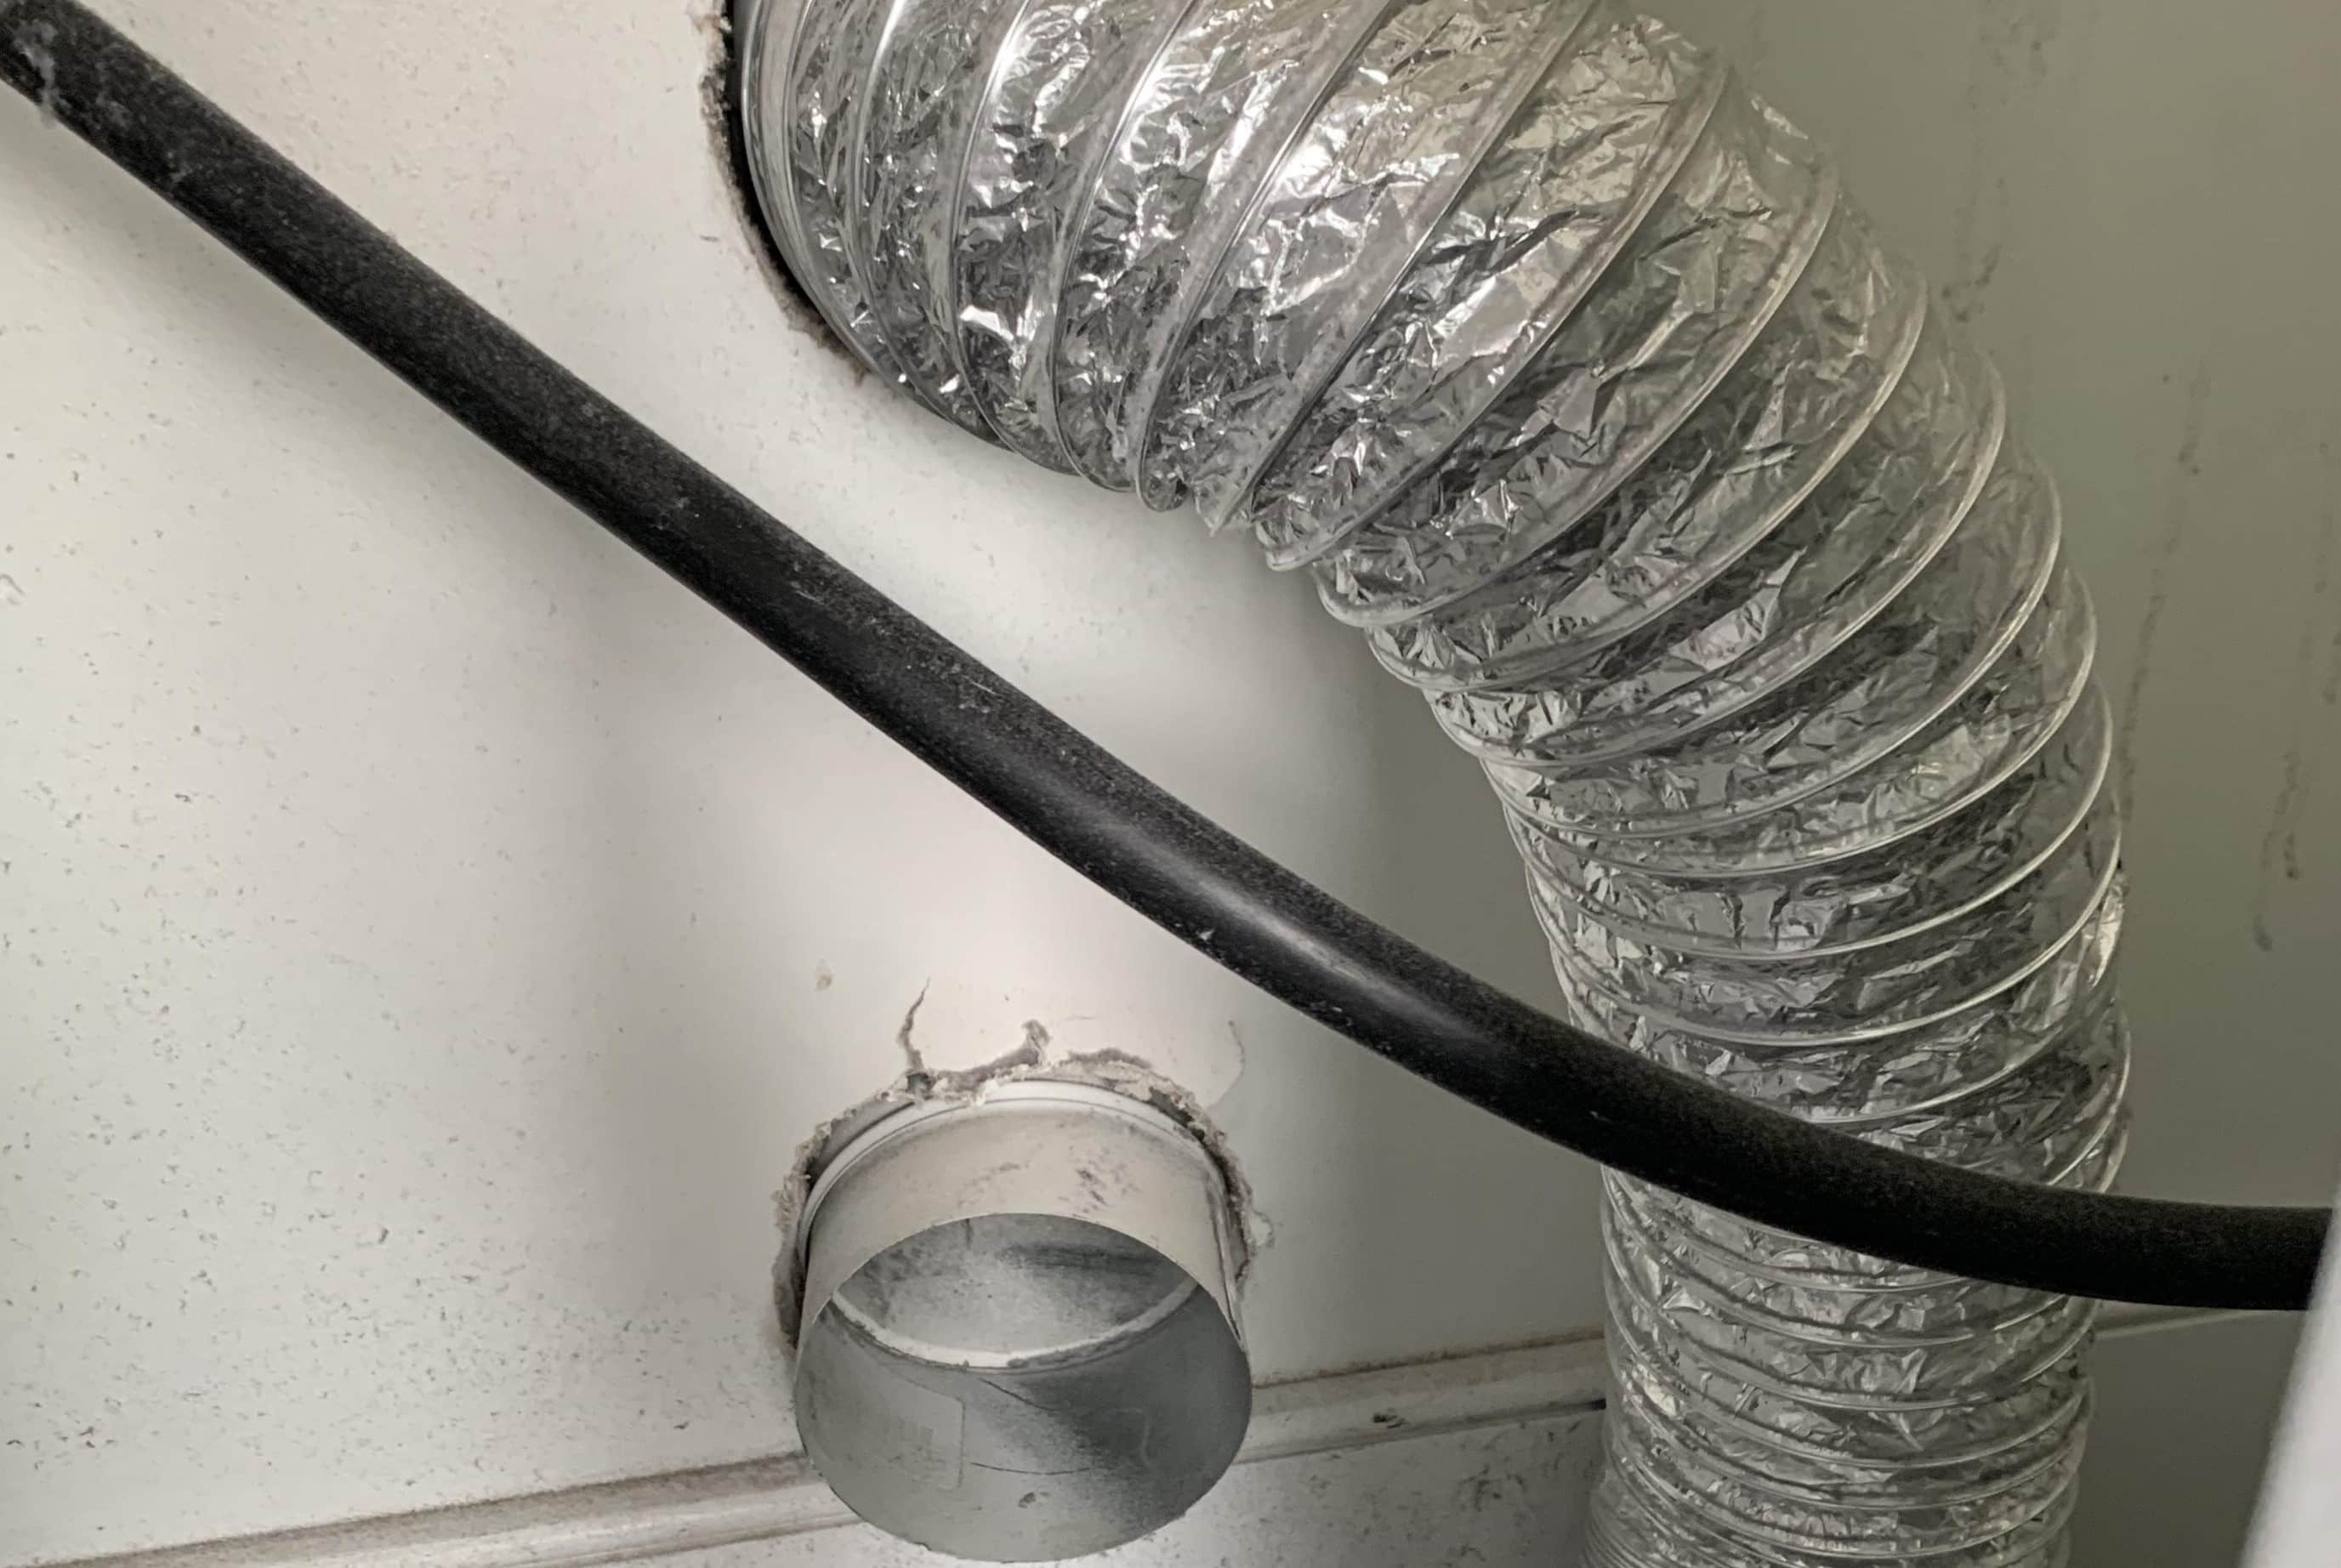
4. Venting Material: The type of venting material you choose can impact the length of the vent. Rigid metal vents provide the best airflow and are less prone to lint buildup compared to flexible or plastic ducts. However, if you opt for flexible ducts, they should be installed as straight as possible to minimize the potential for sagging or trapping lint.
5. Vent Diameter: The diameter of the dryer vent also plays a role in determining the ideal length. A larger diameter allows for better airflow and reduces the risk of lint accumulation. Check the manufacturer’s specifications and local building codes to determine the appropriate diameter for your dryer vent.
6. Building Codes and Regulations: It’s important to familiarize yourself with local building codes and regulations regarding dryer vent installation. These codes may dictate the allowable vent length, required venting materials, and specific installation guidelines. Adhering to these guidelines ensures compliance with safety standards and minimizes the risk of fire hazards.
7. Maintenance Accessibility: Consider the accessibility of the dryer vent for regular maintenance and cleaning. A shorter vent length makes it easier to inspect and clear any lint buildup, reducing the risk of clogs and potential fire hazards. Ensure that there is sufficient space around the vent for easy access and maintenance.
By taking these factors into consideration, you can determine the appropriate length and configuration for your dryer vent. Following the manufacturer’s recommendations and adhering to local building codes will help ensure a safe, efficient, and properly functioning dryer vent system.
Manufacturer Recommendations for Dryer Vent Length
When it comes to determining the length of your dryer vent, it is crucial to follow the manufacturer’s recommendations for your specific dryer model. These recommendations are based on extensive testing and engineering to ensure optimal performance and safety. Here are some common manufacturer recommendations to consider:
1. Maximum Vent Length: Most dryer manufacturers provide guidelines for the maximum allowable vent length. This specification refers to the total length of the vent, including any vertical and horizontal runs. The maximum vent length can vary depending on the dryer model and the type of venting material used. It is important to refer to the manufacturer’s documentation or consult their website for this information.
2. Vertical Rise: In addition to the maximum vent length, manufacturers may specify the maximum allowable vertical rise. The vertical rise is the distance from the dryer exhaust point to the point where the vent exits the building. Too much vertical rise can lead to increased resistance in the vent, hinder airflow, and potentially result in dryer performance issues. It is crucial to follow the manufacturer’s recommendations for the maximum vertical rise allowed.
3. Venting Material: Manufacturers typically specify the type of venting material that should be used. Common options include rigid metal vents, flexible metal vents, or semi-rigid aluminum vents. The manufacturer may recommend a specific type of material based on its durability, resistance to lint accumulation, and compatibility with the dryer model. Always follow the manufacturer’s recommendations for the appropriate venting material to ensure proper airflow and reduce the risk of fire hazards.
4. Vent Diameter: The diameter of the dryer vent is another important consideration. Manufacturers often provide guidelines for the minimum vent diameter required for their dryers. The diameter determines the airflow capacity of the vent. A larger diameter allows for better airflow and reduces the risk of lint buildup. Check the manufacturer’s specifications to ensure that the vent diameter meets the recommended size.
5. Venting Configuration: Some dryer models may have specific requirements for the venting configuration. This could include the number of bends or turns permitted, the use of elbows or offsets, or the inclusion of a booster fan for longer vent runs. Manufacturers may provide detailed diagrams or installation instructions to guide you in configuring the vent correctly. It is important to follow these guidelines to optimize dryer performance and maintain safety.
6. Regular Maintenance: Manufacturers often emphasize the importance of regular maintenance for the dryer vent. This includes periodically inspecting the vent for lint buildup, removing any obstructions, and ensuring proper airflow. Following the manufacturer’s recommendations for maintenance will help prevent lint clogs, reduce the risk of fire hazards, and prolong the life of your dryer.
Remember, every dryer model may have different recommendations, so it is essential to consult the manufacturer’s documentation for your specific dryer. By following these recommendations, you can ensure proper ventilation, maintain dryer efficiency, and prioritize the safety of your home.
Common Mistakes in Dryer Vent Length
When it comes to installing or replacing a dryer vent, there are several common mistakes that homeowners often make when determining the length. These mistakes can compromise the efficiency and safety of your dryer vent system. Here are some of the most common mistakes to avoid:
1. Vent Length Too Short: One common mistake is installing a dryer vent that is too short. A vent that is too short can cause hot, moist air and lint to be expelled into your home instead of being properly vented outside. This can lead to increased humidity in your home, potential mold growth, and even damage to your dryer. It is important to ensure that the vent has enough length to properly exhaust the air outside.
2. Vent Length Too Long: On the other hand, a vent that is too long can also cause issues. A longer vent means the air has a greater distance to travel, leading to increased airflow resistance, longer drying times, and decreased dryer efficiency. Additionally, a long vent can accumulate more lint, increasing the risk of clogs and fire hazards. Be sure to abide by the manufacturer’s recommendations for the maximum allowable vent length.
3. Inadequate Number of Bends: Another mistake is having too many bends or turns in the vent system. Each bend or turn creates resistance in the airflow, reducing the efficiency of the dryer. It is recommended to keep the number of bends to a minimum and use gradual, smooth turns instead of sharp angles. This will promote better airflow and minimize the risk of lint accumulation.
4. Using Improper Venting Material: Using the wrong type of venting material is a common mistake many homeowners make. It is important to use the venting material recommended by the manufacturer. Rigid metal vents are the preferred option as they offer better airflow and are less prone to lint buildup. Flexible or plastic ducts may sag and trap lint, leading to reduced airflow and potential fire hazards.
5. Neglecting Proper Vent Diameter: The diameter of the dryer vent is another critical consideration. Using a vent with a diameter that is too small can obstruct airflow and cause the dryer to overheat or work inefficiently. It is essential to follow the manufacturer’s recommendations for the appropriate vent diameter to ensure optimal airflow and prevent lint accumulation.
6. Insufficient Maintenance: Failing to regularly inspect and clean the dryer vent is a mistake that can have serious consequences. Over time, lint can accumulate in the vent, obstruct airflow, and increase the risk of fire hazards. It is crucial to clean the vent at least once a year and check for any signs of blockage or damage. Regular maintenance will help ensure the safe and efficient operation of your dryer vent system.
Avoiding these common mistakes in dryer vent length will help optimize the performance of your dryer, improve energy efficiency, and reduce the risk of fire hazards. Take the time to carefully plan and install your dryer vent according to the manufacturer’s recommendations and consult with professionals if needed. By doing so, you can enjoy the benefits of a properly functioning and safe dryer vent system.
A dryer vent should be as short as possible, with a maximum length of 25 feet. Each 90-degree bend reduces the length by 5 feet, so keep bends to a minimum for efficient airflow. Regularly clean the vent to prevent lint buildup and fire hazards.
Read more: How Long Does It Take To Clean A Dryer Vent
Consequences of Incorrect Dryer Vent Length
The length of your dryer vent plays a crucial role in the efficiency and safety of your dryer. Failing to have the correct vent length can lead to a range of consequences that can impact both your dryer’s performance and the safety of your home. Let’s explore the potential consequences of an incorrect dryer vent length:
1. Reduced Dryer Performance: Having a dryer vent that is too long or too short can result in decreased dryer performance. If the vent is too short, it can restrict airflow, causing longer drying times and less effective drying results. On the other hand, if the vent is too long, it can create resistance, impeding proper airflow and reducing the dryer’s efficiency.
2. Increased Energy Consumption: When a dryer vent is improperly sized, it can cause your dryer to consume more energy. A vent that is too long or has too many bends increases the resistance to airflow, causing the dryer to work harder to expel the moist air. This results in increased energy consumption and higher utility bills. By ensuring the correct vent length, you can promote efficient airflow and reduce unnecessary energy usage.
3. Fire Hazards: An improper dryer vent length can pose a serious fire hazard. When a vent is too long, it provides more opportunities for lint to accumulate along its length. Lint is highly flammable, and when combined with the heat generated by the dryer, it can ignite and cause a potentially devastating fire. Regular cleaning and maintenance are crucial to prevent lint buildup and reduce the risk of fire hazards.
4. Lint Accumulation: A dryer vent that is too long or has excessive bends can lead to increased lint accumulation. Lint is a byproduct of drying clothes and can easily get trapped within the vent system. Over time, this buildup can restrict airflow, decrease dryer efficiency, and create a potential fire risk. Proper vent length and minimal bends help promote better airflow and reduce the likelihood of lint accumulation.
5. Mold and Moisture Issues: An incorrectly sized or improperly installed dryer vent can result in moisture problems within your home. If the vent is too short or does not adequately expel the moist air outside, it can lead to excess moisture in the laundry area. This excess moisture can contribute to the growth of mold and mildew, leading to potential health issues and damage to your home’s structure. A properly sized and installed vent ensures that moisture is efficiently vented outside, minimizing the risk of mold and moisture-related issues.
6. Premature Dryer Failure: An improper dryer vent length can place unnecessary strain on your dryer’s components, leading to premature wear and tear. When the vent is too long, the dryer has to work harder to push the air through the system, putting extra stress on the motor. This increased strain can lead to breakdowns and the need for costly repairs or even a premature replacement of the dryer.
7. Compliance and Warranty Issues: Failing to follow the manufacturer’s recommendations for dryer vent length can also affect your warranty coverage. Manufacturers often specify the maximum allowable vent length and other requirements for the venting system. If these guidelines are not followed, it could void your warranty. Additionally, not adhering to local building codes and regulations related to dryer vent installation may result in non-compliance and potential legal issues.
It is essential to understand the potential consequences and take the necessary steps to ensure the correct length of your dryer vent. This includes following manufacturer recommendations, properly installing the vent, regular maintenance, and addressing any issues promptly. By doing so, you can maximize your dryer’s performance, promote safety, and prolong the lifespan of your appliance.
Tools and Materials Needed for Installing a Dryer Vent
Installing a dryer vent requires a few essential tools and materials to ensure a proper and safe installation. Before you begin, gather the following items:
1. Vent Duct: The vent duct is the main component of the dryer vent system, responsible for carrying the hot air and moisture from the dryer to the outside of your home. It is typically made of aluminum or flexible metal and comes in various lengths and diameters. Choose a vent duct that matches the specifications recommended by your dryer manufacturer.
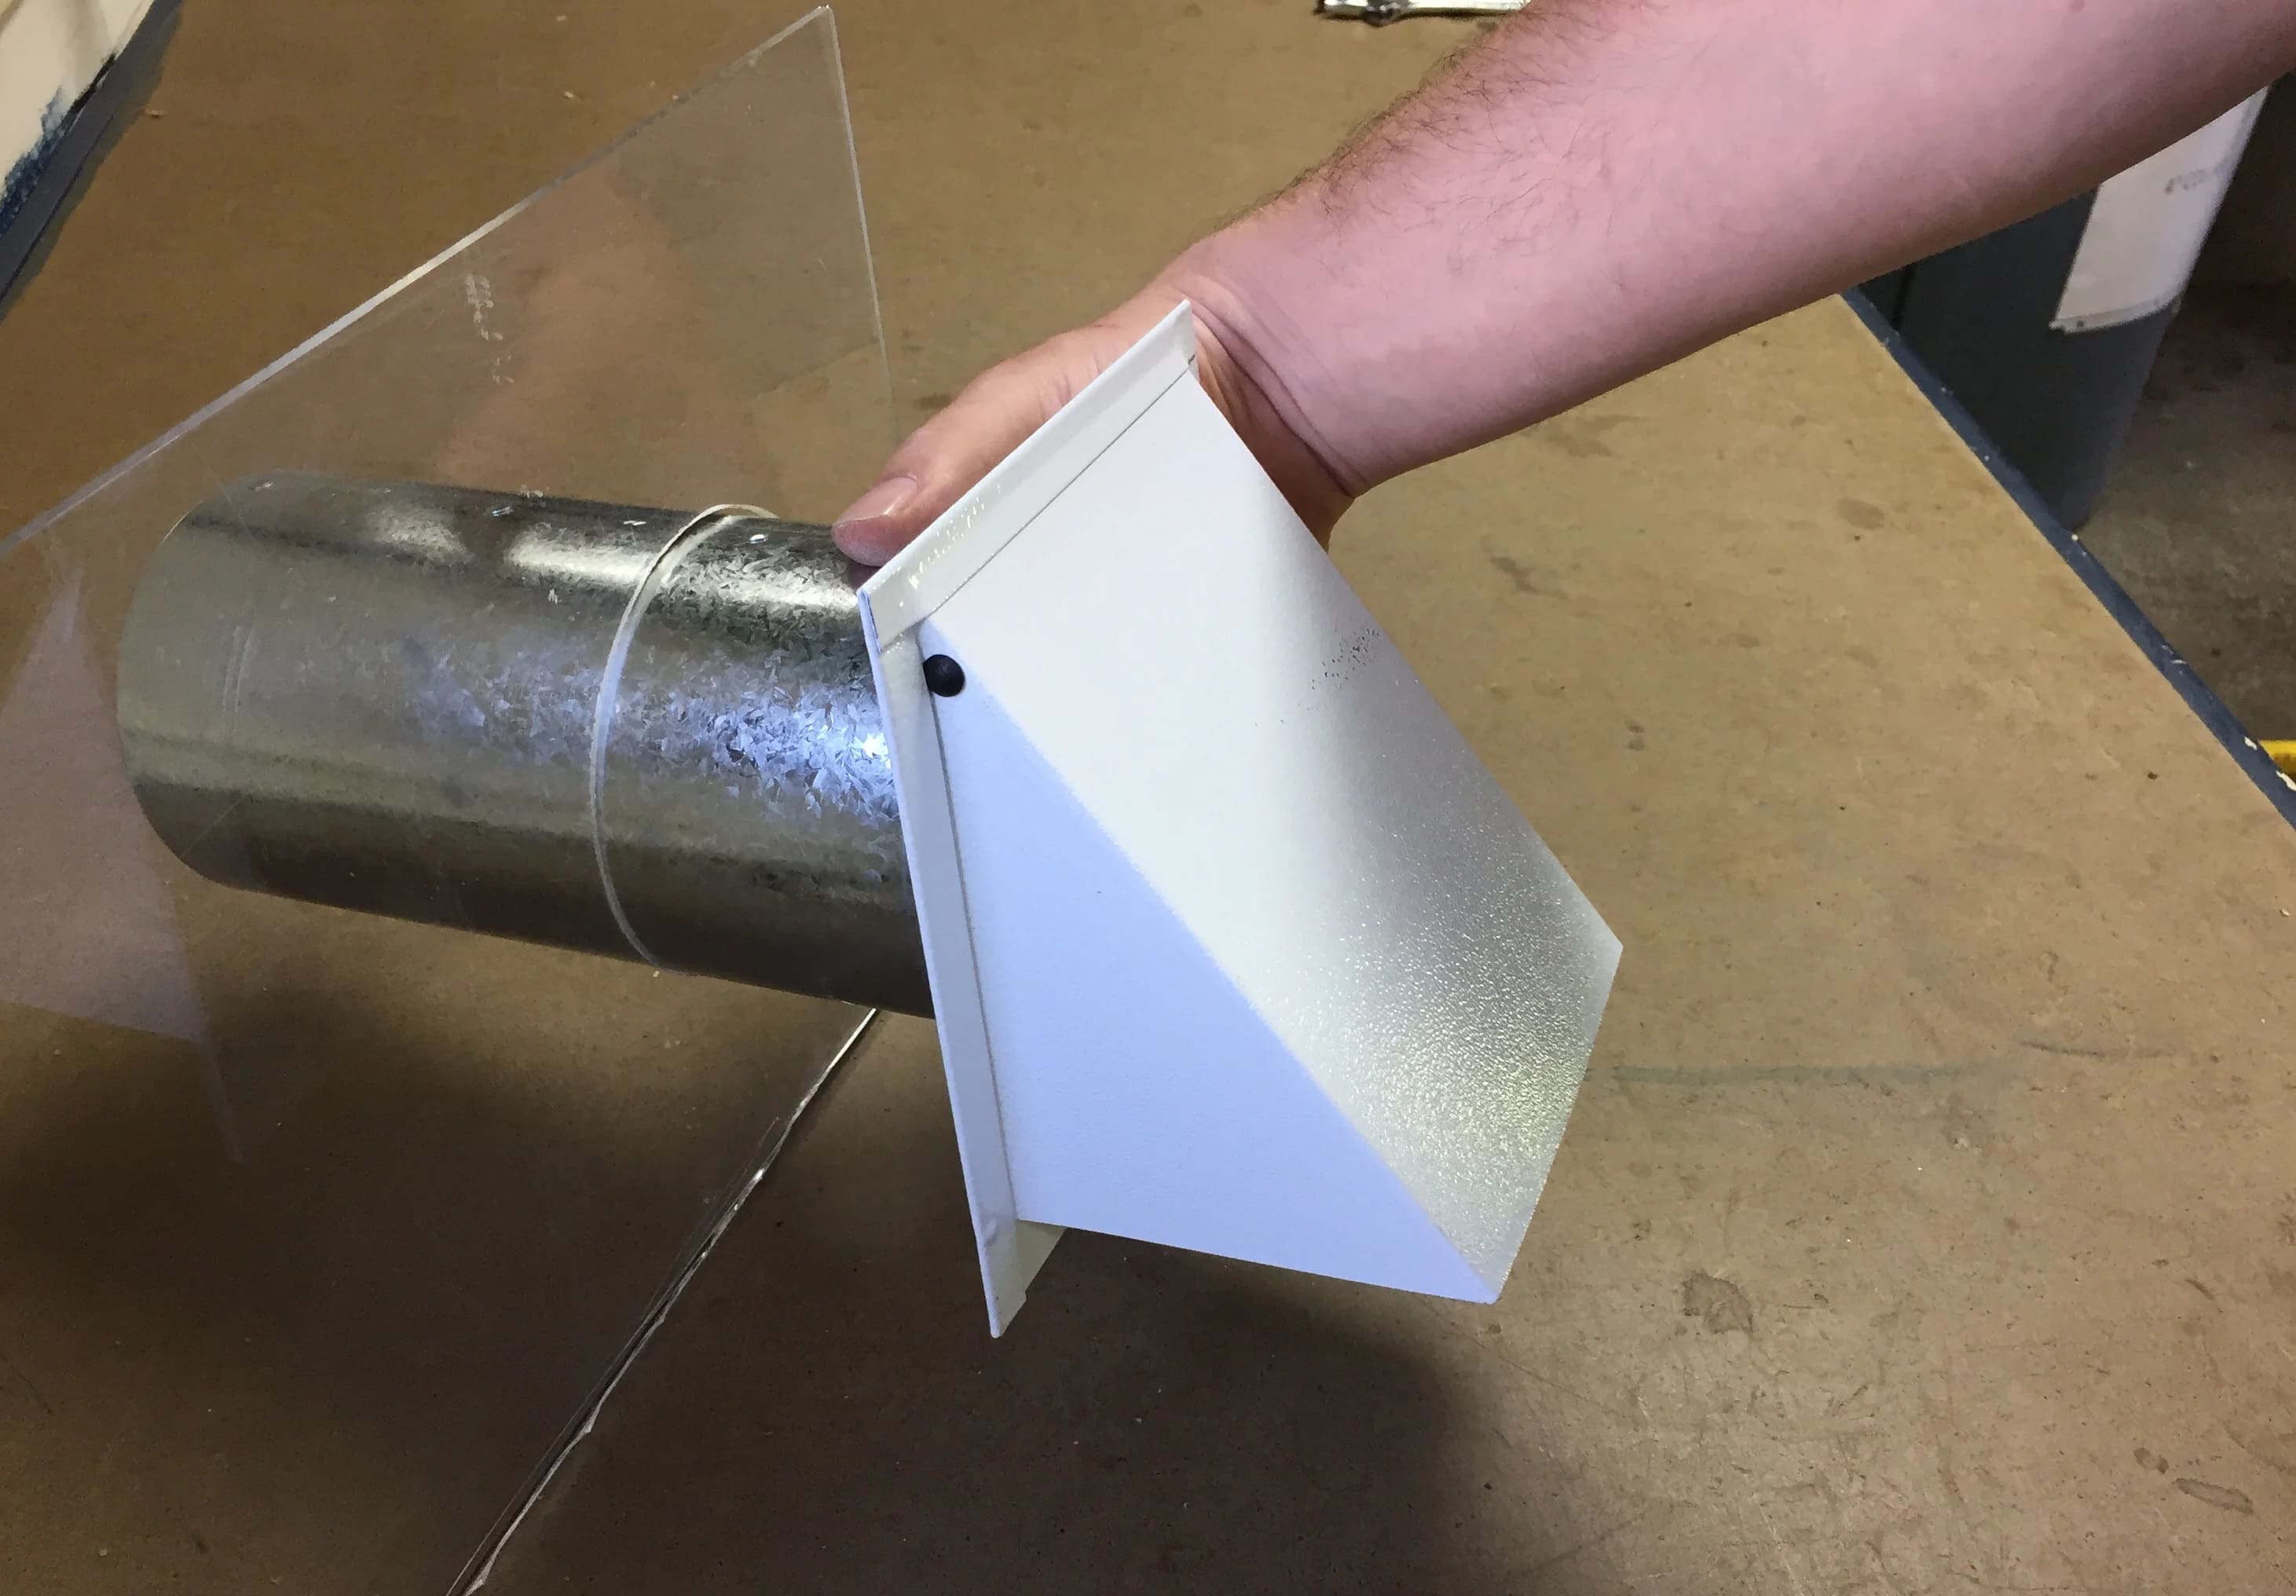
2. Vent Hood/Exterior Vent Cover: The vent hood or exterior vent cover is installed on the outside of your home and serves as the point of exit for the dryer exhaust. It is important to choose a high-quality vent hood that is made of durable material and has a secure closure mechanism to prevent pests or weather elements from entering the vent.
3. Vent Clamps: Vent clamps are used to secure the connections between the vent duct, dryer, and the vent hood. These clamps ensure a tight and secure fit, preventing any air leaks and potential hazards. Choose clamps that are appropriate for the size of the vent duct and are adjustable to accommodate different angles and positions.
4. Screwdriver or Drill: A screwdriver or drill will be needed to attach the vent clamps, secure the vent hood to the exterior wall, and make any necessary holes for the vent installation. Make sure you have the appropriate size and type of screwdriver or drill bit for the job.
5. Tape or Duct Sealing Compound: It’s essential to properly seal the joints and connections of the vent duct to prevent any air leaks. You can use foil tape or a duct sealing compound specifically designed for this purpose. Avoid using regular adhesive tape as it may not withstand the high temperatures and pressures generated by the dryer.
6. Measuring Tape: Accurate measurements are crucial for determining the correct length and positioning of the vent duct. Use a measuring tape to measure the distance between the dryer and the exterior vent location, as well as any vertical or horizontal runs required. This will ensure a precise installation that meets the manufacturer’s recommendations.
7. Safety Equipment: It’s important to prioritize safety during the installation process. Wear protective gloves to avoid cuts or injuries when handling sharp edges. Eye protection is also recommended to shield your eyes from any debris. Additionally, consider using a step ladder or other appropriate equipment to safely access the vent hood installation point on the exterior of your home.
With these tools and materials in hand, you’ll be well-equipped to install a dryer vent properly. Always follow the manufacturer’s instructions and consult local building codes before beginning the installation process. If you are uncertain about any aspect of the installation, it is advisable to seek professional assistance to ensure a safe and effective dryer vent installation.
Step-by-Step Guide for Measuring and Installing a Dryer Vent
Properly measuring and installing a dryer vent is crucial for efficient drying and the safety of your home. Follow these step-by-step instructions to ensure a successful installation:
Step 1: Check Manufacturer Recommendations: Consult the dryer manufacturer’s documentation or website for specific guidelines on venting requirements, including the maximum allowable vent length and recommended venting materials. Familiarize yourself with these recommendations before proceeding.
Step 2: Choose an Exterior Vent Location: Select a suitable location on the exterior of your home to install the vent hood. It should be a place where the vent can exhaust safely without obstruction. Ensure it is away from windows, doors, and any other air intake sources.
Step 3: Measure the Distance: Measure the distance from the back of the dryer to the chosen vent location. Use a measuring tape to determine the exact length, taking into account any vertical or horizontal runs required. Add a few extra inches to account for any bends or adjustments during installation.
Step 4: Determine the Vent Route: Plan the route of the vent, considering the most direct and efficient path with minimal bends or turns. Preferably, keep the vent as short and straight as possible for optimal airflow. Mark the locations where additional vent components such as elbows or bends may be needed.
Step 5: Install the Vent Duct: Connect the vent duct to the back of the dryer using a vent clamp to secure the connection. If necessary, use a screwdriver or drill to attach the clamp tightly. Extend the vent duct following the planned route, securing it with additional clamps at appropriate intervals, and ensuring a secure and tight fit at all connections.
Step 6: Install the Vent Hood: Position the vent hood on the exterior wall at the chosen vent location. Use a screwdriver or drill to secure it in place, ensuring it is securely attached and level. Ensure the vent hood is sealed tightly to prevent air leaks.
Step 7: Seal the Joints: Use foil tape or a duct sealing compound to seal all joints and connections of the vent duct. This will prevent any air leaks and ensure that the airflow is directed outside properly. Pay close attention to securing the vent duct to the vent hood and the back of the dryer.
Step 8: Test the Vent: Once the installation is complete, turn on the dryer and check for proper airflow through the vent. Go outside and ensure that warm air is being expelled from the vent hood. Monitor the vent periodically to ensure there are no obstructions or signs of lint buildup.
Step 9: Regular Maintenance: To maintain the efficiency and safety of your dryer vent system, perform regular maintenance. Clean the vent duct and the vent hood at least once a year to remove any lint or debris that may have accumulated. Inspect the vent system regularly for any signs of damage or obstruction.
By following these step-by-step instructions and adhering to manufacturer recommendations, you can ensure a successful installation of your dryer vent. A properly installed and maintained dryer vent will maximize dryer performance, promote energy efficiency, and reduce the risk of fire hazards.
Testing and Maintaining your Dryer Vent System
Regular testing and maintenance of your dryer vent system are essential to ensure its efficient operation and safety. By following these guidelines, you can maintain optimal performance, reduce the risk of fire hazards, and prolong the lifespan of your dryer:
1. Regular Inspection: Inspect the entire dryer vent system periodically, at least once a year, to check for any signs of damage, obstruction, or excessive lint buildup. Look for any holes or gaps in the vent duct, loose connections, or bends that may have become kinked or damaged over time.
2. Clean the Vent Duct: Lint can accumulate within the vent duct over time, reducing airflow and increasing the risk of fire. Disconnect the vent duct from the dryer and use a vent cleaning brush or vacuum with a long attachment to remove any built-up lint. Ensure that all areas of the vent duct are thoroughly cleaned, including any bends or turns.
3. Clear Vent Hood: Inspect the exterior vent hood and remove any debris or obstructions that may have accumulated. Ensure that the vent hood flap moves freely and closes tightly when the dryer is not in use. Clear away any vegetation or debris that may be blocking the vent hood’s opening.
4. Check for Airflow: While the dryer is in operation, check for proper airflow through the vent by placing your hand near the exterior vent hood. You should feel a steady stream of warm air being expelled. If the airflow feels weak or there is no airflow, there may be a blockage or obstruction that requires further investigation and cleaning.
5. Clean the Lint Trap: Clean the lint trap before or after each use of the dryer to prevent lint from building up and being carried into the vent system. A clogged lint trap can restrict airflow and increase the risk of lint accumulation within the vent duct.
6. Avoid Overloading the Dryer: Overloading the dryer with too many clothes can hinder proper airflow and lead to longer drying times. Follow the manufacturer’s guidelines for the maximum load capacity of your dryer. It is important to allow sufficient space for the clothes to tumble freely, allowing for efficient drying and airflow.
7. Use Proper Venting Material: Ensure that the vent duct is made of the appropriate material recommended by the manufacturer, such as rigid metal or flexible metal ducts. Avoid using plastic or vinyl ducts as they can trap lint and are more prone to heat damage. Replace any damaged or deteriorated vent ducts promptly.
8. Be Mindful of Vent Distances: If you need to relocate your dryer or change the venting route, be cautious about the maximum vent length and the number of bends allowed. Following manufacturer recommendations on vent distances will ensure adequate airflow and prevent performance issues.
9. Schedule Professional Maintenance: Consider scheduling a professional inspection and maintenance service for your dryer vent system. Professionals have the necessary tools and expertise to thoroughly clean and inspect your dryer vent, ensuring it is free from any obstructions and functioning optimally.
By regularly testing and maintaining your dryer vent system, you can prevent lint buildup, reduce the risk of fire hazards, and enjoy the efficient and safe operation of your dryer. Stay vigilant and address any issues promptly to ensure the longevity and reliability of your dryer vent system.
Read more: How To Vent A Dryer
Conclusion
A properly installed and maintained dryer vent is essential for the efficient and safe operation of your dryer. The length of the dryer vent plays a critical role in determining its performance, energy efficiency, and the prevention of fire hazards. By following the manufacturer’s recommendations and considering specific factors, you can ensure the correct length for your dryer vent.
Properly measuring and installing a dryer vent, using the right materials and tools, is crucial for optimal airflow and ventilation. Avoid common mistakes such as using incorrect vent material, having a vent that is too long or too short, and neglecting regular maintenance.
Some of the consequences of an incorrect dryer vent length include reduced dryer performance, increased energy consumption, fire hazards, lint accumulation, mold growth, and premature dryer failure. These risks can be mitigated by adhering to proper venting practices and regular maintenance.
Remember to regularly inspect and clean your dryer vent system, including the vent duct and exterior vent hood, to prevent lint buildup and ensure proper airflow. Testing for adequate airflow and following safety measures like not overloading the dryer are also critical.
If you are unsure about any aspect of the installation or maintenance of your dryer vent, consider seeking professional assistance. They can provide expert guidance and ensure that your dryer vent system is functioning optimally and safely.
Investing time and effort into measuring, installing, and maintaining your dryer vent system will result in improved dryer efficiency, reduced energy consumption, and a safer home environment. By taking these steps, you can enjoy peace of mind knowing that your dryer is operating at its best and minimizing potential risks.
Frequently Asked Questions about How Long Should A Dryer Vent Be
Was this page helpful?
At Storables.com, we guarantee accurate and reliable information. Our content, validated by Expert Board Contributors, is crafted following stringent Editorial Policies. We're committed to providing you with well-researched, expert-backed insights for all your informational needs.