Home>Home Maintenance>How To Cover A Dryer Vent Outside
Home Maintenance
How To Cover A Dryer Vent Outside
Modified: August 16, 2024
Learn how to cover a dryer vent outside to protect it from damage and keep pests out. Home maintenance tips for maintaining your dryer vent and improving its longevity.
(Many of the links in this article redirect to a specific reviewed product. Your purchase of these products through affiliate links helps to generate commission for Storables.com, at no extra cost. Learn more)
Introduction
Welcome to our comprehensive guide on how to cover a dryer vent outside. As a responsible homeowner, it is important to maintain your home’s dryer vent system to ensure it functions efficiently and safely. One crucial aspect of dryer vent maintenance is covering the vent opening outside your home. In this article, we will discuss the benefits of covering a dryer vent outside and provide step-by-step instructions on how to do it.
Why is it necessary to cover a dryer vent outside, you might ask? Well, there are several reasons. First and foremost, covering the vent prevents unwanted elements from entering your dryer system. The vent opening can be a gateway for critters, pests, debris, and even rainwater. If these elements find their way into your vent, it can lead to clogs, blockages, and potential damage to your dryer.
Another important reason to cover your dryer vent is to prevent cold air, drafts, and inclement weather from entering your home through the opening. An uncovered vent can act as an open passage for outside air to infiltrate your home, resulting in temperature fluctuations and increased energy consumption.
By covering your dryer vent, you not only protect your dryer system but also improve its efficiency. A covered vent helps maintain proper airflow, allowing the dryer to expel moist air and lint more effectively. This, in turn, reduces drying time and saves energy, ultimately prolonging the lifespan of your dryer.
Now that we understand the benefits of covering a dryer vent outside, let’s move on to the materials you will need for this project.
Key Takeaways:
- Protect your home’s dryer system by covering the vent outside. This prevents critters, debris, and inclement weather from causing damage and improves energy efficiency.
- Regularly maintain and clean the dryer vent cover to ensure optimal performance. Inspect, clean, and monitor airflow to prevent potential issues and prolong the lifespan of your dryer.
Read more: How To Remove An Outside Dryer Vent Cover
Benefits of covering a dryer vent outside
Covering a dryer vent outside offers numerous advantages for homeowners. Let’s explore some of the key benefits:
- Prevents unwanted elements: One of the primary benefits of covering a dryer vent is keeping unwanted elements out of your dryer system. By installing a cover, you create a barrier that prevents critters, pests, leaves, and debris from entering and clogging the vent. This helps maintain optimal airflow and reduces the risk of damage to your dryer.
- Protects against inclement weather: An uncovered dryer vent can be an entry point for rainwater, snow, and ice. This moisture can accumulate in the vent and cause blockages or even lead to mold and mildew growth. By covering the vent, you effectively shield it from the elements, keeping it dry and functional.
- Improves energy efficiency: A covered dryer vent ensures that air flows correctly and efficiently. When a vent is uncovered, outside drafts can enter the home through the opening, affecting the temperature inside. By covering the vent, you prevent cold air from infiltrating your home, leading to improved energy efficiency and potential energy savings.
- Reduces lint buildup: Lint from drying clothes can accumulate in the vent and pose a fire hazard. A covered vent helps to minimize lint buildup by allowing proper airflow. It also prevents lint from getting stuck in the vent opening, reducing the cleaning and maintenance required.
- Enhances the aesthetic appeal: Aside from its functional benefits, covering a dryer vent can also contribute to the overall look of your home. There are various cover designs available to suit different architectural styles. Choosing a cover that complements your home’s exterior can enhance its curb appeal.
By covering your dryer vent outside, you can protect your dryer system, improve its efficiency, and reduce the risk of damage and safety hazards. Now that we understand the benefits, let’s move on to the materials you will need for this project.
Materials needed
Before you begin covering your dryer vent outside, make sure you have the following materials:
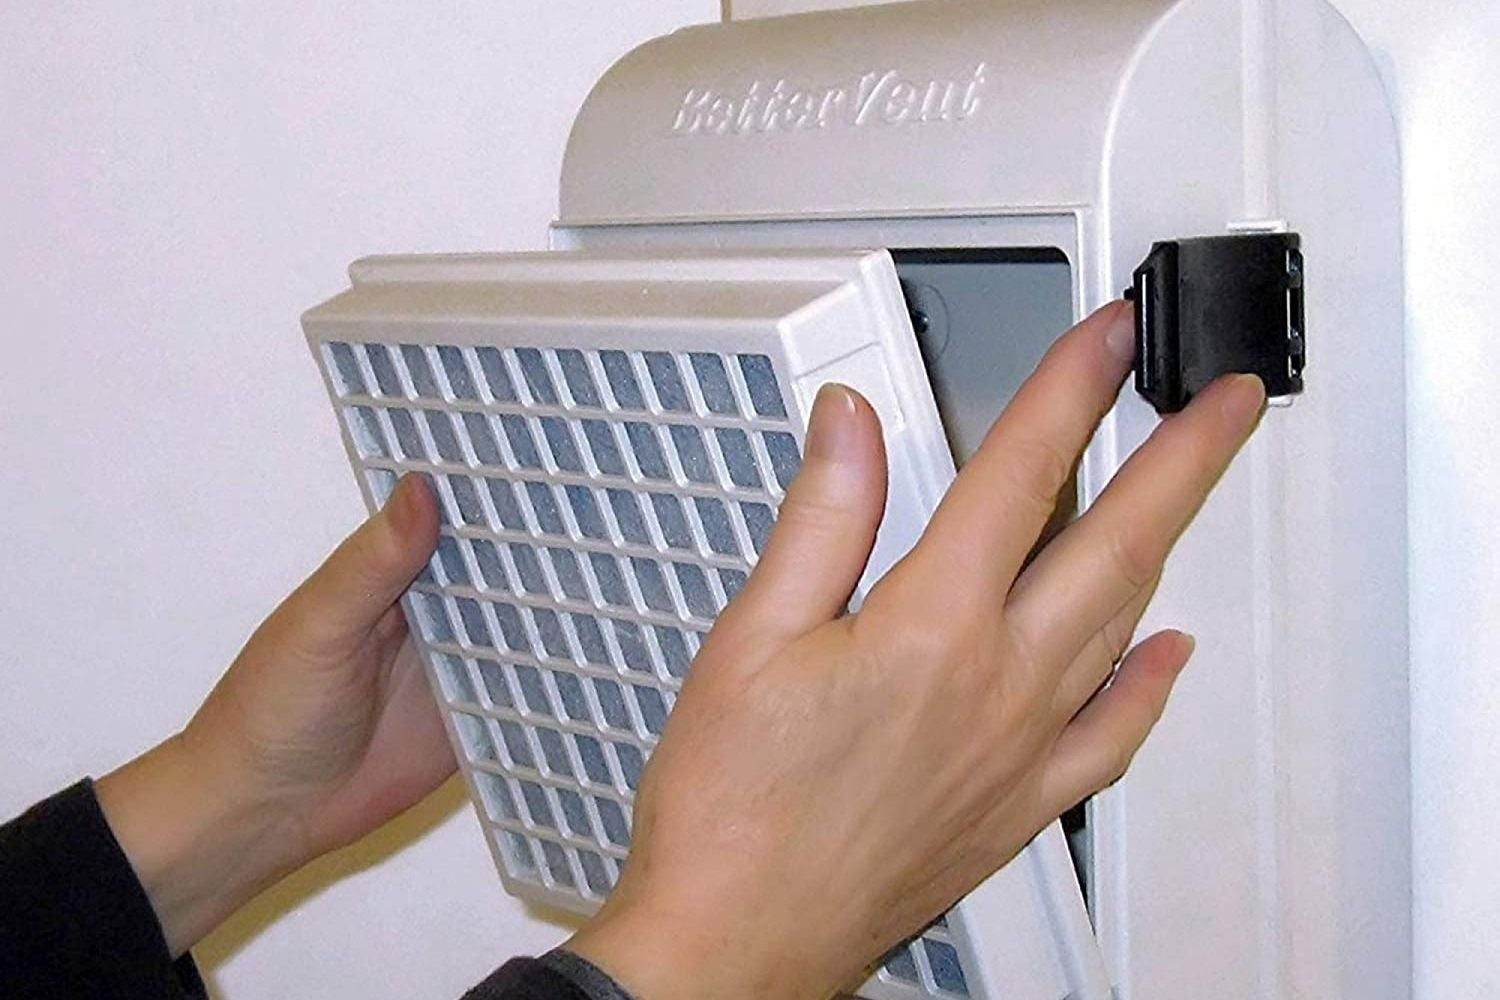
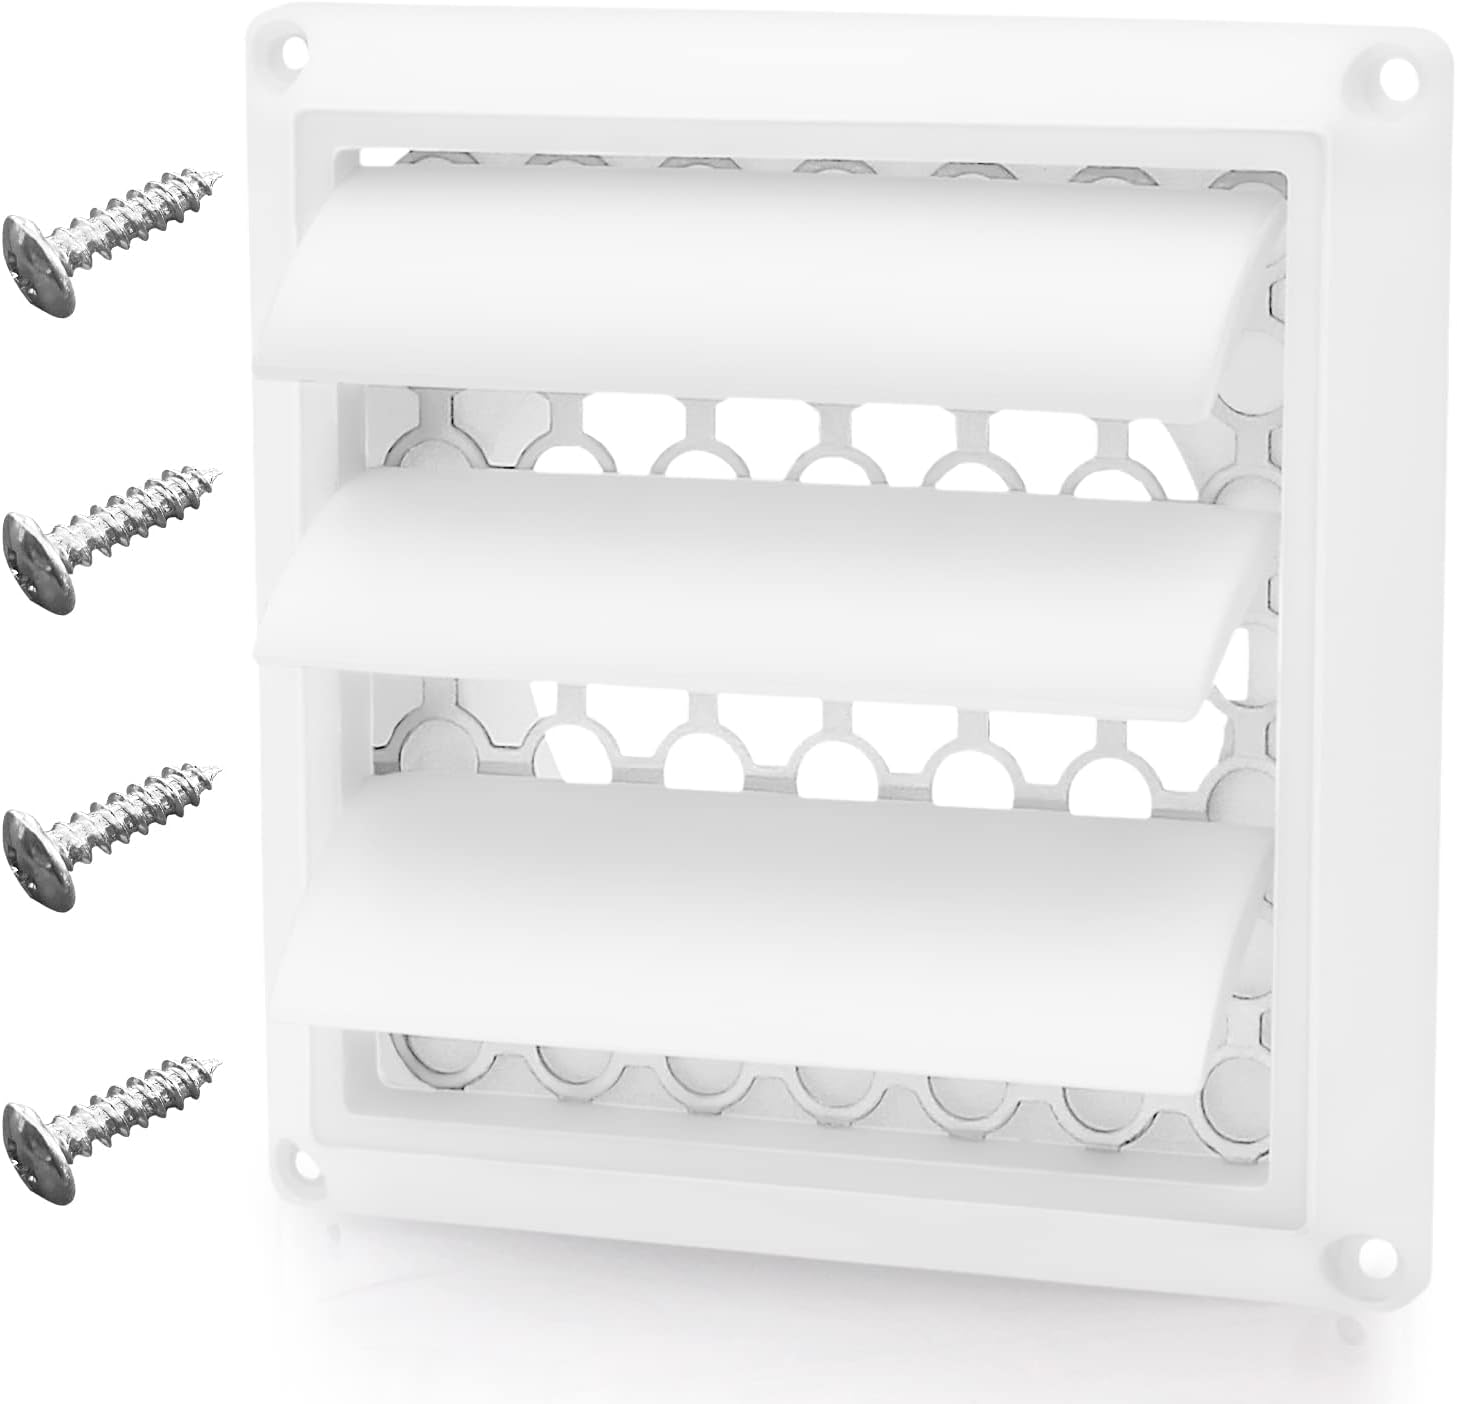
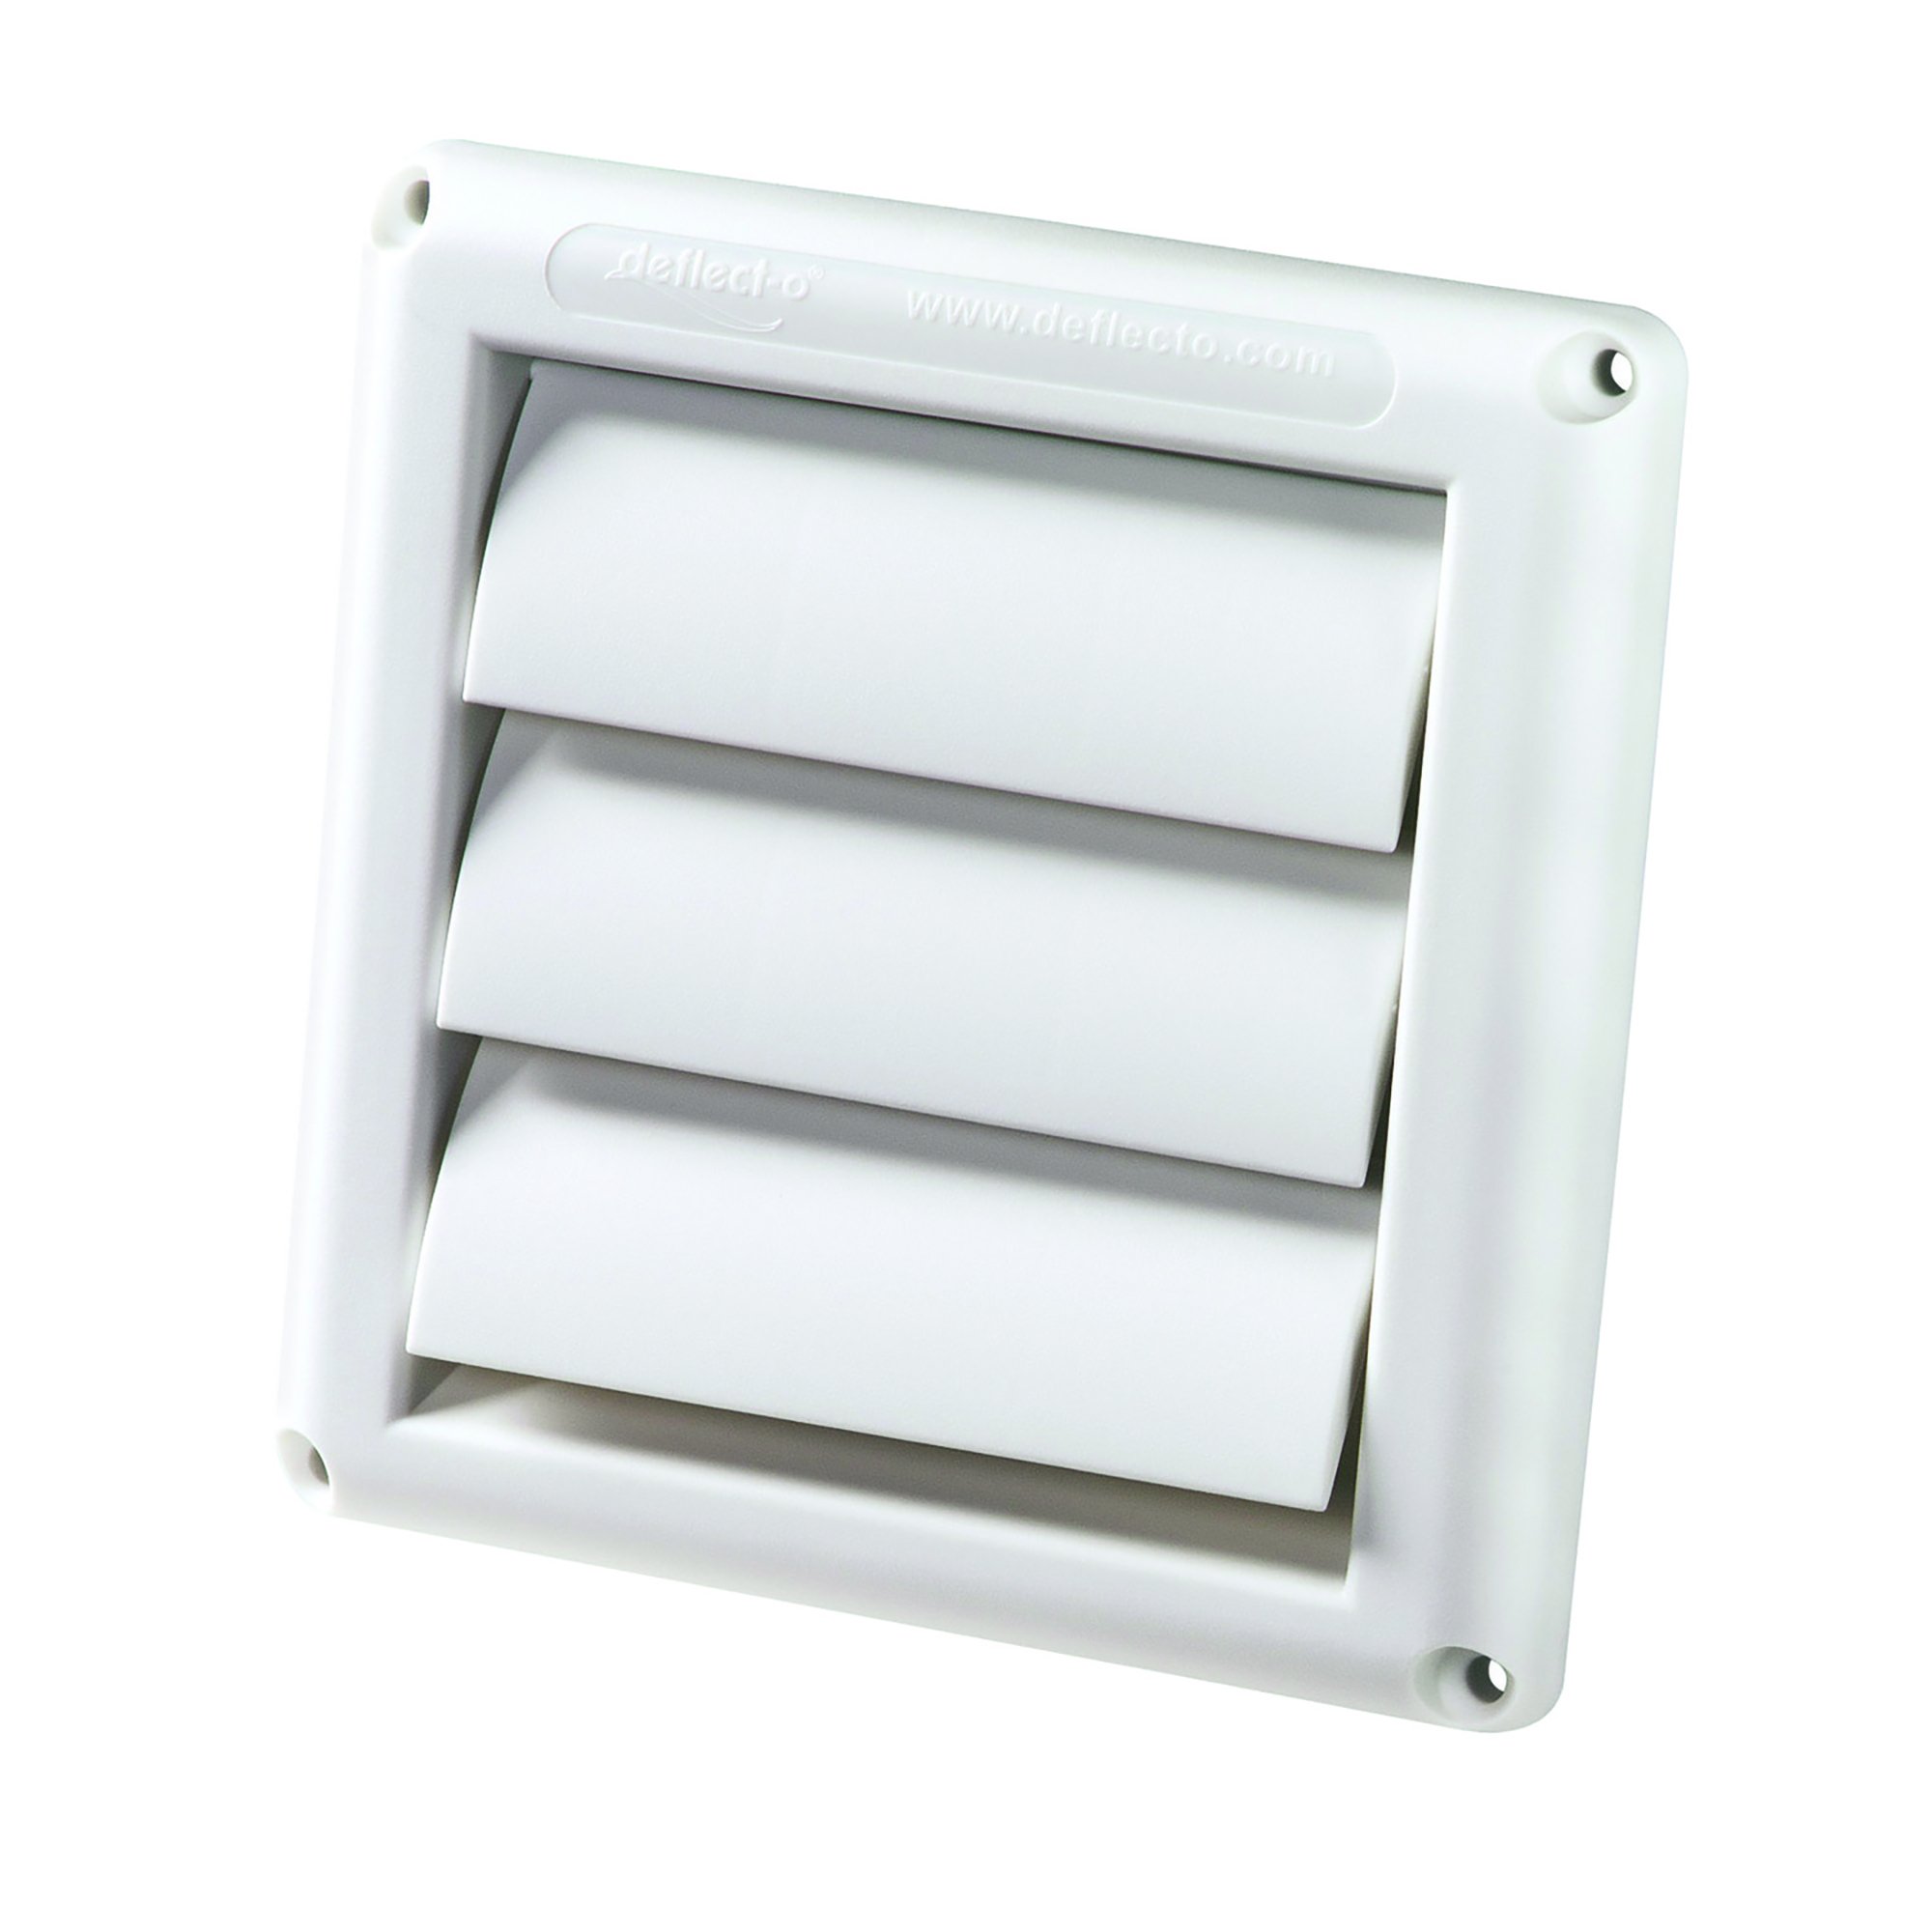
- Dryer vent cover: Choose a cover specifically designed for dryer vents. Look for a cover that is durable, weather-resistant, and provides proper airflow.
- Screws: You will need screws to secure the vent cover in place. Make sure to use screws that are appropriate for outdoor use and match the material of your vent cover.
- Drill: A drill is necessary for making holes to attach the vent cover to the exterior wall. Ensure you have the appropriate drill bits for your chosen screws.
- Screwdriver: A screwdriver will be needed to tighten the screws and secure the vent cover.
- Silicone sealant: Silicone sealant is beneficial for creating a waterproof seal around the vent cover. Look for a sealant that is specifically designed for outdoor use and is compatible with the material of your vent cover and exterior wall.
- Protective gear: It’s important to prioritize safety while working on your dryer vent. Wear gloves to protect your hands and safety goggles to shield your eyes from any debris or dust.
- Ladder or step stool: Depending on the location of your dryer vent, you may need a ladder or step stool to reach it safely. Ensure the ladder or step stool is sturdy and secure before climbing.
Gather these materials before proceeding with the installation of the dryer vent cover. Once you have everything ready, you can move on to the next steps: clearing the area around the dryer vent and choosing the right cover for your specific vent.
Step 1: Clearing the area around the dryer vent
Before you can install the dryer vent cover, it’s important to clear the area around the vent to ensure a proper and secure fit. Here’s how to do it:
- Turn off the dryer: Before starting any work, make sure the dryer is turned off and unplugged to avoid any accidents.
- Remove any obstacles: Clear away any plants, shrubs, or debris that may be blocking access to the dryer vent. Clear a sufficient area around the vent so you can work comfortably.
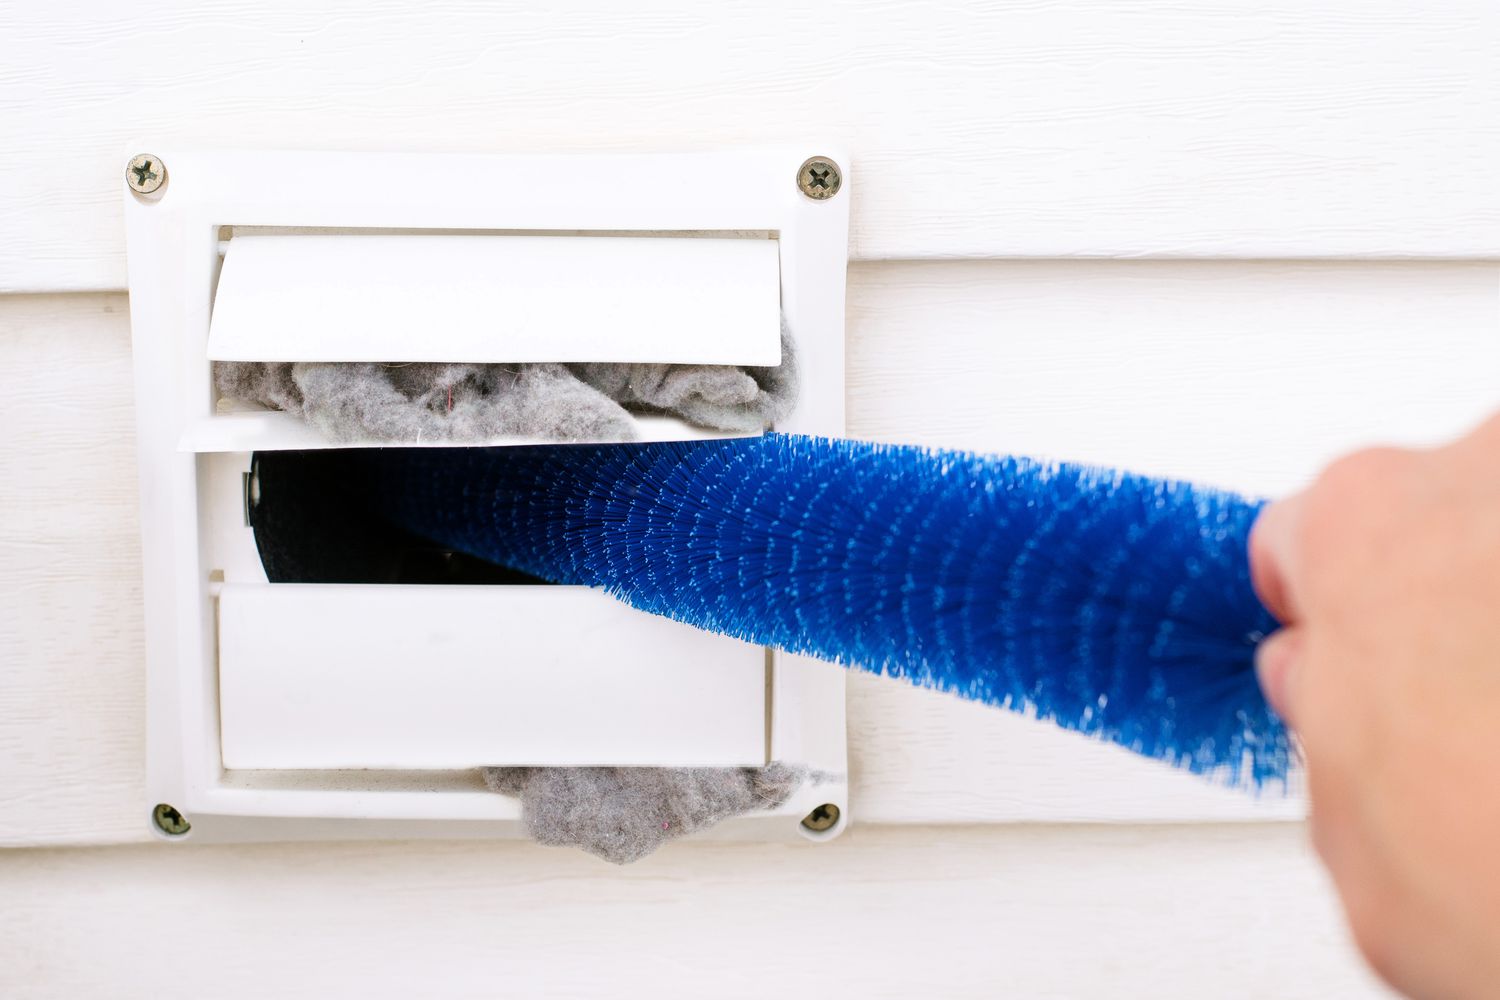
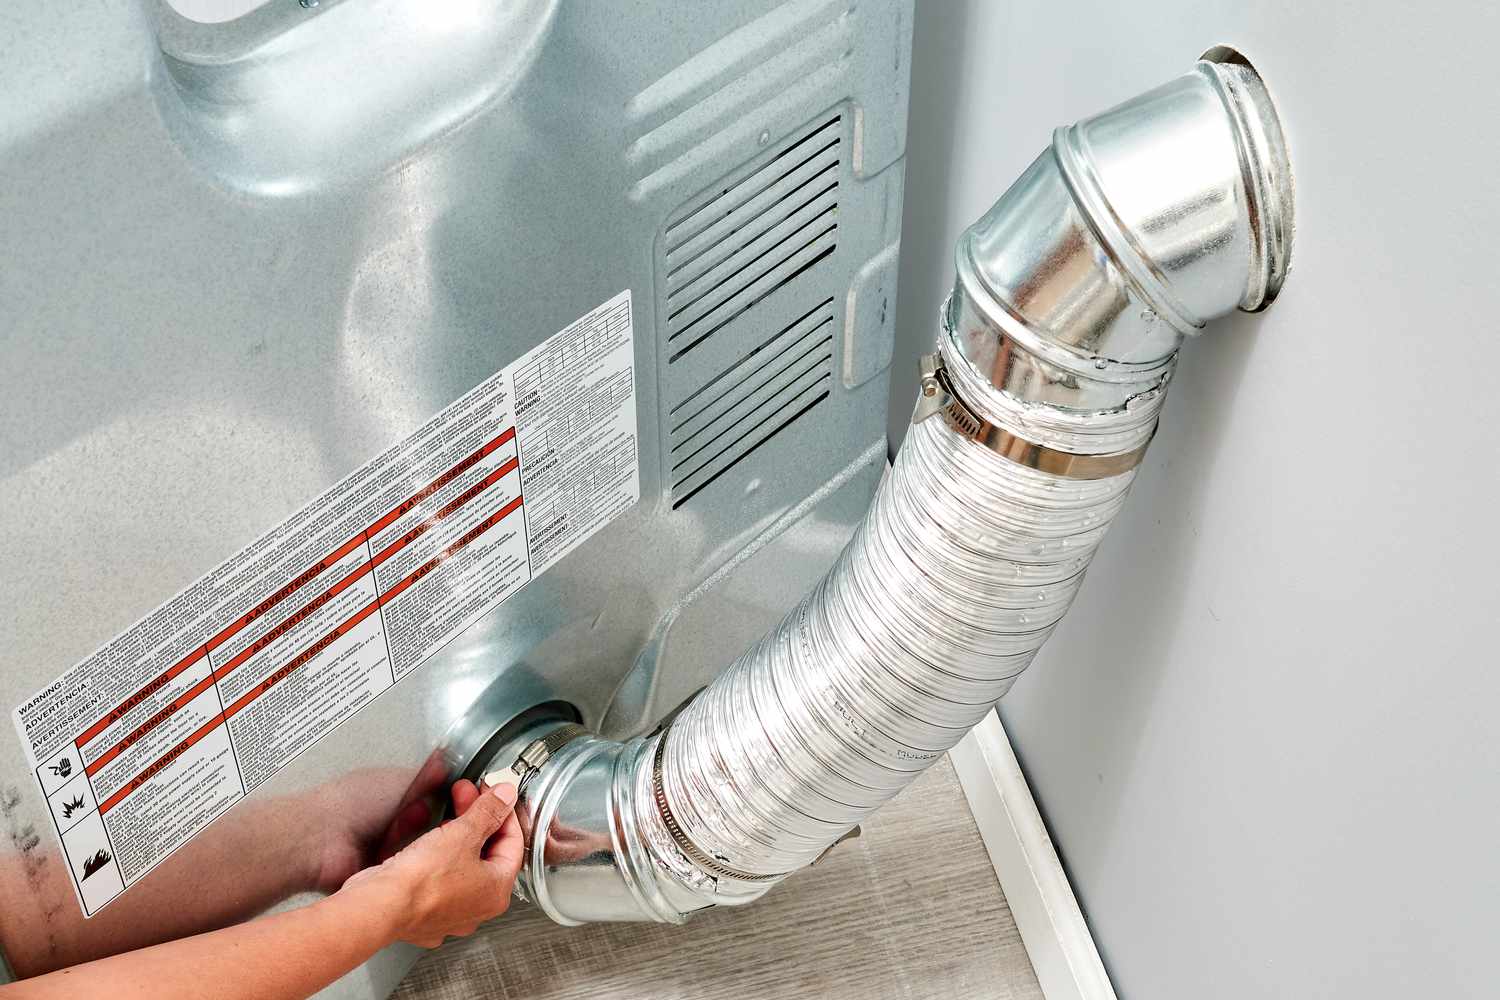
- Clean the vent opening: Use a soft brush or vacuum to remove any lint, dirt, or debris that may have accumulated in or around the vent opening. This will ensure a clean surface for the installation.
- Inspect the vent pipe: Take a moment to inspect the vent pipe for any signs of damage or blockages. Look for cracks, dents, or obstructions that may need to be addressed before installing the cover.
- Check for proper airflow: While the dryer is off, turn it on for a few seconds and feel for airflow at the vent opening. Ensure that air is flowing freely from the vent. If you notice weak airflow or none at all, there may be an issue with the vent pipe that requires attention.
By clearing the area around the dryer vent and ensuring proper airflow, you provide a clean and optimal environment for installing the vent cover. With the area prepped, you can now move on to choosing the right cover for your dryer vent.
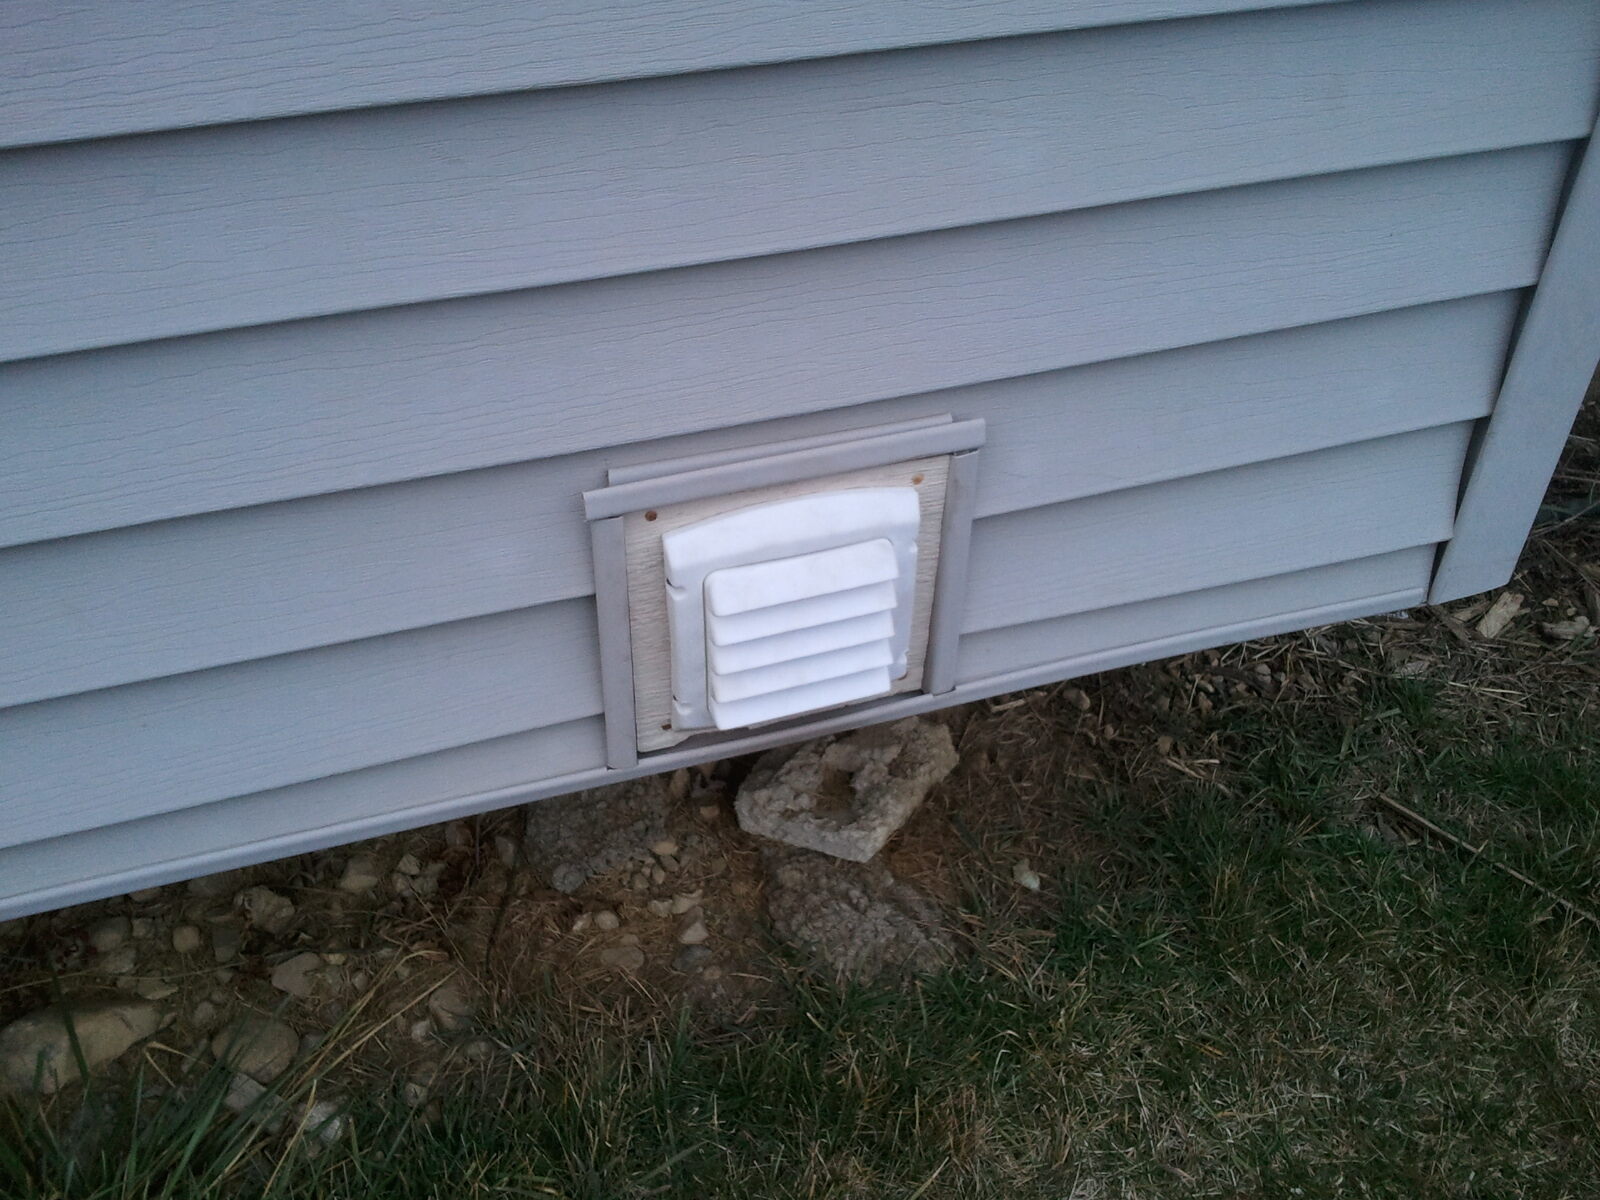
Step 2: Choosing the right cover for your dryer vent
Choosing the right cover for your dryer vent is crucial to ensure proper functionality and protection. Here are some factors to consider when selecting a vent cover:
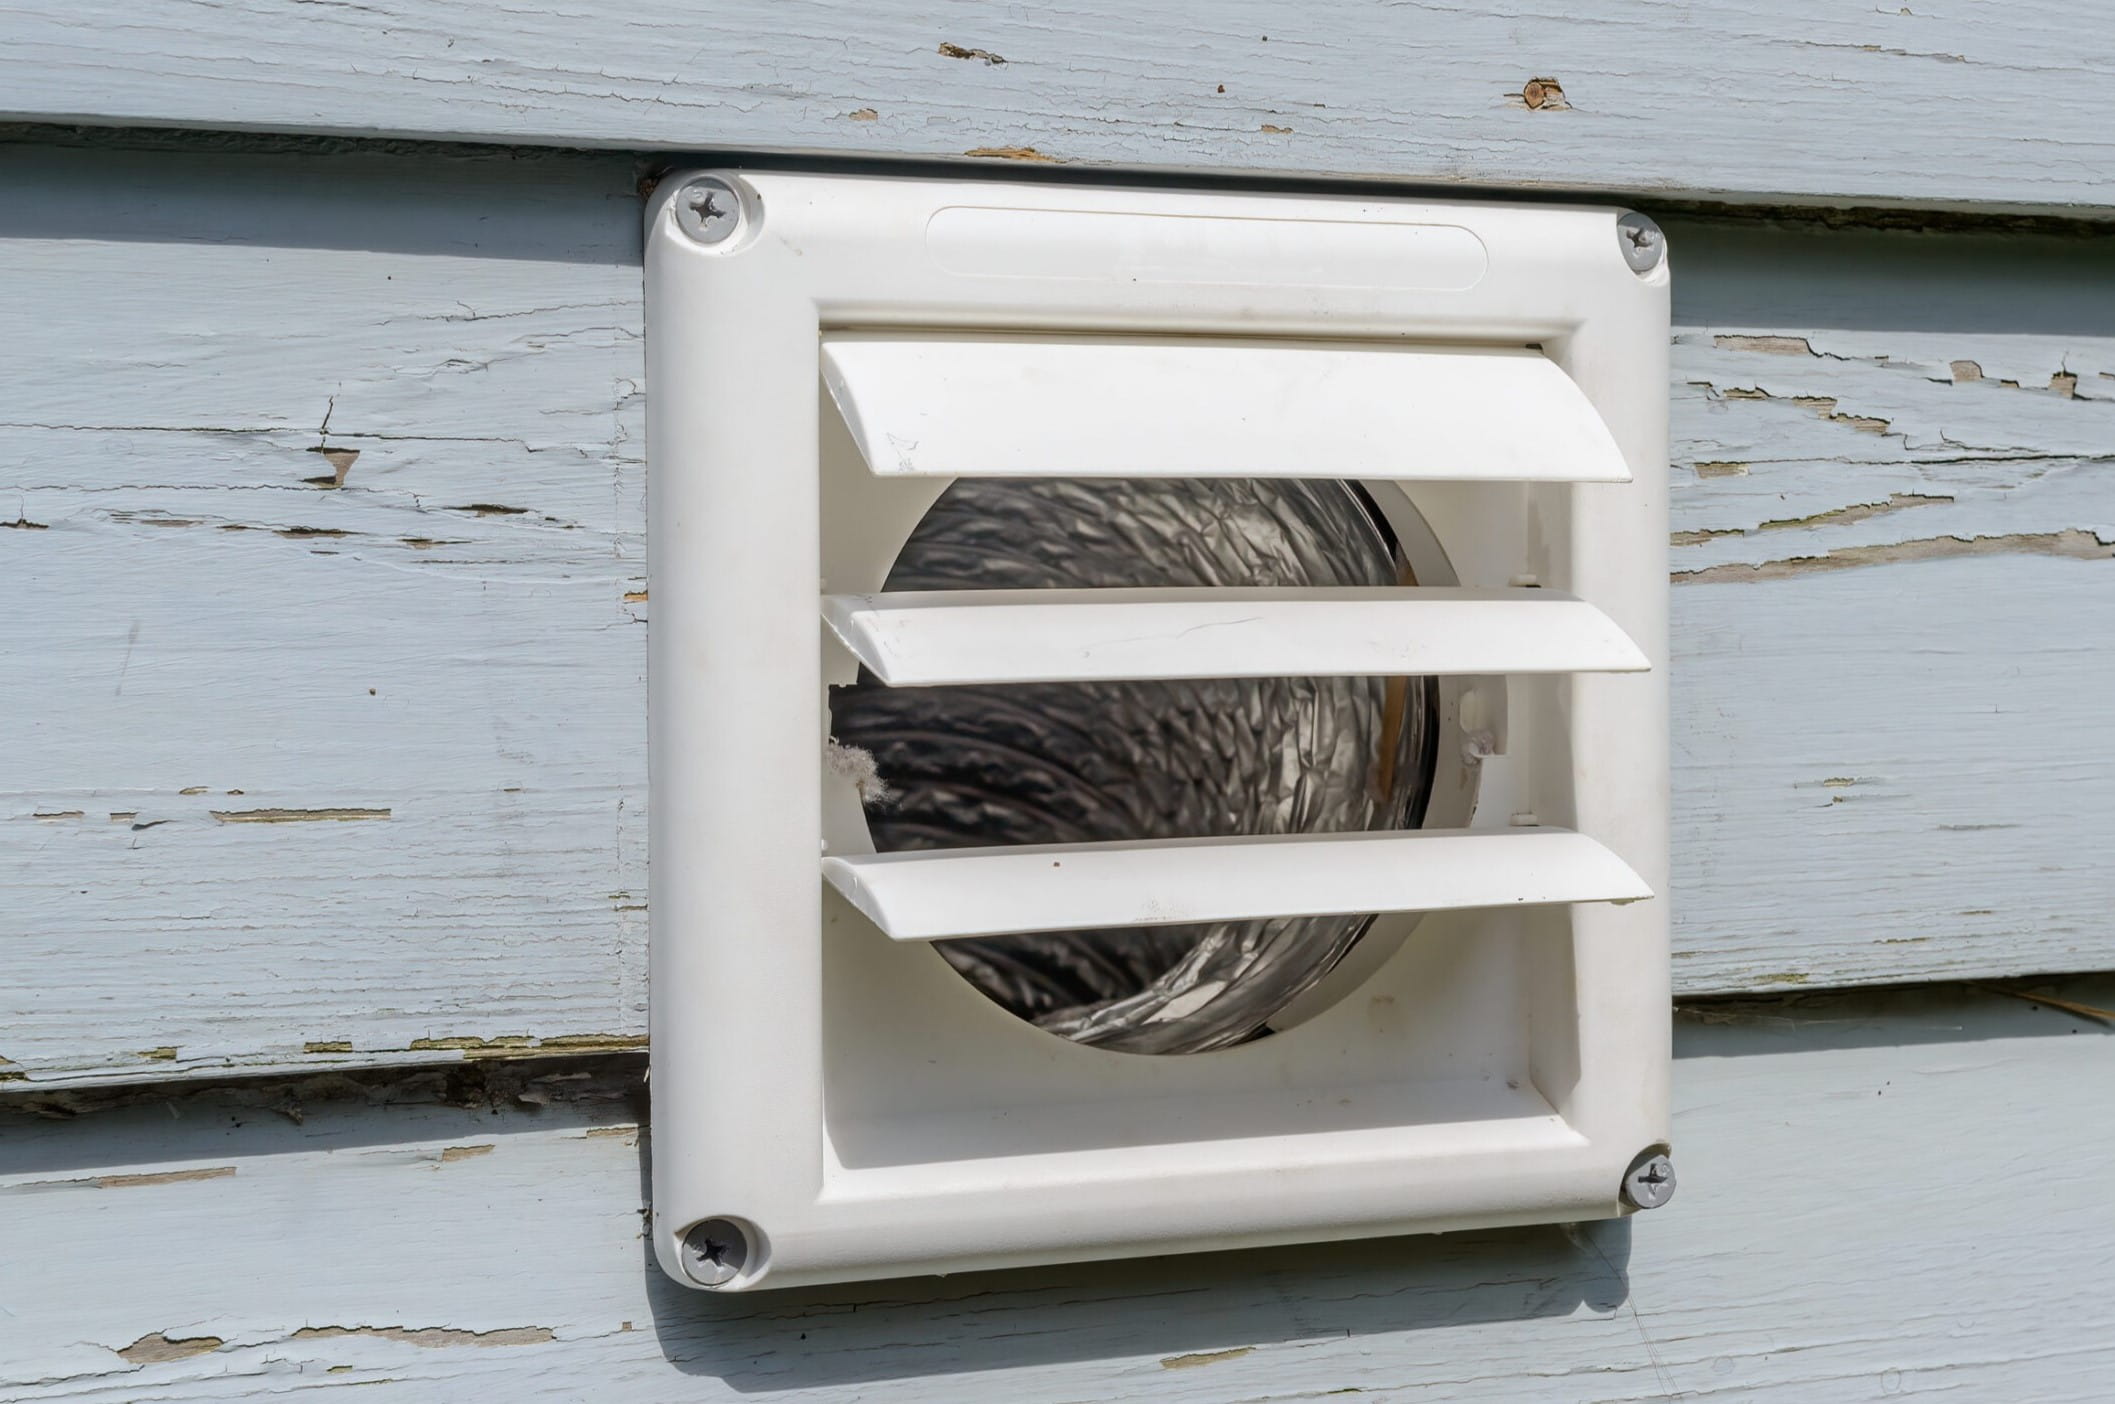
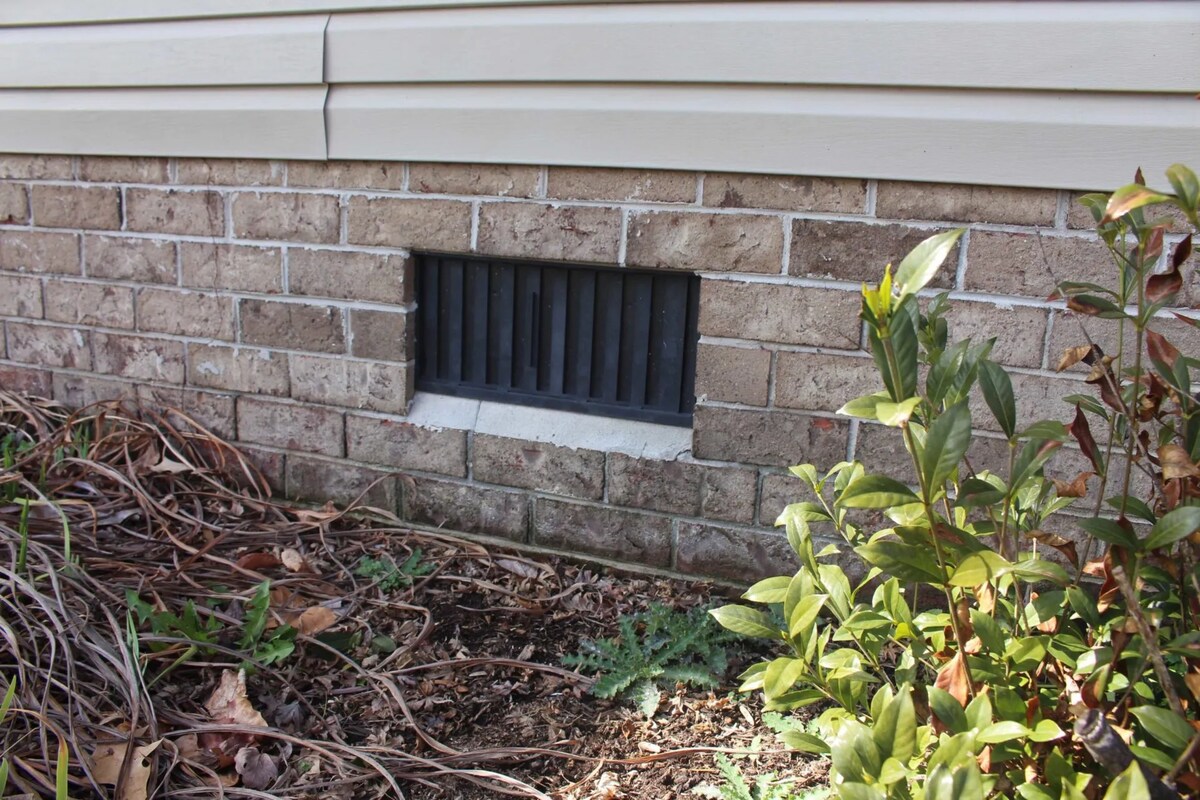
- Type of vent: Determine the type of dryer vent you have. Common types include wall vents, roof vents, and soffit vents. Each type may require a specific style of cover, so make sure to choose one that is compatible with your vent.
- Material: Look for a vent cover made of durable and weather-resistant materials such as plastic, metal, or stainless steel. These materials can withstand exposure to the elements and provide long-lasting protection for your dryer vent.
- Design and airflow: Consider the design of the vent cover. Opt for a cover with a mesh or louvered design that allows for proper airflow while preventing debris from entering. This design helps maintain optimal dryer performance and reduces the risk of clogs.
- Size: Measure the dimensions of your dryer vent opening to ensure a proper fit. The vent cover should be slightly larger than the opening to cover it completely and provide a secure seal.
- Aesthetics: If visual appeal is important to you, choose a vent cover that complements the exterior of your home. There are various designs and finishes available, allowing you to find one that matches your home’s style.
Consider these factors when selecting a vent cover to ensure it meets your specific needs and requirements. Once you have chosen the right cover for your dryer vent, you can move on to the next step, which is installing the cover on the dryer vent.
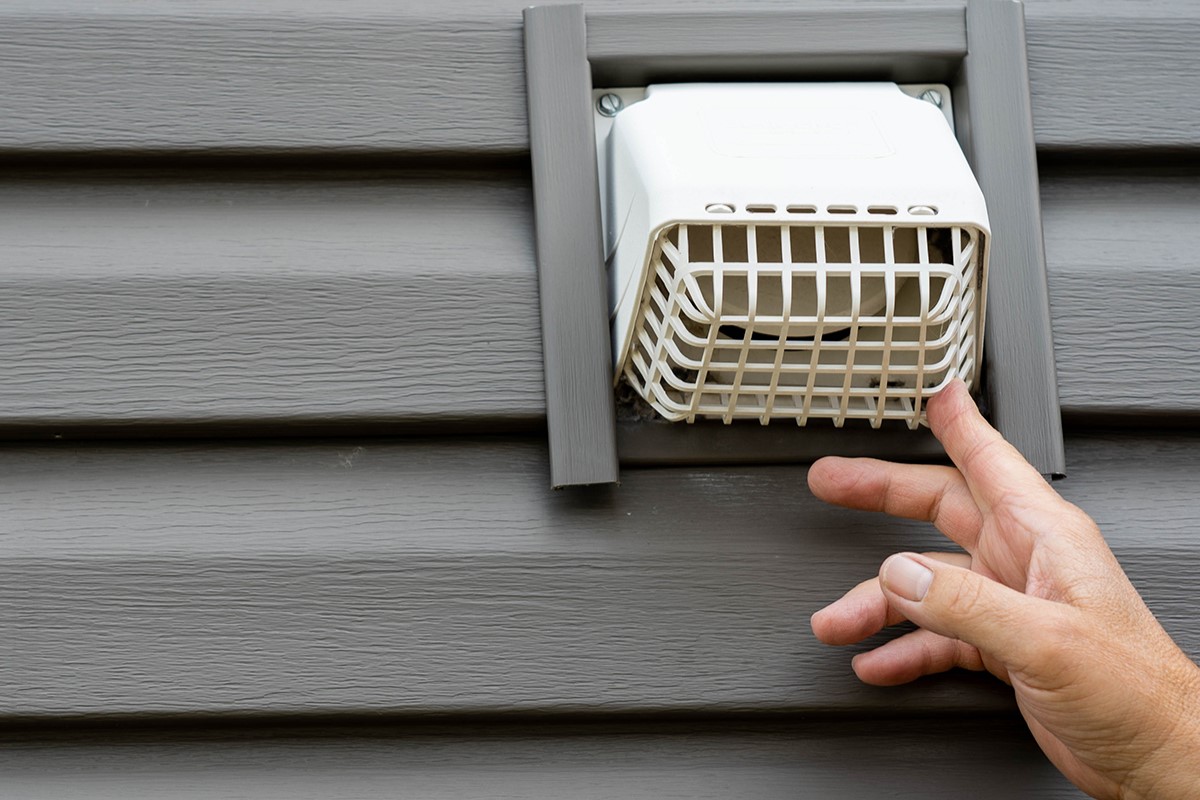
Use a vent cover to protect your dryer vent outside. Make sure it is made of durable material and has a flap to keep out pests and debris. Clean it regularly to ensure proper airflow.
Step 3: Installing the cover on the dryer vent
Now that you have chosen the right cover for your dryer vent, it’s time to install it. Follow these steps for a successful installation:
- Position the vent cover: Hold the vent cover up to the exterior wall, aligning it with the dryer vent opening. Make sure the cover is level and centered with the opening.
- Mark the screw hole locations: Using a pencil or marker, mark the screw hole locations on the exterior wall through the vent cover’s mounting holes. This will serve as a guide when drilling the holes.
- Prepare the drill: Insert the appropriate drill bit into your drill. The size of the drill bit will depend on the screws you are using. Refer to the manufacturer’s instructions for the correct drill bit size.
- Drill the screw holes: Drill holes into the marked locations on the exterior wall. Take care not to apply too much pressure to avoid damaging the wall. Remove any debris or dust from the holes after drilling.
- Attach the vent cover: Place the vent cover over the dryer vent opening, aligning the screw holes with the drilled holes in the wall. Insert screws through the vent cover’s mounting holes and into the drilled holes in the wall.
- Tighten the screws: Using a screwdriver, tighten the screws securely to secure the vent cover in place. Avoid overtightening, as it may damage the vent cover or the wall.
Once the vent cover is securely attached, give it a gentle tug to ensure it is properly installed and won’t come loose. Congratulations! You have successfully installed a cover on your dryer vent. However, there is one more step to ensure the cover stays in place.
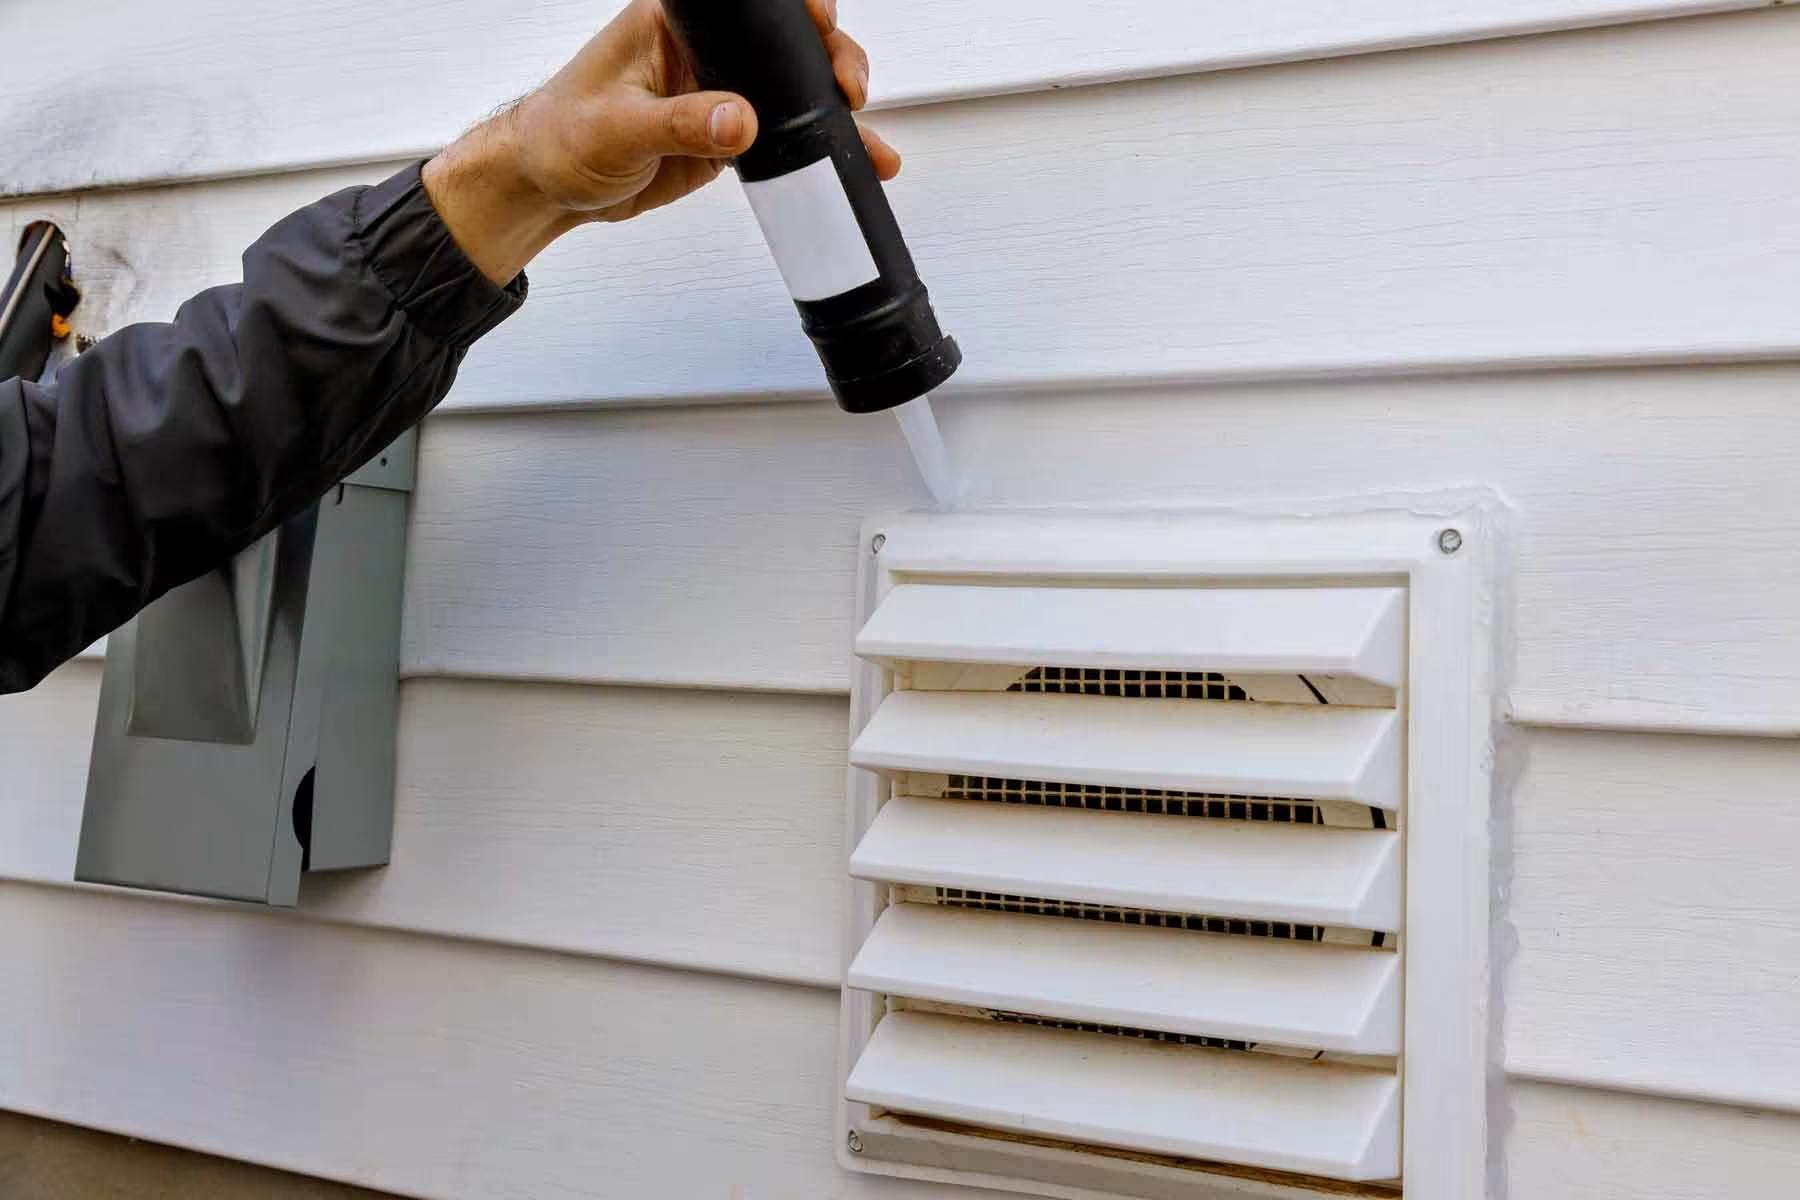
Step 4: Securing the cover in place
After installing the vent cover on your dryer vent, it’s important to take an extra step to ensure it remains secure and in place. Here’s what you need to do:
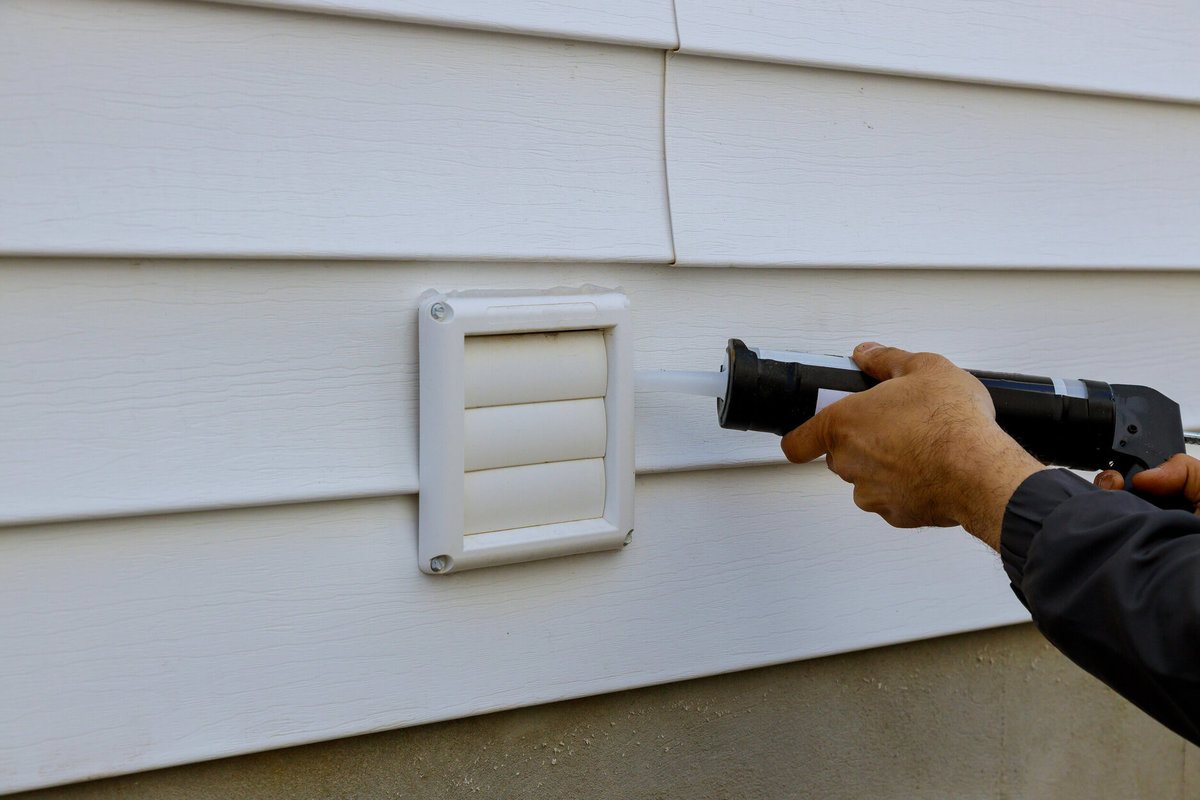
- Apply silicone sealant: To create a waterproof seal and provide additional support, apply a small bead of silicone sealant around the perimeter of the vent cover where it meets the wall. This will help prevent water from seeping behind the cover and secure it in place.
- Smooth the sealant: Use a caulk smoothing tool or your finger to smooth and flatten the silicone sealant, ensuring it adheres well to both the vent cover and the wall. This will create a neat and reliable seal.
- Allow the sealant to dry: Follow the manufacturer’s instructions for the recommended drying time of the silicone sealant. It’s important to allow it to fully dry and cure before exposing it to moisture or the elements.
By applying silicone sealant to the edges of the vent cover, you provide an added layer of protection against water intrusion and help secure the cover in place. This step is particularly important for areas that experience heavy rain or high humidity.
Now that your vent cover is securely installed and properly sealed, it’s essential to perform regular maintenance and cleaning to ensure the longevity and efficiency of your dryer vent system.
Step 5: Regular maintenance and cleaning of the dryer vent cover
Once you have successfully installed and secured the cover on your dryer vent, it’s important to incorporate regular maintenance and cleaning into your home maintenance routine. Here are some tips to keep your dryer vent cover in top condition:
- Inspect regularly: Periodically inspect the vent cover for any signs of damage, such as cracks, loose screws, or blockages. Address any issues promptly to prevent potential problems.
- Clean the vent cover: Use a soft brush or cloth to remove any dust, lint, or debris that may accumulate on the surface of the vent cover. This will help maintain optimal airflow and prevent clogs.
- Check for obstructions: Regularly check the vent cover for any obstructions, such as leaves, bird nests, or debris. If you notice any blockages, carefully remove them to ensure proper airflow.
- Trim vegetation: Trim any nearby foliage or plants that may obstruct the dryer vent cover. This will help prevent leaves and twigs from getting stuck in the vent and causing blockages.
- Monitor airflow: Pay attention to the airflow coming from the dryer vent when your dryer is in use. If you notice weak airflow or longer drying times, there may be a blockage or an issue with the vent system that requires further attention.
- Schedule professional maintenance: Consider scheduling professional dryer vent cleaning and maintenance on a regular basis. A professional technician will have the necessary tools and expertise to thoroughly clean the vent system and ensure its optimal performance.
By incorporating these maintenance practices, you can keep your dryer vent cover clean, free from obstructions, and functioning efficiently. Regular maintenance not only prolongs the lifespan of your dryer vent system but also reduces the risk of fire hazards and energy waste.
With proper installation, regular maintenance, and the appropriate care, a covered dryer vent can contribute to a safe and efficient home environment.
Now that you have completed all the necessary steps for covering and maintaining your dryer vent, take a moment to appreciate your efforts in ensuring the safety and functionality of your home’s dryer system.
Conclusion
Covering a dryer vent outside is an essential step in maintaining the efficiency and safety of your home’s dryer system. By following the steps outlined in this guide, you can ensure that your dryer vent is protected from unwanted elements, inclement weather, and potential damage.
We discussed the benefits of covering a dryer vent, including preventing critters and debris from entering the vent, protecting against weather elements, improving energy efficiency, reducing lint buildup, and enhancing the aesthetic appeal of your home.
To cover your dryer vent, you will need a suitable vent cover, screws, a drill, a screwdriver, silicone sealant, and safety gear. Clear the area around the vent, choose the right cover, and install it securely. Applying silicone sealant around the vent cover will provide an added layer of protection and ensure a secure fit.
Regular maintenance and cleaning of the dryer vent cover are also essential to maximize its performance. Regularly inspecting, cleaning, checking for obstructions, and monitoring airflow will help maintain optimal ventilation and prevent potential issues.
Remember, if you are unsure about any of the steps or encounter any difficulties, it’s always advisable to consult a professional for assistance.
By taking care of your dryer vent and covering it properly, you can prolong the lifespan of your dryer, improve energy efficiency, and ensure a safe and functional home environment.
Thank you for following this comprehensive guide. We hope it has been informative and helpful in your home maintenance journey. Stay diligent in maintaining your dryer vent, and enjoy the benefits of a well-protected and efficiently functioning dryer system.
Frequently Asked Questions about How To Cover A Dryer Vent Outside
Was this page helpful?
At Storables.com, we guarantee accurate and reliable information. Our content, validated by Expert Board Contributors, is crafted following stringent Editorial Policies. We're committed to providing you with well-researched, expert-backed insights for all your informational needs.