Home>Home Security and Surveillance>How To Configure Motion Detection On Amcrest IP Camera

Home Security and Surveillance
How To Configure Motion Detection On Amcrest IP Camera
Modified: March 6, 2024
Learn how to configure the motion detector on your Amcrest IP camera to enhance your home security and surveillance. Protect your property with advanced motion detection technology.
(Many of the links in this article redirect to a specific reviewed product. Your purchase of these products through affiliate links helps to generate commission for Storables.com, at no extra cost. Learn more)
Introduction
Home security is a top priority for homeowners, and one of the most effective ways to ensure peace of mind is by installing a robust surveillance system. With advancements in technology, home security cameras have become more accessible and user-friendly than ever before. One of the essential features of these cameras is motion detection, which allows you to receive real-time alerts and capture footage whenever activity is detected in the monitored area.
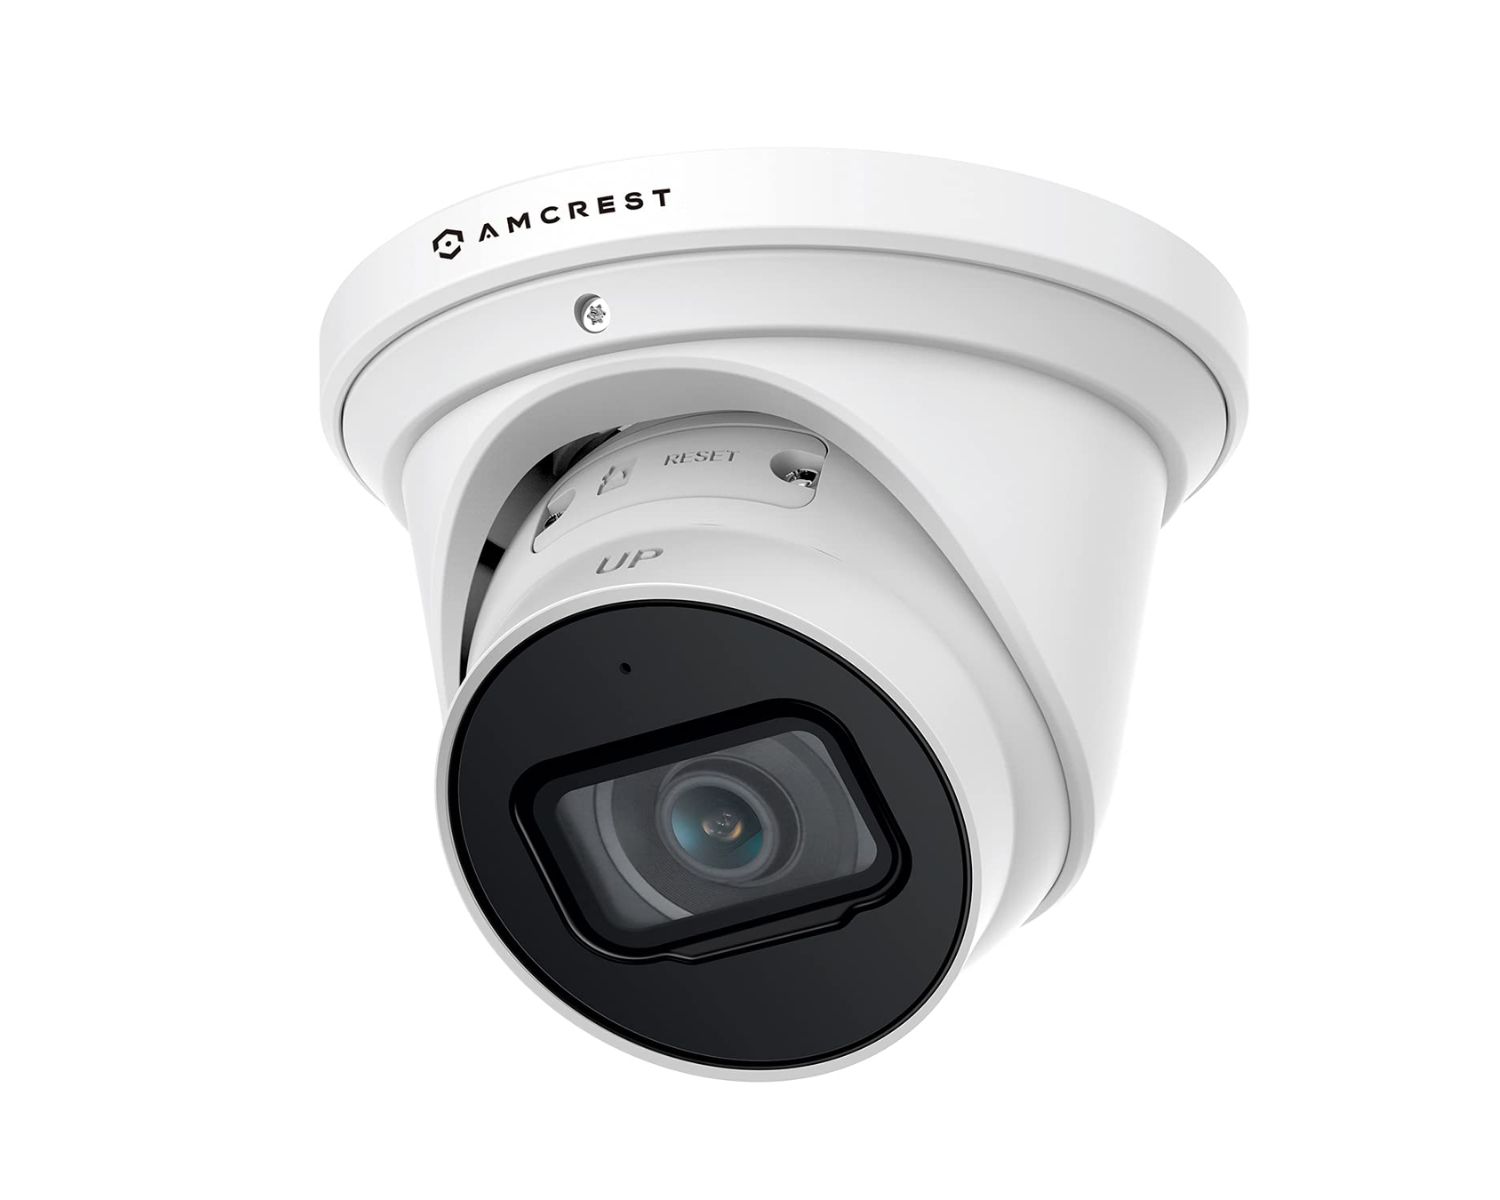
In this article, we will explore how to configure motion detection on an Amcrest IP camera. Amcrest is a leading provider of home security solutions, offering a wide range of IP cameras with advanced features for seamless surveillance. By learning how to configure the motion detector on your Amcrest IP camera, you can customize the settings to suit your specific needs.
Before we delve into the steps, it’s important to understand the benefits of using motion detection. By activating this feature, you can reduce the amount of time spent reviewing footage, as the camera will only record when it detects motion. This not only saves storage space but also allows for quick identification of any suspicious activity.
Whether you want to monitor the perimeter of your property, keep an eye on your baby’s nursery, or ensure the safety of your office space, motion detection on an Amcrest IP camera is an invaluable tool for enhancing security. Now, let’s dive into the step-by-step process of configuring the motion detector on your Amcrest IP camera.
Key Takeaways:
- Configure motion detection on your Amcrest IP camera to save storage space and quickly identify suspicious activity. Follow simple steps to access settings, enable motion detection, and customize sensitivity for effective surveillance.
- Enhance home security by setting detection areas and configuring alarm actions on your Amcrest IP camera. Regular testing and updates ensure reliable motion detection, providing peace of mind and a safer environment.
Step 1: Accessing the Camera’s Settings
To configure the motion detection settings on your Amcrest IP camera, the first step is to access the camera’s settings interface. You can do this by following these simple steps:
- Ensure that your Amcrest IP camera is connected to your network and powered on.
- Open a web browser on your computer or mobile device.
- Enter the camera’s IP address or domain name in the browser’s address bar.
- Press Enter to load the camera’s login page.
- Enter your camera’s login credentials, including the username and password.
- Click on the “Login” or “Sign In” button to access the camera’s settings interface.
Once you have successfully logged in, you will be presented with the camera’s user interface, where you can configure various settings, including motion detection. It’s worth noting that the exact steps may vary slightly depending on the specific model of your Amcrest IP camera. However, the general process remains the same.
Now that you have accessed the camera’s settings, you are ready to proceed to the next step: locating the motion detection settings.
Step 2: Locating the Motion Detection Settings
Once you have accessed the settings interface of your Amcrest IP camera, the next step is to locate the motion detection settings. These settings can usually be found in the camera’s “Configuration” or “Settings” menu. Follow these steps to find the motion detection settings:
- Look for a tab or menu option labeled “Camera Settings” or “Configuration”.
- Navigate to the “Video” or “Recording” settings.
- Locate the “Motion Detection” or “Advanced Settings” section.
In some Amcrest IP camera models, you may find a dedicated “Motion” tab that houses all the motion detection settings. However, in others, you might need to explore the different tabs or sections to locate the motion detection options.
Once you have found the motion detection settings, you are ready to move on to the next step: enabling motion detection.
Step 3: Enabling Motion Detection
Now that you have located the motion detection settings on your Amcrest IP camera, it’s time to enable the motion detection feature. Enabling motion detection allows the camera to detect any movement within its field of view and trigger recording or alert notifications. Follow these steps to enable motion detection:
- In the motion detection settings section, you will typically find a toggle switch or checkbox labeled “Enable” or “Motion Detection”.
- Click or toggle the switch to the “On” or “Enable” position to activate motion detection.
- Save the changes or click the “Apply” button, if required.
Once you have enabled motion detection, your Amcrest IP camera will start monitoring for any movement. It will capture video footage or trigger alerts when it detects motion within its detection range.
It’s worth noting that some cameras may offer additional options to refine the motion detection settings, such as detection sensitivity, detection schedules, or arming/disarming options. These settings allow you to further customize how the camera detects and responds to motion. You can explore these options based on your specific requirements.
Now that motion detection has been enabled, let’s move on to the next step: adjusting motion sensitivity.
Step 4: Adjusting Motion Sensitivity
To ensure that your Amcrest IP camera captures motion accurately, it’s important to adjust the motion sensitivity settings. Motion sensitivity determines how easily the camera detects motion and triggers recording or alerts. Follow these steps to adjust the motion sensitivity on your Amcrest IP camera:
- In the motion detection settings section, look for an option labeled “Sensitivity” or “Motion Sensitivity”.
- You will typically find a slider or a set of numerical values representing different sensitivity levels.
- Adjust the sensitivity level according to your preferences. A higher sensitivity level means the camera will detect even the slightest movement, while a lower level will require more significant motion to trigger detection.
- Observe the motion detection preview or test the sensitivity by moving within the camera’s field of view. Make adjustments as needed until you are satisfied with the level of sensitivity.
- Save the changes or click the “Apply” button, if required.
Finding the optimal motion sensitivity level may require some trial and error, as it depends on the specific environment and desired level of detection. It’s recommended to test different sensitivity levels and make adjustments based on the results.
Keep in mind that setting the sensitivity too high may lead to false positive detections, such as triggering alerts for slight changes in lighting or environmental factors. On the other hand, setting it too low may result in missed detections. Finding the right balance is crucial to ensure accurate motion detection.
Now that you have adjusted the motion sensitivity, let’s move on to the next step: setting the detection area.
To configure the motion detector on your Amcrest IP camera, access the camera’s web interface, go to the “Event” tab, and then select “Motion Detection.” Adjust the sensitivity and other settings to customize the motion detection to your preference.
Step 5: Setting Detection Area
Setting the detection area on your Amcrest IP camera allows you to specify the regions within the camera’s field of view where you want motion to be detected. By defining the detection area, you can reduce false alarms and focus on monitoring specific areas of interest. Follow these steps to set the detection area on your camera:
- In the motion detection settings section, look for an option labeled “Detection Area” or “Motion Detection Area”.
- Click or tap on the option to open the detection area configuration interface.
- You will typically see a preview of the camera’s live feed, with options to draw or select specific areas.
- Use your mouse or touchscreen to draw a rectangle or click on specific areas to define the detection zone. You can also adjust the size of the detection area by dragging the edges of the selected region.
- Ensure that the detection area covers the specific regions of interest and excludes any areas where you don’t want motion detection to trigger.
- Confirm the detection area configuration and save the changes.
Setting the detection area allows you to customize the surveillance to your specific needs. For example, if you want to monitor only the entrance of your property, you can adjust the detection area to focus on that specific location. This helps in reducing false alarms triggered by motion in other areas, such as trees or passing vehicles.
It’s important to regularly review and update the detection area settings as needed. Changes in the environment, such as new objects or obstructions, may require adjustments to ensure accurate motion detection.
Now that you have set the detection area, let’s move on to the next step: configuring alarm actions.
Step 6: Configuring Alarm Actions
Configuring alarm actions on your Amcrest IP camera allows you to determine what happens when motion is detected. This includes options such as recording video, sending email notifications, or triggering audible alarms. Follow these steps to configure alarm actions for motion detection:
- In the motion detection settings section, look for an option labeled “Alarm Actions” or “Event Actions”.
- Click or tap on the option to open the alarm actions configuration interface.
- You will typically find checkboxes or toggle switches for different actions, such as recording, email notifications, or alarms.
- Select the desired alarm actions based on your preferences. For example, enable video recording to capture footage when motion is detected.
- Configure additional settings for each action, if available. For example, set the record duration or specify the recipients for email notifications.
- Save the changes or click the “Apply” button, if required.
By configuring alarm actions, you can ensure that motion detection events are appropriately captured and notified. For example, if you enable video recording, the camera will start recording when motion is detected, allowing you to review the footage later if needed. Additionally, email notifications can be sent to your designated email address, so you receive immediate alerts when motion is detected.
It’s important to select the alarm actions that align with your security needs. Consider factors such as available storage space, desired level of notification, and the importance of capturing motion events in real-time. Fine-tuning the alarm actions ensures that you are promptly alerted and have the necessary evidence in case of any security incidents.
Now that you have configured the alarm actions, let’s move on to the final step: testing the motion detector.
Step 7: Testing the Motion Detector
Testing the motion detector on your Amcrest IP camera is crucial to ensure that it is functioning properly and accurately detecting motion. By conducting a thorough test, you can identify any issues or fine-tune the settings for optimal performance. Follow these steps to test the motion detector on your camera:
- Ensure that the camera is in its normal operating state and the motion detection settings are configured as desired.
- Move within the camera’s field of view to trigger motion detection. You can walk or wave your hand in front of the camera to create motion.
- Observe the camera’s response. It should ideally start recording, send notifications, or initiate the specified alarm actions.
- Review the recorded footage or check the email notifications to ensure that motion events are accurately captured.
- If necessary, make adjustments to the motion sensitivity, detection area, or alarm actions based on the test results.
It’s recommended to conduct multiple tests from different angles and distances to ensure that the motion detector is reliable in various scenarios. This allows you to fine-tune the settings to minimize false positives or missed detections.
Regular testing of the motion detector is essential to maintain the effectiveness of your surveillance system. Environmental factors, such as changes in lighting conditions or new objects in the view, can impact motion detection performance. By periodically testing and adjusting the settings as needed, you can ensure that your Amcrest IP camera is always ready to capture any motion events accurately.
Congratulations! You have successfully completed the process of configuring the motion detector on your Amcrest IP camera. By following these steps, you can now enjoy enhanced security and peace of mind, knowing that your camera is actively monitoring and alerting you to any detected motion in the designated areas.
Conclusion
Configuring motion detection on your Amcrest IP camera is a fundamental step to enhance the security of your home or office. By enabling motion detection, adjusting sensitivity, setting the detection area, and configuring alarm actions, you can ensure that your camera captures and alerts you to any suspicious activity within its field of view.
Motion detection offers numerous benefits, including optimized storage usage, quick identification of potential threats, and reduced time spent reviewing footage. With the ability to customize the motion detection settings to your specific needs, you can create a surveillance system tailored to your unique security requirements.
Throughout this guide, we have covered the step-by-step process of accessing the camera’s settings, locating the motion detection settings, enabling motion detection, adjusting motion sensitivity, setting the detection area, configuring alarm actions, and testing the motion detector. By following these steps, you can effectively set up and fine-tune the motion detection feature on your Amcrest IP camera.
It’s important to regularly review and update the motion detection settings as needed. Changes in the environment, such as new objects, changes in lighting, or modifications to your security needs, require adjustments to ensure accurate and reliable motion detection.
Remember, a well-configured motion detection system not only enhances your security but also provides you with invaluable peace of mind. You can rest assured knowing that your Amcrest IP camera is actively monitoring the areas you want to protect, keeping you informed of any suspicious activity.
By utilizing motion detection and the advanced features of your Amcrest IP camera, you can take control of your home security and enjoy a safer, more protected environment. So, take the time to configure your Amcrest IP camera’s motion detection settings today and experience the benefits of a comprehensive surveillance system.
Frequently Asked Questions about How To Configure Motion Detection On Amcrest IP Camera
Was this page helpful?
At Storables.com, we guarantee accurate and reliable information. Our content, validated by Expert Board Contributors, is crafted following stringent Editorial Policies. We're committed to providing you with well-researched, expert-backed insights for all your informational needs.
