Home>Home Security and Surveillance>How To Configure Insteon Motion Detector 2
Home Security and Surveillance
How To Configure Insteon Motion Detector 2
Modified: October 20, 2024
Learn how to configure the Insteon Motion Detector 2 for seamless integration into your home security and surveillance system, ensuring round-the-clock monitoring and peace of mind.
(Many of the links in this article redirect to a specific reviewed product. Your purchase of these products through affiliate links helps to generate commission for Storables.com, at no extra cost. Learn more)
Introduction
Welcome to the world of home security and surveillance! In the digital age, it has become more important than ever to protect your home and loved ones from potential threats. One key component of any home security system is a motion detector, which can help detect unauthorized movement and trigger alarms or notifications.
In this article, we will delve into the world of Insteon Motion Detector 2 – a cutting-edge device that provides advanced motion detection capabilities for your home. Whether you are a beginner or a seasoned DIY enthusiast, we will guide you through the process of configuring and optimizing this device to ensure maximum effectiveness.
So, let’s dive in and explore how to set up and configure the Insteon Motion Detector 2 to enhance the security and surveillance of your home. With the right knowledge and tools at your disposal, you can have peace of mind knowing that your home is well-protected.
Key Takeaways:
- Setting up the Insteon Motion Detector 2 is a breeze with the right equipment and placement. Adjusting sensitivity and range ensures accurate motion detection, providing peace of mind for home security.
- Linking the Insteon Motion Detector 2 to other devices creates a smart home automation system. Thorough testing and troubleshooting help maintain its reliable performance over time.
Overview of Insteon Motion Detector 2
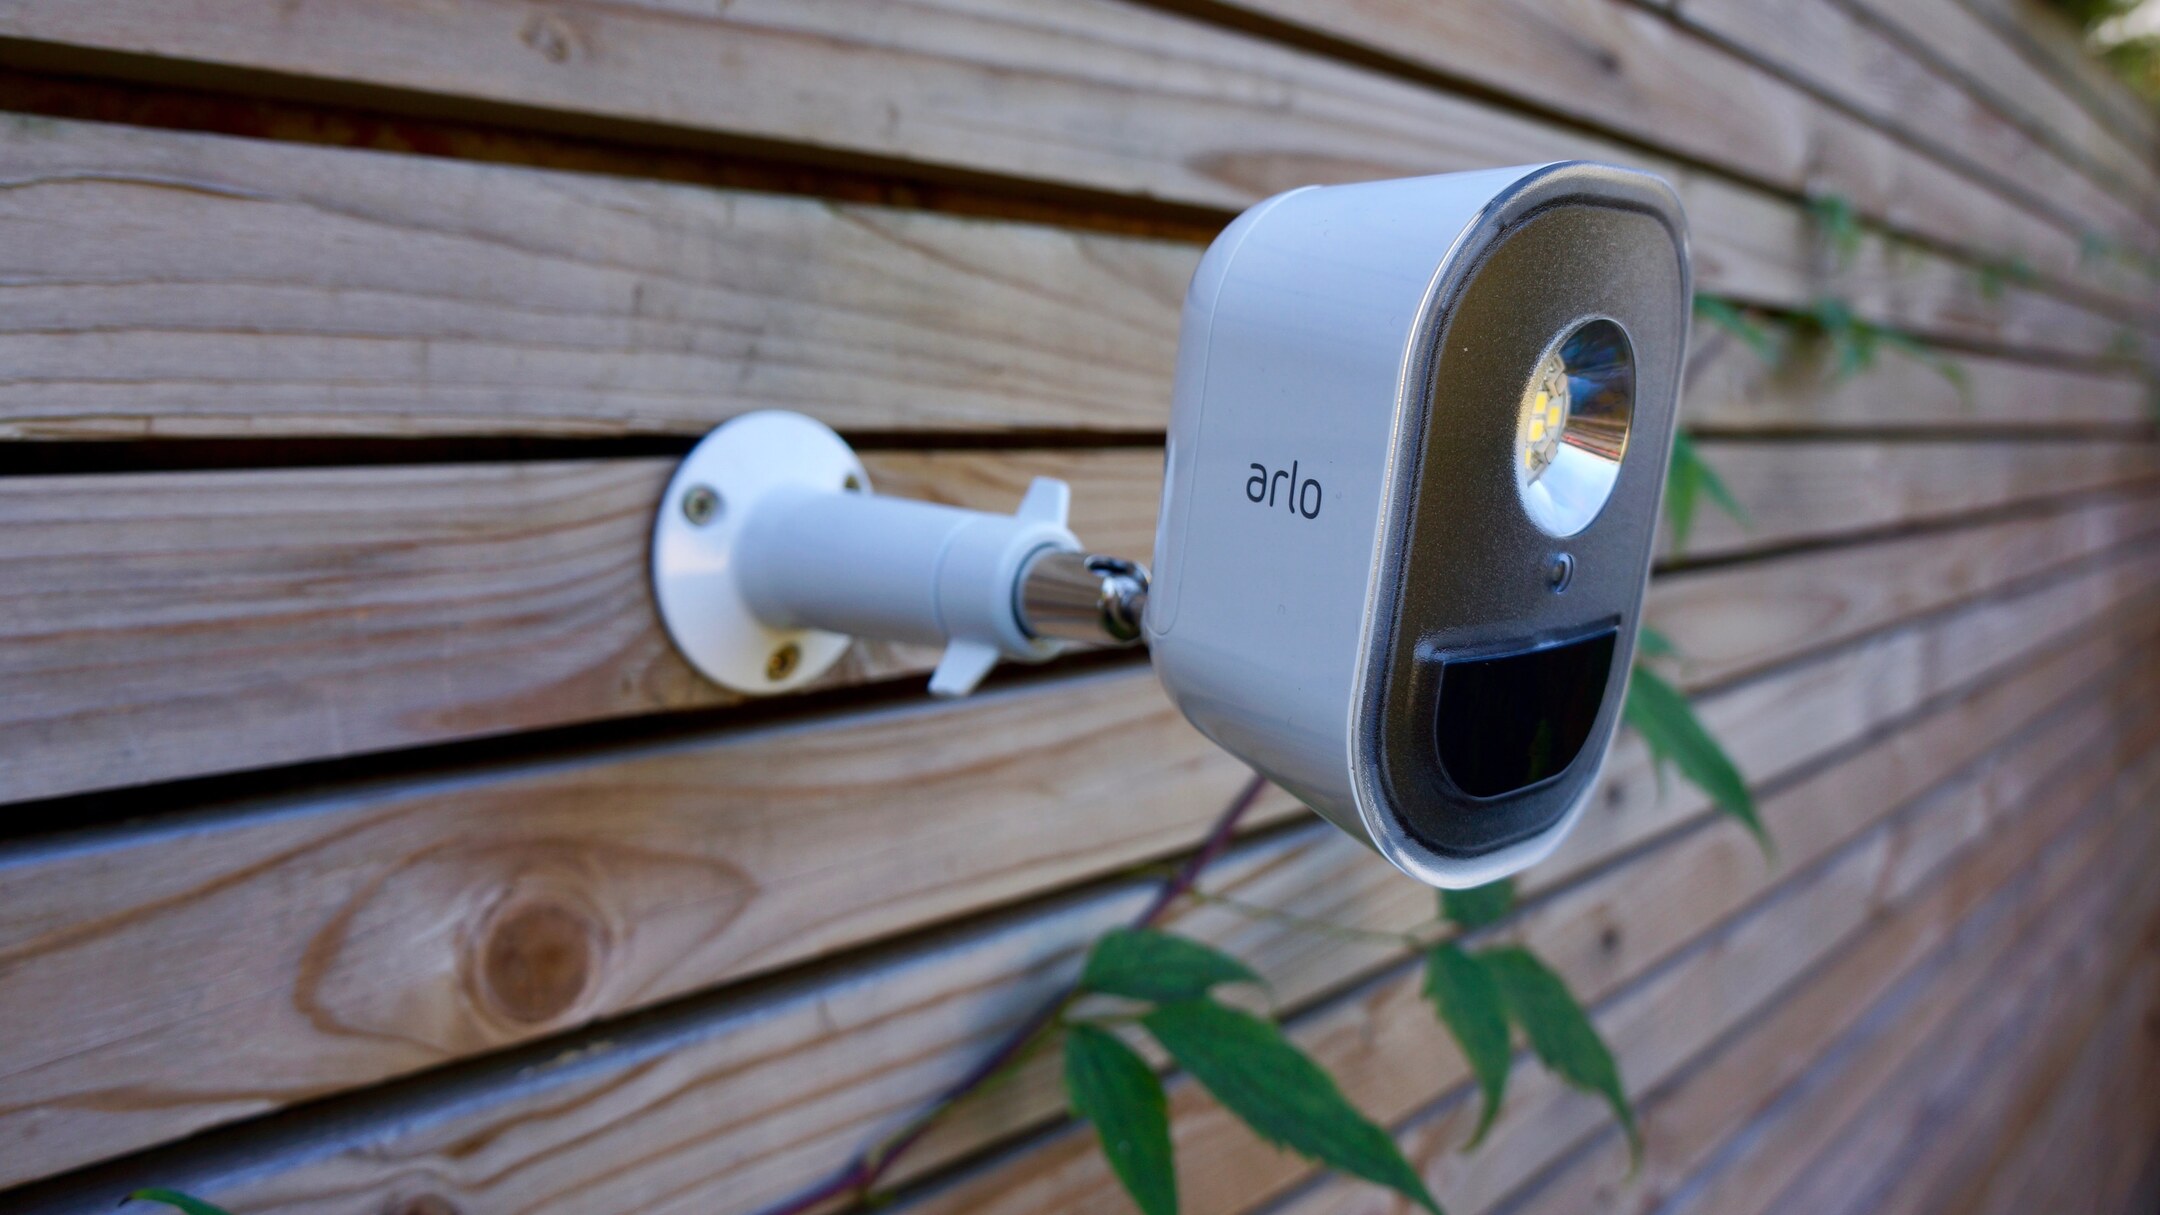
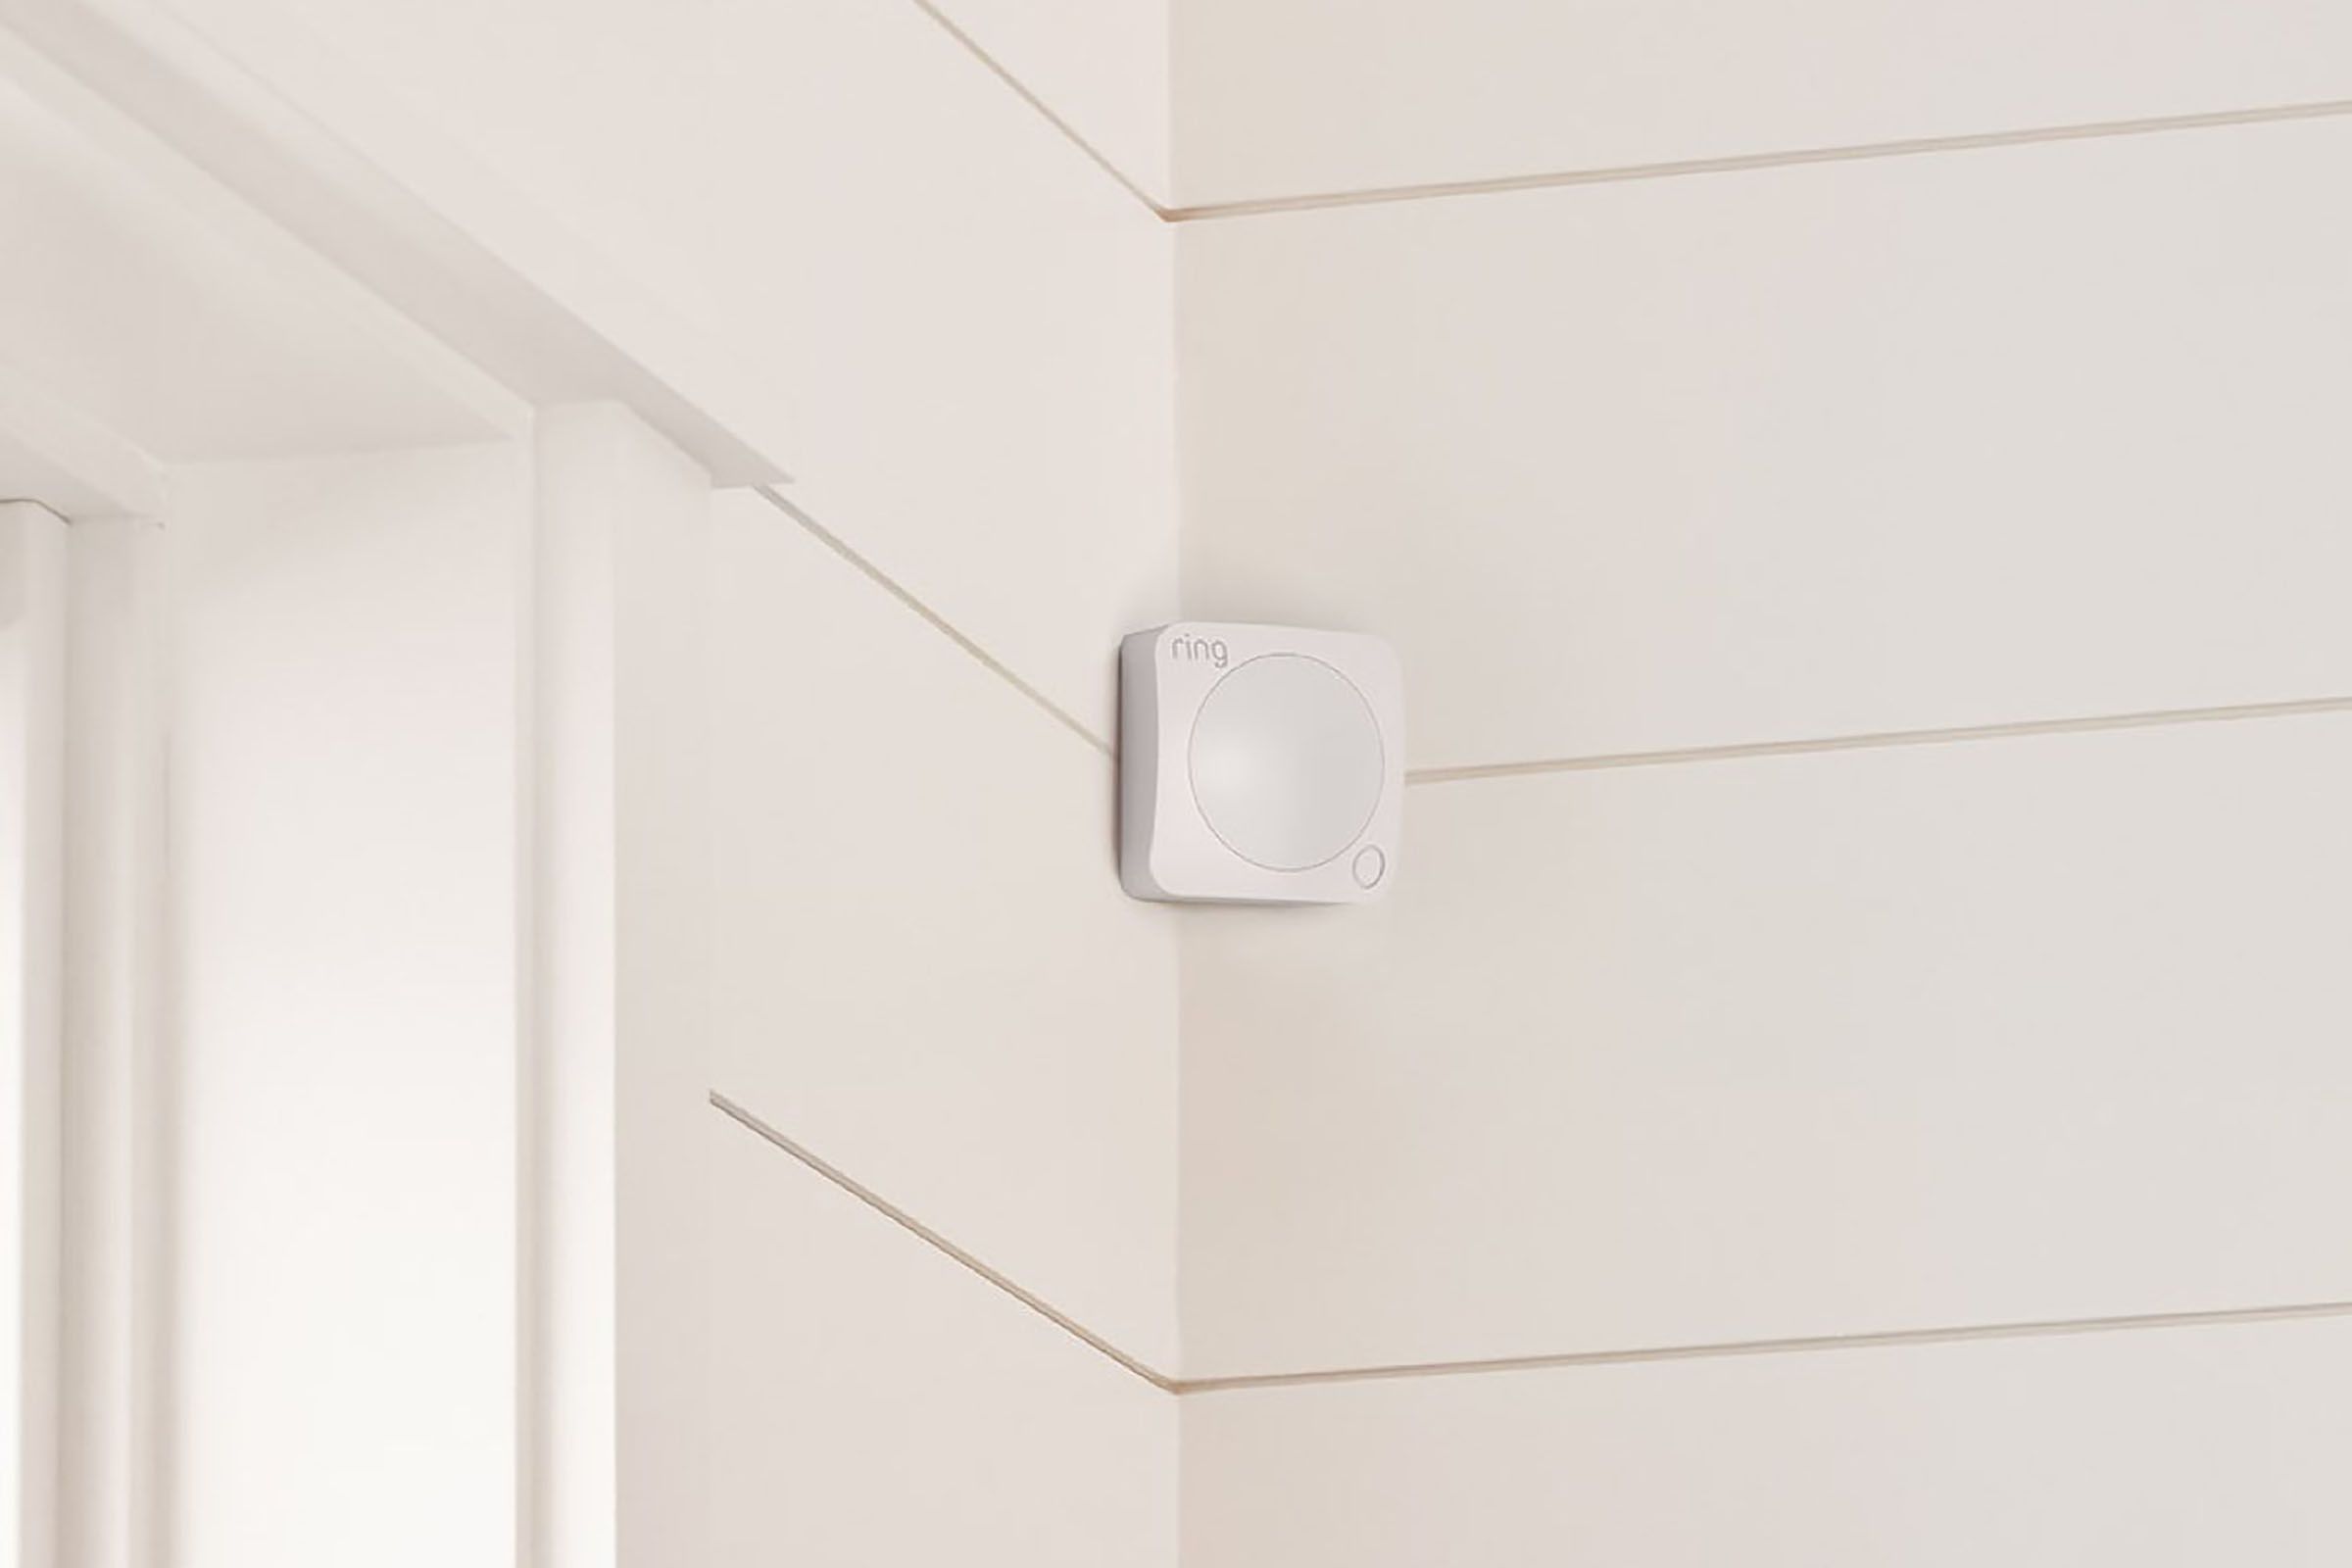
The Insteon Motion Detector 2 is a state-of-the-art device designed to detect motion in your home and trigger various actions. It features advanced technology that allows for accurate detection and reliable performance. The sleek and compact design of the detector makes it easy to install and blend seamlessly with your home decor.
One of the standout features of the Insteon Motion Detector 2 is its wireless connectivity, which enables it to be linked with other Insteon devices in your home. This integration allows for a synchronized and cohesive home automation system, where the motion detector can trigger actions such as turning on lights, activating cameras, or even sending alerts to your smartphone.
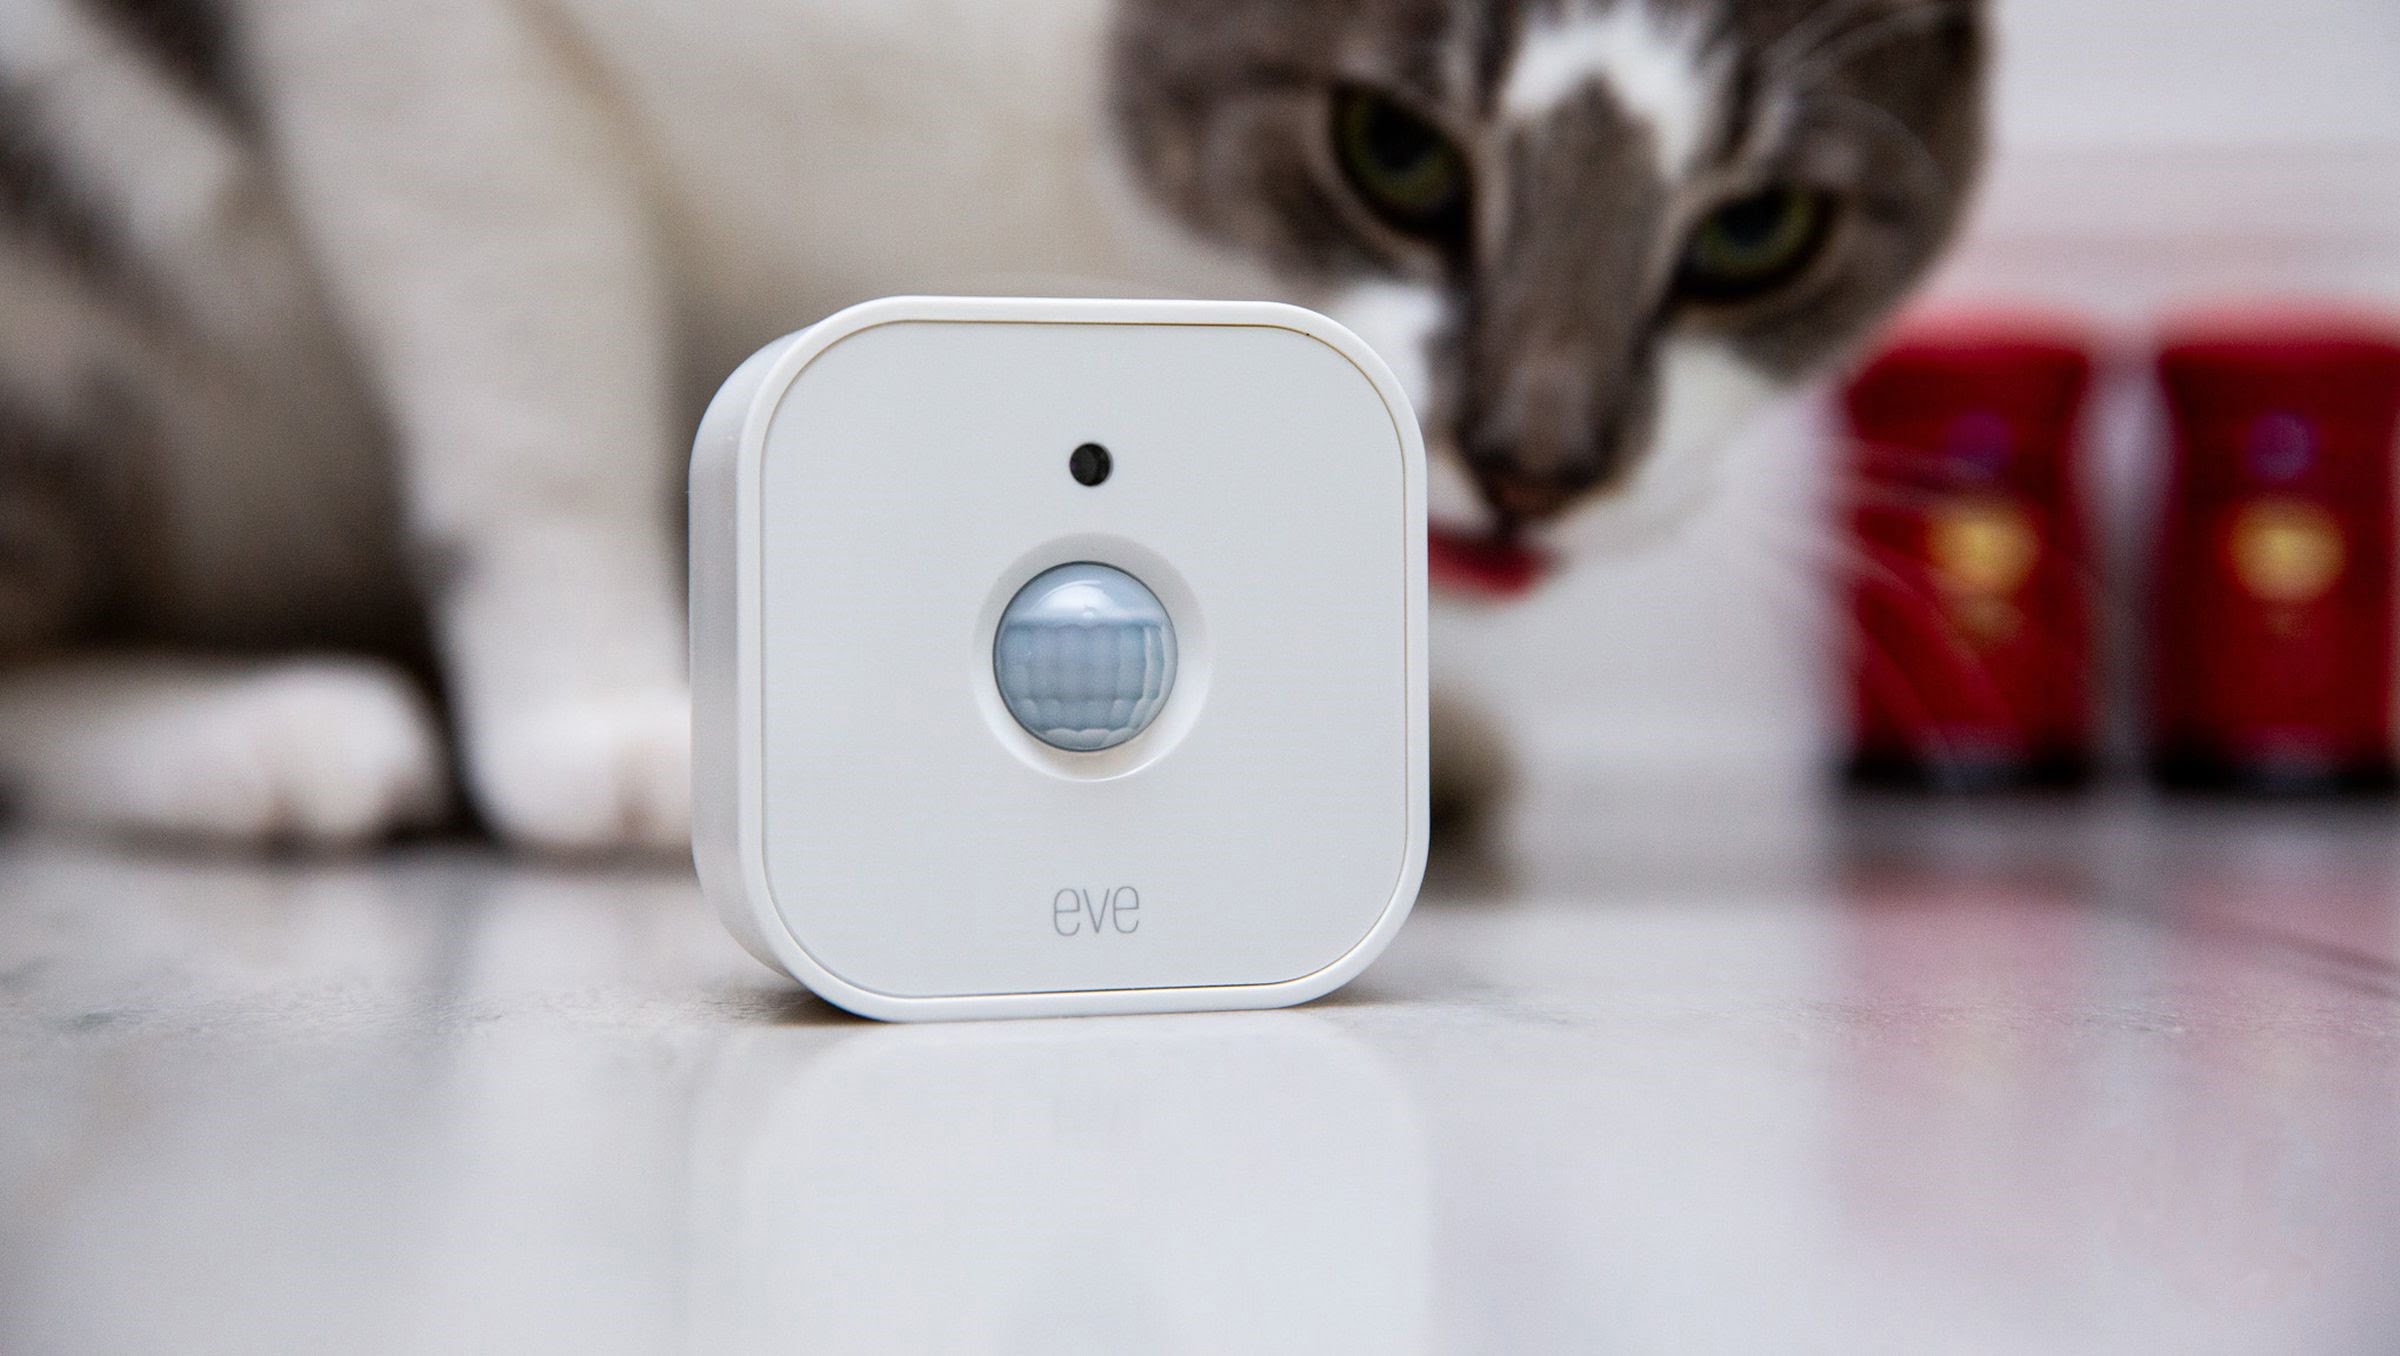
The Insteon Motion Detector 2 utilizes passive infrared (PIR) technology to detect motion within its field of view. This technology is highly effective in differentiating between human motion and other moving objects, minimizing false alarms. With an impressive range and adjustable sensitivity, you can customize the device to suit your specific needs and optimize its performance.
Additionally, the Insteon Motion Detector 2 boasts a battery life of up to two years, making it a reliable and low-maintenance option for your home security system. It also features an LED indicator that provides visual feedback on the device’s status, making it easy to monitor at a glance.
Whether you’re looking to enhance the security of your home, automate your lighting system, or simply keep a watchful eye on your surroundings, the Insteon Motion Detector 2 is a versatile and reliable choice. In the following sections, we will walk you through the process of setting up and configuring this device to maximize its potential and ensure optimal performance.
Required Equipment
Before diving into the installation and configuration process, it’s important to gather the necessary equipment to ensure a smooth setup of the Insteon Motion Detector 2. Here’s a list of the essential items you’ll need:
- Insteon Motion Detector 2: This is the main device that will detect motion and trigger actions.
- Insteon Hub: The Insteon Hub serves as the central controller for your Insteon devices and allows for wireless communication between them. Make sure you have the latest version of the Insteon Hub.
- Wi-Fi Network: To connect and control your Insteon devices, a stable Wi-Fi network is necessary. Ensure that you have a functioning Wi-Fi network with a reliable internet connection.
- Smartphone or Tablet: You will need a smartphone or tablet with the Insteon app installed. The app will serve as your interface to control and configure the Insteon Motion Detector 2.
- Batteries: The Insteon Motion Detector 2 requires batteries for power. Make sure you have the appropriate batteries (typically AA or AAA) on hand.
- Screwdriver: Depending on your installation method, you may need a screwdriver to secure the motion detector in place.
It’s important to ensure that you have all the necessary equipment before proceeding with the installation and configuration process. This will help streamline the setup process and prevent any delays or complications.
Once you have gathered all the required equipment, you’re ready to move on to the next step of the process: installation and placement of the Insteon Motion Detector 2.
Installation and Placement
Proper installation and strategic placement of the Insteon Motion Detector 2 is crucial for optimal performance. Follow these steps to ensure a successful setup:
- Select an Installation Method: The Insteon Motion Detector 2 offers two installation options: wall-mounted or freestanding. Choose the method that best suits your needs and preferences. For wall-mounted installation, use the provided screws and anchors to securely attach the motion detector to the desired location.
- Consider the Field of View: The field of view of the motion detector refers to the area it can monitor for motion detection. Ensure that you position the device in an area where it can cover the desired area effectively. Avoid obstructions, such as furniture or curtains, that may limit its field of view.
- Height and Angle: For wall-mounted installation, it is recommended to install the motion detector between 6 to 8 feet above the ground, tilted downwards at a slight angle. This will provide optimal coverage and reduce false alarms caused by movement outside the desired detection area.
- Avoid Direct Sunlight: Direct sunlight can affect the performance of the motion detector. Avoid placing it in areas that receive direct sunlight, as this can result in false alarms or unreliable detection. Choose a location that is shaded or away from direct sunlight.
- Test the Placement: Before finalizing the installation, it’s a good idea to test the placement of the motion detector. Walk around the monitored area to ensure that the device detects your movement accurately. Make any necessary adjustments to the placement if needed.
By following these installation and placement guidelines, you can ensure that the Insteon Motion Detector 2 is positioned optimally and ready to detect motion effectively. Once the motion detector is properly installed, it’s time to power it on and start configuring its motion detection settings.
Powering On the Motion Detector
Once the Insteon Motion Detector 2 is securely installed, it’s time to power it on. Follow these steps to ensure a successful power-up:
- Open the Battery Compartment: Locate the battery compartment on the motion detector and gently open it using a screwdriver or the provided latch.
- Insert Batteries: Insert the appropriate batteries into the battery compartment, ensuring that they are inserted correctly according to the polarity markings (+/-).
- Close the Battery Compartment: Once the batteries are inserted, securely close the battery compartment by aligning the latch or screws.
- Power-Up the Motion Detector: After closing the battery compartment, the motion detector will power on automatically. Wait for a few seconds to allow the device to initialize.
- Check LED Indicator: The Insteon Motion Detector 2 is equipped with an LED indicator located on the front of the device. The LED will illuminate or flash to indicate the device’s status. Refer to the user manual to understand the different LED patterns and their corresponding meanings.
Once the motion detector is powered on and operational, it’s time to start configuring its motion detection settings to customize its behavior according to your preferences. Whether you want to adjust its sensitivity, range, or link it to other Insteon devices, the next sections will guide you through the process.
When configuring the Insteon Motion Detector 2, make sure to follow the manufacturer’s instructions carefully and test the detector in different lighting conditions to ensure accurate motion detection.
Configuring Motion Detection Settings
Now that your Insteon Motion Detector 2 is powered on, it’s time to configure its motion detection settings to suit your specific needs. The Insteon app offers a user-friendly interface for accessing and adjusting these settings. Follow these steps to get started:
- Open the Insteon App: Launch the Insteon app on your smartphone or tablet. Make sure your mobile device is connected to the same Wi-Fi network as your Insteon Hub.
- Access the Motion Detector: Locate the motion detector within the app’s device list. Tap on the device to access its settings and configuration options.
- Adjust Motion Sensitivity: Depending on your preference, you can adjust the sensitivity level of the motion detector. Higher sensitivity increases the chance of detection but may also increase the likelihood of false alarms. Lower sensitivity reduces false alarms but may result in missed detections. Find a balance that works best for your specific environment.
- Set the Detection Range: Determine the desired detection range of the motion detector. This will depend on the area you want to monitor. Adjust the range accordingly within the app’s settings to ensure optimal coverage without overlapping or gaps.
- Configure Detection Zones: Some motion detectors offer the option to set up detection zones within the monitored area. This allows you to prioritize specific areas for detection and exclude others. Use the app’s interface to define these zones based on your requirements.
- Enable Notifications or Alarms: Decide whether you want to receive notifications or trigger alarms when motion is detected. This can be useful for immediate alerts or to activate other devices in your home automation system, such as turning on lights or sounding an alarm.
- Save and Test: Once you have configured the desired motion detection settings, save the changes within the app. It’s a good practice to test the motion detector at this point to ensure that it is detecting motion accurately and triggering the desired actions.
By following these steps, you can customize the motion detection settings of your Insteon Motion Detector 2 according to your specific requirements. Experiment with different configurations to find the optimal settings for your home security and automation needs.
Adjusting Sensitivity and Range
Adjusting the sensitivity and range of your Insteon Motion Detector 2 is essential for optimizing its performance and minimizing false alarms. Here are some tips for effectively adjusting these settings:
- Sensitivity Level: The sensitivity level determines how easily the motion detector detects motion. A higher sensitivity level means it will detect even slight movements, while a lower sensitivity level may require more significant motion. Keep in mind that setting the sensitivity level too high can result in false alarms, triggered by small objects or environmental factors. Start with a moderate sensitivity level and make adjustments based on your specific environment and requirements.
- Detection Range: The detection range refers to the maximum distance at which the motion detector can detect motion. Adjusting the detection range allows you to focus on a specific area or expand the coverage to a larger space. Keep in mind that increasing the range too much can impact the motion detector’s ability to accurately differentiate between background motion and targeted areas. Evaluate the desired coverage area and adjust the detection range accordingly.
- Environmental Factors: Take into consideration any environmental factors that may impact the motion detector’s performance. Factors such as strong drafts, heat sources, or moving objects like curtains can trigger false alarms. Adjust the sensitivity and range settings to account for these factors and reduce the chances of false alarms. Conduct regular tests in different conditions to ensure optimal performance.
- Trial and Error: Adjusting sensitivity and range settings may require some trial and error to find the optimal configuration. Start with lower sensitivity and a smaller range, gradually increasing them until you find the right balance of detecting valid motions while minimizing false alarms. Be patient and test the settings in different scenarios to fine-tune the motion detector’s performance.
- Regular Maintenance: It’s important to periodically review and adjust the sensitivity and range settings of your motion detector. Factors such as changes in the environment or the addition of new objects may require recalibration to maintain accurate motion detection. Regularly check and adjust these settings to ensure ongoing optimal performance.
By following these guidelines and investing the time to fine-tune the sensitivity and range settings of your Insteon Motion Detector 2, you can achieve a reliable and efficient motion detection system tailored to your specific home security needs.
Linking to Other Insteon Devices
One of the great advantages of the Insteon Motion Detector 2 is its ability to seamlessly integrate with other Insteon devices in your home automation system. This integration allows for enhanced functionality and automation options. Follow these steps to link your Insteon Motion Detector 2 to other devices:
- Identify Compatible Insteon Devices: Review the list of Insteon devices you have in your home that can be linked to the motion detector. This can include lights, cameras, door locks, or even thermostats.
- Put Other Devices in Linking Mode: Each Insteon device has a linking mode that needs to be activated. Follow the instructions provided with each specific device to put it in linking mode.
- Put the Motion Detector in Linking Mode: In the Insteon app, navigate to the settings of the motion detector and initiate the linking process. This will put the motion detector in a linking mode, ready to connect with other devices.
- Pair the Devices: Once both the motion detector and the other Insteon device are in linking mode, initiate the pairing process. This typically involves pressing a button or following a specific sequence on each device to establish the connection.
- Configure Automation Actions: After successfully linking the motion detector to other Insteon devices, you can now configure automation actions based on motion detection triggers. For example, you can set the lights to turn on automatically when motion is detected, or receive alerts on your smartphone when the motion detector is activated.
- Test the Automation: After configuring the automation actions, conduct tests to ensure that the linked devices are responding correctly to the motion detection triggers. Walk in the monitored area and verify that the desired automation actions are triggered as expected.
By linking your Insteon Motion Detector 2 to other Insteon devices, you can create a comprehensive and interconnected home automation system. The possibilities for automation and control are endless, allowing you to enhance the security and convenience of your home.
Testing and Troubleshooting
After setting up and configuring your Insteon Motion Detector 2, it’s important to conduct thorough testing to ensure its proper functionality. Additionally, it’s useful to know how to troubleshoot common issues that may arise. Here are some tips for testing and troubleshooting:
- Testing Motion Detection: Walk around the monitored area and observe if the motion detector accurately detects your movement. Check if the desired automation actions, such as turning on lights or sending notifications, are triggered accordingly. If the motion detector fails to detect motion, double-check its placement, sensitivity, and range settings. Adjust as necessary and retest.
- Testing Integration with Other Devices: If you have linked your Insteon Motion Detector 2 to other Insteon devices, test if the automation actions are working properly. For example, verify if the lights turn on when motion is detected or if the cameras start recording. If the integration is not functioning as expected, ensure that all linked devices are within range of the Insteon Hub and are properly paired. Try re-linking the devices if necessary.
- Checking Battery Life: Keep an eye on the battery life of the motion detector. If you notice a decrease in performance or the LED indicator flashing in unusual patterns, it may indicate low battery power. Replace the batteries with fresh ones and monitor the device’s performance again.
- Addressing False Alarms: If you are experiencing frequent false alarms, evaluate the placement and sensitivity settings of the motion detector. Make sure there are no sources of interference or obstructions causing unintended triggers. Adjust the sensitivity level or consider adding detection zones to focus on specific areas. Regularly check the surrounding environment to identify and address any factors that could potentially cause false alarms.
- Updating Firmware and App: Periodically check for firmware updates for your Insteon Motion Detector 2 and ensure that you have the latest version of the Insteon app. Firmware updates often include bug fixes and performance enhancements. Keeping your devices and app up to date can help resolve any compatibility or functionality issues.
- Contacting Customer Support: If you have followed all troubleshooting steps and are still experiencing persistent issues, don’t hesitate to reach out to Insteon’s customer support. They can provide further assistance and troubleshoot specific issues related to your Insteon Motion Detector 2.
Remember that thorough testing and proactive troubleshooting are key to ensuring the reliable performance of your Insteon Motion Detector 2. By addressing any issues promptly, you can maintain a robust and effective home security and surveillance system.
Conclusion
Congratulations! You have successfully set up and configured your Insteon Motion Detector 2, taking an important step towards enhancing the security and surveillance of your home. By following the installation guidelines, adjusting sensitivity and range settings, linking to other Insteon devices, and conducting thorough testing, you have created a reliable and personalized home security system.
The Insteon Motion Detector 2 offers advanced motion detection capabilities and seamless integration with other Insteon devices, allowing for automation and control to help protect your home. With customizable settings, you can fine-tune the detector’s sensitivity and range to suit your specific needs and minimize false alarms.
Remember to regularly monitor the battery life of the motion detector and keep it up to date by installing available firmware updates. This will ensure that it continues to perform optimally and efficiently over time.
As you enjoy the enhanced security and convenience provided by your Insteon Motion Detector 2, don’t hesitate to explore other Insteon devices and features that can further elevate your home automation system. From cameras and door locks to thermostats and lighting controls, the possibilities are vast.
If you encounter any challenges or need assistance along the way, refer to the user manual or reach out to Insteon’s customer support. They are ready to help you troubleshoot and address any issues you may encounter.
Now, sit back and enjoy the peace of mind that comes with having a reliable and effective home security system. The Insteon Motion Detector 2 is a valuable tool in protecting your home and loved ones, providing you with the security and surveillance you deserve.
Frequently Asked Questions about How To Configure Insteon Motion Detector 2
Was this page helpful?
At Storables.com, we guarantee accurate and reliable information. Our content, validated by Expert Board Contributors, is crafted following stringent Editorial Policies. We're committed to providing you with well-researched, expert-backed insights for all your informational needs.