Home>Home Security and Surveillance>How To Configure Motion Detector Lights To Trigger Arlo Recording
Home Security and Surveillance
How To Configure Motion Detector Lights To Trigger Arlo Recording
Modified: March 6, 2024
Learn how to enhance your home security and surveillance by configuring motion detector lights to trigger Arlo recording. Take control of your safety today!
(Many of the links in this article redirect to a specific reviewed product. Your purchase of these products through affiliate links helps to generate commission for Storables.com, at no extra cost. Learn more)
Introduction
Welcome to our comprehensive guide on how to configure motion detector lights to trigger Arlo recording. Home security and surveillance have become increasingly important in today’s world, and leveraging technologies such as motion detector lights and smart cameras can greatly enhance your home’s security system.
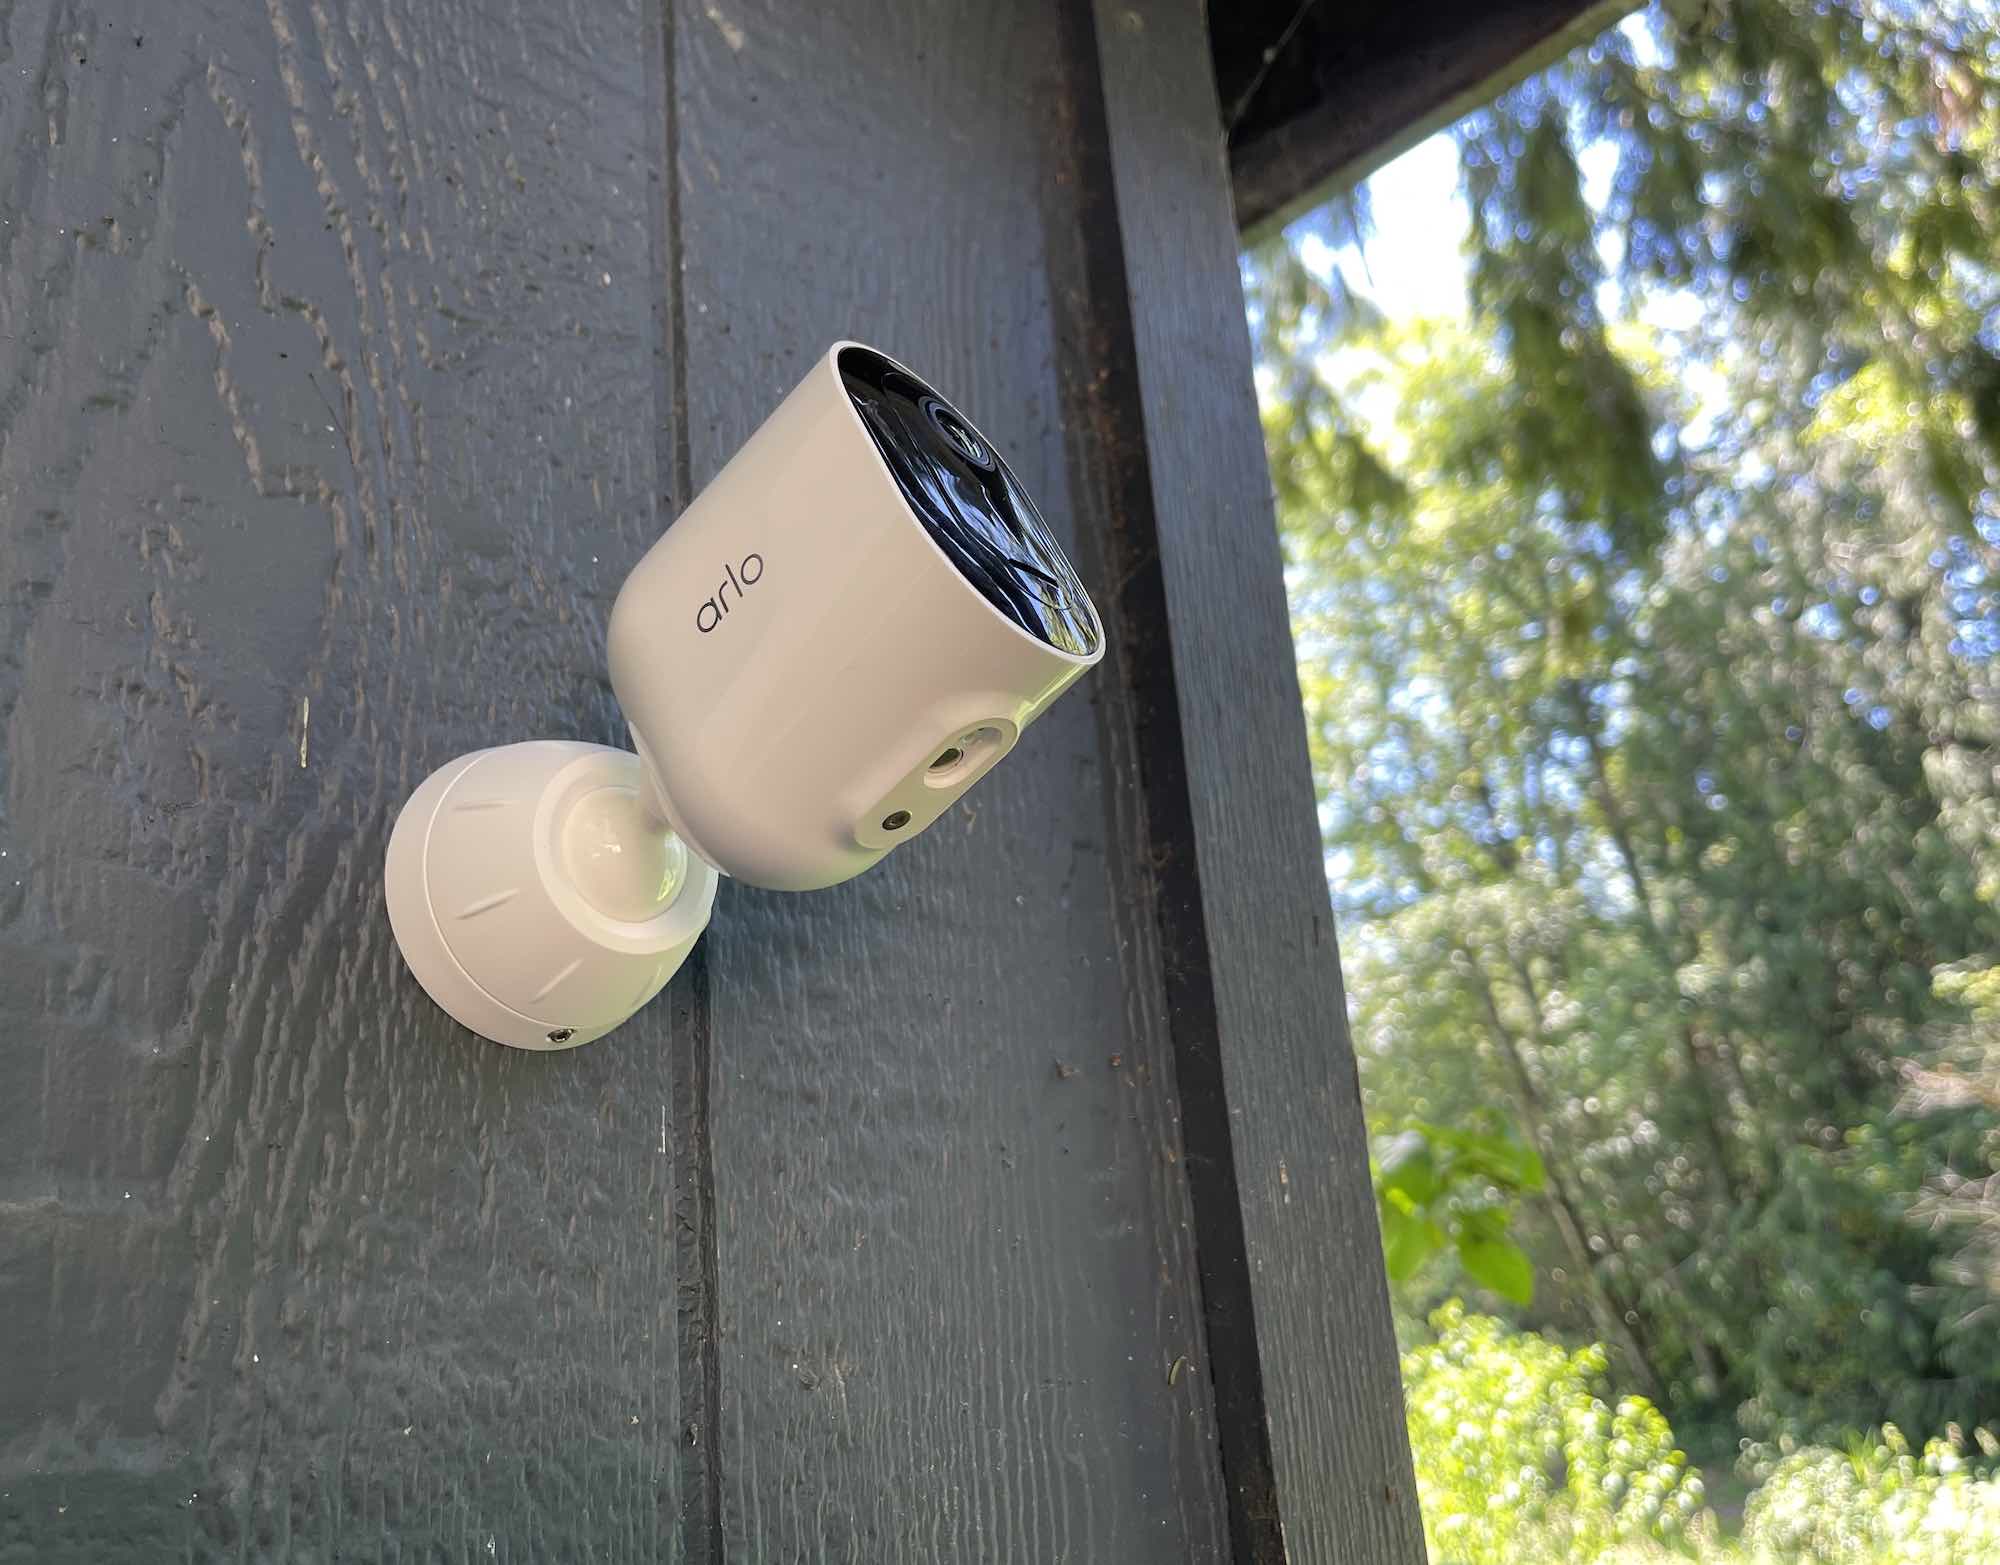
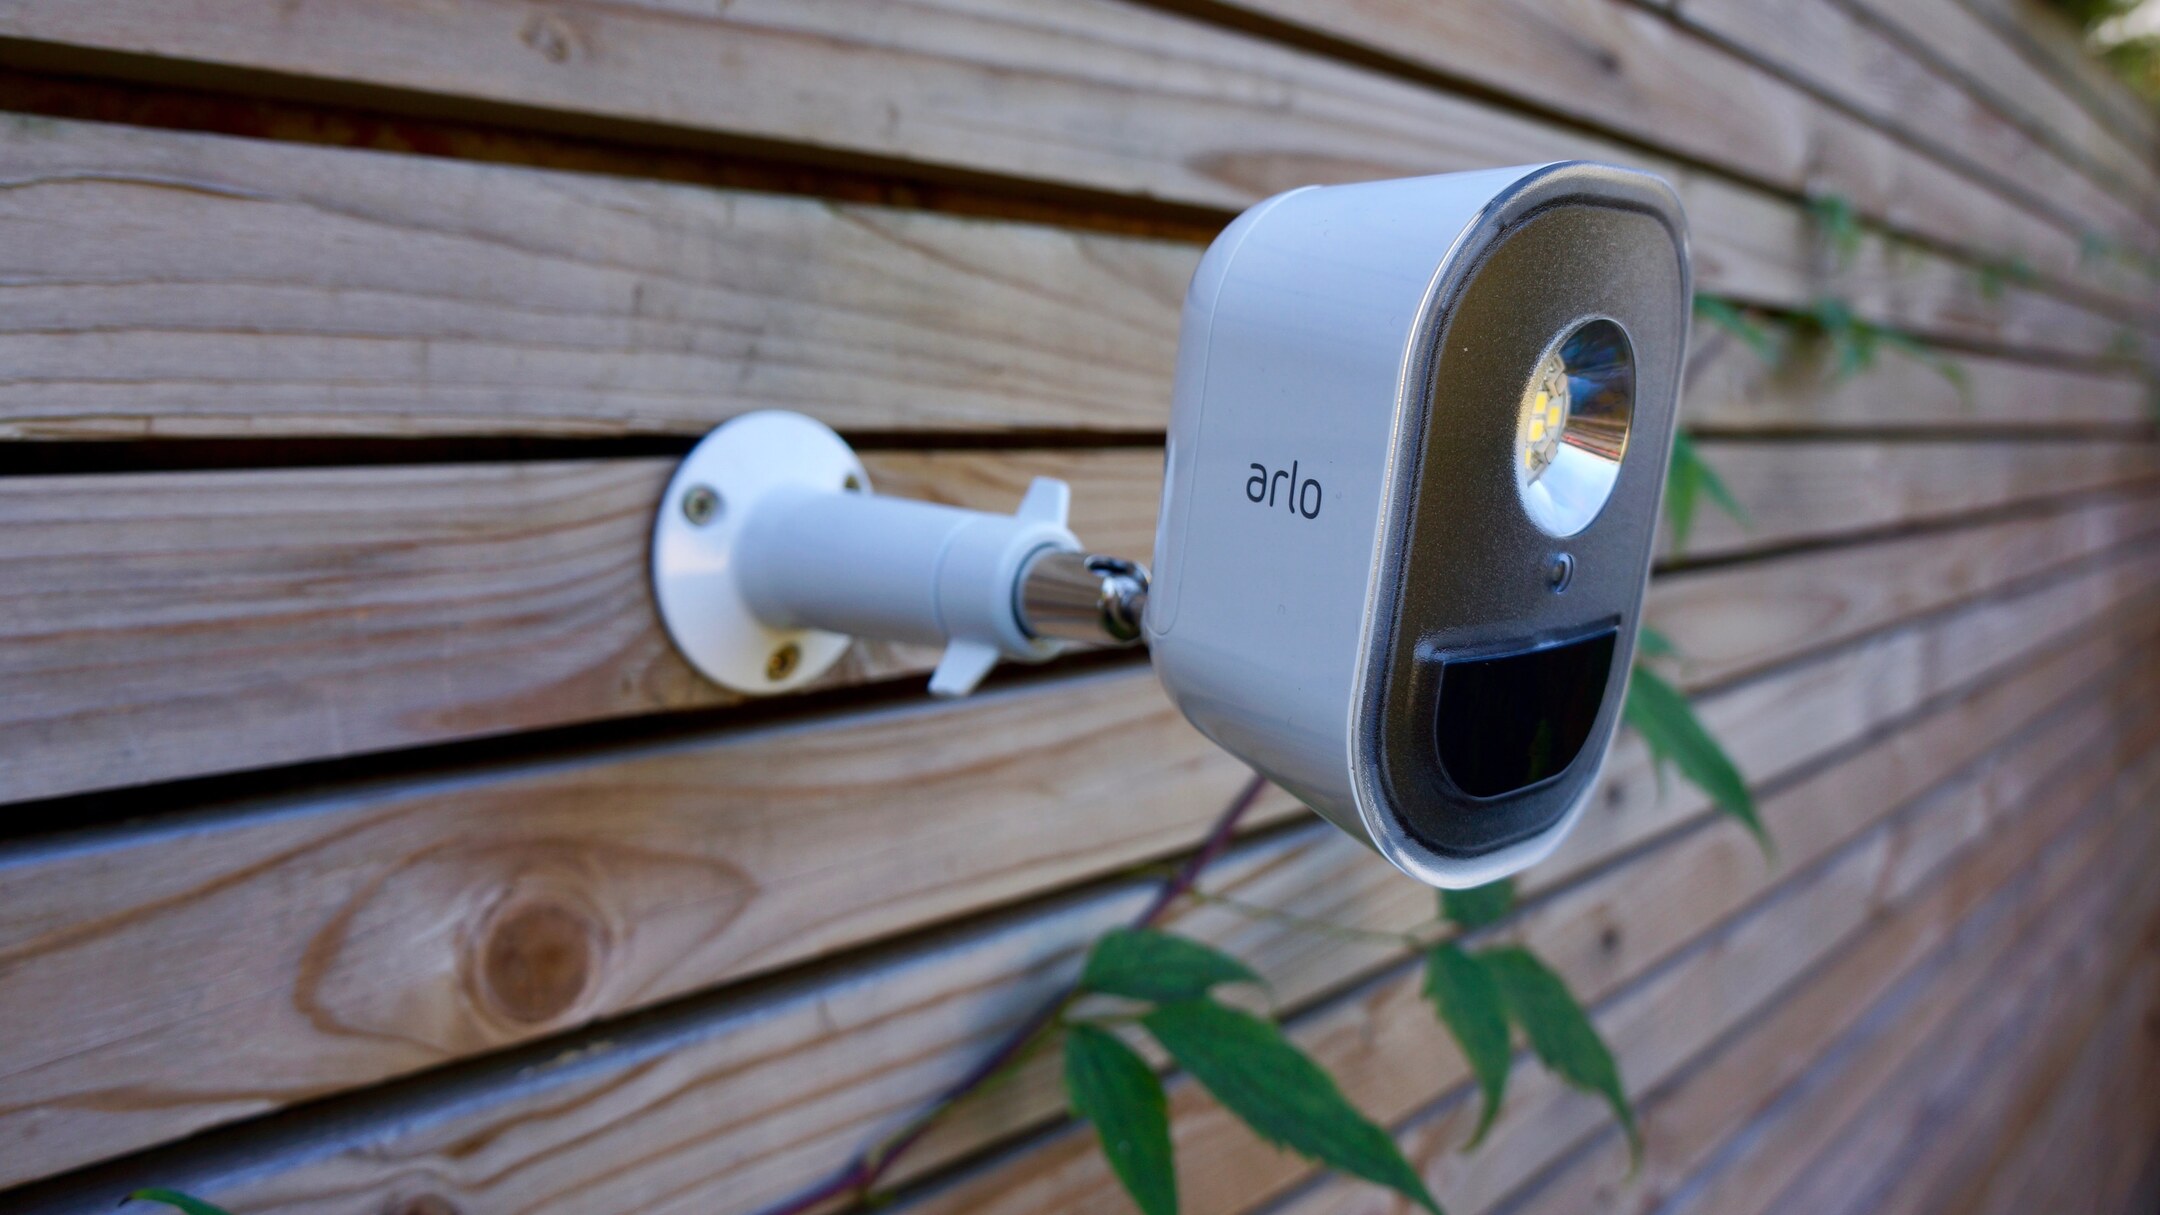
Motion detector lights are an essential component of any home security setup. They are designed to automatically turn on when motion is detected in their vicinity, which can help deter potential intruders and provide better visibility in dark areas. Arlo cameras, on the other hand, are wireless and weatherproof surveillance cameras that allow you to monitor your home remotely.
By combining motion detector lights with Arlo cameras, you can ensure that any movement around your property is detected and recorded, providing you with valuable evidence in case of any security incidents. In this guide, we will walk you through the process of setting up and configuring motion detector lights to trigger Arlo recording, so you can have peace of mind knowing that your home is well-protected.
Before we dive into the step-by-step instructions, it’s important to note that the specific setup process may vary depending on the type and model of motion detector lights and Arlo cameras you have. Make sure to consult the user manuals that came with your devices for any specific instructions or requirements. Now, let’s get started!
Key Takeaways:
- Connect motion detector lights to Arlo cameras for enhanced home security. Lights automatically turn on when motion is detected, triggering the camera to record potential security incidents.
- Test and troubleshoot the setup to ensure proper functioning. Regular maintenance and adjustments are crucial for optimal performance of the integrated security system.
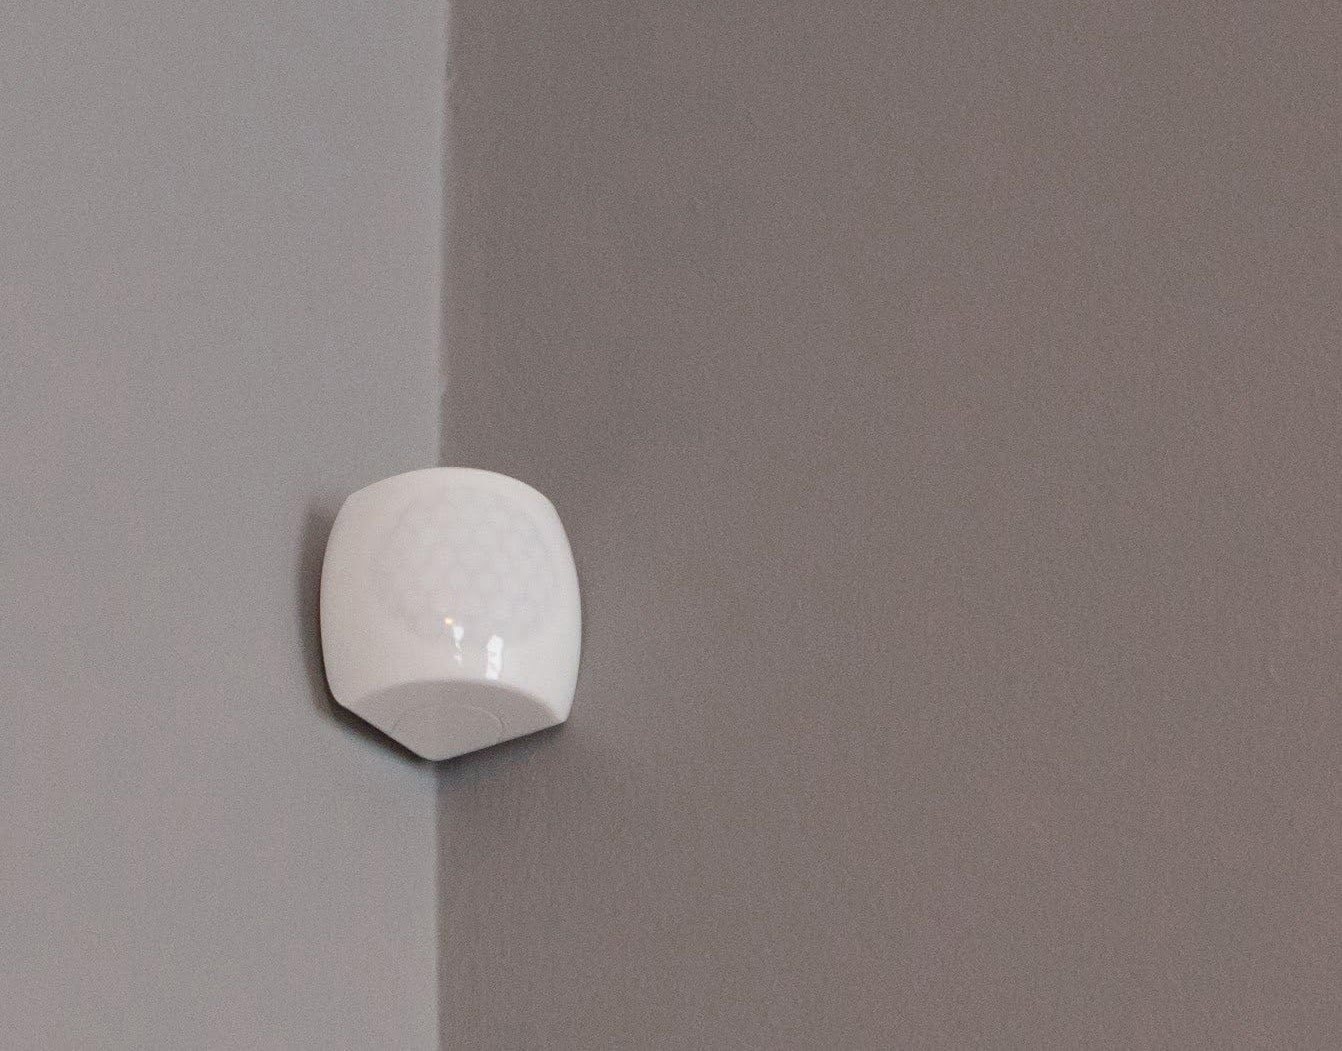
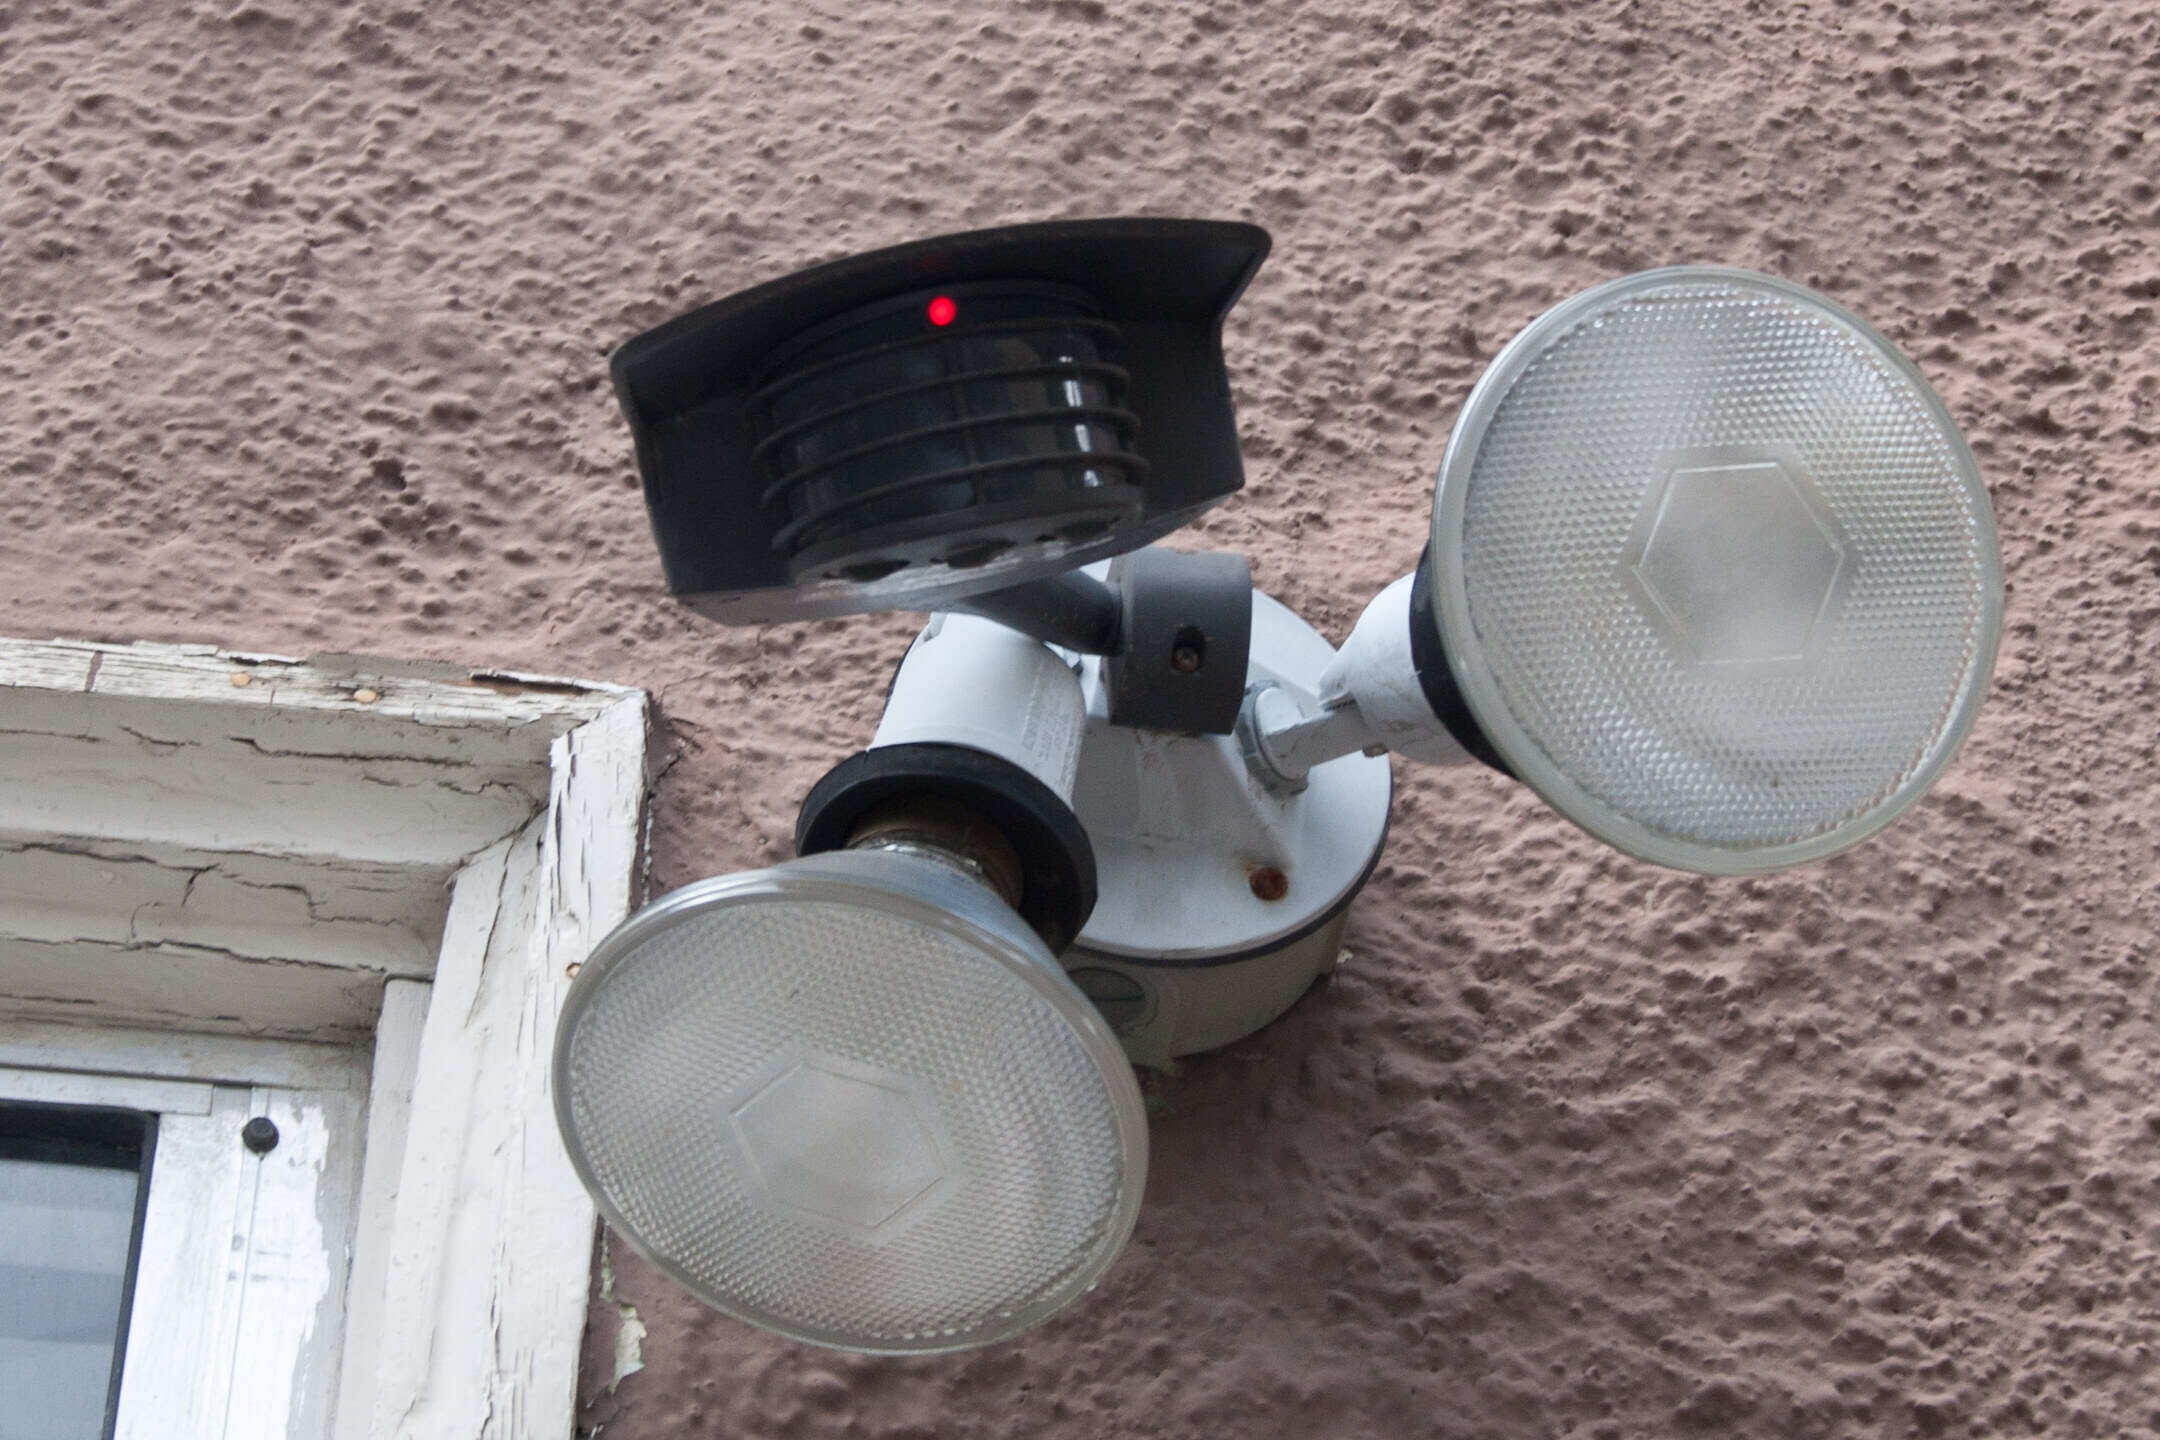
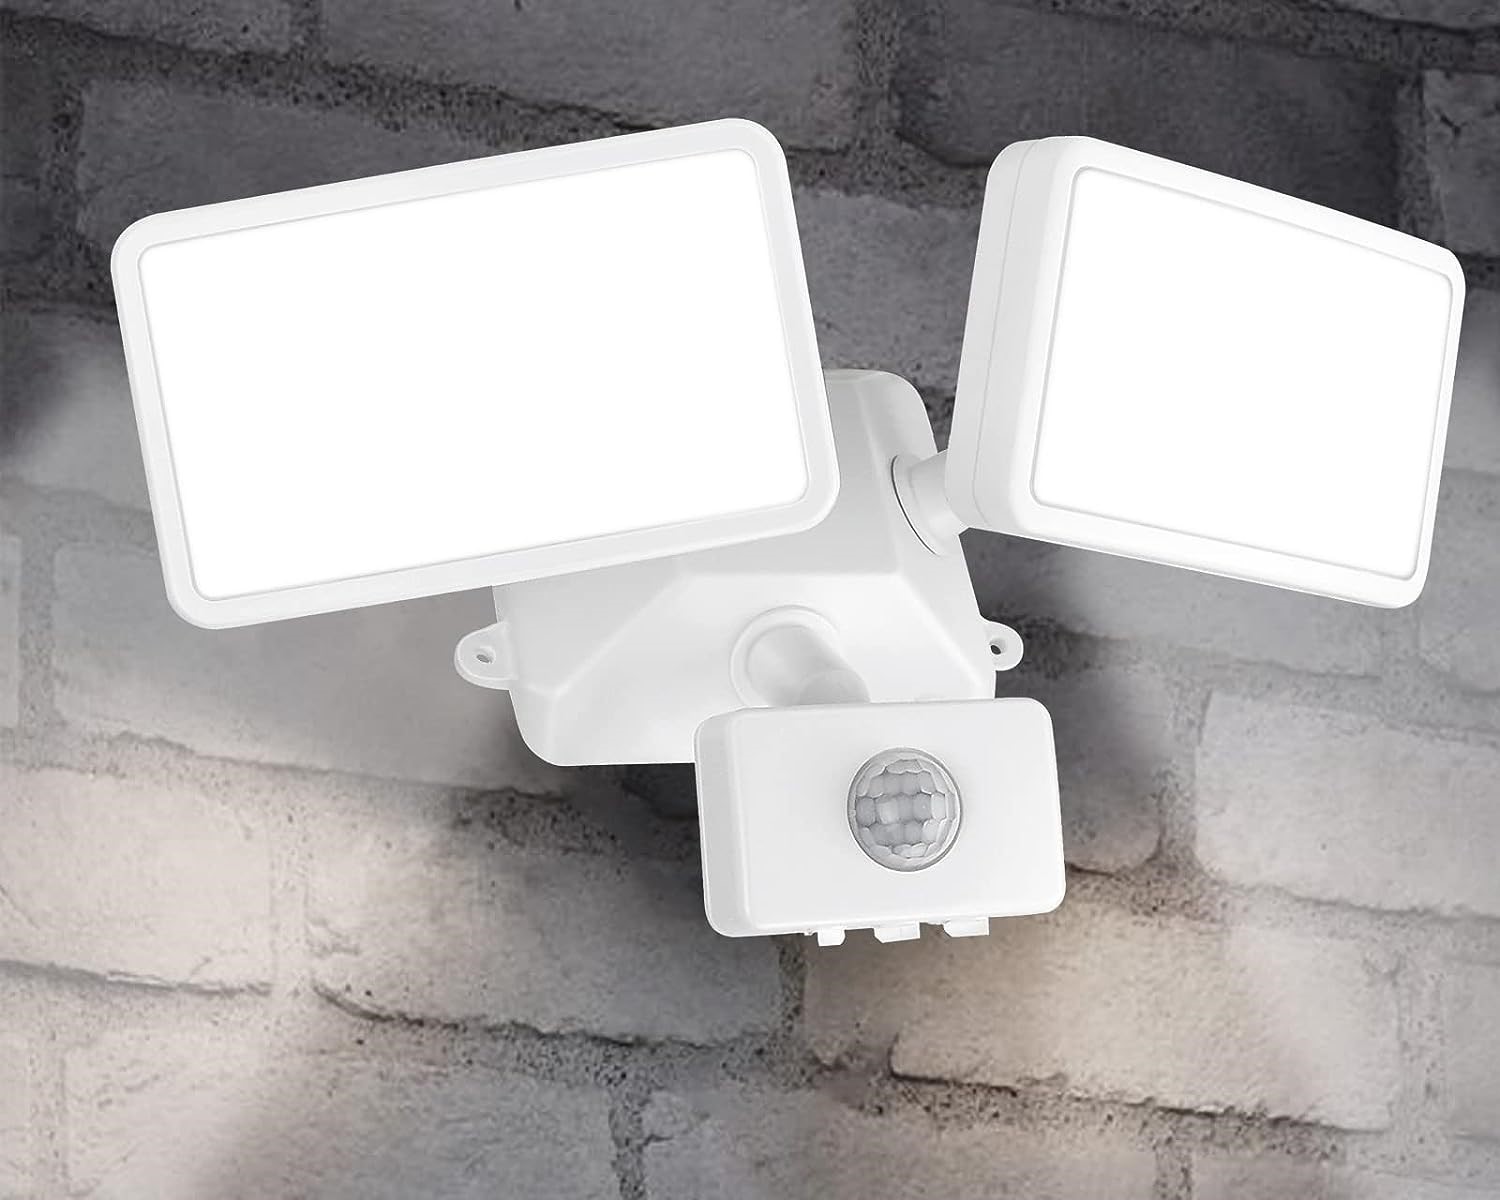
Understanding Motion Detector Lights
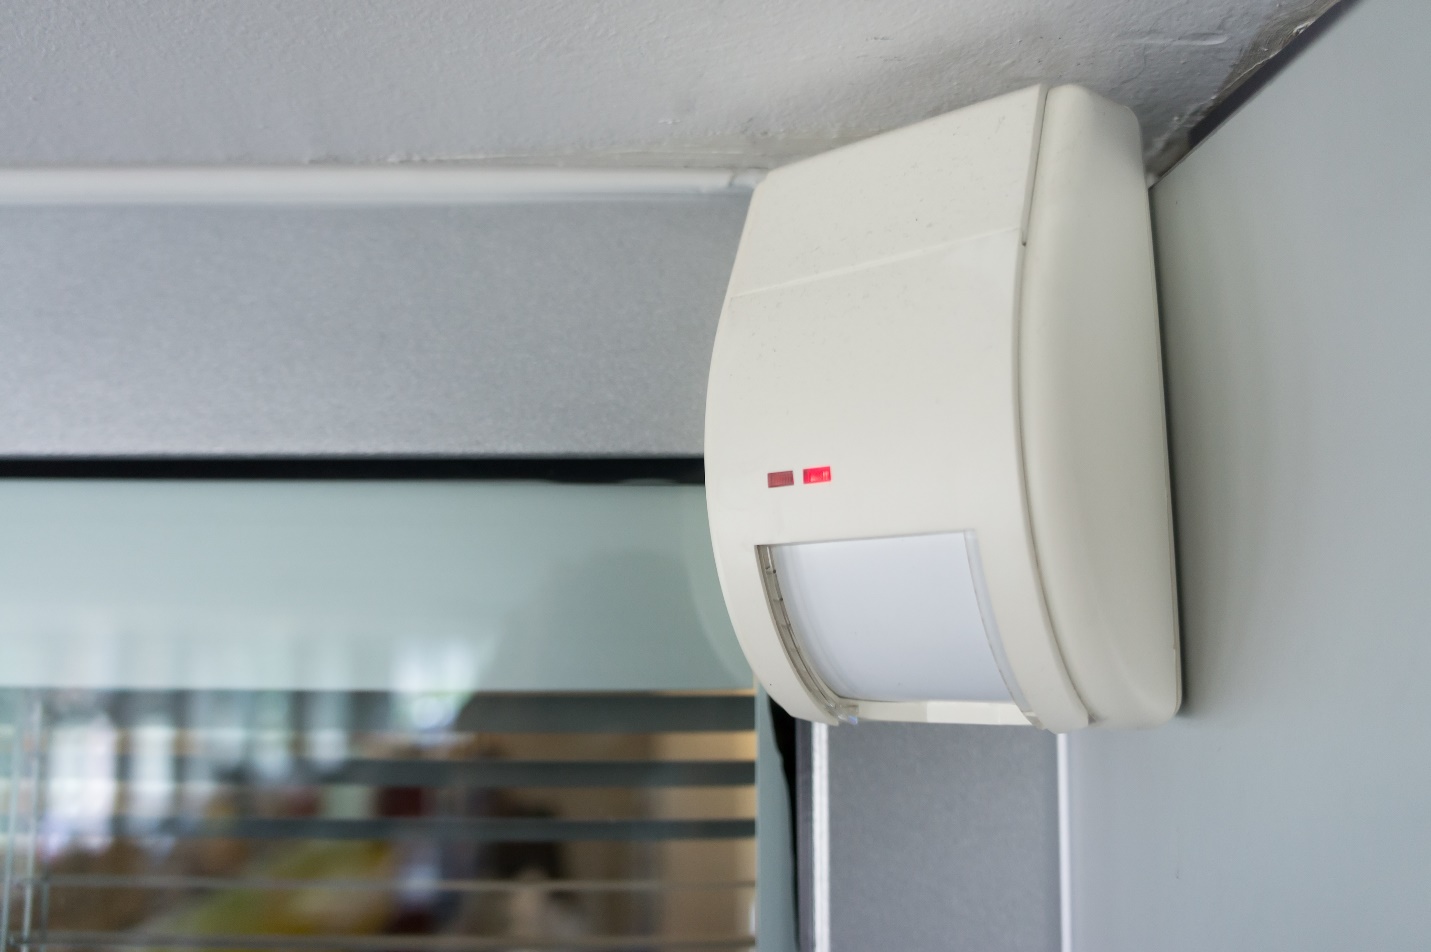
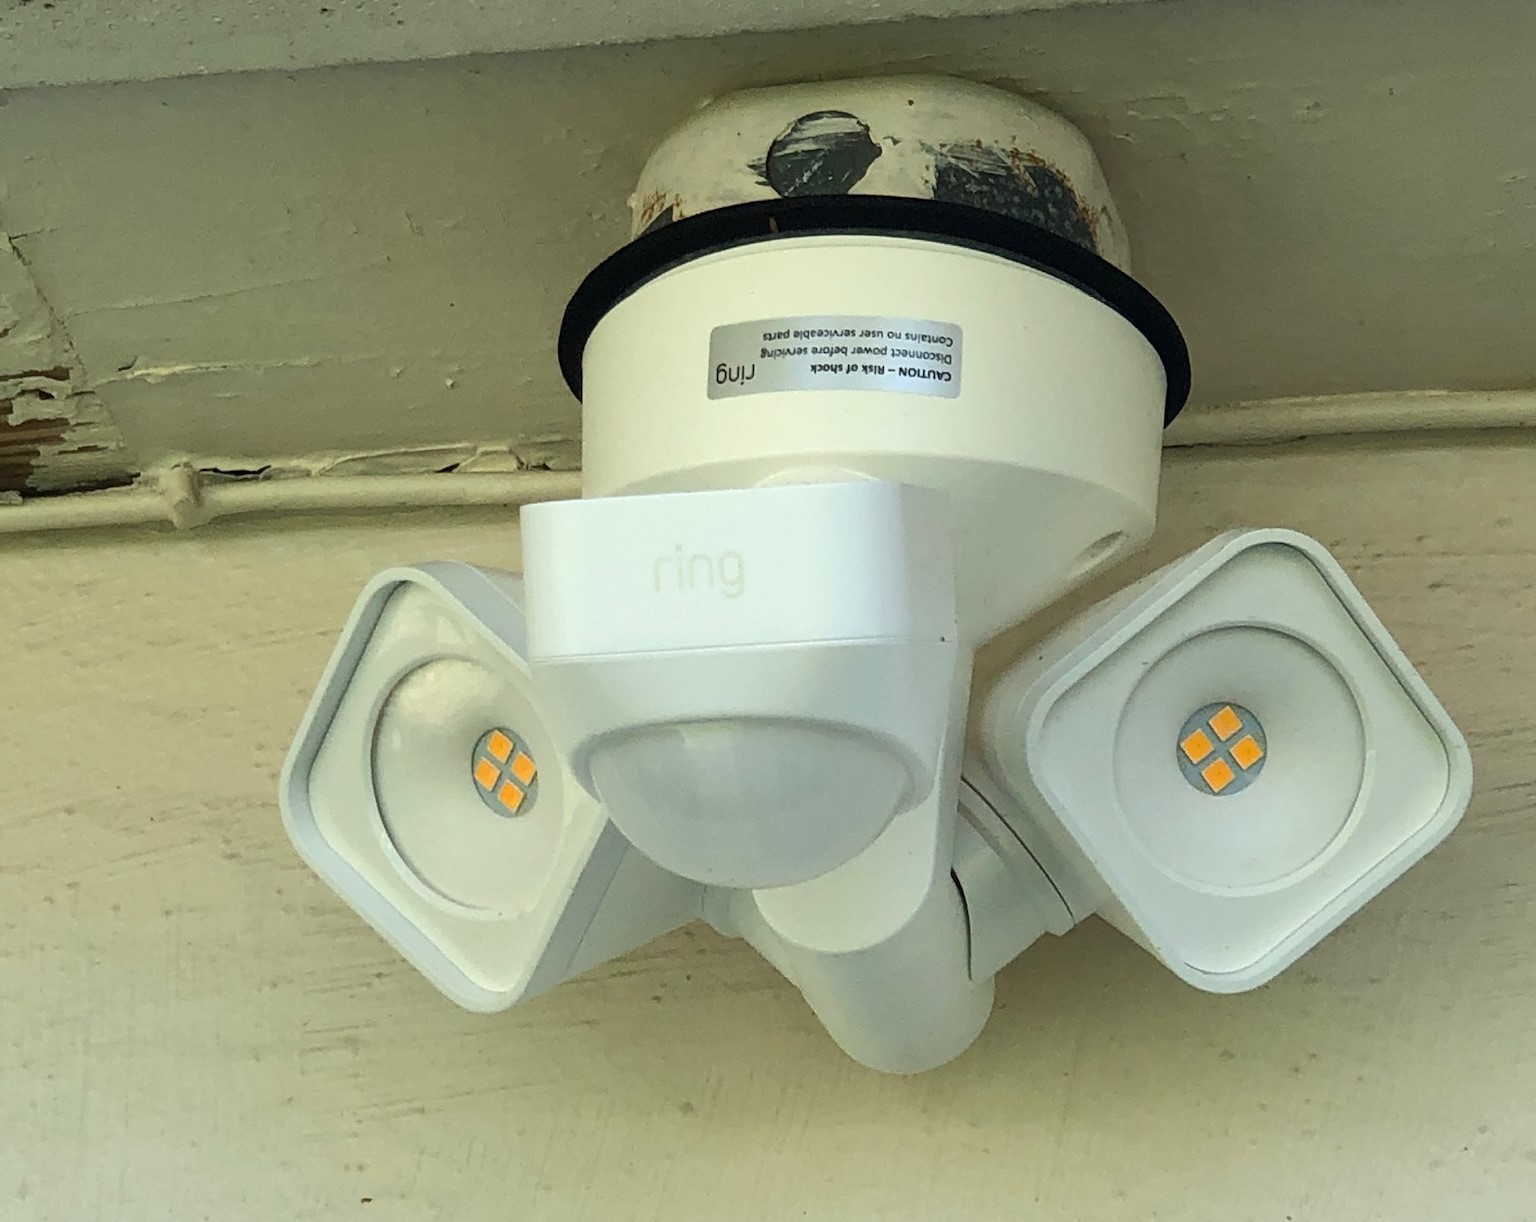
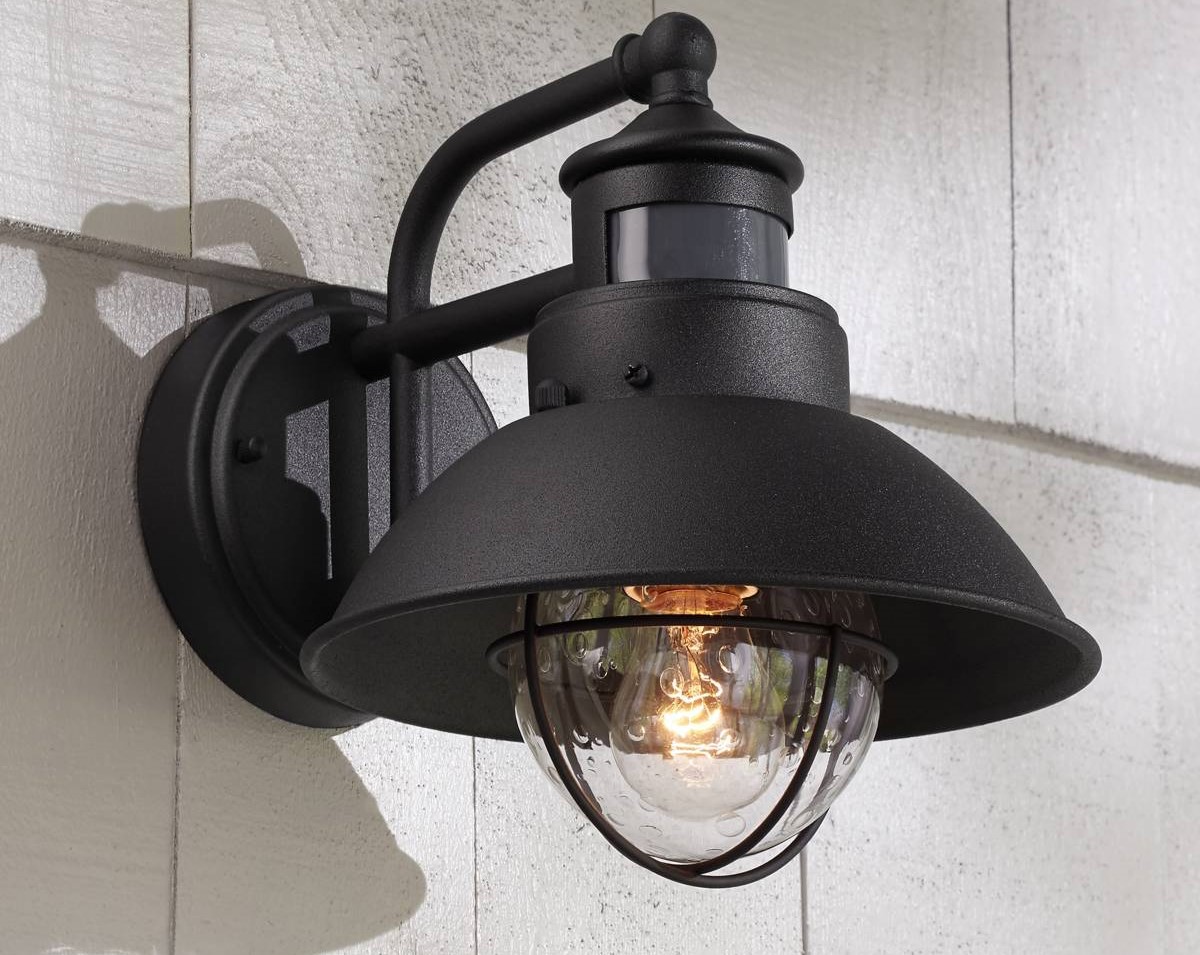
Motion detector lights, also known as security lights or sensor lights, are a crucial component of any home security system. They are designed to automatically detect motion within a specific range and illuminate the area, alerting you to any potential activity around your property.
These lights work by using a built-in sensor that detects infrared radiation emitted by moving objects. When the sensor detects a change in infrared radiation, it triggers the light to turn on. The range and sensitivity of the motion detector can usually be adjusted to suit your preferences.
There are two main types of motion detector lights: passive infrared (PIR) lights and microwave sensor lights. PIR lights are the most common type and work by detecting body heat. When a person or animal enters the detection range, the change in heat signature triggers the light to turn on. Microwave sensor lights, on the other hand, use microwave signals to detect motion. These lights emit continuous low-power microwave signals and measure the changes in these signals when an object moves within the detection zone.
When it comes to choosing motion detector lights for your home security system, consider factors such as the detection range, sensitivity, and the ability to adjust the settings. It’s also worth considering the power source – whether the lights are hardwired or solar-powered – and the durability of the lights, especially if they will be exposed to the elements.
In addition to the security benefits, motion detector lights also offer practical advantages. They can provide better visibility in areas such as driveways, pathways, and entryways, making it safer for you and your guests to navigate at night. They can also help save energy by only activating when needed, rather than keeping the lights on continuously.
Now that we have a basic understanding of motion detector lights, let’s move on to setting up and configuring them to trigger Arlo recording for an even more effective home security system.
Setting up Arlo Recording
Arlo cameras are a popular choice for home surveillance due to their wireless and weatherproof features. Before we can configure motion detector lights to trigger Arlo recording, we need to ensure that the Arlo cameras are properly set up and connected to your network. Here are the general steps to follow:
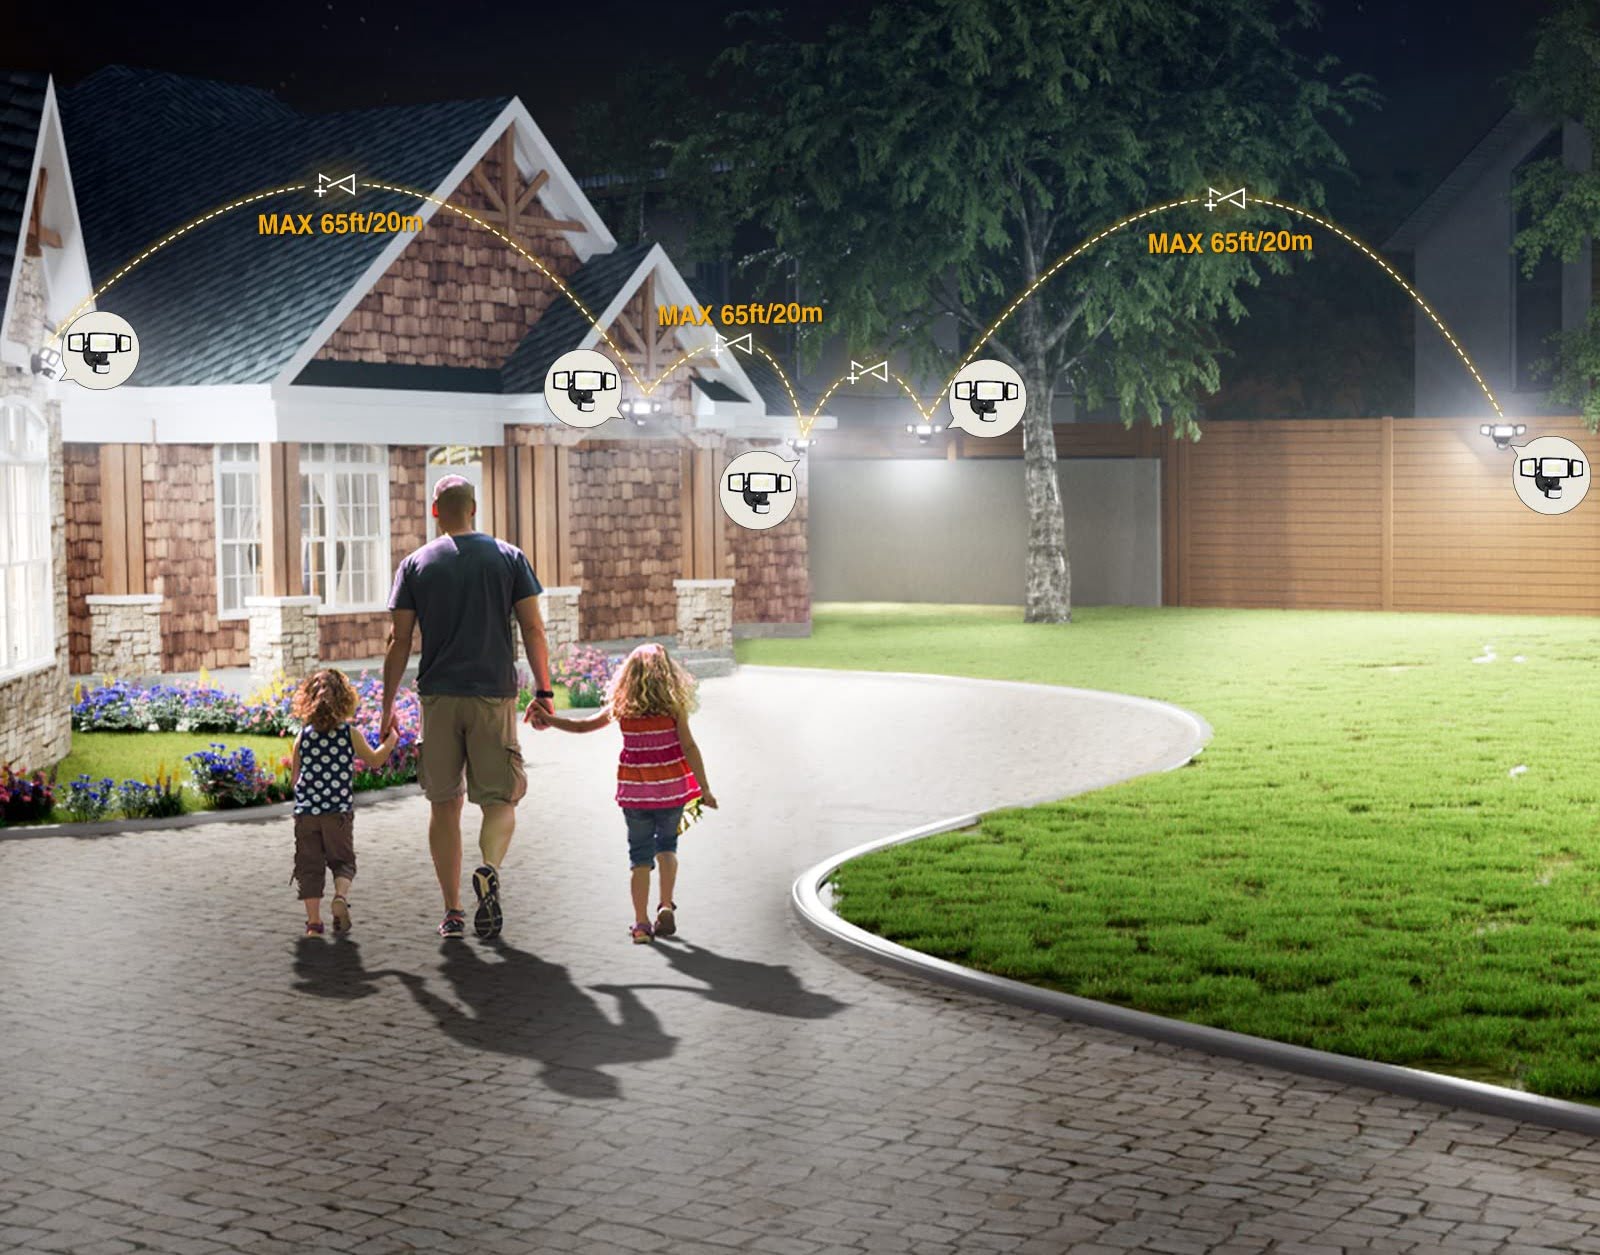
- Place the Arlo cameras strategically around your property, ensuring that they cover the areas you want to monitor. Consider locations such as entryways, driveways, and backyard.
- Insert the batteries into your Arlo cameras or connect them to a power source if they are powered by an adapter. Make sure the cameras are turned on.
- Download the Arlo app on your smartphone or tablet. The app is available for both iOS and Android devices.
- Launch the Arlo app and create an Arlo account if you haven’t already done so. Sign in to your account.
- Follow the on-screen instructions in the Arlo app to add your cameras to the system. This typically involves scanning a QR code or entering a serial number to pair the cameras with your account.
- Once the cameras are successfully added, you can customize the settings to your preferences. This may include enabling motion detection, adjusting the camera resolution, and configuring recording preferences.
- Ensure that your Arlo cameras are connected to your home Wi-Fi network for seamless remote monitoring and access to recordings.
Once your Arlo cameras are set up and connected, you can proceed to configure the motion detector lights to trigger Arlo recording for enhanced security. Let’s continue to the next step to learn how to do that.
Configuring Motion Detector Lights
Now that your Arlo cameras are set up and ready to go, it’s time to configure your motion detector lights to trigger Arlo recording. The process may vary slightly depending on the specific model of your motion detector lights, but here are the general steps to follow:
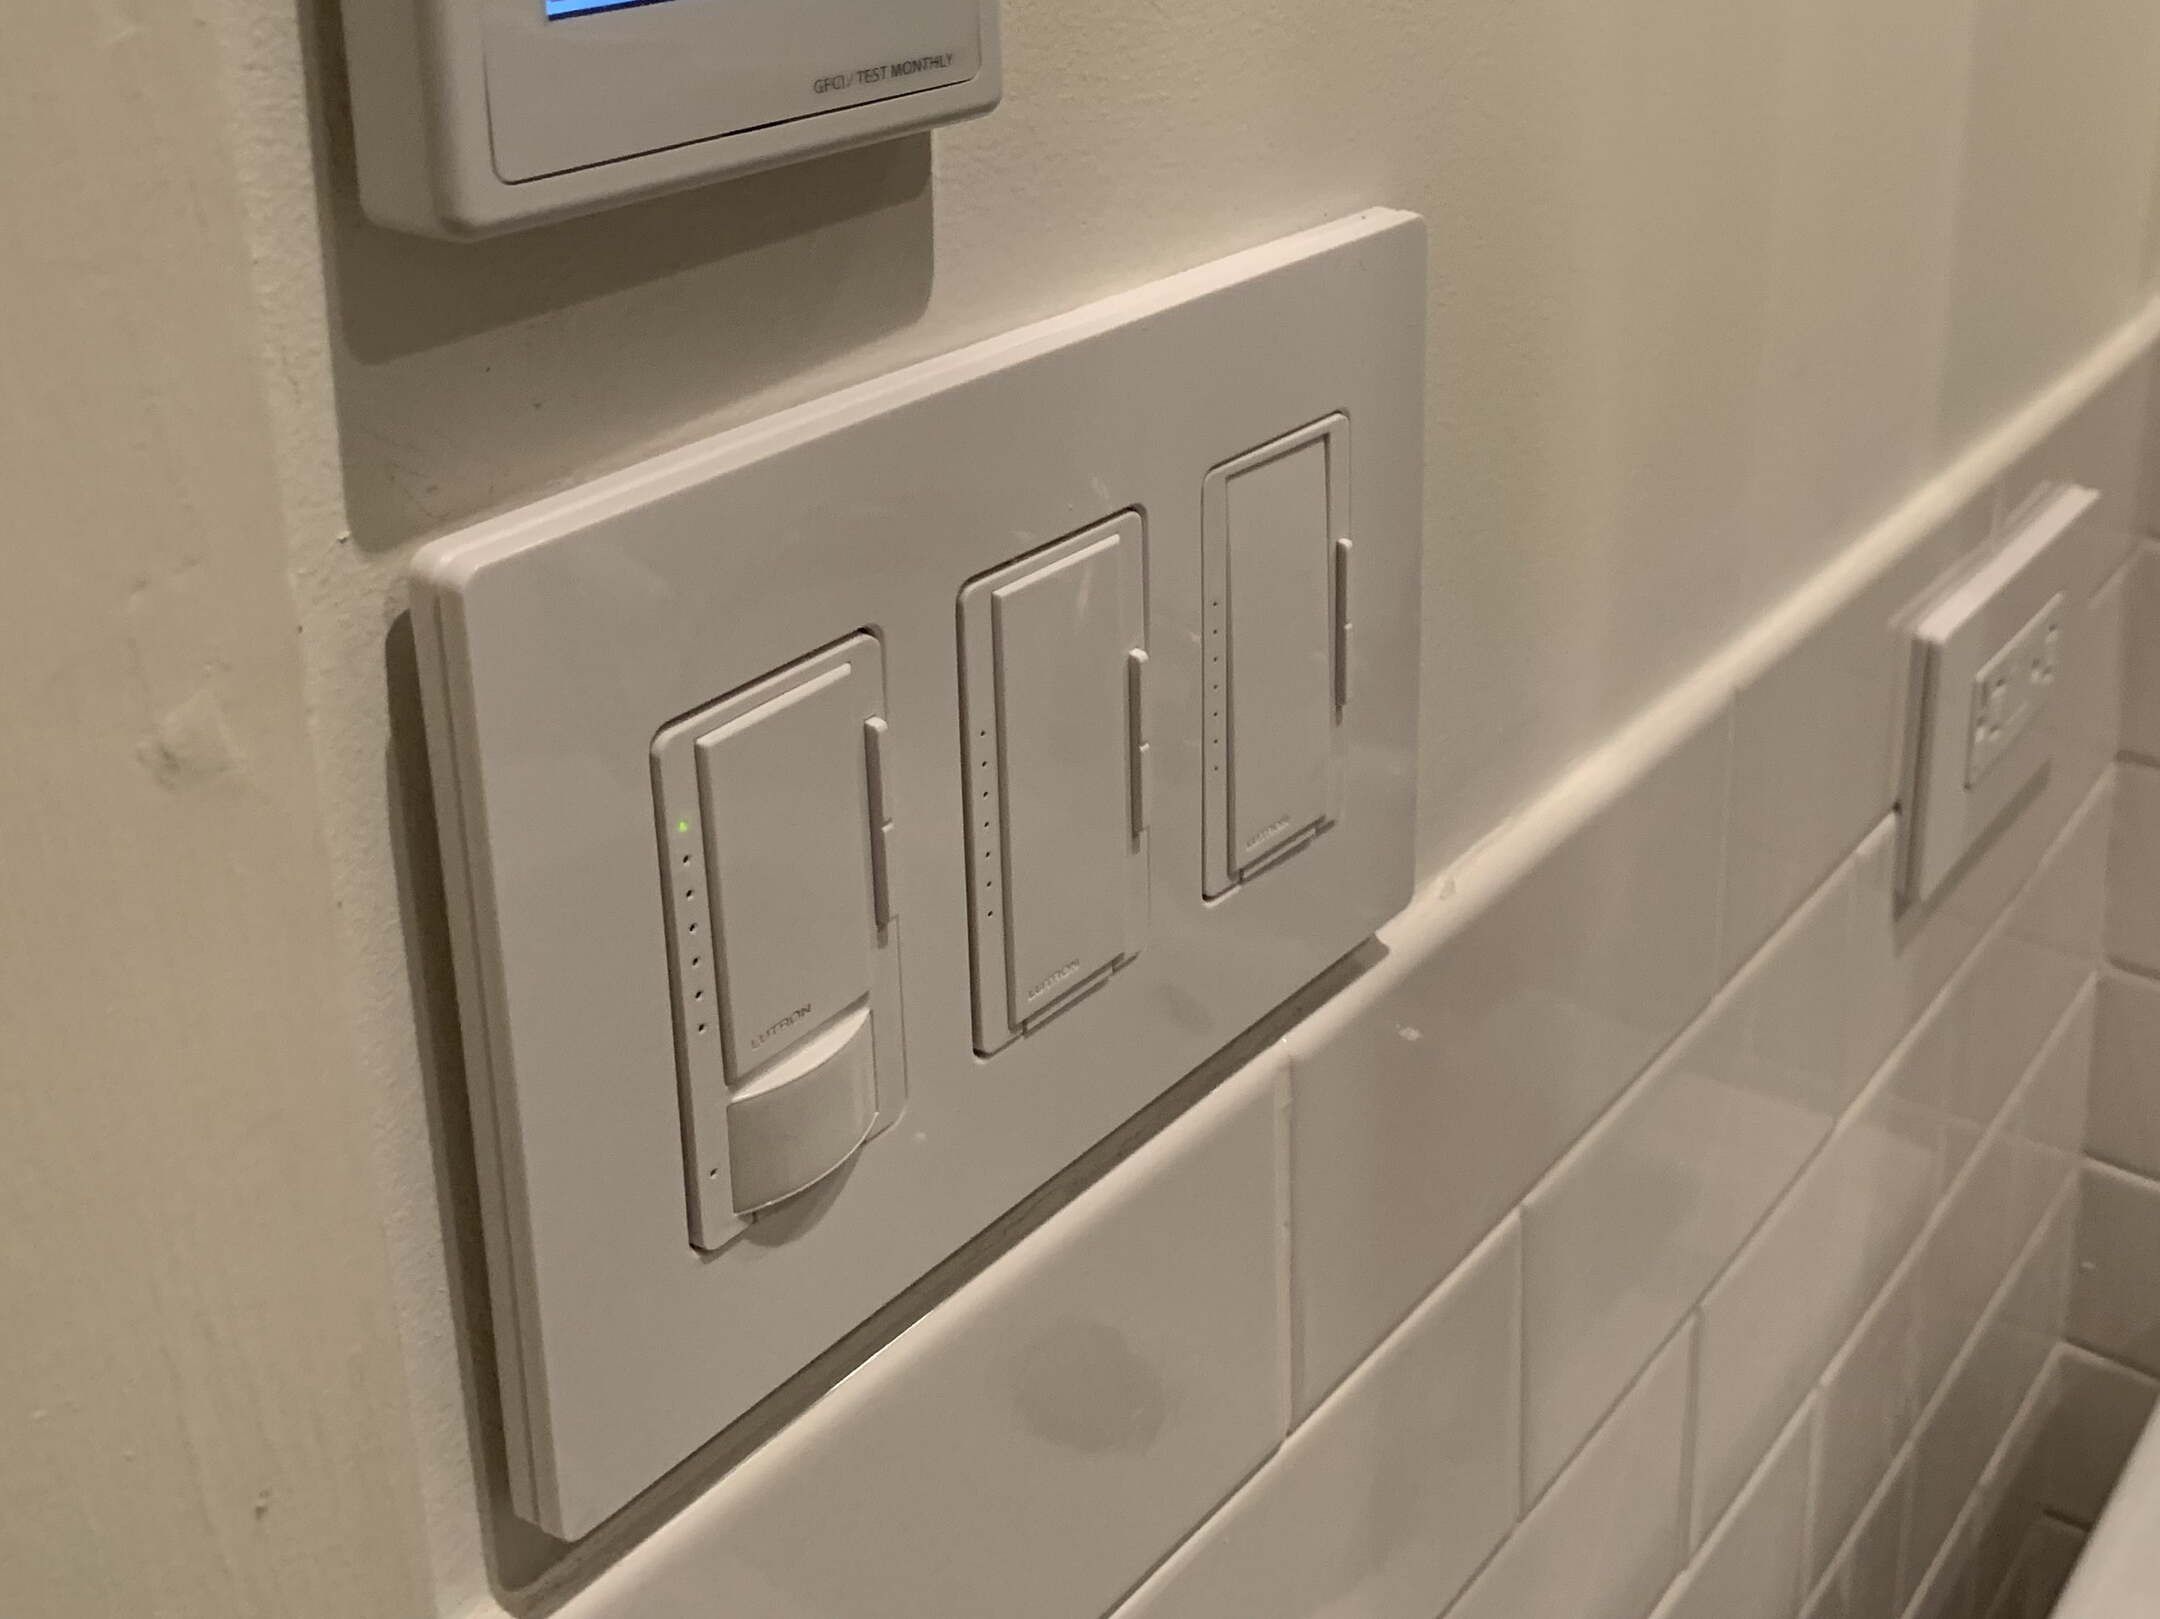
- Locate the control panel or settings interface for your motion detector lights. This is typically found on the light fixture itself or on a separate control box.
- Access the settings and look for an option to enable external triggers or external devices. This feature allows you to connect your motion detector lights to other devices such as Arlo cameras to trigger specific actions.
- If available, select the option to enable external triggers or devices, and follow any on-screen prompts to set it up.
- Next, you’ll need to determine the method of connection between your motion detector lights and the Arlo cameras. There are typically two options: wired or wireless.
- If you are using wired motion detector lights, you will need to connect them directly to the Arlo camera’s external trigger input. Refer to the user manual or instructions provided with your motion detector lights and Arlo cameras for the specific wiring details.
- If your motion detector lights support wireless connectivity, you may need to pair them with the Arlo cameras using a compatible wireless protocol. This could involve syncing them via Bluetooth, Wi-Fi, or a proprietary wireless technology. Again, refer to the user manual for specific instructions.
- Once the connection between the motion detector lights and Arlo cameras is established, you can customize the settings to determine when the lights should trigger Arlo recording. This may include adjusting the detection range, sensitivity, and duration of the lights.
- It’s important to test the setup to ensure that the motion detector lights are triggering Arlo recording as intended. Walk within the detection range of the lights and observe if the Arlo camera starts recording when the lights turn on.
Remember to consult the user manuals for both your motion detector lights and Arlo cameras for any specific instructions or recommended configurations. Each setup may have its own unique requirements or features to take into consideration.
Now that your motion detector lights are properly configured to trigger Arlo recording, you can enjoy enhanced security and peace of mind knowing that any movement around your property will be detected and recorded. Let’s move on to the next step to learn how to test the setup.
Make sure to position your motion detector lights in a way that they cover the area where you want the Arlo camera to record. Adjust the sensitivity and range of the lights to avoid false triggers.
Testing the Setup
Once you have configured your motion detector lights to trigger Arlo recording, it’s crucial to test the setup to ensure that everything is working as expected. Testing will help you identify any potential issues and make necessary adjustments before relying on the system for your home security. Here’s how you can test the setup:
- Position yourself within the detection range of your motion detector lights. This could be in front of your driveway, near the entryway, or any other area you want to monitor.
- Walk or move around in the detection zone to activate the motion detector lights. Make sure to simulate different scenarios to test the sensitivity and accuracy of the lights.
- Observe if the motion detector lights turn on as expected. They should illuminate the area when motion is detected.
- At the same time, keep an eye on your Arlo camera. It should start recording when the motion detector lights are triggered.
- After the recording is complete, review the footage to ensure that the motion is captured clearly and that the recording starts promptly when the lights turn on.
- If you notice any issues during testing, such as the lights not triggering the camera or the recording not starting, try adjusting the settings of both the motion detector lights and the Arlo camera. Refer to the user manuals for troubleshooting tips or contact customer support if needed.
- Repeat the testing process for different areas and scenarios to ensure the reliability and effectiveness of the setup.
Regular testing and maintenance are essential to keep your home security system in optimal condition. Periodically check the functioning of your motion detector lights and Arlo cameras, and make any necessary adjustments to ensure their proper operation.
By testing the setup, you can have confidence in the performance of your motion detector lights and the ability of your Arlo cameras to capture any potential security incidents. Let’s move on to the next section for some troubleshooting tips in case you encounter any challenges.
Troubleshooting Tips
While setting up and configuring motion detector lights to trigger Arlo recording can greatly enhance your home security system, it’s not uncommon to encounter some challenges along the way. Here are some troubleshooting tips to help you overcome common issues:
- Check the power source: Ensure that your motion detector lights and Arlo cameras have a stable and reliable power source. If using batteries, make sure they are fresh and properly inserted. If using a power adapter, confirm that it is securely connected.
- Verify the range and sensitivity settings: Adjust the detection range and sensitivity of both the motion detector lights and the Arlo cameras. Sometimes, too narrow or too wide of a range can result in false triggers or missed events.
- Test different locations: If the motion detector lights are not triggering the Arlo cameras as expected, try repositioning them or testing in a different area. Sometimes, obstacles or interference can affect the performance of the setup.
- Update firmware and software: Ensure that both your motion detector lights and Arlo cameras have the latest firmware or software updates installed. Manufacturers often release updates to address bugs and improve overall performance.
- Check wireless connectivity: If using wireless motion detector lights, verify that they are properly paired with the Arlo cameras and that the connection is stable. Weak or intermittent Wi-Fi signals can cause communication issues.
- Inspect for physical obstructions: Sometimes, physical obstructions such as tree branches or other objects can interfere with the motion detection range. Clear any obstructions that may hinder the performance of the setup.
- Contact customer support: If you have exhausted all troubleshooting steps and are still experiencing issues, don’t hesitate to reach out to the customer support of both the motion detector lights and Arlo cameras. They can provide further assistance and guidance.
Remember, troubleshooting may require some trial and error. Patience and persistence are key as you work towards resolving any challenges that arise. Regularly maintaining and reviewing your setup will also ensure optimal performance over time.
By following these troubleshooting tips, you can overcome common issues and ensure that your motion detector lights and Arlo cameras are functioning efficiently to provide the security and peace of mind you desire.
With the troubleshooting tips covered, let’s conclude our comprehensive guide on configuring motion detector lights to trigger Arlo recording.
Conclusion
Securing your home and protecting your loved ones is of utmost importance, and integrating motion detector lights with Arlo recording can significantly enhance your home security system. By following the steps outlined in this guide, you can configure your motion detector lights to trigger Arlo recording and ensure that any movement around your property is captured and recorded.
We began by understanding motion detector lights and their role in detecting motion and providing visibility in dark areas. We then moved on to setting up Arlo cameras and connecting them to your network. With the Arlo cameras in place, we explored how to configure your motion detector lights to trigger Arlo recording, customizing settings to suit your preferences and testing the setup to ensure everything is functioning as intended.
If you encounter any issues during the setup process, we provided troubleshooting tips to help you identify and resolve common problems. Remember to consult the user manuals for your specific devices and reach out to customer support if needed.
With the motion detector lights and Arlo cameras working seamlessly together, you can have peace of mind knowing that your home is well-protected. Whether you’re concerned about intruders, monitoring package deliveries, or simply maintaining a safe environment, this integrated setup provides enhanced security and surveillance capabilities.
Regular testing and maintenance are essential to ensure your system’s continued performance. Review the setup periodically, adjusting settings and verifying connections to keep your home security system operating optimally.
By combining the power of motion detector lights and Arlo recording, you have taken a proactive step towards safeguarding your home. With a well-configured system in place, you can rest easy knowing that you are equipped with advanced monitoring capabilities and the ability to capture any security incidents.
Remember, home security is an ongoing process, and it’s important to stay informed about the latest advancements and technologies in the field. By staying vigilant and proactive, you can continue to improve and upgrade your home security system to meet your evolving needs.
Thank you for joining us on this journey to configure motion detector lights to trigger Arlo recording. Stay safe and secure!
Frequently Asked Questions about How To Configure Motion Detector Lights To Trigger Arlo Recording
Was this page helpful?
At Storables.com, we guarantee accurate and reliable information. Our content, validated by Expert Board Contributors, is crafted following stringent Editorial Policies. We're committed to providing you with well-researched, expert-backed insights for all your informational needs.