Home>Home Security and Surveillance>How To Configure Outside Motion Detector Light For Motion Sensing

Home Security and Surveillance
How To Configure Outside Motion Detector Light For Motion Sensing
Modified: September 1, 2024
Learn how to configure an outside motion detector light for motion sensing, ensuring optimal home security and surveillance.
(Many of the links in this article redirect to a specific reviewed product. Your purchase of these products through affiliate links helps to generate commission for Storables.com, at no extra cost. Learn more)
Introduction
Home security is a top priority for many homeowners, and one crucial aspect of securing your property is having a well-configured outside motion detector light. These lights work by detecting motion and automatically turning on, illuminating the surrounding area. Installing an outside motion detector light not only enhances security but also offers convenience and peace of mind.
In this article, we will guide you through the process of configuring an outside motion detector light for motion sensing. We will provide step-by-step instructions, from gathering the necessary materials to testing and troubleshooting the light’s functionality. By following these instructions, you can ensure that your motion detector light is properly installed and functioning optimally.
Before we dive into the installation process, let’s take a moment to discuss the importance of motion detector lights and their benefits. A motion detector light serves as a deterrent to potential intruders, as it catches them off guard by suddenly illuminating the area. This can discourage unauthorized individuals from approaching your property and can also alert you to any suspicious activity.
Furthermore, motion detector lights offer added safety and convenience for homeowners. When you arrive home late at night, the light automatically turns on, illuminating your path to the front door. This not only provides a sense of security but also prevents trips and falls in the dark.
Now that we understand the significance of outside motion detector lights, let’s move on to the installation process. It’s important to note that this article assumes you already have a basic understanding of electrical work and wiring. If you are unsure about any step, it’s recommended to consult a professional electrician to ensure a safe and proper installation.
Key Takeaways:
- Installing an outside motion detector light enhances security and convenience. It deters intruders, provides safety, and illuminates pathways, offering peace of mind for homeowners.
- Properly configuring the motion detector light involves steps like choosing the right location, adjusting settings, and testing functionality. Prioritize safety and consult a professional if needed.
Read more: How To Configure Insteon Motion Detector 2
Step 1: Gather the necessary materials
Before you begin installing your outside motion detector light, you’ll need to gather a few essential materials. Having these tools on hand will ensure a smooth and efficient installation process. Here’s a list of the materials you’ll need:
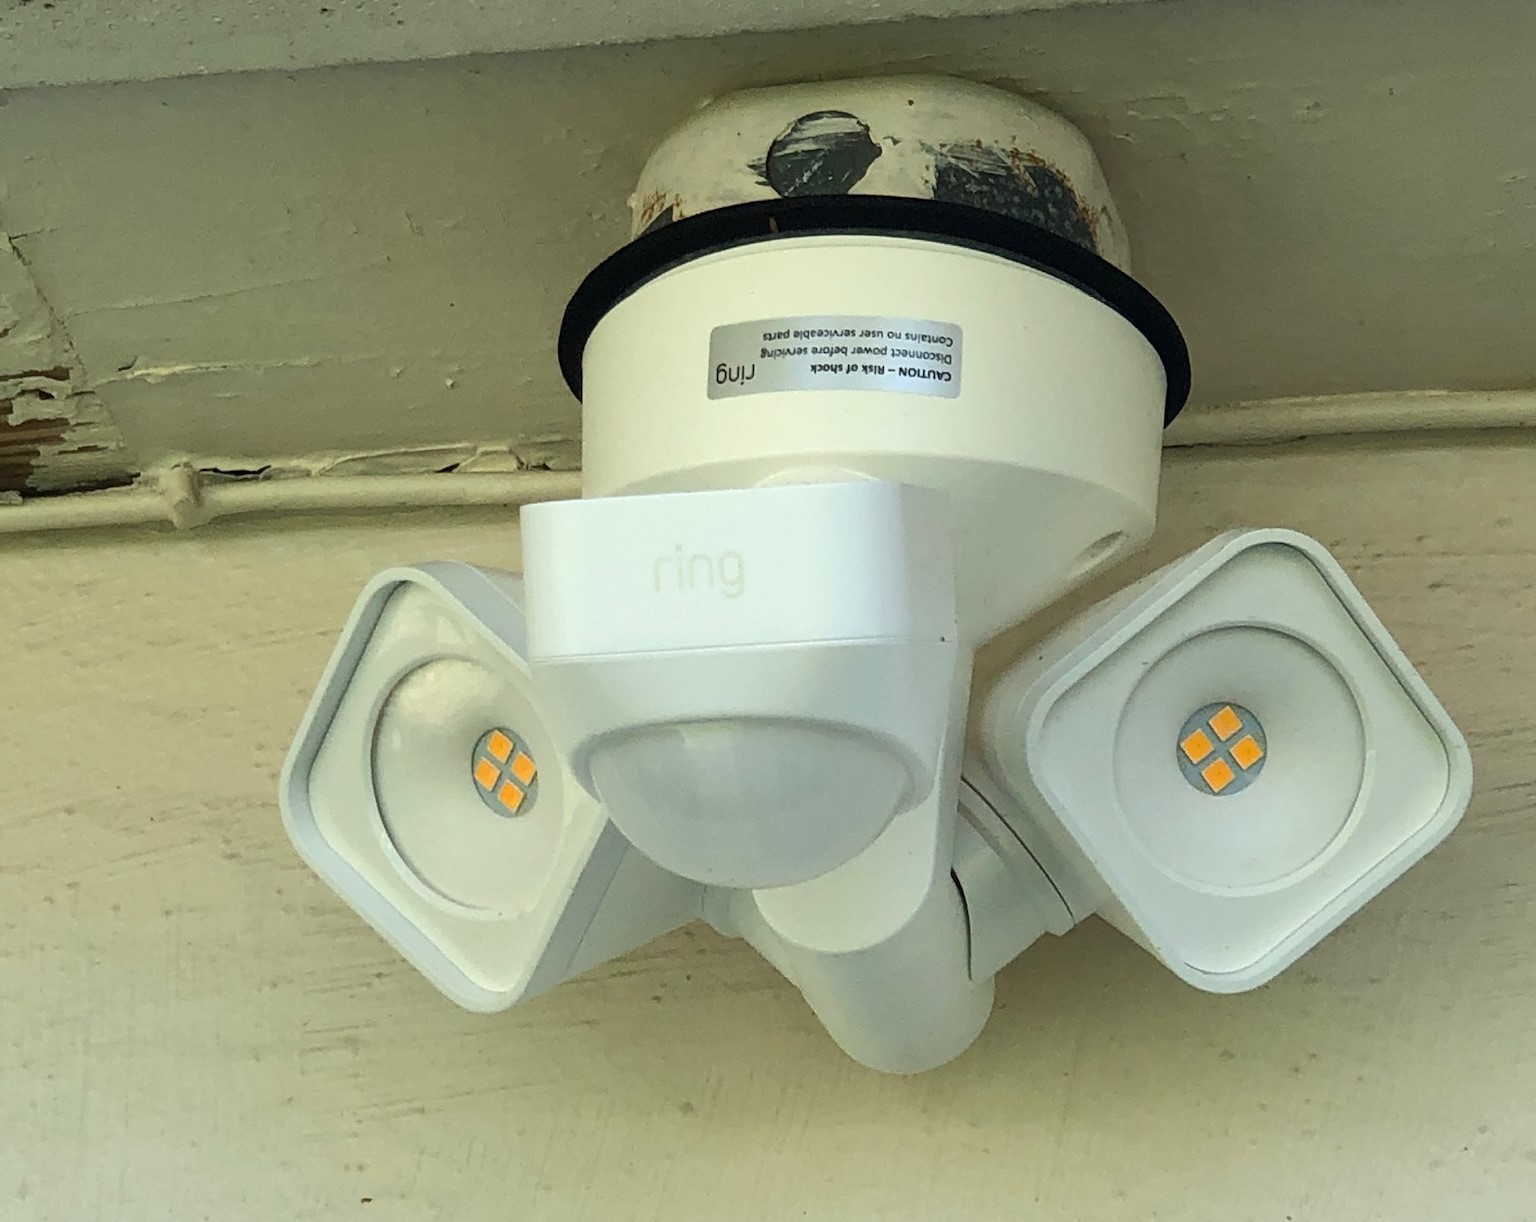
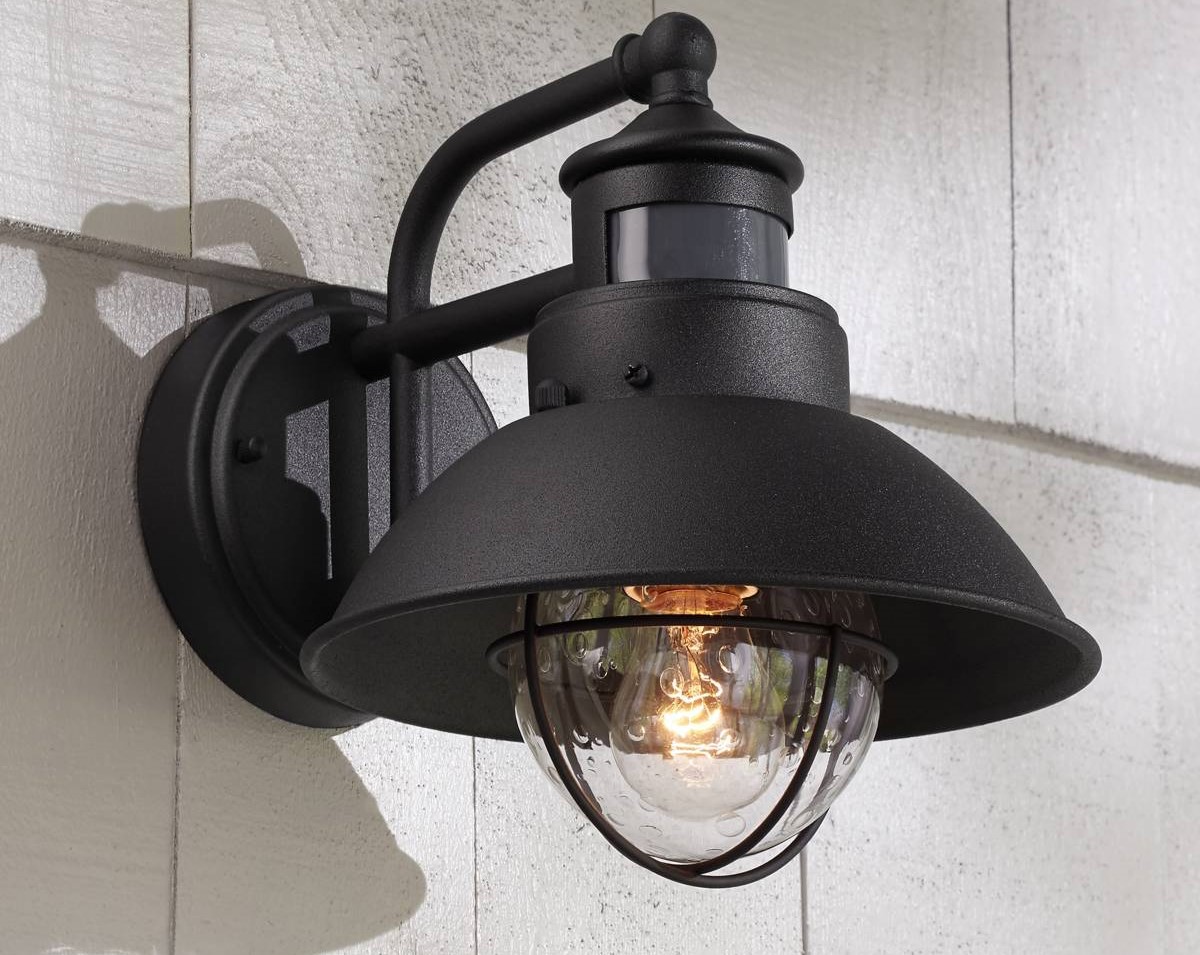
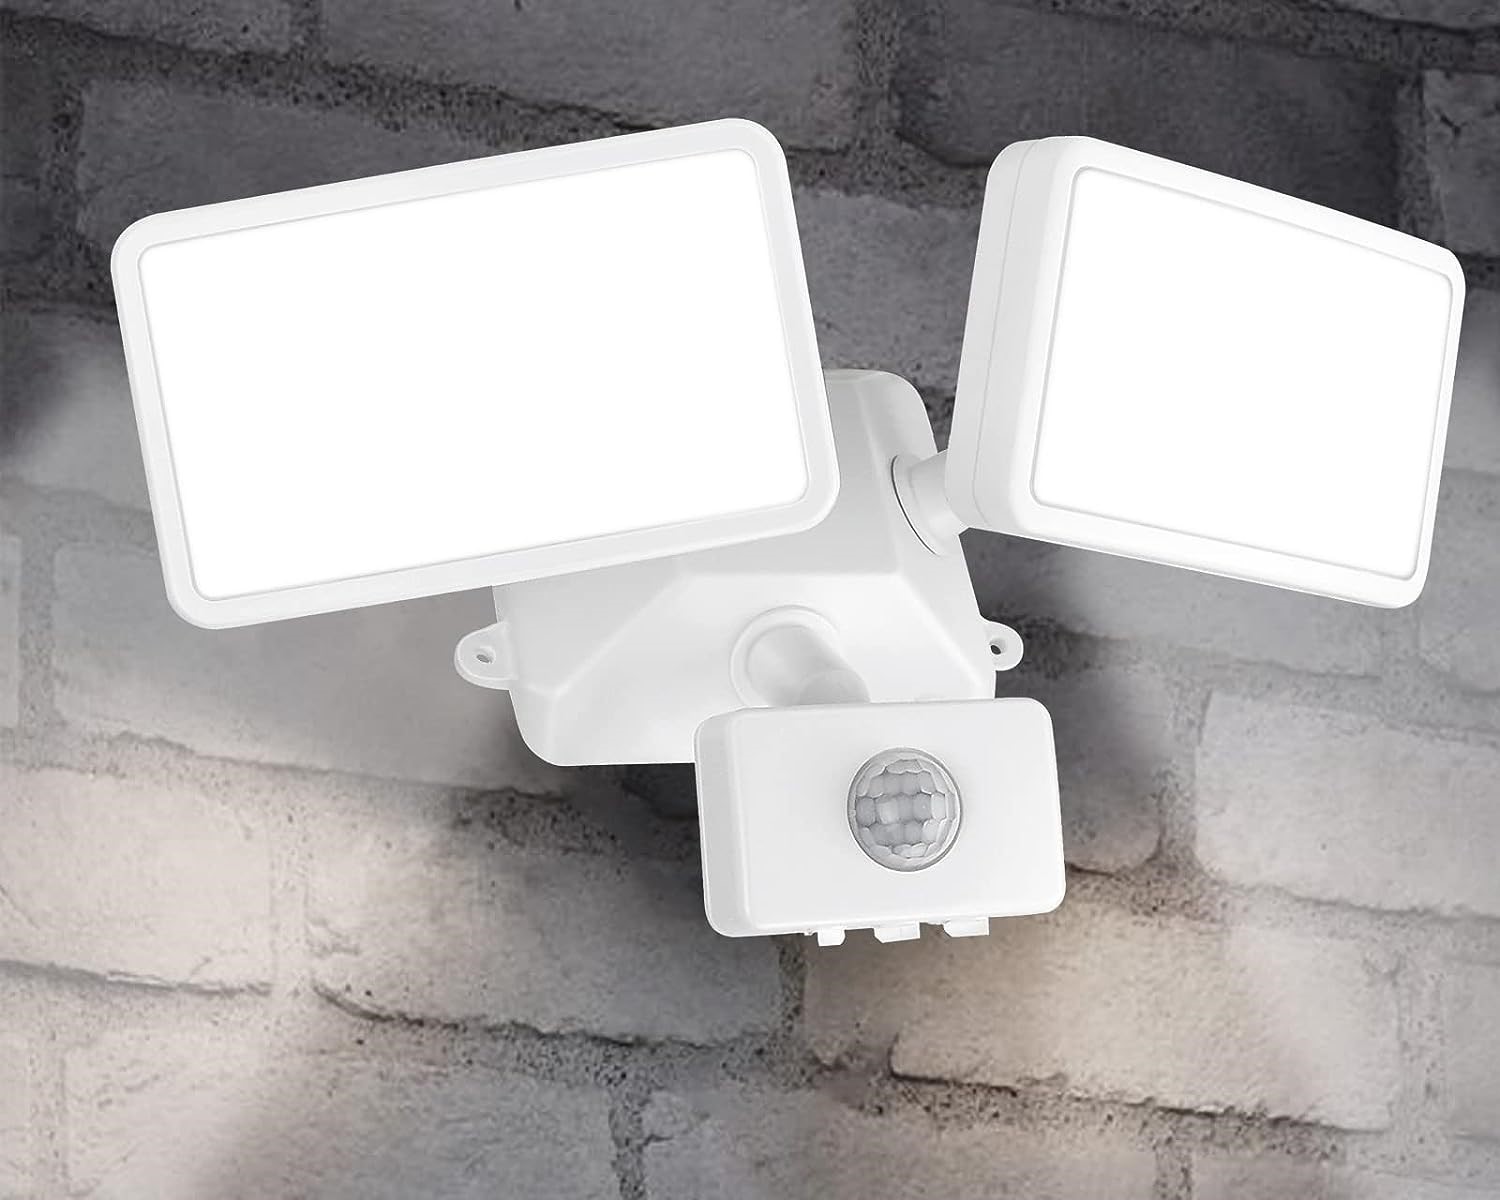
- Motion detector light: This is the main component that will detect motion and trigger the light to turn on. Choose a motion detector light that is suitable for outdoor use and meets your specific needs regarding range and sensitivity.
- Screwdriver: A screwdriver will be necessary for removing the existing light fixture (if applicable) and mounting the new motion detector light.
- Wire stripper: You’ll need a wire stripper to safely and accurately strip the insulation from the electrical wires, allowing for proper connection.
- Electrical tape: Electrical tape is used to insulate and secure the electrical connections, preventing any potential hazards.
- Ladder or step stool: Depending on the height of your motion detector light installation location, you may need a ladder or step stool to reach the desired surface safely.
Ensure that all the materials are in good condition and functioning properly. It’s important to use high-quality materials that are specifically designed for outdoor use to ensure durability and weather resistance.
Once you have gathered all the necessary materials, double-check to make sure you have everything before proceeding to the next step. Having all the tools readily available will streamline the installation process and minimize any interruptions or delays.
In the next step, we will discuss how to choose the installation location for your outside motion detector light.
Step 2: Choose the installation location
Choosing the right installation location for your outside motion detector light is crucial to ensure optimal detection and performance. Here are two important considerations when selecting the installation location:
Identifying the ideal outside area for the motion detector light
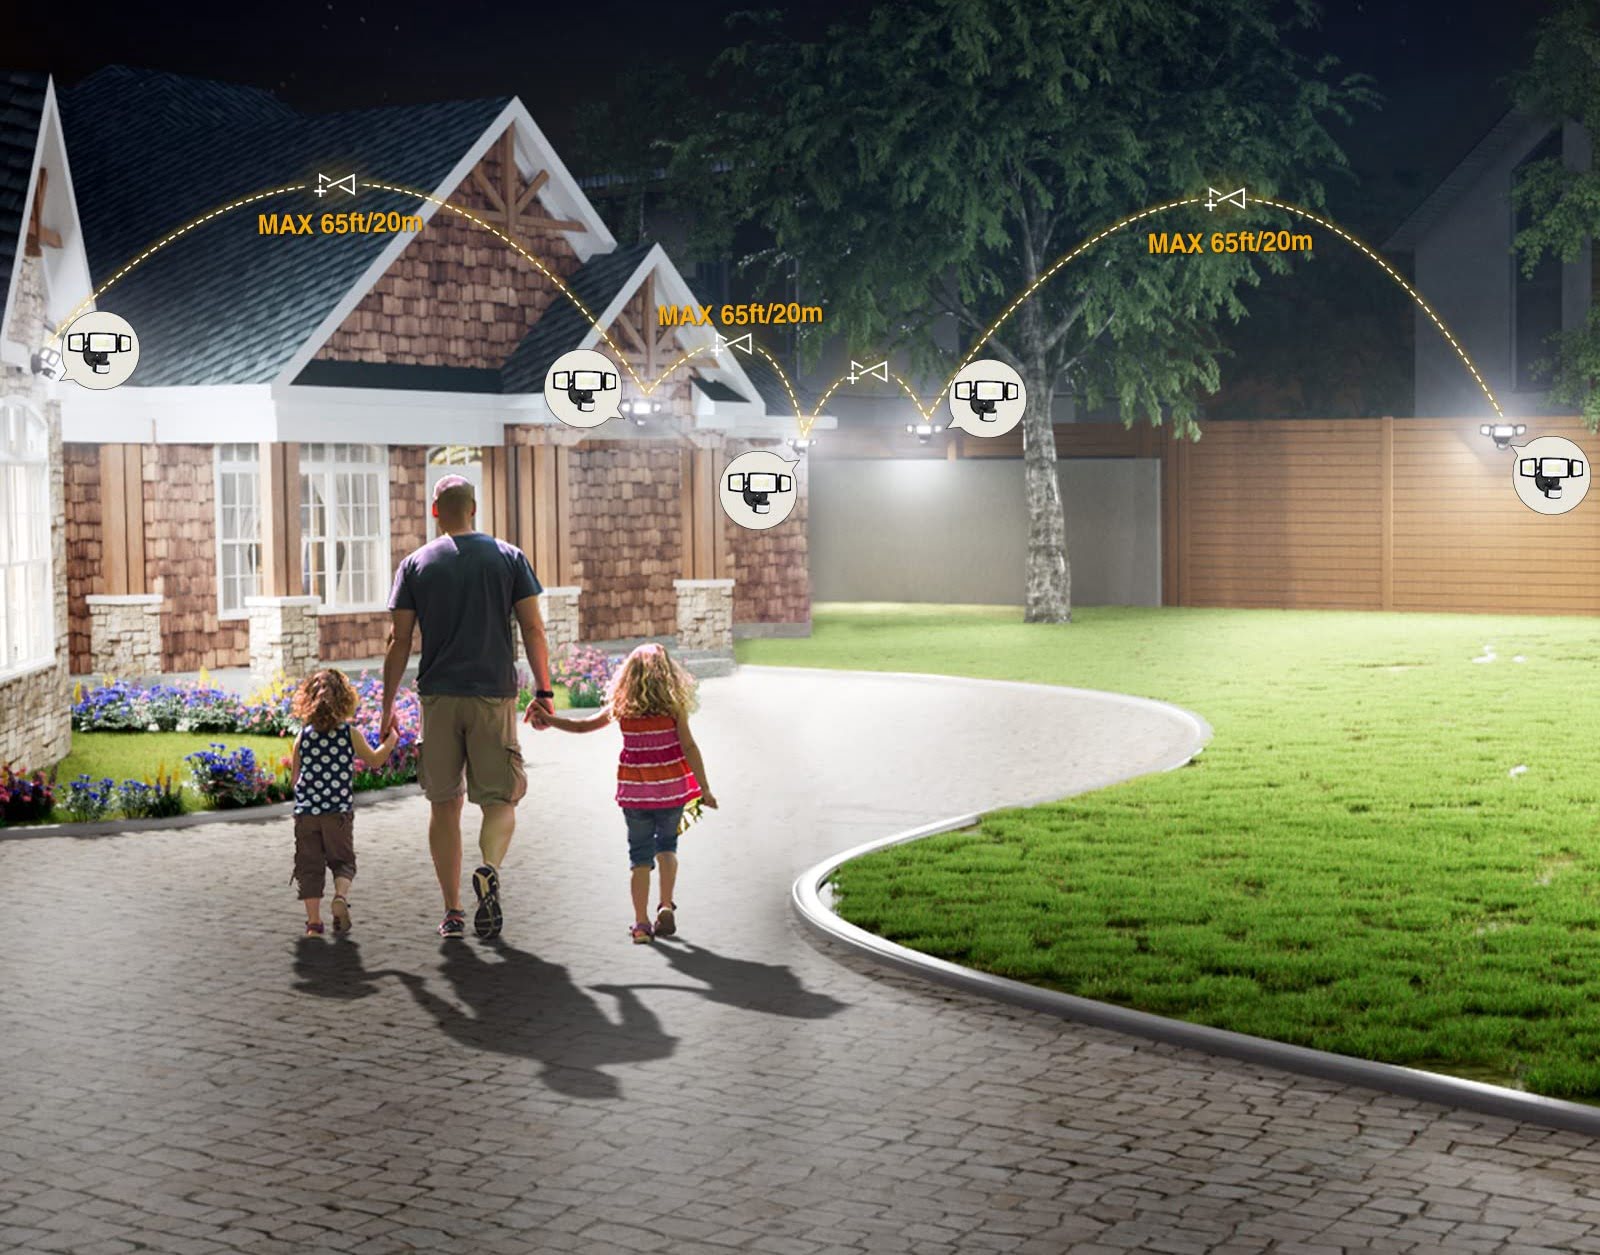
First, you’ll need to identify the outside area where you want to install the motion detector light. This could be your front porch, backyard, driveway, or any other area where you want to enhance security and visibility. Take a walk around your property and assess different areas to determine the best location.
Consider areas that are vulnerable to intruders or areas where you frequently need illumination, such as entryways or dark corners. It’s also important to ensure that the chosen area has access to an electrical supply for proper installation.
Ensuring proper positioning for optimal detection
Once you have identified the general area, you’ll need to determine the proper positioning of the motion detector light to maximize its effectiveness. Here are a few guidelines to follow:
- Position the motion detector light in a way that covers the desired area while avoiding blind spots. This can typically be achieved by mounting the light at a height of 6-10 feet.
- Aim the motion sensor towards the area you want to monitor, keeping in mind that the sensor’s range and angle should cover the desired detection zone.
- Avoid pointing the motion sensor towards any potential sources of false triggers, such as trees or bushes that may sway in the wind.
- Consider adjusting the motion sensor’s sensitivity settings to avoid false alarms caused by small animals or passing cars.
By positioning the motion detector light strategically, you can ensure that it accurately detects motion and provides the necessary illumination when needed.
Once you have chosen the installation location and determined the proper positioning, you are ready to move on to the next step: turning off the power.
Step 3: Turn off the power
Before you begin any electrical work, it is crucial to ensure your safety by turning off the power supply to the designated area. This step will help prevent any potential electrical accidents or shocks. Follow these steps to turn off the power:
Locating the electrical circuit breaker
The electrical circuit breaker is usually located in the electrical panel or fuse box of your home. It is responsible for controlling the flow of electricity to various areas of your property. Locate the electrical panel, which is typically found in basements, utility rooms, garages, or on the exterior of your home.
Switching off the power supply to the designated area
Once you have located the electrical circuit breaker, look for the breaker that controls the power supply to the area where you will be installing the motion detector light. Breakers are usually labeled to indicate which area they control, such as “Outdoor Lighting” or “Front Porch.”
Flip the corresponding breaker to the “Off” position to cut off the power supply. It’s a good idea to double-check that the power is indeed off by flipping a light switch or using a voltage tester to ensure there is no electricity flowing to the designated area.
Remember, safety should always be your top priority when working with electricity. If you are unsure about any step or unable to locate the electrical circuit breaker, it’s best to consult a professional electrician.
With the power turned off, you can now proceed with the next step: mounting the motion detector light.
Step 4: Mount the motion detector light
Now that you have turned off the power, it’s time to mount the motion detector light. Follow these steps to ensure a proper installation:
Removing the existing light fixture (if applicable)
If you already have a light fixture installed in the desired location, you’ll need to remove it before mounting the motion detector light. Start by removing the screws or bolts that secure the fixture to the wall or ceiling.
Once the screws are removed, gently pull the fixture away from the surface, being careful not to damage the wires. Disconnect the electrical wires by twisting the wire connectors counterclockwise and separating the wires.
Attaching the motion detector light to the desired surface
If you are installing the motion detector light in a new location or have removed the old fixture, follow these steps to attach the motion detector light:
- Hold the motion detector light against the desired surface, ensuring that the mounting holes align with the surface.
- Insert screws or bolts into the mounting holes provided on the motion detector light.
- Tighten the screws or bolts securely to ensure that the motion detector light is firmly attached to the surface. Use a screwdriver or the appropriate tool for the specific fasteners.
Make sure the motion detector light is level and properly aligned. This will ensure that it operates efficiently and looks aesthetically pleasing. If necessary, use a level to ensure straight mounting.
Before moving on to the next step, double-check that the mounting is sturdy and secure. This will prevent any accidents or damage to the light during operation.
With the motion detector light properly mounted, you can now proceed to the next step: connecting the wiring.
Step 5: Connect the wiring
Now that the motion detector light is securely mounted, it’s time to connect the wiring. This step involves disconnecting the wiring from the old fixture (if applicable) and connecting the motion detector light’s wiring to the existing electrical wires. Follow these steps for a safe and secure connection:
Disconnecting the wiring from the old fixture (if applicable)
If you have removed an existing light fixture, you’ll need to disconnect the wiring before proceeding. Follow these steps:
- Locate the electrical wires in the wall or ceiling that were connected to the old fixture.
- Using a wire stripper, remove the outer insulation from the end of each wire to expose approximately ¾ inch of bare wire.
- If there are wire connectors (typically plastic caps) securing the wires together, twist them counterclockwise to release the connection.
- Disconnect the wires by pulling them apart carefully to avoid damaging the wires or causing any shorts.
Connecting the motion detector light’s wiring to the existing electrical wires securely
Once you have removed the old fixture, or if you are installing the motion detector light in a new location, follow these steps to connect the wiring:
- Identify the motion detector light’s wiring, which usually consists of two wires: a black wire (hot) and a white wire (neutral).
- Using a wire stripper, remove the outer insulation from the end of the motion detector light’s wires to expose approximately ¾ inch of bare wire.
- Match the colors of the wires: connect the black wire from the motion detector light to the black (hot) wire in the electrical box, and connect the white wire from the motion detector light to the white (neutral) wire in the electrical box.
- To secure the connections, twist the corresponding wires together clockwise. Ensure that the connections are tight and secure.
- Cover the connections with an electrical tape, wrapping it around each connection to provide insulation and added protection.
It’s important to note that some motion detector lights may have additional wires, such as a green or copper grounding wire. If present, connect the grounding wire to the grounding wire in the electrical box, using a wire connector or grounding screw.
After completing the wiring connections, gently push the connected wires into the electrical box and ensure that they are not exposed outside of the box. This will help prevent any accidental contact with the wires.
With the wiring properly connected, you can now proceed to the next step: adjusting the settings of the motion detector light.
Step 6: Adjust the settings
After successfully connecting the wiring, it’s time to adjust the settings of your motion detector light. These settings allow you to customize the light’s behavior based on your specific preferences and needs. Follow these steps to configure the settings:
Configuring the sensitivity level of the motion sensor
The sensitivity level determines how easily the motion sensor detects movement. Higher sensitivity levels will trigger the light even for small movements, while lower sensitivity levels require more significant motion to activate the light. Follow these steps to adjust the sensitivity level:
- Locate the sensitivity adjustment mechanism on the motion detector light. It is usually a dial or switch labeled as “Sensitivity” or “Range.”
- Refer to the instructions provided by the manufacturer to understand the different sensitivity levels and their corresponding settings.
- Adjust the sensitivity level according to your preference. Start with a moderate setting and test the motion detection to see if it suits your needs.
- Keep in mind that if the sensitivity level is set too high, the light may trigger frequently, even for small movements, which could be inconvenient and may drain the light’s energy source.
Setting the duration for how long the light should stay on after detecting motion
Another important setting to configure is the duration or “time-on” setting, which determines how long the light should stay on after detecting motion. Follow these steps to adjust the time-on setting:
- Locate the time duration adjustment mechanism on the motion detector light. It is often a dial or switch labeled as “Time” or “Duration.”
- Consult the manufacturer’s instructions to understand the available time duration options and their corresponding settings.
- Select the desired time duration based on your preference. Consider factors such as the area being illuminated, the frequency of motion in the area, and energy efficiency.
- Avoid setting the time duration too short, as it may cause the light to turn off prematurely while you still need illumination.
After adjusting both the sensitivity level and the time duration, take a moment to ensure that the settings suit your needs. Test the motion detection by walking or moving near the motion detector light to ensure that it activates as desired. Make any necessary adjustments to the settings until you achieve the desired functionality.
With the settings adjusted, you are now ready to move on to the next step: testing the motion detector light.
Read more: How To Replace A Motion Detector Light
Step 7: Test the motion detector light
Once you have adjusted the settings of your motion detector light, it’s crucial to test its functionality. This step ensures that the light responds accurately to motion and operates as intended. Follow these steps to test the motion detector light:
Turning the power back on
Before testing the light, you need to turn the power back on. Locate the electrical circuit breaker for the designated area and switch it back to the “On” position. This restores the power supply to the motion detector light.
Checking if the light responds to motion correctly
With the power restored, it’s time to test the motion detector light. Trigger the motion sensor by walking or moving within the detection range of the light. Observe if the light turns on as expected. Here are a few important points to consider:
- Verify that the motion detector light quickly detects motion and turns on promptly.
- Ensure that the light illuminates the desired area adequately and provides enough visibility.
- Check if the duration for which the light stays on after detecting motion is appropriate for your needs.
- Make sure that the motion sensor doesn’t trigger unnecessarily or too frequently due to false alarms, such as wind-blown objects or animals passing by.
If you notice any issues during the testing phase, refer to the manufacturer’s instructions or troubleshooting guide for guidance. You may need to make further adjustments to the sensitivity level, time duration, or motion sensor angle and range.
Once you are satisfied with the functionality of the motion detector light and its response to motion, you can consider the testing phase complete.
After successfully testing the motion detector light, proceed to the final step: making any necessary adjustments and troubleshooting, if required.
Step 8: Final adjustments and troubleshooting
Once you have tested the functionality of your motion detector light, it’s time to make any necessary adjustments and troubleshoot any potential issues that may affect its performance. Follow these steps to ensure your motion detector light operates optimally:
Read more: How To Reset Motion Detector Lights
Fine-tuning the motion sensor angle and range
Take a moment to evaluate the motion sensor angle and range of your light. Consider the following factors when fine-tuning the motion sensor:
- Adjust the motion detector’s angle to ensure it covers the desired area effectively.
- Verify that the motion sensor’s range is appropriate. Avoid setting it too high, as it may trigger false alarms, or too low, as it may fail to detect motion.
- Ensure that the motion sensor is not obstructed by any objects such as plants, furniture, or decorations.
By fine-tuning the motion sensor angle and range, you can enhance the accuracy and efficiency of the motion detection system.
Troubleshooting any potential issues with the light’s functionality
If you encounter any issues with the functionality of your motion detector light, consider troubleshooting the following common problems:
- Make sure the wiring connections are secure and properly insulated with electrical tape.
- Check the power supply to ensure it’s stable and not causing any interruptions or flickering of the light.
- Inspect the light’s energy source, such as batteries or electrical connections, and replace or repair them if necessary.
- Ensure that the light is not affected by external factors such as strong winds, heavy rain, or extreme temperatures.
- Refer to the manufacturer’s instructions or contact their customer support for specific troubleshooting steps or warranty coverage if needed.
By troubleshooting and addressing any issues promptly, you can ensure that your motion detector light continues to function reliably and provides the desired security, convenience, and peace of mind.
With the final adjustments made and any potential issues resolved, your motion detector light installation and configuration process is complete. Enjoy the enhanced security and convenience that your outside motion detector light provides!
By following these steps and taking the time to properly configure your motion detector light, you can create a safer and more secure outdoor environment for your home and loved ones.
Conclusion
Configuring an outside motion detector light for motion sensing is a crucial step in enhancing home security and providing convenience. By following the step-by-step instructions provided in this article, you can ensure a successful installation and proper configuration.
We began by highlighting the importance of outside motion detector lights and the advantages they offer. These lights not only act as a deterrent to potential intruders but also provide safety and convenience for homeowners.
Throughout the installation process, we covered important steps such as gathering the necessary materials, choosing the installation location, turning off the power, mounting the motion detector light, connecting the wiring, adjusting the settings, testing the motion detector light, and making any necessary adjustments and troubleshooting.
It’s important to prioritize safety at all times. If you are unsure about any step or lack the experience and knowledge to complete the installation, it’s advised to consult a professional electrician to ensure a safe and proper setup.
By properly configuring your motion detector light, adjusting the sensitivity level, setting the duration for the light to stay on, and troubleshooting any potential issues, you can enjoy the benefits of enhanced security and convenience.
Remember to periodically check the functionality of your motion detector light and make any necessary adjustments or repairs. This will help ensure that it continues to operate effectively and provide the desired level of security for your home.
With an outside motion detector light properly configured and installed, you can have peace of mind knowing that you’ve taken an important step towards securing your property and creating a safer outdoor environment.
Stay vigilant, maintain your motion detector light system, and continue implementing other security measures to create a comprehensive home security plan that safeguards your family and belongings.
Frequently Asked Questions about How To Configure Outside Motion Detector Light For Motion Sensing
Was this page helpful?
At Storables.com, we guarantee accurate and reliable information. Our content, validated by Expert Board Contributors, is crafted following stringent Editorial Policies. We're committed to providing you with well-researched, expert-backed insights for all your informational needs.