Home>Home Security and Surveillance>How To Connect A Samsung SDR Model Home Surveillance System

Home Security and Surveillance
How To Connect A Samsung SDR Model Home Surveillance System
Modified: March 6, 2024
Learn how to easily connect your Samsung SDR model home surveillance system for efficient home security and surveillance. Ensure safety and peace of mind.
(Many of the links in this article redirect to a specific reviewed product. Your purchase of these products through affiliate links helps to generate commission for Storables.com, at no extra cost. Learn more)
Introduction
In today’s fast-paced world, keeping our homes and loved ones safe is a top priority. Fortunately, advancements in technology have made it easier than ever to achieve peace of mind with home security and surveillance systems. One such system is the Samsung SDR model, known for its reliability and user-friendly features. In this article, we will guide you through the process of connecting a Samsung SDR model home surveillance system, ensuring that you can make the most of its capabilities and enhance the security of your home.
Connecting a home surveillance system may seem like a daunting task, but with the right guidance and understanding of the equipment involved, it can be a smooth and straightforward process. By following the steps outlined in this article, you will be able to position and connect the cameras, set up the DVR, and even enable remote viewing functionality to monitor your home from anywhere in the world.
Before we dive into the step-by-step process, it is essential to gather the necessary equipment. For a Samsung SDR model home surveillance system setup, you will need the following:
- Cameras: The number of cameras will depend on your specific needs and the size of the area you want to monitor.
- Ethernet cables: These cables will be used to connect the cameras and DVR to ensure a stable and reliable network connection.
- Power adapter: Each camera will require a power source, so make sure you have enough power adapters for all of your cameras.
- HDMI cable: This cable is required to connect the DVR to a monitor or television for live viewing.
- Monitor: You will need a monitor or television to view the camera feeds and access the DVR interface.
With the necessary equipment in hand, you’re now ready to move on to the actual setup process. In the next section, we will discuss how to position the cameras effectively for optimal coverage.
Key Takeaways:
- Setting up a Samsung SDR home surveillance system involves gathering equipment, positioning cameras strategically, and connecting the DVR for remote viewing. It’s a user-friendly process that enhances home security.
- Testing the system ensures all components function correctly, providing peace of mind. Regular maintenance and updates keep the surveillance system operating at its best, safeguarding your home effectively.
Step 1: Gather the Required Equipment
Before you can begin setting up your Samsung SDR model home surveillance system, it is crucial to gather all the necessary equipment. Having everything ready will help streamline the installation process and ensure that you have everything you need to get started.
The essential equipment you will need for this setup includes:
Cameras
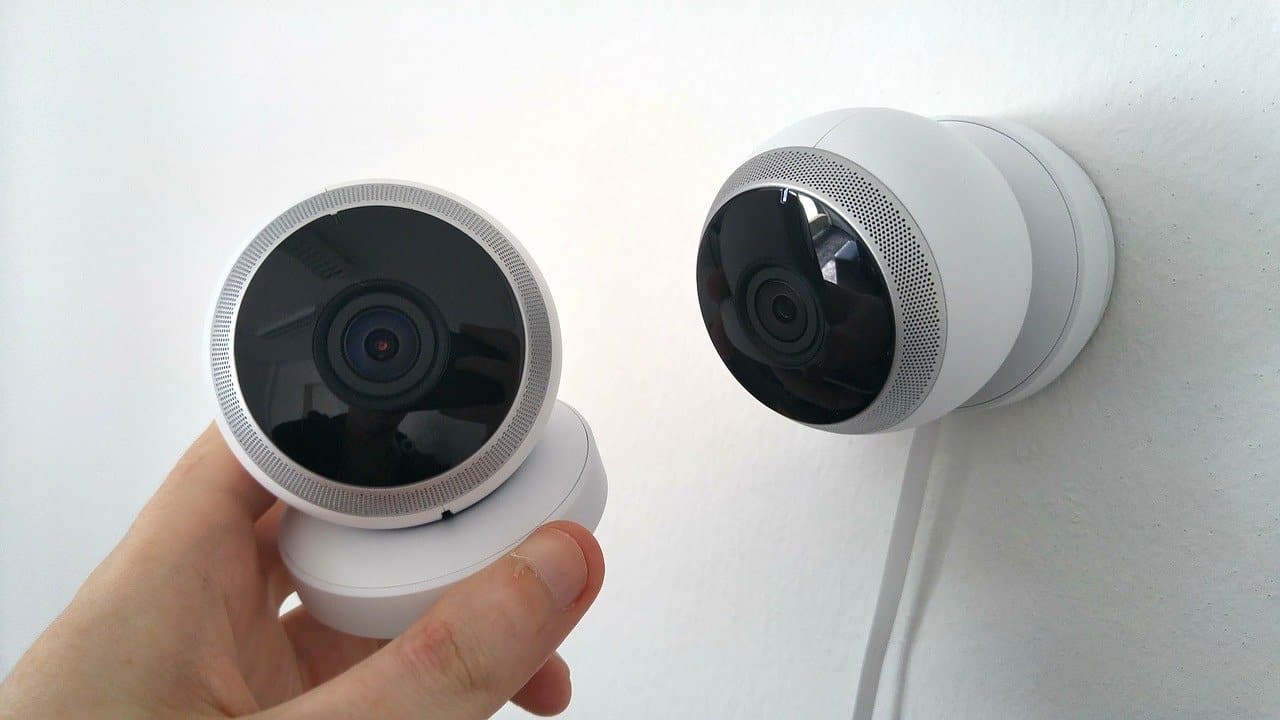
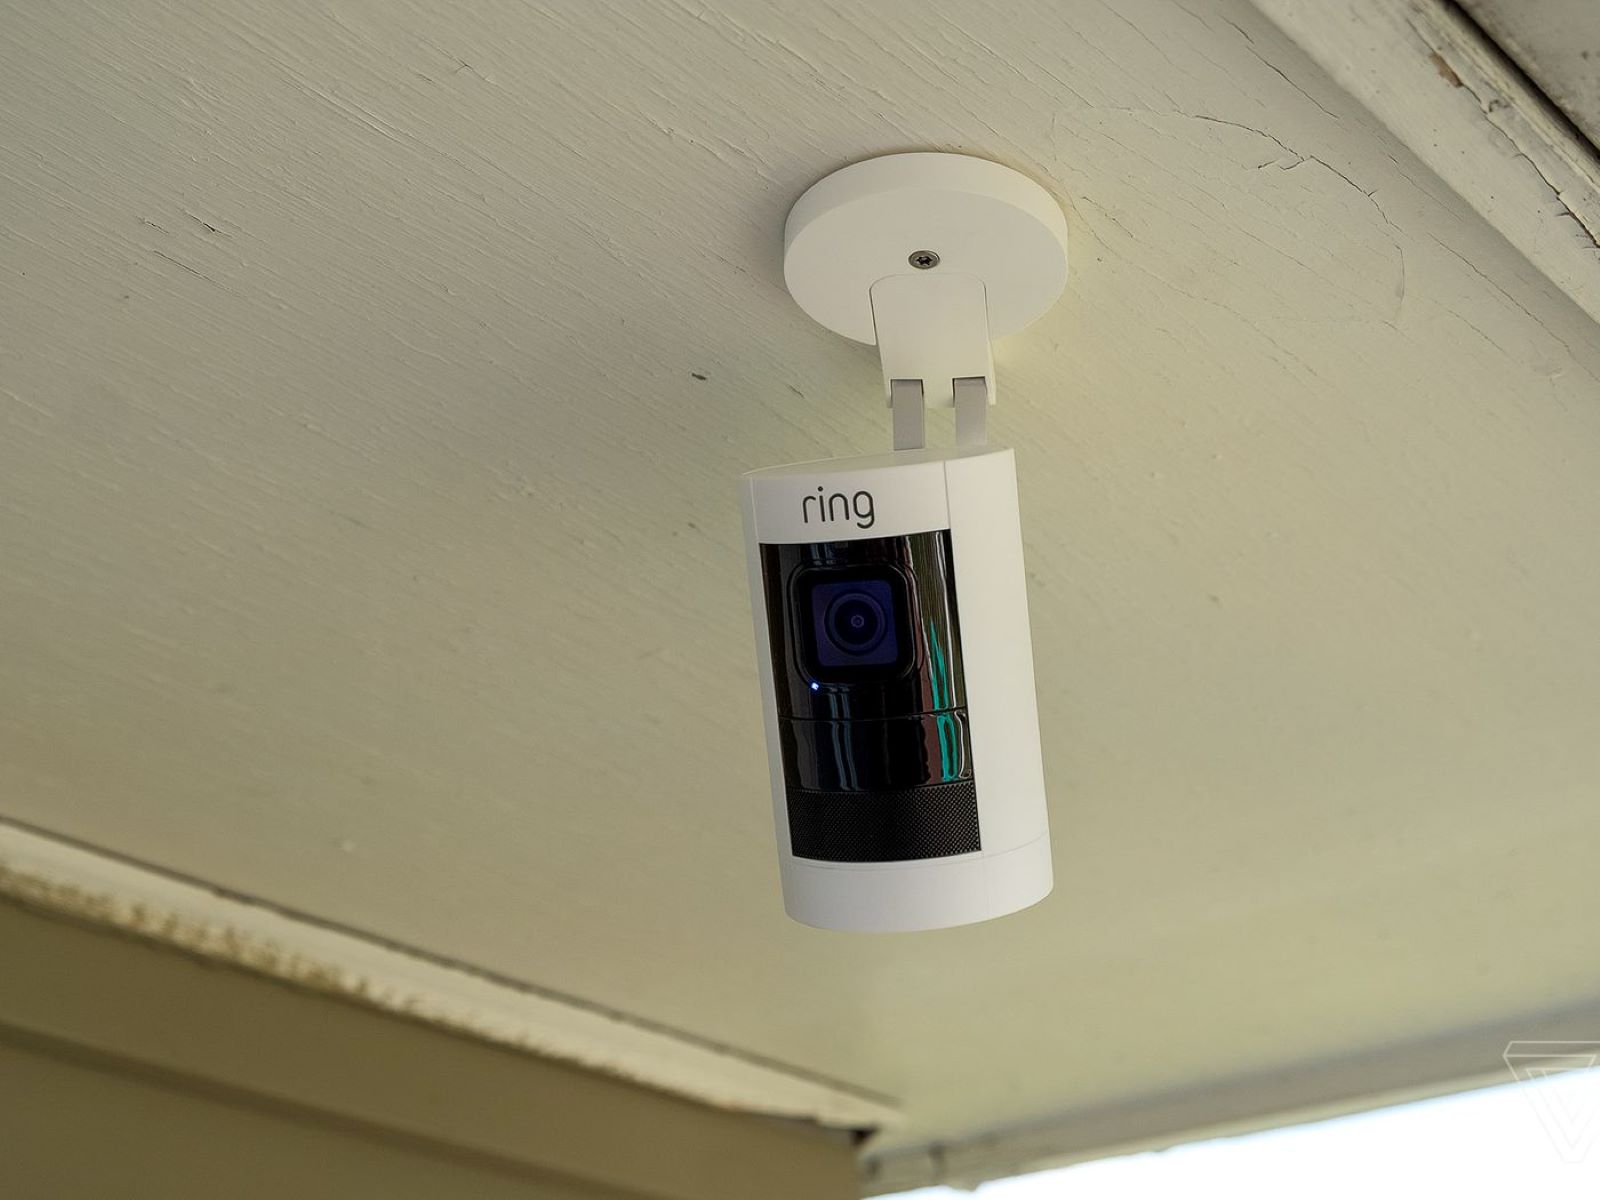
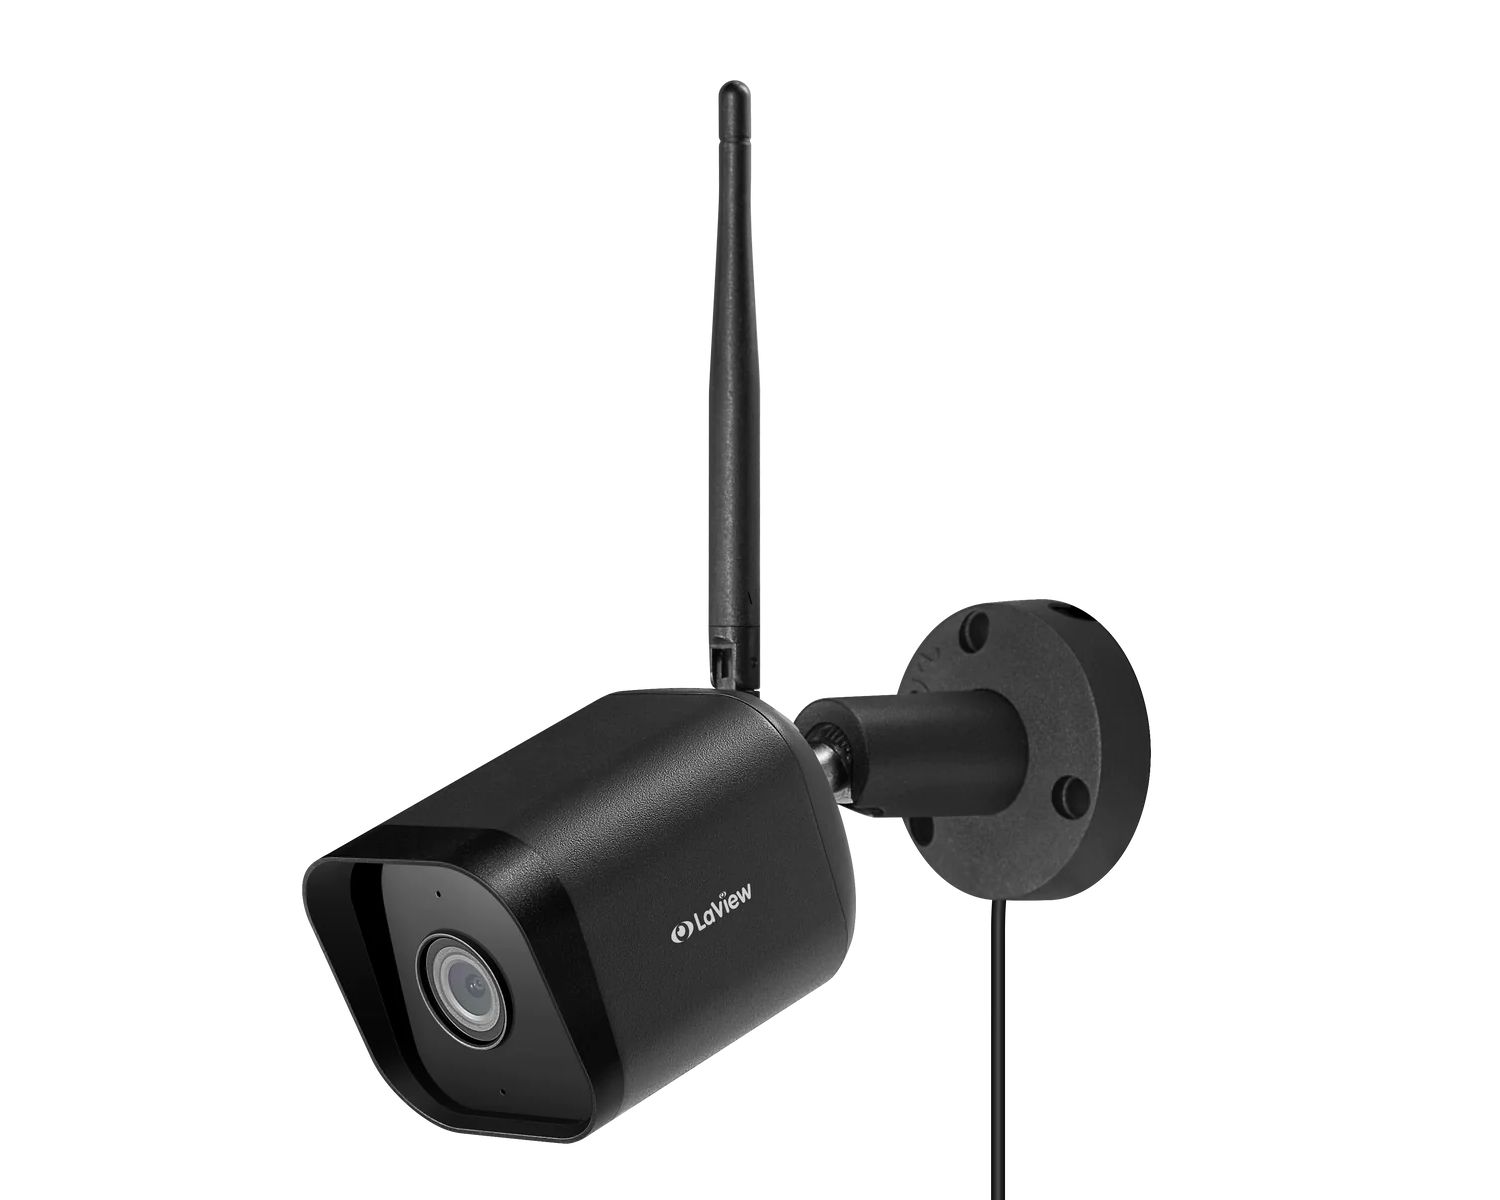
The number of cameras you require will depend on the size of the area you want to monitor and your specific needs. Samsung offers a range of cameras with different features, such as night vision capabilities, motion detection, and weather resistance. Choose the cameras that best suit your requirements.
Ethernet Cables
Ethernet cables are used to establish a connection between the cameras and the DVR. These cables ensure a stable and reliable network connection, allowing for seamless video transmission and recording. Ensure you have enough Ethernet cables of the appropriate length to reach each camera from the DVR’s location.
Power Adapter
Each camera will require a power source to function. The power adapter provides the necessary electrical current to power the cameras. Make sure you have the appropriate power adapter for each camera and ensure that they are placed near an electrical outlet or have access to a power source.
HDMI Cable
An HDMI cable is required to connect the DVR to a monitor or television for live viewing. This cable allows you to access the DVR’s user interface and view camera feeds in real-time. Ensure you have an HDMI cable of the appropriate length to connect the DVR to your chosen display device.
Monitor
A monitor or television is necessary to view the camera feeds and access the DVR’s interface. Choose a display device with a suitable size and resolution to meet your preferences and viewing needs. This monitor will serve as your live monitoring station for the surveillance system.
Once you have gathered all the equipment mentioned above, you are ready to move on to the next step: positioning the cameras. Properly positioning the cameras is crucial to achieving comprehensive surveillance coverage. We will discuss this in detail in the following section.
Step 2: Positioning the Cameras
Now that you have gathered all the necessary equipment, it’s time to start positioning your cameras. The placement of your cameras is crucial to ensure optimal coverage and maximize the effectiveness of your surveillance system. Consider the following factors when choosing the right locations for your cameras:
1. Entry Points
Identify the main entry points to your home, such as doors and windows, and position cameras to monitor these areas. Placing cameras near these entry points can serve as a deterrent to potential intruders and provide valuable evidence in case of a break-in.
2. Blind Spots
Take note of any areas that may have limited visibility or blind spots, such as corners or dark alleys. Installing cameras in these areas can help eliminate blind spots and ensure comprehensive coverage of your property.
3. Perimeter Coverage
Consider placing cameras along the perimeter of your property to monitor the surrounding area effectively. This can help detect any suspicious activity happening outside your home and provide an early warning for potential threats.
4. High-Traffic Areas
Identify high-traffic areas within your property, such as hallways, staircases, or common areas, and position cameras strategically to capture any movement or activity in these areas. This can be particularly useful for monitoring the comings and goings of family members or household staff.
5. Outdoor Considerations
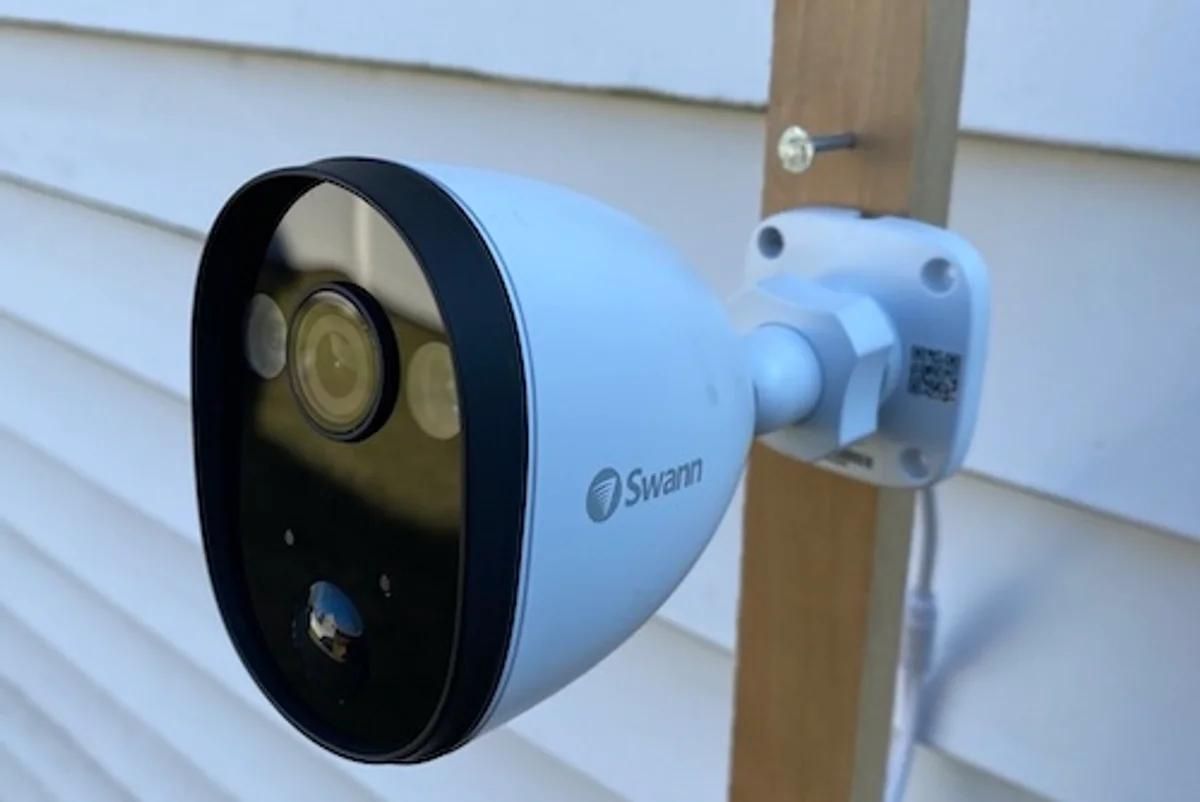
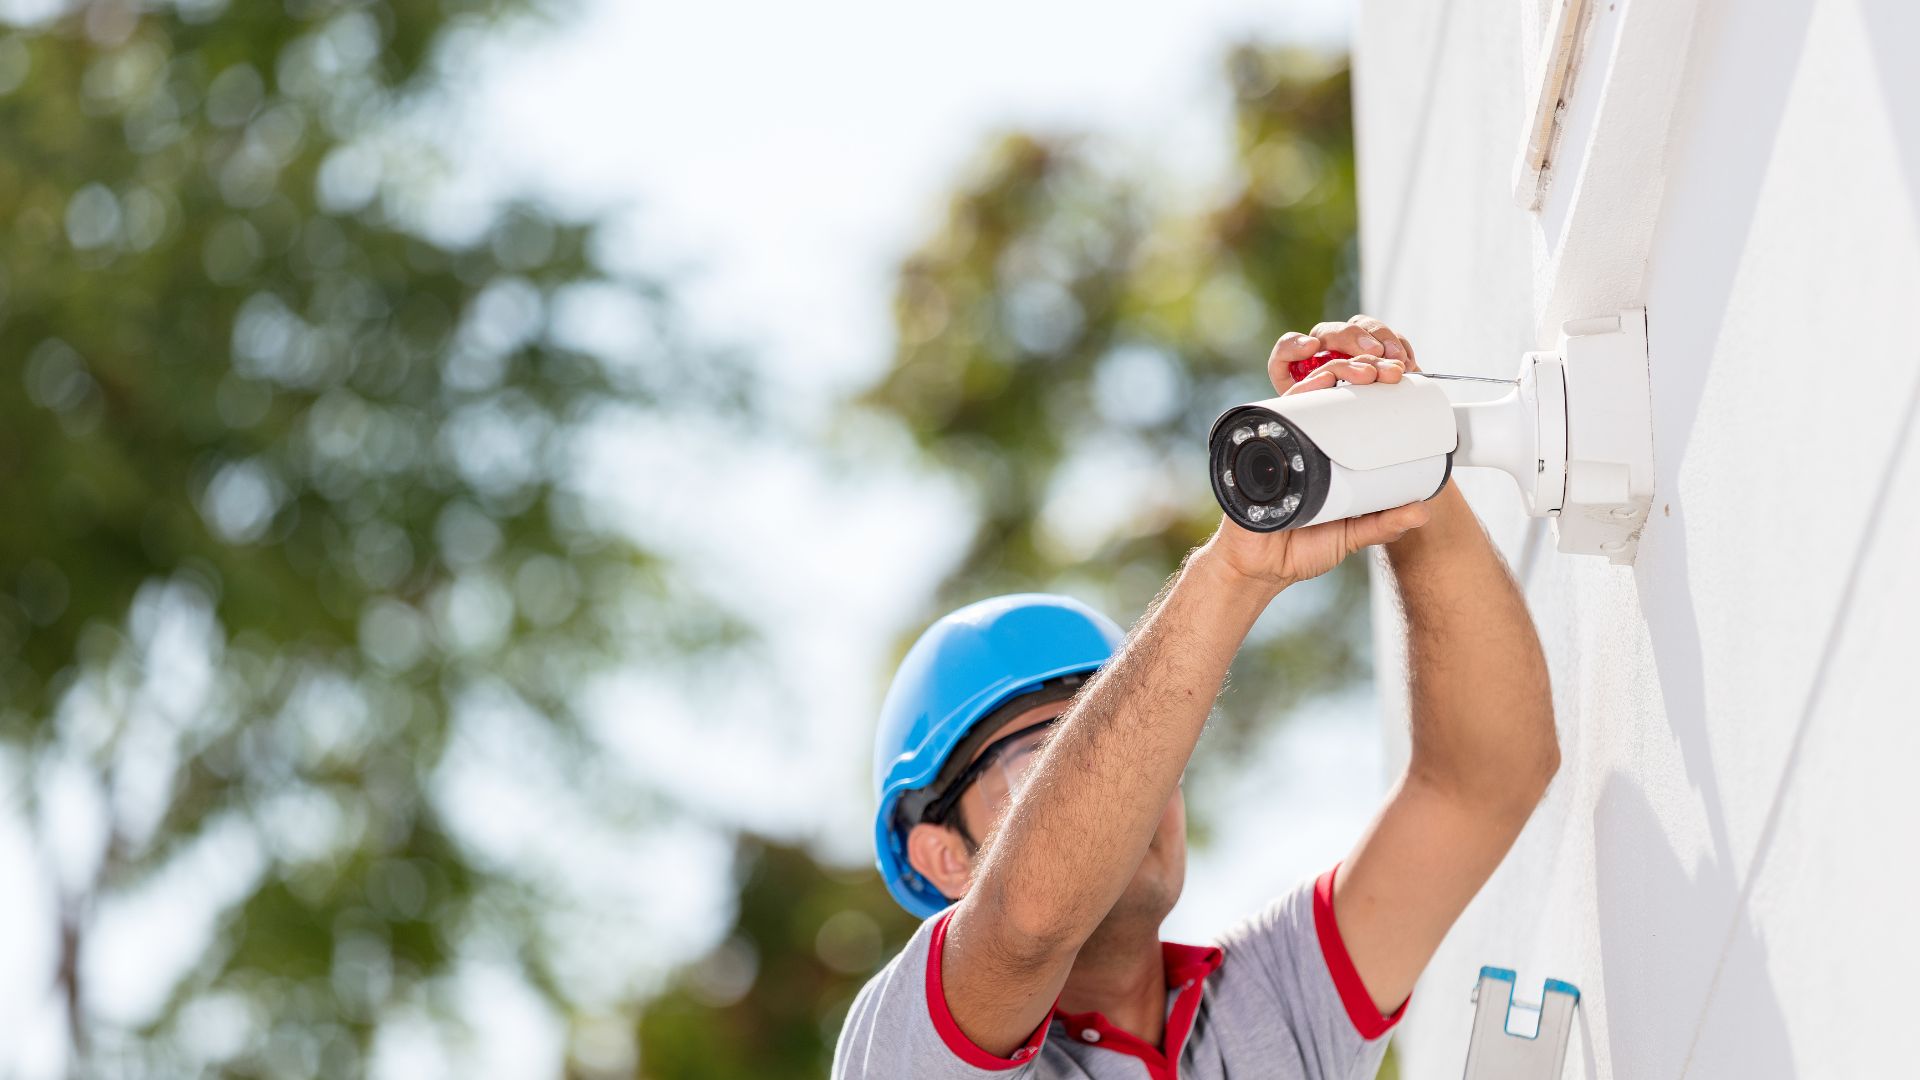
If you are installing cameras outdoors, ensure they are weather-resistant and suitable for outdoor use. Also, consider factors such as direct sunlight, shadows, and potential obstructions when positioning outdoor cameras for optimum performance.
6. Camera Angles
Position the cameras at the appropriate angles to capture the desired field of view. Experiment with different camera heights and tilt angles to ensure optimal coverage while minimizing any potential blind spots.
Take your time to evaluate and plan the positioning of your cameras before proceeding. This step is crucial for the effectiveness and efficiency of your surveillance system. Once you have determined the ideal locations for your cameras, move on to the next step: connecting the cameras. We will discuss this in detail in the following section.
Step 3: Connecting the Cameras
With the cameras properly positioned, it’s time to connect them to the surveillance system. This step involves two key processes: setting up the Ethernet connection and powering the cameras.
Ethernet Connection Setup
Begin by connecting the Ethernet cables from each camera to the designated ports on the back of the DVR. This establishes a network connection between the cameras and the DVR, allowing for the transmission of video footage.
Ensure that the Ethernet cables are securely connected to both the cameras and the DVR. It’s important to route the cables in a way that minimizes any potential damage or interference. You can use cable clips or cable management solutions to keep the cables organized and tidy.
If you have multiple cameras, consider labeling the Ethernet cables or creating a diagram that indicates which cable corresponds to each camera. This will make future troubleshooting or maintenance tasks much easier.
Powering the Cameras
Next, you will need to provide power to each camera. Use the power adapters that came with your cameras and connect them to an electrical outlet or power source. Ensure that the power adapters are plugged in securely and that there is no tension or strain on the cables.
If you are installing outdoor cameras, make sure that they are properly weatherproofed and that the power connections are adequately protected from the elements. This will help prevent any potential damage or electrical issues due to water or environmental conditions.
Once all the cameras are connected to both the Ethernet cables and the power source, take a moment to double-check your connections and ensure everything is in place. At this stage, the cameras should be ready to transmit video footage to the DVR for recording and monitoring.
In the next step, we will guide you through the process of connecting the DVR to the internet and a monitor or television for live viewing. This will allow you to access and control your surveillance system effectively.
Read more: How To Connect Samsung TV With Google Home
Step 4: Connecting the DVR
Now that the cameras are successfully connected, it’s time to move on to connecting the Digital Video Recorder (DVR). This step involves two important tasks: connecting the DVR to the internet and connecting it to a monitor for live viewing and system configuration.
Connecting the DVR to the Internet
To enable remote viewing and access advanced features of your Samsung SDR model home surveillance system, it’s essential to connect the DVR to the internet. Follow these steps to establish an internet connection:
- Using an Ethernet cable, connect one end to the Ethernet port on the DVR and the other end to your router or modem.
- Ensure that the Ethernet cable is securely connected to both the DVR and the router/modem.
- If your internet connection requires authentication (such as a username and password), follow the manufacturer’s instructions to enter the necessary information in the DVR’s network settings.
- Once the network settings are configured, the DVR will attempt to establish a connection to the internet. Wait for the connection status to indicate a successful connection.
It’s important to note that a stable and reliable internet connection will ensure smooth remote viewing and access to your surveillance system from anywhere. Ensure that your internet connection is capable of handling the video streaming and data transfer requirements.
Connecting the DVR to the Monitor
After connecting the DVR to the internet, it’s time to connect it to a monitor or television for live viewing and system configuration. Follow these steps:
- Using an HDMI cable, connect one end to the HDMI output port on the DVR and the other end to the HDMI input port on your monitor or television.
- Ensure that the HDMI cable is securely connected to both the DVR and the monitor/television.
- Power on the monitor or television and select the appropriate HDMI input source to display the DVR’s interface.
- You should now see the DVR’s user interface on the monitor or television. Follow the on-screen instructions to configure initial setup and system settings.
Once the monitor or television is connected, you can navigate through the DVR’s user interface using the provided remote control or front panel buttons. This will allow you to adjust system settings, customize recording options, and configure various features of your surveillance system.
With the DVR successfully connected to the internet and the monitor, you’re now ready to move on to the next step: setting up remote viewing. We will discuss this in detail in the following section.
Step 5: Setting Up Remote Viewing
Remote viewing is a valuable feature of the Samsung SDR model home surveillance system, as it allows you to monitor your cameras and access your surveillance system from anywhere using your mobile device. To set up remote viewing, follow these steps:
Installing the Mobile App
- Go to the app store on your mobile device (App Store for iOS or Google Play Store for Android).
- Search for the Samsung SDR mobile app (check the documentation or the manufacturer’s website for the specific app name).
- Download and install the app onto your mobile device.
Once the app is installed, you’re ready to proceed with configuring the remote viewing settings.
Configuring Remote Viewing Settings
- Launch the Samsung SDR mobile app on your mobile device.
- Follow the app’s on-screen instructions to create an account (if required) and log in.
- In the app’s settings menu, locate the “Device” or “Camera” section.
- Select the option to add a new device or camera.
- Enter the necessary information, such as the DVR’s IP address or unique identifier, username, and password.
- Save the settings and exit the configuration menu.
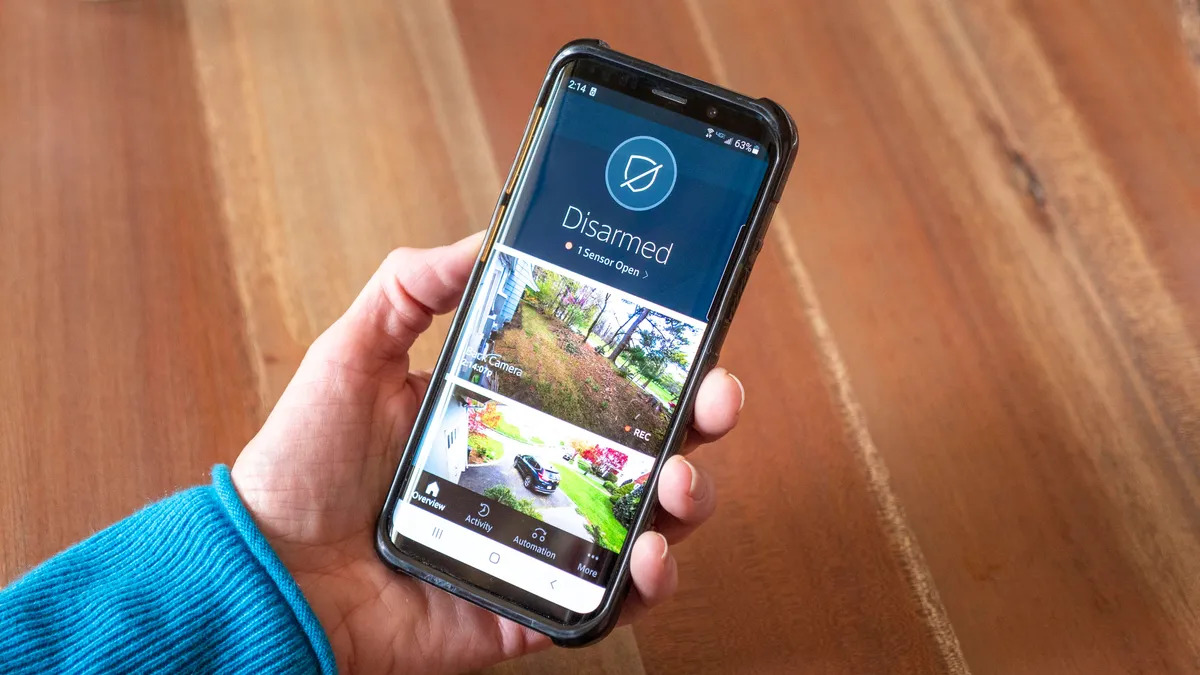
Once the remote viewing settings are configured, you should be able to access your surveillance system through the Samsung SDR mobile app. Launch the app on your mobile device, log in with your account credentials, and you should see the live video feeds from your cameras. You can also access additional features, such as playback of recorded footage, motion detection alerts, and system management settings.
It’s important to note that remote viewing requires a stable internet connection on both your DVR and your mobile device. Ensure that your DVR is connected to the internet and that you have a reliable network connection on your mobile device to ensure smooth and uninterrupted remote viewing.
With remote viewing set up, you can now monitor your surveillance system from anywhere, providing you with peace of mind and the ability to keep an eye on your home even when you’re not there.
Next, we move on to the final step: testing the system to ensure everything is functioning correctly. We will cover this in detail in the following section.
Step 6: Testing the System
Once you have completed the setup of your Samsung SDR model home surveillance system, it is crucial to test the system to ensure that all components are functioning as expected. Testing allows you to identify and resolve any potential issues or glitches and gives you peace of mind knowing that your home is effectively monitored. Follow these steps to test your system:
Verifying Camera Feeds
- Access the DVR’s user interface using the connected monitor or television.
- Navigate to the live view section of the interface to display the camera feeds.
- Carefully observe each camera feed to make sure they are displaying the desired areas and providing clear and uninterrupted video footage.
- Check the angles and adjust the camera positions if needed to eliminate any blind spots or improve coverage.
It is essential to ensure that all cameras are functioning correctly and providing the necessary coverage for your surveillance needs. If you notice any issues, such as a distorted image, black screens, or poor video quality, double-check the camera connections and settings. Refer to the manufacturer’s documentation for troubleshooting guidance if necessary.
Read more: How To Connect Wireless Security Cameras?
Checking Remote Viewing Functionality
- Launch the Samsung SDR mobile app on your mobile device.
- Log in with your account credentials.
- Confirm that you can access the live video feeds from your cameras through the app.
- Perform basic functions, such as zooming in, switching between camera views, and adjusting settings, to ensure remote viewing functionality is working smoothly.
- Check if you receive motion detection alerts or notifications, depending on the configuration settings.
If you encounter any issues with remote viewing, double-check the app settings and the internet connection on both your mobile device and DVR. Verify that the credentials and network information are entered correctly in the app. It may also be helpful to consult the app’s user guide or the manufacturer’s support documentation for further troubleshooting tips.
By thoroughly testing your system, you can identify and address any issues early on, ensuring that your surveillance system is fully operational and providing the desired level of security.
Congratulations! You have successfully set up and tested your Samsung SDR model home surveillance system. You can now enjoy the peace of mind that comes with knowing your home is protected and monitored. Remember to periodically review and update your system settings, perform routine maintenance, and keep an eye out for any firmware updates provided by the manufacturer to ensure optimal performance.
Thank you for following this guide, and we hope this article has been helpful in assisting you with setting up your home surveillance system. Stay safe!
If you have any further questions or need additional assistance, feel free to consult the manufacturer’s documentation or reach out to their customer support.
Conclusion
Home security and surveillance systems play a vital role in safeguarding our homes and providing peace of mind. The Samsung SDR model is an excellent choice for those seeking a reliable and user-friendly solution. By following the steps outlined in this guide, you have learned how to connect and set up a Samsung SDR model home surveillance system effectively.
Throughout the setup process, you have gathered the necessary equipment, positioned the cameras for optimal coverage, connected the cameras to the DVR, established an internet connection, and configured remote viewing capabilities. You have also tested the system to ensure that all components are functioning correctly and verified that you can access the camera feeds remotely from your mobile device.
Setting up and maintaining a home surveillance system requires careful planning, attention to detail, and routine testing. By positioning the cameras strategically, connecting them properly, and configuring remote viewing capabilities, you can enjoy the benefits of a comprehensive security system that keeps you connected and aware of any potential threats or incidents.
Remember, your home security is an ongoing commitment. It’s important to regularly review and update your system, perform maintenance tasks, and stay updated with any firmware updates or security patches provided by the manufacturer. By doing so, you can ensure that your home surveillance system is always operating at its best.
We hope this guide has provided you with the knowledge and confidence to set up your Samsung SDR model home surveillance system successfully. If you have any further questions or need assistance, consult the manufacturer’s documentation or reach out to their customer support. Stay vigilant, stay secure, and enjoy the peace of mind that comes with knowing your home is well-protected.
Frequently Asked Questions about How To Connect A Samsung SDR Model Home Surveillance System
Was this page helpful?
At Storables.com, we guarantee accurate and reliable information. Our content, validated by Expert Board Contributors, is crafted following stringent Editorial Policies. We're committed to providing you with well-researched, expert-backed insights for all your informational needs.
