Home>Home Security and Surveillance>How To Connect A Security Camera To TV
Home Security and Surveillance
How To Connect A Security Camera To TV
Modified: March 6, 2024
Learn how to connect a security camera to your TV for easy home surveillance. Enhance your home security and surveillance with this step-by-step guide.
(Many of the links in this article redirect to a specific reviewed product. Your purchase of these products through affiliate links helps to generate commission for Storables.com, at no extra cost. Learn more)
Introduction
Home security is a top priority for homeowners, and one effective way to enhance security is by installing a security camera system. These cameras provide a sense of safety and can help deter potential intruders or capture evidence in the event of a break-in. While monitoring the camera feed on a computer or smartphone is convenient, some homeowners prefer to view the footage directly on their television screens.
In this article, we will guide you step by step on how to connect a security camera to your TV, allowing you to easily monitor your property in the comfort of your living room. Whether you want to keep an eye on your front porch, backyard, or any other area of your home, connecting your security camera to your TV can provide you with peace of mind.
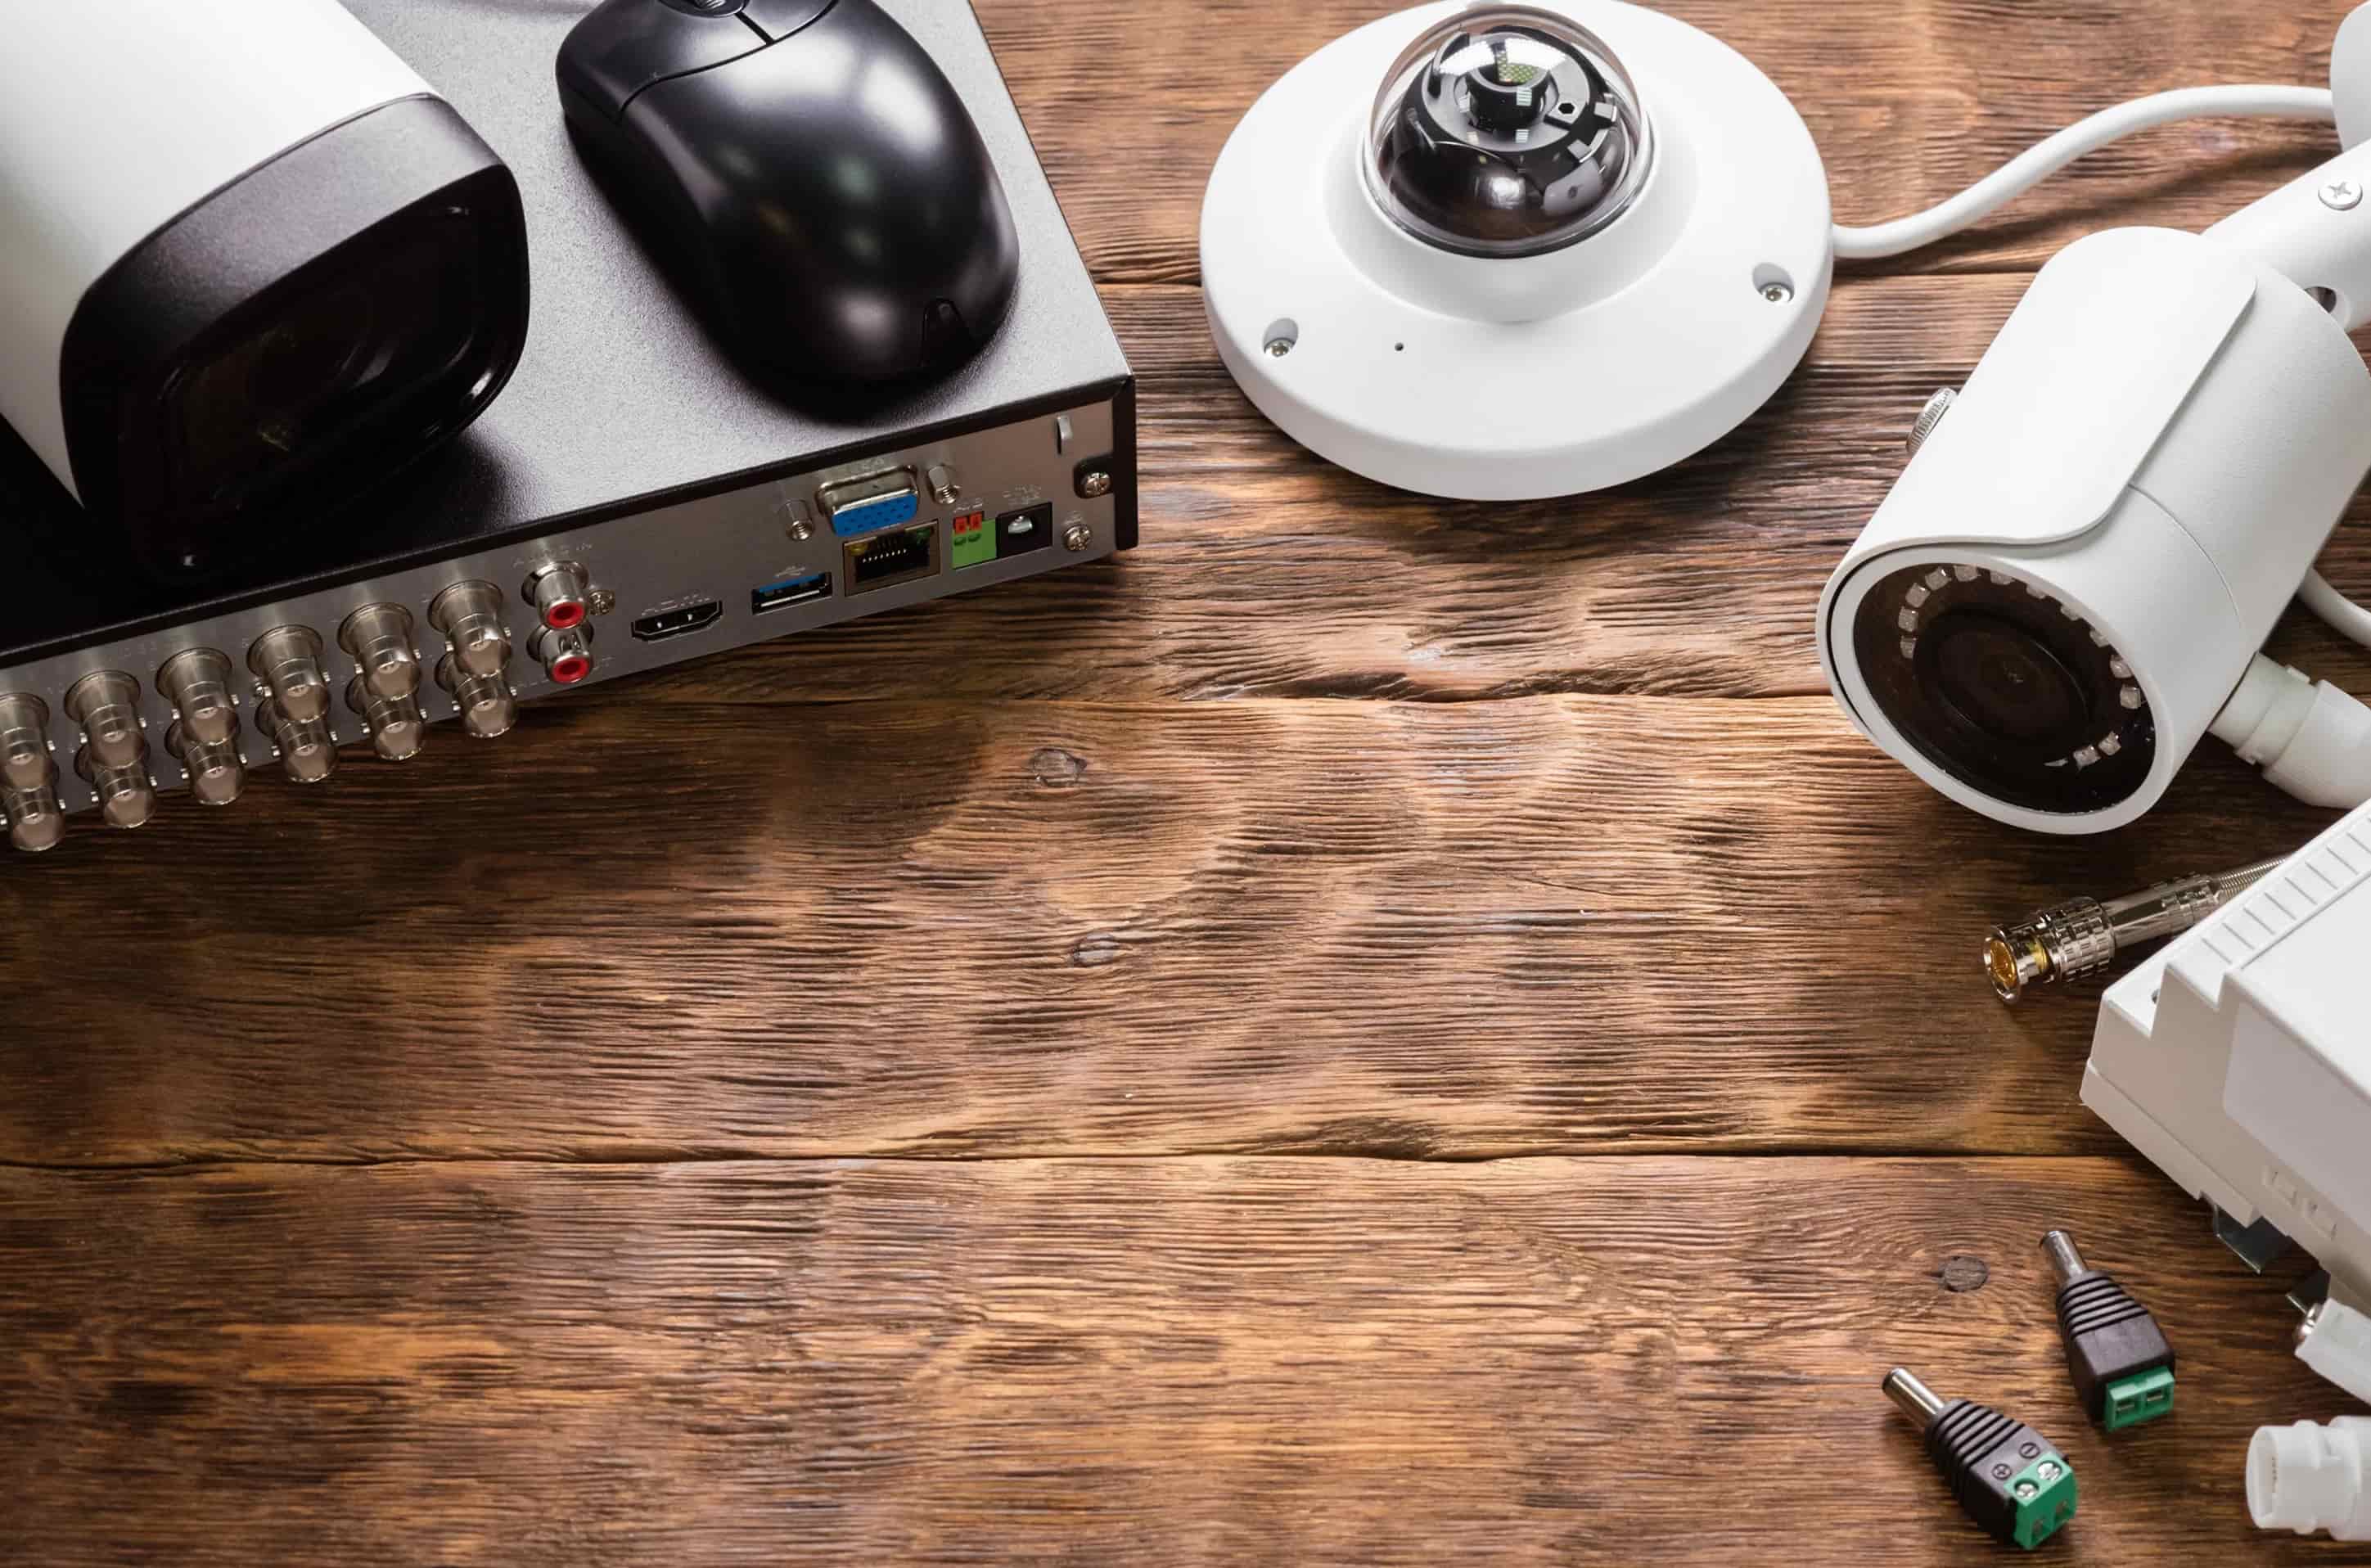
Before we dive into the steps, let’s quickly review the equipment you’ll need:
- A security camera system with compatible ports (BNC, HDMI, or VGA)
- A television with matching ports or HDMI input
- Appropriate cables (BNC, HDMI, or VGA, depending on the ports of your camera and TV)
- Power adapters for the camera and TV
- A power source (outlet or surge protector) to plug in the camera and TV
Once you have gathered all the equipment, we can move on to the next step, which is determining the type of connection required for your specific camera and TV setup.
Key Takeaways:
- Connecting a security camera to your TV is easy with the right equipment and cable connections. It allows you to monitor your home on a larger screen for added convenience and peace of mind.
- Adjusting camera and TV settings after the connection ensures optimal viewing quality. Testing the connection helps identify and resolve any issues, allowing you to enjoy effective home surveillance.
Step 1: Gather the necessary equipment
Before you can connect your security camera to your TV, it’s essential to gather all the necessary equipment. Here’s a breakdown of the equipment you’ll need:
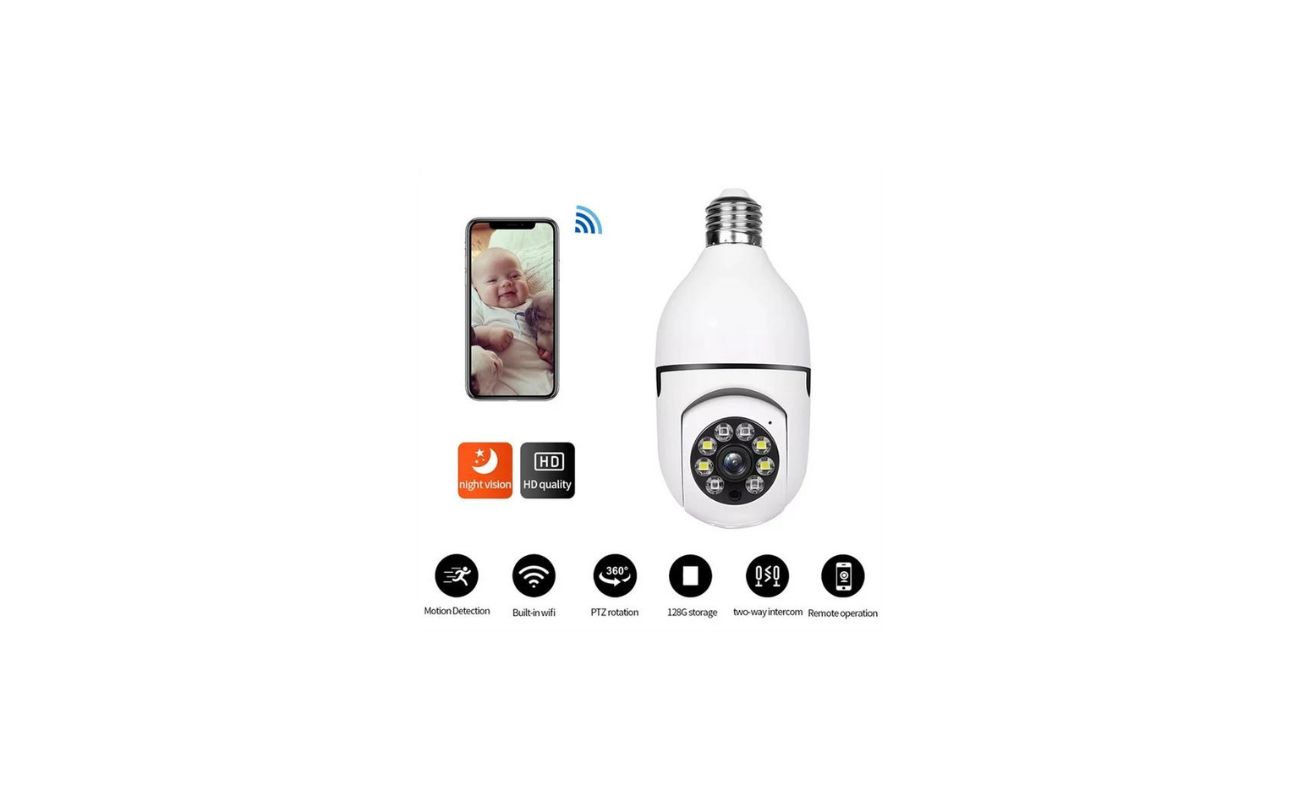
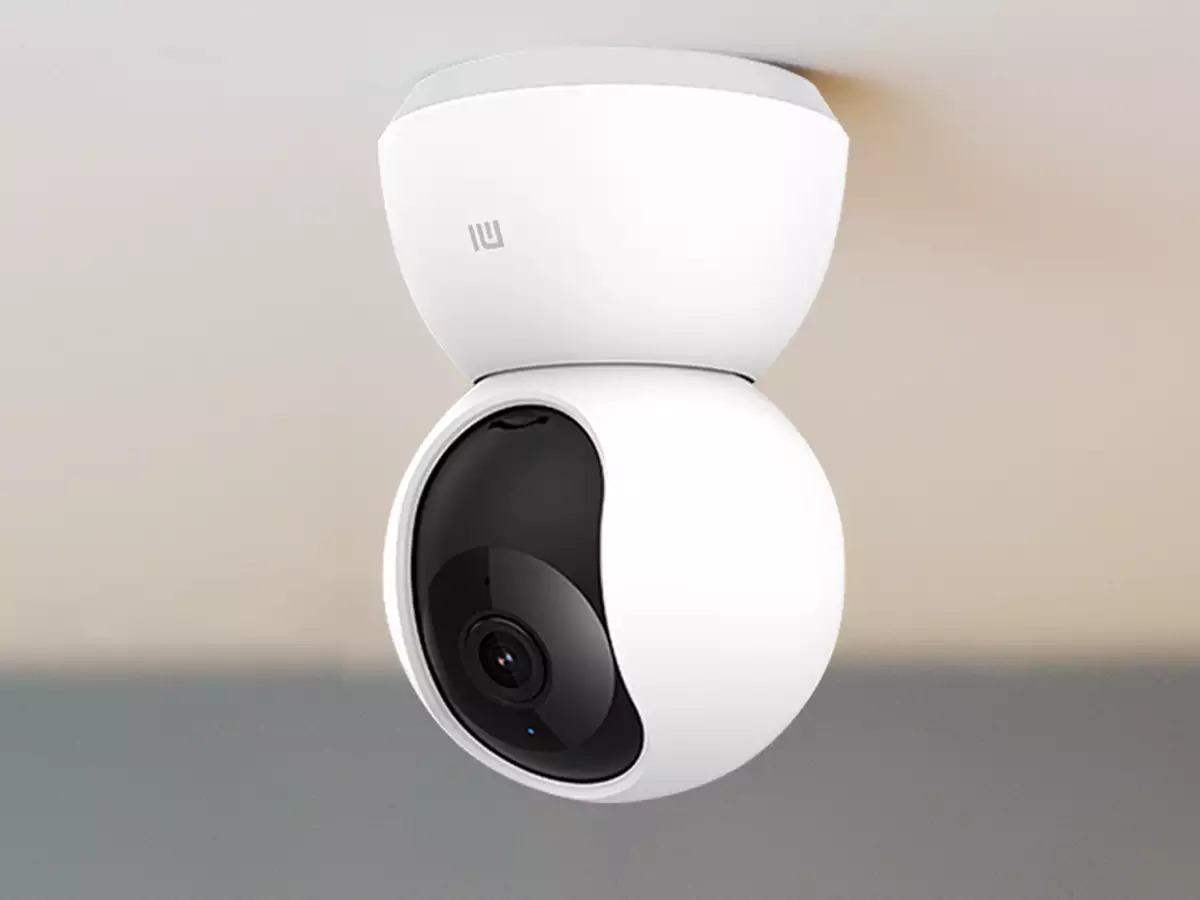
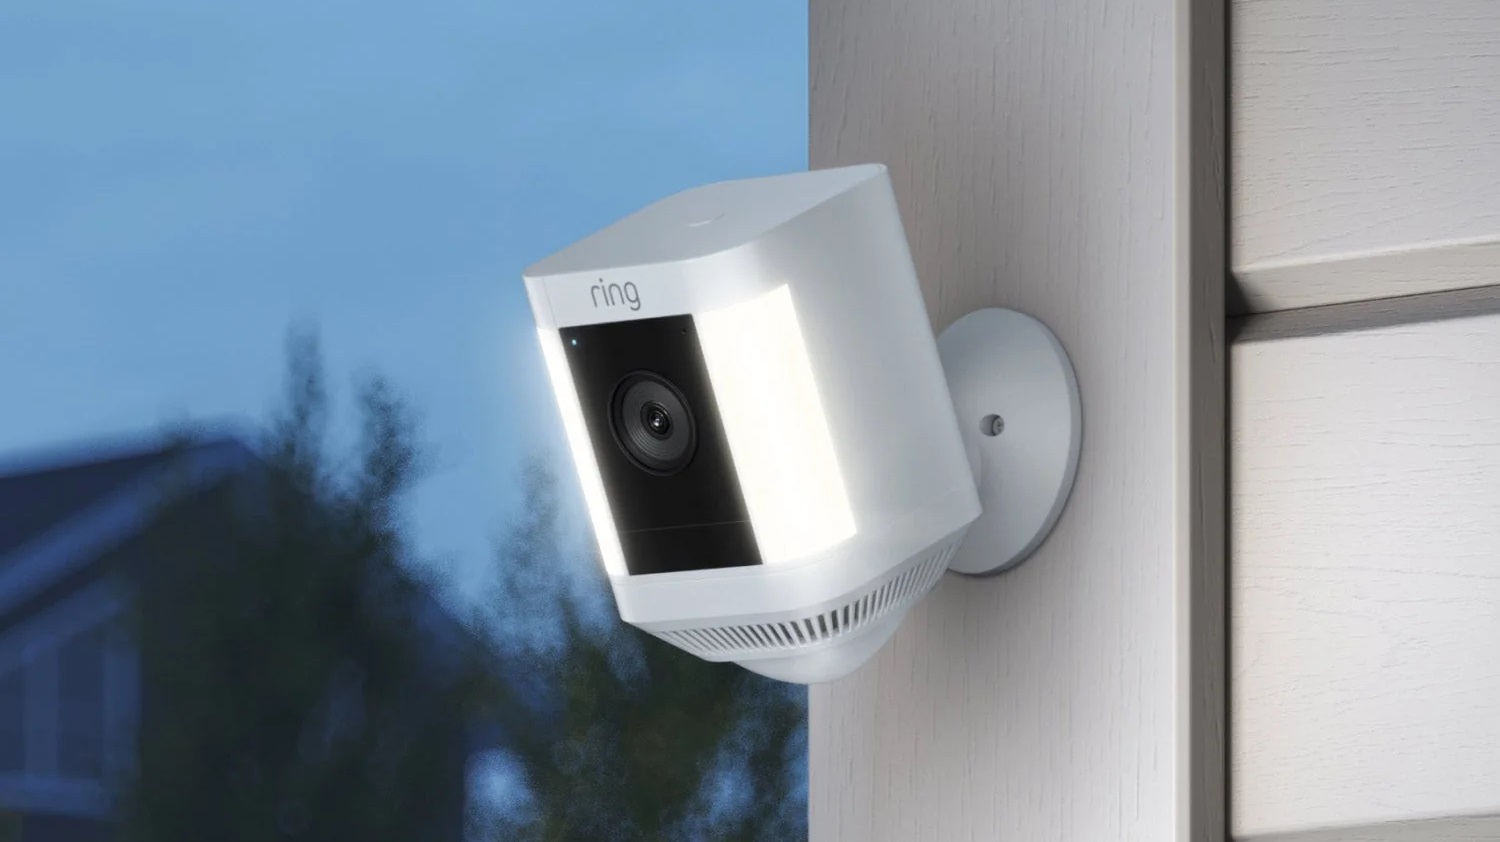
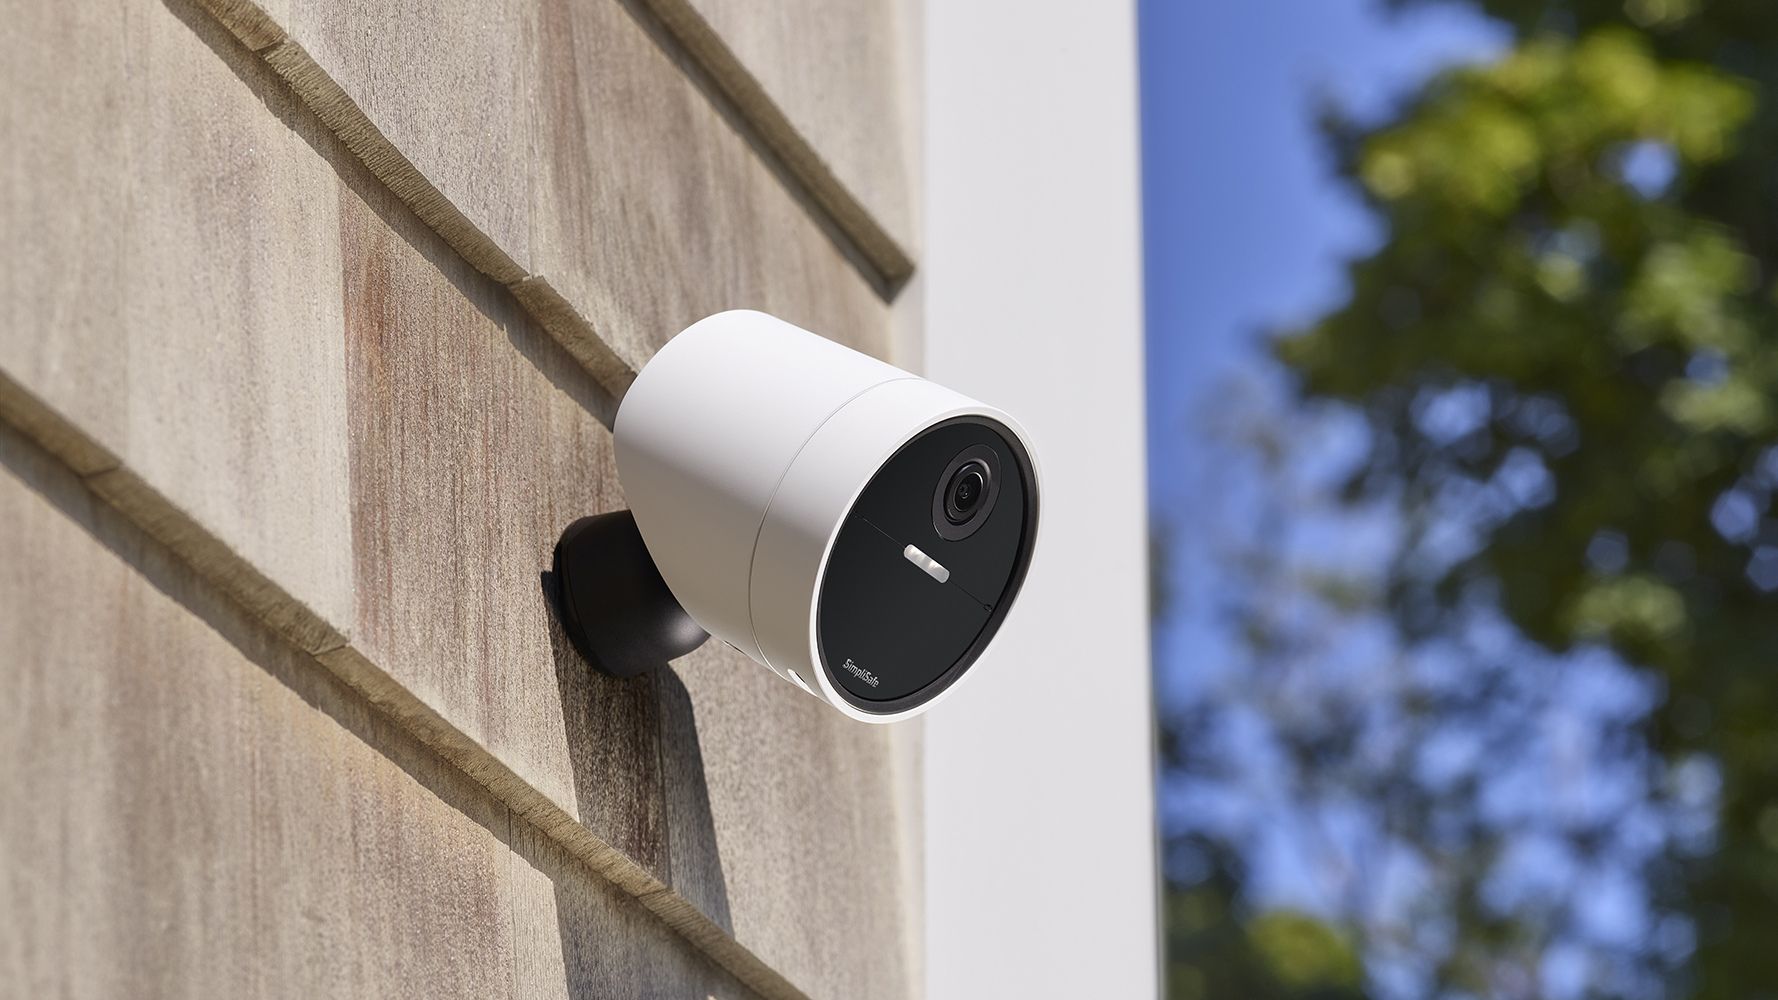
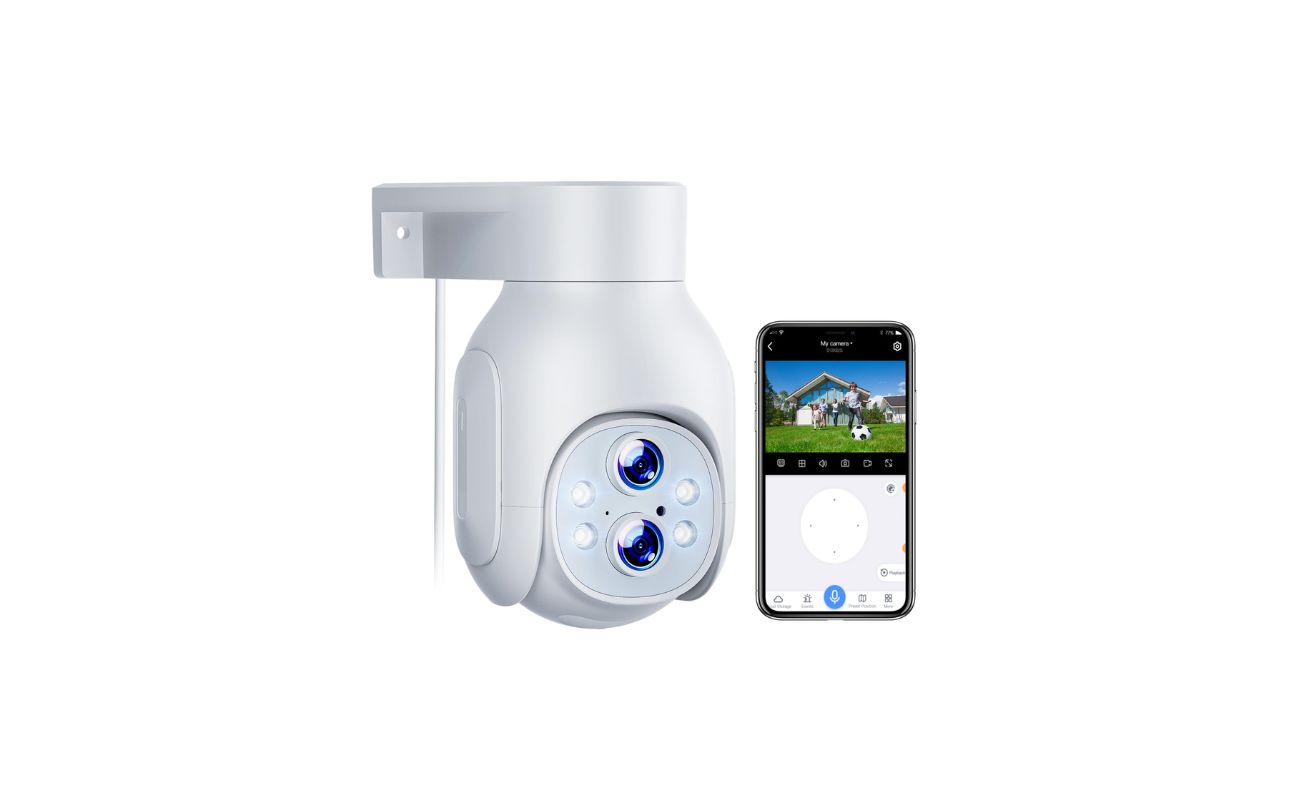
1. Security camera system
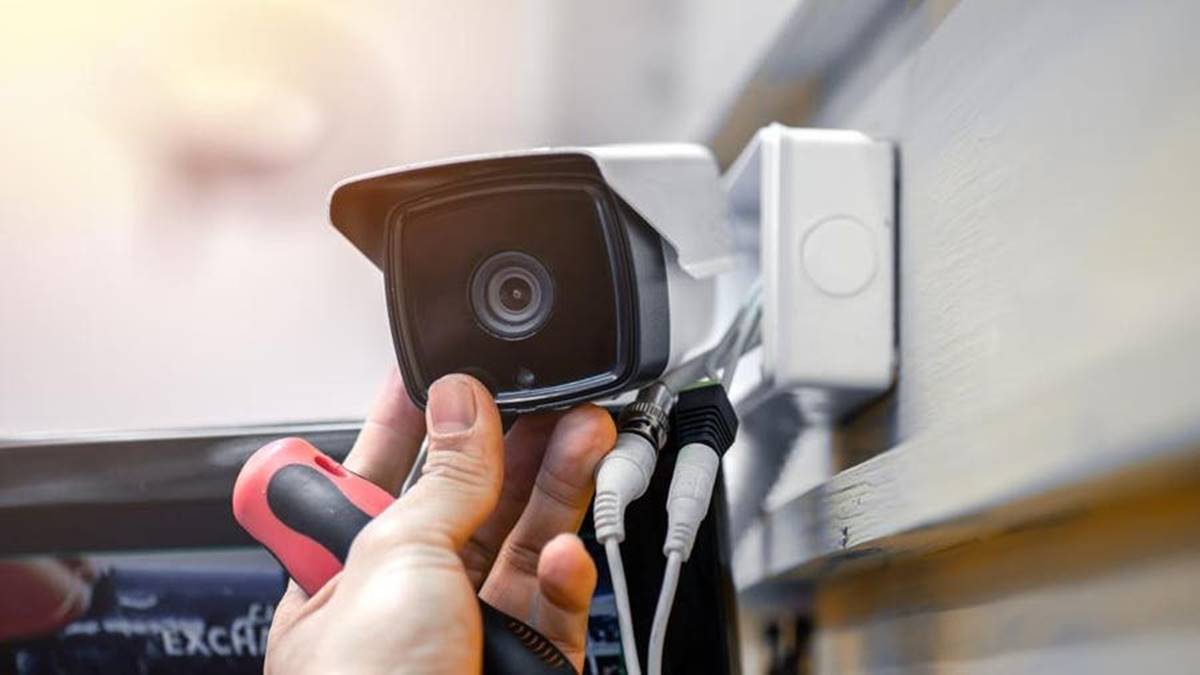
First and foremost, you’ll need a security camera system that is compatible with your TV. Ensure that your camera system has the appropriate ports, such as BNC, HDMI, or VGA, depending on the input options available on your TV.
2. Television
You’ll need a television with matching ports to connect your camera system. Make sure your TV has the required inputs, such as BNC, HDMI, or VGA, to establish a connection with the camera system. If your TV has multiple input options, consider which input will provide the best video quality.
3. Cables
Choose the right cables to connect your camera system to the TV. The type of cable you’ll need depends on the ports available on both your camera system and TV. The most common options are BNC, HDMI, or VGA cables. Ensure you have the appropriate length of cables to reach from the camera system to the TV.
4. Power adapters
Your camera system and TV will require power to function. Make sure you have the appropriate power adapters for both devices. Check the power requirements of your camera system and TV to ensure that the adapters provide sufficient power.
5. Power source
Lastly, ensure that you have a power source, such as an outlet or surge protector, to plug in both the camera system and the TV. It is important to have a stable power supply to ensure the uninterrupted functioning of the camera system and TV.
Once you have gathered all the necessary equipment, you’re ready to move on to the next step – determining the type of connection you’ll need for your specific camera and TV setup.
Step 2: Determine the type of connection
After gathering the necessary equipment, the next step is to determine the type of connection required for your specific camera and TV setup. The type of connection depends on the available ports on both your camera system and your TV. Let’s explore the common connection options:
1. BNC connection
If your camera system and TV have BNC ports, you can easily establish a BNC connection. BNC cables are commonly used in surveillance systems and provide a reliable and stable connection. Simply connect one end of the BNC cable to the BNC output port of your camera system and the other end to the BNC input port of your TV. Make sure the connections are secure and tight.
Read more: How To View Security Cameras On Tv
2. HDMI connection
If your camera system and TV have HDMI ports, an HDMI connection can provide a high-definition video output. HDMI cables support both video and audio transmission, making it a convenient option. Connect one end of the HDMI cable to the HDMI output port of your camera system and the other end to the HDMI input port of your TV.
3. VGA connection
Some camera systems and TVs may have VGA ports available. VGA cables are commonly used for video signals and generally do not support audio transmission. If your camera system and TV have VGA ports, connect one end of the VGA cable to the VGA output port of your camera system and the other end to the VGA input port of your TV. For audio transmission, you may need to use a separate audio cable.
It’s important to note that the availability of ports may vary depending on the brands and models of your camera system and TV. Consult the user manuals or contact the manufacturers for specific guidance and compatibility information. Once you have determined the type of connection required, you can proceed to the next step of connecting your security camera to your TV.
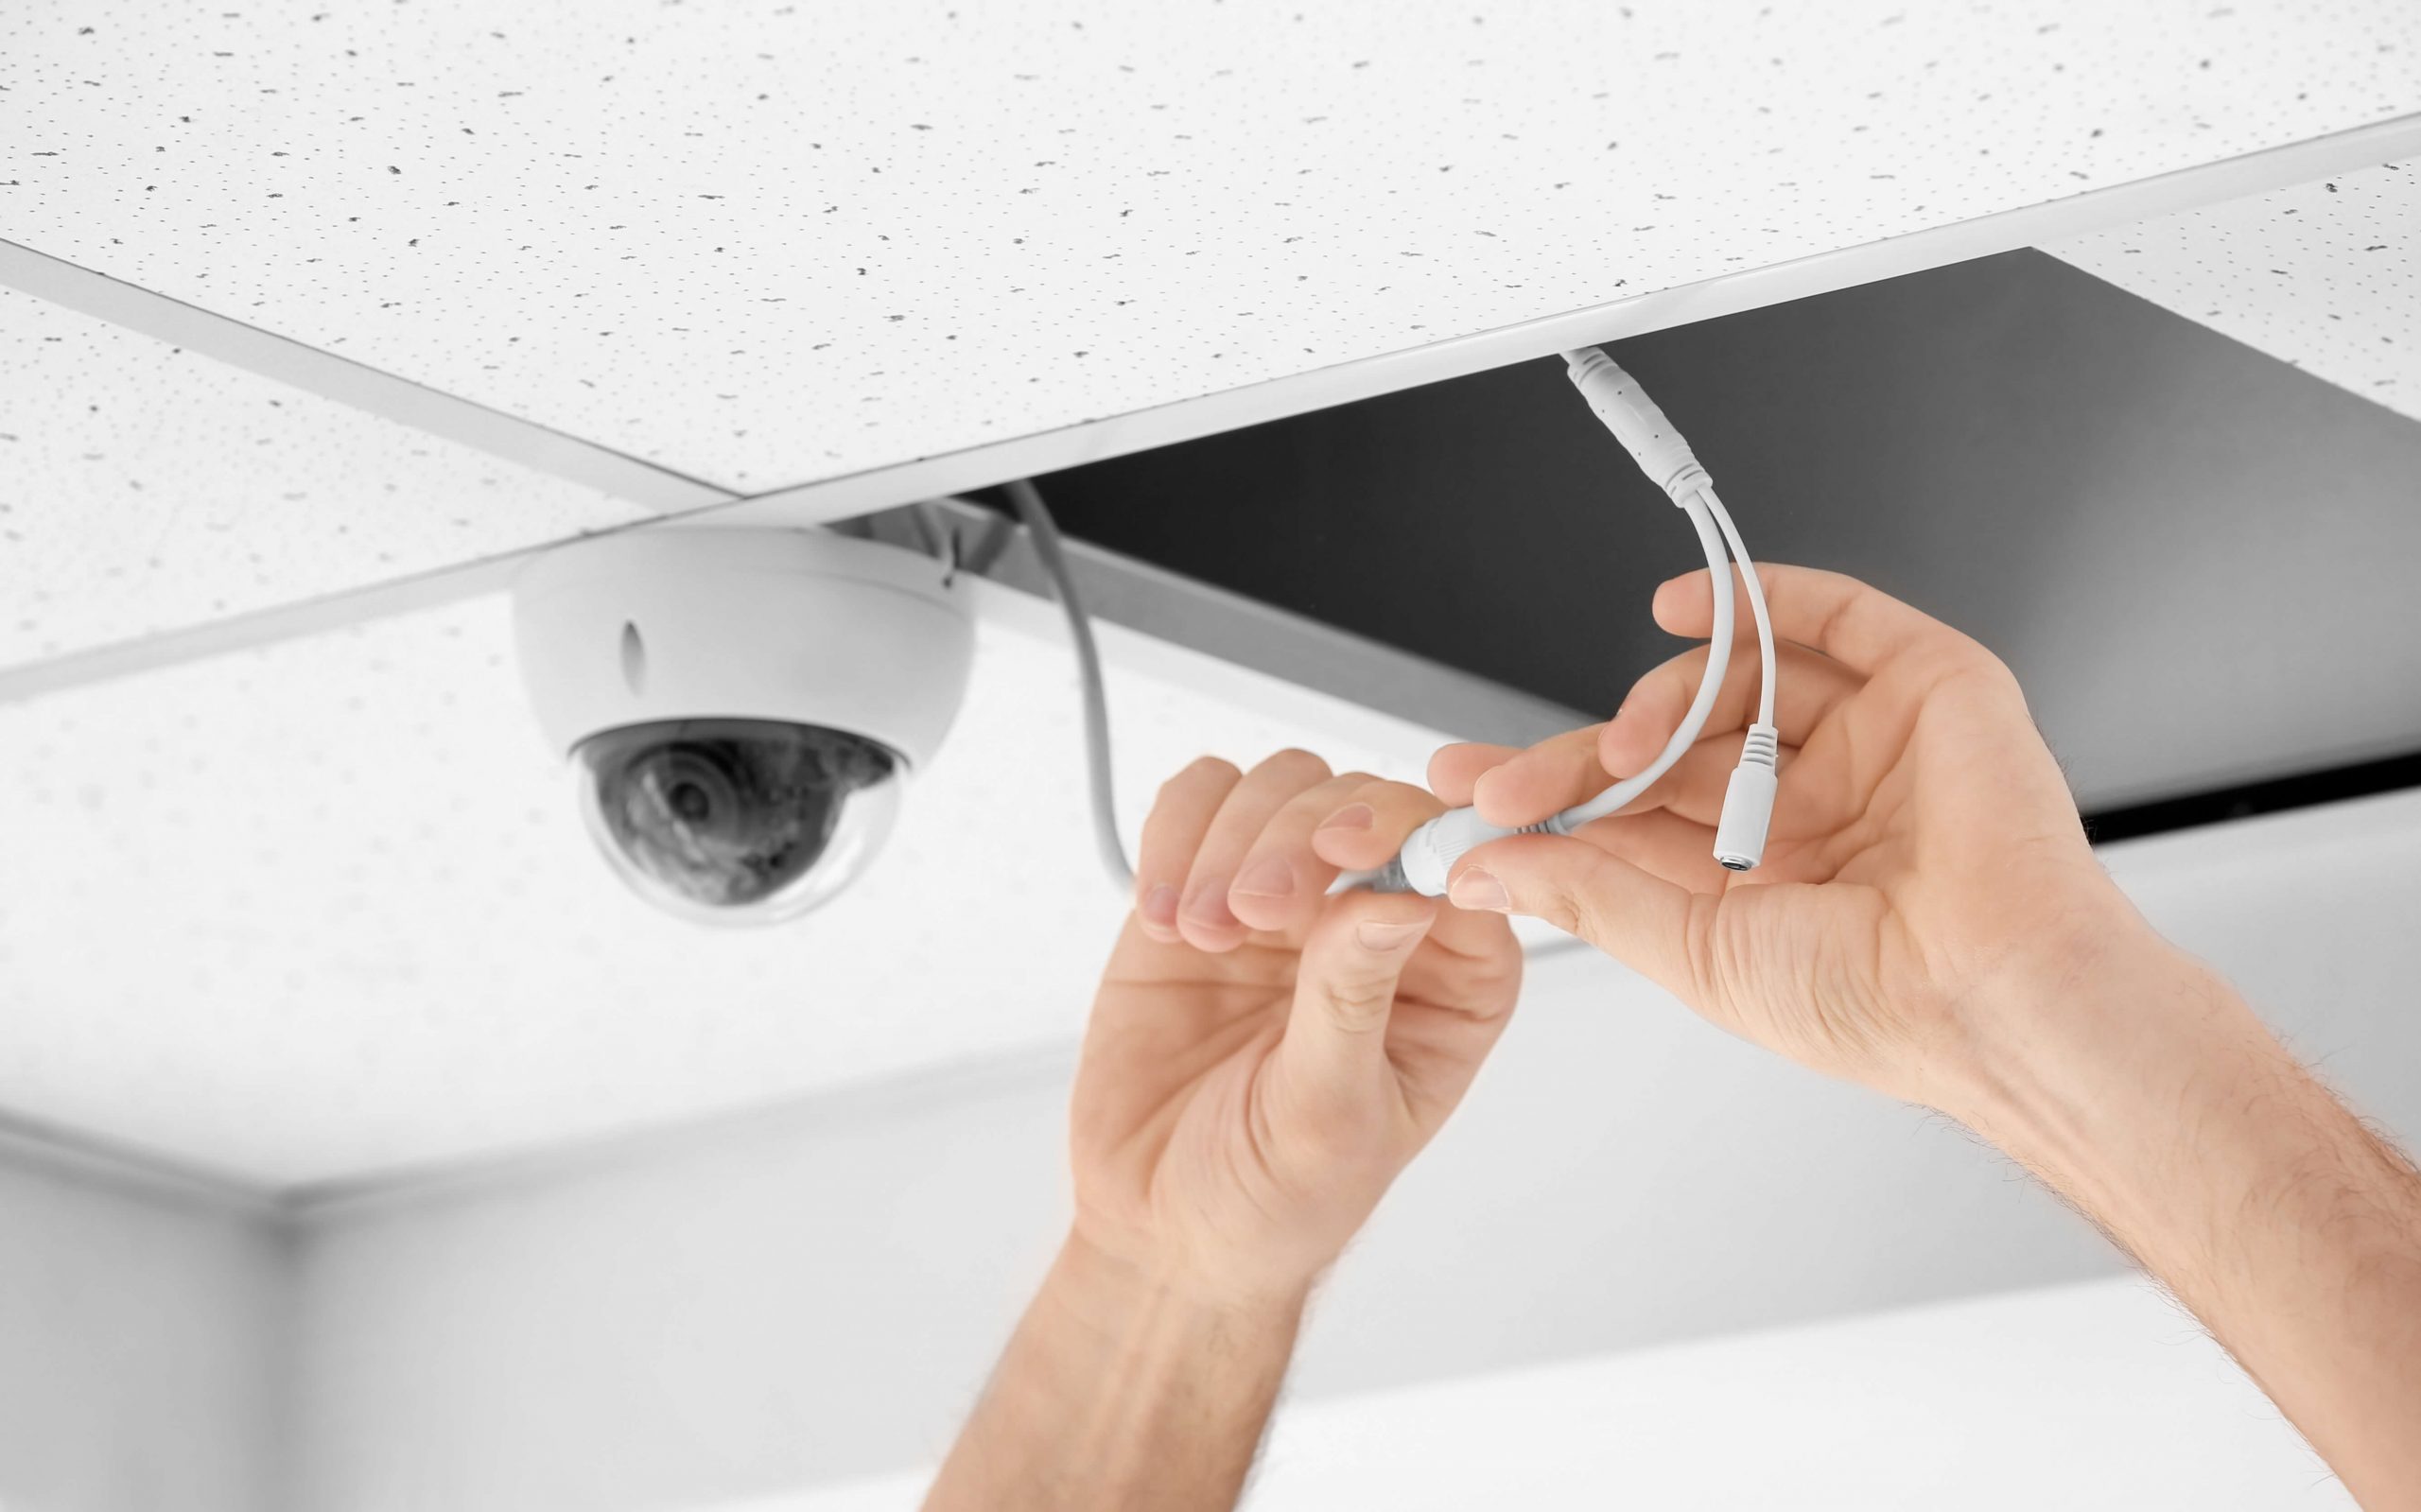
Step 3: Connect the security camera to the TV
Now that you have determined the type of connection needed for your camera and TV setup, it’s time to connect your security camera to your TV. Follow these steps:
1. Power off your camera system and TV
Before making any connections, ensure that your camera system and TV are powered off. This will prevent any potential damage during the connection process.
Read more: How To Connect Wireless Security Cameras?
2. Connect the appropriate cables
Take the cables that are compatible with your camera system and TV and connect them accordingly. For example, if you are using BNC cables, connect one end to the BNC output port of your camera system and the other end to the BNC input port of your TV. If you are using HDMI cables, connect one end to the HDMI output port of your camera system and the other end to the HDMI input port of your TV.
3. Verify the audio connections (if applicable)
If your camera system supports audio transmission and you want to hear the sound on your TV, check if you need to connect separate audio cables. Some camera systems may require an audio cable to be connected from the audio output port of the camera system to the corresponding audio input port of the TV.
4. Power on your camera system and TV
Once the connections are secure and in place, power on your camera system and TV. Ensure that both devices are receiving power from the power source you connected earlier.
5. Select the input source on your TV
Using your TV’s remote control, navigate to the input or source menu and select the appropriate input source that corresponds to the connected camera system. For example, if you connected the camera system using the HDMI input, select the HDMI input source on your TV.
With the camera system connected to your TV, you should now be able to see the video feed from your security cameras on your TV screen. If you don’t see any footage, ensure that the connections are secure and that the camera system is properly configured. Refer to the user manual of your camera system and TV for troubleshooting guidance.
Congratulations! You have successfully connected your security camera to your TV. Now, let’s move on to the next step: adjusting the camera settings and TV display for optimal viewing.
Step 4: Adjust the camera settings and TV display
Once you have connected your security camera to your TV, it’s important to adjust the camera settings and TV display to ensure optimal viewing. Follow these steps to make the necessary adjustments:
1. Access the camera settings
Refer to the user manual of your camera system to learn how to access and navigate the camera settings. Typically, you can do this by connecting a monitor to the camera system or by accessing the settings through a computer or smartphone app. Adjust the camera settings based on your preferences, including resolution, brightness, contrast, and any other available options. These settings will affect the quality and clarity of the video displayed on your TV.
2. Configure the TV display settings
Use your TV’s remote control to access the picture settings. Adjust the picture mode, brightness, contrast, sharpness, and other relevant options to enhance the clarity and visibility of the camera feed. Experiment with different settings to find the optimal display configuration that suits your needs and preferences.
3. Position the camera for the desired view
If your camera is adjustable, position it to capture the desired view. Depending on your security needs, you may want to focus on specific areas or have a wider coverage. Ensure that your camera is securely mounted and positioned to provide the best angle and coverage of the intended area.
4. Calibrate motion detection settings (if applicable)
If your camera system includes motion detection features, configure the motion detection settings according to your preferences. Adjust the sensitivity levels and define the areas of interest to minimize false alarms and maximize accurate motion detection.
By adjusting the camera settings and TV display, you can optimize the viewing experience and ensure that you can clearly monitor the camera feed on your TV. Take some time to fine-tune the settings until you are satisfied with the quality and visibility of the video.
With the camera settings and TV display adjusted, you’re ready to move on to the final step: testing the connection to ensure everything is working correctly.
Step 5: Test the connection
After connecting your security camera to your TV and adjusting the camera settings and TV display, it’s crucial to test the connection to ensure that everything is working correctly. Follow these steps to test the connection:
1. Activate the camera system
Make sure the camera system is powered on and functioning properly. Check that the camera receives power and that all connections are secure.
2. Verify the TV input source
Ensure that your TV is set to the correct input source that corresponds to the connected camera system. Use the TV’s remote control to navigate to the input or source menu and double-check that the correct input source is selected.
3. Monitor the camera feed
Observe the TV screen and confirm that the camera feed is displayed. You should be able to see a live video feed from your security cameras on the TV. Pay attention to the clarity, quality, and stability of the video. If you notice any issues, such as distorted or erratic display, check your connections and settings again.
4. Test additional features
If your camera system has additional features, such as night vision, pan-tilt-zoom capabilities, or audio transmission, test these features to ensure they are functioning correctly. For example, verify that the night vision mode activates in low-light conditions or test the pan and tilt functions if your camera supports them.
5. Check for any issues
During the testing phase, observe for any potential issues or anomalies. Pay attention to factors such as lag in the video feed, audio synchronization, or any other irregularities. Troubleshoot and adjust the settings or connections as necessary to resolve any issues that arise.
By thoroughly testing the connection, you can ensure that your security camera system is successfully connected to your TV and functioning properly. Proper testing helps you identify any potential problems early on and allows you to address them promptly, ensuring the effectiveness of your surveillance system.
Once you have completed the testing phase and confirmed that the connection is working as expected, you can now enjoy the convenience of monitoring your security camera feed directly on your TV. Take the time to periodically check the camera and TV settings to maintain optimal performance and make any necessary adjustments if needed.
Congratulations! You have successfully connected your security camera to your TV and completed the necessary steps to ensure proper functionality. Now, you can enjoy enhanced monitoring and peace of mind knowing that you can keep a close eye on your home and property.
Conclusion
Connecting your security camera to your TV is a practical and convenient way to monitor your home and enhance your security measures. By following the steps outlined in this article, you can easily connect your camera system to your TV and enjoy the benefits of viewing your camera feed on a larger screen.
Throughout the process, it is important to gather the necessary equipment, determine the type of connection needed, and make the appropriate cable connections. Adjusting the camera settings and TV display will help ensure optimal viewing quality. Finally, testing the connection allows you to verify that everything is working correctly and address any potential issues.
With your security camera system connected to your TV, you can now keep a watchful eye on your surroundings and deter potential intruders. Whether you want to monitor your front porch, backyard, or any other area of your home, having the camera feed displayed on your TV provides convenience and peace of mind.
Remember to periodically check and adjust the camera and TV settings as needed to maintain optimal performance. Additionally, familiarize yourself with the specific features and capabilities of your camera system to fully utilize its potential in safeguarding your home.
By taking the time to connect your security camera to your TV and ensuring its proper functionality, you are making a proactive effort to enhance your home security system. Enjoy the advantages of a larger screen and convenient monitoring as you protect what matters most – your family and your property.
Stay vigilant, stay safe!
Frequently Asked Questions about How To Connect A Security Camera To TV
Was this page helpful?
At Storables.com, we guarantee accurate and reliable information. Our content, validated by Expert Board Contributors, is crafted following stringent Editorial Policies. We're committed to providing you with well-researched, expert-backed insights for all your informational needs.