Home>Home Security and Surveillance>How To Replace The Battery In A Motion Detector

Home Security and Surveillance
How To Replace The Battery In A Motion Detector
Modified: March 6, 2024
Learn how to replace the battery in a motion detector for enhanced home security and surveillance. Keep your system functioning optimally with this simple guide.
(Many of the links in this article redirect to a specific reviewed product. Your purchase of these products through affiliate links helps to generate commission for Storables.com, at no extra cost. Learn more)
Introduction
Welcome to our guide on how to replace the battery in a motion detector. Motion detectors play a crucial role in keeping your home or business safe by detecting any movement within their range and triggering an alarm or activating surveillance cameras. However, to ensure that they continue to function properly, it is important to regularly check and replace the batteries.
Over time, the batteries in motion detectors can become weak or drain completely, diminishing the effectiveness of the device. Replacing the batteries is a simple yet essential task that will help ensure your motion detector functions optimally and provides reliable security coverage.
In this guide, we will walk you through the step-by-step process of replacing the battery in a motion detector. You don’t need to be an expert in home security or surveillance to complete this task successfully. With a few basic tools and materials, and by following our instructions, you’ll be able to replace the battery in your motion detector quickly and easily.
Before we dive into the steps, let’s first go over the tools and materials you will need for this project.
Key Takeaways:
- Regularly replacing the battery in your motion detector is essential for keeping your home or business safe. Follow the simple steps in this guide to ensure your security system functions optimally.
- Gather the right tools, determine the correct battery type, and follow the step-by-step process to replace the battery in your motion detector. Testing the functionality and securely closing the battery compartment are crucial for maintaining reliable security coverage.
Step 1: Gather necessary tools and materials
Before you start replacing the battery in your motion detector, it’s important to gather all the necessary tools and materials. Having everything prepared beforehand will make the process smoother and more efficient.
Here’s what you’ll need:
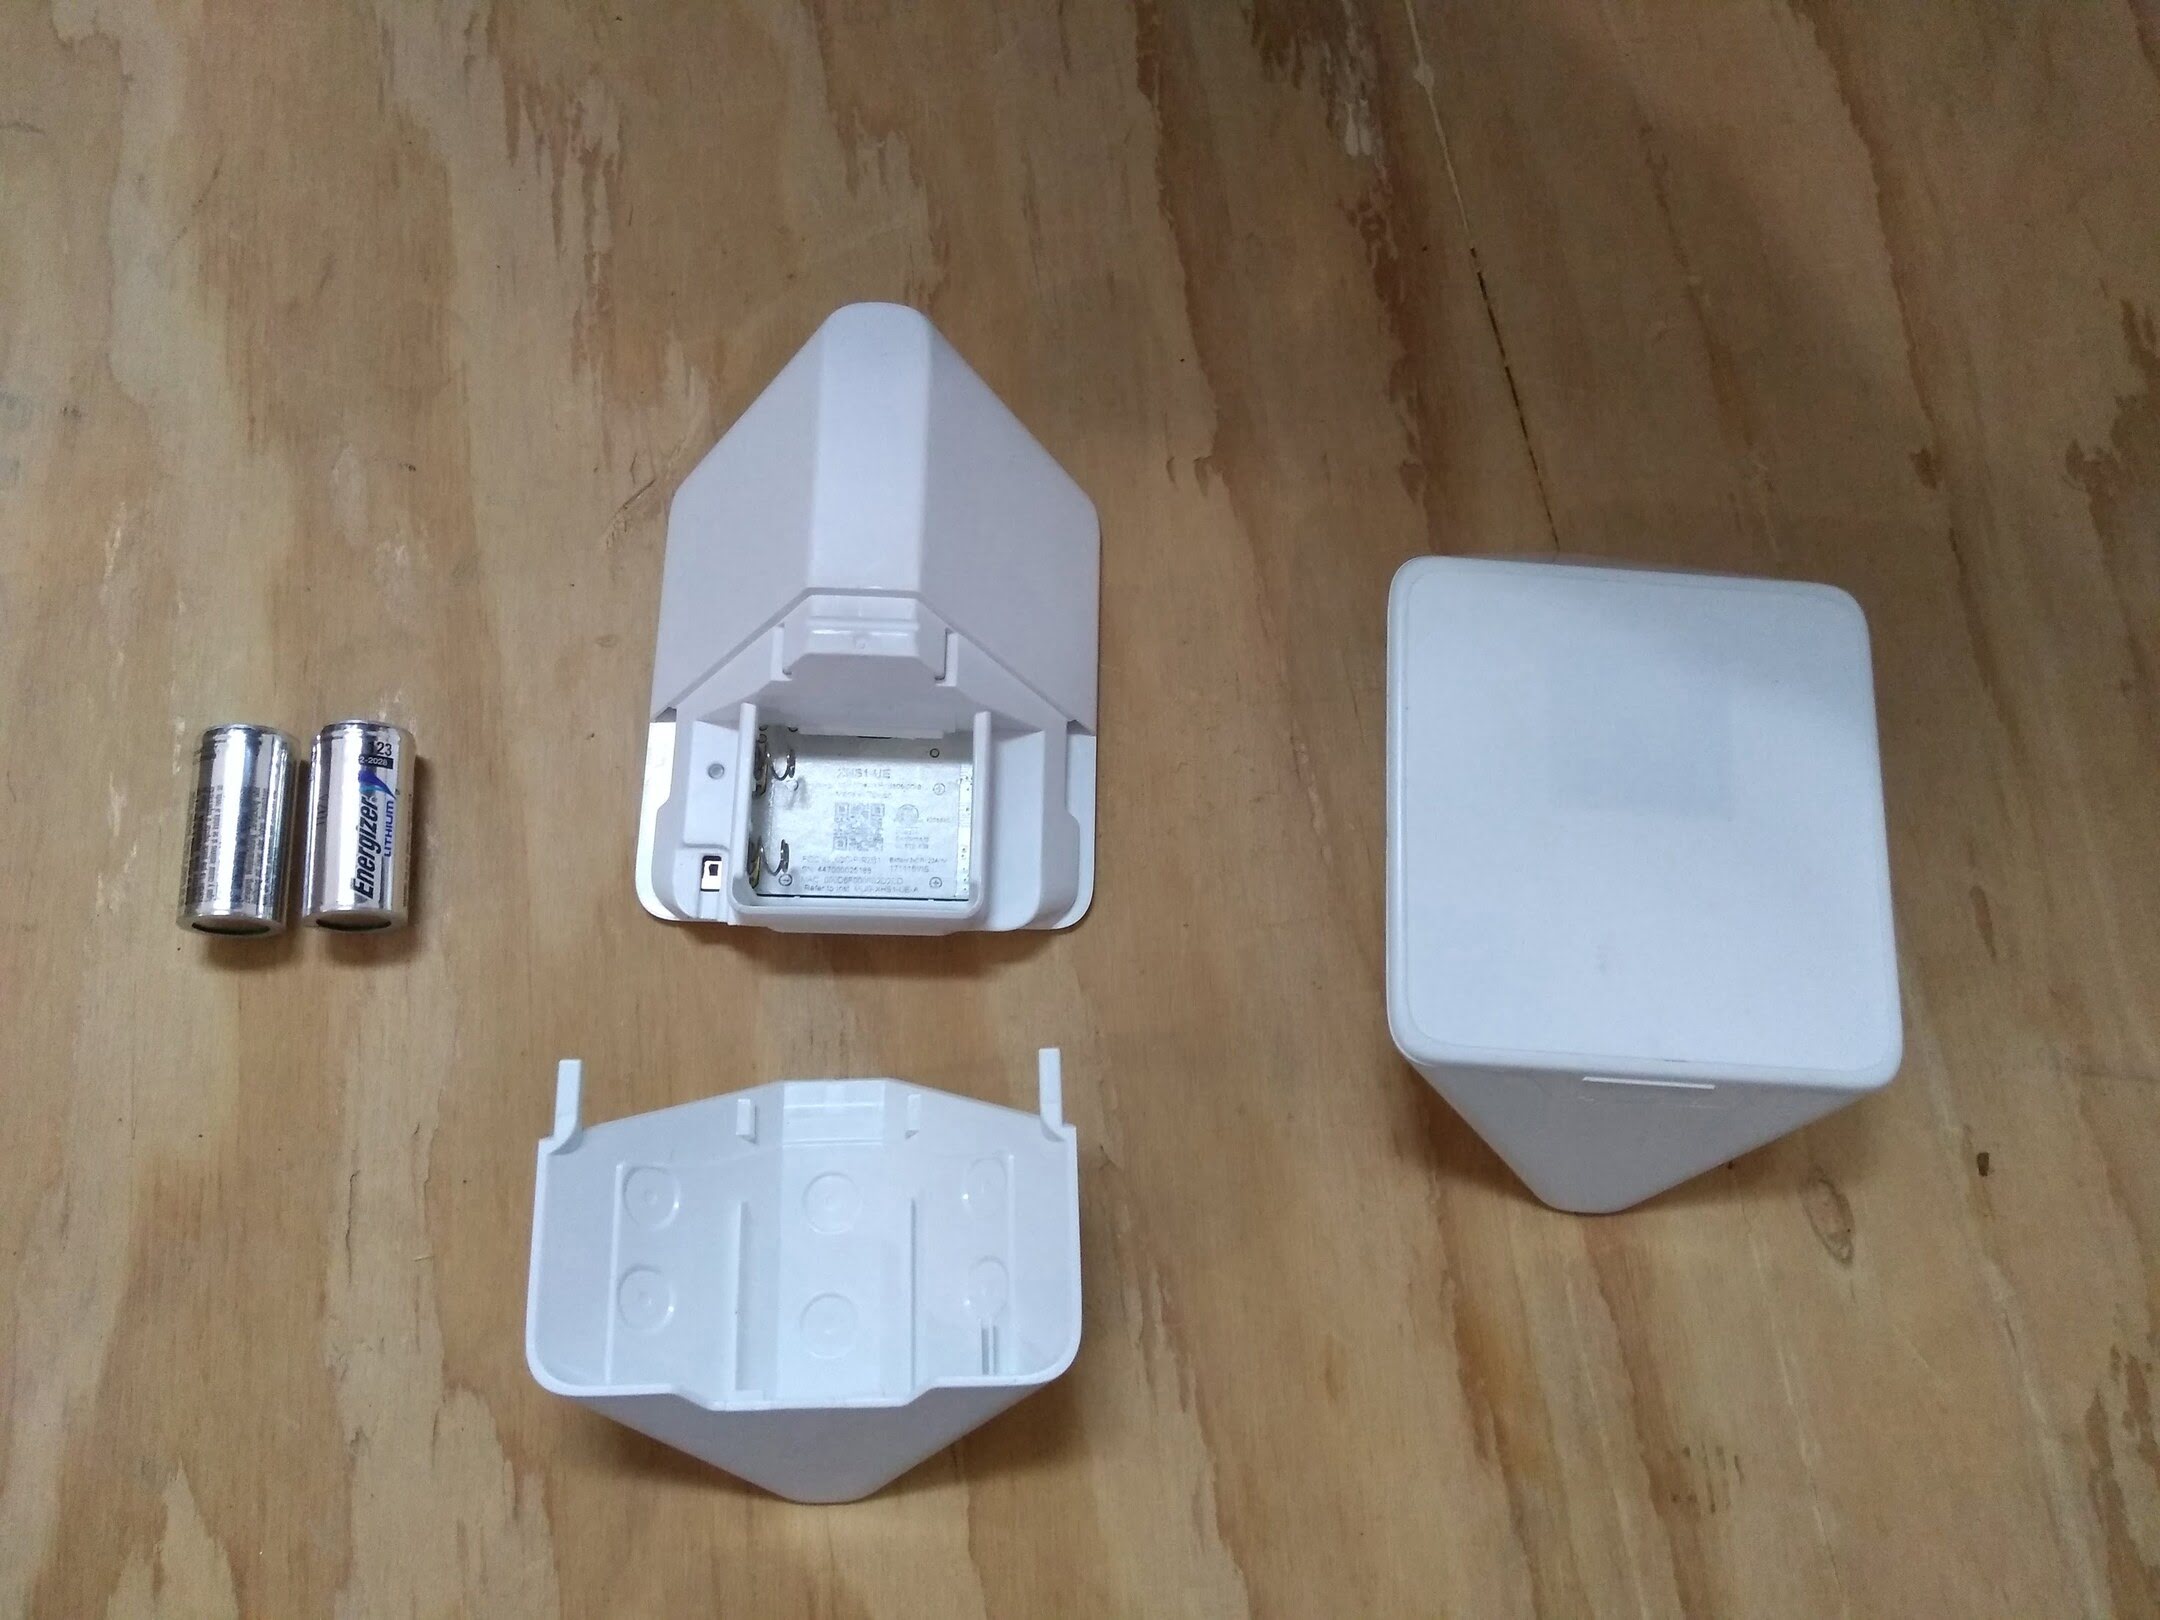
- Screwdriver: Depending on the type of motion detector you have, you may need a Phillips or flathead screwdriver to open the battery compartment.
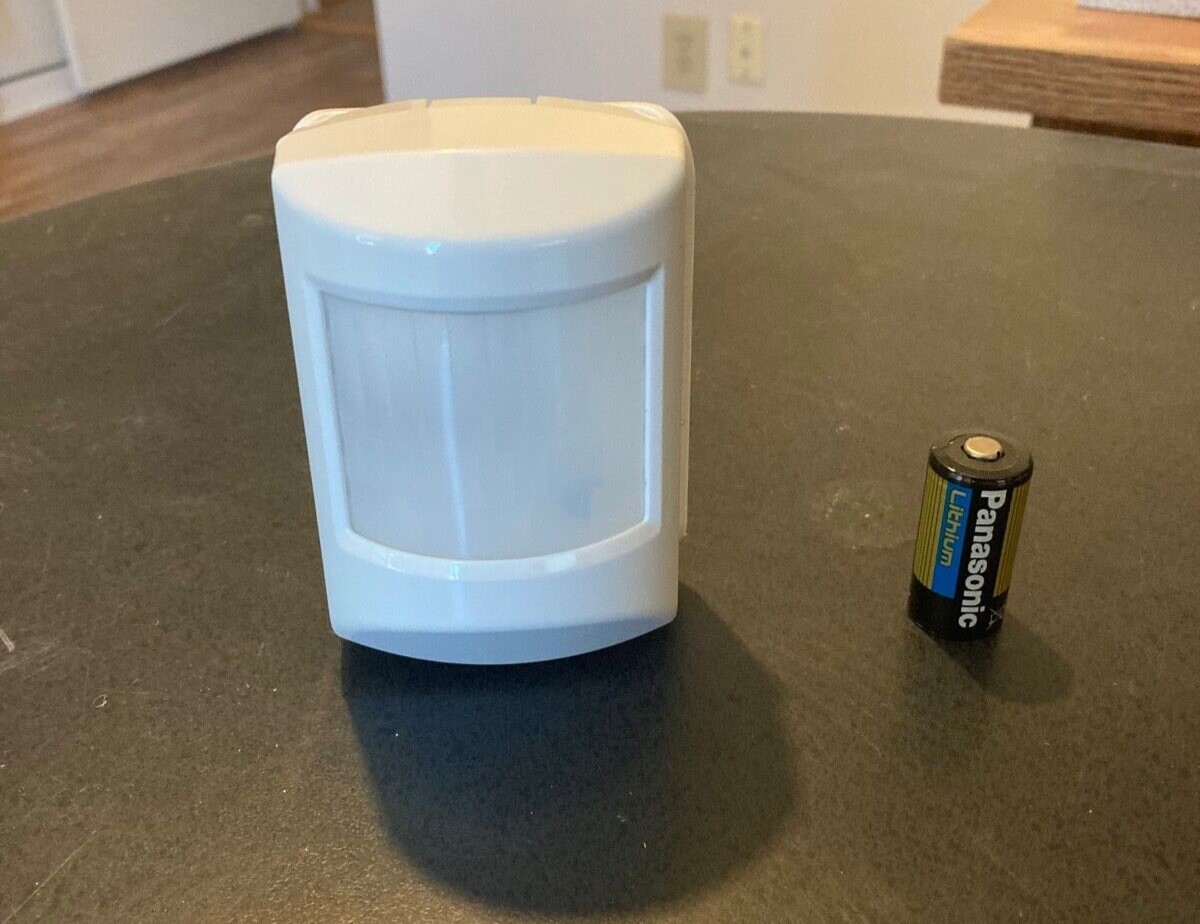
- New Battery: Make sure you have the correct type and size of battery that your motion detector requires. Refer to the device’s user manual or specifications to determine which battery you’ll need.
- Clean Cloth: It’s always a good idea to have a clean cloth or tissue on hand to wipe away any dust or debris that may have accumulated inside the battery compartment.
Once you have gathered these tools and materials, you are ready to move on to the next step and determine the type of battery your motion detector requires.
Step 2: Determine the type of battery your motion detector requires
In order to replace the battery in your motion detector, it’s crucial to know the specific type of battery it requires. Using the wrong battery can lead to improper functioning or even damage to the device. Here are a few ways to determine the correct battery type:
- Check the user manual: The user manual that comes with your motion detector should provide detailed information about the battery requirements. Look for a section specifically dedicated to battery replacement.
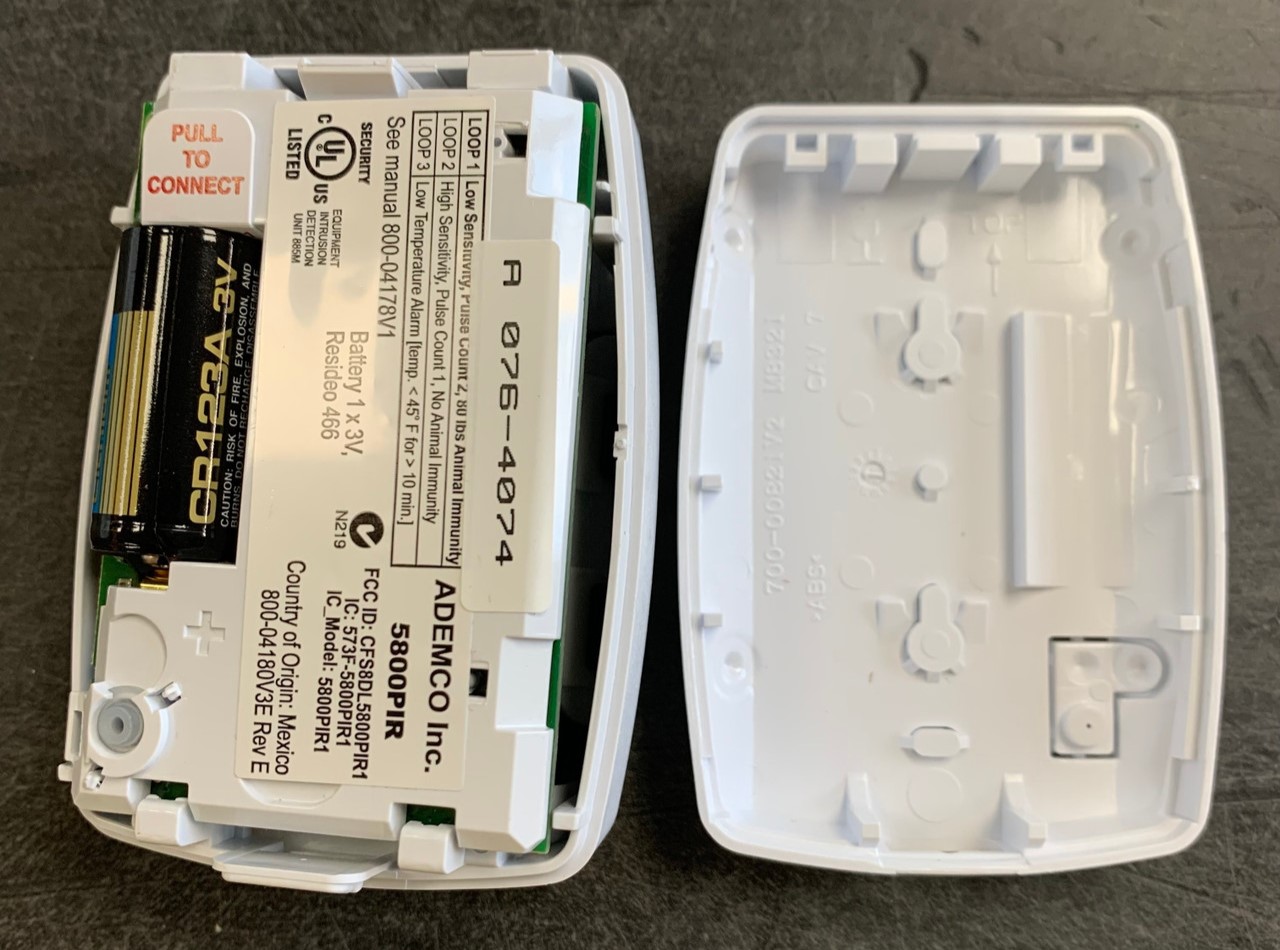
- Inspect the battery compartment: If the user manual is not readily available, you can examine the battery compartment of your motion detector. Look for any markings or labels that indicate the type of battery needed. It may be printed directly on the compartment or on a sticker.
- Online research: If you still can’t find the necessary information, a quick online search using the model number of your motion detector can often yield helpful results. Look for manufacturer websites, forums, or instructional videos that provide guidance on battery replacement.
Once you have determined the correct type of battery, make a note of it or take a picture for future reference. This will ensure that you purchase the right battery when it’s time to replace the old one.
Now that you know the battery type, you’re ready to move on to the next step and locate the battery compartment in your motion detector.
Step 3: Locate and access the battery compartment
Now that you have determined the type of battery your motion detector requires, it’s time to locate the battery compartment. The location of the battery compartment may vary depending on the model and design of your motion detector, but here are some common areas to check:
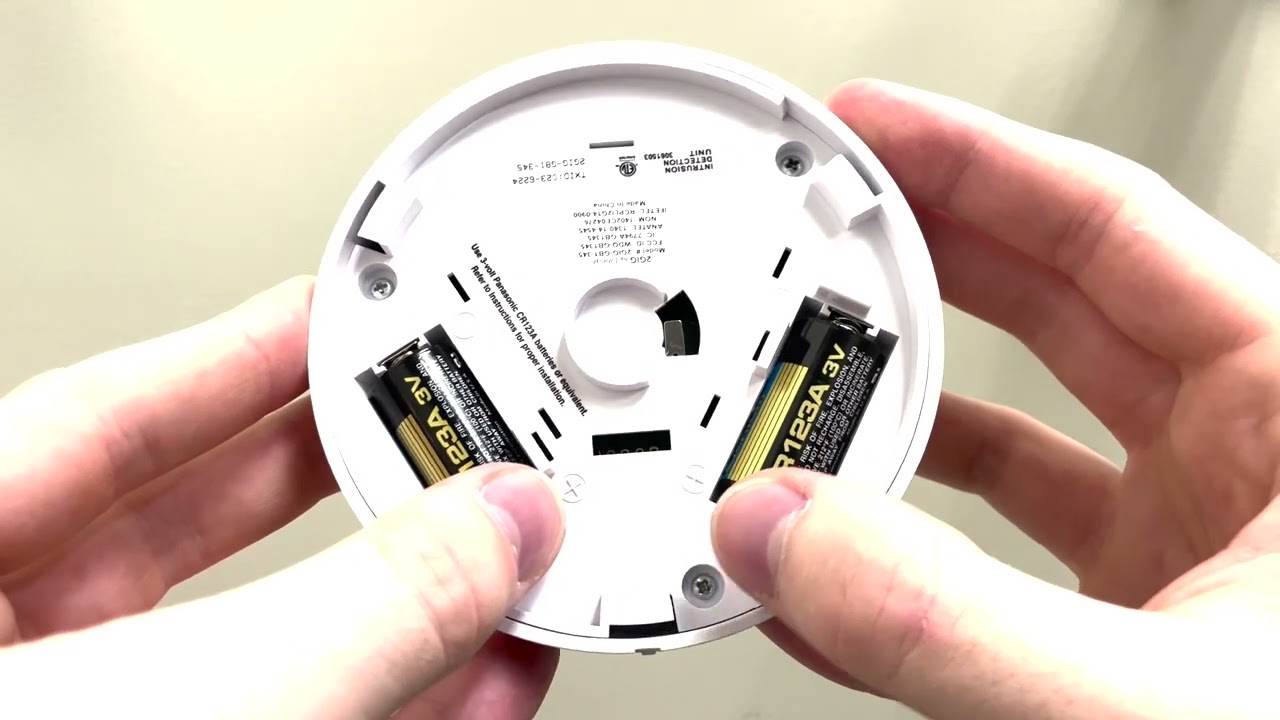
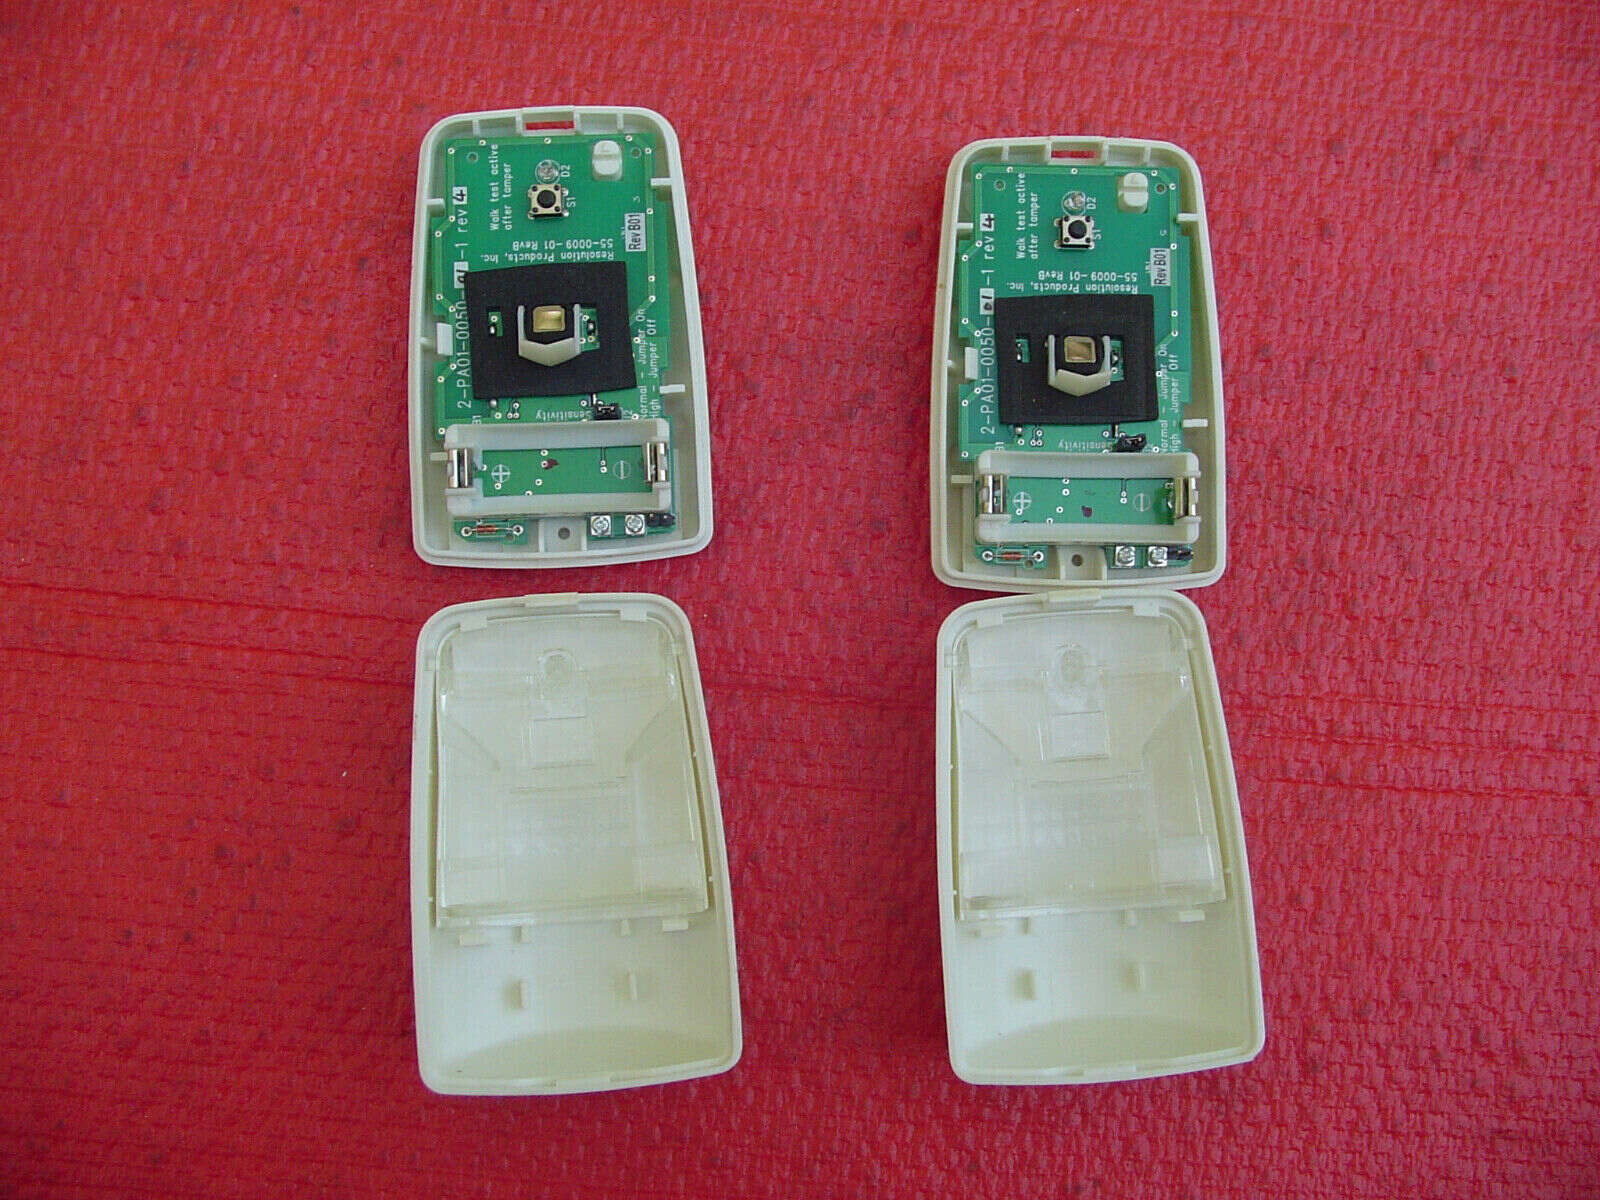
- Front or back panel: Some motion detectors have a removable front or back panel that provides access to the battery compartment. Look for any visible screws or latch mechanisms that indicate how to open the panel.
- Underneath the motion detector: In some cases, the battery compartment may be located underneath the actual motion detector. Check for any small screws or levers that allow you to remove the detector from its mounting base.
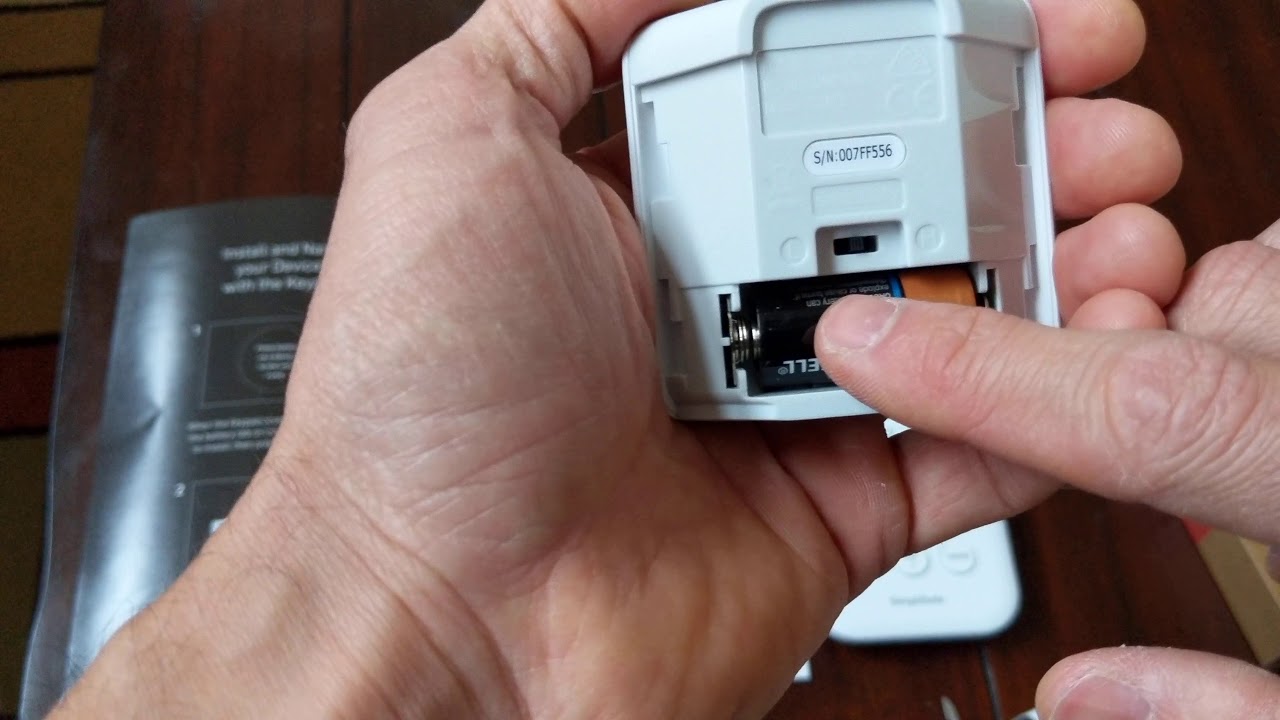
- Side or bottom: Certain motion detectors have the battery compartment located on the side or bottom of the device. Inspect all sides of the motion detector for any compartments or covers that can be opened.
Once you have located the battery compartment, use the appropriate tool, such as a screwdriver, to remove any screws or open any latches necessary to access the compartment. Take caution not to force or damage any parts during this process.
At this point, you are ready to move on to the next step and remove the old battery from your motion detector.
Step 4: Remove the old battery
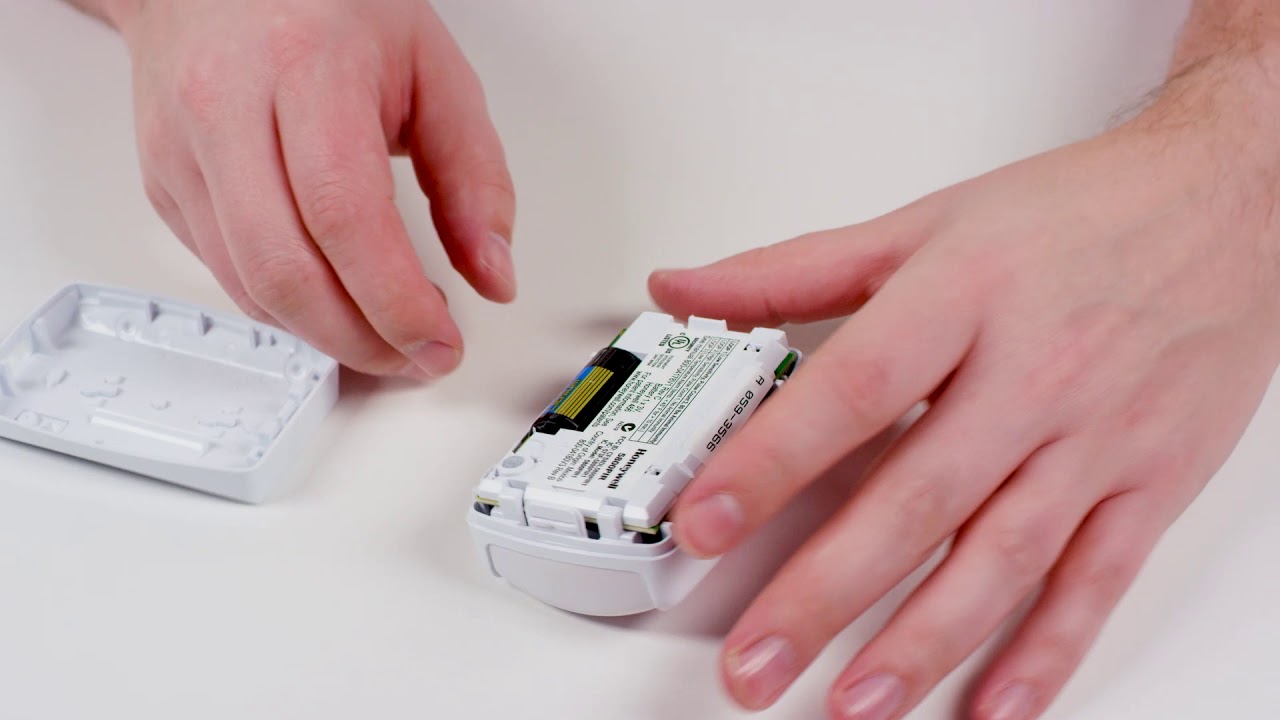
Now that you have gained access to the battery compartment of your motion detector, it’s time to remove the old battery. Follow these steps to safely remove the old battery:
- Inspect the battery: Before removing the battery, take a moment to inspect its condition. Look for any signs of leakage, corrosion, or other damage. If you notice any issues, use gloves and proper precautions to handle and dispose of the battery safely.
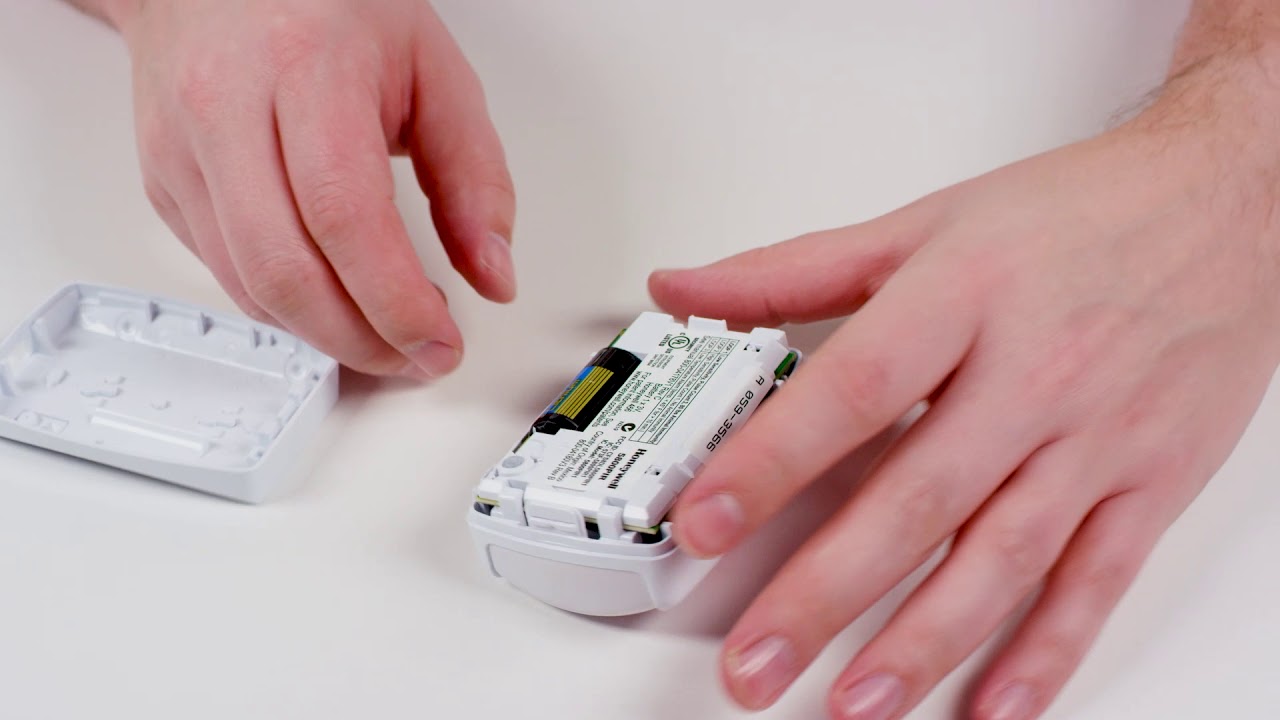
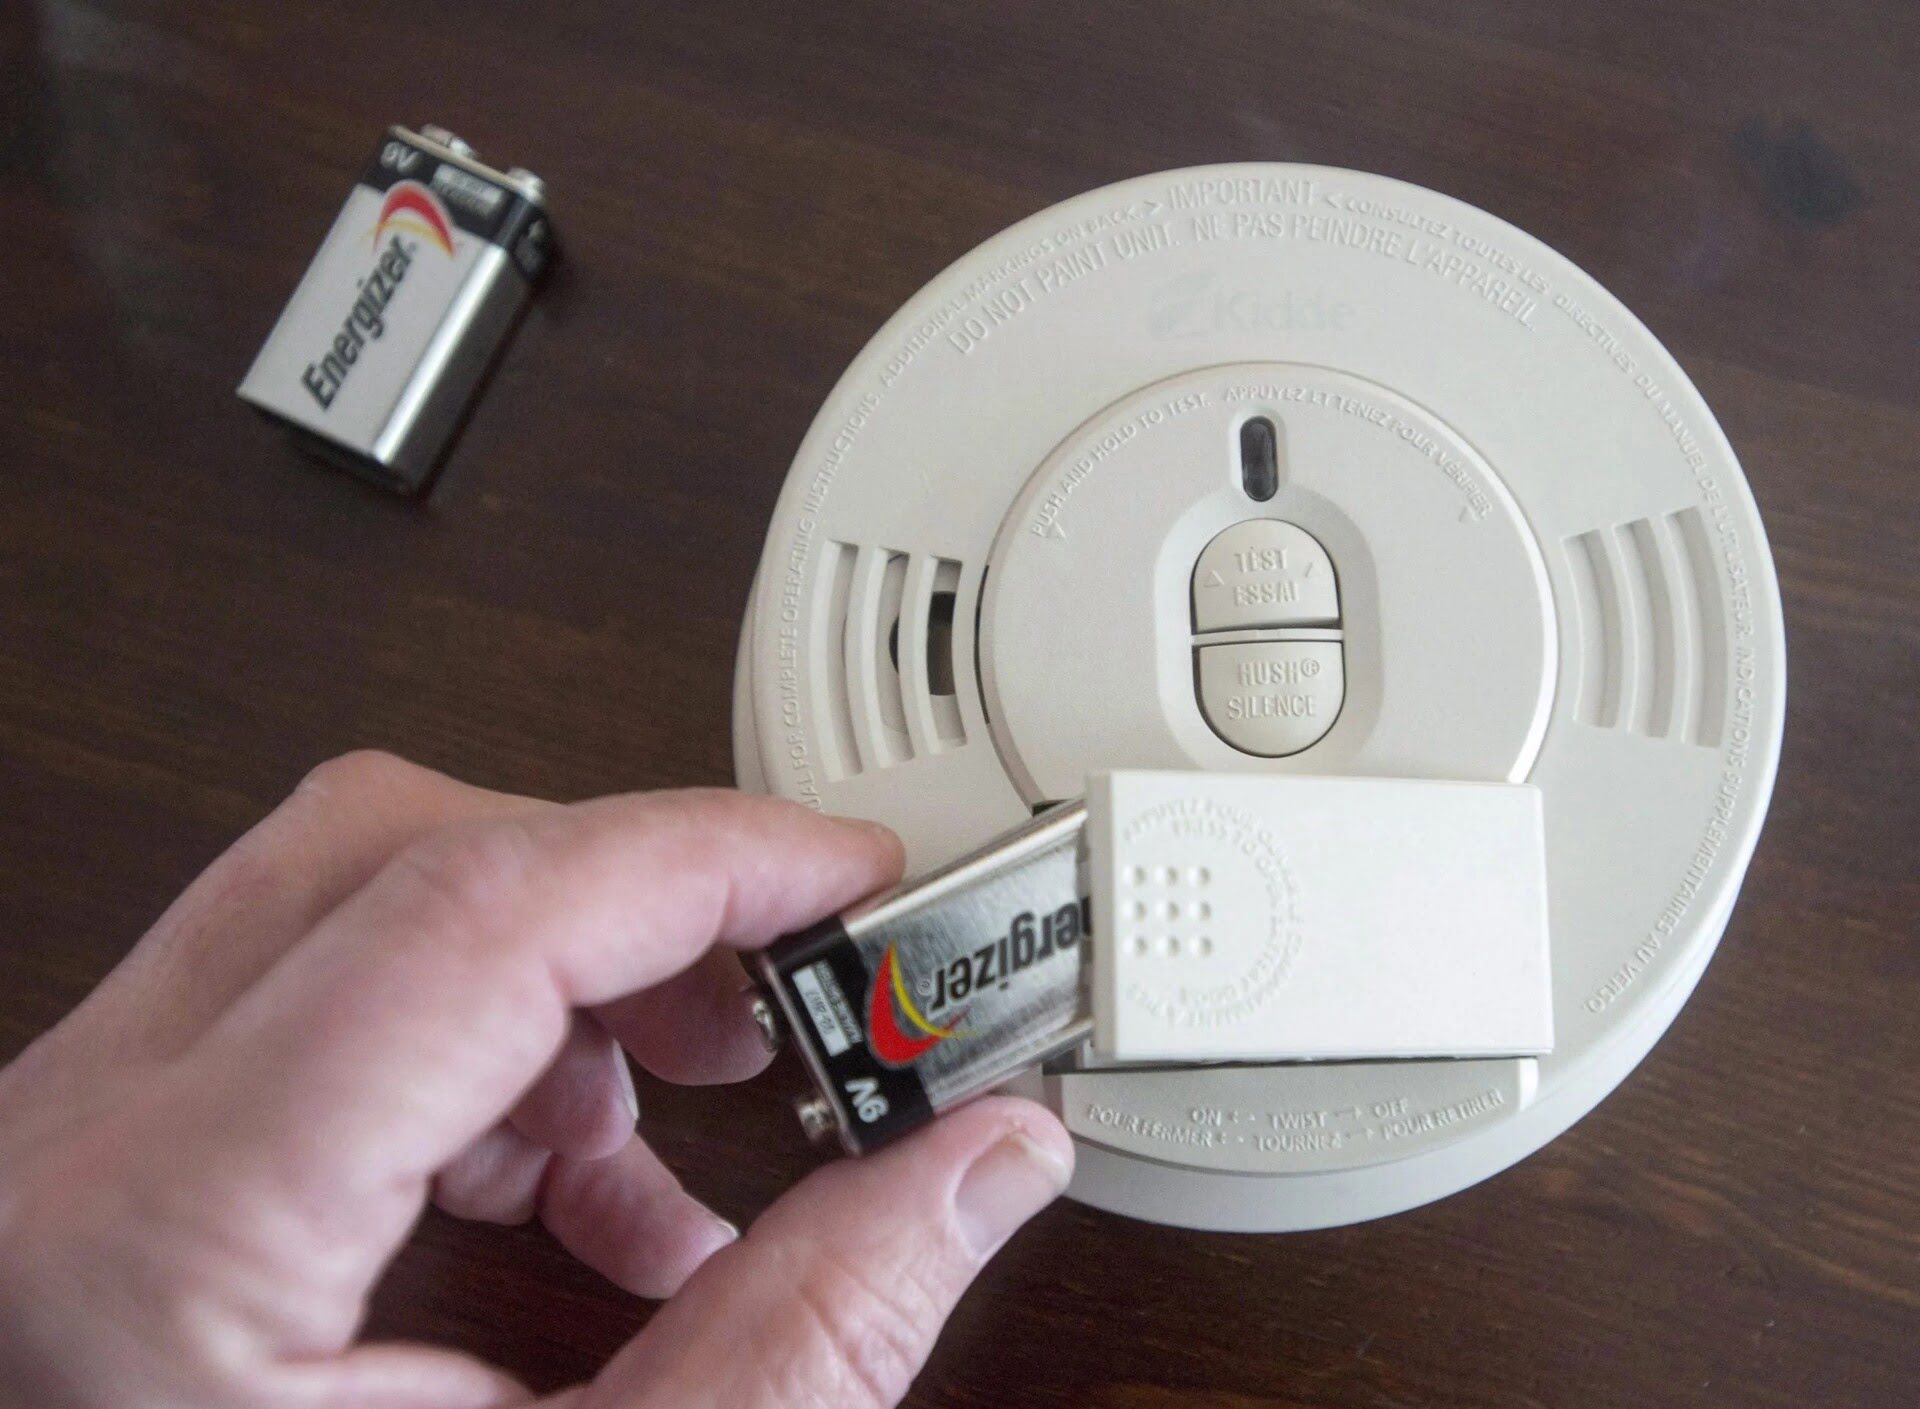
- Remove the battery: Depending on the design of your motion detector, the battery may simply slide out or be secured in place with a small latch. Carefully detach any connectors or terminals to free the battery from the compartment.
- Dispose of the old battery: It’s important to properly dispose of the old battery to prevent any environmental harm. Check with your local recycling or waste disposal facility for guidelines on how to safely dispose of batteries.
Make sure to handle the old battery with care, as improper disposal can lead to leaks or other hazards. Once the old battery has been removed and safely disposed of, you’re ready to move on to the next step and insert the new battery into your motion detector.
When replacing the battery in a motion detector, make sure to turn off the power to the device before opening it up. Use a small screwdriver to remove the cover and carefully replace the old battery with a new one, making sure to match the positive and negative ends correctly. Close the cover and turn the power back on to test the new battery.
Step 5: Insert the new battery
Now that you have removed the old battery from your motion detector, it’s time to insert the new battery. Follow these steps to safely and correctly insert the new battery:
- Clean the battery compartment: Before inserting the new battery, take a moment to clean the battery compartment. Use a clean cloth or tissue to wipe away any dust or debris that may have accumulated.
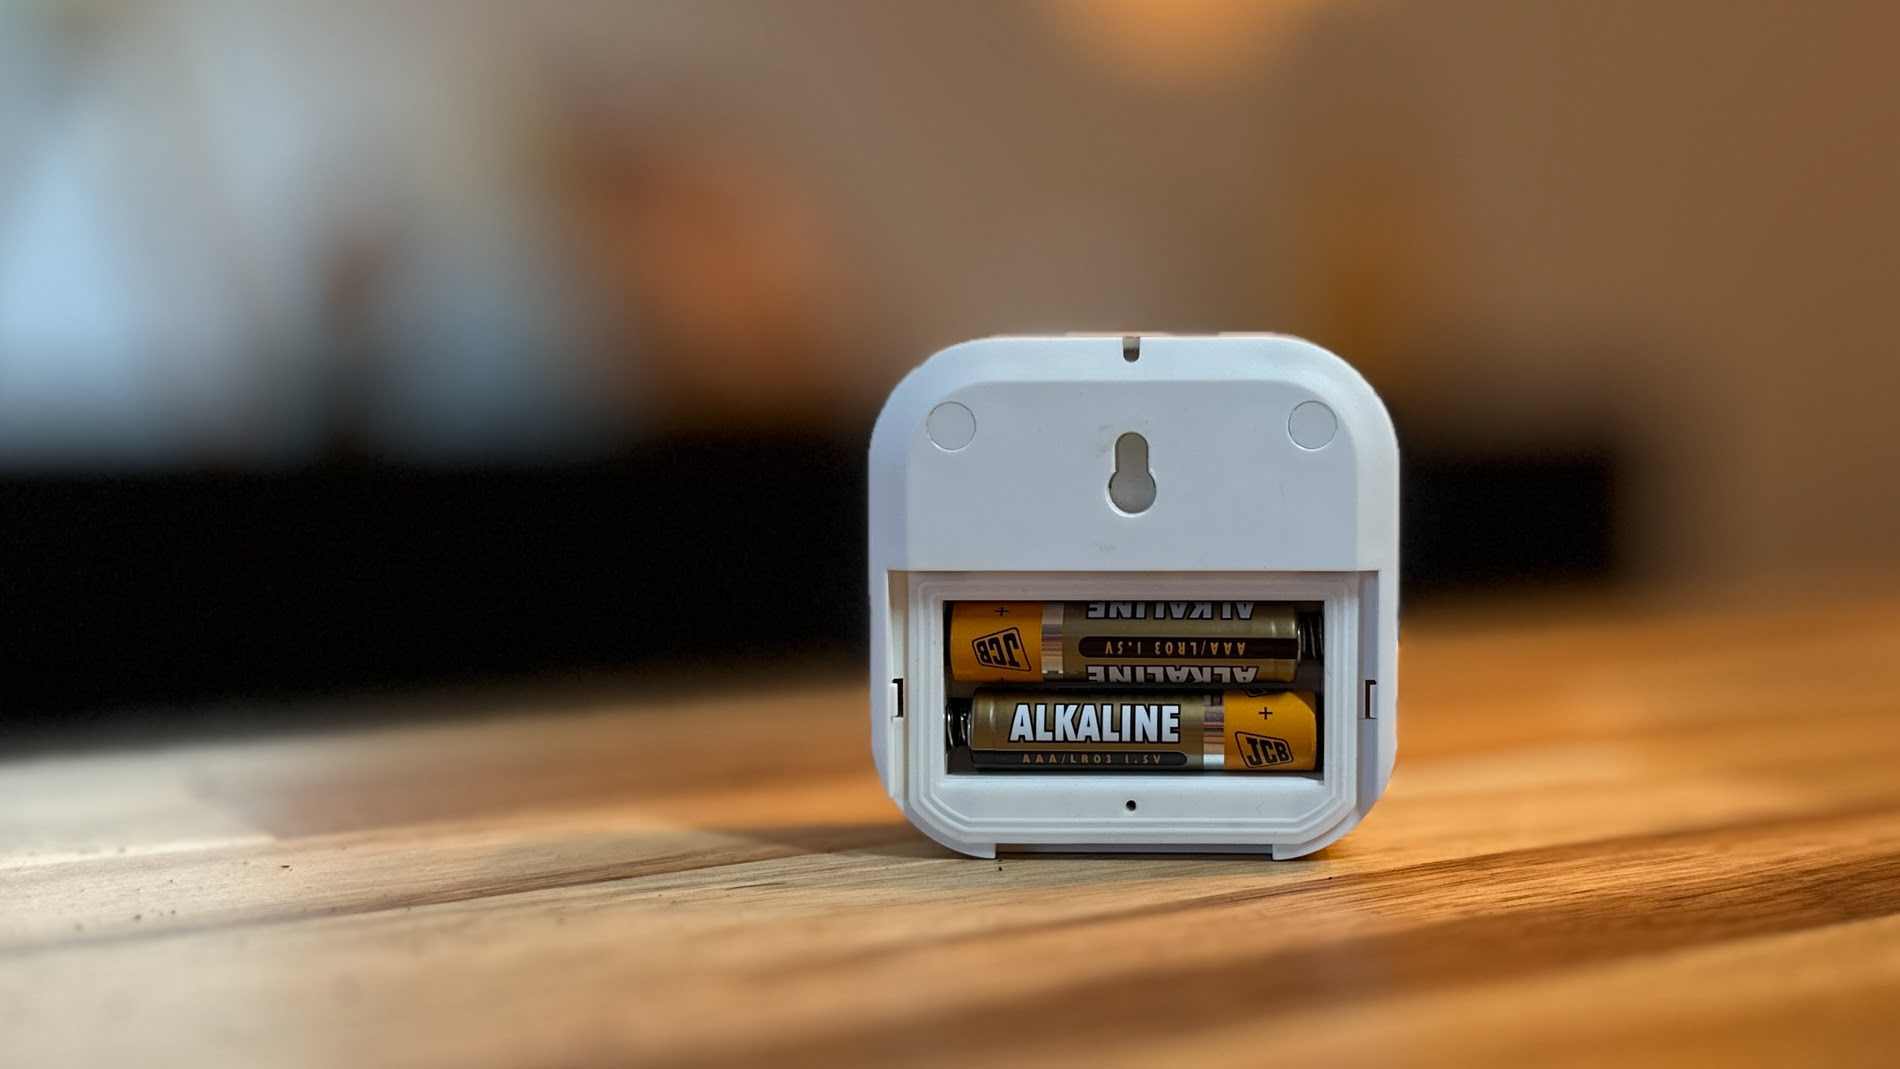
- Check the battery orientation: Look for any markings or instructions on the battery compartment that indicate the correct orientation for inserting the new battery. Make sure to align the positive (+) and negative (-) ends of the battery accordingly.
- Insert the new battery: Gently place the new battery into the compartment, ensuring that it is securely seated. If the battery compartment has a latch or cover, carefully close it to secure the battery in place.
- Secure any connectors or terminals: If there are any connectors or terminals that need to be attached, do so carefully and make sure they are properly connected. Double-check that there are no loose or exposed wires.
It’s important to handle the new battery with care, avoiding any direct contact with your skin and keeping it away from children or pets. Following these steps will ensure a successful installation of the new battery in your motion detector.
Once the new battery is securely in place, you’re ready to move on to the next step and test the functionality of your motion detector.
Step 6: Test the motion detector
After replacing the battery in your motion detector, it’s essential to test its functionality to ensure that it is working properly. Follow these steps to test your motion detector:
- Restore power: If your motion detector is connected to a power source, make sure to restore power to the device. For battery-powered detectors, proceed to the next step.
- Clear the area: Ensure that the area where the motion detector is installed is free from any obstructions or intrusions. This will allow the detector to accurately detect motion.
- Trigger the motion detector: Walk in front of the motion detector and verify that it activates as expected. Look for any visual or audible indications, such as a blinking light or the sound of an alarm.
- Observe the detection range: Pay attention to the coverage area of the motion detector. Make sure that it detects your movement within the specified range and angle.
- Adjust settings if necessary: Some motion detectors have adjustable settings for sensitivity, detection range, or time delay. If needed, refer to the user manual to adjust these settings according to your preferences.
If the motion detector responds appropriately during the test, congratulations! You have successfully replaced the battery and verified that your motion detector is functioning correctly. However, if you encounter any issues or notice that the device is still not working as expected, consult the user manual or seek professional assistance to troubleshoot the problem.
Now that you have tested the motion detector, you can proceed to the final step and securely close the battery compartment.
Step 7: Securely close the battery compartment
After replacing the battery and confirming that your motion detector is working properly, it’s important to securely close the battery compartment to ensure the device remains protected and functional. Follow these steps to properly close the battery compartment:
- Realign the cover or panel: If you had to remove a cover or panel to access the battery compartment, carefully realign it with the device and ensure that it fits correctly.
- Tighten any screws or latches: If there are any screws or latches that hold the battery compartment in place, make sure they are securely tightened to prevent any movement or accidental openings.
- Check for any gaps or openings: Inspect the battery compartment to ensure there are no visible gaps or openings. This will help protect the battery from dust, moisture, or any other potential damage.
- Test the closure: Give a gentle tug or shake to the motion detector to confirm that the battery compartment is securely closed and the battery is held firmly in place. If there is any movement or instability, double-check the closure mechanism.
By securely closing the battery compartment, you can prevent any accidental dislodging of the battery, which could lead to malfunctioning of the motion detector. Taking this final step will ensure the longevity and reliability of your security system.
With the battery compartment firmly closed, you have completed the process of replacing the battery in your motion detector. Congratulations! Your motion detector is now ready to continue providing you with reliable security and surveillance.
Remember to keep a record of the battery replacement, noting the date and type of battery used. Regularly check the battery level and replace it as needed to ensure the optimal functioning of your motion detector.
Thank you for following this guide, and we hope it has been helpful in assisting you with replacing the battery in your motion detector.
Conclusion
Replacing the battery in a motion detector is a simple yet crucial task to ensure the continued effectiveness of your home security system. By following the steps outlined in this guide, you can confidently replace the battery and maintain the optimal functionality of your motion detector.
We started by gathering the necessary tools and materials, such as a screwdriver and the correct battery type. Then, we determined the battery requirements by referring to the user manual, inspecting the battery compartment, or conducting online research. Next, we located and accessed the battery compartment, taking care to open it without causing any damage. We then proceeded to remove the old battery and dispose of it properly to protect the environment.
Afterward, we inserted the new battery, making sure it was correctly oriented and securely placed in the compartment. We then tested the motion detector’s functionality by triggering it and observing its detection capability. If necessary, we adjusted the settings to suit our preferences. Finally, we securely closed the battery compartment, ensuring that the device was protected against dust and other potential damage.
Regularly replacing the battery in your motion detector will ensure that it continues to monitor and safeguard your premises effectively. It is recommended to keep track of your battery replacements, noting the date and type of battery used, so you can schedule future replacements accordingly.
Remember, a properly functioning motion detector is key to maintaining a secure home or business. Don’t overlook the importance of battery maintenance and replacements. By following the steps outlined in this guide, you can confidently replace the battery in your motion detector and enjoy the peace of mind that comes with enhanced security.
Frequently Asked Questions about How To Replace The Battery In A Motion Detector
Was this page helpful?
At Storables.com, we guarantee accurate and reliable information. Our content, validated by Expert Board Contributors, is crafted following stringent Editorial Policies. We're committed to providing you with well-researched, expert-backed insights for all your informational needs.
