Home>Home Security and Surveillance>How To Disassemble An ADT Motion Detector
Home Security and Surveillance
How To Disassemble An ADT Motion Detector
Modified: March 6, 2024
Learn how to disassemble an ADT motion detector to enhance your home security and surveillance system. Expert tips and step-by-step guide.
(Many of the links in this article redirect to a specific reviewed product. Your purchase of these products through affiliate links helps to generate commission for Storables.com, at no extra cost. Learn more)
Introduction
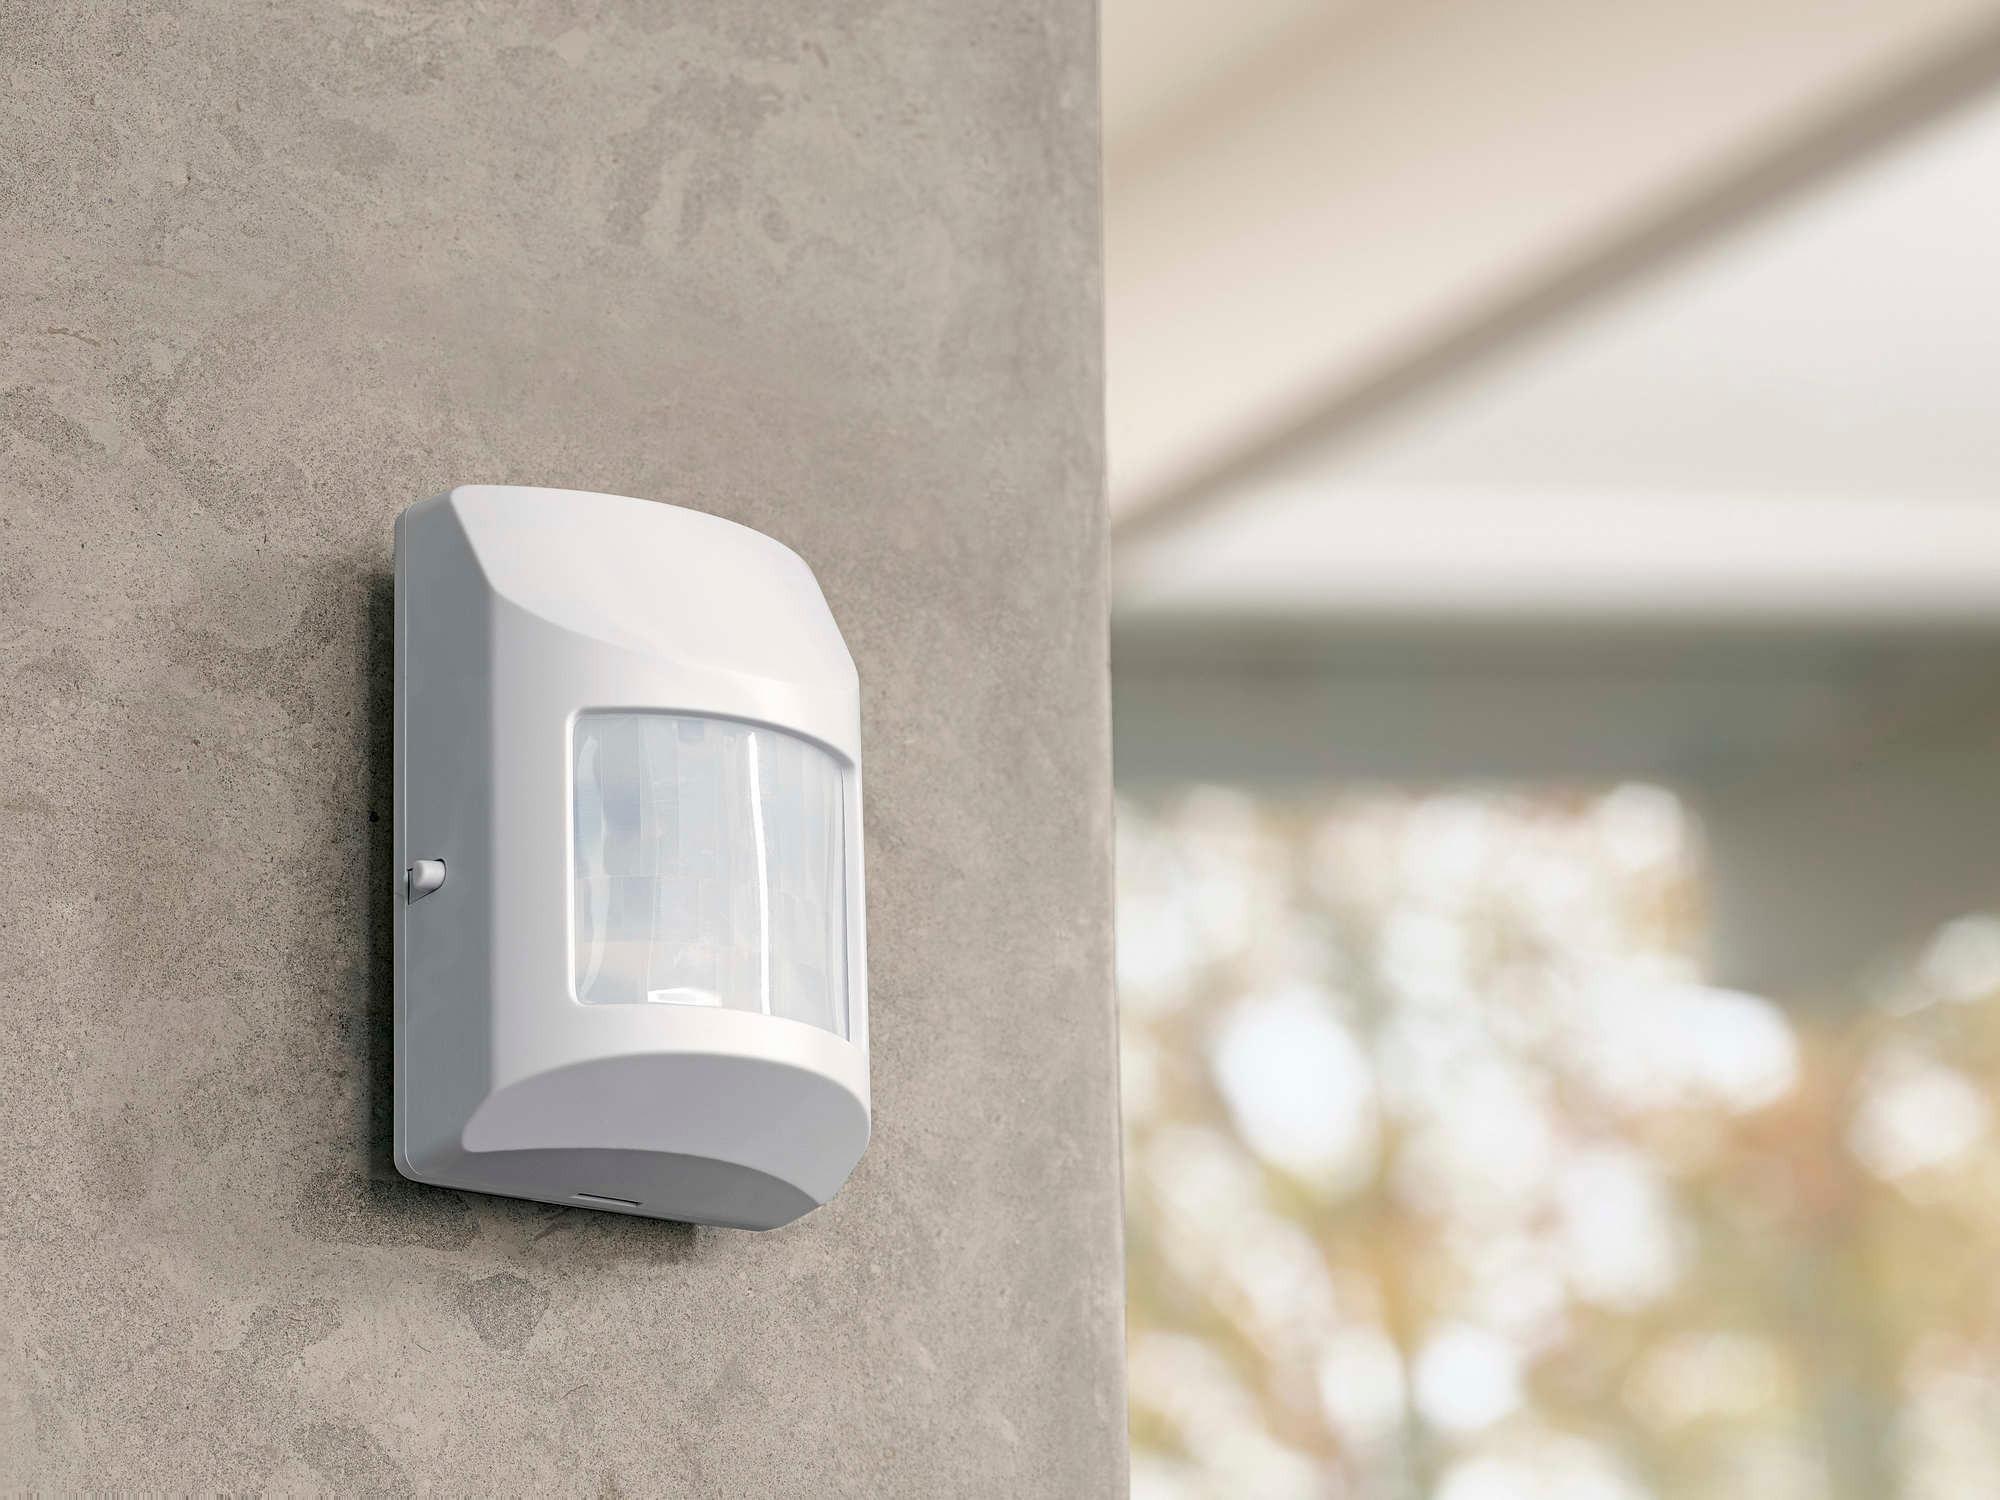
Welcome to our comprehensive guide on how to disassemble an ADT motion detector. ADT motion detectors play a crucial role in home security systems, providing an additional layer of protection against intruders. While these devices are designed to be dependable and long-lasting, there may come a time when you need to disassemble them for maintenance, repair, or troubleshooting purposes. Whether you are a homeowner or a DIY enthusiast, understanding the process of disassembling an ADT motion detector can be beneficial.
In this article, we will walk you through the step-by-step process of disassembling an ADT motion detector, ensuring that you have all the necessary tools and knowledge to successfully complete the task. We will provide detailed instructions and useful tips to make the process as smooth and efficient as possible.
Before we dive into the disassembly process, it’s important to note that handling electronic devices involves a certain level of risk. We recommend exercising caution and following safety precautions to protect yourself and the equipment. If you are uncomfortable or unsure about any step, it is always best to consult a professional.
Now, let’s gather our tools and get ready to disassemble an ADT motion detector!
Key Takeaways:
- Disassembling an ADT motion detector requires careful preparation, gentle handling, and attention to detail. Following the step-by-step guide and safety precautions can help homeowners maintain their home security system effectively.
- Regular maintenance, cleaning, and testing of the motion detector are essential for ensuring its optimal functionality. DIY enthusiasts can gain confidence in disassembling and reassembling the device by following the comprehensive guide.
Read more: How To Silence An ADT Motion Detector
Tools and Materials Needed
Before you begin disassembling an ADT motion detector, gather the following tools and materials:
- Screwdriver Set: A set of screwdrivers with various sizes and types will be necessary to remove the screws holding the motion detector together. Make sure to have both flathead and Phillips-head screwdrivers.
- Needle-nose Pliers: These pliers are useful for gripping and manipulating small components or wires inside the motion detector.
- Wire Cutters: You may need wire cutters to disconnect any wires or cables from the circuit board.
- Rubber Gloves: Wearing rubber gloves can provide protection against accidental shocks while working with electrical components.
- Clean Cloth or Brush: You may need a clean cloth or brush to remove dust, debris, or any other build-up from the components during the disassembly process.
- Anti-static Wrist Strap (Optional): An anti-static wrist strap can help prevent damage to sensitive electronic components by grounding static electricity from your body.
- Container or Tray: Having a container or tray to hold and organize the small screws and components removed during disassembly can prevent them from getting lost.
Make sure to gather all the necessary tools and materials before starting the disassembly process. This will ensure a smooth workflow and help prevent any delays or interruptions. Now that you have everything you need, let’s move on to the next step!
Step 1: Prepare the Work Area
Before diving into the disassembly process, it is important to prepare your work area to ensure a safe and organized workflow. Follow these steps to properly prepare your work area:
- Turn off Power: Ensure that the power supply to the motion detector is turned off before proceeding with any disassembly. This will prevent any accidental electrical shock or damage to the components.
- Clean and Clear Space: Find a clean and well-lit area to work on. Clear away any clutter or debris to create a safe and organized workspace. It is recommended to work on a soft surface, such as a clean towel or mat, to prevent any scratches to the motion detector or your work surface.
- Organize Tools and Materials: Arrange all your tools and materials within reach. This will save time and minimize the risk of misplacing any small components or screws during the disassembly process.
- Take Safety Precautions: Put on your rubber gloves to protect yourself against potential electrical shocks. If you have an anti-static wrist strap, connect it to a grounded surface and wear it to prevent any static electricity from damaging the sensitive electronic components of the motion detector.
By taking the time to properly prepare your work area, you set yourself up for a smoother disassembly process. A well-organized and safe workspace reduces the risk of accidents and ensures that you have everything you need at your fingertips. With your work area prepared, you are now ready to move on to the next step and start disassembling the ADT motion detector.
Step 2: Remove the Cover
Now that your work area is prepared, it’s time to start disassembling the ADT motion detector. The first step is to remove the cover. Follow these steps:
- Locate the screws: Look for the screws that secure the cover of the motion detector. They are usually located on the back or sides of the device. Use your screwdriver to carefully remove these screws. Keep them in a safe place, as you will need them later for reassembly.
- Gently remove the cover: Once the screws are removed, gently lift off the cover of the motion detector. Be careful not to force it or damage any internal components. If the cover feels stuck, double-check if there are any additional screws or clips holding it in place.
Once the cover is removed, set it aside in a safe place where it won’t get damaged or misplaced. Take a moment to examine the inside of the motion detector and familiarize yourself with the components. This will help you better understand the internal structure of the device as you proceed with the disassembly process.
Note: Some ADT motion detectors might have a tamper switch located inside. This switch is designed to trigger an alert if the cover is removed while the system is armed. If your motion detector has a tamper switch, you may need to disarm the system before proceeding with the disassembly. Refer to your ADT system’s manual or contact ADT support for guidance on disarming the tamper switch.
With the cover removed, you can now move on to the next step and disconnect the wires from the motion detector.
Step 3: Disconnect the Wires
With the cover removed, it’s time to disconnect the wires from the motion detector. Follow these steps:
- Identify the wires: Take a moment to identify the different wires connected to the motion detector. They are typically color-coded, with each wire serving a specific purpose such as power, ground, and signal.
- Turn off the power: Before disconnecting any wires, ensure that the power supply to the motion detector is turned off. This will prevent any electrical shock.
- Unscrew or unclip the wires: Depending on the type of connector used, you may need to unscrew terminal screws, gently pull out clips, or unplug connectors to disconnect the wires. Be careful not to damage the wires or connectors during this process.
- Note the wire locations: As you disconnect the wires, make note of their previous locations. This will help ensure proper reconnection during the reassembly process.
Keep in mind that some ADT motion detectors may have additional components or sensors attached to the wires, such as a pet immunity mask. If your motion detector has any additional components, detach them carefully, ensuring that you note their positions for reassembly.
Once all the wires are disconnected, gently set them aside, making sure that they are not tangled or damaged. Take a moment to inspect the wires for any signs of fraying or damage. If any wires appear to be damaged, it may be necessary to replace them.
With the wires safely disconnected, you are ready to move on to the next step and remove the circuit board from the motion detector.
Step 4: Remove the Circuit Board
Now that the wires are disconnected, it’s time to remove the circuit board from the motion detector. Follow these steps:
- Locate the circuit board: The circuit board is the central component of the motion detector, responsible for detecting movement and transmitting signals. It is typically secured to the housing using screws or clips.
- Remove screws or clips: Use your screwdriver or pliers to carefully remove any screws or unclip the circuit board from the housing. Keep the screws in a safe place.
- Gently lift the circuit board: Once the screws or clips are removed, gently lift the circuit board from the housing. Be mindful of any connectors or wires that may still be attached to the board.
- Disconnect any remaining connectors: If there are any connectors or wires still attached to the circuit board, carefully disconnect them. Take note of their positions for reassembly.
As you remove the circuit board, be gentle and avoid touching any sensitive electronic components. These components are delicate and can be easily damaged by static electricity or rough handling.
Set the circuit board aside in a safe and clean area, ensuring that it is not exposed to excessive static electricity or physical damage. Take a moment to inspect the circuit board for any signs of damage, such as burnt components or corrosion. If you notice any issues, it may be necessary to replace the circuit board.
With the circuit board safely removed, you are now ready to proceed to the next step and disassemble the individual components of the motion detector.
Before disassembling an ADT motion detector, make sure to turn off the power to the device to avoid any electrical hazards. Use the appropriate tools and follow the manufacturer’s instructions to safely take apart the detector.
Step 5: Disassemble the Components
Now that the circuit board is removed, it’s time to disassemble the individual components of the ADT motion detector. Follow these steps:
- Identify the components: Take a moment to identify the different components of the motion detector. This may include the sensor, lens, LED indicators, or any additional features specific to your model.
- Remove screws or clips: Use your screwdriver or pliers to remove any screws or clips that secure the components to the housing. Keep the screws in a safe place.
- Gently detach the components: Once the screws or clips are removed, gently detach the components from the housing. Be cautious not to damage any delicate parts or wires during this process.
- Inspect and clean the components: Take a moment to inspect the individual components for any signs of damage or dirt. Clean them using a clean cloth or brush if necessary. Be mindful of any electrical connections or delicate parts that may require extra care.
During the disassembly process, it is essential to handle the components with care. Avoid excessive force or bending, as this can result in damage or malfunction. If you encounter any difficulties while disassembling a component, refer to the manufacturer’s documentation or seek professional assistance.
Once the components are disassembled and cleaned, set them aside in a safe and organized manner. Ensure that they are not exposed to excessive static electricity or physical damage. Taking proper care during this step will ensure that the components are ready for reassembly and functioning correctly.
With the components disassembled, you are now ready to move on to the next step, which involves cleaning the parts (optional).
Step 6: Clean the Parts (Optional)
Cleaning the parts of your ADT motion detector can help improve functionality and extend the lifespan of the components. While this step is optional, it is highly recommended to ensure optimal performance. Follow these steps to clean the disassembled parts:
- Inspect the parts: Before cleaning, carefully inspect each component for any dirt, dust, or debris. Pay close attention to areas that may be hard to reach or hidden, such as crevices or connectors.
- Use compressed air: If there is visible dirt or dust on the components, you can use compressed air to blow away the debris. Ensure that you hold the canister upright and use short bursts of air to avoid damaging any delicate parts.
- Wipe with a clean cloth: For components that require more thorough cleaning, use a clean cloth or a soft brush to gently wipe away any dirt or grime. You can moisten the cloth slightly with a small amount of water or an electronics-specific cleaning solution if needed.
- Avoid harsh chemicals: It is important to avoid using harsh chemicals or abrasive cleaning agents as they can damage the components. Stick to mild cleaning solutions or damp cloths when cleaning.
- Dry thoroughly: After cleaning, ensure that the components are completely dry before proceeding with reassembly. Give them sufficient time to air dry or use a soft, lint-free cloth to gently dry any remaining moisture.
Proper cleaning can help remove any build-up that may interfere with the functionality of the components. It is important to be gentle and avoid applying excessive pressure or using methods that may cause damage. If you are unsure about the cleaning process for a specific component, refer to the manufacturer’s guidelines or consult with professional assistance.
With the parts now clean and dry, you are all set to proceed to the next step and reassemble the motion detector.
Step 7: Reassemble the Motion Detector
After cleaning and inspecting the disassembled components of your ADT motion detector, it’s time to reassemble the device. Follow these steps to ensure a proper reassembly:
- Gather all components: Start by gathering all the cleaned and dried components of the motion detector. Check that you have all the necessary parts, including the circuit board, cover, and any additional components.
- Position the circuit board: Carefully position the circuit board back into the housing, aligning it properly with any screw holes or connectors.
- Reconnect any wires or connectors: Begin reconnecting the wires or connectors to their respective locations on the circuit board. Refer to the notes you made during the disassembly process to ensure proper reconnection.
- Secure the components: Use screws or clips to secure the components back to the housing. Tighten them gently to avoid overtightening and causing damage.
- Replace the cover: Place the cover back onto the motion detector and align it with the screw holes. Using your screwdriver, insert and tighten the screws to secure the cover in place.
Throughout the reassembly process, handle the components with care to avoid any accidental damage. Be mindful of any delicate wires or connectors, ensuring they are properly positioned and secured.
Once the motion detector is fully reassembled, take a moment to examine the device and ensure everything is in place. Double-check that all the screws are tightened, the cover is securely attached, and the components are properly aligned.
With the motion detector now reassembled, you are one step closer to having it fully functional again. The final step is to test the device and ensure it is working correctly.
Step 8: Test the Motion Detector
After reassembling the ADT motion detector, it’s important to test its functionality to ensure it is working correctly. Follow these steps to conduct a thorough test:
- Power on the system: Turn on the power supply to the motion detector and ensure that it is properly connected to your ADT security system.
- Arm the system: Arm your ADT security system according to the manufacturer’s instructions. This may involve setting a specific mode such as “Home” or “Away.”
- Trigger the motion detector: Create movement near the motion detector to activate it. Walk within its detection range or use a test object to simulate movement.
- Observe the system response: Pay close attention to how the motion detector responds. Check for any delays or malfunctions in detecting and triggering the alarm system.
- Test other features: If your ADT motion detector has extra features such as LED indicators or sensitivity adjustment settings, test these features to ensure they are functioning as intended.
During the testing process, it’s essential to observe the motion detector’s behavior closely. Look for any unexpected behavior, false alarms, or issues with the detection range. If you encounter any problems, consult the manufacturer’s documentation or seek professional assistance for troubleshooting and resolving the issue.
Once you have completed the testing and are satisfied with the functionality of the motion detector, ensure that your ADT security system is properly armed and ready to protect your home.
Congratulations! You have successfully disassembled, cleaned, and reassembled an ADT motion detector. By following these steps and conducting regular maintenance, you can help ensure the optimal performance and longevity of your home security system.
Remember, if at any point you feel unsure or uncomfortable with the disassembly process, it is always best to consult a professional for assistance. Safety should be the utmost priority when working with electronic devices and home security systems.
Thank you for using our guide on how to disassemble an ADT motion detector. We hope this article has been informative and helpful in maintaining your home security system.
Conclusion
Disassembling an ADT motion detector can be a useful skill for homeowners or DIY enthusiasts who want to perform maintenance, repair, or troubleshooting on their home security system. By following the step-by-step guide outlined in this article, you can safely and effectively disassemble the motion detector, clean its components, and reassemble it to ensure optimal functionality.
Throughout the process, it is important to remember safety precautions and exercise caution. Always turn off the power supply before starting the disassembly, wear rubber gloves to protect against electrical shocks, and handle the components with care to avoid damage.
Gathering the necessary tools and materials, preparing the work area, and carefully removing the cover and disconnecting the wires are essential initial steps. From there, removing the circuit board, disassembling the individual components, cleaning them (if desired), and reassembling the motion detector should be done with precision and attention to detail.
Finally, after reassembling the motion detector, it is crucial to thoroughly test its functionality. Activate the device, observe its response, and ensure that all features, such as LED indicators or sensitivity adjustments, are working properly. If any issues arise during testing, consult the manufacturer’s documentation or seek professional assistance.
Maintaining your ADT motion detector and ensuring its proper functionality is vital for home security. Regular maintenance, including cleaning and inspection, can help identify and resolve any potential issues that may compromise the effectiveness of the device.
Remember, if you feel unsure or uncomfortable at any point during the disassembly process, it is best to seek professional assistance. Safety and the integrity of your home security system should always be the top priority.
We hope this comprehensive guide has provided you with the necessary knowledge and confidence to disassemble and maintain your ADT motion detector effectively. By following these steps, you can ensure the long-lasting and reliable performance of your home security system, providing peace of mind for you and your loved ones.
After getting the hang of disassembling your ADT motion detector, consider the broader picture of your home's safety. Understanding the fundamentals of home security is crucial for every household. Our upcoming article sheds light on vital reasons to strengthen your living space's defenses. Learn how a robust security setup can protect your family and possessions effectively.
Frequently Asked Questions about How To Disassemble An ADT Motion Detector
Was this page helpful?
At Storables.com, we guarantee accurate and reliable information. Our content, validated by Expert Board Contributors, is crafted following stringent Editorial Policies. We're committed to providing you with well-researched, expert-backed insights for all your informational needs.