Home>Home Security and Surveillance>How To Replace A Motion Detector Light

Home Security and Surveillance
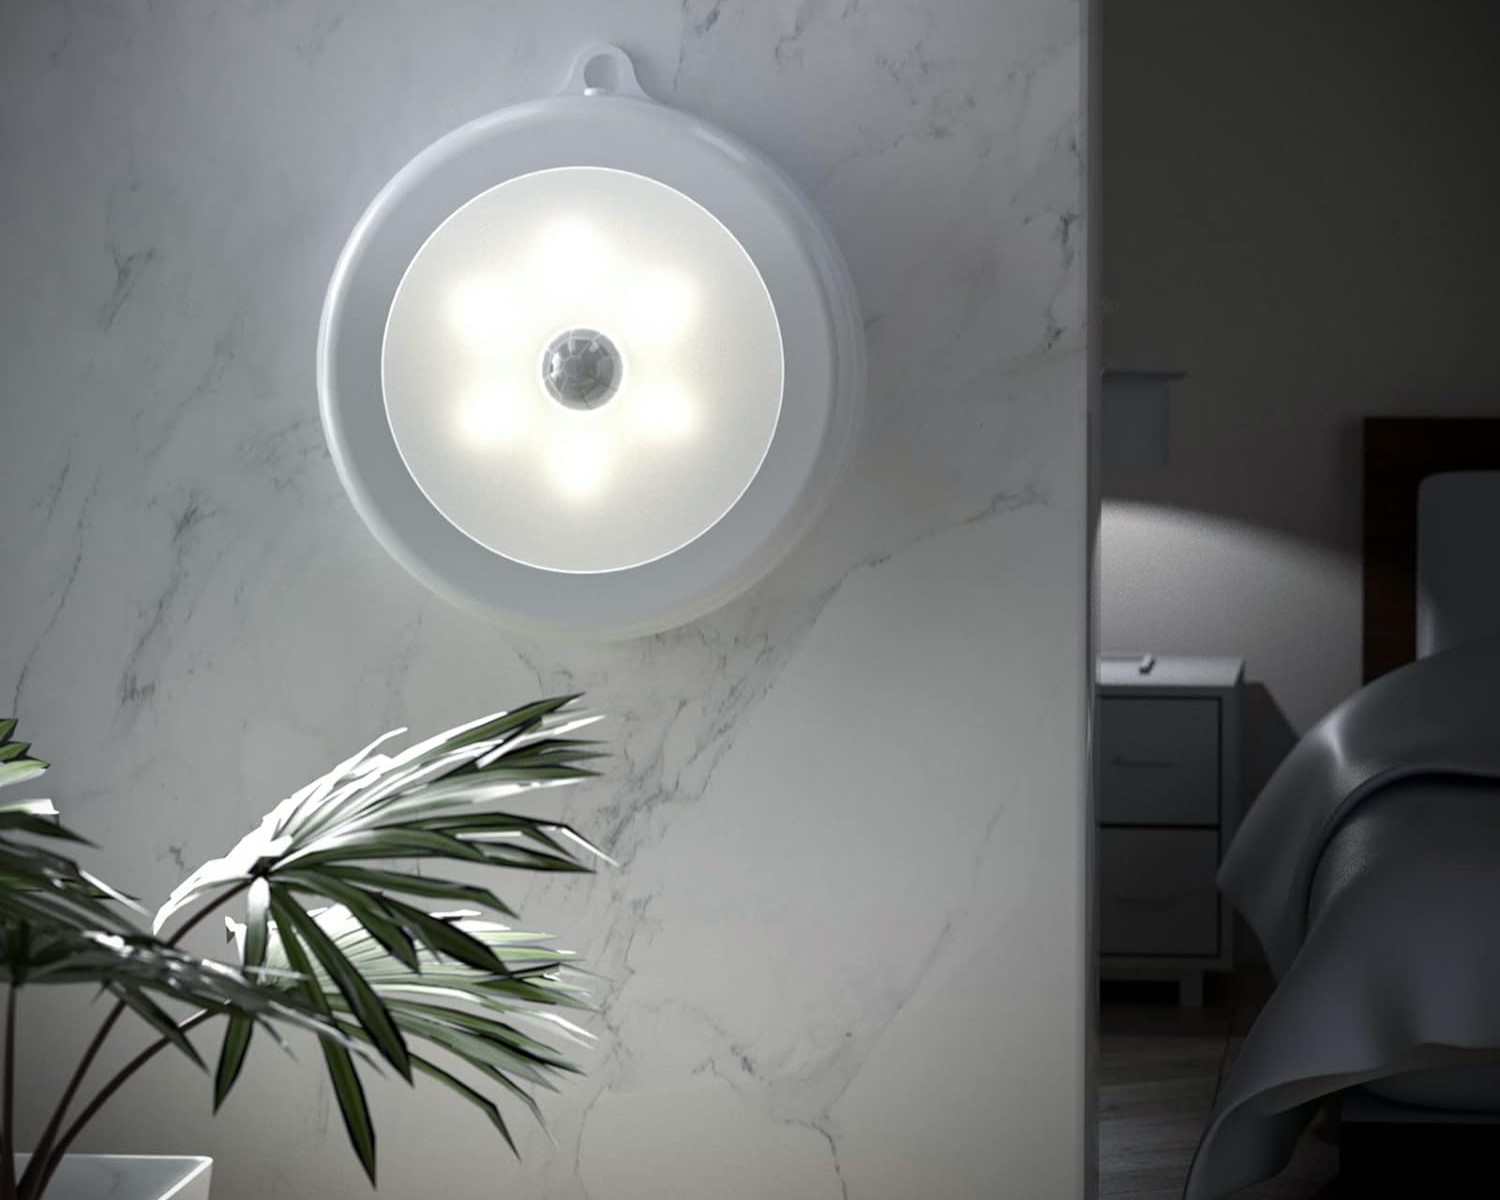
How To Replace A Motion Detector Light
Modified: October 20, 2024
Learn how to easily replace a motion detector light for enhanced home security and surveillance. Step-by-step instructions and tips provided.
(Many of the links in this article redirect to a specific reviewed product. Your purchase of these products through affiliate links helps to generate commission for Storables.com, at no extra cost. Learn more)
Introduction
Welcome to this guide on how to replace a motion detector light. Whether you are looking to upgrade your current motion detector light or experiencing issues with your existing one, this comprehensive article will walk you through the step-by-step process of replacing it. Ensuring the safety and security of your home is paramount, and a functional motion detector light plays a crucial role in deterring potential intruders and providing illumination when needed.
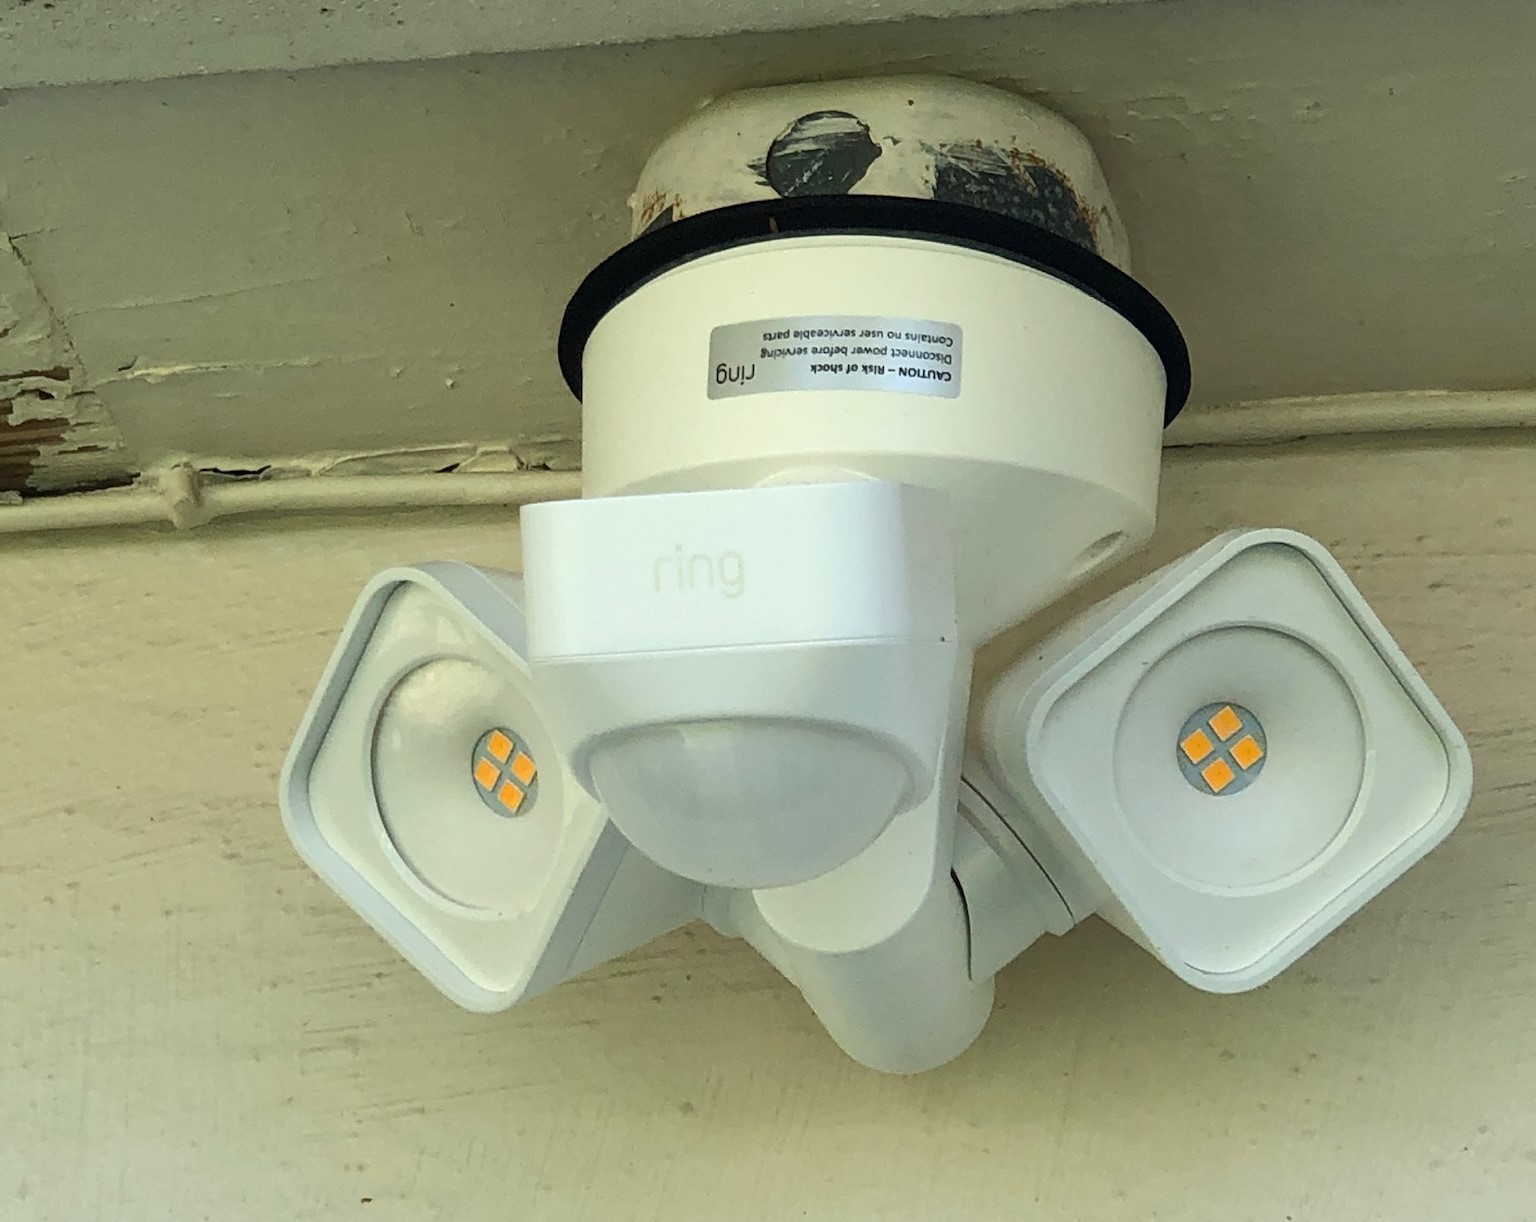
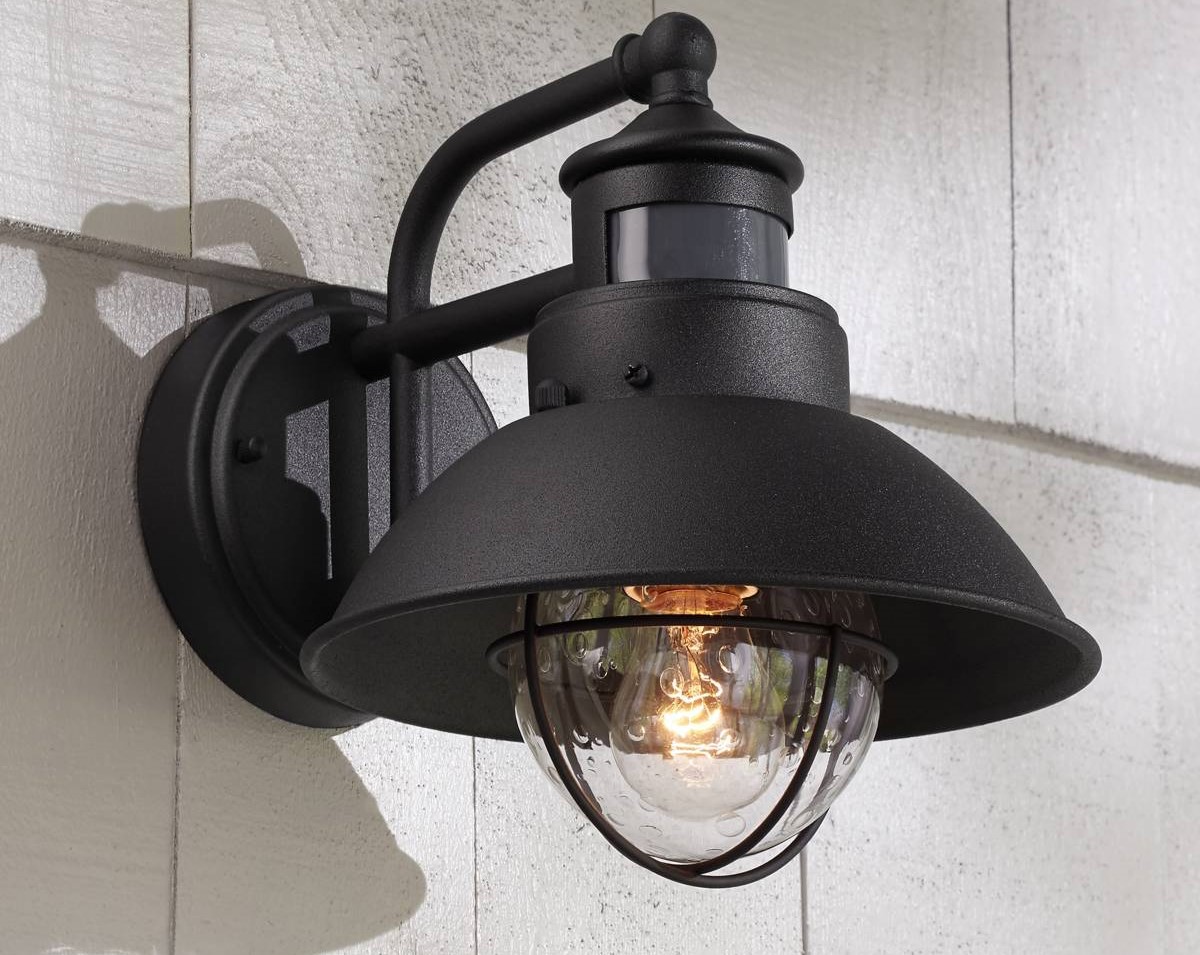
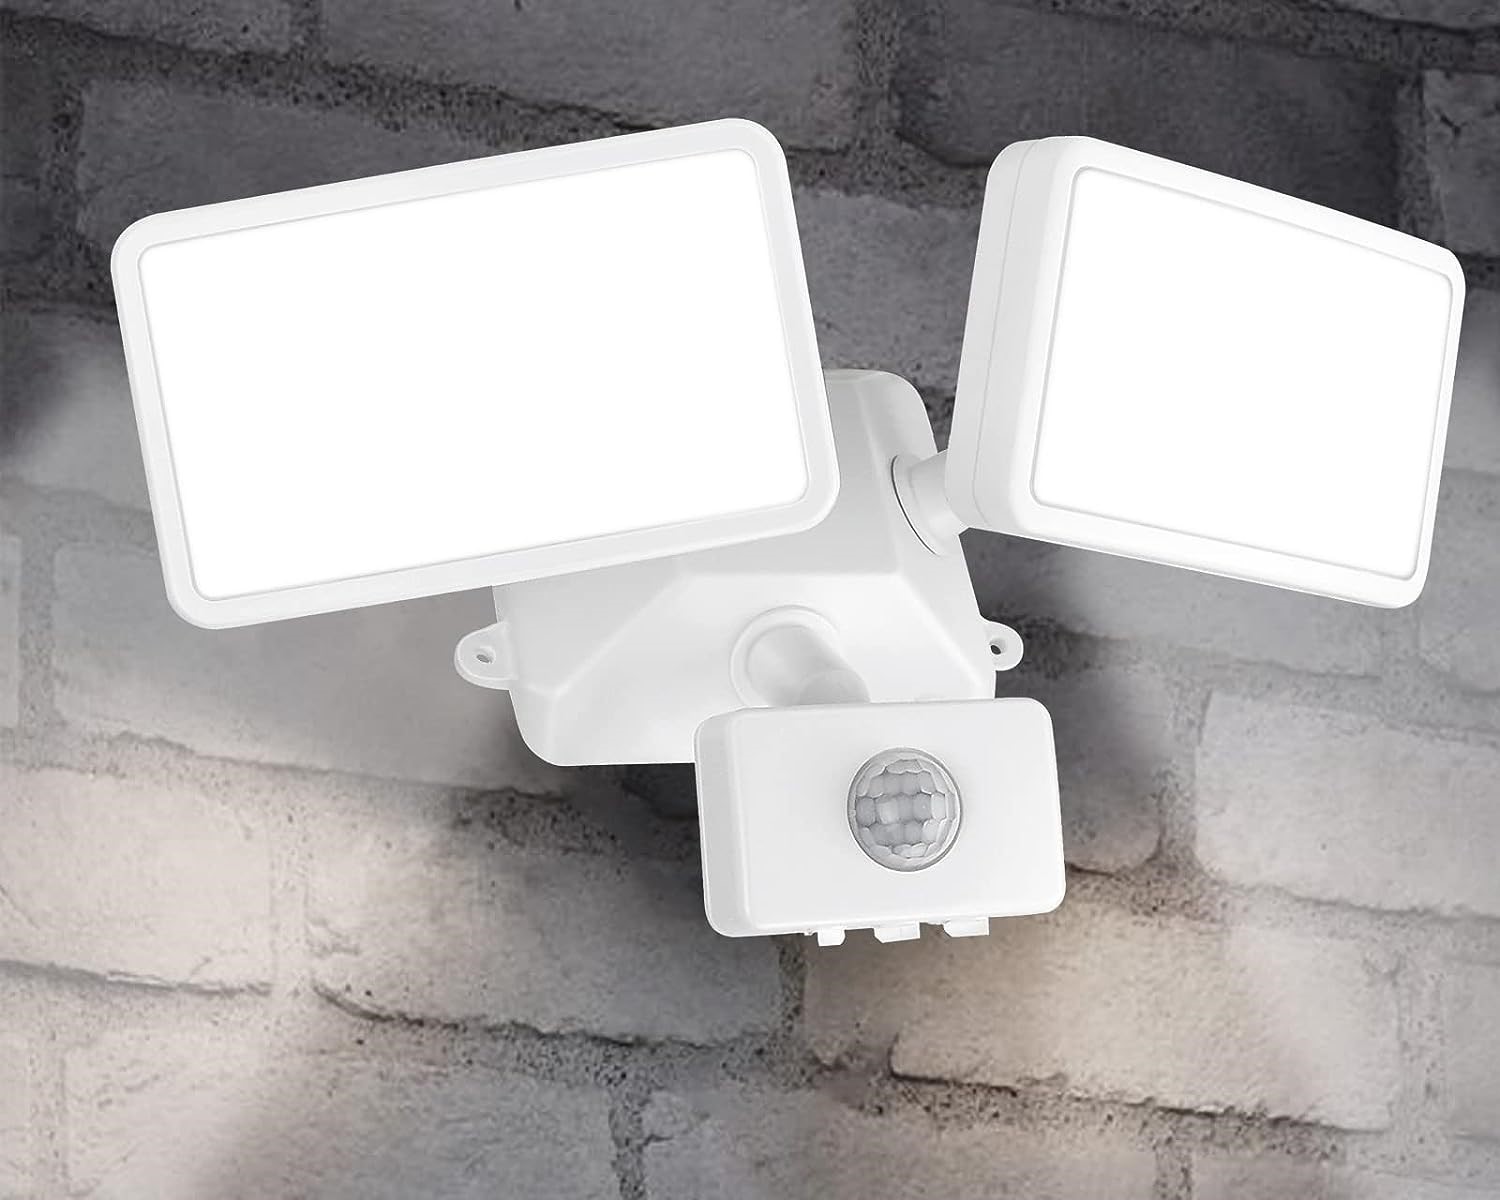
Motion detector lights are a popular choice for homeowners as they automatically turn on when motion is detected, providing a convenient and effective way to illuminate outdoor areas. Over time, these lights may become worn out, malfunction, or simply need an upgrade. By following this guide, you’ll be able to replace your motion detector light and restore optimal security and lighting functionality to your home. However, it’s important to note that electrical work can be dangerous, so if you are not comfortable working with electrical systems, it is recommended to hire a professional electrician.
Before we begin, it’s essential to gather the necessary tools and materials for the replacement process. By having everything prepared, you can complete the task efficiently without unnecessary interruptions. Let’s move on to the first step: gathering the necessary tools and materials.
Key Takeaways:
- Replacing a motion detector light is a simple yet crucial task for enhancing home security. Follow the steps carefully, prioritize safety, and enjoy the added peace of mind.
- Ensure safety by gathering tools, turning off power, and testing the new light. If unsure, seek professional help for a smooth motion detector light replacement.
Read more: How To Reset Motion Detector Lights
Step 1: Gather the necessary tools and materials
Before you begin the process of replacing your motion detector light, it’s important to gather all the necessary tools and materials to ensure a smooth and efficient installation. Here’s a list of items you’ll need:
- Screwdriver (typically Phillips or flathead)
- Wire strippers
- Wire connectors (also known as wire nuts)
- Electrical tape
- New motion detector light fixture
- Replacement bulbs (if needed)
- Personnel protection equipment such as gloves and safety glasses
By having these tools and materials on hand, you’ll be well-prepared to tackle the replacement process. Once you have everything ready, it’s time to move on to the next step: turning off the power supply.
Step 2: Turn off the power supply
Before beginning any electrical work, it’s crucial to ensure your safety by turning off the power supply to the motion detector light. This step will help prevent any potential electrical shock or accidents during the replacement process. Follow these steps to turn off the power:
- Locate your home’s main electrical panel or breaker box.
- Open the electrical panel or breaker box cover using a screwdriver or by flipping the latch (depending on the design).
- Look for the circuit breaker that controls the power to your motion detector light. It is typically labeled, but if it’s not, you may need to identify the correct breaker by a process of elimination.
- Once you’ve identified the correct breaker, switch it to the “off” position.
- Use a voltage tester to verify that the power to the motion detector light has been successfully turned off. This tool will help ensure that there is no electrical current running through the wires.
- Once you’ve confirmed that the power is off, you can safely proceed with the replacement process.
Remember, safety should always be your top priority when working with electrical systems. If you are unsure or uncomfortable turning off the power supply, it is best to consult a professional electrician.
Now that you have successfully turned off the power supply, you are ready to move on to the next step: removing the old motion detector light.
Step 3: Remove the old motion detector light
With the power supply turned off, it’s now time to remove the old motion detector light fixture. Follow these steps to safely remove the old fixture:
- Using a screwdriver, carefully remove any screws or bolts securing the motion detector light to the mounting bracket or wall.
- Gently pull the motion detector light fixture away from the mounting bracket, exposing the electrical wiring behind it.
- Take note of how the wires are connected to the fixture. You may need to refer to this later when installing the new motion detector light.
- If there is a rubber gasket or seal between the motion detector light and the mounting bracket, carefully remove it and set it aside for later use, if applicable.
- Once the fixture is detached, set it aside in a safe place. You may choose to keep it for spare parts or dispose of it responsibly.
During this process, be mindful of any fragile or breakable parts of the old fixture. Handle it with care to avoid any damage and ensure your own safety.
Now that you have successfully removed the old motion detector light, it’s time to move on to the next step: disconnecting the electrical wires.
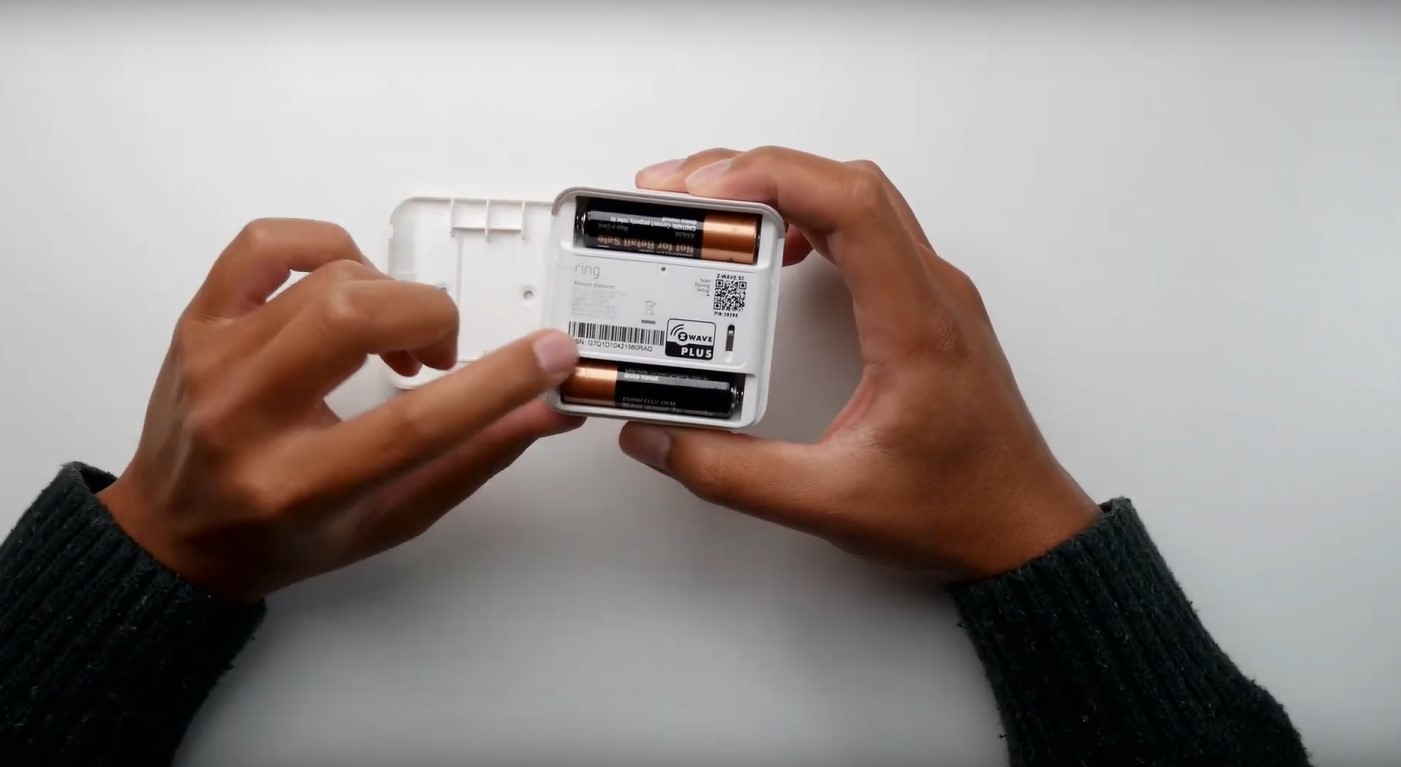
Step 4: Disconnect the electrical wires
Now that the old motion detector light fixture has been removed, it’s time to disconnect the electrical wires. Follow these steps to safely disconnect the wires:
- Identify the electrical wires connected to the old motion detector light.
- Using wire strippers, strip the plastic coating off the ends of the wires, exposing about half an inch of bare wire.
- Take note of the color-coded wires. Typically, black wires are hot (live), white wires are neutral, and green or bare wires are ground.
- Loosen the wire connectors (also known as wire nuts) by turning them counterclockwise.
- Once the wire connectors are loose, carefully separate the wires, ensuring they do not touch each other or any other conductive surfaces.
- Inspect the wires for any signs of damage or wear. If you notice any frayed or damaged wires, it’s advisable to consult a professional electrician for repairs.
Remember to exercise caution and avoid touching any exposed wires or metal parts to prevent electric shocks. Keep in mind that the wires may still be live if the power supply was not turned off or if there is residual power. If unsure, use a voltage tester to verify that the wires are not carrying electrical current.
Now that the electrical wires have been safely disconnected, you are ready to proceed to the next step: installing the new motion detector light.
When replacing a motion detector light, make sure to turn off the power at the circuit breaker before starting. This will prevent any electrical accidents while working on the light.
Read more: How To Activate Motion Detector On A Light
Step 5: Install the new motion detector light
With the old motion detector light removed and the electrical wires disconnected, it’s time to install the new motion detector light. Follow these steps to properly install the new fixture:
- Take the new motion detector light and position it over the mounting bracket or wall, aligning the screw holes.
- Secure the new motion detector light to the mounting bracket or wall using the screws or bolts that came with the fixture. Ensure it is tightly secured to prevent any movement or instability.
- If the new motion detector light includes a rubber gasket or seal, place it between the fixture and the mounting bracket, ensuring a snug fit and weatherproofing if applicable.
- Refer to the instructions provided with the new motion detector light to determine the appropriate method of connecting the electrical wires.
- Take the exposed ends of the wires and twist them together, matching the corresponding colors (e.g., black to black, white to white, green to green).
- Once the wires are securely twisted together, use wire connectors (wire nuts) to cover and secure the connections, twisting them clockwise until tight. Ensure that all connections are enclosed within the wire connectors and there are no exposed wires.
Double-check that all connections are secure and there is no risk of loose or exposed wiring. This step is essential for safety and to ensure the motion detector light functions properly.
Now that the new motion detector light is properly installed, we can move on to the next step: connecting the electrical wires.
Step 6: Connect the electrical wires
Now that you have the new motion detector light securely installed, it’s time to connect the electrical wires. Follow these steps to properly connect the wires:
- Take the exposed ends of the wires from the motion detector light and the corresponding wires from the electrical box.
- Make sure the wire ends are clean and free from any debris or frayed strands. Trim the ends if necessary to ensure a clean connection.
- Match the colors of the wires together – black to black, white to white, and green to green (or bare copper).
- Hold the matched wires next to each other and twist them in a clockwise direction to create a secure connection.
- Once the wires are tightly twisted together, slide a wire connector (wire nut) over the twisted connection, ensuring all exposed wire ends are completely covered.
- Twist the wire connector clockwise until it firmly holds the connected wires. Give it a gentle tug to ensure a secure connection.
- Repeat the process for any additional wires, ensuring all connections are securely covered with wire connectors.
It’s crucial to ensure that no bare wires are exposed and that the wire connectors are fastened securely. This step will prevent any electrical hazards and ensure a reliable connection for your new motion detector light.
Once you have connected all the electrical wires, it’s time to move on to the final step: testing the new motion detector light.
Step 7: Test the new motion detector light
With the new motion detector light fully installed and the electrical wires securely connected, it’s time to test the functionality of the light. Follow these steps to ensure the proper operation of your new motion detector light:
- Turn on the power supply to the motion detector light by switching the corresponding breaker in your electrical panel or breaker box back to the “on” position.
- Stand a few feet away from the motion detector light and wave your hand or walk within the sensor’s range to trigger the motion detection.
- Observe the new motion detector light to ensure that it turns on as expected when motion is detected.
- Monitor the light to see if it stays on for the desired duration of time before automatically turning off.
- Repeat the motion detection test from different angles and distances to ensure the sensor’s range and sensitivity are functioning properly.
- If the motion detector light does not operate as expected, double-check the connections and ensure that the wiring is properly secured.
- If you encounter any issues or the light fails to work correctly, consult the manufacturer’s instructions or consider seeking professional assistance to troubleshoot and resolve the problem.
It’s important to thoroughly test the new motion detector light to ensure its effectiveness in providing security and illumination. Regularly check and maintain the light to keep it in optimal working condition.
Congratulations! You have successfully replaced your motion detector light and now have a functional and reliable security feature for your home. Remember to exercise caution and follow safety guidelines when working with electrical systems. Enjoy the enhanced safety and convenience provided by your new motion detector light!
Hopefully, this comprehensive guide on how to replace a motion detector light has been helpful. By following each step carefully, you can confidently replace your motion detector light and ensure the security and illumination of your home’s outdoor areas.
Conclusion
Replacing a motion detector light is a relatively simple yet essential task that can greatly enhance the security and convenience of your home’s outdoor areas. By following the step-by-step guide outlined in this article, you have learned how to replace a motion detector light safely and effectively.
From gathering the necessary tools and materials to turning off the power supply, removing the old fixture, disconnecting the electrical wires, installing the new motion detector light, connecting the wires, and finally testing the functionality of the light, each step is crucial in ensuring a successful replacement process.
Remember, safety should always be a priority when working with electrical systems. If you are not confident or comfortable performing the replacement yourself, it is advisable to seek the assistance of a professional electrician. They have the knowledge and expertise to handle the task more efficiently and safely.
A properly functioning motion detector light provides peace of mind by deterring potential intruders and illuminating areas when needed. It is essential to regularly monitor and maintain your motion detector light to ensure its optimal performance. Keep an eye on the sensor’s range and sensitivity, as well as the condition of the bulbs, for the best results.
We hope that this article has equipped you with the necessary knowledge and guidance to successfully replace your motion detector light. By taking the time to replace this important component of your home’s security system, you are taking proactive steps towards protecting your property and loved ones.
Thank you for reading, and we wish you the best of luck in your motion detector light replacement project!
Frequently Asked Questions about How To Replace A Motion Detector Light
Was this page helpful?
At Storables.com, we guarantee accurate and reliable information. Our content, validated by Expert Board Contributors, is crafted following stringent Editorial Policies. We're committed to providing you with well-researched, expert-backed insights for all your informational needs.