Home>Home Security and Surveillance>How To Install Philips Motion Detector
Home Security and Surveillance
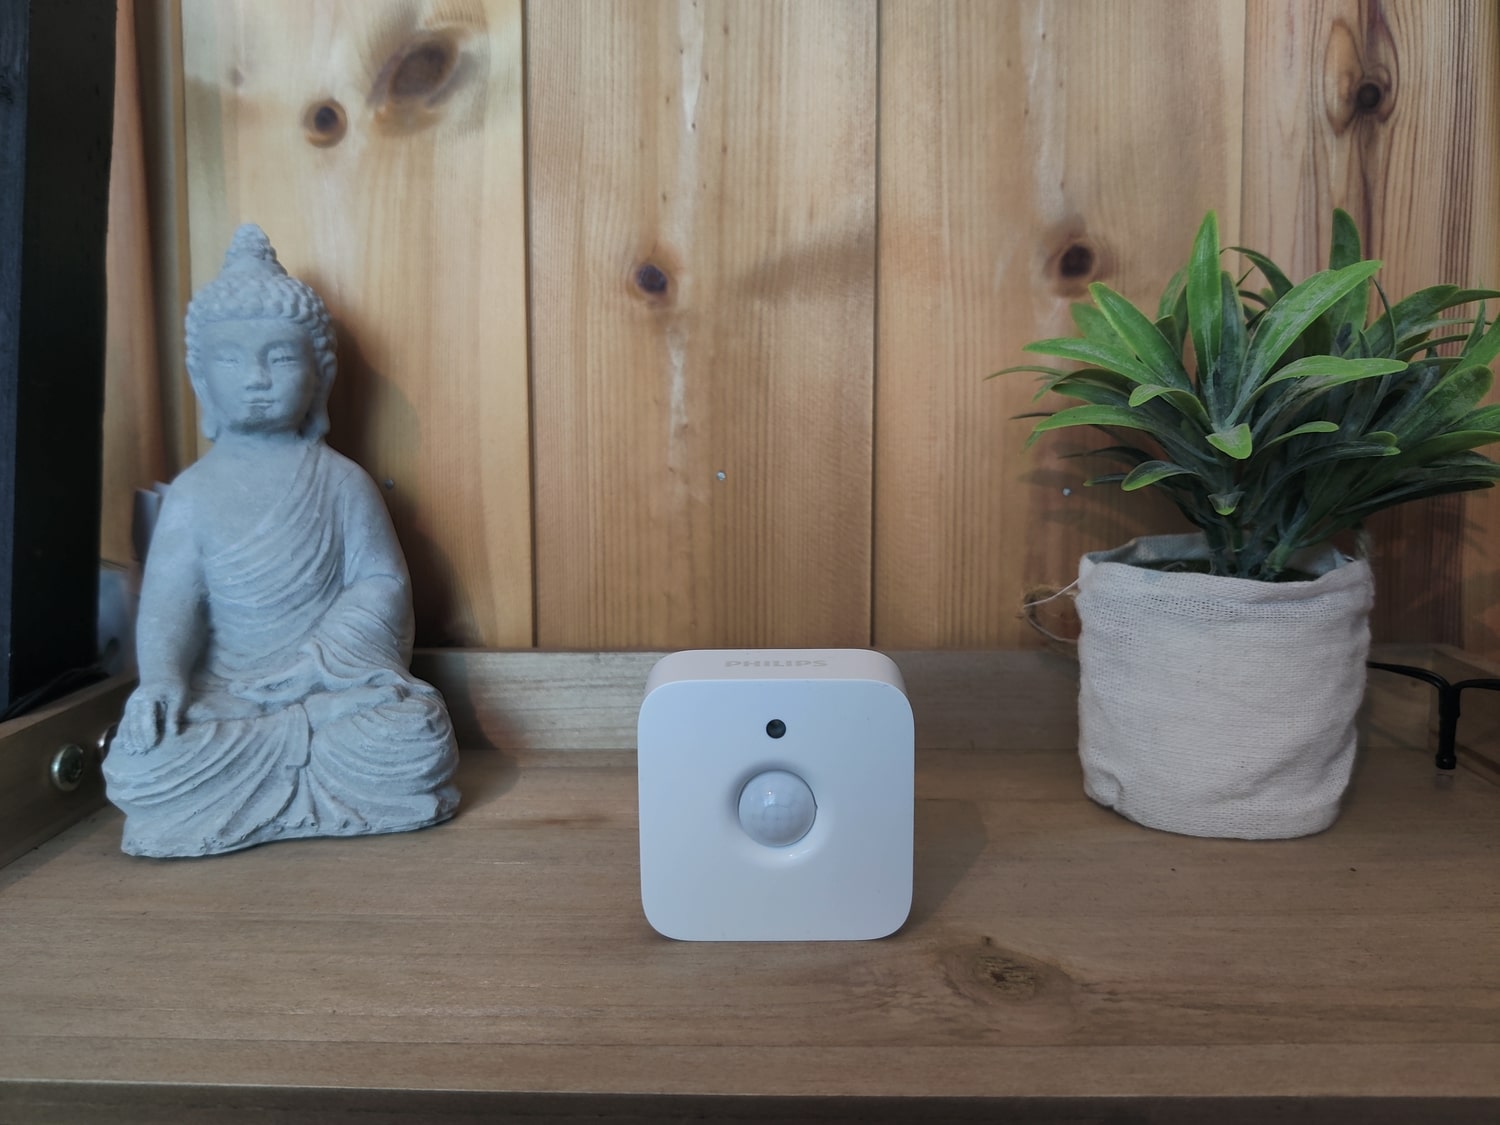
How To Install Philips Motion Detector
Modified: March 6, 2024
Learn how to easily install the Philips Motion Detector for enhanced home security and surveillance. Discover step-by-step instructions and expert tips to keep your property safe.
(Many of the links in this article redirect to a specific reviewed product. Your purchase of these products through affiliate links helps to generate commission for Storables.com, at no extra cost. Learn more)
Introduction
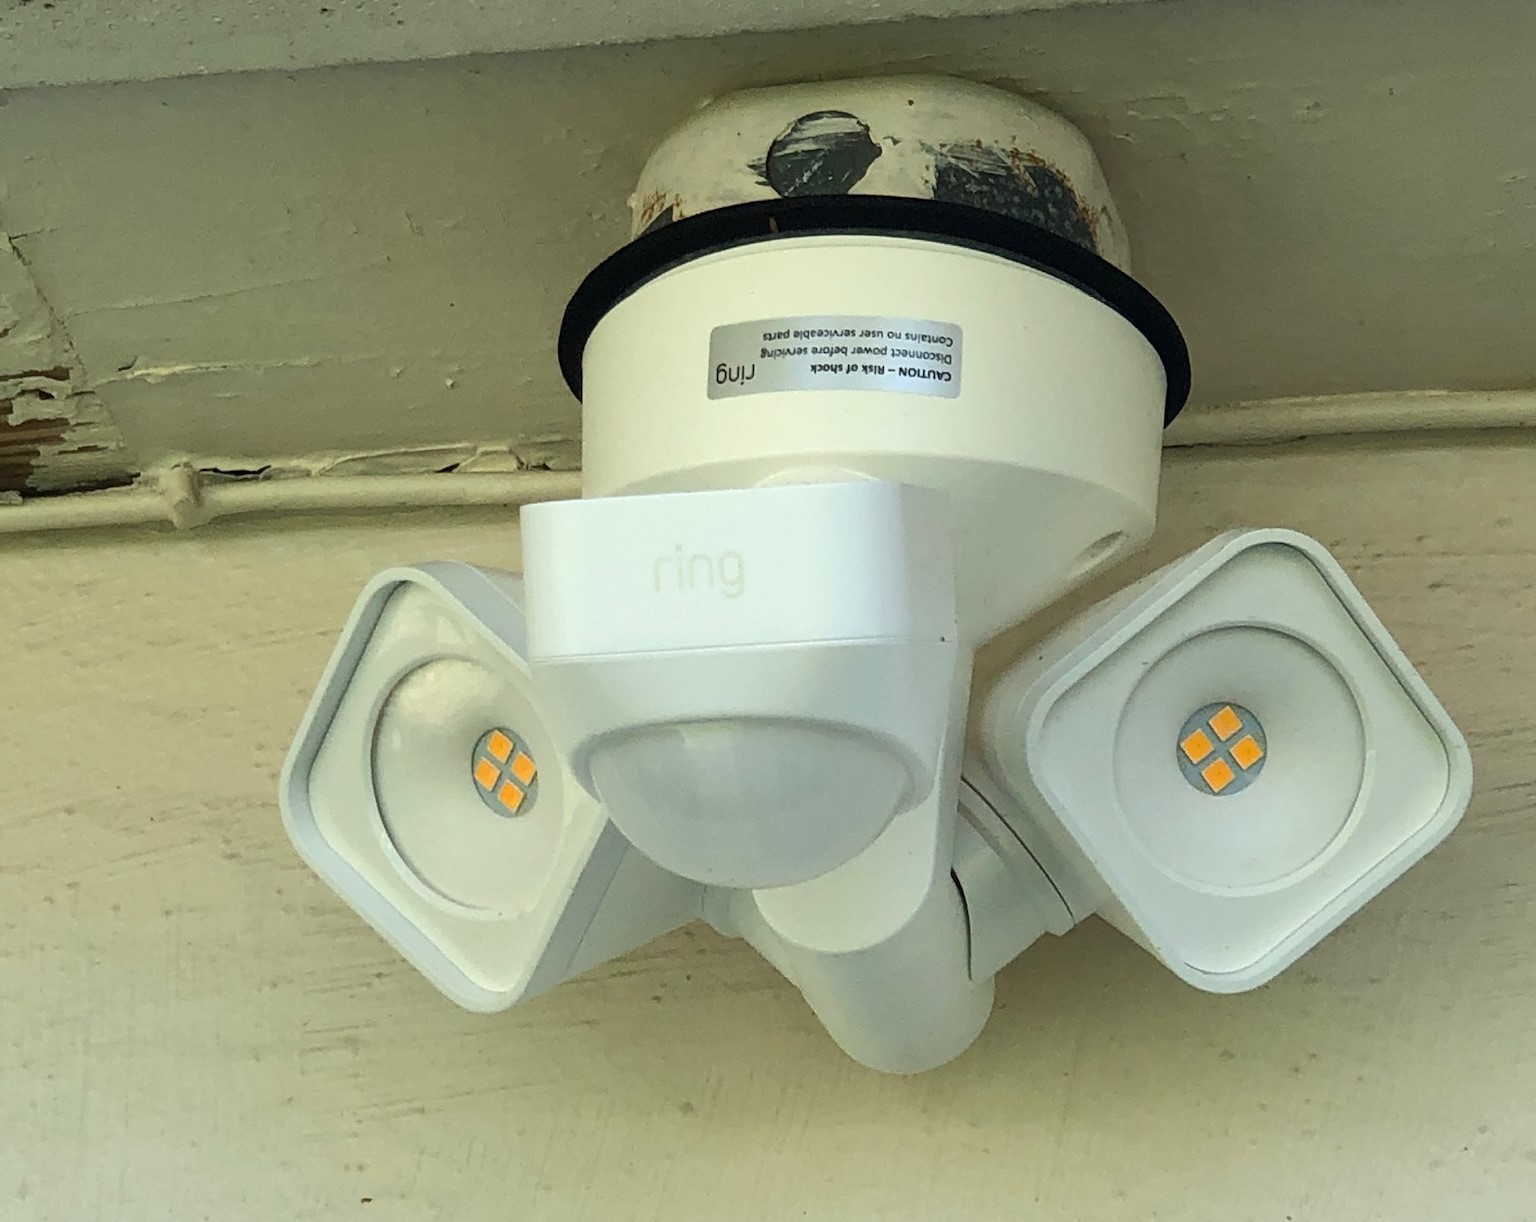
When it comes to home security and surveillance, having a reliable and efficient motion detector is crucial. A motion detector, such as the Philips Motion Detector, can provide an extra layer of protection by alerting you to any unauthorized movement around your property. Whether you want to enhance the security of your home, office, or any other space, installing a motion detector is a smart choice that can give you peace of mind.
In this comprehensive guide, we will walk you through the step-by-step process of installing a Philips Motion Detector. By following these instructions, you will be able to set up the detector yourself without the need for professional assistance. Plus, we’ll provide some helpful tips along the way to ensure a successful installation.
Before diving into the installation process, it’s important to familiarize yourself with the necessary tools you will need. Ensuring you have all the required equipment handy will make the installation process much smoother and more efficient.
Key Takeaways:
- Installing a Philips Motion Detector is a DIY project that enhances home security. Gather tools, find the right spot, connect wiring, and adjust settings for optimal protection.
- After installing, test and adjust the motion detector to ensure it works effectively. Double-check all connections, clean up, and enjoy the added peace of mind.
Read more: How To Install Xfinity Motion Detector
Step 1: Gather the Necessary Tools
Before you begin the installation process, gather all the tools and materials you’ll need to ensure a seamless and successful installation of your Philips Motion Detector. Here are the essential tools you’ll need:
- Screwdriver set: A set of screwdrivers with different sizes and types will come in handy during the installation process.
- Drill: You’ll need a drill to create holes in the mounting surface for attaching the motion detector.
- Mounting screws: These screws will be used to securely attach the motion detector to the mounting surface.
- Wire stripper: A wire stripper is necessary for stripping the insulation off the wires, allowing you to make proper connections.
- Electrical tape: Use electrical tape to secure and insulate the wired connections.
- Fish tape: A fish tape can be very useful for running the wiring through walls or conduits.
- Level: A level will help you ensure that the motion detector is properly aligned and straight.
These tools should cover the basics of what you’ll need for the installation. However, it’s always a good idea to consult the instruction manual provided with your Philips Motion Detector to see if there are any additional tools or materials specified.
Once you have gathered all the necessary tools, you’ll be well-prepared to move on to the next step: identifying the ideal location for your motion detector.
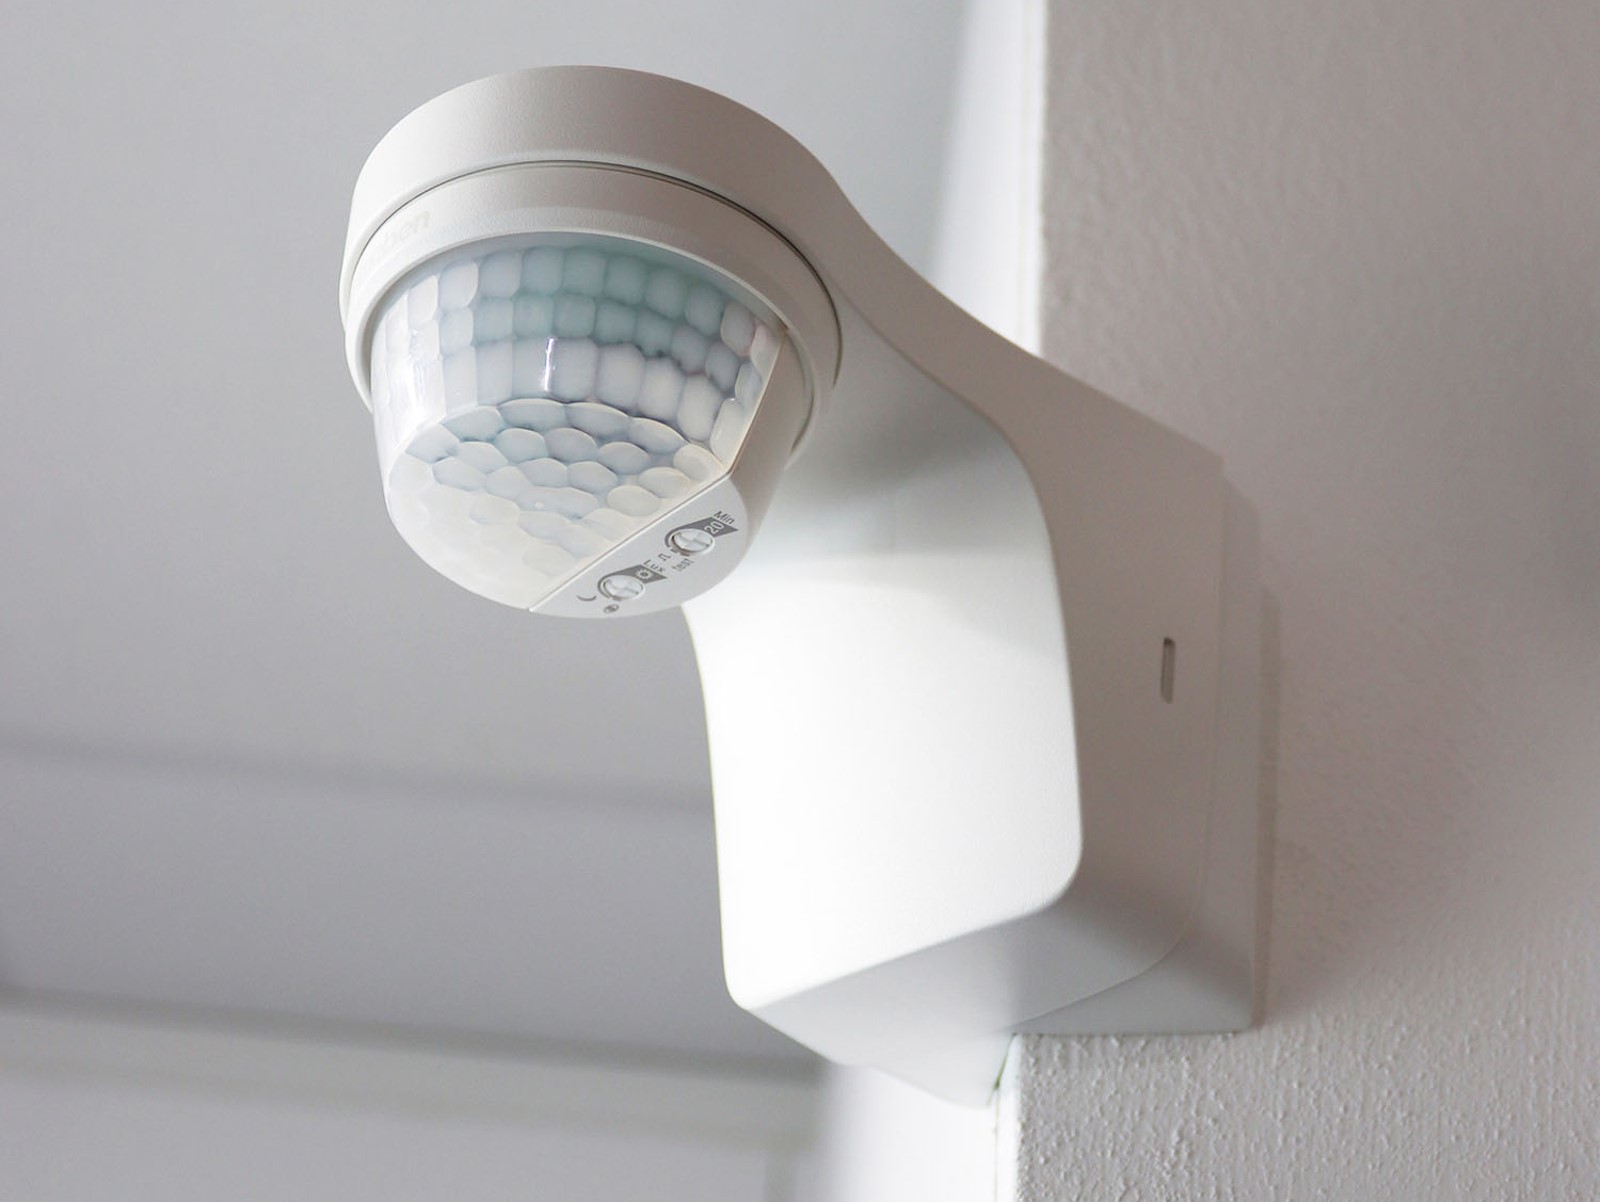
Step 2: Identify the Ideal Location
Choosing the right location for your Philips Motion Detector plays a crucial role in its effectiveness. By strategically placing the motion detector, you can maximize its coverage and ensure it accurately detects any movement within its range. Follow these guidelines to identify the ideal location:
- Consider the purpose: Determine the specific area you want the motion detector to monitor. It could be your front entrance, backyard, or any other vulnerable spot.
- Assess the surroundings: Take note of any potential obstructions, such as trees, walls, or furniture, that could block the motion detector’s field of view. Clear any obstacles to maintain unobstructed detection.
- Height placement: Mount the motion detector at a height where it can capture optimal movement. Generally, a height of 6 to 7 feet above the ground is recommended.
- Range and angle: Refer to the specifications of your Philips Motion Detector to understand its detection range and angle. Consider these factors when determining the placement to ensure comprehensive coverage of the desired area.
- Power source accessibility: Ensure that the location you choose for the motion detector has easy access to a power source. This will make the wiring process simpler and more convenient.
- Weather resistance: If you plan to install the motion detector outdoors, make sure it is weather-resistant. A motion detector with an IP65 rating or higher is recommended for outdoor installations.
Take your time during this step to carefully assess different possible locations. Keep in mind that the effectiveness of your motion detector relies heavily on its proper placement. Once you have identified the ideal spot, you can move on to preparing the mounting surface.
Step 3: Prepare the Mounting Surface
Before you mount your Philips Motion Detector, it’s essential to properly prepare the mounting surface. This ensures a secure and stable installation. Follow these steps to prepare the mounting surface:
- Clean the surface: Start by cleaning the area where you plan to mount the motion detector. Use a cleaning solution or a damp cloth to remove any dirt, dust, or debris. A clean surface helps ensure a strong bond with the mounting base.
- Mark the mounting holes: Place the mounting base of the motion detector against the selected spot on the mounting surface. Use a pencil or marker to mark the positions of the screw holes on the surface. These marks will serve as a guide during the mounting process.
- Check for stability: Give the mounting surface a firm shake to check for any instability. If the surface feels loose or unstable, reinforce it by adding an extra layer of support, such as a wooden block or anchor, to ensure a sturdy installation.
- Secure any loose wires: If there are any loose wires in the vicinity of the mounting surface, secure them to prevent interference with the motion detector. Use cable clips or zip ties to organize and fasten any loose wires, keeping them neat and out of the way.
By taking the time to properly prepare the mounting surface, you can ensure a strong and reliable installation of your Philips Motion Detector. Now that the surface is ready, it’s time to move on to mounting the motion detector itself.
Step 4: Mount the Motion Detector
Now that you have prepared the mounting surface, it’s time to mount your Philips Motion Detector. Follow these steps to securely attach the motion detector:
- Align the mounting base: Position the mounting base of the motion detector against the marked screw holes on the mounting surface. Ensure that it is level and aligned correctly.
- Insert the screws: Using a screwdriver or drill, insert the mounting screws through the holes in the mounting base and into the marked screw holes on the surface. Tighten them firmly, but be careful not to overtighten and damage the surface or the motion detector.
- Check stability: Once the motion detector is mounted, give it a gentle push or wiggle to ensure that it is securely attached. If necessary, tighten the screws further to improve stability.
It’s important to note that the mounting process may vary depending on the specific model of your Philips Motion Detector. Refer to the instruction manual provided with the device for any model-specific mounting instructions or recommendations.
Now that you have successfully mounted the motion detector, it’s time to move on to the next step: connecting the wiring.
When installing a Philips motion detector, make sure to follow the manufacturer’s instructions carefully. Test the detector after installation to ensure it is working properly.
Step 5: Connect the Wiring
With the motion detector securely mounted, it’s time to connect the wiring. Follow these steps to ensure proper wiring connections for your Philips Motion Detector:
- Review the wiring diagram: Consult the instruction manual or the wiring diagram provided with your motion detector to understand the specific wiring connections and color codes. Familiarize yourself with the different wires and their functions.
- Turn off the power: Before working with any electrical connections, ensure that the power to the area or circuit is turned off at the main electrical panel. This step is essential for your safety.
- Strip the wire insulation: Use a wire stripper to remove a small portion of insulation from the ends of the wires. This will expose the metal conductors for a proper connection.
- Make the connections: Refer to the wiring diagram to identify the respective terminals for the power supply, ground, and other necessary connections. Use wire connectors or terminal blocks to secure the wires to the correct terminals. Ensure that the connections are tight and secure.
- Secure the connections: Once the wires are connected, use electrical tape to wrap around each individual connection. This helps to insulate and protect the connections from any potential damage or exposure.
Remember to carefully follow the wiring instructions provided by Philips for your specific motion detector model. If you are uncertain about any step or wiring connection, it is recommended to consult a qualified electrician for assistance.
With the wiring properly connected, it’s time to move on to the next step: testing the motion detector.
Step 6: Test the Detector
Once the wiring is complete, it’s important to test your Philips Motion Detector to ensure proper functionality. Follow these steps to test the detector:
- Turn on the power: Restore the power to the area or circuit where the motion detector is installed. Ensure that the circuit breaker or switch is in the “ON” position.
- Activate the detector: Depending on the type of motion detector, there may be a test mode or adjustment feature. Activate this mode to test the detector’s response to movement.
- Observe the detection: Walk in front of the motion detector and monitor its response. The detector should quickly detect your movement and trigger its designated output, such as turning on lights or sounding an alarm.
- Adjustments and fine-tuning: If necessary, use the adjustment features of the motion detector to fine-tune its sensitivity, range, or other settings. This will help optimize its performance for your specific needs.
- Repeat the test: Test the motion detector multiple times from different angles and distances to ensure consistent and accurate detection.
If the motion detector fails to detect movement or triggers false alarms, double-check the wiring connections, adjust the sensitivity settings, or consult the troubleshooting section of the instruction manual. Proper testing ensures that your motion detector is functioning as intended and will effectively alert you to any unauthorized activity.
Once you are satisfied with the test results and the motion detector’s performance, it’s time to move on to the next step: adjusting the settings.
Step 7: Adjust the Settings
After testing the functionality of your Philips Motion Detector, it’s important to fine-tune and adjust its settings to meet your specific needs. These adjustments will help optimize the detector’s performance and minimize any false alarms. Follow these steps to adjust the settings:
- Refer to the instruction manual: Consult the instruction manual provided with your motion detector to understand the available adjustment options and their functions.
- Sensitivity: Adjust the sensitivity level of the motion detector to ensure it detects movement in the desired range. Experiment with different sensitivity settings to find the optimal balance between detecting all relevant motion and minimizing false alarms.
- Range: If your motion detector has an adjustable range, determine the ideal coverage area for your specific needs. Adjust the range accordingly to cover the desired space without including unnecessary areas.
- Time delay: Some motion detectors offer adjustable time delay settings, which control how long the detector remains activated after detecting motion. Set the time delay to a duration that suits your requirements.
- Other settings: Depending on the model, there might be additional settings such as sensitivity during daylight, alarm duration, or integration with other security systems. Review the available options in the instruction manual and adjust them as necessary.
Take your time with these adjustments, as they play a crucial role in the functionality and performance of your motion detector. Remember to test the detector after each adjustment to ensure it is detecting motion accurately and meeting your requirements.
Once you have adjusted the settings to your satisfaction, you are ready for the final step: finalizing the installation.
Step 8: Finalize the Installation
Congratulations, you’re in the final stage of installing your Philips Motion Detector! In this step, you will complete the installation process and ensure everything is properly secured and functioning. Follow these final steps to finalize the installation:
- Double-check all connections: Inspect all the wiring connections and make sure they are secure and properly insulated. Verify that there are no loose wires or exposed conductors. If needed, use additional electrical tape to reinforce the connections.
- Tighten mounting screws: Check and tighten all the mounting screws to ensure the motion detector is securely attached to the mounting surface. Ensure it is level and aligned according to your preferences.
- Clean up: Clean up any stray wires, tools, or debris from the installation area. This will give the installation a polished and professional look.
- Test the detector again: Perform a final test of the motion detector to ensure that all adjustments and settings are functioning as intended. Walk in front of the detector from various angles to confirm accurate detection.
- Secure the access panel: If your motion detector has an access panel, ensure it is securely closed and locked. This will protect the internal components from dust, moisture, and tampering.
With these final steps, your installation is complete! Take a moment to appreciate your efforts in setting up your Philips Motion Detector to enhance the security and surveillance of your space. Now you can enjoy the added peace of mind that comes with improved protection.
Remember to periodically review and maintain your motion detector to ensure its continued functionality. Keep an eye out for any signs of wear, damage, or changes in performance, and address them promptly if needed.
Thank you for following this step-by-step guide. We hope it has been helpful in successfully installing your Philips Motion Detector. Should you have any additional questions or concerns, refer to the instruction manual or contact the manufacturer for further assistance.
Conclusion
Installing a Philips Motion Detector is a proactive step towards enhancing the security of your home or any other space. By following the step-by-step installation guide outlined in this article, you have learned how to set up the motion detector yourself, without the need for professional assistance.
We started by gathering the necessary tools, ensuring you have everything at hand to complete the installation smoothly. Then, we discussed the importance of identifying the ideal location for your motion detector, considering factors such as range, angle, and obstacles.
After preparing the mounting surface and mounting the motion detector, we walked through the process of connecting the wiring, always keeping safety in mind. We then moved on to testing the detector to verify its functionality and making any necessary adjustments to optimize its performance.
In the final steps, we emphasized the importance of double-checking all connections, tightening mounting screws, and conducting a final test to ensure the motion detector is functioning properly. We concluded by securing the access panel and offering maintenance tips for long-term reliability.
Remember, the installation process may vary slightly depending on the specific model of your Philips Motion Detector, so always refer to the instruction manual for any model-specific instructions or recommendations.
Your Philips Motion Detector will provide you with increased security and peace of mind, knowing that any unauthorized movement around your property will be detected. By taking the initiative to install this valuable security device, you are taking an important step towards protecting your home and loved ones.
Thank you for following this comprehensive installation guide. We hope it has been informative and helpful for your home security needs. Should you require any additional assistance, don’t hesitate to consult the instruction manual or reach out to the manufacturer for further support.
Frequently Asked Questions about How To Install Philips Motion Detector
Was this page helpful?
At Storables.com, we guarantee accurate and reliable information. Our content, validated by Expert Board Contributors, is crafted following stringent Editorial Policies. We're committed to providing you with well-researched, expert-backed insights for all your informational needs.