Home>Home Security and Surveillance>How To Move The Motion Detector Zone On Foscam
Home Security and Surveillance
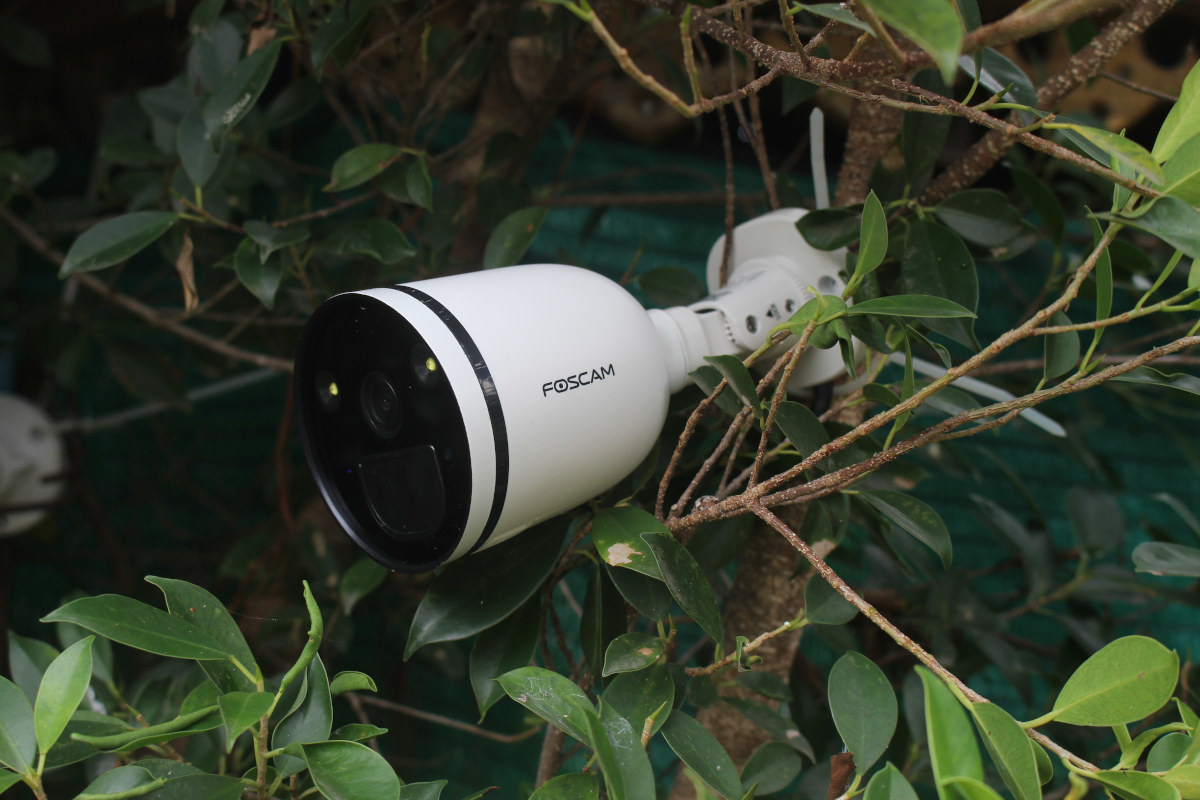
How To Move The Motion Detector Zone On Foscam
Modified: March 6, 2024
Learn how to easily move the motion detector zone on Foscam to enhance your home security and surveillance. Protect your property with precise monitoring.
(Many of the links in this article redirect to a specific reviewed product. Your purchase of these products through affiliate links helps to generate commission for Storables.com, at no extra cost. Learn more)
Introduction
Welcome to our guide on how to move the motion detector zone on Foscam. Foscam is a leading brand when it comes to home security and surveillance systems. Their cameras come equipped with a motion detection feature that allows you to monitor specific areas and receive alerts when motion is detected. However, you may find that the default motion detector zone doesn’t cover the areas you want to monitor or includes unnecessary areas that trigger false alarms.
In this article, we will walk you through the steps to adjust the motion detector zone on your Foscam camera. By doing so, you can customize the detection area to focus on the most important parts of your property while minimizing false alarms. Whether you want to increase the coverage to include a certain area or exclude specific zones, you’ll learn how to make these adjustments easily.
Before we dive into the steps, it’s important to note that the process may vary depending on the Foscam camera model and the firmware version. However, the general steps should remain similar across different models. In case your camera has a different interface or options, consult the user manual provided by Foscam or visit their official website for specific instructions.
Now, let’s get started and learn how to move the motion detector zone on your Foscam camera to enhance your home security system.
Key Takeaways:
- Customize your Foscam camera’s motion detector zone to focus on specific areas and reduce false alarms. Follow our step-by-step guide to optimize your home security system with accurate motion detection.
- Regularly review and adjust the motion detector zone to ensure maximum effectiveness in detecting and alerting you to motion events. Fine-tune your Foscam camera for enhanced home security and peace of mind.
Understanding the Motion Detector Zone on Foscam
Before we delve into the process of moving the motion detector zone on your Foscam camera, let’s take a moment to understand what it is and why it’s important.
The motion detector zone is a virtual grid that is overlaid on the camera’s live feed. It determines the areas that the camera monitors for motion detection. When an object or person moves within the defined motion detector zone, the camera triggers an alert, such as sending a notification to your smartphone or recording the event.
By default, Foscam cameras usually have a predefined motion detector zone that covers the entire camera view. However, this may not always be ideal for your specific needs. You may want to focus the motion detection on a certain area, such as the front door or backyard, while excluding areas like a busy road or trees moving in the wind which can cause false alarms.
Understanding the motion detector zone allows you to have precise control over the areas monitored by your Foscam camera, ensuring that you receive timely and accurate notifications when there is actual motion within the specified region.
Now that you have a clear understanding of the motion detector zone and its significance, we can move on to the step-by-step process of adjusting it on your Foscam camera. Let’s begin!
Step 1: Accessing the Foscam Camera Settings
The first step in moving the motion detector zone on your Foscam camera is to access the camera settings. This can be done through a web browser on your computer or by using the Foscam mobile app.
1.1 Using a Web Browser:
- Ensure that your Foscam camera is connected to your network and powered on.
- Open your preferred web browser on your computer and enter the IP address of your Foscam camera in the address bar. You can find the IP address in the camera’s user manual or by using an IP scanner tool.
- Press the Enter key, and you will be prompted to enter your camera’s username and password. Enter the credentials to log in to the camera’s web interface.
- Once logged in, you will have access to the camera’s settings and configuration options.
1.2 Using the Foscam Mobile App:
- Download and install the Foscam mobile app from the App Store (for iOS devices) or Google Play Store (for Android devices).
- Launch the app and sign in using your Foscam account credentials. If you don’t have an account, you can create one within the app.
- Once logged in, the app will automatically detect the Foscam cameras connected to your network. Tap on the camera you want to adjust the motion detector zone for.
- You will now have access to the camera’s live feed and settings through the mobile app.
Once you have successfully accessed the camera settings through either method, you are now ready to move on to the next step and navigate to the motion detection settings.
Step 2: Navigating to the Motion Detection Settings
Now that you have accessed the camera settings of your Foscam camera, the next step is to navigate to the motion detection settings. These settings will allow you to make adjustments to the motion detector zone.
2.1 Using a Web Browser:
- In the camera’s web interface, look for the “Settings” or “Configuration” tab. It may be located at the top or side menu.
- Click on the “Settings” or “Configuration” tab to expand the options.
- Look for the “Motion Detection” or “Detection” option and click on it.
- This will take you to the motion detection settings page, where you can customize the motion detector zone.
2.2 Using the Foscam Mobile App:
- In the Foscam mobile app, locate and tap on the settings icon. This is usually represented by a gear or a three-dot menu.
- From the settings menu, find and tap on the “Motion Detection” or “Detection” option.
- You will now be taken to the motion detection settings page, where you can adjust the motion detector zone.
Once you have successfully navigated to the motion detection settings, you are ready to proceed to the next step, which involves adjusting the motion detector zone to your desired configuration.
To move the motion detector zone on a Foscam camera, access the camera’s settings and look for the motion detection section. From there, you can adjust the detection zone by dragging and dropping the boundaries on the camera’s live view.
Step 3: Adjusting the Motion Detector Zone
Now that you have reached the motion detection settings page on your Foscam camera, it’s time to adjust the motion detector zone according to your preferences. These steps will guide you through the process:
- On the motion detection settings page, look for an option that allows you to configure the motion detector zone. This might be labeled as “Motion Detection Zone,” “Detection Area,” or something similar.
- Click or tap on the option to access the motion detector zone configuration.
- You will find a graphical representation of the camera’s live view with a grid overlay. This grid represents the current motion detector zone.
- To adjust the motion detector zone, you can click and drag the corners or sides of the grid to resize it. This allows you to expand or reduce the coverage of the zone.
- Additionally, you may have the option to click within the grid to create “active” or “inactive” squares. Active squares denote areas where motion detection is enabled, while inactive squares are areas where motion detection is disabled.
- Customize the motion detector zone by resizing and adjusting the active and inactive squares to match your desired coverage.
- Some Foscam cameras may also offer advanced options, such as setting different sensitivity levels or differentiating between human and non-human motion. Take advantage of these options to further refine the motion detection settings.
Remember to consider the specific security needs of your property when adjusting the motion detector zone. Focus on areas that require close monitoring while excluding areas that can trigger false alarms, such as moving foliage or busy streets.
Once you are satisfied with the adjusted motion detector zone, you can proceed to the next step to test the new configuration.
Read more: How To Deactivate A Motion Detector
Step 4: Testing the New Motion Detector Zone
After adjusting the motion detector zone on your Foscam camera, it’s essential to test the new configuration to ensure its effectiveness. Here’s how you can do it:
- Save the changes made to the motion detector zone settings. Look for a “Save” or “Apply” button on the motion detection settings page and click or tap it to confirm the changes.
- Exit the camera settings or motion detection settings page and return to the camera’s live feed.
- Generate some motion within the adjusted motion detector zone to see if the camera detects it accurately. You can walk or wave your hand around the monitored area to trigger motion detection.
- Observe the camera’s response. If the camera is set to send notifications, check if you receive timely alerts when motion is detected. Also, ensure that the camera starts recording or capturing images as configured.
- If the camera is not detecting motion as expected or if it is triggering false alarms, you may need to further fine-tune the motion detection settings. Revisit the motion detection settings page and make necessary adjustments to optimize the motion detector zone.
Repeat the testing process until you are satisfied with the performance of the motion detector zone. Keep in mind that it may take some trial and error to find the ideal configuration for your specific needs.
Remember to periodically review and adjust the motion detector zone as your security requirements change. Factors such as landscaping modifications, changes in lighting conditions, or new objects in the monitored area may necessitate updates to the motion detection settings.
By regularly testing and refining the motion detector zone on your Foscam camera, you can ensure maximum effectiveness in detecting and alerting you to motion events, providing you with enhanced home security and peace of mind.
Conclusion
In conclusion, adjusting the motion detector zone on your Foscam camera is an important step in optimizing your home security and surveillance system. By customizing the motion detection settings to focus on specific areas and exclude unnecessary zones, you can reduce false alarms and ensure that you receive accurate notifications when there is actual motion in the monitored areas.
In this article, we have provided a step-by-step guide on how to move the motion detector zone on your Foscam camera. We started by understanding the concept of the motion detector zone and its significance in home security. We then walked you through the process of accessing the camera settings, navigating to the motion detection settings, adjusting the motion detector zone, and testing the new configuration.
It’s important to remember that the process may differ slightly depending on the Foscam camera model and firmware version. Therefore, it’s always a good idea to consult the official Foscam documentation or website for specific instructions tailored to your device.
Regularly reviewing and fine-tuning the motion detector zone on your Foscam camera is crucial for maintaining optimal security. As your needs change or as your environment undergoes modifications, make sure to reassess and adjust the motion detection settings accordingly.
By following the steps outlined in this guide and continually fine-tuning the motion detector zone, you can ensure that your Foscam camera provides reliable and accurate motion detection, enhancing the security of your home or business.
Remember that a well-optimized motion detector zone is only one piece of the overall home security puzzle. It’s important to complement it with other security measures such as proper lighting, secure locks, and strategic camera placement to create a comprehensive security system.
We hope this guide has been helpful in assisting you with moving the motion detector zone on your Foscam camera. Now, take the necessary steps to customize your motion detection settings and enjoy the added peace of mind that comes with a fully optimized home security system.
Frequently Asked Questions about How To Move The Motion Detector Zone On Foscam
Was this page helpful?
At Storables.com, we guarantee accurate and reliable information. Our content, validated by Expert Board Contributors, is crafted following stringent Editorial Policies. We're committed to providing you with well-researched, expert-backed insights for all your informational needs.