Home>Home Security and Surveillance>How To Install Motion Detector Light Switch
Home Security and Surveillance
How To Install Motion Detector Light Switch
Modified: March 6, 2024
Enhance home security with our step-by-step guide on installing a motion detector light switch. Improve your surveillance system for added peace of mind.
(Many of the links in this article redirect to a specific reviewed product. Your purchase of these products through affiliate links helps to generate commission for Storables.com, at no extra cost. Learn more)
Introduction
Welcome to our guide on how to install a motion detector light switch. Motion detector light switches are a great addition to any home security system, as they automatically turn on the lights when motion is detected, deterring intruders and providing convenience for homeowners. In this article, we will walk you through the step-by-step process of installing a motion detector light switch in your home.
Before we begin, it is important to note that working with electrical wiring can be dangerous if not done correctly. If you are not confident in your abilities or do not have experience working with electricity, we recommend hiring a licensed electrician to perform the installation.
Now that we’ve covered the necessary precautions, let’s get started!
Key Takeaways:
- Enhance Home Security
Installing a motion detector light switch adds an extra layer of security by automatically turning on lights when motion is detected, deterring intruders and providing convenience for homeowners. - Prioritize Safety
Working with electrical wiring can be dangerous. If unsure, consult a licensed electrician to ensure the installation is done correctly and safely.
Step 1: Gather necessary materials
Before you begin the installation process, make sure you have all the necessary materials on hand. This will help ensure a smooth and efficient installation process. Here are the materials you’ll need:
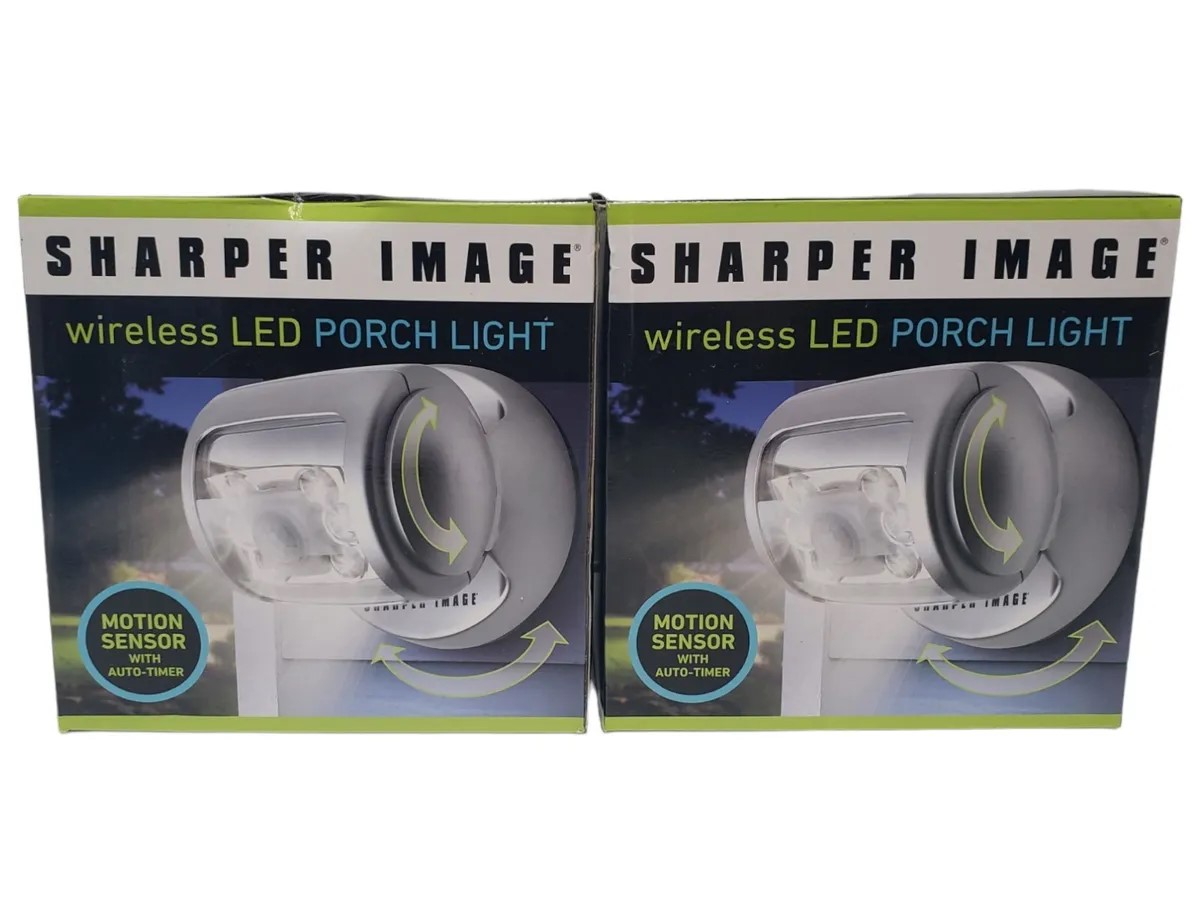
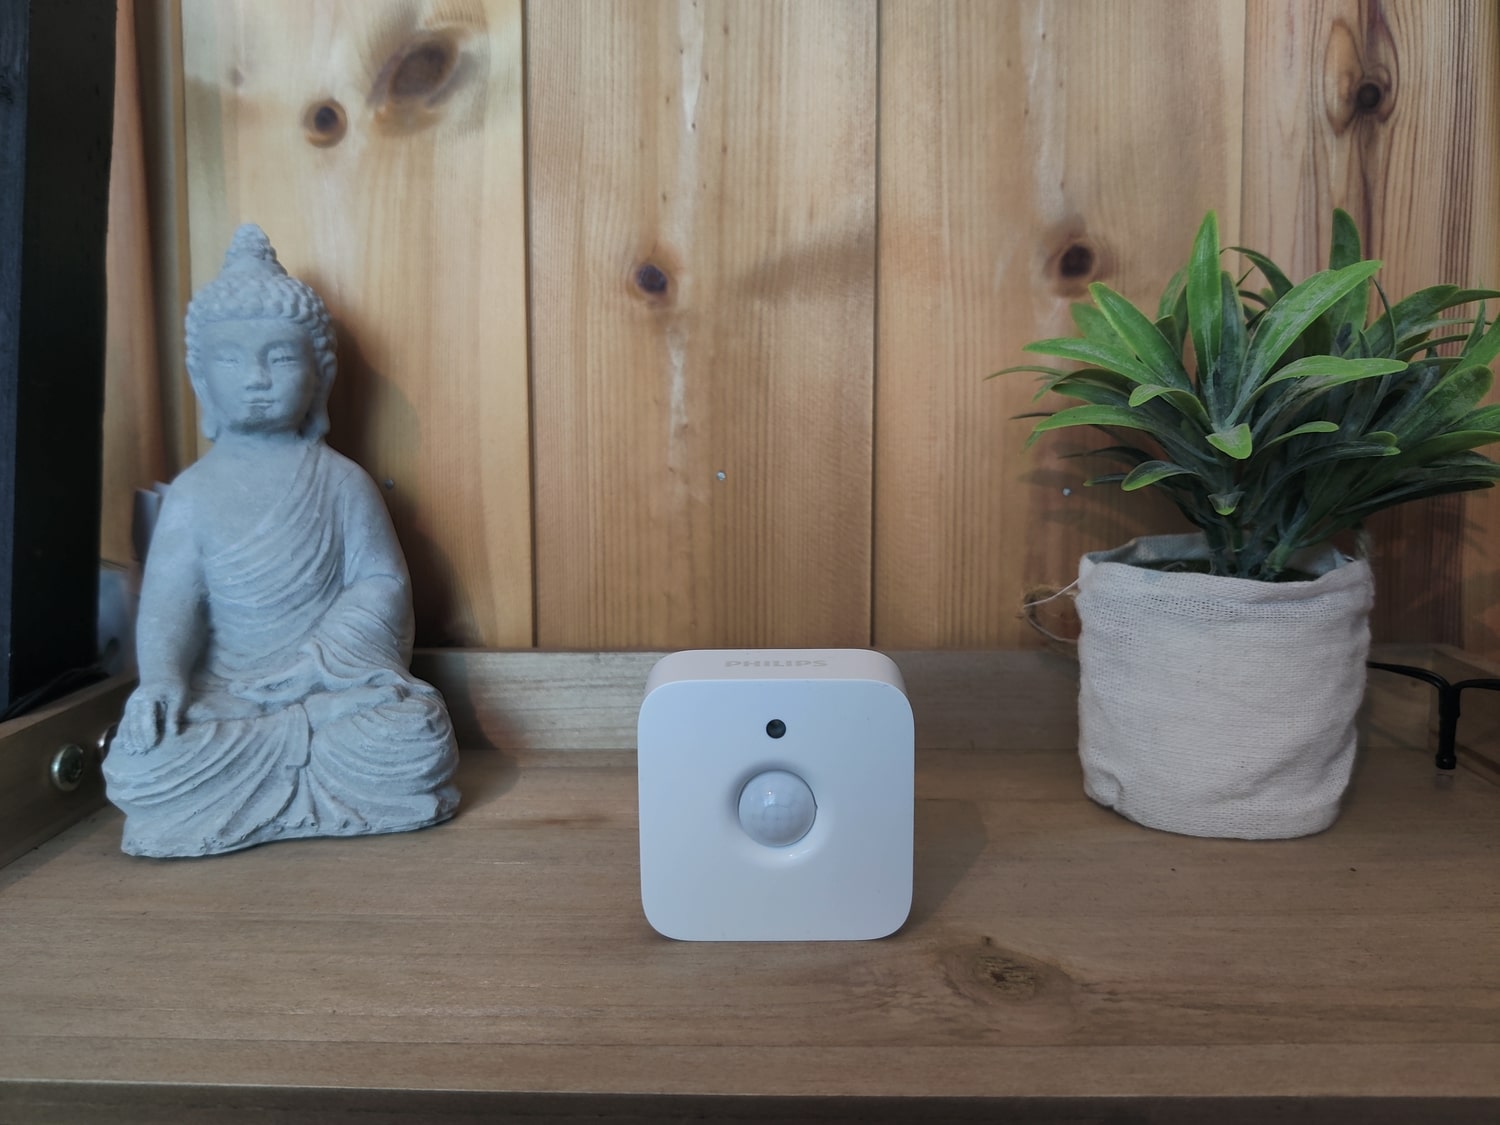
- Motion detector light switch
- Screwdriver (flathead and Phillips)
- Wire strippers
- Electrical tape
- Wire nuts
- Voltage tester
- Wire connectors
- Replacement wall plate (if needed)
It’s important to choose a motion detector light switch that is compatible with your existing wiring and is suitable for the area where you want to install it. Consider factors such as the switch’s detection range, adjustability options, and any additional features you may desire.
Once you have gathered all the necessary materials, you’re ready to move on to the next step: turning off the power to the circuit.
Step 2: Turn off power to the circuit
Safety should always be your top priority when working with electrical wiring. Before starting any electrical installation process, it’s crucial to turn off the power to the circuit you’ll be working on. This will prevent any accidental electrical shocks or damage to the electrical components.
Here are the steps to follow to turn off the power:
- Locate your home’s main electrical panel. This is typically found in the basement, garage, or utility room.
- Open the panel door to access the circuit breakers.
- Find the breaker that controls the circuit you’ll be working on. Look for labels or use a voltage tester to ensure you have the correct breaker.
- Flip the switch of the corresponding breaker to the “Off” position. You should hear a click or feel some resistance when the breaker is successfully turned off.
- To further ensure your safety, use a voltage tester to double-check that there is no power running to the circuit. Place the voltage tester on the exposed wires or terminals to confirm that there is no electrical current present.
Take your time to ensure that the power is completely turned off before proceeding to the next step. This will help prevent any accidental shocks or electrical mishaps during the installation process.
Once you have confirmed that the power is off, you can continue with the next step: removing the existing switch.
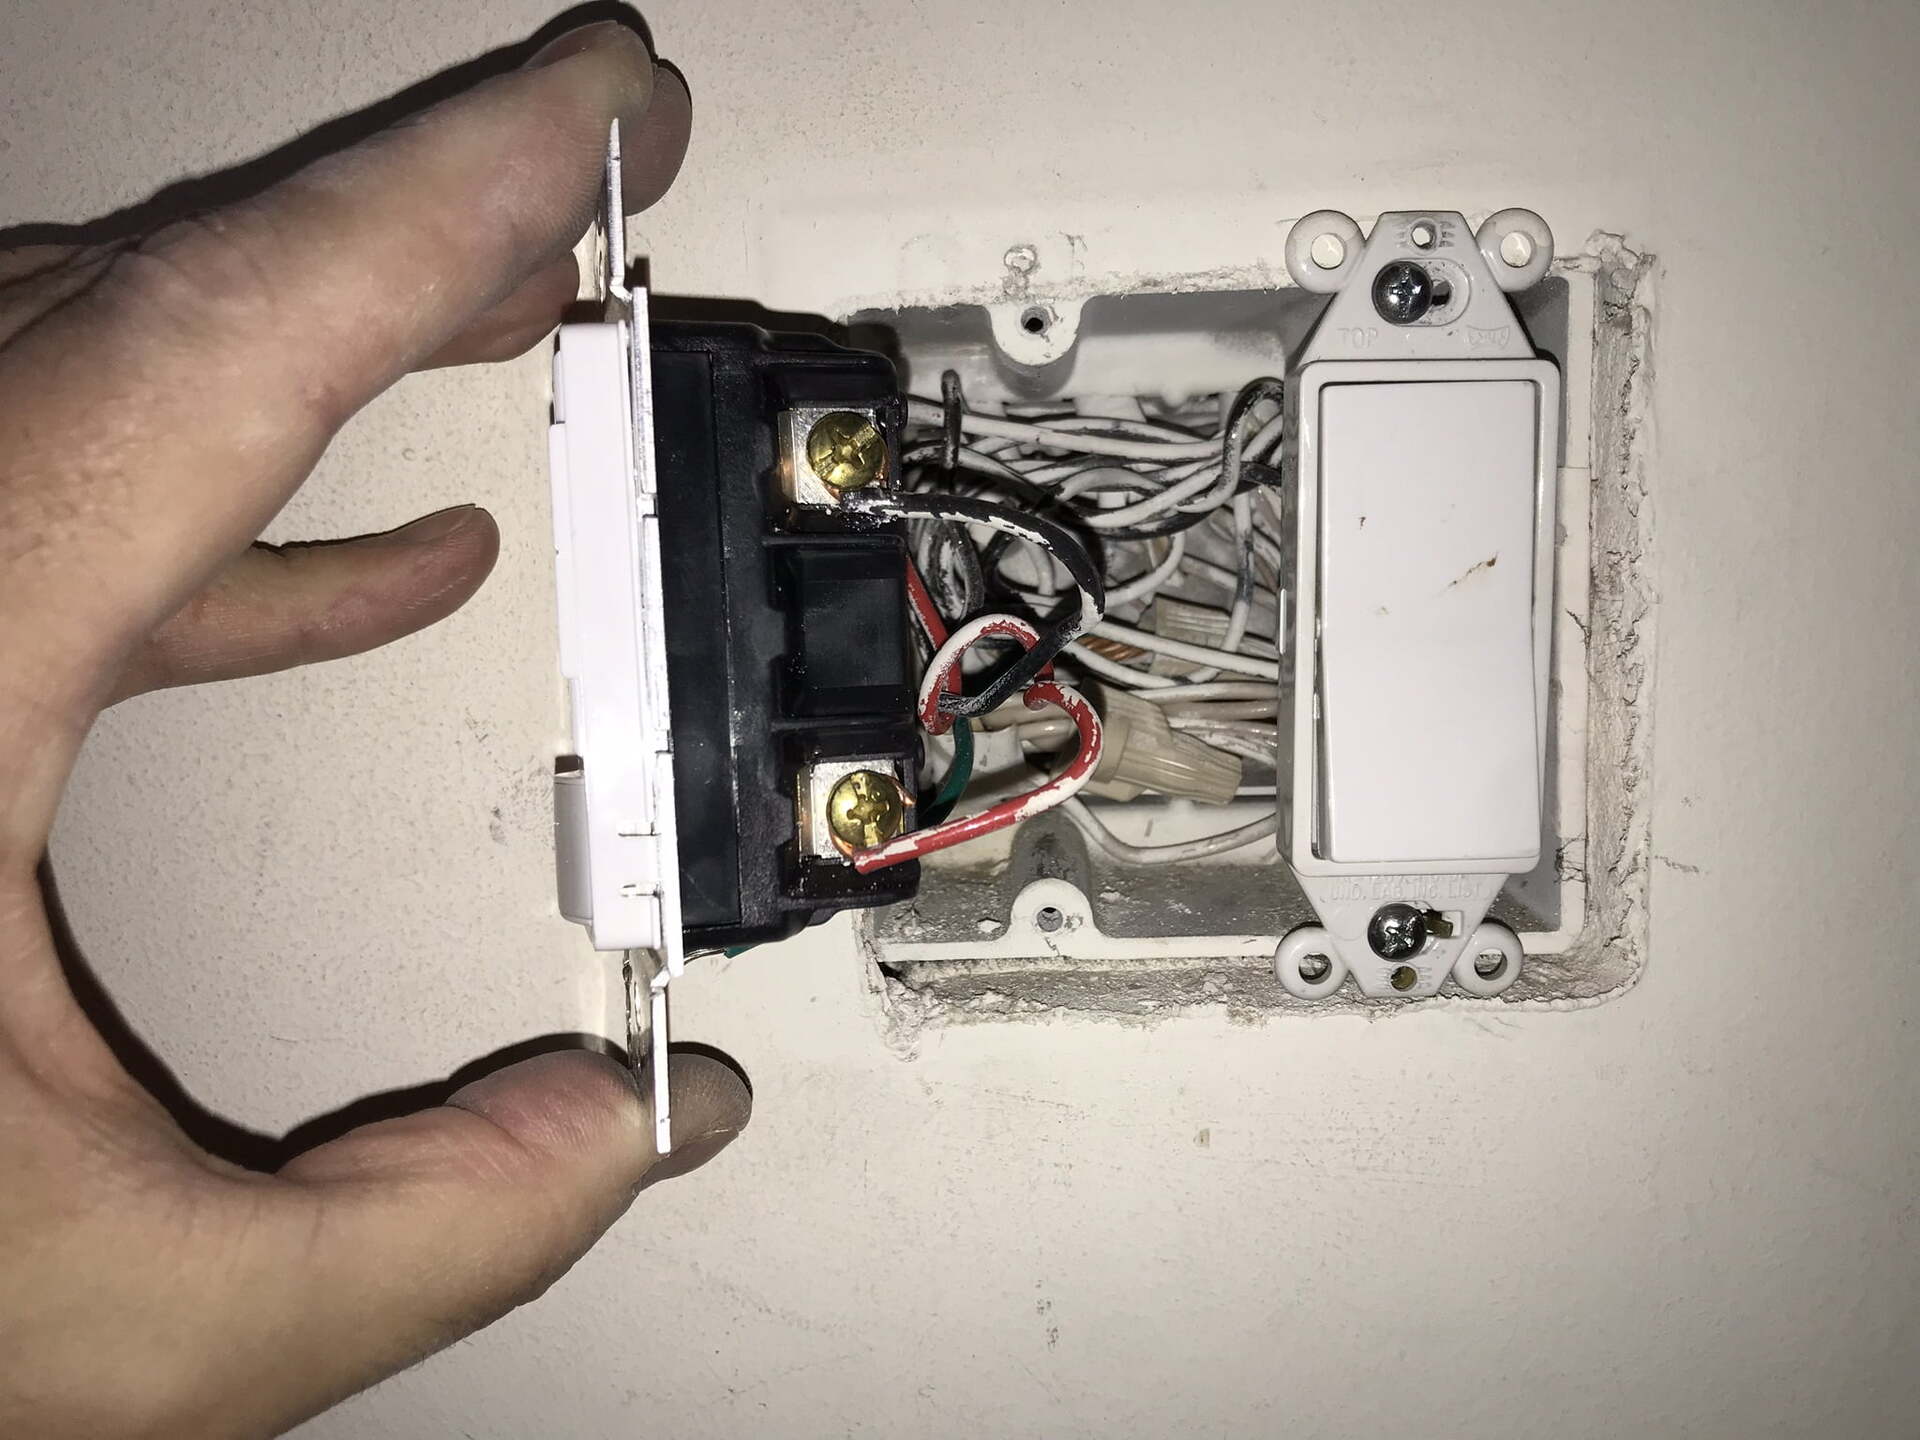
Step 3: Remove the existing switch
Now that the power is turned off, it’s time to remove the existing switch. This is a relatively straightforward process, but it’s important to follow these steps to ensure a successful removal:
- Start by removing the cover plate of the existing switch. Typically, these are held in place by a few screws. Use a screwdriver to unscrew and remove the cover plate.
- Once the cover plate is removed, you’ll see the switch itself. Take note of how the wires are connected to the switch before proceeding. It’s a good idea to take a picture or make a diagram of the wire connections for reference later.
- Next, use a screwdriver to unscrew and remove the screws holding the switch to the electrical box. Gently pull the switch out of the box, exposing the wiring behind it.
- If there is a ground wire attached to the switch, remove it by loosening the screw or wire connector holding it in place. Set the ground wire aside.
Once the existing switch has been completely removed, inspect the wires for any signs of damage or wear. If any wires appear frayed or damaged, they should be replaced before continuing with the installation.
With the existing switch removed, you’re now ready to move on to the next step: disconnecting the wires.
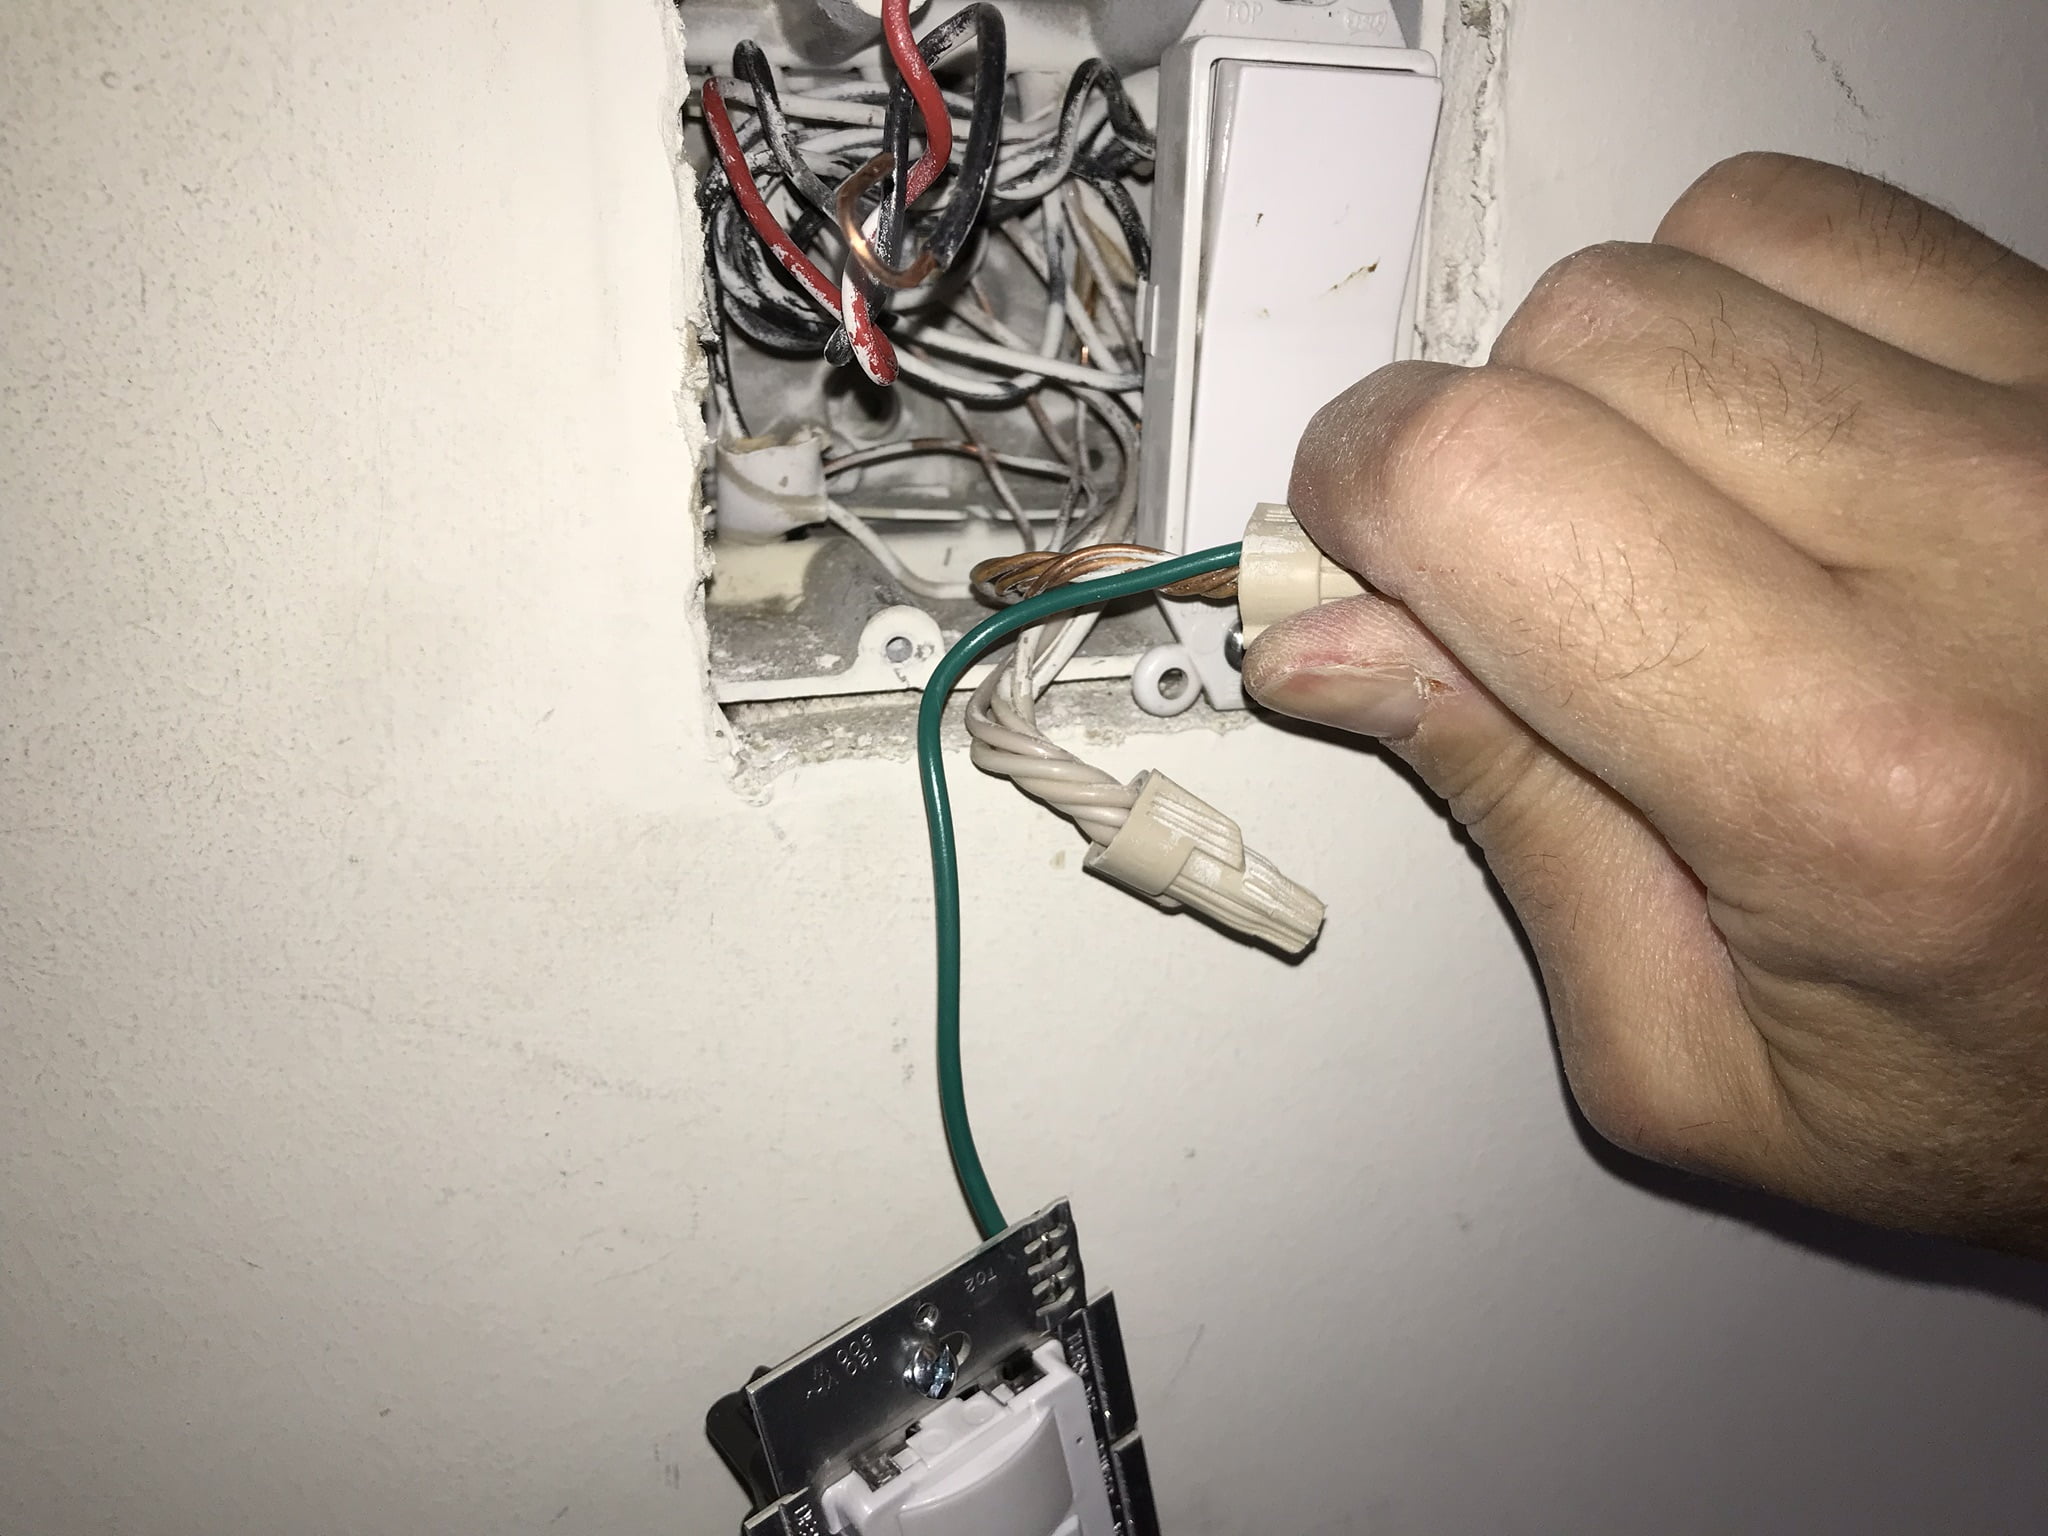
Step 4: Disconnect the wires
With the existing switch removed, it’s time to disconnect the wires. This step is crucial for safely installing the motion detector light switch. Follow these steps to disconnect the wires:
- Start by identifying the different wires connected to the existing switch. There are typically three wires: a black (hot) wire, a white (neutral) wire, and a bare or green (ground) wire.
- Using a screwdriver or pliers, loosen the screws or wire connectors holding the wires in place.
- Carefully separate the wires and gently pull them out of the electrical box. Take note of the wire colors and their corresponding terminals.
- If necessary, use wire strippers to remove a small portion of the insulation on the ends of the wires. This will expose the bare copper or colored wires for proper connection.
- Double-check that all the wires are disconnected and free from any obstructions or tangles.
Keep in mind that the wire colors mentioned above are typical, but they may vary depending on your electrical setup. It’s important to consult the manufacturer’s instructions or seek professional assistance if you are unsure about the wiring configuration of your home.
Once the wires are disconnected and prepared, you’re now ready to proceed to the next step: installing the motion detector light switch.
Before installing a motion detector light switch, make sure to turn off the power to the circuit at the breaker box. This will prevent any accidents or electrical shocks while working on the installation.
Read more: How To Adjust Motion Detector Light Switch
Step 5: Install the motion detector light switch
With the wires disconnected, it’s time to install the motion detector light switch. Follow these steps to ensure a proper installation:
- Take the motion detector light switch and carefully feed the wires through the appropriate openings in the switch’s backplate. Make sure to position the switch so that it aligns with the screw holes on the electrical box.
- Once the switch is in position, use the screws provided with the switch to secure it to the electrical box. Tighten the screws firmly, but be careful not to overtighten and damage the switch or the electrical box.
- Next, identify the black (hot) wire from your existing wiring. Connect it to the black wire from the motion detector light switch. You can do this by using a wire nut to twist the wires together in a clockwise direction.
- If your existing wiring includes a white (neutral) wire, connect it to the white wire from the motion detector light switch in the same manner as step 3.
- Finally, if there is a bare or green (ground) wire in your existing wiring, connect it to the corresponding ground wire on the motion detector light switch. This is typically done by twisting the bare ends of the wires together and securing them with a wire nut.
Once all the wires are securely connected, gently push the excess wire back into the electrical box. Ensure that the switch fits snugly against the wall without any gaps.
At this point, you have successfully installed the motion detector light switch. However, there are a few more steps to complete the installation process. The next step is to reconnect the wires.
Step 6: Reconnect the wires
Now that the motion detector light switch is installed, it’s time to reconnect the wires. Follow these steps to ensure a proper and secure connection:
- First, locate the black (hot) wire from the motion detector light switch and reconnect it to the black (hot) wire from your existing wiring. Use a wire nut to twist the wires together in a clockwise direction until they are tightly connected.
- If your existing wiring includes a white (neutral) wire, connect it to the white wire from the motion detector light switch using a wire nut. Twist the wires together in a clockwise direction to create a secure connection.
- If there is a bare or green (ground) wire in your existing wiring, connect it to the corresponding ground wire on the motion detector light switch. Twist the bare ends of the wires together, making sure they are tightly connected.
Double-check that all the wire connections are secure and properly insulated. If necessary, wrap electrical tape around the wire nuts to provide additional protection and prevent any accidental disconnections.
Once the wires are securely connected, gently push the excess wire back into the electrical box. Ensure that there are no exposed wires or loose connections protruding from the box.
With the wires successfully reconnected, you’re almost done with the installation process. The next step is to mount the motion detector light switch to the wall.
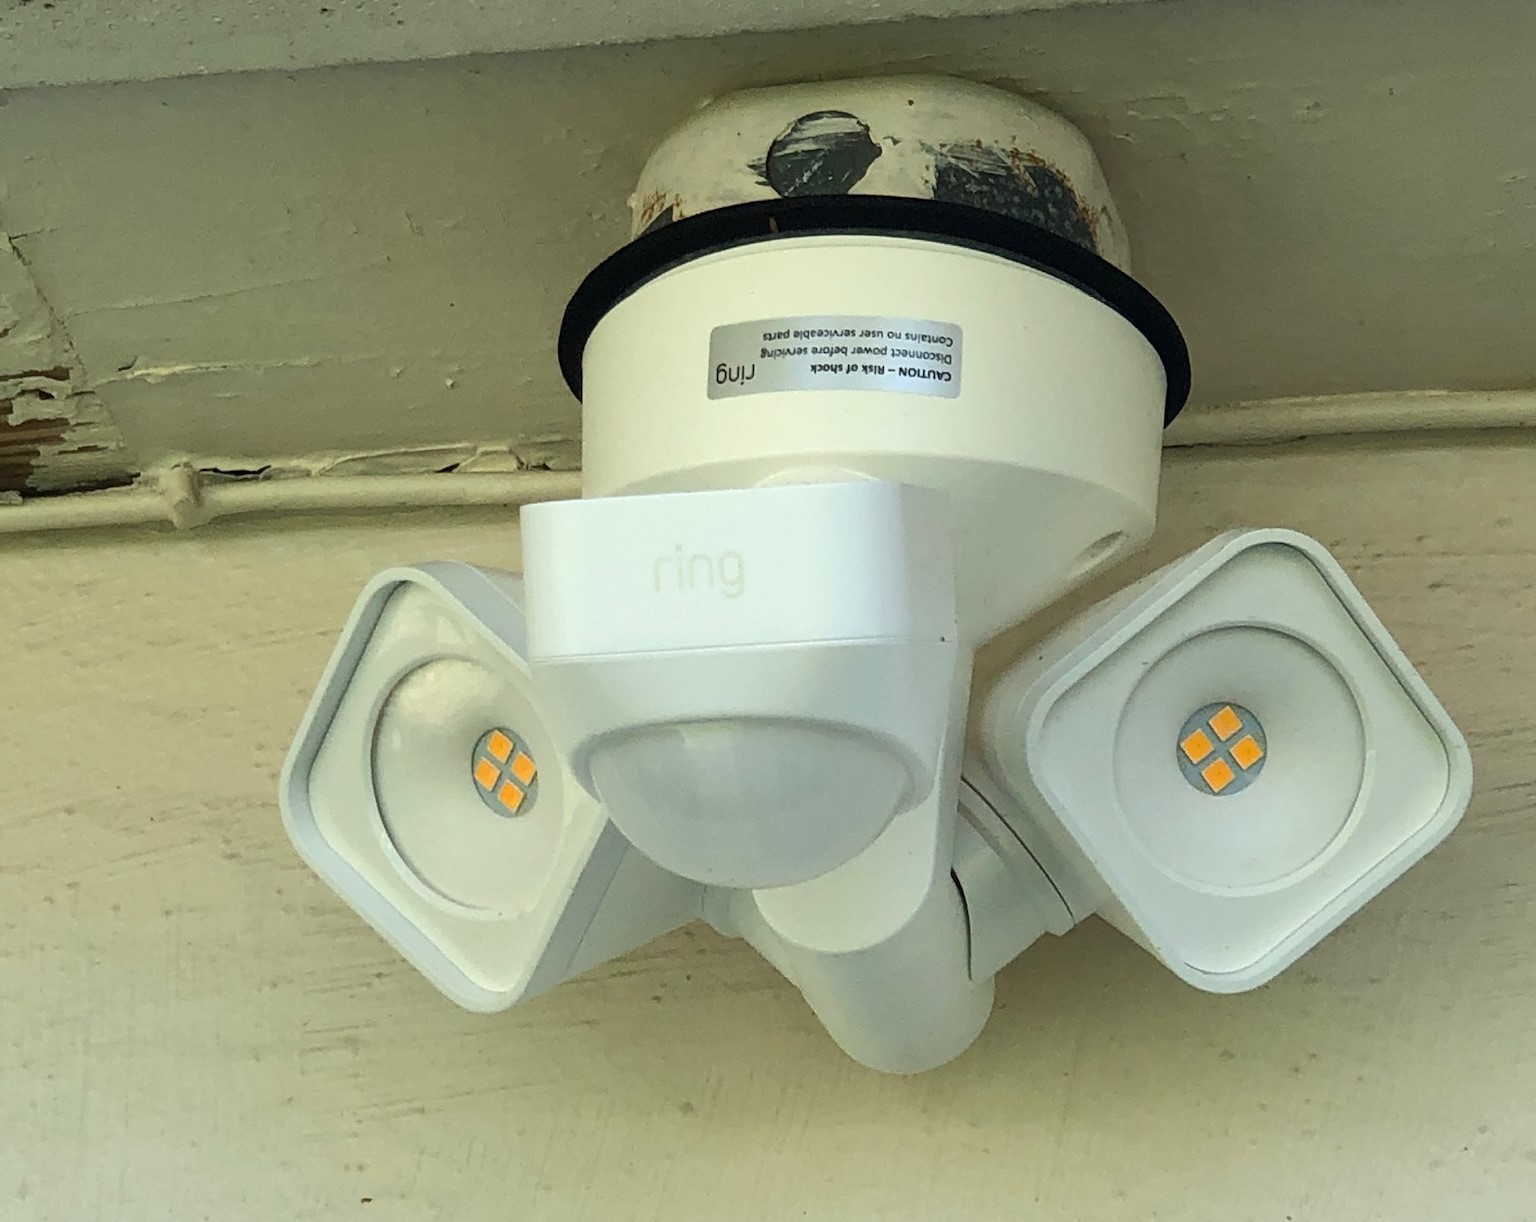
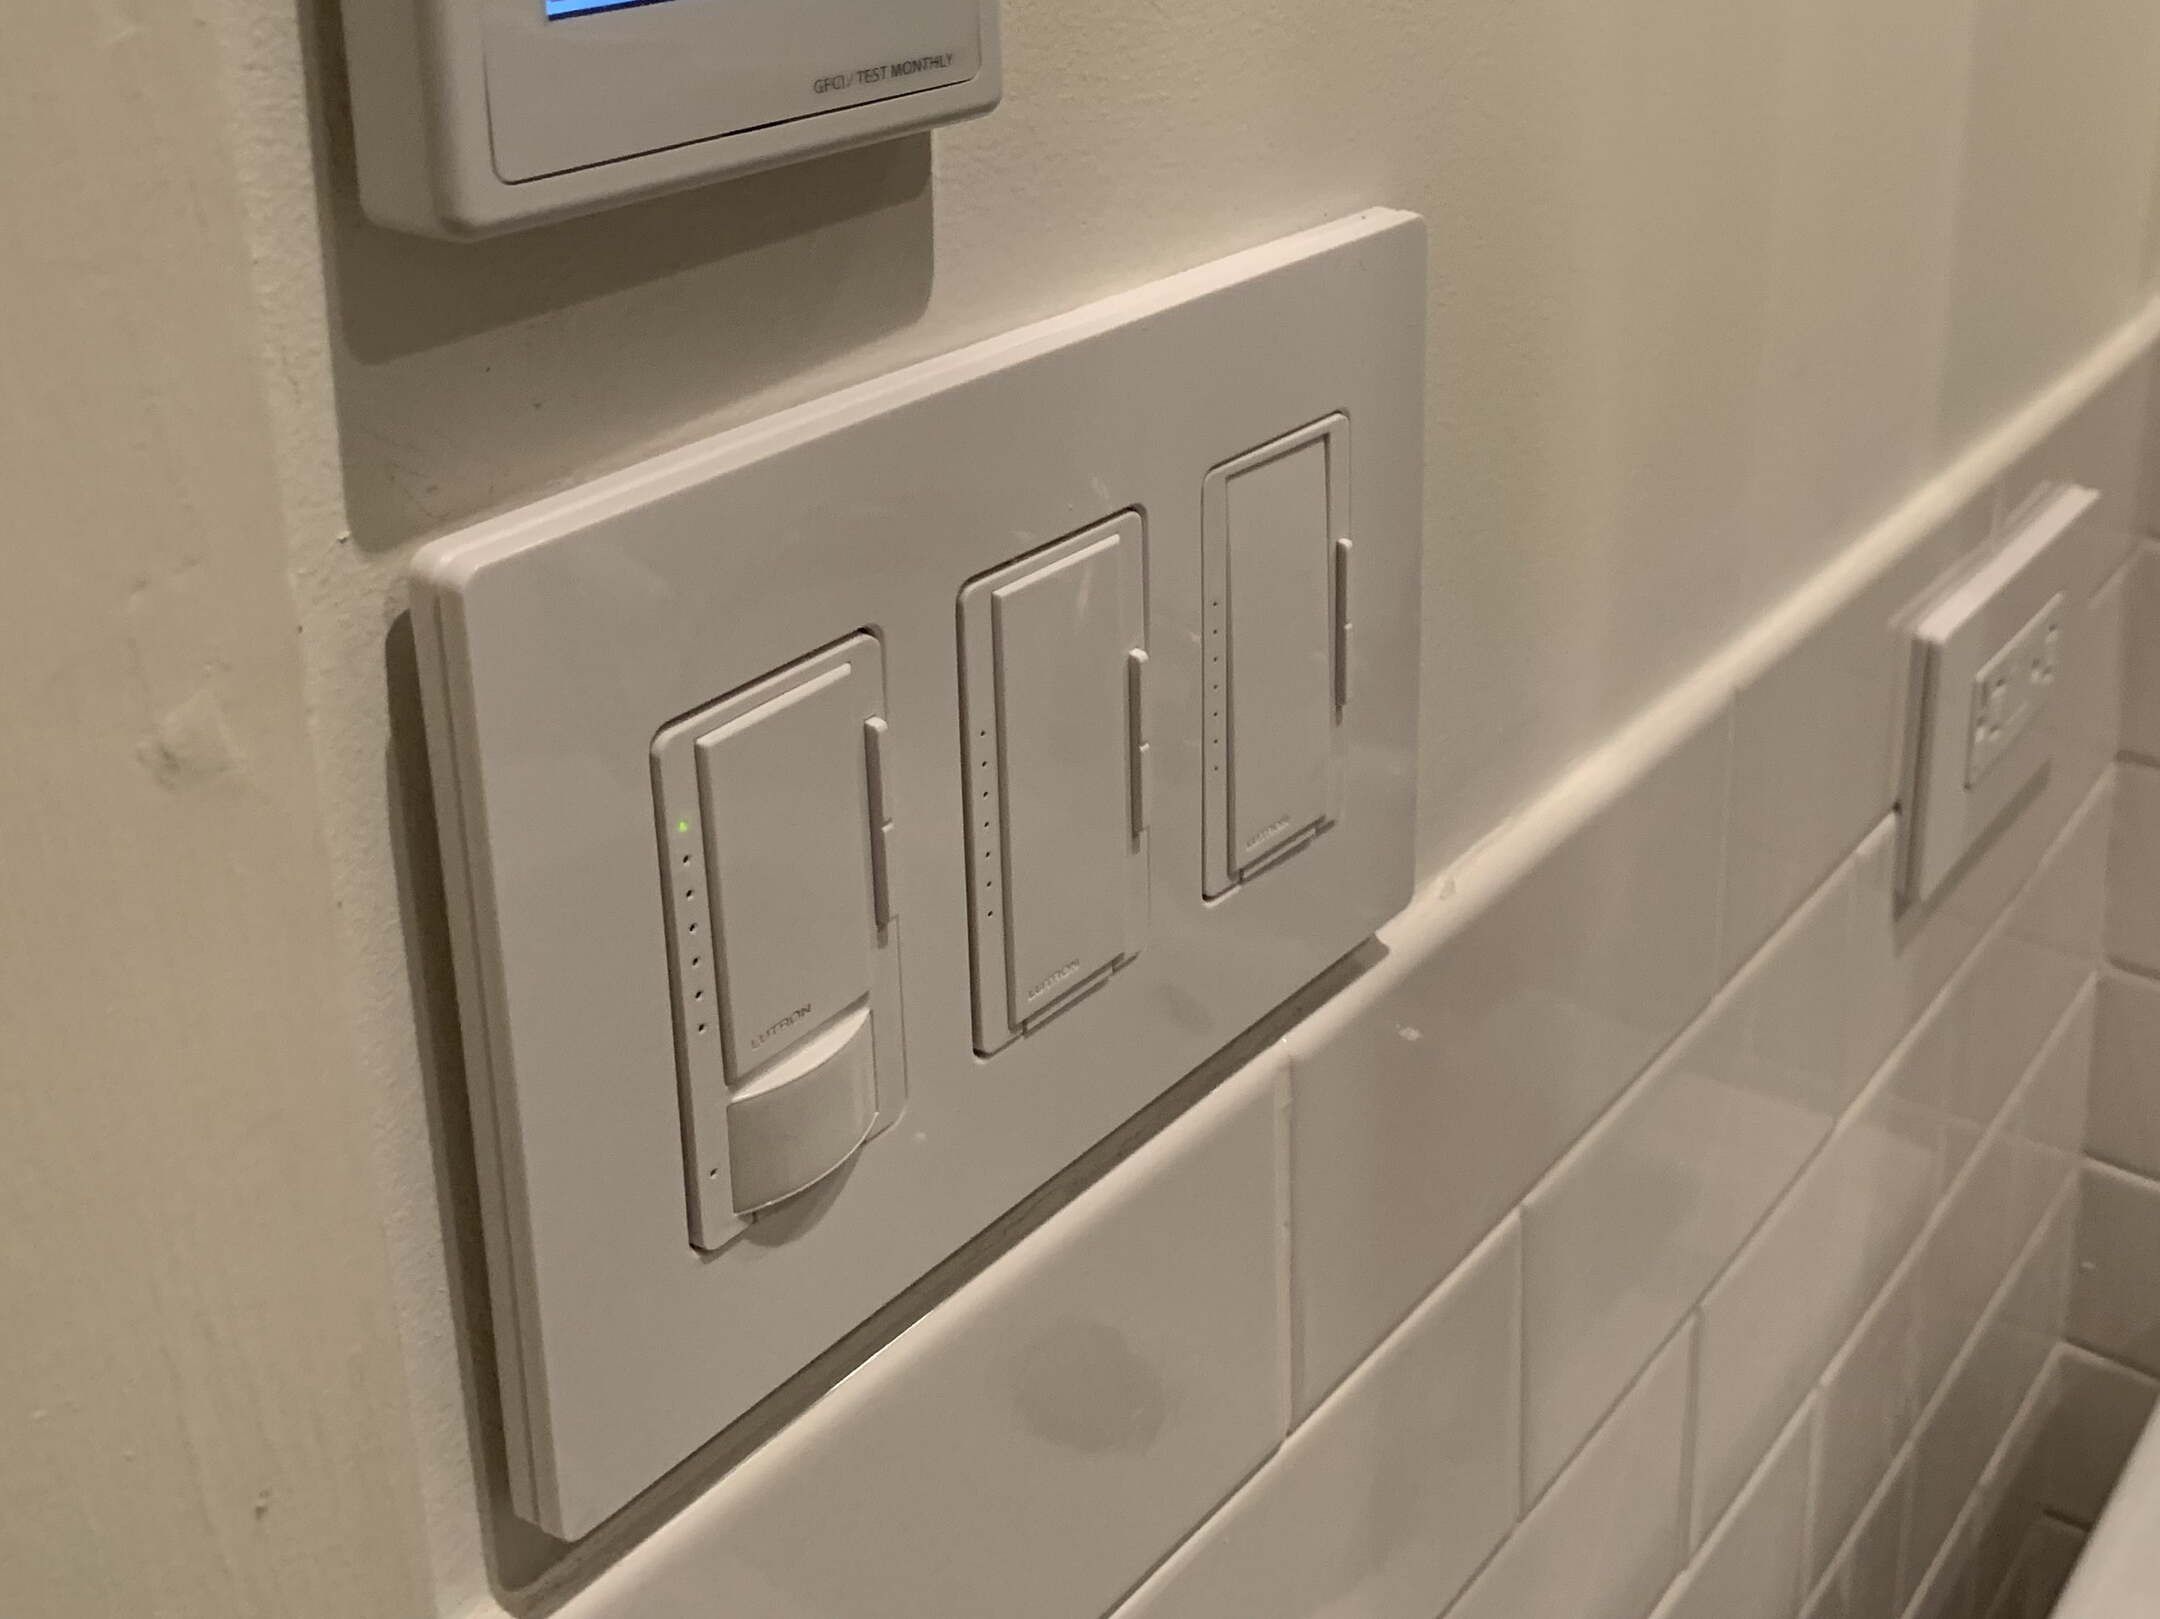
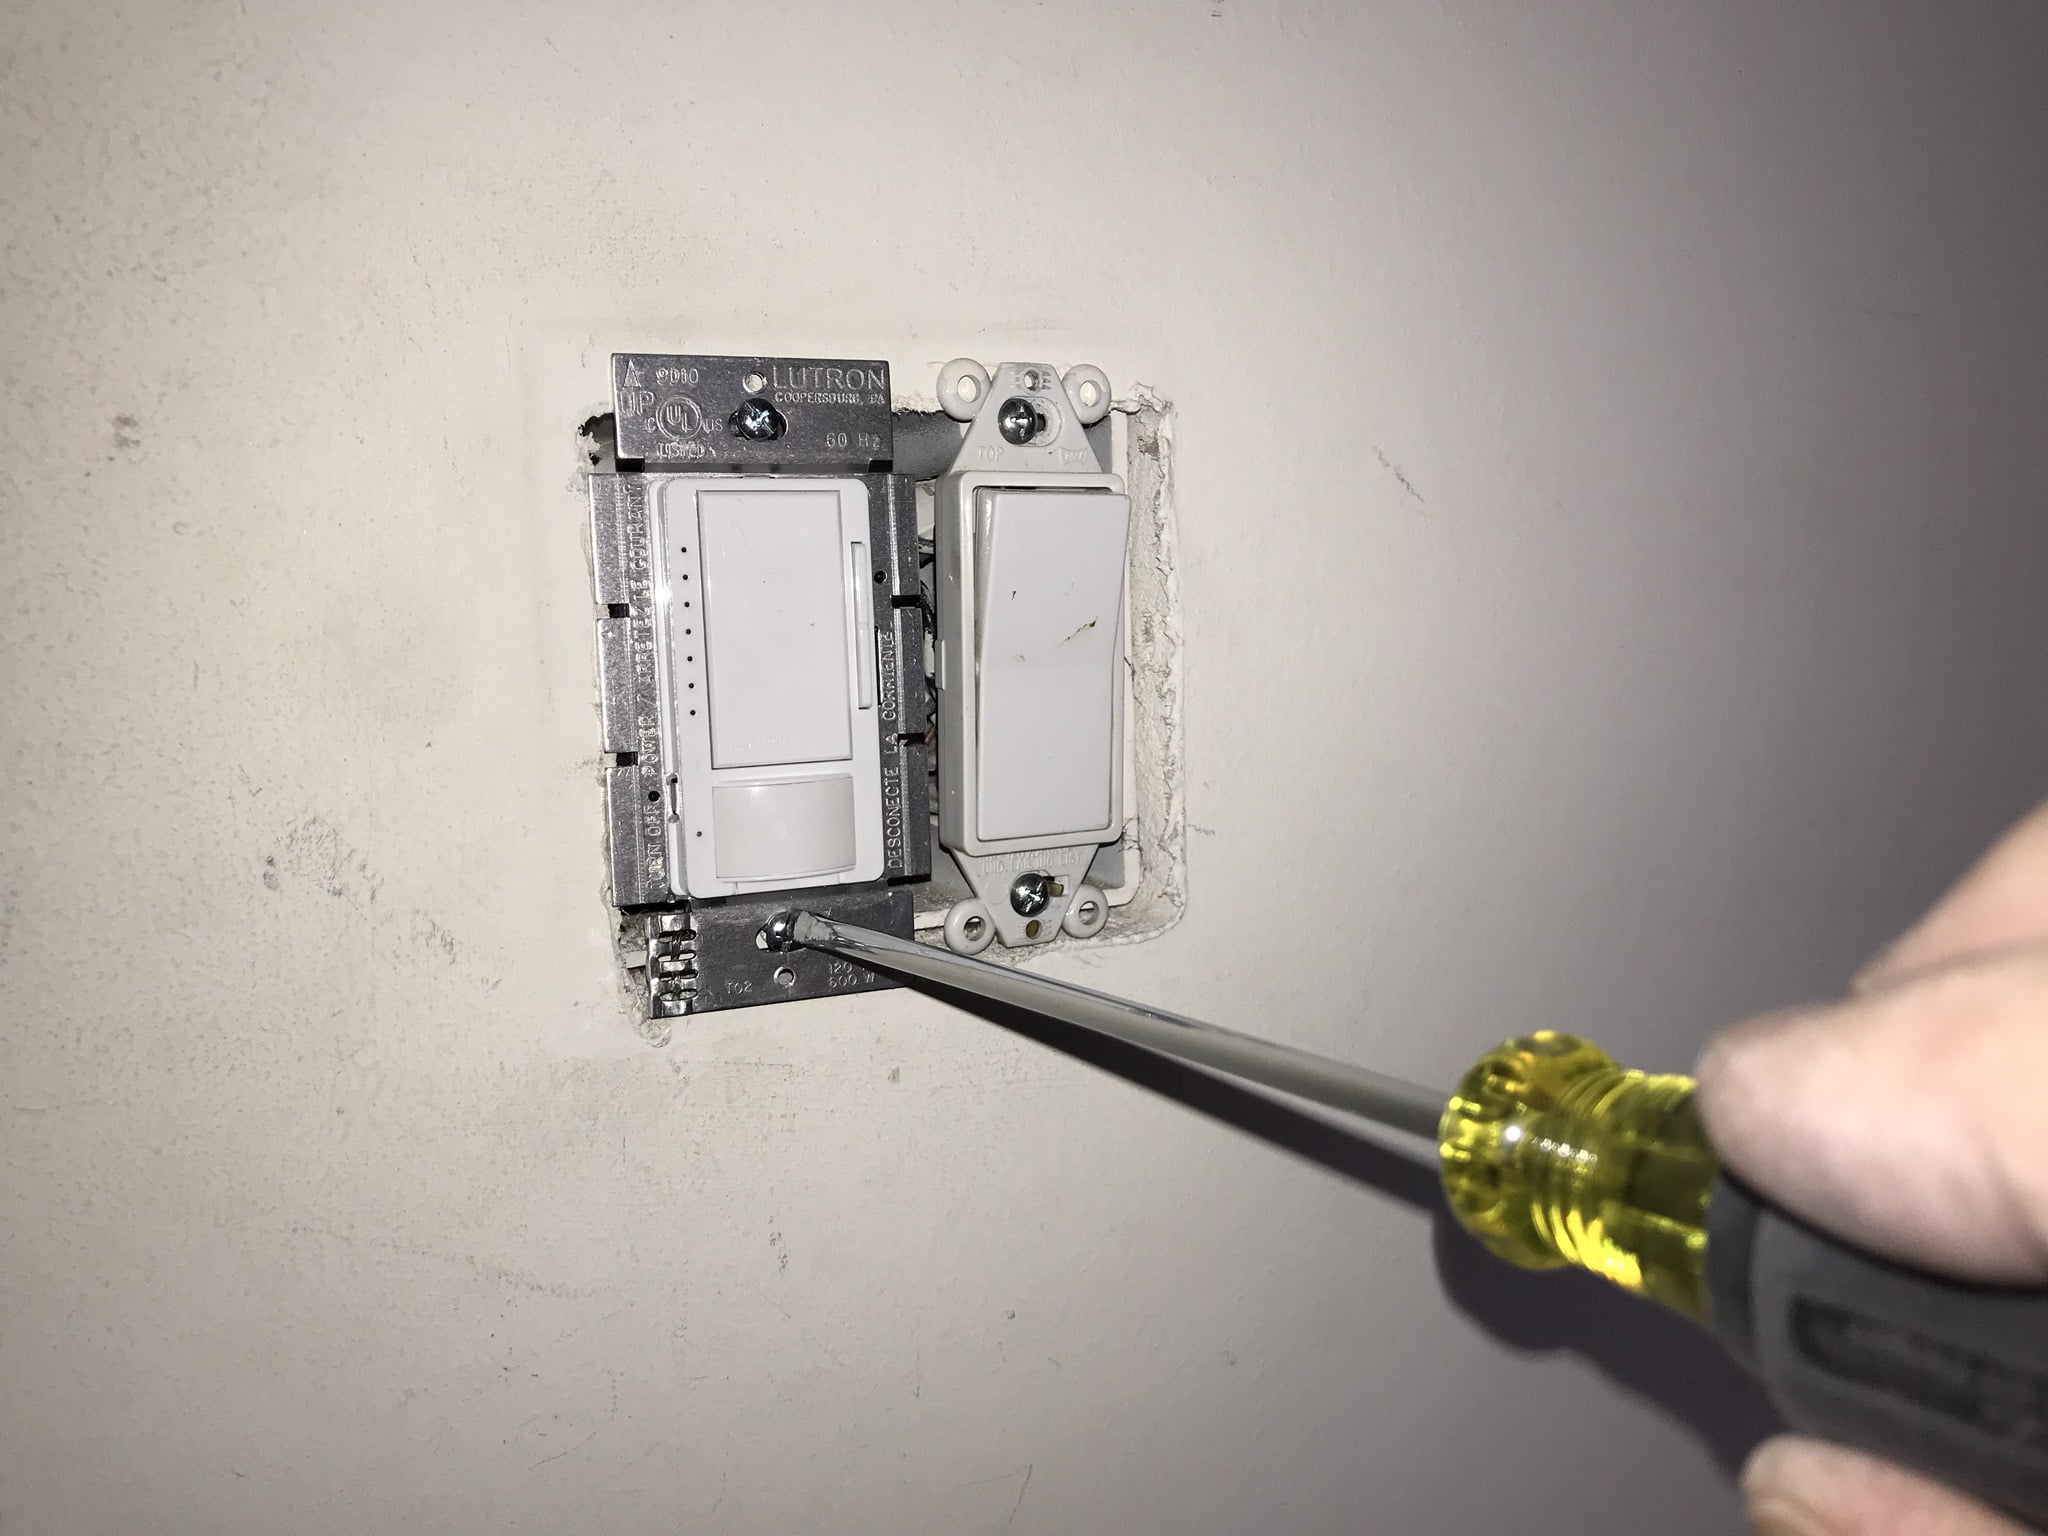
Step 7: Mount the motion detector switch
With the wires securely connected, it’s time to mount the motion detector switch to the wall. Follow these steps to properly mount the switch:
- Before mounting the switch, ensure that all the wires are neatly tucked into the electrical box and there are no obstructions.
- Align the screw holes on the motion detector switch with the holes on the electrical box.
- Using the screws provided with the switch, insert them into the holes and tighten them until the switch is firmly mounted to the wall.
- Gently pull on the switch to ensure it is securely fastened and does not wiggle or move.
Once the motion detector switch is properly mounted, check that it is straight and aligned with the surrounding wall. Adjust it as necessary.
Now that the switch is securely mounted, you are almost finished with the installation process. The final step is to turn on the power and test the switch.
Step 8: Turn on power and test the switch
Now that the motion detector switch is installed and mounted, it’s time to turn on the power and test its functionality. Follow these steps to ensure everything is working as intended:
- Return to the main electrical panel and locate the breaker that controls the circuit you were working on.
- Flip the switch of the corresponding breaker to the “On” position. You should hear a click or feel some resistance when the breaker is turned on.
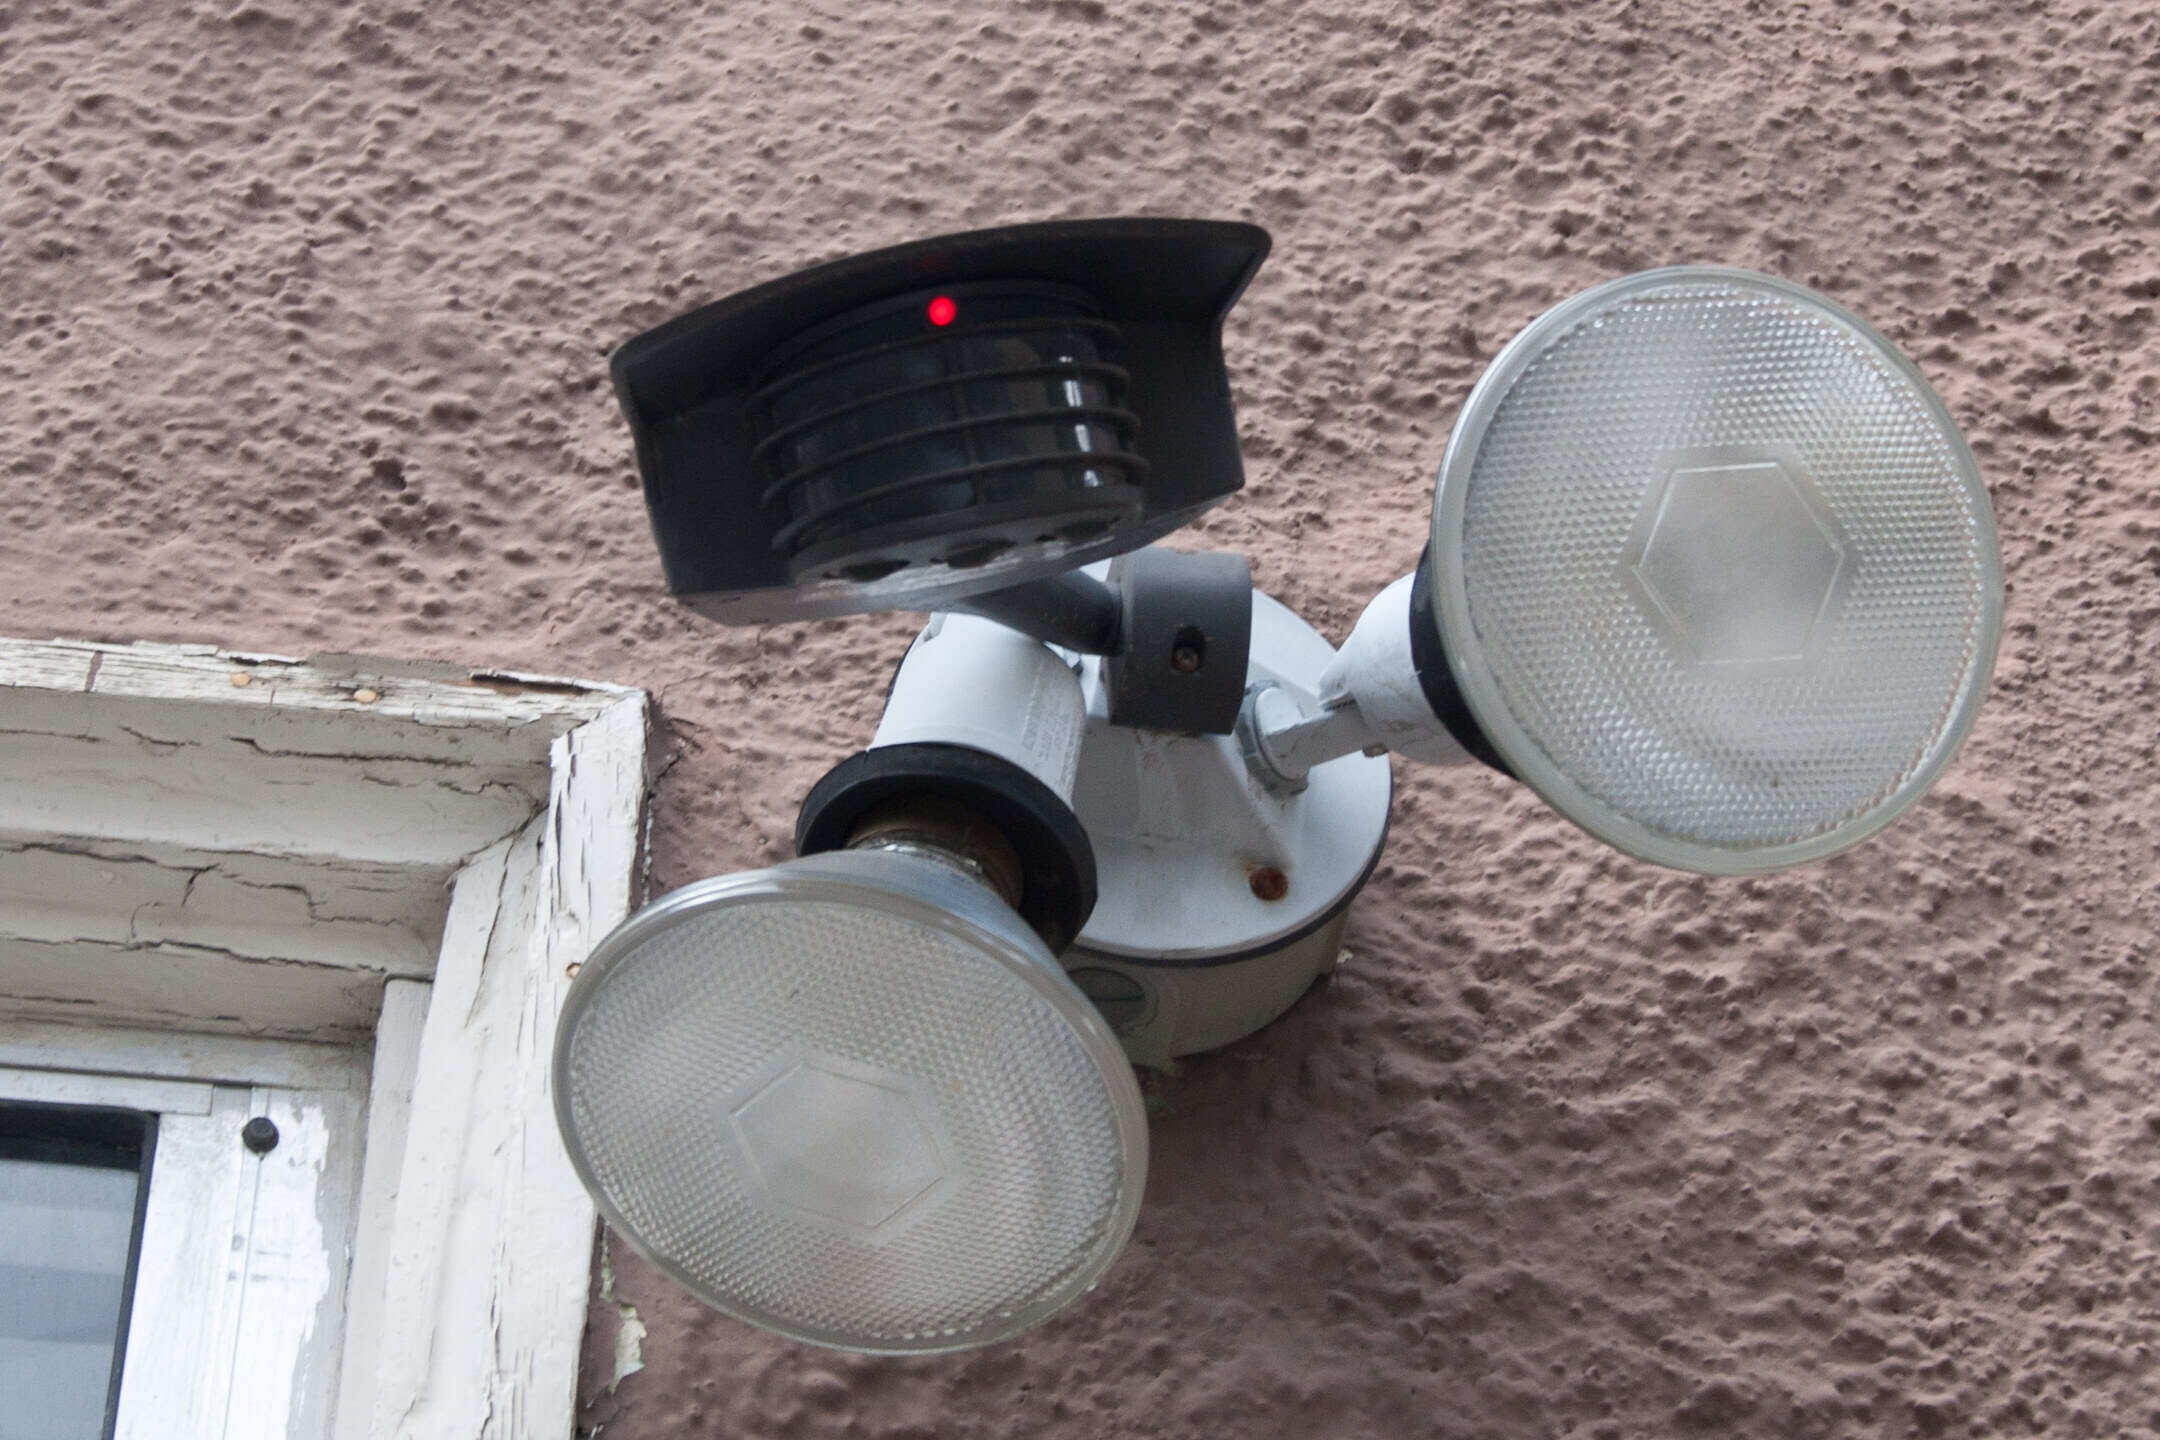
- Once the power is restored, carefully observe the motion detector switch. It should have a LED indicator or light to indicate that it is powered on.
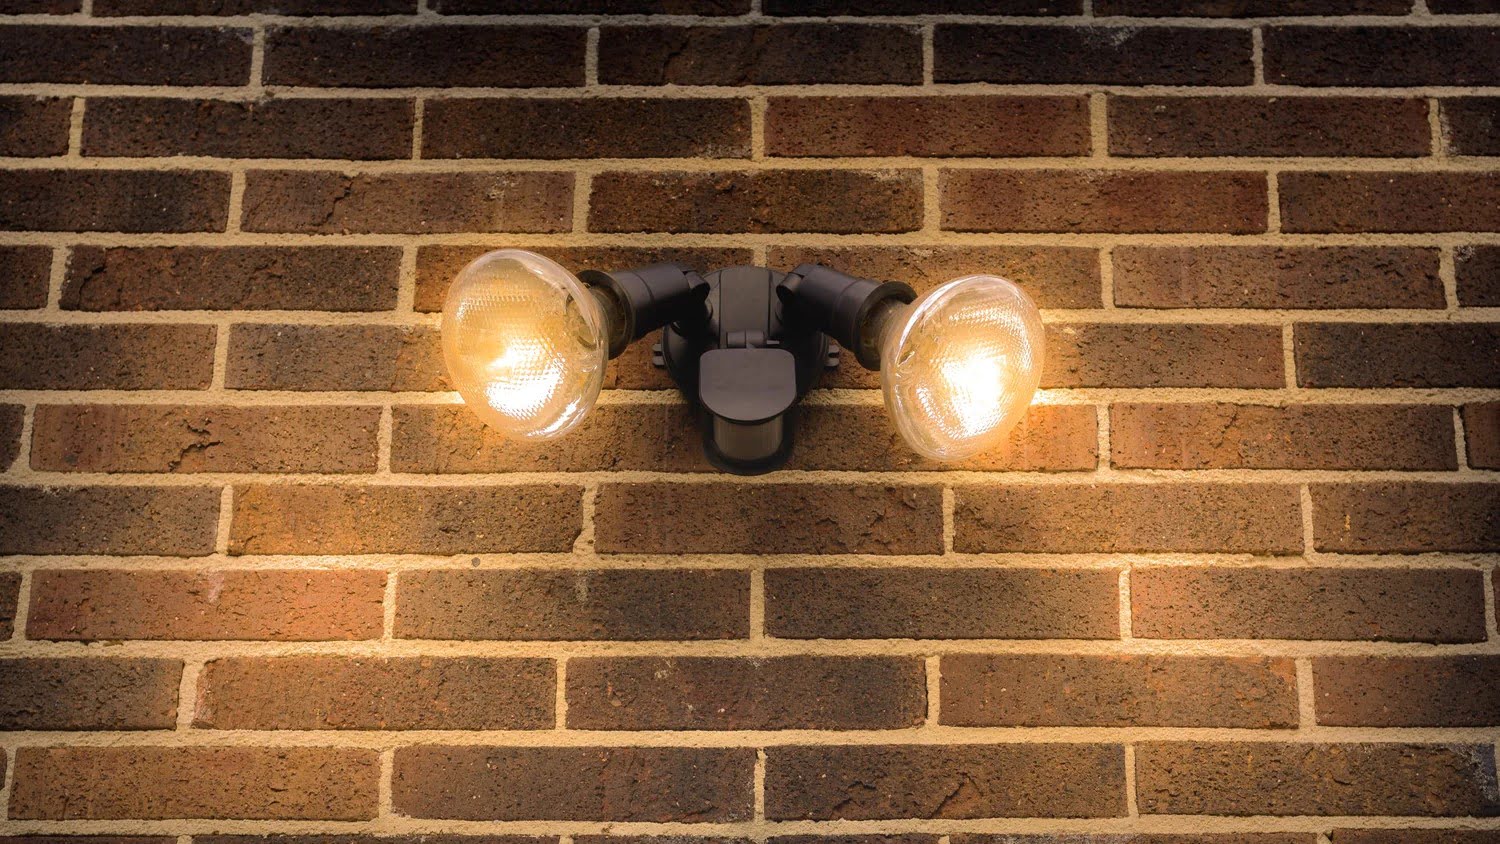
- Test the motion detection feature by moving within the detection range of the switch. The lights connected to the switch should automatically turn on when motion is detected.
- Allow the lights to remain on for a few minutes to ensure that they do not turn off prematurely.
- Adjust the sensitivity and duration settings on the motion detector switch if necessary, following the manufacturer’s instructions.
If the motion detector switch functions correctly and the lights turn on as expected, congratulations! You have successfully installed and tested the motion detector light switch.
However, if you encounter any issues or the switch does not work as intended, double-check your connections and consult the manufacturer’s instructions or seek professional assistance if needed.
Remember, safety is crucial when working with electrical components. If you are unsure or uncomfortable with any part of the installation process, it’s always best to consult a licensed electrician.
With the power restored and the switch tested, you’ve completed the installation process. Enjoy the added security and convenience of your new motion detector light switch!
Read more: How Do Motion Detector Light Switches Work
Conclusion
Congratulations on successfully installing a motion detector light switch! By following the steps outlined in this guide, you’ve not only added an extra layer of security to your home but also increased the convenience of your lighting system.
Remember, safety should always be your top priority when working with electricity. If you have any doubts or concerns about the installation process, it’s best to consult a licensed electrician who can ensure the job is done correctly and safely.
With a motion detector light switch, you can enjoy the benefits of automatic lighting in areas such as your front porch, backyard, or other remote areas of your home. Not only does this deter potential intruders, but it also provides convenience by eliminating the need to manually turn on and off lights.
During the installation process, make sure to carefully follow the manufacturer’s instructions and consider any specific features or settings that your motion detector light switch may have. This will allow you to customize its functionality to suit your needs.
Additionally, it’s important to periodically test and maintain your motion detector light switch to ensure optimal performance. Check the batteries, clean any dust or debris that may accumulate on the sensor, and adjust the settings if necessary.
By installing a motion detector light switch, you’ve taken an important step toward enhancing your home security and improving your overall living experience. Enjoy the convenience, peace of mind, and energy efficiency that comes with automated lighting!
Frequently Asked Questions about How To Install Motion Detector Light Switch
Was this page helpful?
At Storables.com, we guarantee accurate and reliable information. Our content, validated by Expert Board Contributors, is crafted following stringent Editorial Policies. We're committed to providing you with well-researched, expert-backed insights for all your informational needs.