Home>Home Security and Surveillance>How To Install Blink Outdoor Camera On A Siding
Home Security and Surveillance
How To Install Blink Outdoor Camera On A Siding
Modified: September 1, 2024
Learn how to install the Blink Outdoor Camera on your siding for enhanced home security and surveillance. Step-by-step guide with expert tips and tricks.
(Many of the links in this article redirect to a specific reviewed product. Your purchase of these products through affiliate links helps to generate commission for Storables.com, at no extra cost. Learn more)
Introduction
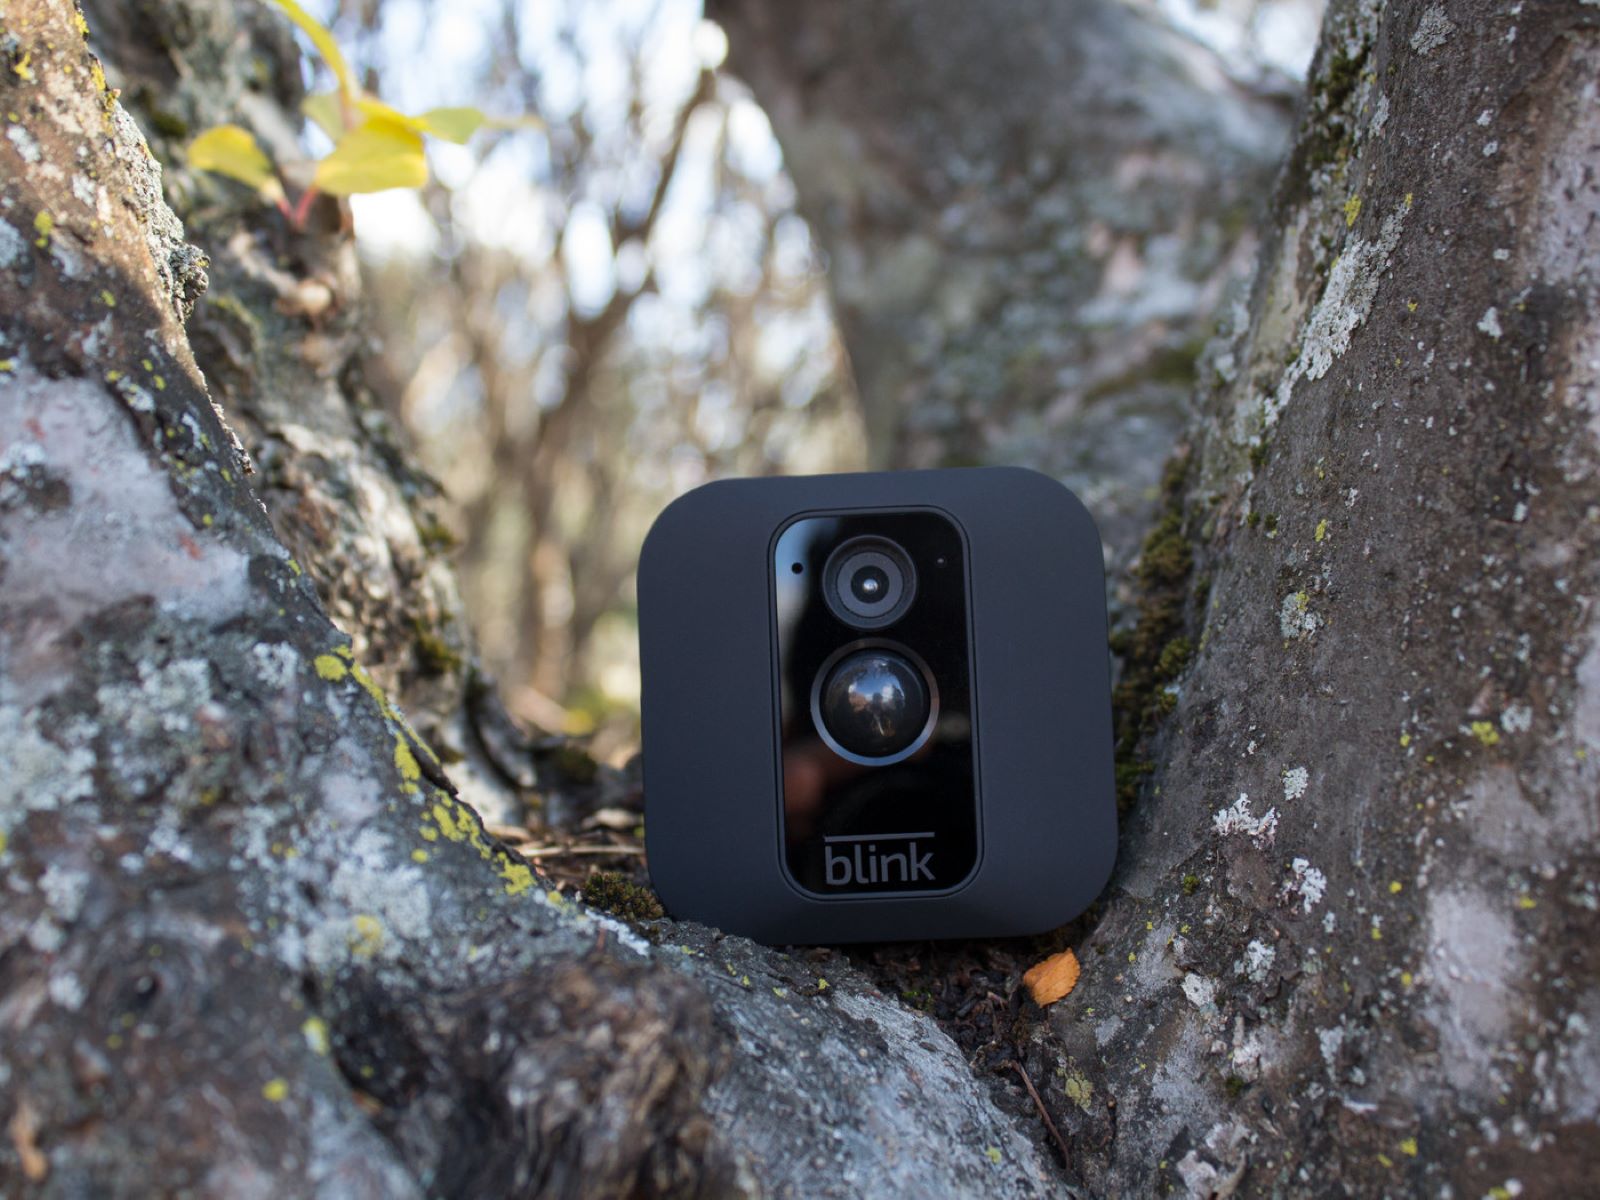
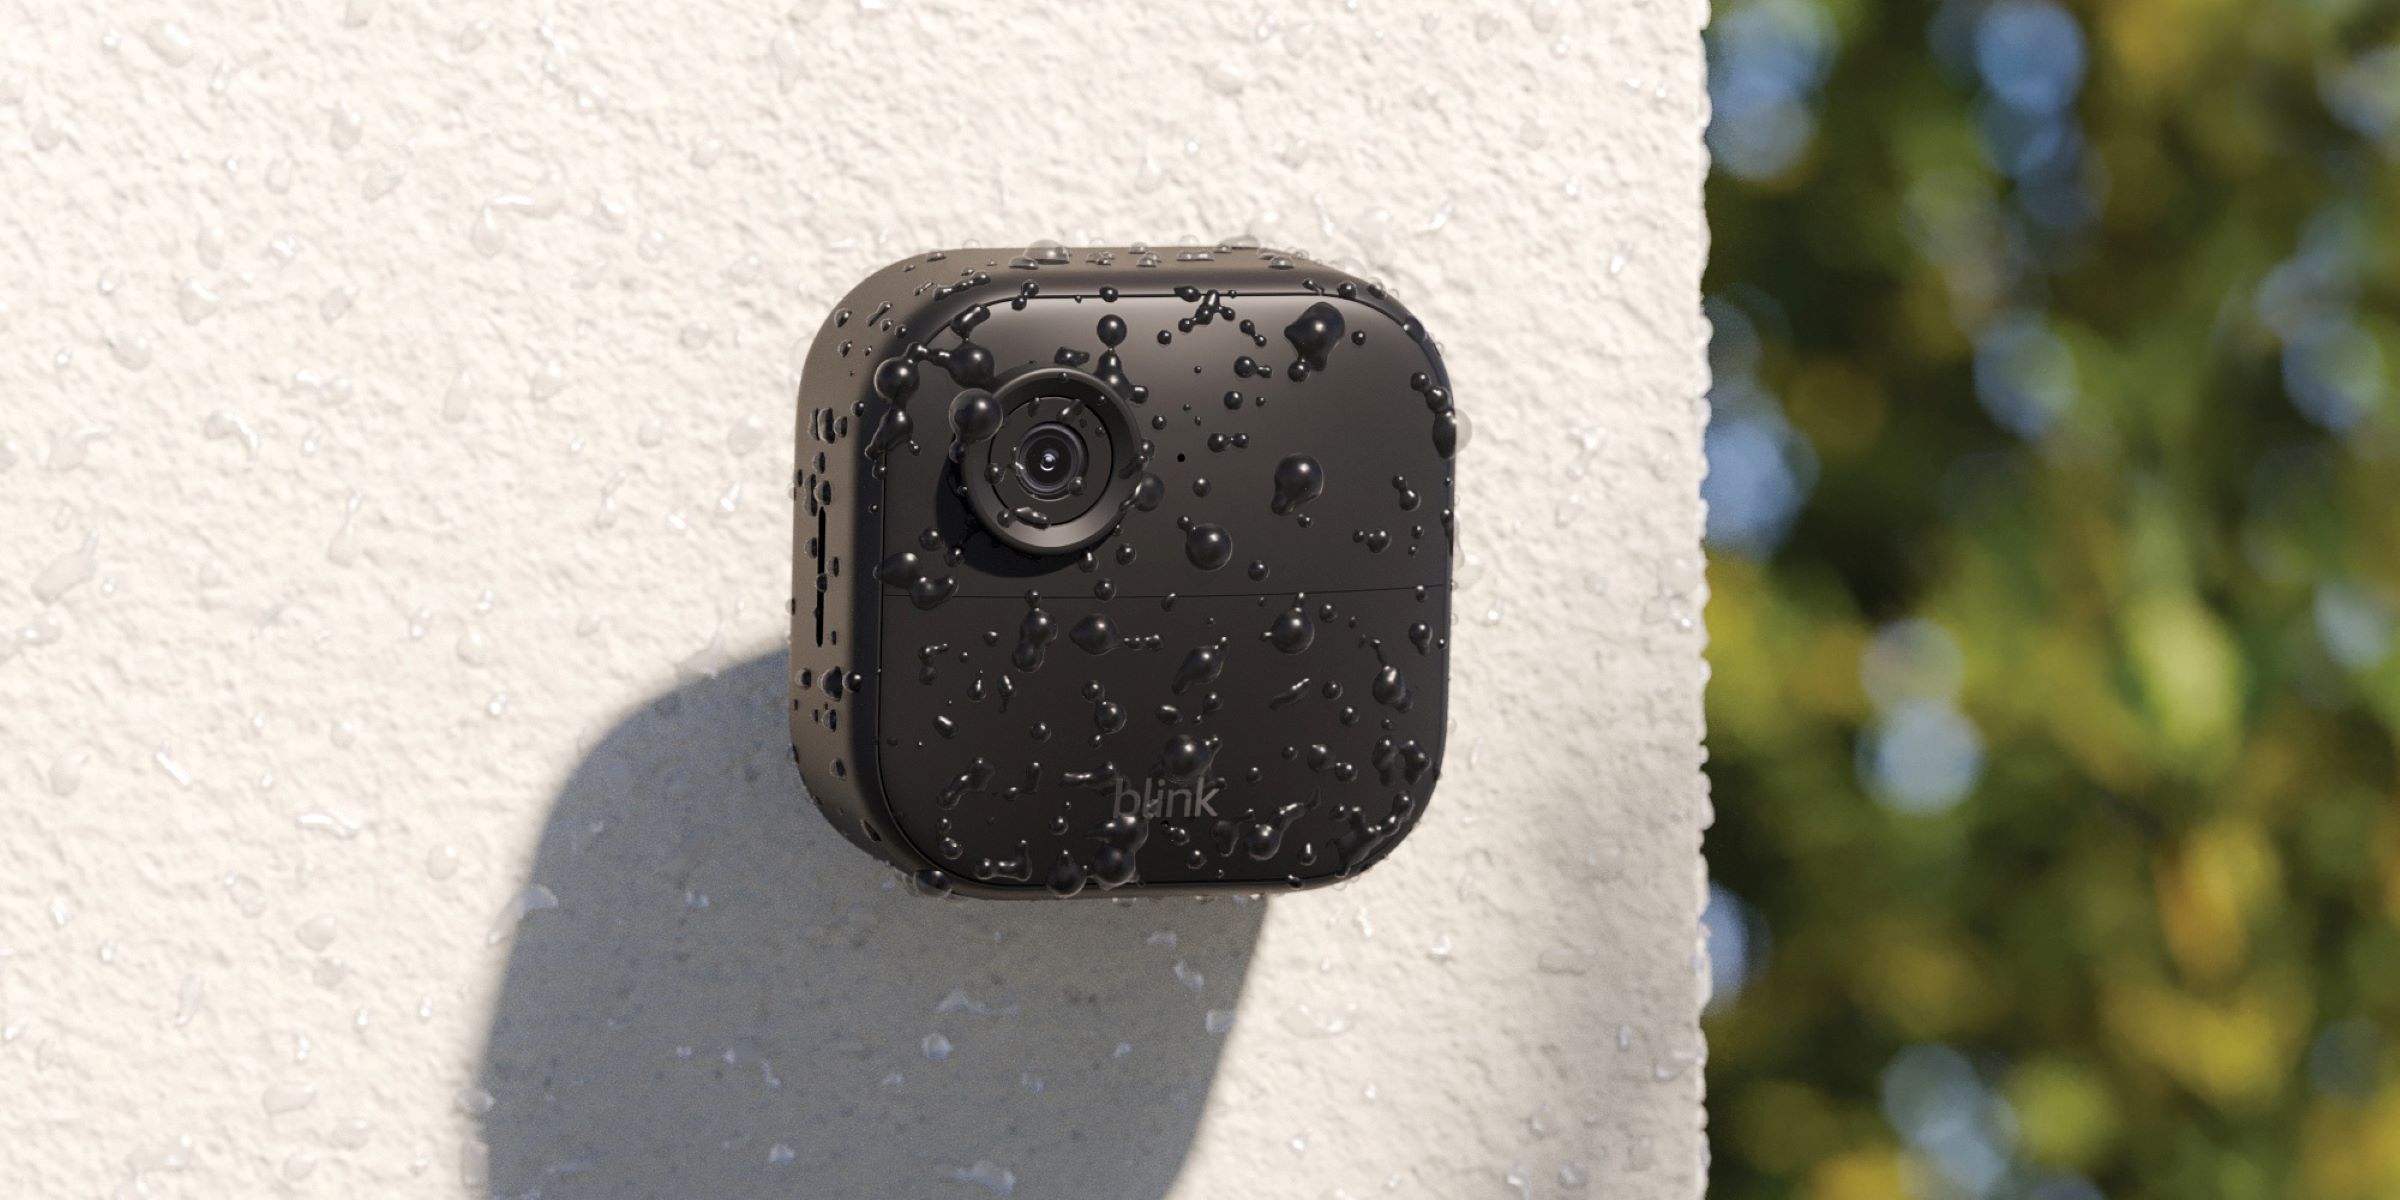
Home security plays a crucial role in keeping our homes and loved ones safe. With advancements in technology, installing a home security system has become more accessible and convenient. One popular option is the Blink Outdoor Camera, known for its reliable surveillance capabilities and easy installation process.
In this article, we will guide you through the step-by-step process of installing a Blink Outdoor Camera on a siding. Siding is a common feature of many homes, providing a protective and aesthetic covering for the exterior walls. By installing the camera on the siding, you can monitor your home’s surroundings and enjoy peace of mind.
Before we dive into the installation process, it’s important to note that the Blink Outdoor Camera requires a stable Wi-Fi connection and the Blink app on a smartphone or tablet. If you haven’t set up your Blink camera yet, make sure to do so before proceeding with the installation.
Now, let’s get started on installing the Blink Outdoor Camera on your siding and improving the security of your home.
Key Takeaways:
- Installing a Blink Outdoor Camera on your siding is a simple process that enhances home security. By following the step-by-step guide, you can ensure a successful installation and enjoy peace of mind knowing your property is well-protected.
- Choosing the right location, preparing the siding surface, and thorough testing are crucial for a successful Blink Outdoor Camera installation. With proper setup and adjustments, you can maximize surveillance coverage and deter potential intruders.
Step 1: Gather the Required Materials
Before you begin the installation process, it’s essential to gather all the necessary materials. This ensures a smooth and hassle-free installation experience. Here’s a list of the items you’ll need:
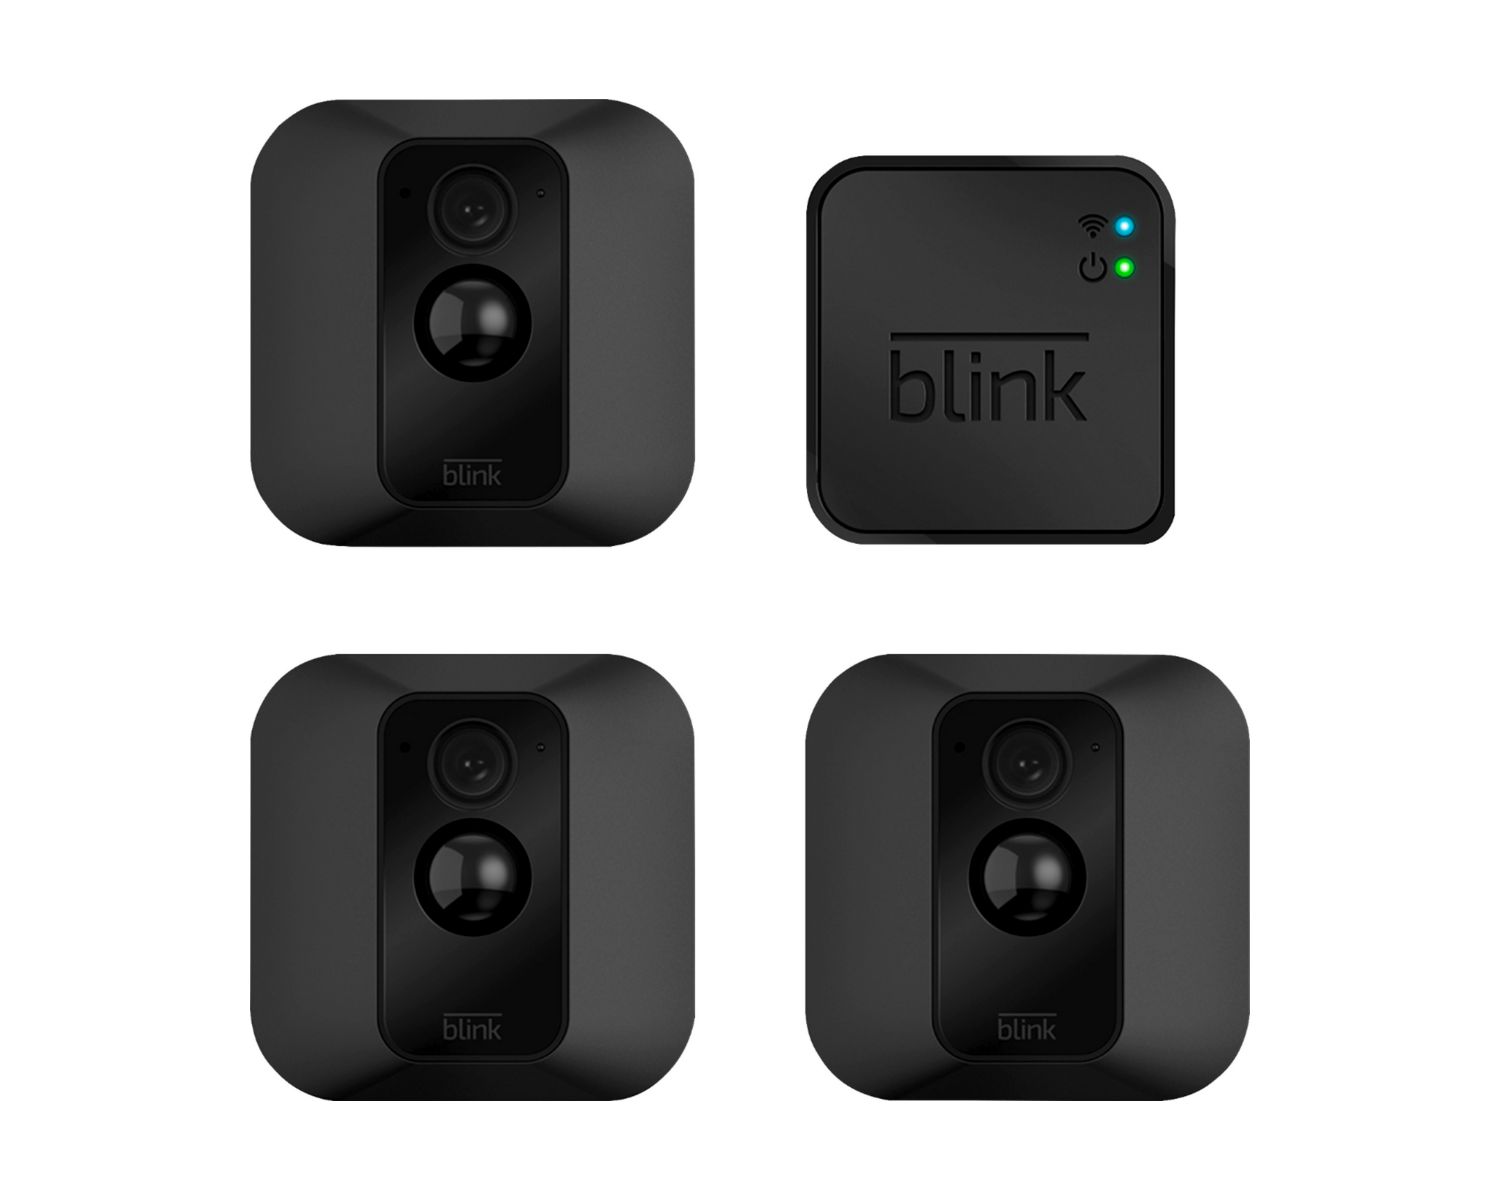
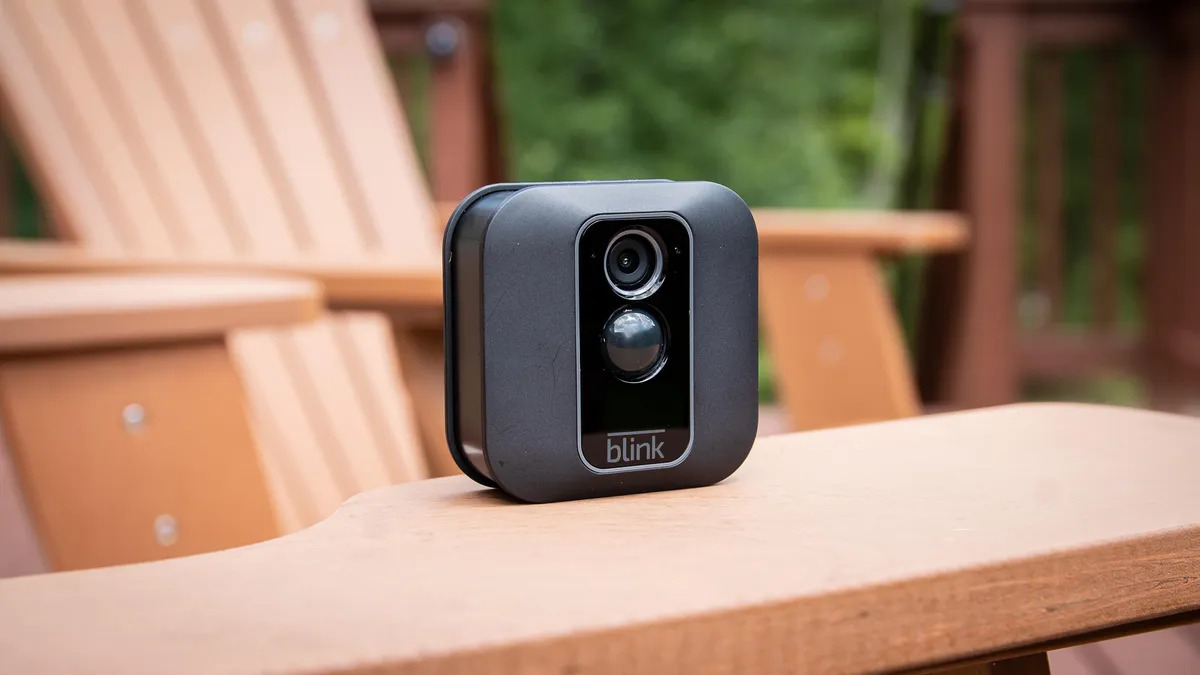
1. Blink Outdoor Camera: Make sure you have the Blink Outdoor Camera, which comes with a mounting bracket and hardware.
2. Mounting Bracket: The Blink Outdoor Camera comes with a sturdy mounting bracket that allows you to attach it to the siding securely.
3. Screws and Anchors: Depending on the type of siding you have, you may need screws and anchors to secure the mounting bracket. It’s essential to choose screws and anchors suitable for your siding material.
4. Screwdriver or Drill: You’ll need a screwdriver or drill to insert the screws and anchors into the siding.
5. Measuring Tape: To ensure accurate placement of the camera, a measuring tape will come in handy.
6. Level: A level will help you ensure that the camera is mounted straight and level.
7. Wi-Fi Connection and Smartphone: The Blink Outdoor Camera relies on a stable Wi-Fi connection and the Blink app on your smartphone or tablet. Make sure your Wi-Fi network is up and running before starting the installation process.
Before moving on to the next step, take a moment to gather all these materials. Having everything on hand will save time and prevent any unnecessary interruptions during the installation process.
Once you have all the required materials, it’s time to choose the proper location on the siding for installing your Blink Outdoor Camera.
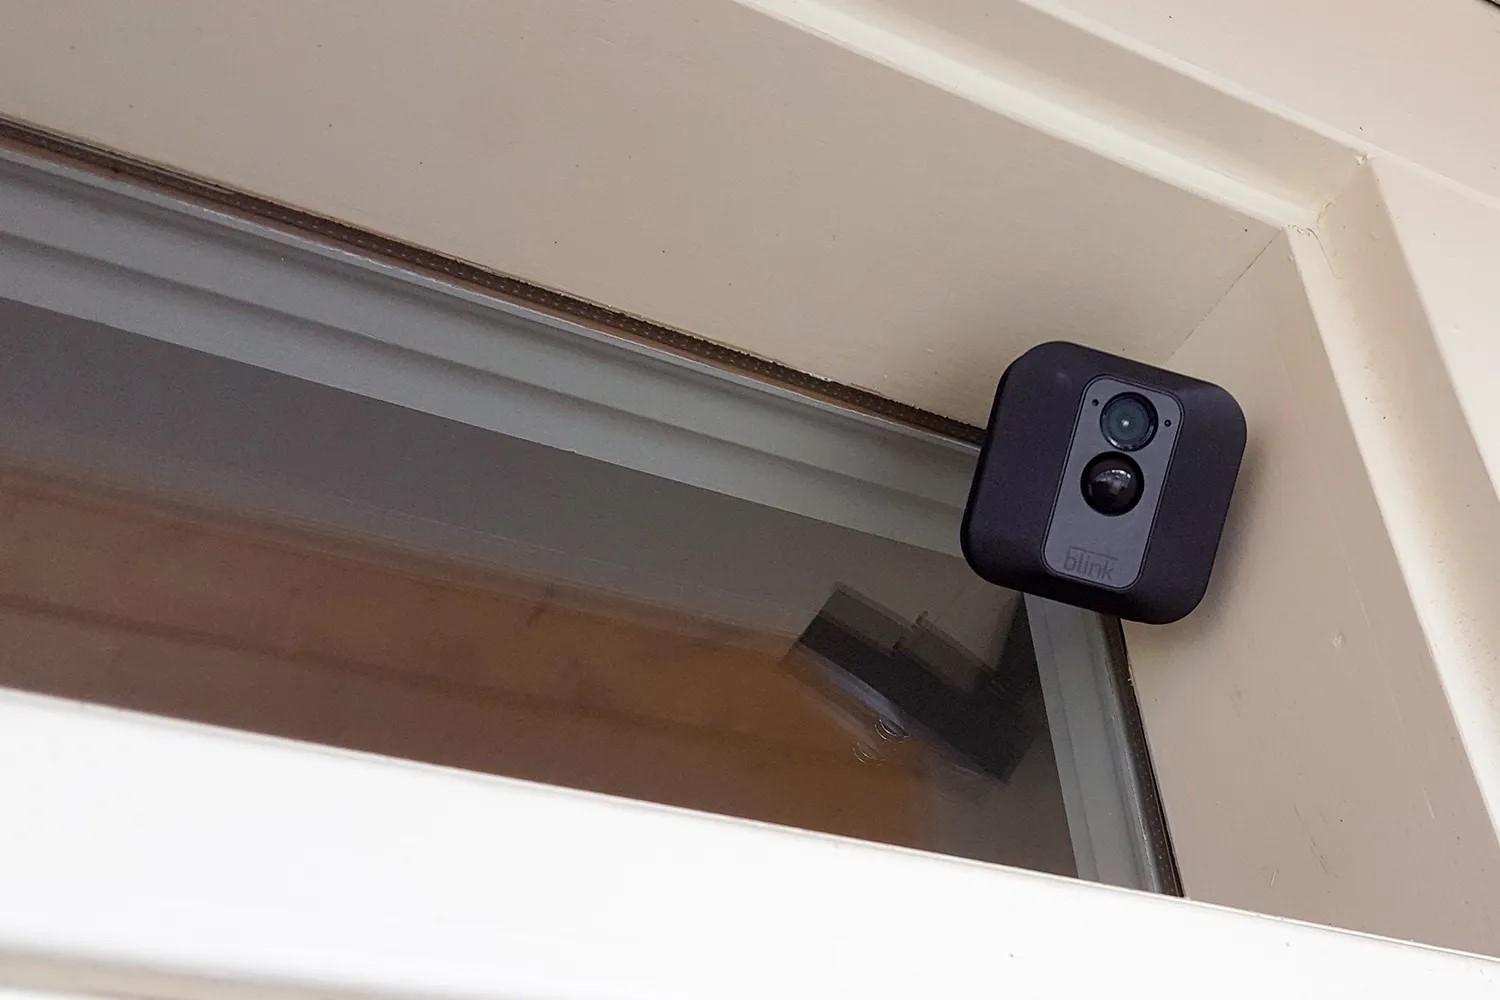
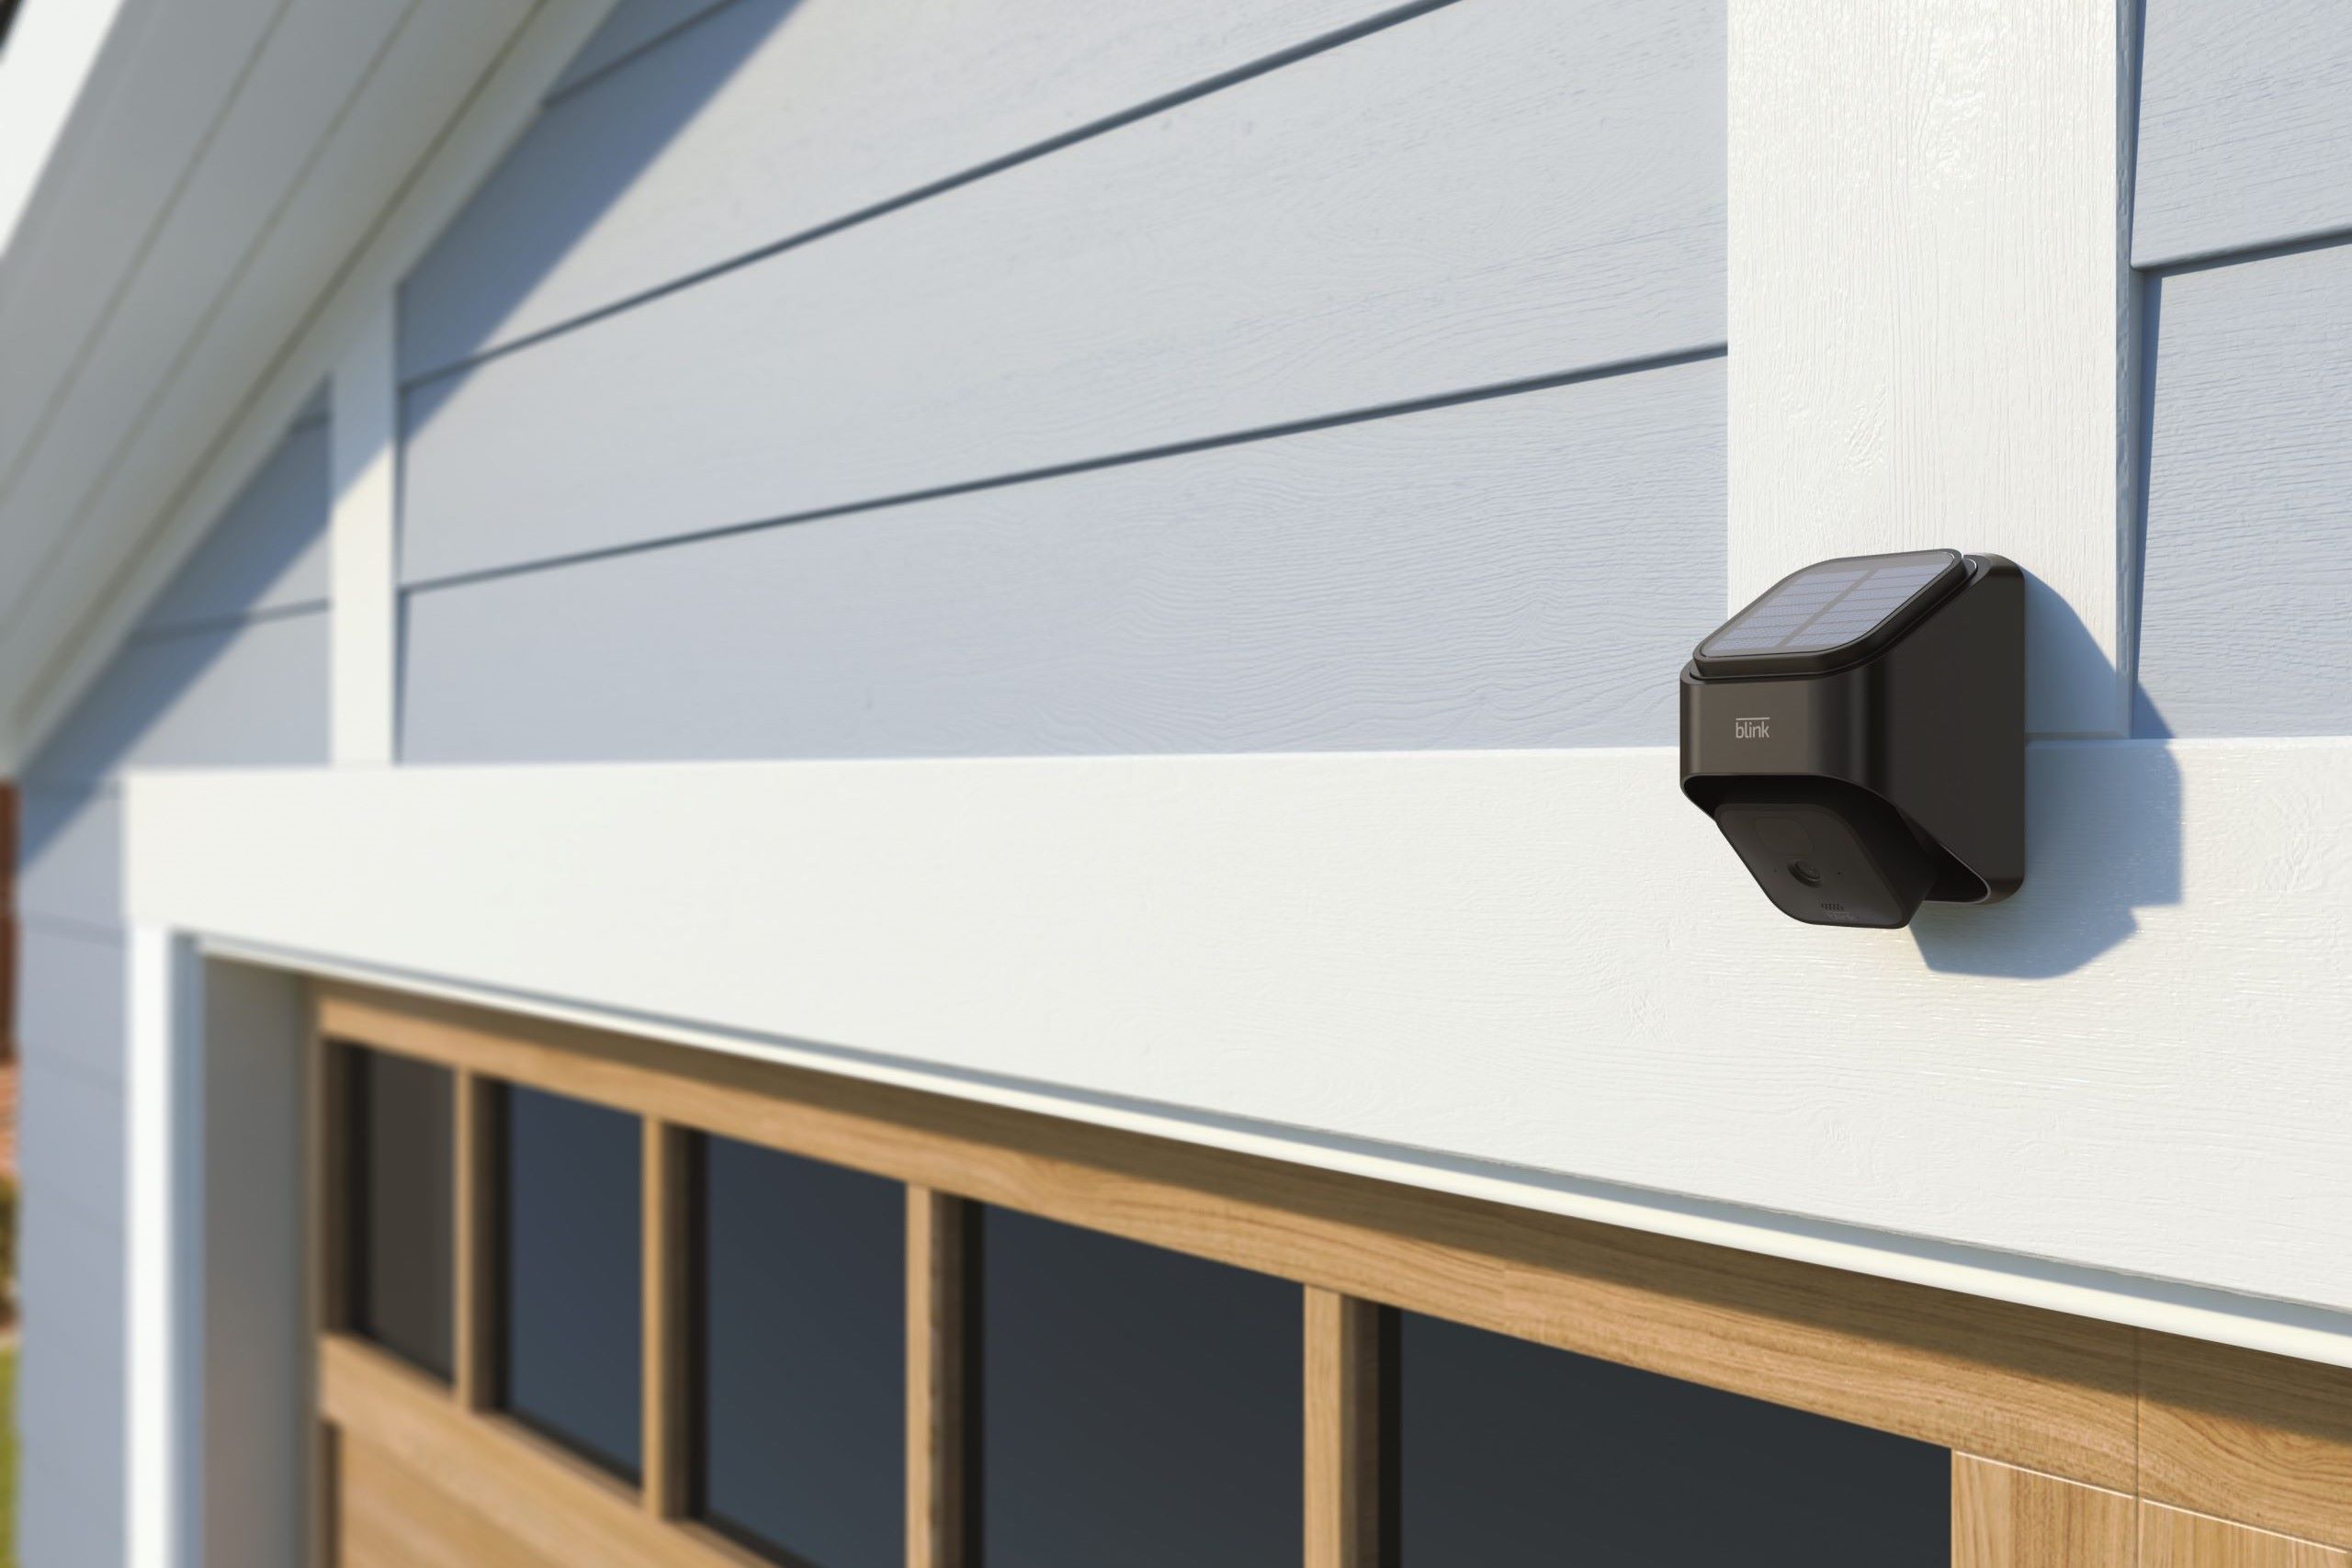
Step 2: Choose the Proper Location on the Siding
Choosing the right location for installing your Blink Outdoor Camera is crucial. You want to ensure optimal surveillance coverage while considering factors like visibility, accessibility, and protection from weather elements. Here are some tips to help you select the perfect spot on your siding:
1. Evaluate the Surveillance Area: Assess the area you wish to monitor using the camera. Look for entry points, vulnerable areas, or locations with high foot traffic. These could include your front door, back entrance, driveway, or backyard.
2. Consider Wi-Fi Signal Strength: Ensure that the chosen location has a strong Wi-Fi signal. You can check this by standing near the potential installation spot with your smartphone or tablet and checking the signal strength.
3. Avoid Obstacles: Look for a spot on the siding that is free from any obstructions such as trees, shrubs, or large objects that could obstruct the camera’s field of vision.
4. Optimal Height: Place the camera at a height that provides a wide-angle view of the area without being obstructed by other objects. Generally, a height of 6 to 7 feet is recommended for outdoor camera installations.
5. Protection from Weather Elements: Consider how the chosen location will be exposed to different weather conditions. Opt for a spot that provides some natural protection from rain, snow, or direct sunlight to minimize damage and ensure clear footage.
6. Accessibility for Maintenance: Ensure that the chosen location is easily accessible for future maintenance or adjustments to the camera positioning if needed.
Once you have assessed your property and identified the ideal location, proceed to the next step of preparing the siding surface for installation. Proper preparation ensures a secure and sturdy mounting for your Blink Outdoor Camera.
Step 3: Prepare the Siding Surface
Before installing the Blink Outdoor Camera on your siding, it’s crucial to prepare the surface for a secure and stable mount. Proper preparation ensures that the camera stays in place and maintains its functionality. Follow these steps to prepare the siding surface effectively:
1. Clean the Siding: Start by cleaning the area of the siding where you plan to install the camera. Use a mild detergent and water solution, along with a soft cloth or sponge, to remove any dirt, debris, or grime. This step ensures a clean and smooth surface for the camera mount.
2. Dry the Surface: After cleaning, thoroughly dry the siding surface using a clean towel or allow it to air dry. Moisture or dampness can affect the adhesive properties of the mounting bracket, so it’s important to have a dry surface before proceeding.
3. Evaluate the Siding Material: Different types of sidings require different installation techniques. If you have vinyl siding, make sure to locate the studs behind the siding for a sturdy mount. If you have other types of siding, such as wood or metal, consider using anchors along with screws for added stability.
4. Mark the Mounting Holes: Hold the mounting bracket against the selected location on the siding, making sure it is level. Use a pencil or marker to mark the positions of the mounting holes on the siding. This step will guide you when installing the screws or anchors.
5. Hold the Bracket in Place: Temporarily hold the mounting bracket against the marked location to ensure that it aligns properly and suits your surveillance needs. Make any necessary adjustments before proceeding with the installation.
By properly preparing the siding surface, you ensure a solid foundation for the mounting bracket of your Blink Outdoor Camera. This step is crucial for the long-term stability and functionality of the camera. Now that the surface is ready, it’s time to move on to the next step: installing the mounting bracket.
Step 4: Install the Mounting Bracket
With the siding surface prepared, it’s time to install the mounting bracket for your Blink Outdoor Camera. The mounting bracket provides a secure base for attaching the camera and ensures stability. Follow these steps to properly install the mounting bracket:
1. Position the Mounting Bracket: Place the mounting bracket against the marked location on the siding, aligning the mounting holes with the pencil or marker marks. Ensure that the bracket is level using a spirit level.
2. Insert Screws or Anchors: Depending on the type of siding you have, you will either insert screws or anchors into the mounting holes. If you have vinyl siding, locate the studs behind the siding and insert the screws directly into the studs. For other types of siding, such as wood or metal, use anchors to provide additional stability.
3. Screw in or Anchor the Bracket: Using a screwdriver or drill, screw in the screws or secure the anchors into the pre-marked mounting holes. If using anchors, follow the manufacturer’s instructions for proper installation. Make sure the mounting bracket is firmly fixed to the siding.
4. Double-Check Stability: Once the mounting bracket is securely installed, give it a gentle tug to ensure it’s firmly in place. If there is any movement or instability, reinforce the screws or anchors as needed.
5. Confirm Levelness: Use a spirit level again to verify that the mounting bracket is still level. Adjust if necessary by loosening the screws slightly and repositioning the bracket, then tightening the screws again.
By following these steps, you’ll have a sturdy and secure mounting bracket in place for your Blink Outdoor Camera. The next step involves connecting the camera itself to the mounting bracket and setting up the necessary connections.
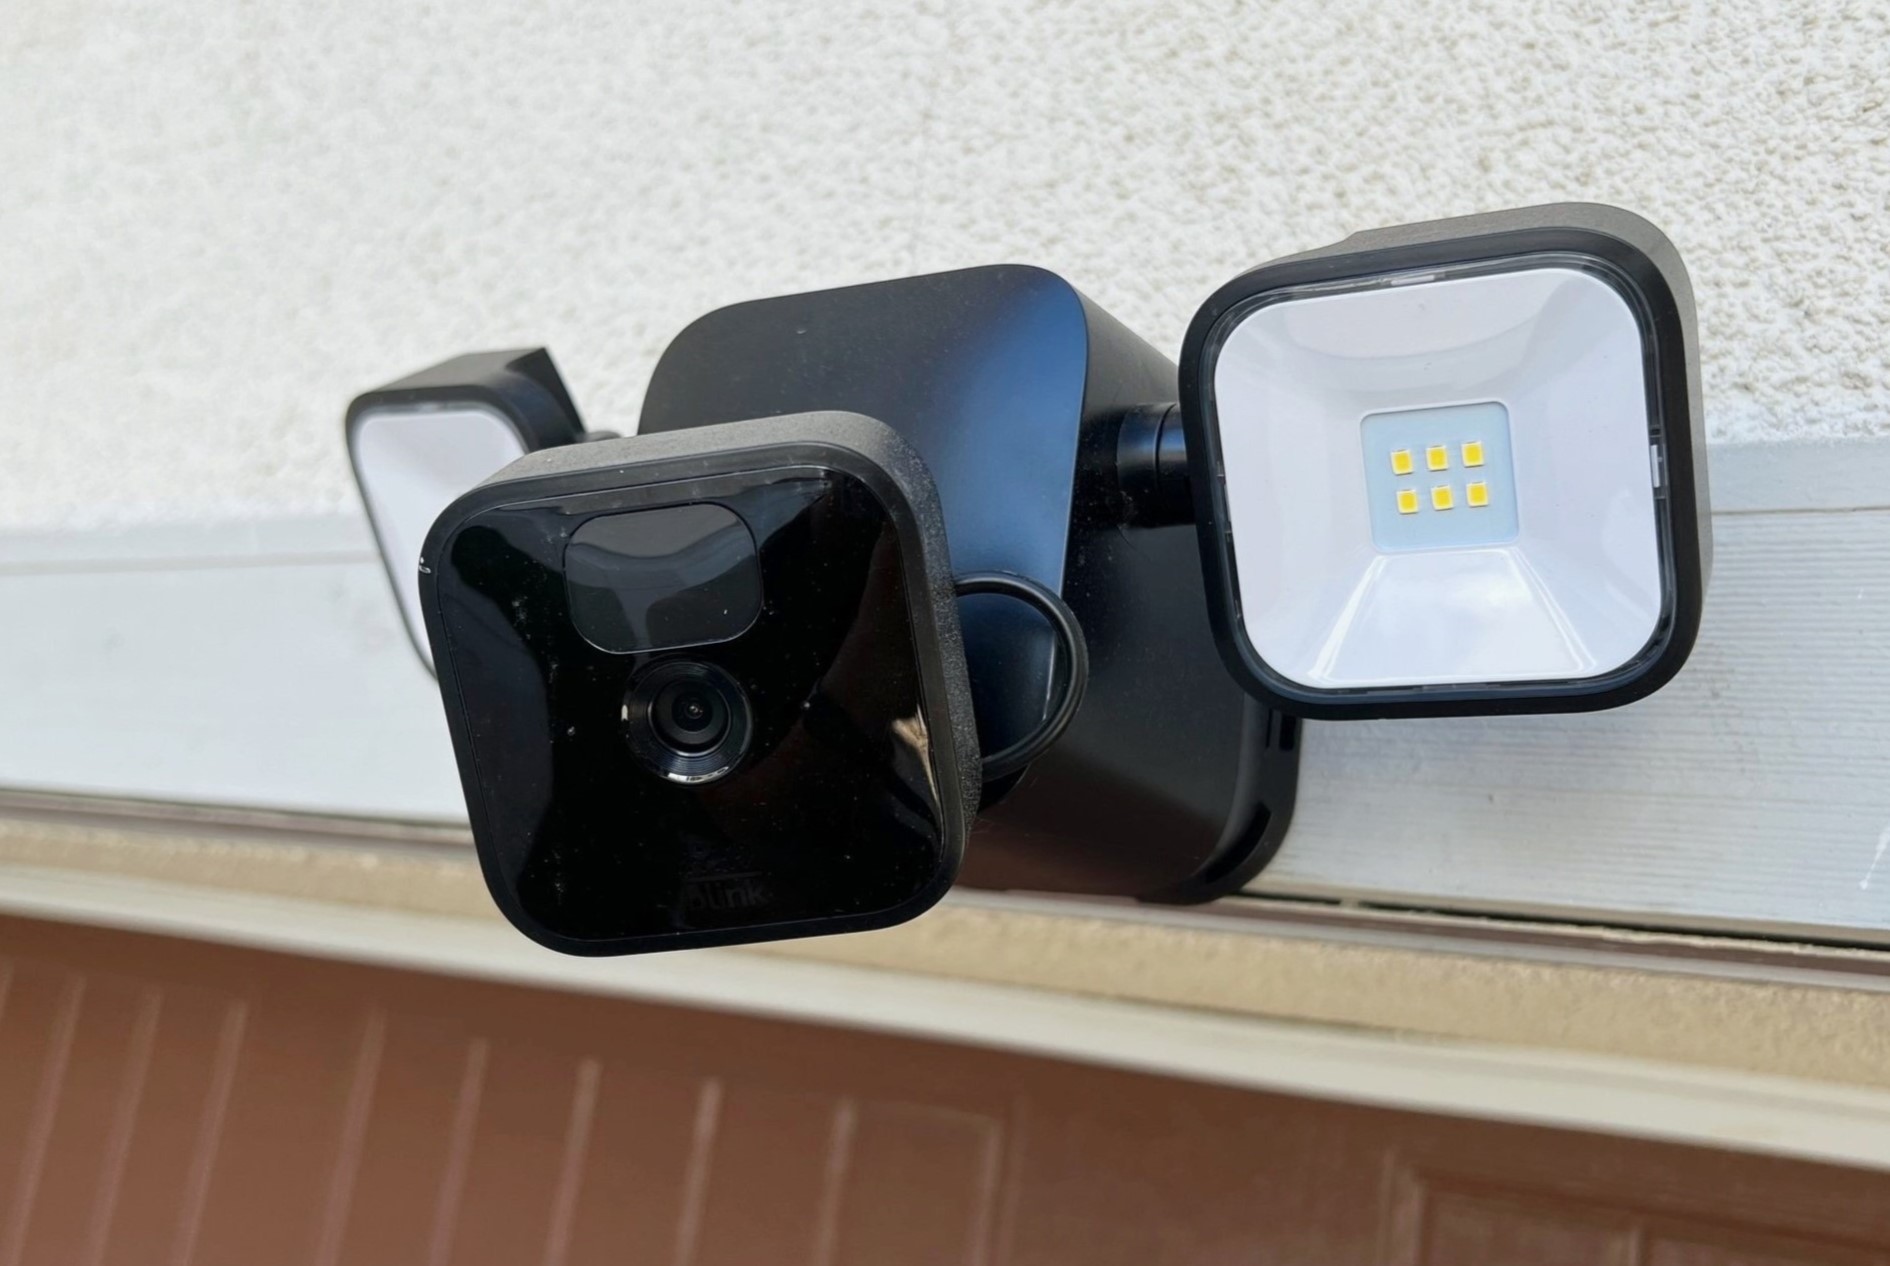
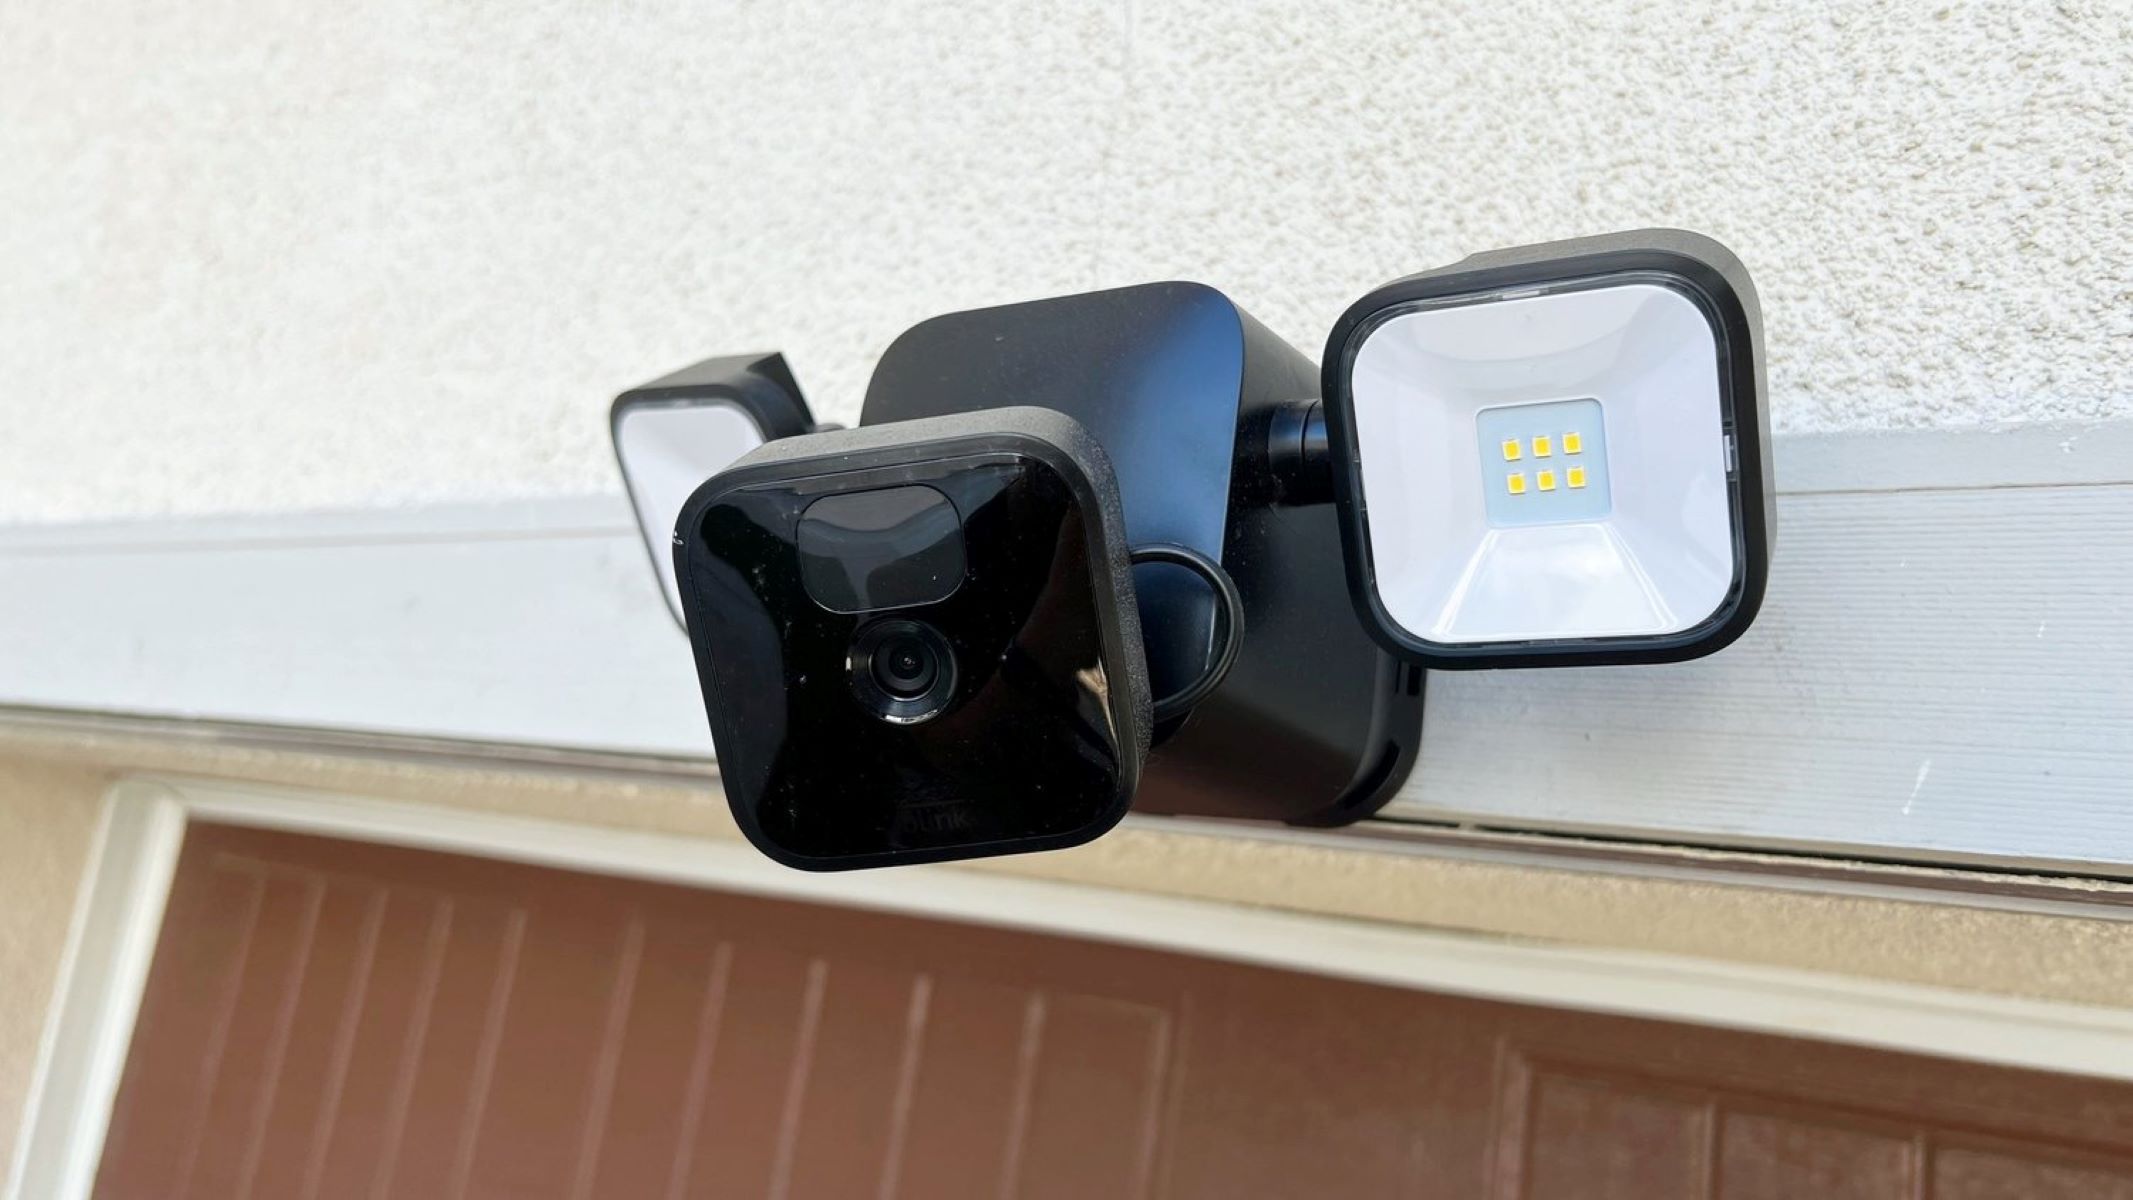
When installing a Blink Outdoor camera on siding, use the provided mounting bracket and screws to securely attach the camera. Make sure the camera is positioned to capture the desired area and test the connection before finalizing the installation.
Read more: How To Install Blink Outdoor Cameras
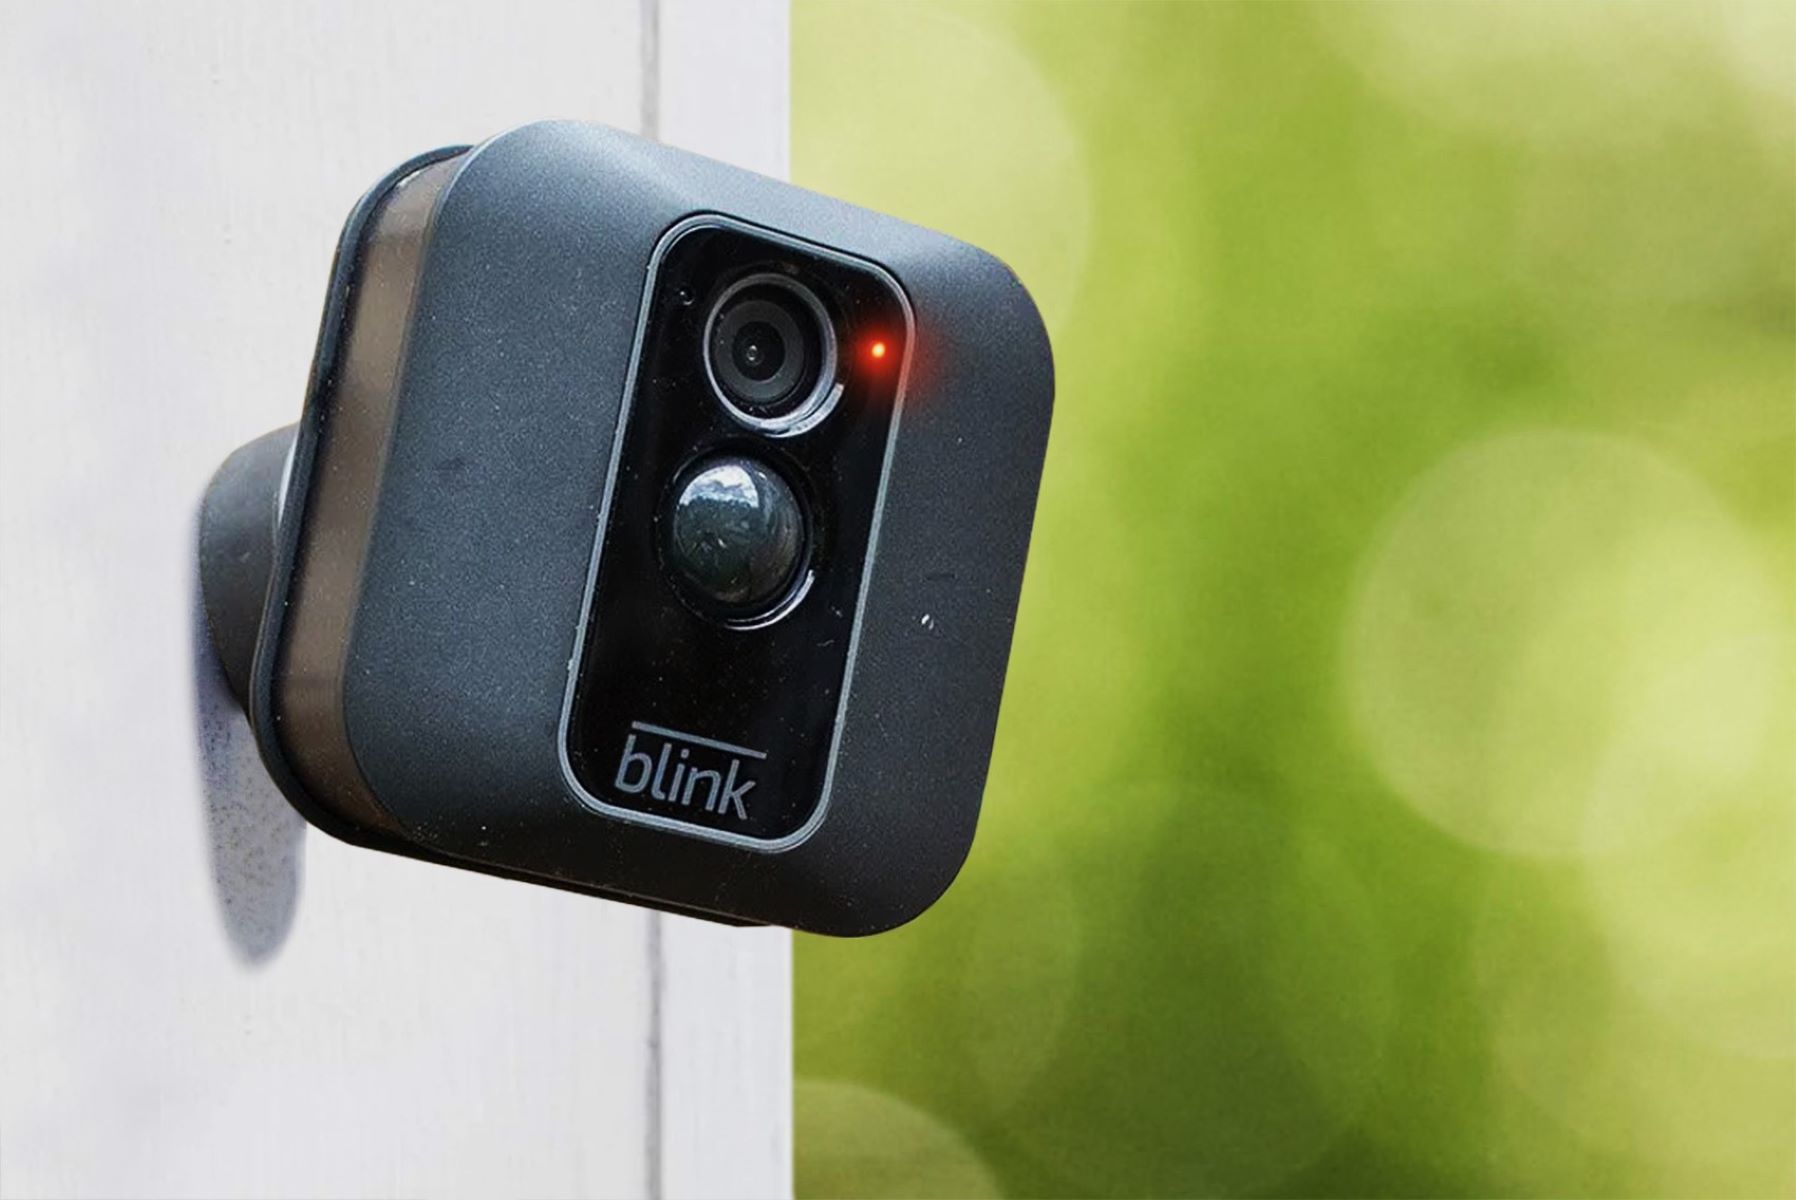
Step 5: Connect the Blink Outdoor Camera
Now that the mounting bracket is securely installed on the siding, it’s time to connect the Blink Outdoor Camera to the bracket and set up the necessary connections. Follow these steps to connect your camera:
1. Remove the Camera from the Mounting Bracket: Carefully detach the camera from the mounting bracket by sliding it upwards or following the specific instructions provided by Blink.
2. Locate the Mounting Plate on the Camera: Check the bottom of the Blink Outdoor Camera for a corresponding mounting plate. This plate will allow you to attach the camera to the mounting bracket securely.
3. Align the Camera with the Bracket: Align the mounting plate on the camera with the mounting bracket on the siding. Make sure the camera is facing the desired surveillance area.
4. Slide the Camera onto the Bracket: Gently slide the camera onto the mounting bracket, ensuring that it locks into place. You may need to apply a slight amount of pressure to secure the camera onto the bracket.
5. Confirm the Connection: Once the camera is attached to the mounting bracket, give it a gentle tug to ensure it’s firmly connected. Check for any movement or instability. If necessary, reposition and secure the camera onto the bracket.
6. Connect the Power Source: Depending on the model of the Blink Outdoor Camera, you may need to connect it to a power source. This could be a nearby power outlet or use of batteries. Follow the specific instructions provided by Blink for the power connection.
7. Establish the Wi-Fi Connection: Using the Blink app on your smartphone or tablet, follow the instructions to connect the Blink Outdoor Camera to your Wi-Fi network. This step may involve scanning a QR code, entering the network password, or following the app’s prompts.
8. Test the Camera: Once the camera is connected to your Wi-Fi network, you can perform a test to ensure it’s functioning correctly. Use the Blink app to view the live feed from the camera and make any necessary adjustments to the angle or positioning of the camera.
By following these steps, you’ll successfully connect the Blink Outdoor Camera to the mounting bracket, establish the necessary connections, and ensure that it’s ready to capture and monitor your surroundings. The next step involves adjusting the camera angle for optimal surveillance coverage.
Step 6: Adjust the Camera Angle
To maximize the surveillance coverage and ensure the Blink Outdoor Camera captures the desired area, it’s important to adjust the camera angle. Follow these steps to properly adjust the angle:
1. Use the Blink App: Open the Blink app on your smartphone or tablet and navigate to the camera settings for your Blink Outdoor Camera.
2. Access the Camera Angle Adjustment: Look for the option to adjust the camera angle or position within the app’s camera settings. This may be listed as “Camera Positioning” or a similar term.
3. Live View Alignment: With the camera angle adjustment option selected, view the live feed from the camera within the app. This will allow you to see how the camera is currently positioned and make necessary adjustments.
4. Physical Camera Adjustment: Depending on the design of your Blink Outdoor Camera, you may need to physically adjust the camera angle by rotating or tilting the camera itself. Use gentle movements to avoid damaging the camera or bracket.
5. Test Different Angles: Experiment with different angles to find the optimal position. Consider the surveillance area you want to monitor, ensuring that the camera captures the desired range without any blind spots.
6. Check the Live Feed: As you adjust the camera angle, keep an eye on the live feed within the Blink app to see how the changes affect the captured view. Make adjustments until you are satisfied with the camera angle.
7. Fine-Tune if Necessary: If you notice any areas that are not adequately covered or if there’s excessive exposure to unwanted elements like glare or shadows, make additional adjustments to fine-tune the camera angle.
By following these steps, you’ll be able to adjust the camera angle for the Blink Outdoor Camera, ensuring optimal surveillance coverage and reducing the likelihood of blind spots. With the angle set, the next step is to test the Blink Outdoor Camera installation.
Step 7: Test the Blink Outdoor Camera Installation
After completing the installation of the Blink Outdoor Camera on your siding, it’s important to test its functionality to ensure everything is working as expected. Follow these steps to test the camera installation:
1. Check the Live Feed: Open the Blink app on your smartphone or tablet and navigate to the camera view. Verify that you can see the live feed from the Blink Outdoor Camera. Check for clear video quality and ensure that the camera is capturing the desired surveillance area.
2. Test Motion Detection: Enable motion detection on the Blink app and walk in front of the camera to trigger motion events. Check if the camera correctly detects and records these events. Adjust the sensitivity settings within the app if needed.
3. Review Recorded Footage: Access the recorded footage within the Blink app and review it. Ensure that the captured video quality is satisfactory and that the camera is recording the events you expect.
4. Monitor Alerts and Notifications: Set up alerts and notifications within the Blink app to receive notifications when motion is detected or when specific events occur. Test the alerts by intentionally triggering motion to see if you receive the notifications in a timely manner.
5. Night Vision Testing: If your Blink Outdoor Camera has night vision capabilities, test it in low-light conditions or at night. Verify that the camera provides clear and detailed footage even in those conditions.
6. Adjustments and Fine-Tuning: If you notice any issues or areas that need adjustment, make the necessary changes to improve the camera’s performance. This may include altering the camera angle, adjusting motion detection settings, or rearranging the positioning of the camera.
7. Repeat Testing: Perform multiple rounds of testing to ensure consistent performance from the Blink Outdoor Camera. Pay attention to any unexpected issues, such as connectivity problems or difficulties with the app.
By thoroughly testing the installation of the Blink Outdoor Camera, you can ensure that it is functioning optimally and providing the desired level of surveillance for your home. Once you are satisfied with the camera’s performance, you can rest assured that your home is now equipped with reliable home security and surveillance.
Conclusion
Installing a Blink Outdoor Camera on your siding is a straightforward process that can greatly enhance the security and surveillance capabilities of your home. By following the step-by-step instructions outlined in this article, you can ensure a successful installation and enjoy the peace of mind that comes with knowing your property is well-protected.
Throughout this article, we covered the essential steps involved in installing a Blink Outdoor Camera on a siding. We began by gathering the required materials, including the camera, mounting bracket, screws, and anchors. Next, we discussed how to choose the proper location on the siding, considering factors such as visibility, accessibility, and protection from weather elements.
We then moved on to preparing the siding surface to ensure a secure and stable mount. Proper cleaning and assessing the siding material were crucial in this step. Following that, we learned how to install the mounting bracket securely by aligning it with the markings and using screws or anchors for stability.
Once the mounting bracket was in place, we connected the Blink Outdoor Camera to the bracket and established the necessary power and Wi-Fi connections. Adjusting the camera angle was the next step to ensure optimal surveillance coverage and minimize blind spots. Finally, we tested the camera installation by checking the live feed, motion detection, recorded footage, and night vision capabilities.
By completing these steps and conducting thorough testing, you can be confident in the functionality and reliability of your Blink Outdoor Camera. Remember to regularly monitor and maintain the camera to ensure it continues to provide effective surveillance for your home.
Investing in a home security system and surveillance cameras is a proactive measure that can deter potential intruders and give you valuable evidence in the event of any incidents. With the Blink Outdoor Camera installed on your siding, you can rest easy knowing that you have taken significant steps towards safeguarding your home and loved ones.
So, don’t wait any longer. Follow the instructions provided in this article and start enjoying the enhanced security and peace of mind that comes with a Blink Outdoor Camera on your siding.
Frequently Asked Questions about How To Install Blink Outdoor Camera On A Siding
Was this page helpful?
At Storables.com, we guarantee accurate and reliable information. Our content, validated by Expert Board Contributors, is crafted following stringent Editorial Policies. We're committed to providing you with well-researched, expert-backed insights for all your informational needs.