Home>Home Security and Surveillance>How To Remove Dome On Sricam Outdoor Camera
Home Security and Surveillance
How To Remove Dome On Sricam Outdoor Camera
Modified: March 6, 2024
Looking to remove the dome on your Sricam outdoor camera? Check out our step-by-step guide for a hassle-free home security and surveillance upgrade.
(Many of the links in this article redirect to a specific reviewed product. Your purchase of these products through affiliate links helps to generate commission for Storables.com, at no extra cost. Learn more)
Introduction
Welcome to our comprehensive guide on how to remove the dome on a Sricam outdoor camera. Sricam is a well-known brand in home security and surveillance, providing reliable and high-quality cameras to protect your property.
The dome on an outdoor camera serves as a protective cover, shielding the sensitive components from the elements while allowing the camera to capture a wide field of view. However, there may be instances where you need to remove the dome for maintenance, cleaning, or to adjust the camera’s position.
In this article, we will walk you through the process of removing the dome from your Sricam outdoor camera safely and effectively. We will provide you with a step-by-step guide, offer tips and precautions, and troubleshoot common issues that may arise during the process. So, let’s get started!
Key Takeaways:
- Safely remove the dome on your Sricam outdoor camera by following the step-by-step guide, taking necessary precautions, and handling the camera with care to ensure optimal performance and longevity.
- Prioritize safety, prepare properly, and refer to the user manual for specific instructions to remove the dome on your Sricam outdoor camera, ensuring a smooth and successful process.
Read more: How To Mount A Dome Security Camera
Understanding the Dome on Sricam Outdoor Camera
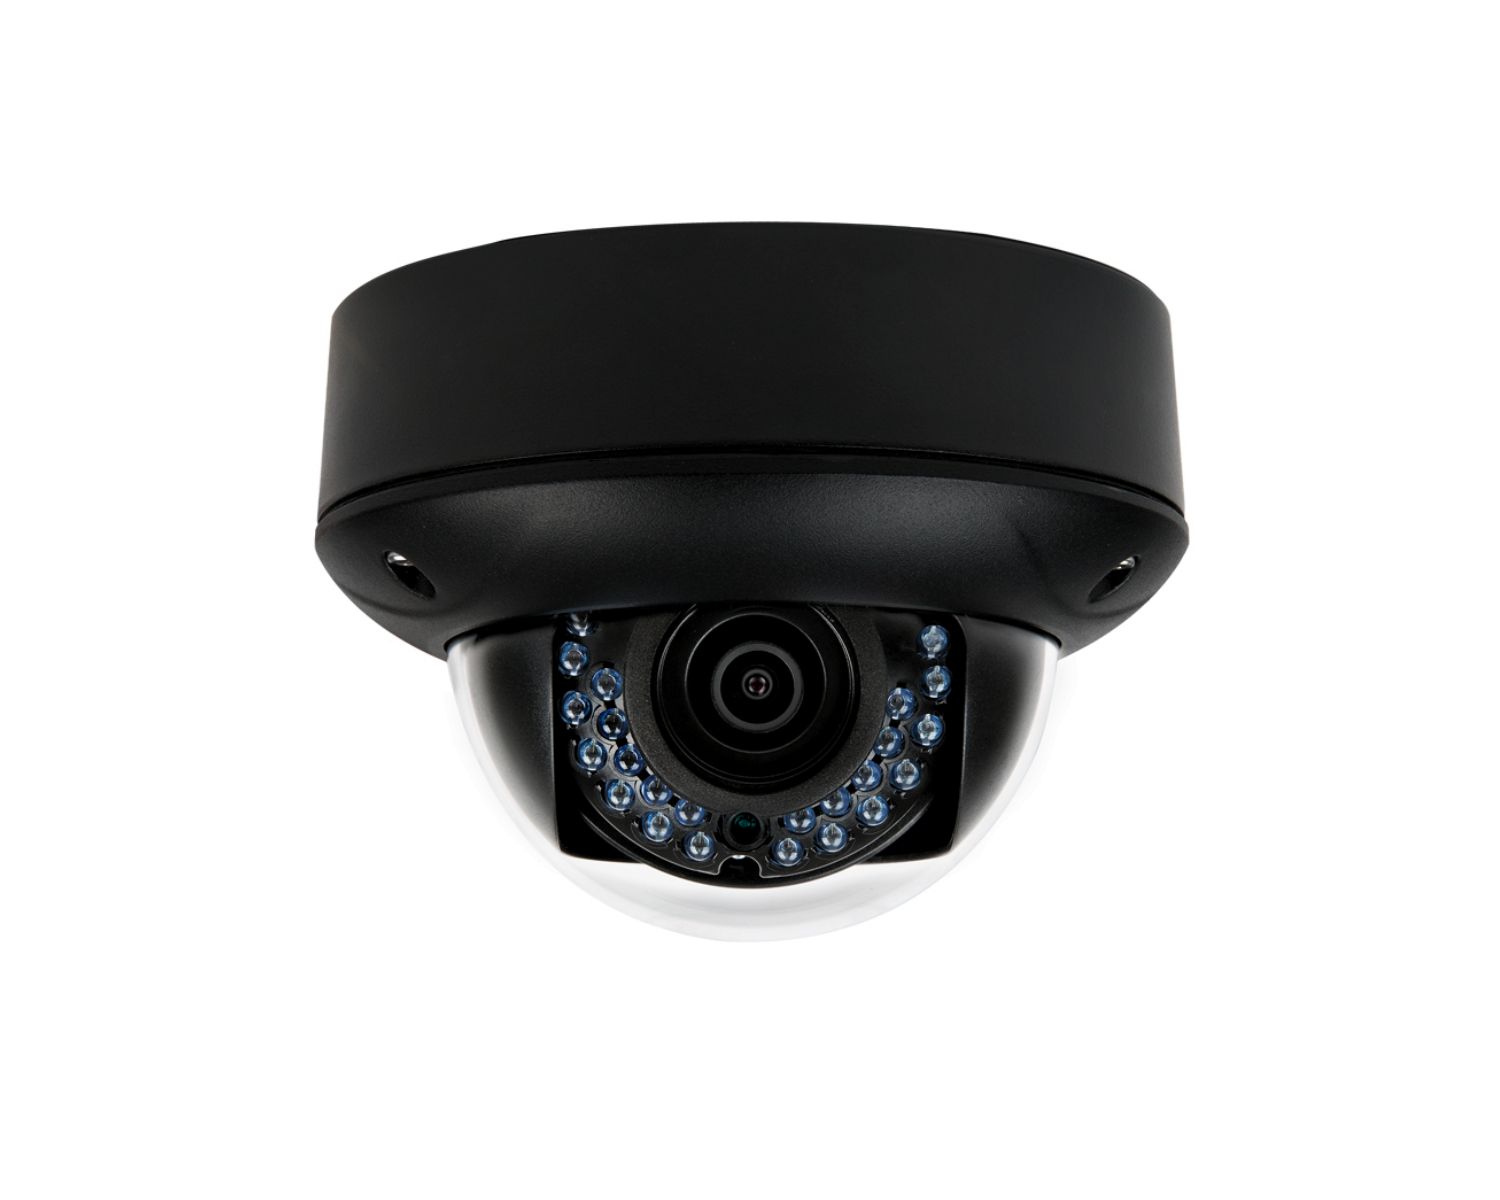
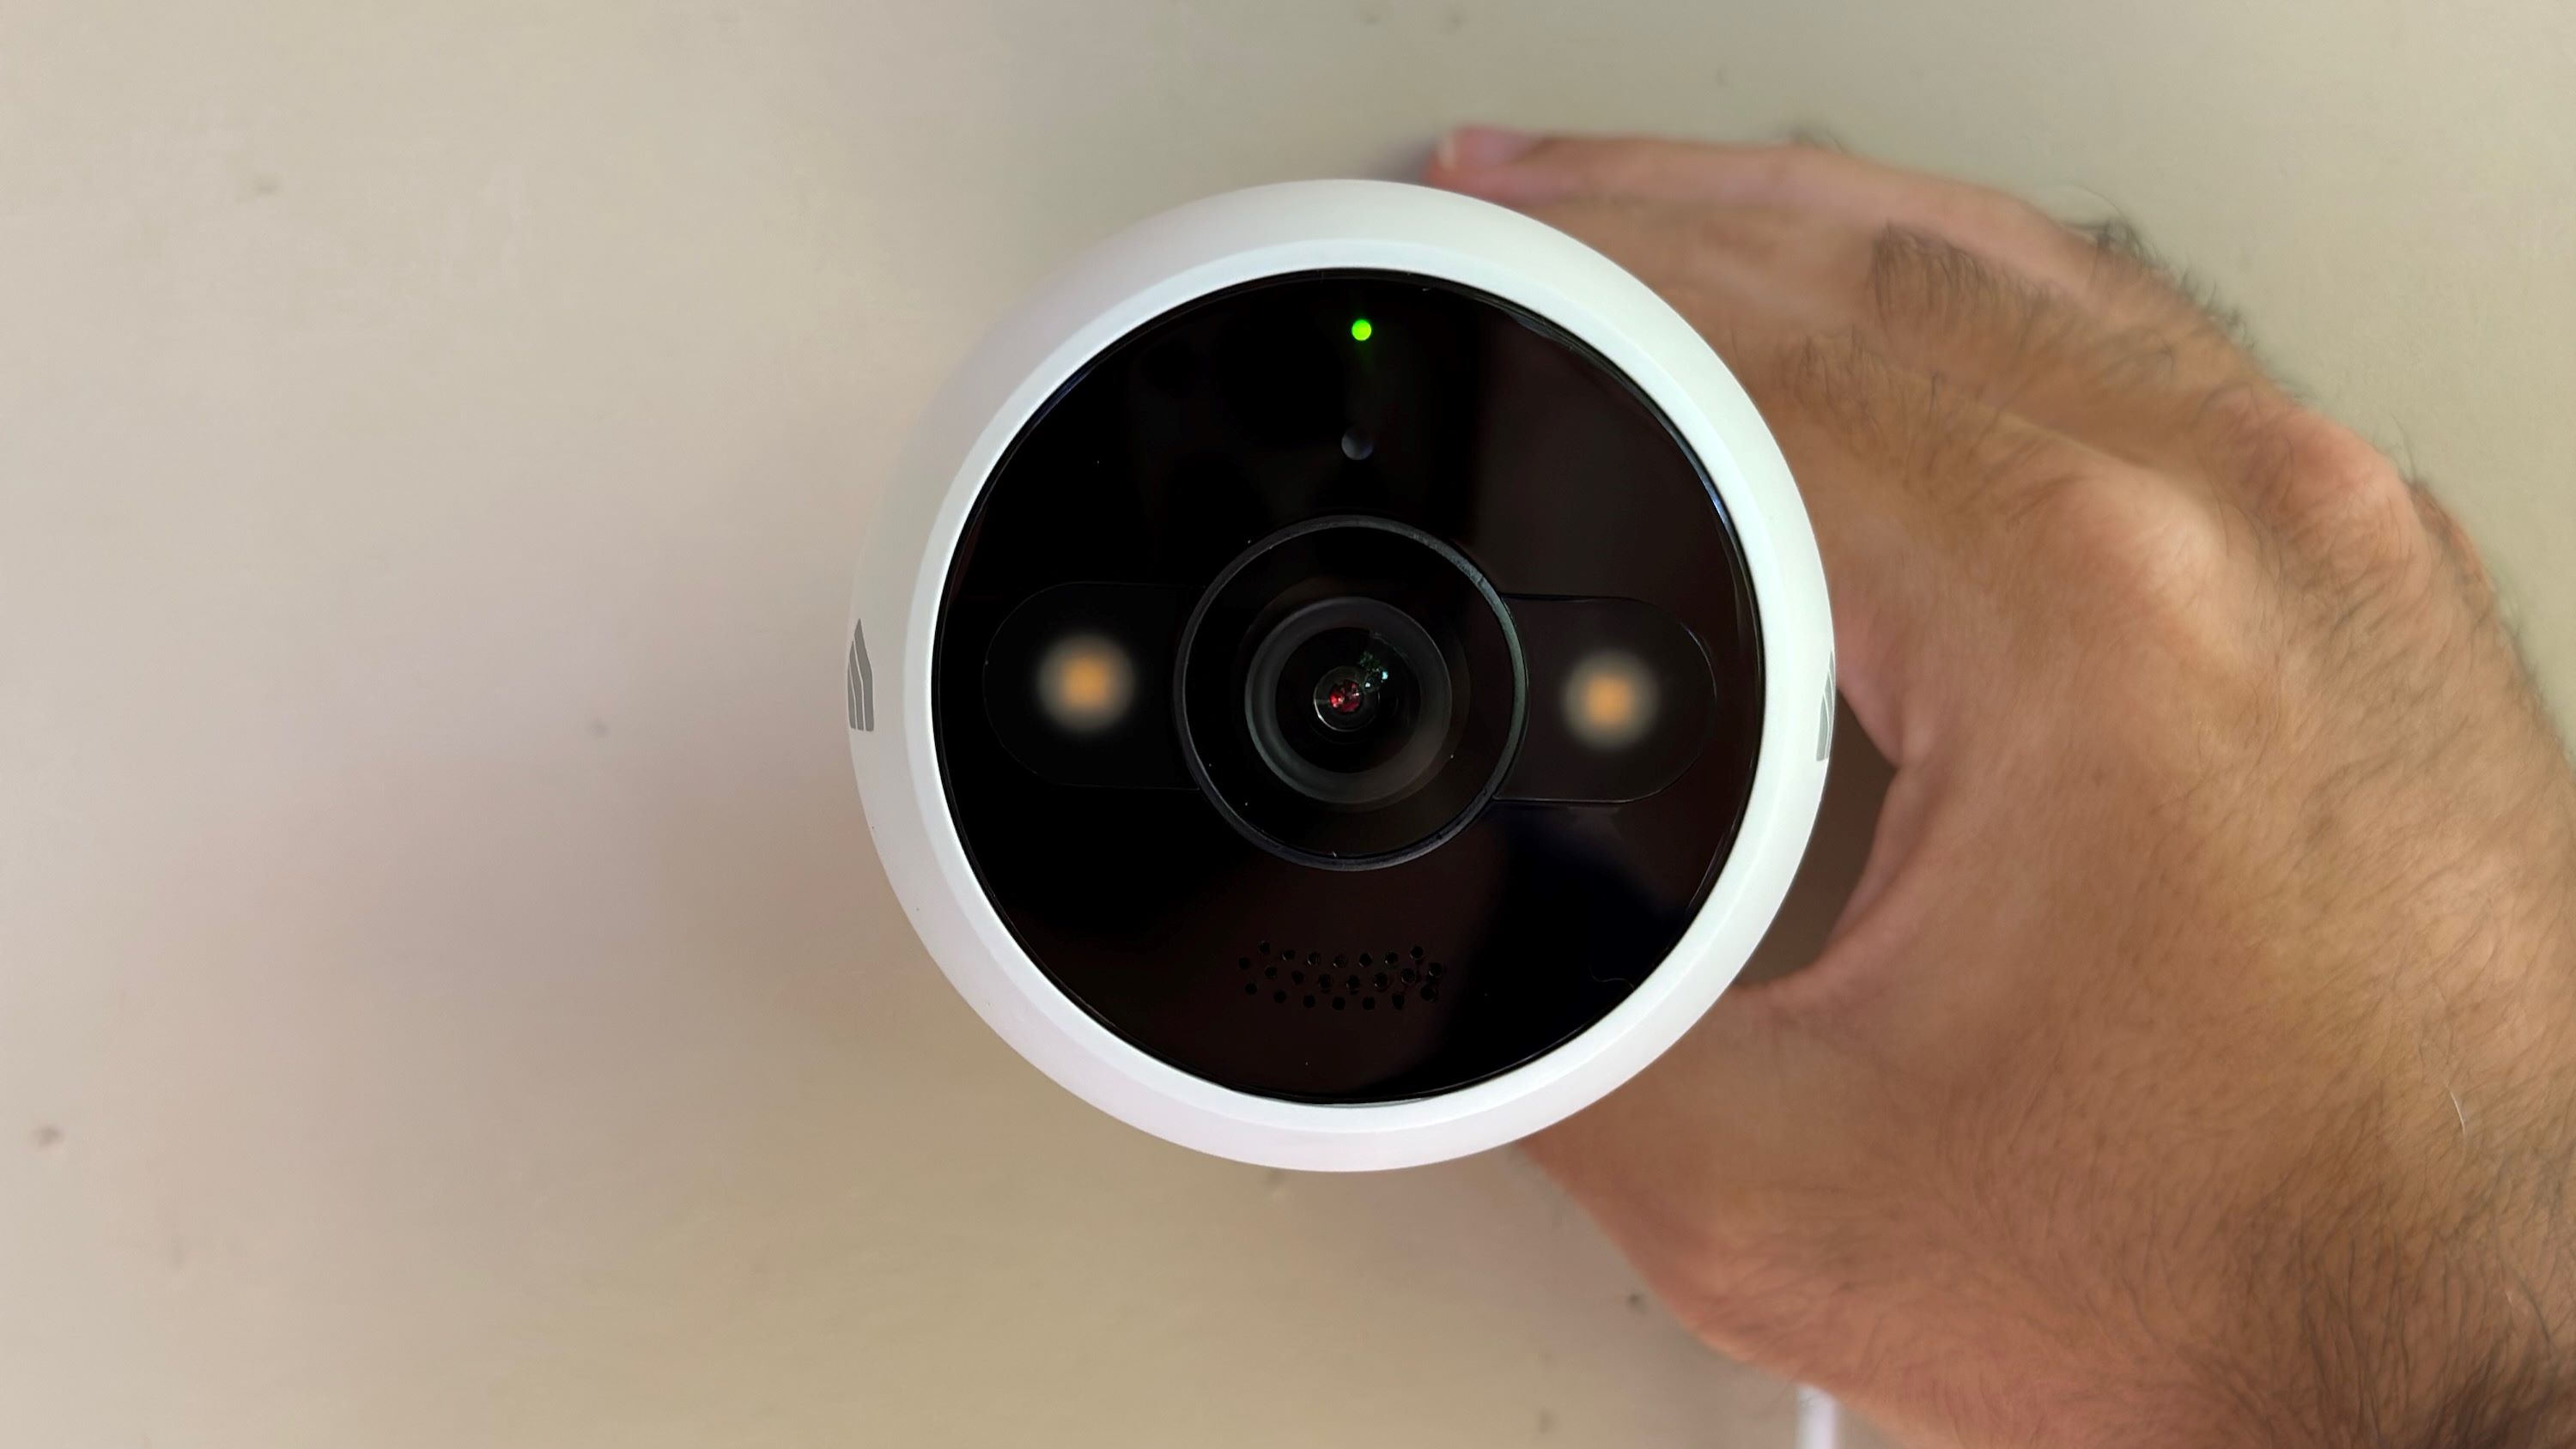
Before we dive into the process of removing the dome on a Sricam outdoor camera, let’s take a moment to understand its purpose and construction. The dome, also known as the housing or enclosure, plays a crucial role in protecting the camera and its internal components from various environmental factors.
The dome is typically made of high-quality materials, such as polycarbonate or acrylic, which are resistant to impact and UV rays. This ensures that the camera remains durable and can withstand harsh weather conditions, including rain, snow, and extreme temperatures.
In addition to its protective function, the design of the dome is also crucial for maintaining a clear and unobstructed view. The shape and material of the dome are carefully chosen to minimize distortion and glare, allowing the camera to capture high-quality images and videos without compromising visibility.
Sricam outdoor cameras often come with 360-degree pan and tilt capabilities, which means that the camera lens can rotate horizontally and vertically. The dome allows for unrestricted movement of the camera, enabling it to cover a wide field of view and provide comprehensive surveillance for your property.
It is essential to note that removing the dome should be done with caution and only when necessary. Any unnecessary tampering or mishandling can lead to damage to the camera or its internal components. This guide will walk you through the proper steps to safely remove the dome without causing any harm.
Preparing for Dome Removal
Before you begin the process of removing the dome on your Sricam outdoor camera, it is important to prepare yourself and gather the necessary tools. Proper preparation will ensure a smooth and successful dome removal process.
Here are some steps to follow when preparing for dome removal:
- Gather the requisite tools: Make sure you have all the necessary tools at hand before starting the dome removal process. This typically includes a screwdriver, preferably one with a small and medium-sized Phillips head. Additionally, having a soft cloth or microfiber cloth nearby will be useful for cleaning the dome or camera lens if needed.
- Read the user manual: Consult the user manual that came with your Sricam outdoor camera. The manual will provide specific instructions and precautions for dome removal, ensuring that you follow the manufacturer’s guidelines.
- Choose a suitable location: Select a well-lit and spacious area to work on the dome removal. It is crucial to have enough space to comfortably handle the camera and tools, reducing the risk of accidental damage.
- Ensure power supply: Confirm that the camera is not connected to a power source or turn off the power supply to avoid any electrical accidents or interference during the process.
- Protective measures: It is advisable to wear gloves to protect your hands during the dome removal. This will prevent any accidental smudging or damage to the dome or camera lens.
By following these preparatory steps, you will be well-equipped and ready to move on to the actual dome removal process. Taking the time to prepare properly will minimize the chances of mishaps and ensure a smooth transition as you remove the dome from your Sricam outdoor camera.
Step-by-step Guide to Removing the Dome on Sricam Outdoor Camera
Now that you’re prepared, it’s time to dive into the step-by-step process of removing the dome on your Sricam outdoor camera. Follow these instructions carefully to ensure a successful dome removal:
- Power off the camera: Before starting the dome removal process, make sure the camera is powered off and disconnected from any power source. This will prevent any potential electrical accidents or damage to the camera.
- Locate the screws: Inspect the dome housing of your Sricam outdoor camera to locate the screws that hold the dome in place. These screws are typically located around the base of the dome or at the edges. Use a small or medium-sized Phillips head screwdriver to loosen the screws.
- Remove the screws: Once you have identified the screws, carefully remove them by turning counterclockwise. Keep the screws in a safe place to avoid misplacement.
- Gently lift the dome: With the screws removed, gently lift the dome housing upward, making sure not to apply too much force. The dome should come off easily, exposing the camera lens and internal components.
- Handle with care: While removing the dome, be cautious not to touch or interfere with any of the camera’s internal components. The lens and other delicate parts can be easily damaged or misaligned if mishandled.
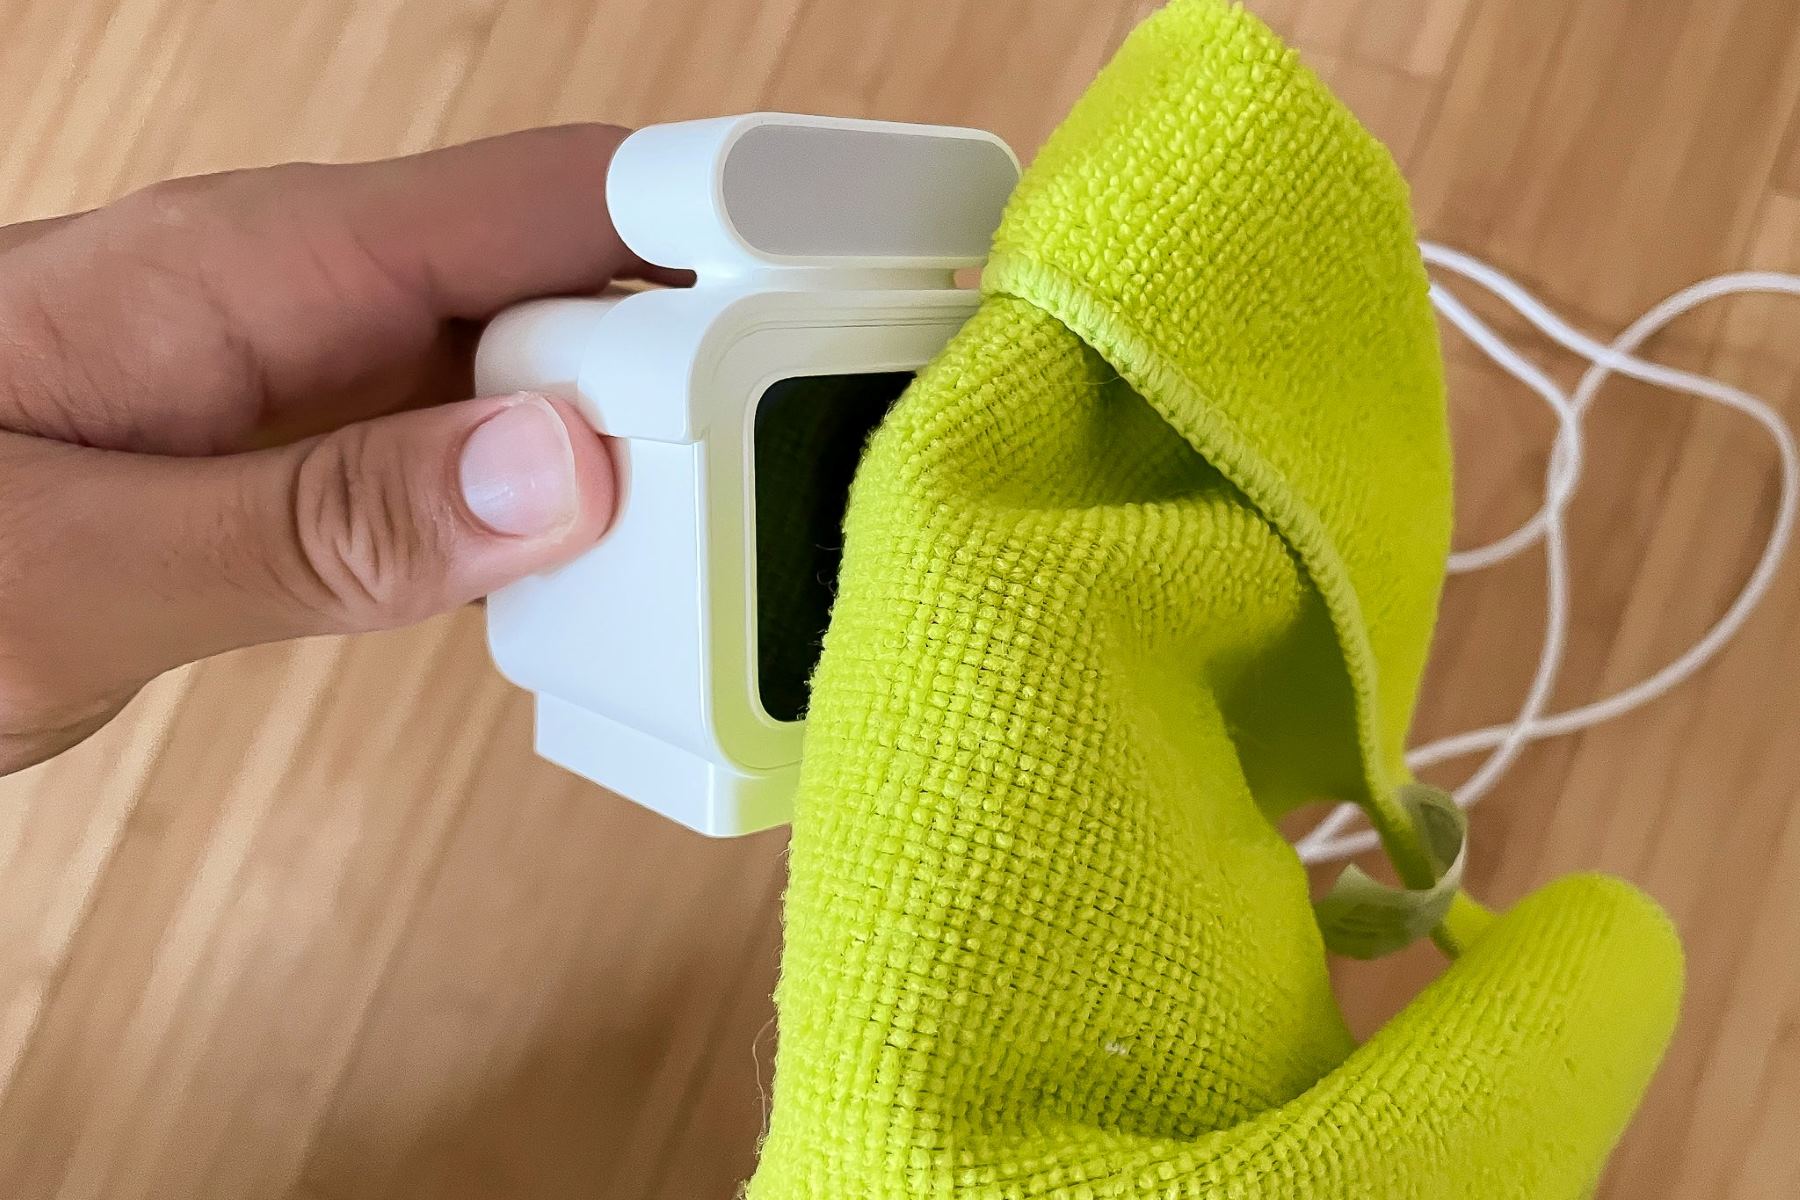
- Clean if necessary: If you notice any dirt, dust, or smudges on the dome or camera lens, you can use a soft cloth or microfiber cloth to gently clean them. Avoid using harsh chemicals or abrasive materials that could scratch or damage the surfaces.
- Reattach the dome: Once you have completed any necessary cleaning or adjustments, carefully place the dome back onto the camera and align it with the screw holes. Then, using the Phillips head screwdriver, tighten the screws clockwise until the dome is securely in place.
- Test the camera: After reattaching the dome, power on the camera and check if it is functioning properly. Ensure that the camera is capturing clear images and videos without any obstructions.
Following these step-by-step instructions will allow you to safely remove the dome on your Sricam outdoor camera. Remember to take your time and handle the camera and components with care to avoid any accidental damage during the process.
To remove the dome on a Sricam outdoor camera, first locate the screws holding it in place. Use a screwdriver to carefully remove the screws, then gently lift off the dome to access the camera inside. Be sure to handle the dome and camera with care to avoid damage.
Tips and Precautions for Removing the Dome Safely
When it comes to removing the dome on your Sricam outdoor camera, safety should be your top priority. Here are some essential tips and precautions to keep in mind to ensure a safe and successful dome removal:
- Refer to the user manual: Always consult the user manual provided by Sricam for specific instructions and guidelines on removing the dome. The manual will provide valuable information on the correct way to handle the camera and avoid any potential damage.
- Power off the camera: Before starting the dome removal process, disconnect the camera from any power sources. This will prevent the risk of electrical accidents and ensure your safety while working on the camera.
- Handle the camera with care: While removing the dome, be gentle and avoid applying excessive force. The camera’s internal components are delicate and easily damaged, so exercise caution when handling the camera and its housing.
- Be mindful of cables and connectors: Take note of any cables or connectors that may be attached to the camera. Carefully detach them before removing the dome to avoid any strain or damage to the wiring.
- Avoid touching the camera lens: The camera lens is sensitive and can easily be scratched or damaged. Avoid touching or cleaning the lens unless absolutely necessary. If cleaning is required, use a soft cloth or microfiber cloth to gently remove any smudges or dust.
- Secure screws properly: When reattaching the dome, ensure that the screws are tightened securely but not excessively. Over tightening the screws can lead to damage or misalignment of the dome, affecting the camera’s performance.
- Keep the area clean and organized: Maintain a clean and clutter-free workspace when working on the dome removal. This will minimize the chances of misplacing screws or other small components and ensure an efficient and stress-free process.
- Test the camera after reassembly: Once you have successfully reattached the dome, power on the camera and test its functionality. Check if the camera is capturing clear images and videos without any obstructions, ensuring that the dome is securely in place.
By following these tips and precautions, you can remove the dome from your Sricam outdoor camera safely and without any issues. Remember, if you are unsure about any step of the process or encounter difficulties, it is always advisable to seek professional assistance or contact Sricam’s customer support for guidance.
Read more: How To Remove Vivint Outdoor Camera
Troubleshooting Common Issues During Dome Removal
While removing the dome on your Sricam outdoor camera, it is possible to encounter some common issues. However, with the right troubleshooting techniques, you can overcome these challenges and continue with the dome removal process. Here are some common issues that may arise and how to address them:
- Difficulty in loosening the screws: If you find it challenging to loosen the screws that secure the dome, make sure you are using the correct screwdriver size. A small or medium-sized Phillips head screwdriver is typically suitable for most Sricam outdoor cameras. Applying gentle pressure and ensuring a secure grip on the screwdriver can also help loosen stubborn screws. Consider using a screwdriver with a magnetic tip to prevent the screws from falling or getting lost.
- Inability to lift the dome: If the dome does not lift easily after removing the screws, double-check whether any cables or connectors are still attached to the camera. Ensure that all necessary connections are detached to allow for smooth dome removal. If the dome still doesn’t lift, try gently wiggling it or applying slight pressure to release any suction that may be holding it in place.
- Dust or smudges on the camera lens: If you notice dirt, dust, or smudges on the camera lens during the dome removal process, you can use a soft cloth or microfiber cloth to gently clean it. Avoid using harsh chemicals or abrasive materials that could scratch or damage the lens surface. If the dirt or smudges persist, contact Sricam customer support for further assistance or guidance.
- Dome not fitting back properly: After cleaning or making adjustments, if you find that the dome does not fit back onto the camera securely, carefully inspect the screw holes and alignment of the dome. Ensure that the dome is correctly positioned and aligned with the camera housing before tightening the screws. If the issue persists, try removing the dome and reattaching it, ensuring a proper fit.
- Inconsistent camera performance: If you experience any issues with the camera’s performance, such as poor image quality or erratic movement, double-check that all the dome components are properly reassembled. Ensure that the camera lens is clean and free from any obstructions. If the problem persists, consult the user manual or contact Sricam customer support for further troubleshooting assistance.
Remember, if you encounter any significant difficulties or are unsure about how to proceed during the dome removal process, it is always best to seek professional help or contact Sricam’s customer support for expert guidance and support.
Conclusion
Removing the dome on your Sricam outdoor camera may seem like a daunting task, but with the right knowledge and guidance, it can be a straightforward process. By following the step-by-step guide, taking necessary precautions, and troubleshooting common issues, you can safely remove the dome and perform any required maintenance or adjustments.
Remember to always refer to the user manual provided by Sricam for specific instructions and guidelines tailored to your particular camera model. This will ensure that you follow the manufacturer’s recommendations and avoid any potential damage to your camera or its components.
Throughout the dome removal process, prioritize your safety, handle the camera with care, and be mindful of the delicate internal components. Take the time to prepare properly, gather the necessary tools, and create a clean and organized workspace to ensure a smooth and successful dome removal.
If you encounter any difficulties or are unsure about any step of the process, don’t hesitate to seek professional assistance or contact Sricam’s customer support. They will be able to provide the necessary guidance and support to help you with any specific issues you may face.
We hope that this comprehensive guide has provided you with the necessary information and confidence to remove the dome on your Sricam outdoor camera. By following the steps outlined and adhering to the tips and precautions provided, you can safely and effectively perform dome removal, ensuring optimal performance and longevity for your Sricam outdoor camera.
Frequently Asked Questions about How To Remove Dome On Sricam Outdoor Camera
Was this page helpful?
At Storables.com, we guarantee accurate and reliable information. Our content, validated by Expert Board Contributors, is crafted following stringent Editorial Policies. We're committed to providing you with well-researched, expert-backed insights for all your informational needs.