Home>Home Security and Surveillance>How To Remove A Vivint Motion Detector
Home Security and Surveillance
How To Remove A Vivint Motion Detector
Modified: August 16, 2024
Learn how to easily remove a Vivint motion detector from your home security and surveillance system, ensuring a smooth and hassle-free process.
(Many of the links in this article redirect to a specific reviewed product. Your purchase of these products through affiliate links helps to generate commission for Storables.com, at no extra cost. Learn more)
Introduction
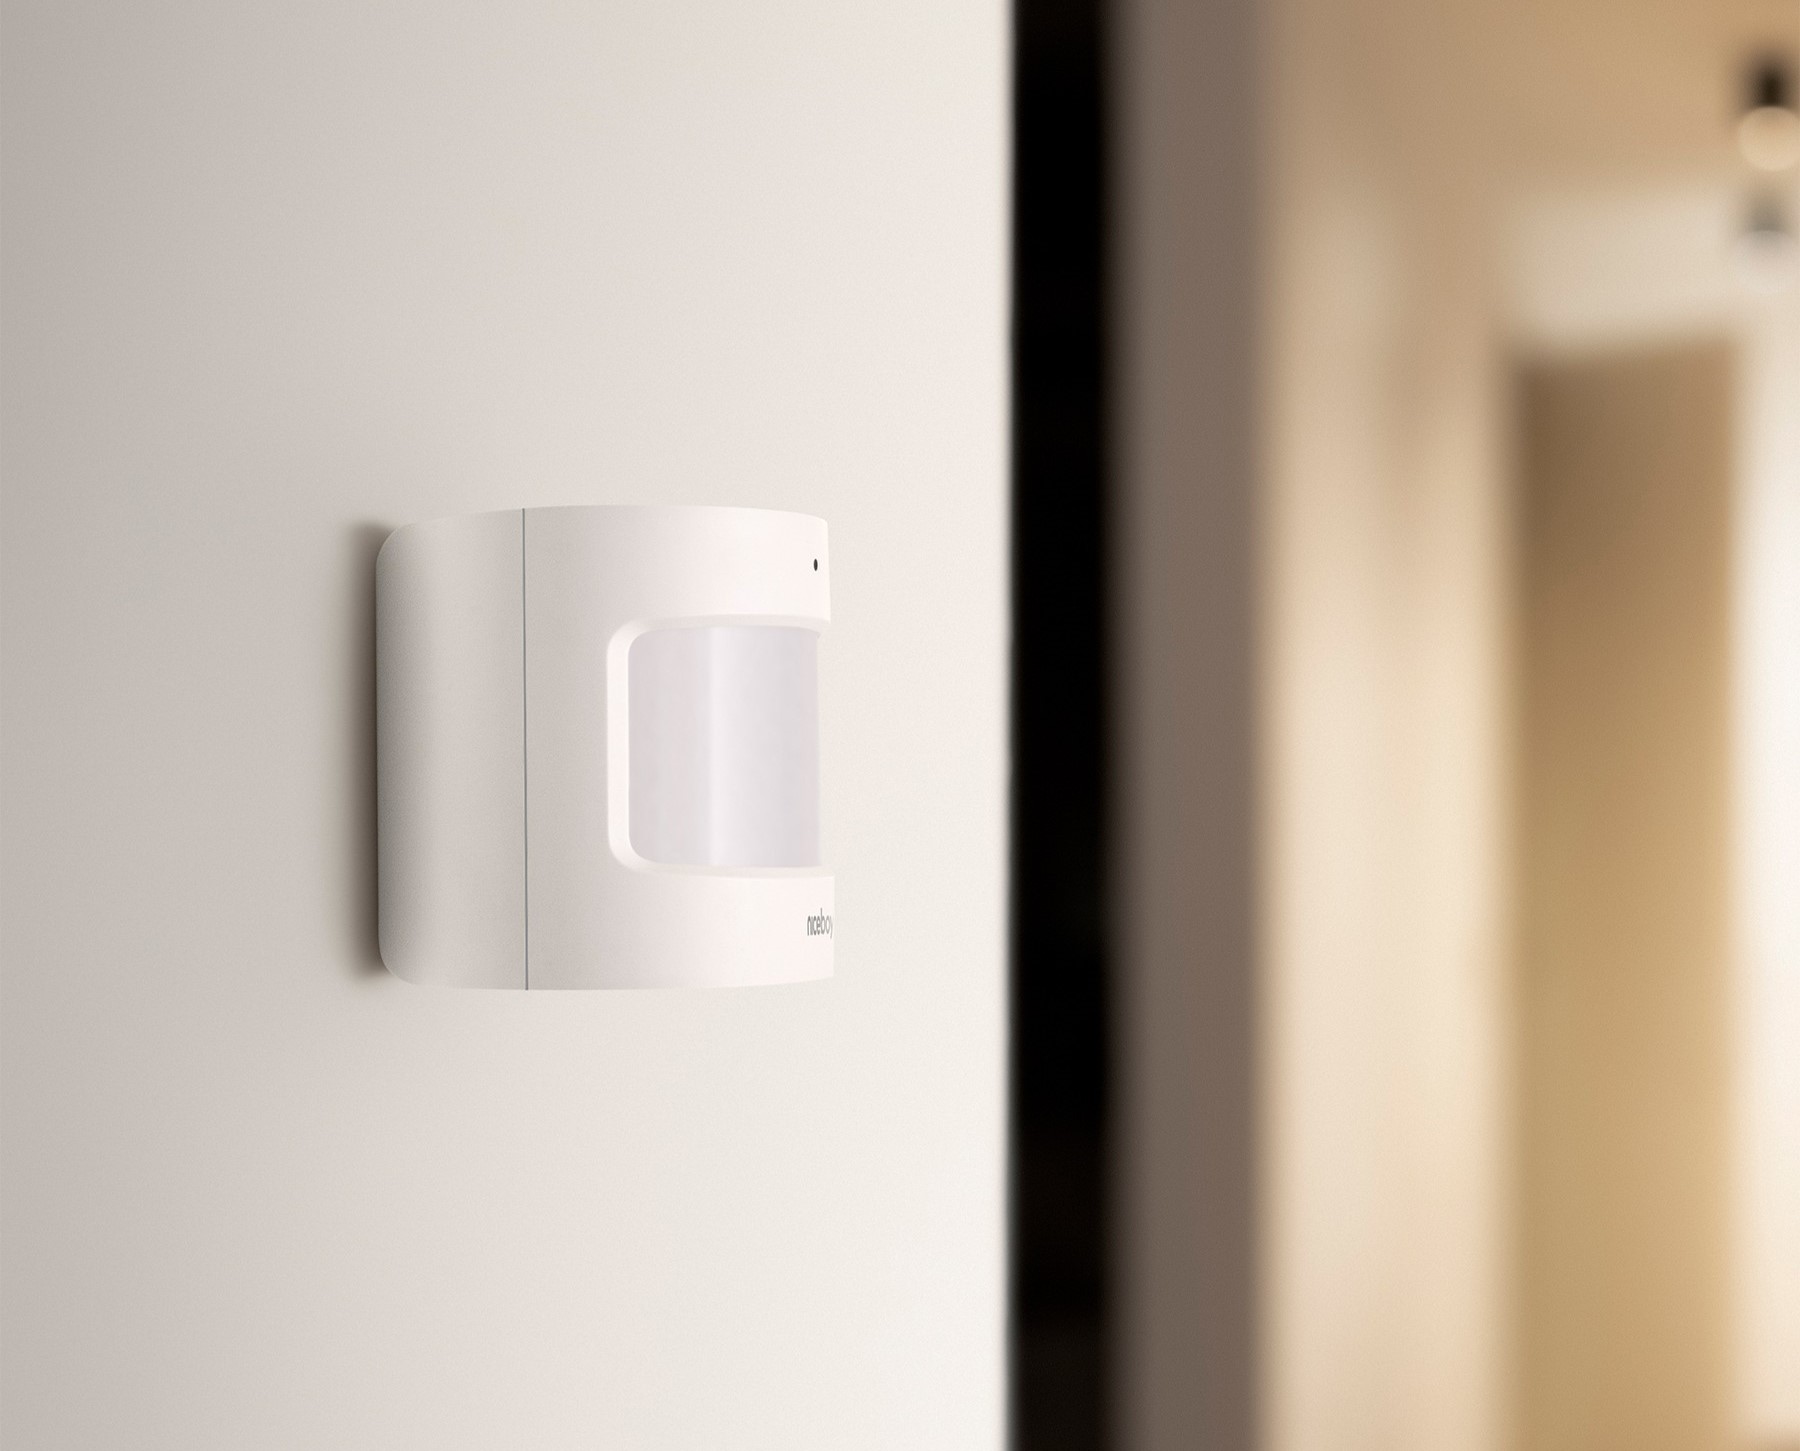
When it comes to home security and surveillance, a key component is a motion detector. These devices help detect movement and activate alarms or trigger video surveillance cameras, providing an added layer of security for your home. However, there may come a time when you need to remove a motion detector. This could be due to various reasons, such as replacing it with a newer model or reconfiguring your security system layout.
Removing a motion detector may seem like a daunting task, especially if you’re not familiar with the process. But fear not! In this guide, we will walk you through the steps to safely and effectively remove a Vivint motion detector from its current location. By following these steps, you can ensure a smooth removal process without any damage to your home or the security system.
Before we dive into the step-by-step instructions, it’s important to note that safety should always be your top priority. If you’re uncomfortable or unsure about any part of the process, it’s best to seek help from a professional. Remember to power off your security system before attempting any removal work and follow all safety precautions outlined by Vivint or any other manufacturer.
Key Takeaways:
- Safely remove a Vivint motion detector by gathering tools, powering off the detector, removing it from the bracket, disconnecting wiring, covering exposed wires, patching holes, testing remaining detectors, and disposing of the old detector responsibly.
- Prioritize safety and follow step-by-step instructions to remove a Vivint motion detector. Test remaining detectors and dispose of the old one properly for a smooth and successful removal process.
Step 1: Gather the necessary tools
Before you begin the process of removing a Vivint motion detector, it’s important to gather the necessary tools. Having these tools on hand will ensure that you have everything you need to safely and efficiently complete the task. Here are the tools you will need:
- Phillips screwdriver
- Wire cutters
- Electrical tape
- Protective gloves
The Phillips screwdriver is essential for removing the screws that hold the motion detector in place. Wire cutters will be needed to disconnect the wiring from the detector. Electrical tape will help in covering any exposed wires safely. Lastly, protective gloves are always a good idea to ensure your hands are protected throughout the process.
Before you proceed to the next step, make sure you have these tools readily available. This will save you time and ensure that you can complete the removal process smoothly.
Step 2: Power off the motion detector
Once you have gathered the necessary tools, the next step is to power off the motion detector. This step is crucial to ensure your safety and prevent any electrical mishaps during the removal process. Here’s how you can power off the motion detector:
- Locate the main control panel of your Vivint security system. This is usually found near the entry point of your home or in a centralized location.
- Open the control panel using a key or by following the manufacturer’s instructions.
- Locate the power switch or circuit breaker that controls the motion detector.
- Switch off the power to the motion detector by either flipping the power switch or turning off the corresponding circuit breaker.
Ensure that you have successfully powered off the motion detector before proceeding to the next step. This will eliminate any risk of electrical shock and make the removal process safer.
Note: If you’re unsure about which circuit breaker controls the motion detector, you can consult the user manual provided by Vivint or contact their customer support for guidance. It’s always better to be safe and double-check if you’re unsure about anything.
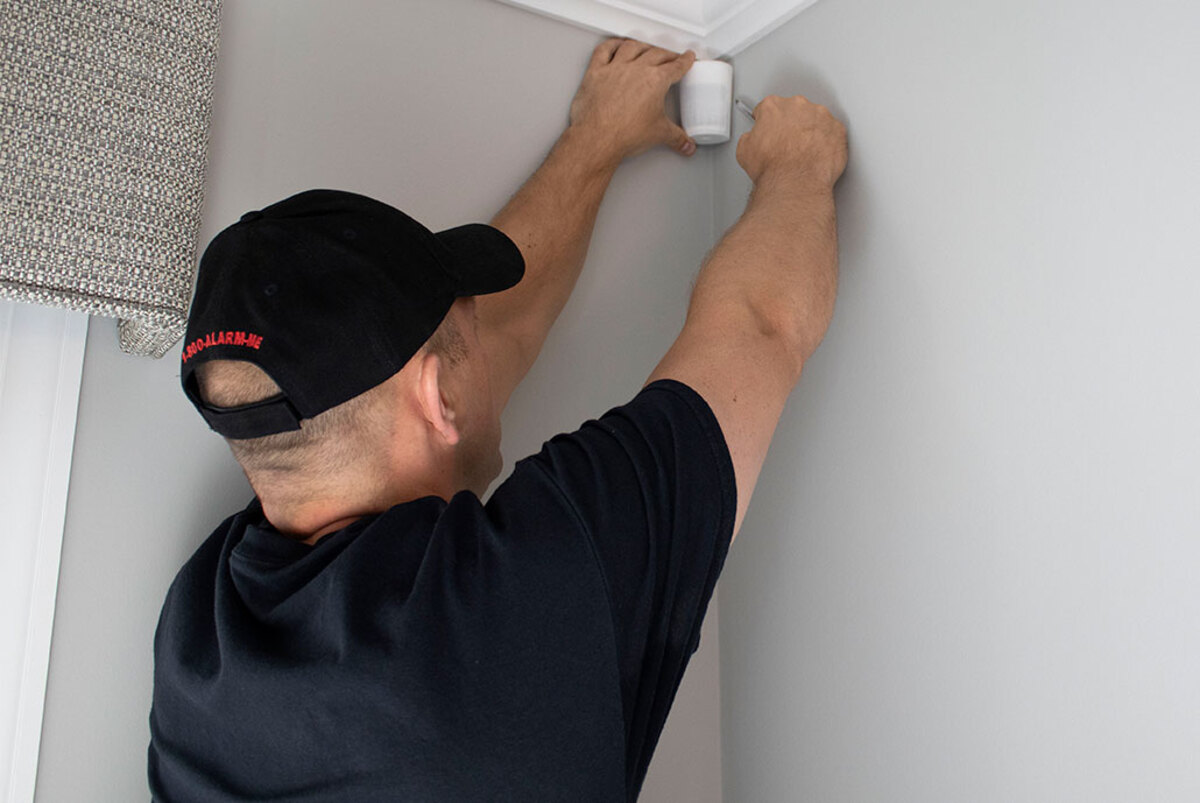
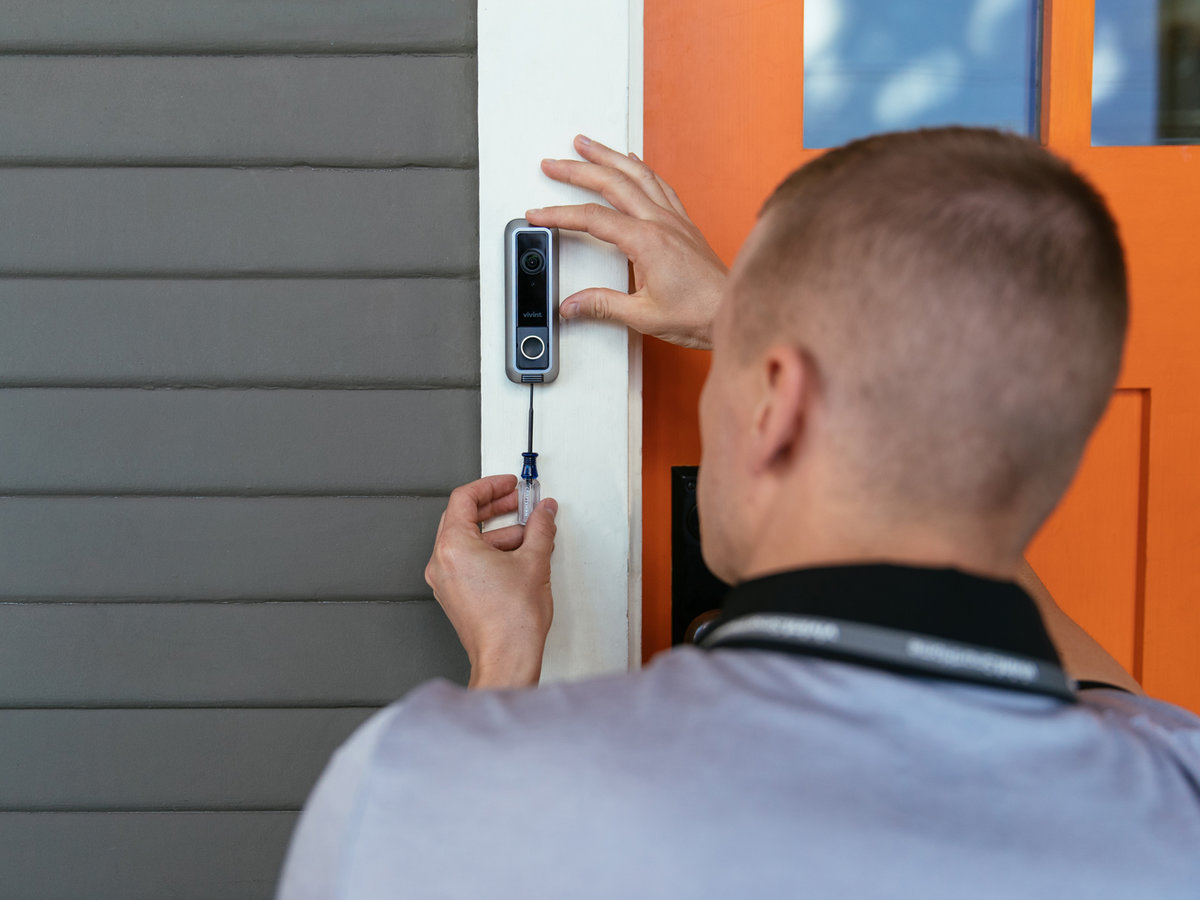
Step 3: Remove the motion detector from its mounting bracket
Now that you have powered off the motion detector, it’s time to remove it from its mounting bracket. This step requires a Phillips screwdriver and a steady hand. Follow these steps to remove the motion detector:
- Inspect the motion detector to locate the screws that secure it to the mounting bracket. Typically, there will be two screws on either side of the detector.
- Using a Phillips screwdriver, carefully remove the screws by turning them counterclockwise.
- Once the screws are removed, gently pull the motion detector away from the mounting bracket. Be cautious not to apply too much force, as you don’t want to damage any wiring or other components.
- Set the removed motion detector aside in a safe place where it won’t get damaged or lost.
By following these steps, you should be able to detach the motion detector from its mounting bracket easily. Remember to handle the detector with care to avoid any damage or accidental disconnection of wires.
If you encounter any resistance while trying to remove the motion detector, double-check if there are any additional screws or latches securing it. Some detectors may have additional securing mechanisms for added stability.
Step 4: Disconnect the wiring
With the motion detector removed from its mounting bracket, it’s time to disconnect the wiring. This step requires caution to ensure that you don’t damage the wiring or other components. Follow these steps to disconnect the wiring:
- Locate the wiring connected to the back of the motion detector. You will typically find a set of colored wires.
- Using wire cutters, carefully cut the wires one by one near their connection points. Be careful not to cut too close to the detector’s body to leave enough wire for future connections, if needed.
- Once the wires are cut, carefully remove the motion detector from the location, ensuring that the wires do not get tangled or damaged.
It is essential to handle the wiring with care to prevent any damage or accidental disconnection. If possible, label or take note of the wire colors and their corresponding connections to make the reinstallation process easier in the future. This will help you identify which wires need to be connected when you install a new motion detector or relocate the existing one.
Remember to exercise caution when handling electrical wires, and if you are uncertain about any wiring connections, consult Vivint’s official documentation or seek assistance from a professional technician to avoid any potential safety hazards.
To remove a Vivint motion detector, first disarm the system. Then, twist the detector counterclockwise to release it from the mounting bracket. Finally, disconnect the wires and remove the battery if applicable.
Read more: What Does A Vivint Motion Detector Look Like
Step 5: Cover the exposed wires
After disconnecting the wiring, it’s crucial to cover the exposed wires to prevent any accidental contact or short circuits. This step ensures the safety of both the residents and the integrity of the electrical system. Follow these guidelines to cover the exposed wires properly:
- Inspect the cut ends of the wires to ensure they are clean and free from loose strands.
- Take a length of electrical tape and wrap it securely around each exposed wire, covering the bare metal completely.
- Wrap additional layers of electrical tape to create a tight seal and ensure the wires are well insulated.
- If there are multiple wires, bundle them together using electrical tape to keep them organized and minimize the risk of accidental contact.
By covering the exposed wires with electrical tape, you provide an extra layer of protection against potential electrical hazards. This step is crucial, especially if you plan to leave the wires exposed temporarily before installing a new motion detector or relocating the existing one.
Remember to handle electrical tape with care and ensure a secure and tight wrapping. If you notice any loose or damaged wires, it is best to consult a professional technician to address the issue promptly.
Step 6: Patch and repair any holes or damage
With the wiring safely covered, it’s time to address any holes or damage that may have been left behind after removing the motion detector. Properly patching and repairing these areas will help maintain the integrity and aesthetics of your home. Follow these steps to patch and repair any holes or damage caused by the motion detector removal:
- Clean the area around the mounting bracket where the motion detector was previously installed. Remove any dust, debris, or loose materials.
- If there are any small holes left by the mounting screws, you can use a spackling compound or wall putty to fill them. Apply the compound using a putty knife, smoothing it out to create a seamless surface.
- If there are larger holes or damage around the mounting bracket, consider using a patching material such as drywall compound or a self-adhesive patch. Follow the manufacturer’s instructions to prepare and apply the patch, ensuring a secure and even surface.
- Allow the patched areas to dry completely according to the product’s instructions. Once dry, sand them lightly to create a smooth finish.
- After sanding, wipe away any dust or residue from the patched areas using a clean cloth or sponge.
By patching and repairing any holes or damage, you restore the appearance of your walls and ensure a professional finish. This step is essential, especially if you plan to leave the area empty or install a different motion detector in the future.
Remember to choose appropriate patching materials based on the type of wall surface, such as drywall or plaster. If you are unsure about how to patch or repair a specific type of damage, it’s always a good idea to consult a professional or seek guidance from a trusted home improvement resource.
Step 7: Test the remaining motion detectors
Once you have completed the removal process of the specific motion detector you were working on, it’s important to test the remaining motion detectors in your security system. By conducting thorough testing, you can ensure that all the detectors are functioning correctly and that your home’s security is not compromised. Follow these steps to test the remaining motion detectors:
- Refer to the user manual or documentation provided by Vivint to identify the locations of the remaining motion detectors in your home.
- Ensure that the power to the security system is still turned off, as you don’t want any false alarms or interruptions during testing.
- Gradually power on the security system, and wait for it to initialize.
- Walk through the monitored areas where the motion detectors are installed, ensuring that you move within the detection range of each detector.
- Observe the control panel or monitor to confirm that each activated motion detector registers a detection event.
- If any issues or inconsistencies are detected, consult the user manual or contact Vivint’s customer support for further troubleshooting steps or professional assistance.
Testing the remaining motion detectors allows you to verify that they are functioning properly and will alert you in the event of any unauthorized movement. It’s essential to conduct periodic testing to ensure the reliability of your security system.
If you have any concerns about the performance of the remaining motion detectors or notice any abnormalities during testing, it’s advisable to reach out to professionals who specialize in home security systems for a thorough inspection and maintenance.
Step 8: Dispose of the old motion detector properly
After successfully removing the motion detector and confirming that the remaining detectors are functioning correctly, it’s important to dispose of the old motion detector properly. This step ensures that the device is discarded safely and responsibly without posing any environmental harm. Follow these guidelines to dispose of the old motion detector:
- Check if your local recycling facility accepts electronic devices or electronic waste. Many recycling centers have specific procedures for handling and recycling electronic equipment.
- If your recycling facility accepts electronic devices, ensure that the motion detector is securely packaged to prevent any damage during transportation.
- Remove any batteries from the motion detector if it had any. Batteries are typically recycled separately and not included with electronic waste.
- Transport the packaged motion detector to the designated recycling facility or arrange for a pickup service if available. Follow the instructions provided by the facility or the pickup service for proper disposal.
- If a recycling facility is not available in your area, contact your local municipality or waste management authority for guidance on how to properly dispose of electronic devices.
Proper disposal of electronic devices, including motion detectors, helps protect the environment by preventing harmful substances from entering landfills or being improperly handled. Recycling also allows for the recovery of valuable materials that can be reused in the manufacturing of new products.
Remember, never dispose of electronic devices in regular household waste or throw them into dumpsters. Improper disposal can have negative consequences for the environment and may even be against local regulations.
Conclusion
Removing a motion detector from your Vivint security system can seem like a complicated task, but by following the step-by-step process outlined in this guide, you can safely and effectively remove the detector without any issues. Remember to prioritize safety throughout the entire process, ensuring that the power is turned off and using the necessary tools and equipment.
From gathering the necessary tools to disconnecting the wiring, covering exposed wires, patching and repairing any holes or damage, testing the remaining motion detectors, and disposing of the old motion detector properly, each step is important in ensuring a smooth and successful removal process.
If you’re ever unsure about any part of the process or encounter any difficulties, it’s always recommended to seek assistance from a professional or consult Vivint’s customer support. They can provide further guidance and ensure that the removal is done correctly.
Lastly, always remember to prioritize the safety and security of your home. Whether you’re upgrading your security system or making changes to its layout, maintaining a reliable and efficient home security system is essential for peace of mind and protecting your loved ones and belongings.
By following this guide and taking the necessary precautions, you can safely remove a Vivint motion detector and continue to enhance the security of your home.
Frequently Asked Questions about How To Remove A Vivint Motion Detector
Was this page helpful?
At Storables.com, we guarantee accurate and reliable information. Our content, validated by Expert Board Contributors, is crafted following stringent Editorial Policies. We're committed to providing you with well-researched, expert-backed insights for all your informational needs.