Home>Home Security and Surveillance>How To Remove Motion Detector From Wall
Home Security and Surveillance
How To Remove Motion Detector From Wall
Modified: August 27, 2024
Learn how to safely remove a motion detector from your wall with our step-by-step guide. Improve your home security and surveillance by following our expert tips and techniques.
(Many of the links in this article redirect to a specific reviewed product. Your purchase of these products through affiliate links helps to generate commission for Storables.com, at no extra cost. Learn more)
Introduction
When it comes to home security and surveillance, motion detectors play a crucial role in keeping you and your loved ones safe. These devices are designed to detect any movement in their range and trigger an alert or activate an alarm system. However, there may be instances where you need to remove a motion detector from the wall. It could be due to a malfunctioning unit, upgrading to a new model, or simply repositioning it to get better coverage.
Removing a motion detector from the wall may seem like a daunting task, especially if you’re not familiar with the process. But fear not, as we will guide you through step-by-step instructions on how to safely remove a motion detector from the wall without causing any damage.
Before we get started, it’s important to note that safety should always be your top priority. Make sure to turn off the power to the motion detector before attempting any removal. Additionally, if you are not comfortable with electrical work, it’s recommended to seek professional assistance.
Now, let’s dive into the step-by-step process of removing a motion detector from the wall.
Key Takeaways:
- Removing a motion detector from the wall requires careful preparation, disconnection of wiring, and patching the wall. Safety and attention to detail are crucial for a successful removal process.
- Reinstalling or replacing the motion detector involves aligning the mounting bracket, reconnecting the wiring, and testing the device. Following manufacturer’s instructions and seeking professional help if needed ensures a secure and functional home security system.
Step 1: Preparation
Before you begin removing the motion detector from the wall, it’s essential to gather all the necessary tools and equipment. Here’s a list of items you’ll need:
- Screwdriver
- Wire cutters
- Electrical tape
- Patch and repair materials (if required)
Once you have the tools ready, take a few moments to familiarize yourself with the specific make and model of your motion detector. Review the manufacturer’s instructions or user manual, as they may provide guidance on the removal process.
Next, ensure you have a clear workspace around the motion detector. Remove any furniture or obstacles that may hinder your access to the device. It’s crucial to have a well-lit area so that you can see the wiring connections clearly.
Lastly, if your motion detector is connected to a larger security system, such as a CCTV or alarm system, consider disarming the system before proceeding with the removal. This will prevent any false alarms and ensure a smooth removal process.
Once you have all the tools and equipment ready, and you’ve taken the necessary precautions, you’re ready to move on to the next step.
Step 2: Turn off Power
Turning off the power to the motion detector is an important safety precaution before removing it from the wall. It will prevent any accidental shocks or short circuits during the removal process. Here’s how you can do it:
- Locate the circuit breaker panel in your home. It is usually found in the basement, utility room, or garage.
- Identify the circuit that supplies power to the motion detector. If you’re not sure which circuit it is, you can either check the labeling on the breaker or consult the electrical plan of your home.
- Flip the breaker switch to the “Off” position to cut off power to the motion detector. It’s a good practice to double-check by attempting to turn on the device or triggering its motion detection. If it doesn’t activate, you can be confident that the power is disconnected.
After turning off the power, wait for a few minutes to ensure that any residual electrical charge dissipates. This will further minimize the risk of electrical shocks while working on the motion detector.
Remember, safety should always be your priority when dealing with electrical components. If you’re uncertain about turning off the power or handling electrical wires, it’s best to seek professional assistance.
Once you’ve taken the necessary safety precautions, it’s time to move on to the next step – locating the mounting bracket. Let’s continue with the removal process.
Step 3: Locate the Mounting Bracket
Before you can remove the motion detector from the wall, you need to locate the mounting bracket. The mounting bracket is the component that holds the motion detector securely in place. Here’s how you can find it:
- Inspect the area around the motion detector. Look for any visible screws, clips, or attachments that are holding it to the wall.
- If there are no visible attachments, use your fingers or a flathead screwdriver to gently pry off the cover plate of the motion detector. The cover plate is usually held in place by small clips or tabs. Be careful not to damage the cover plate or the surrounding wall.
- Once the cover plate is removed, you should be able to see the mounting bracket behind it. Take note of its size, shape, and how it is secured to the wall.
Every motion detector model may have a slightly different design for its mounting bracket. Some brackets may be held in place with screws, while others may use clips or adhesive backing. Understanding how the mounting bracket is attached will help you proceed with the removal process.
As you inspect the mounting bracket, it’s a good idea to take a photograph or make a note of the wiring connections. This will help you reconnect the wires correctly when you reinstall or replace the motion detector.
Once you have located the mounting bracket and taken note of its attachment details, you’re ready to move on to the next step – removing the cover plate. Let’s continue with the removal process.
Step 4: Remove the Cover Plate
With the mounting bracket identified, it’s time to remove the cover plate of the motion detector. The cover plate is the protective outer casing that conceals the internal components of the device. Here’s how you can remove it:
- Use a screwdriver or your fingers to remove any screws or clips that are securing the cover plate to the mounting bracket. Keep these screws or clips in a safe place as you may need them later during the reinstallation.
- If there are no visible screws or clips, gently pry off the cover plate using a flathead screwdriver. Apply gentle pressure at the edges of the cover plate and work your way around until it loosens and comes off.
- Once the cover plate is removed, set it aside.
While removing the cover plate, be careful not to damage any wires or internal components of the motion detector. Take your time and proceed with caution to ensure a smooth removal process.
With the cover plate removed, you will have a clearer view of the wiring connections inside the motion detector. In the next step, we will guide you on how to disconnect the wiring properly. Let’s move on to step 5!
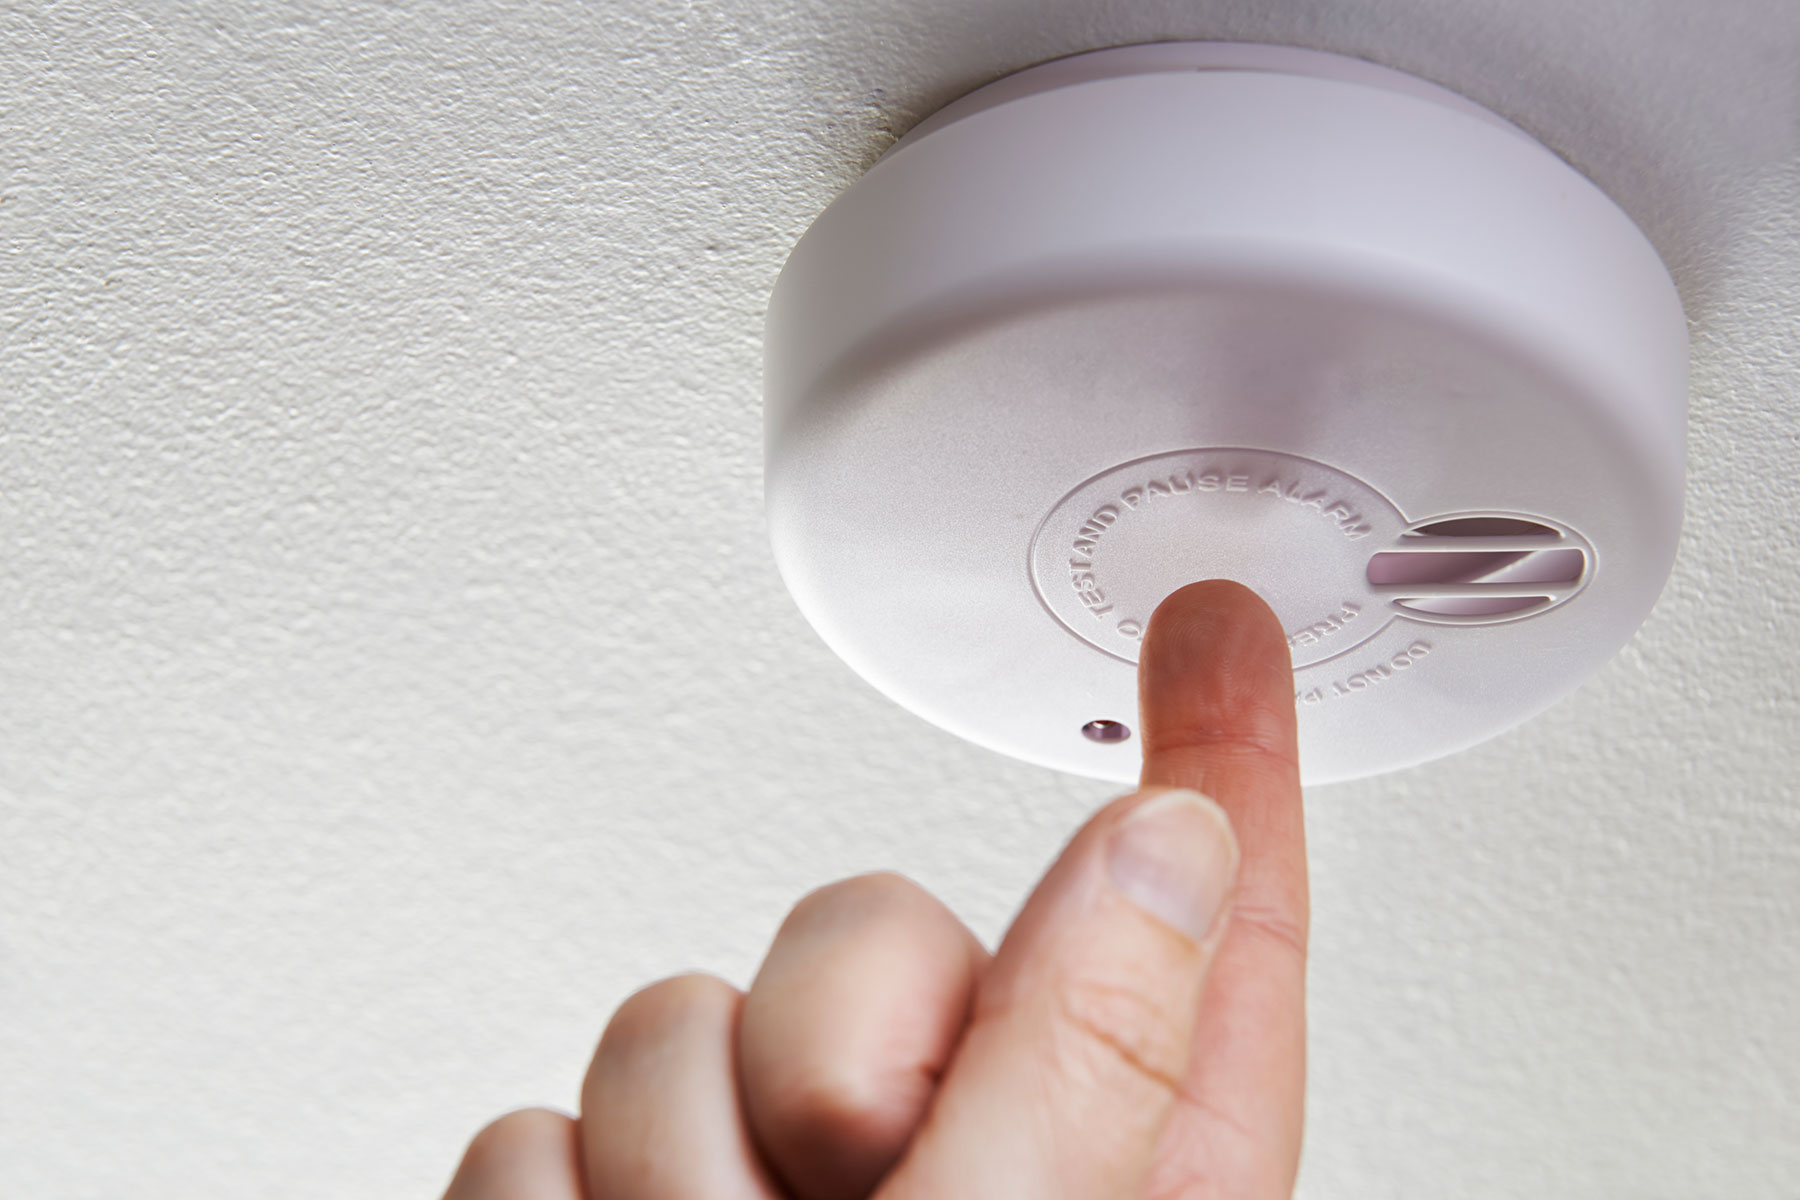
Before removing a motion detector from the wall, make sure to turn off the power to the device at the circuit breaker. Use a screwdriver to remove the screws holding the detector in place, then carefully disconnect the wires. Be sure to follow the manufacturer’s instructions for safe removal.
Read more: How To Remove A Vivint Motion Detector
Step 5: Disconnect Wiring
Disconnecting the wiring is a crucial step in removing the motion detector from the wall. It’s important to handle the wiring carefully to avoid any damage or electrical hazards. Follow these steps to disconnect the wiring:
- Inspect the wiring connections inside the motion detector. You will likely see a set of colored wires coming from the wall and connected to the device.
- Identify the wire connectors or terminals that are securing the wires to the motion detector. Depending on the model, these connectors may be in the form of screw terminals, push-in connectors, or wire nuts.
- Before disconnecting the wires, it’s a good practice to label them or take a photograph for reference during reinstallation. Use a piece of electrical tape or a marker to label each wire with its corresponding color or terminal designation.
- Once the wires are labeled, carefully unscrew or detach the wire connectors to release the wires from the motion detector. Pay attention to any additional securing mechanisms, such as clips or tabs, that may keep the wires in place.
- With the wiring connections released, untangle any twists or loops in the wires to ensure a smooth removal.
During this process, it’s essential to exercise caution and avoid pulling or yanking the wires forcefully. Gentle and deliberate movements will help prevent any damage to the wires or connectors.
After disconnecting the wiring, place the wires in a safe and organized manner to prevent them from tangling or getting damaged. Now that the wiring is successfully disconnected, let’s proceed to the next step – removing the mounting bracket from the wall.
Step 6: Remove Mounting Bracket from Wall
With the wiring disconnected, it’s time to remove the mounting bracket that holds the motion detector to the wall. The method of removal will depend on how the bracket is secured. Follow these steps to remove the mounting bracket:
- If the mounting bracket is secured with screws, use a screwdriver to unscrew them. Turn the screws counterclockwise until they are fully loosened. Keep the screws in a safe place as they may be needed for reinstallation.
- If the mounting bracket is attached with clips or adhesive backing, carefully pry it off the wall using a flathead screwdriver or your fingers. Apply gentle pressure and work your way around the bracket until it comes off.
- As you remove the mounting bracket, be mindful of any wires or other components that may be attached to it. Ensure that everything is detached properly and that there are no obstructions preventing the bracket’s removal.
- Once the mounting bracket is removed, set it aside.
During the removal process, it’s important to handle the mounting bracket with care to avoid any damage to the wall or surrounding areas. Take your time and proceed slowly to ensure a smooth removal.
With the mounting bracket successfully taken off the wall, you’re now ready to move on to the next step – patching and repairing the wall. Let’s continue!
Step 7: Patch and Repair the Wall
After removing the mounting bracket, there may be holes or damage on the wall where the motion detector was installed. Patching and repairing the wall will help restore its appearance and ensure a seamless finish. Follow these steps to patch and repair the wall:
- Inspect the wall for any holes, cracks, or damage caused by the removal of the mounting bracket. If necessary, gently scrape away loose debris or paint around the area using a putty knife or sandpaper.
- Prepare the patching material according to the instructions provided. It may involve mixing a plaster compound or using a pre-mixed spackling paste.
- Apply the patching material to the damaged area using a putty knife or a suitable applicator. Smooth it out and ensure the surface is level with the surrounding wall. Follow the manufacturer’s instructions for drying time.
- Once the patching material is dry, sand down the repaired area using fine-grit sandpaper to create a smooth and even finish.
- Wipe away any dust or debris from the wall using a clean cloth or sponge. This will help ensure a clean surface for painting or touch-up.
- If necessary, apply a fresh coat of paint to the repaired area to match the surrounding wall. Use a brush or roller, and allow the paint to dry completely.
Properly patching and repairing the wall will not only restore its appearance but also prevent any further damage or deterioration. It’s important to take your time and follow the instructions carefully to achieve a satisfactory result.
Now that the wall is patched and repaired, you’re ready to move on to the next step – reinstalling or replacing the motion detector. Let’s continue with the removal process!
Step 8: Reinstall or Replace Motion Detector
After completing the patching and repair of the wall, it’s time to either reinstall the same motion detector or replace it with a new one. Follow these steps to reinstall or replace the motion detector:
- Take the motion detector and align the mounting bracket with the holes or attachment points on the wall.
- If you are reinstalling the same motion detector, secure the mounting bracket to the wall using the screws that were previously removed. Tighten the screws using a screwdriver until the bracket is firmly in place.
- If you are replacing the motion detector with a new one, follow the manufacturer’s instructions for attaching the mounting bracket. This may involve screws, clips, or adhesive backing.
- Once the mounting bracket is secure, reconnect the wiring to the motion detector. Refer to the labels or photographs taken during the disconnection process to ensure the correct wires are connected to their respective terminals or connectors.
- Carefully insert the wires into the appropriate connectors or terminals and tighten any screws to secure the connection.
- Double-check all the wiring connections to ensure they are secure and properly aligned.
- If necessary, replace the cover plate of the motion detector by aligning it with the mounting bracket and attaching it using screws or clips.
- Finally, restore the power by flipping the circuit breaker switch that supplies power to the motion detector. Test the motion detector to ensure it is functioning properly.
Reinstalling or replacing the motion detector requires attention to detail and proper wiring. Take your time to ensure everything is securely connected and aligned. If you encounter any difficulties or are unsure about the installation, consult the manufacturer’s instructions or seek professional assistance.
Congratulations! You have successfully removed the motion detector from the wall and either reinstalled the same device or replaced it with a new one. Your home security and surveillance system is now ready to provide protection and peace of mind.
Remember, regular maintenance and inspection of your motion detectors are important to ensure they continue to function optimally. If you encounter any further issues or need additional assistance, don’t hesitate to consult a professional in the field.
With these steps completed, you have successfully removed and reinstalled or replaced a motion detector from the wall. Take pride in your accomplishment and enjoy the enhanced security features it provides for your home!
Conclusion
Removing a motion detector from the wall may seem like a daunting task, but with the right knowledge and guidance, it can be accomplished safely and efficiently. In this article, we have provided step-by-step instructions on how to remove a motion detector from the wall, ensuring that you can make any necessary repairs or upgrades to your home security and surveillance system.
We started by emphasizing the importance of safety and preparing the necessary tools and equipment before beginning the removal process. Turning off the power to the motion detector and locating the mounting bracket were crucial initial steps to ensure a smooth removal.
Then, we guided you through removing the cover plate, disconnecting the wiring, and removing the mounting bracket from the wall. Each step required careful attention to detail and a focus on ensuring the integrity of the device and the surrounding wall.
After removing the motion detector, we discussed the importance of patching and repairing the wall to restore its appearance and ensure a seamless finish. Taking the time to properly patch and repair the wall not only enhances its aesthetics but also prevents any further damage to the structure.
Finally, we provided guidance on reinstalling or replacing the motion detector, ensuring that the wiring is connected correctly and that the device is securely mounted to the wall. We emphasized the importance of following manufacturer’s instructions and seeking professional assistance if needed.
By following these step-by-step instructions, you can confidently remove and re-install or replace a motion detector from the wall, enhancing the security and surveillance capabilities of your home. Regular maintenance and inspection of your home security system are crucial to ensure its effectiveness and reliability.
Remember, if you ever feel unsure or uncomfortable with any aspect of removing or installing a motion detector, it’s always recommended to consult a professional in the field. They have the expertise and experience to guide you through the process and ensure your safety.
Thank you for taking the time to learn about removing a motion detector from the wall. We hope that this guide has been helpful to you in enhancing the security of your home and giving you peace of mind.
Frequently Asked Questions about How To Remove Motion Detector From Wall
Was this page helpful?
At Storables.com, we guarantee accurate and reliable information. Our content, validated by Expert Board Contributors, is crafted following stringent Editorial Policies. We're committed to providing you with well-researched, expert-backed insights for all your informational needs.