Home>Home Security and Surveillance>How To Install Outdoor Cameras
Home Security and Surveillance
How To Install Outdoor Cameras
Modified: March 6, 2024
Ensure the safety of your home with our step-by-step guide on how to install outdoor cameras for home security and surveillance. Protect your loved ones and belongings today!
(Many of the links in this article redirect to a specific reviewed product. Your purchase of these products through affiliate links helps to generate commission for Storables.com, at no extra cost. Learn more)
Introduction
Welcome to our comprehensive guide on how to install outdoor cameras for your home security and surveillance. With the increasing need for safety and protection, installing outdoor cameras has become an essential part of a robust security system. Whether you want to monitor your property, deter potential intruders, or simply keep an eye on your surroundings, outdoor cameras can provide you with peace of mind.
In this article, we will walk you through the step-by-step process of installing outdoor cameras. From determining the ideal camera placement to connecting and securing the camera, we will cover all the necessary aspects to ensure a successful installation.
Before we dive into the installation process, it’s important to highlight the benefits of outdoor cameras. Not only do they act as a deterrent to burglars and criminals, but they also allow you to remotely monitor any suspicious activities around your property. Outdoor cameras can also provide valuable evidence in case of any unfortunate incidents.
When it comes to choosing the right outdoor camera, there are a few factors to consider. These include the camera resolution, field of view, night vision capabilities, weather resistance, and connectivity options. Make sure you select a camera that fits your specific needs and requirements.
Now, let’s get started with the installation process. By following our step-by-step guide, you’ll have your outdoor cameras up and running in no time.
Key Takeaways:
- Installing outdoor cameras involves determining the best placement, choosing the right camera, and connecting and testing it. Proper installation enhances home security and provides peace of mind.
- By following a step-by-step guide, you can install outdoor cameras to deter intruders, monitor your property, and gather evidence if needed. Regular maintenance ensures continued functionality.
Read more: How To Install A Vivint Outdoor Camera
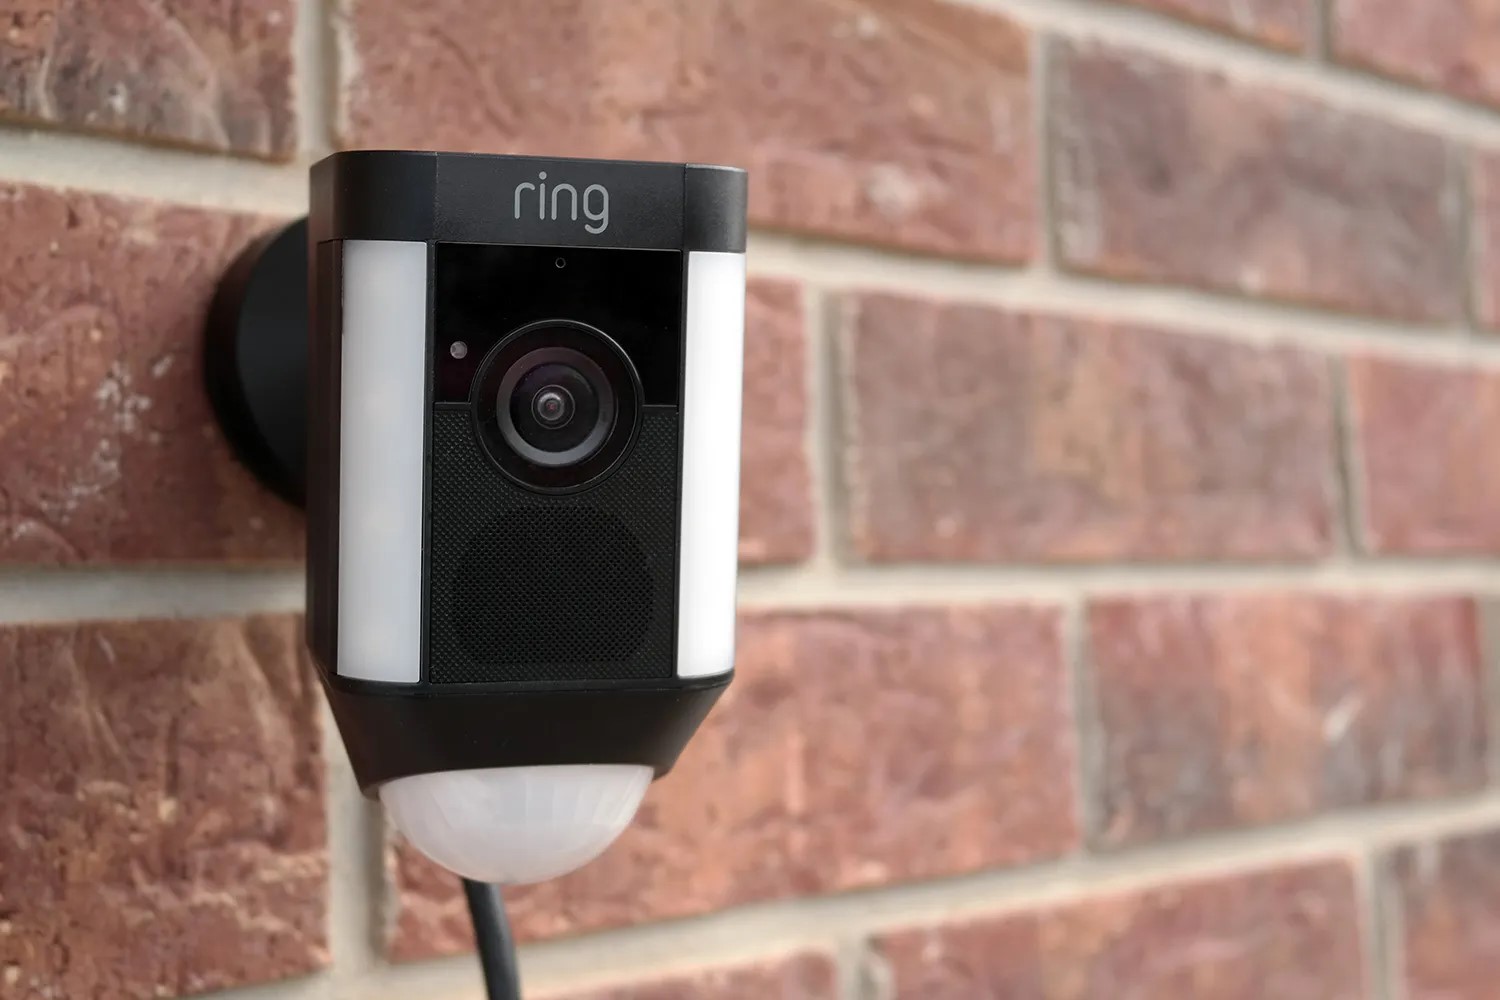
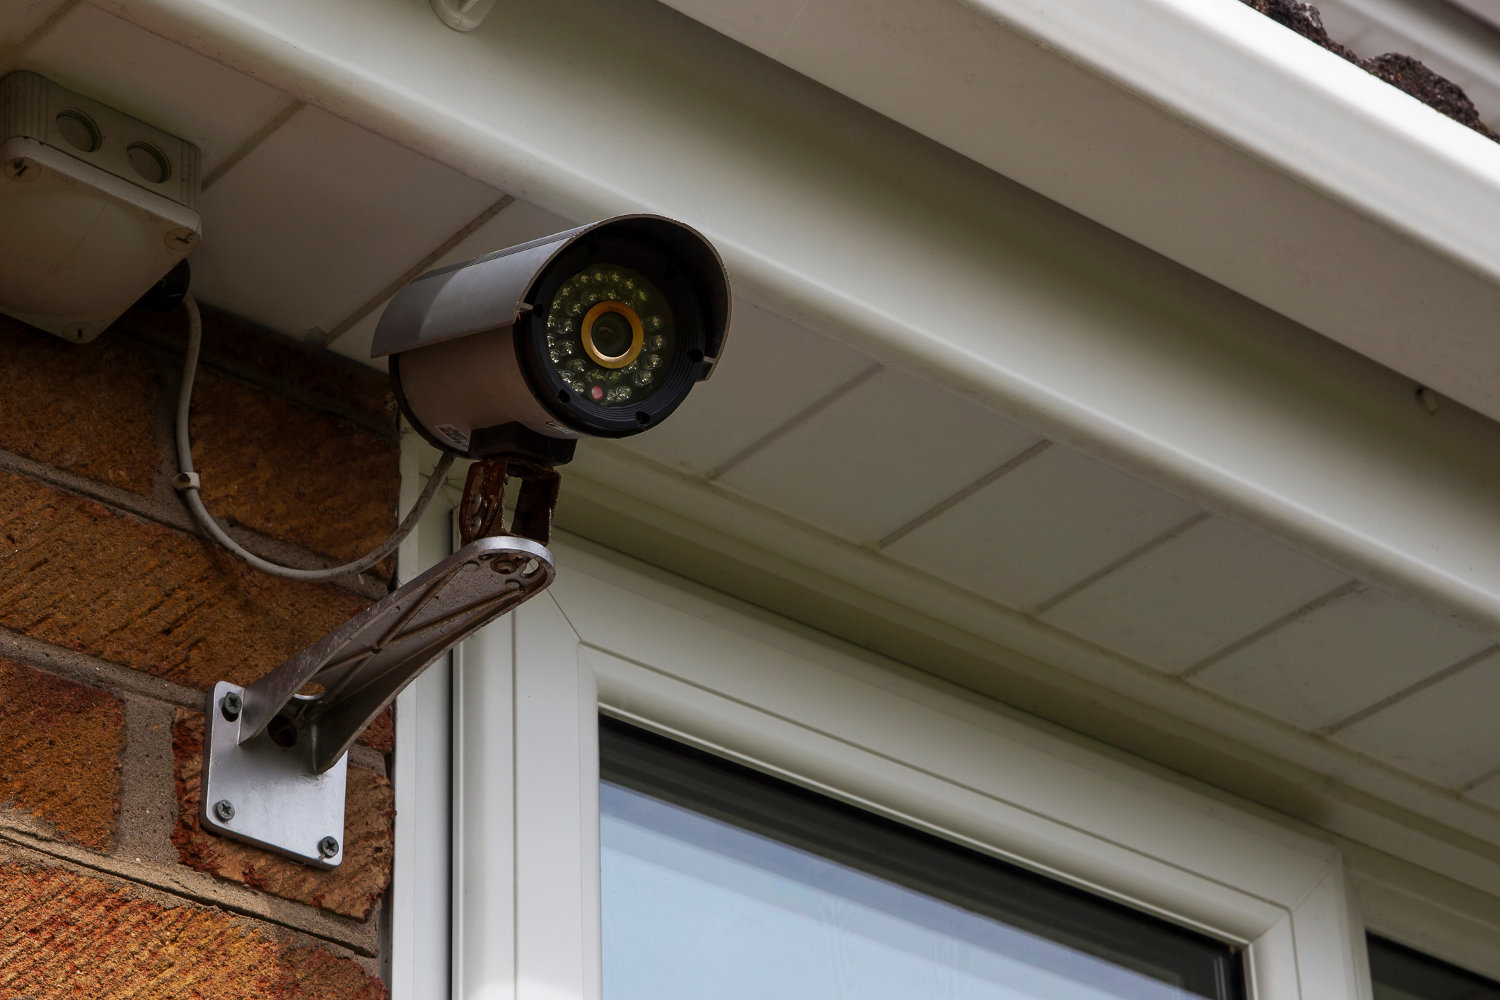
Step 1: Determine the Camera Placement
The first step in installing outdoor cameras is to determine the optimal placement for each camera. The placement of cameras plays a crucial role in capturing the desired areas and maximizing their effectiveness. Here are some factors to consider when determining the camera placement:
- Identify vulnerable areas: Take a walk around your property and identify the areas that are most susceptible to break-ins or unauthorized access. These could include entry points such as doors, windows, or any blind spots where someone could easily hide.
- Coverage area: Determine the coverage area you want your camera to capture. Consider the field of view and angle of the camera to ensure it covers the desired area effectively.
- Height and angle: Choose an optimal height and angle for mounting the camera. Ideally, the camera should be installed at a height that makes it difficult for anyone to tamper with or disable. The angle should provide a clear view of the target area without any obstructions.
- Consider lighting conditions: Take into account the lighting conditions in the area where you plan to install the camera. If the area is poorly lit, you might need a camera with superior night vision capabilities or consider installing additional lighting to ensure optimal visibility.
- Accessibility: Ensure that the camera is easily accessible for maintenance, cleaning, and adjustments. It should be within reach for any necessary cable connections or camera adjustments.
Once you have taken these factors into consideration, create a detailed plan of where you will install each camera. Document the camera locations on a map or diagram for reference during the installation process.
Remember, the goal is to strategically place the cameras to provide the best coverage and ensure the security of your property. A well-planned camera placement will enhance the effectiveness of your outdoor surveillance system.
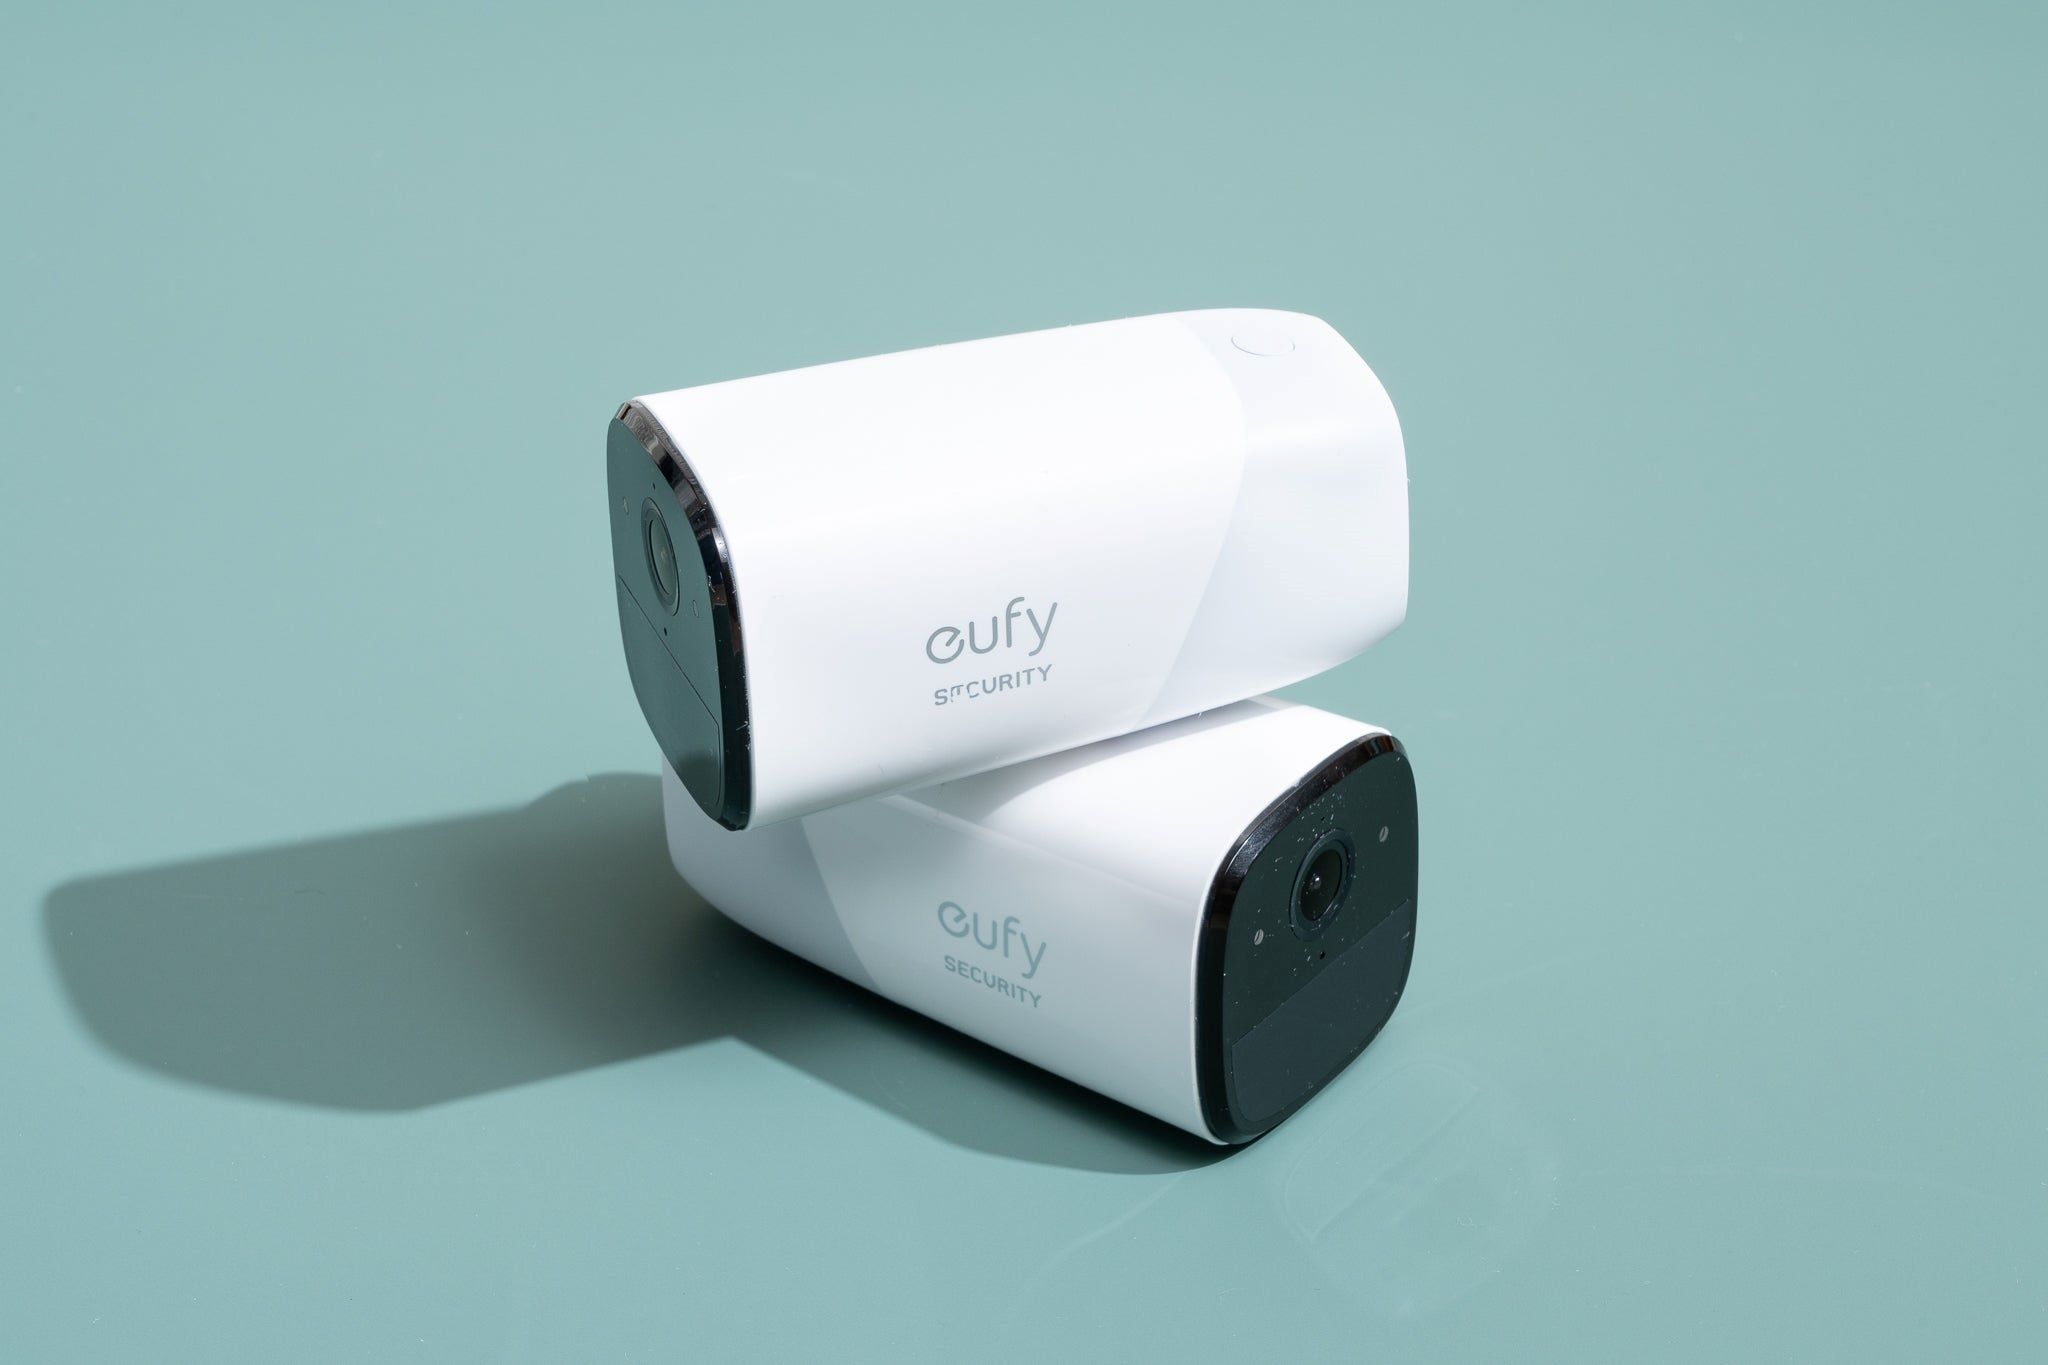
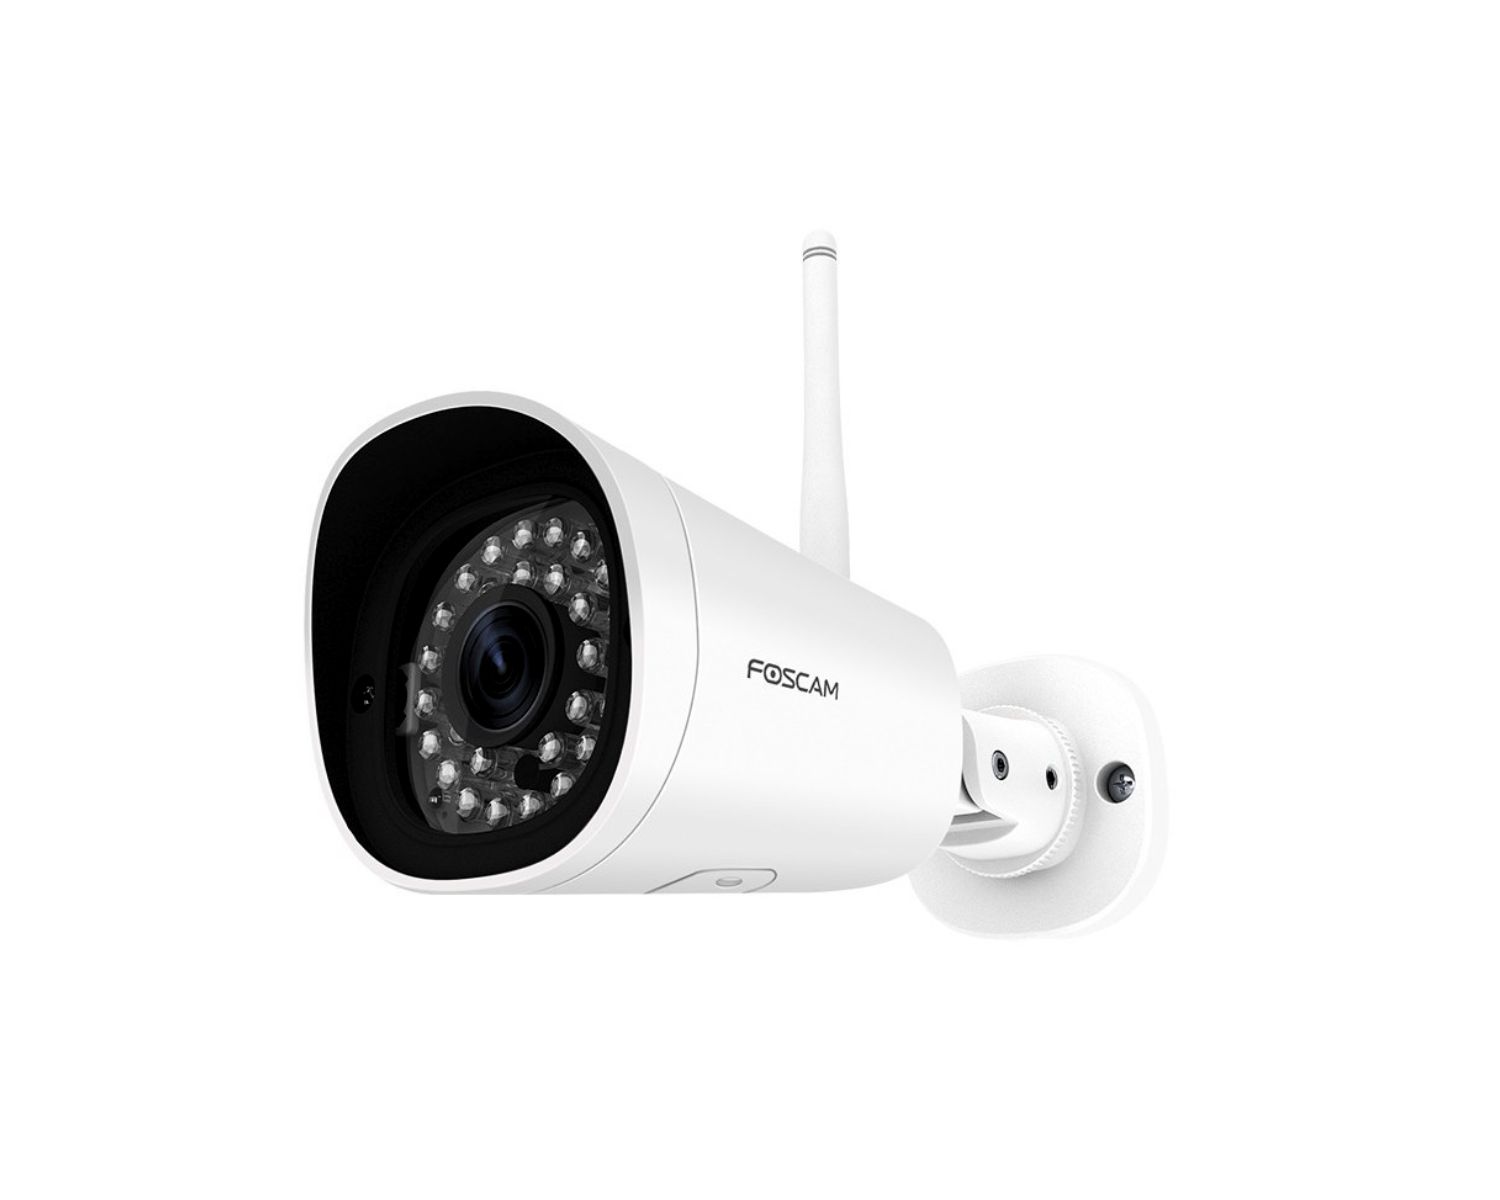
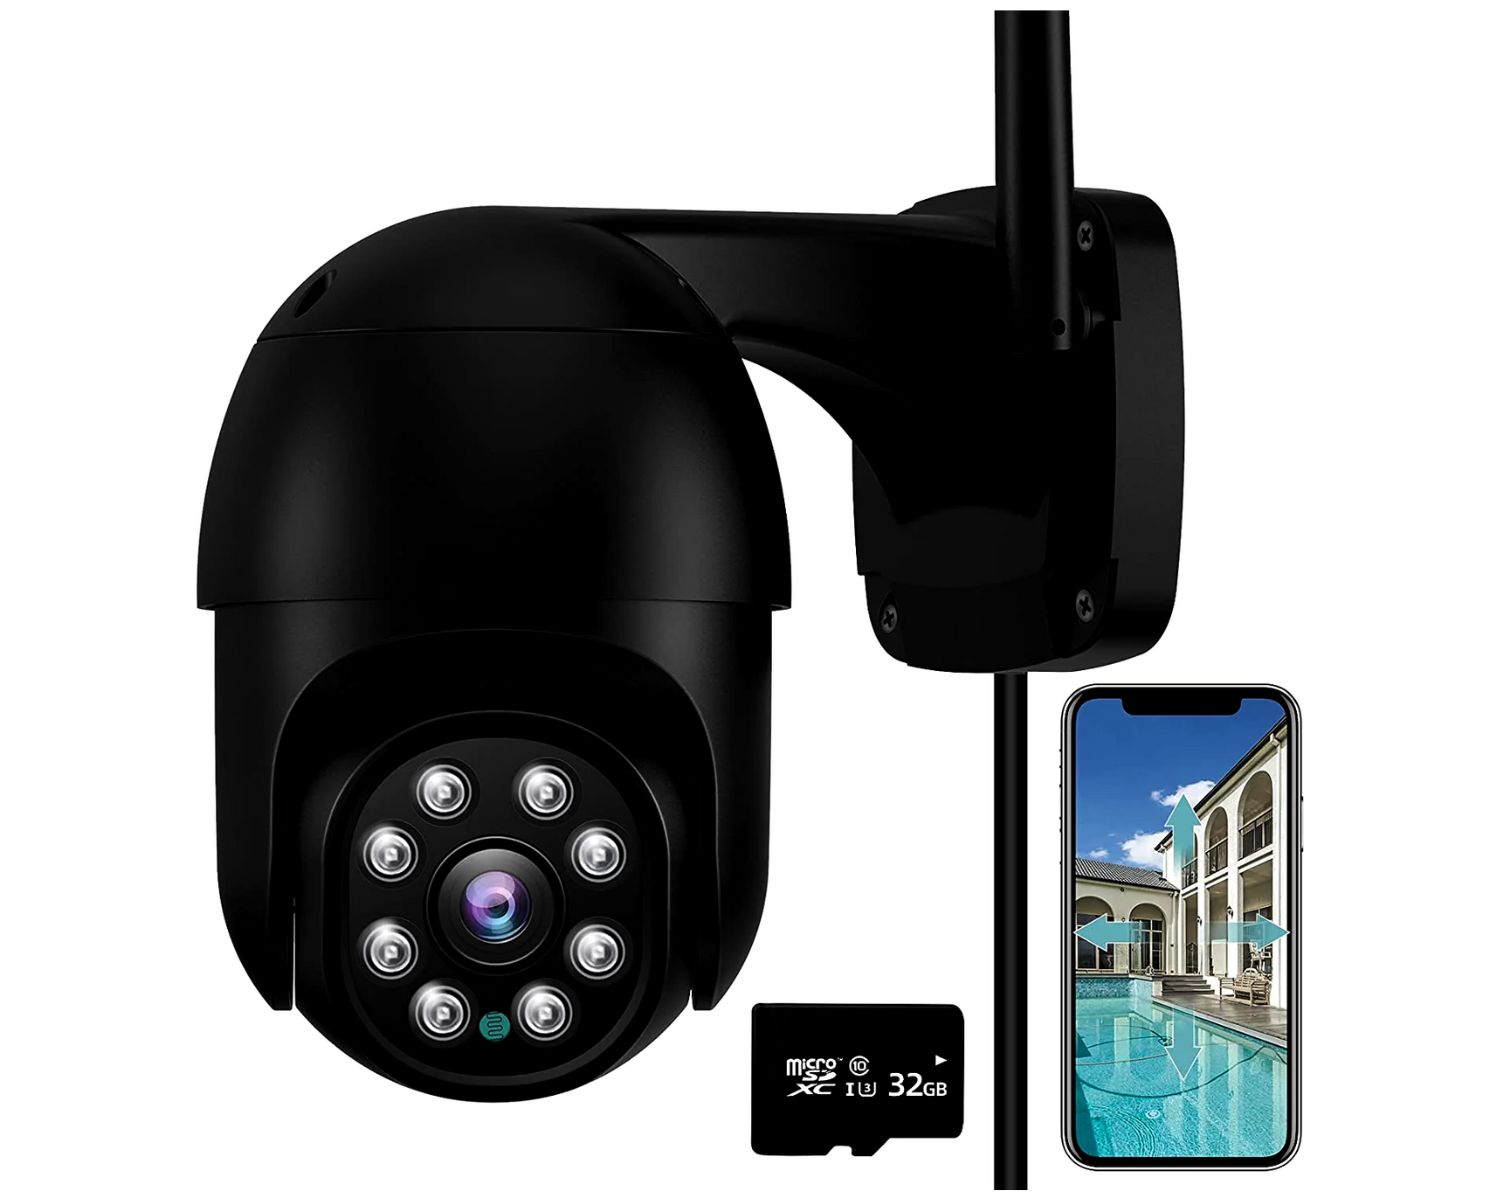
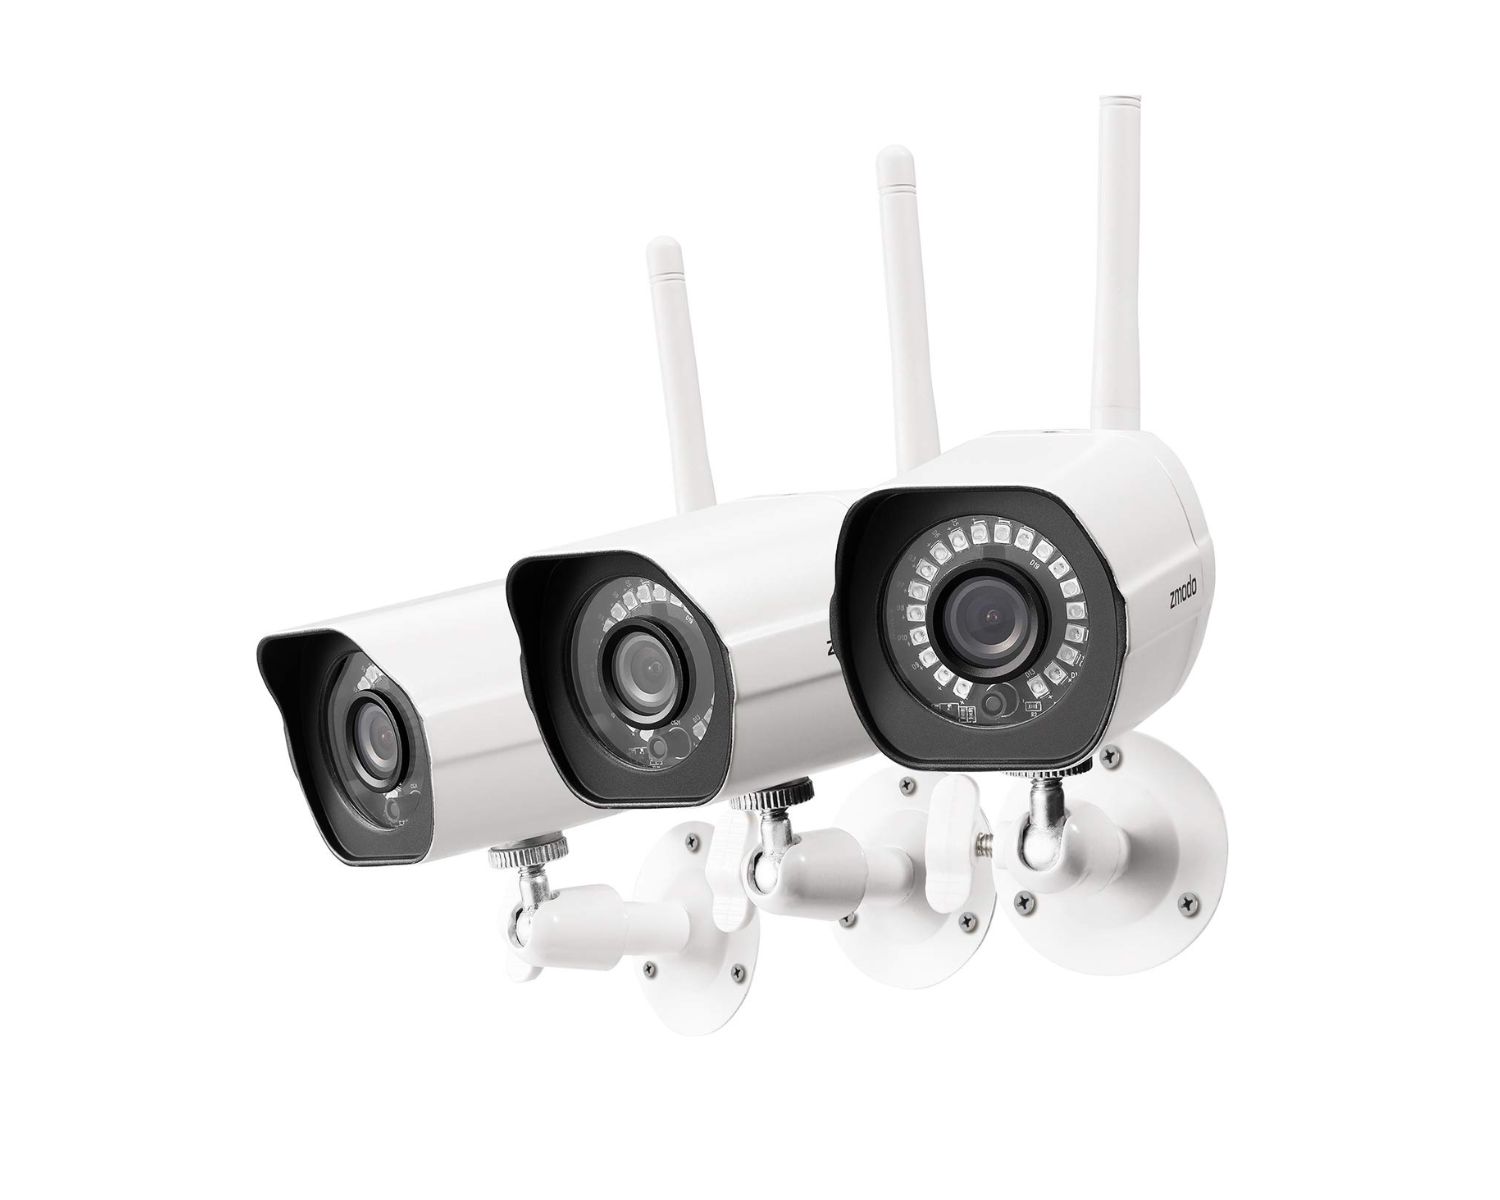
Step 2: Choose the Right Camera
Choosing the right outdoor camera is crucial for a successful surveillance system. There are various factors to consider when selecting a camera that suits your specific needs and requirements. Here are some key considerations:
- Camera Resolution: The camera resolution determines the level of detail you can capture. Higher resolution cameras provide clearer images and allow you to zoom in without significant loss of quality. Consider opting for cameras with resolutions of at least 1080p for optimal clarity.
- Field of View: The field of view (FOV) refers to the area that the camera can capture. Cameras with wider FOV can cover more ground, reducing the number of cameras needed for full coverage. Consider the layout of your property and choose cameras with an appropriate FOV to capture the desired area.
- Night Vision: If you want your outdoor cameras to operate effectively in low-light conditions or at night, look for cameras with robust night vision capabilities. Infrared (IR) LEDs are commonly used to provide clear visibility in the dark, so ensure the camera you choose has reliable night vision features.
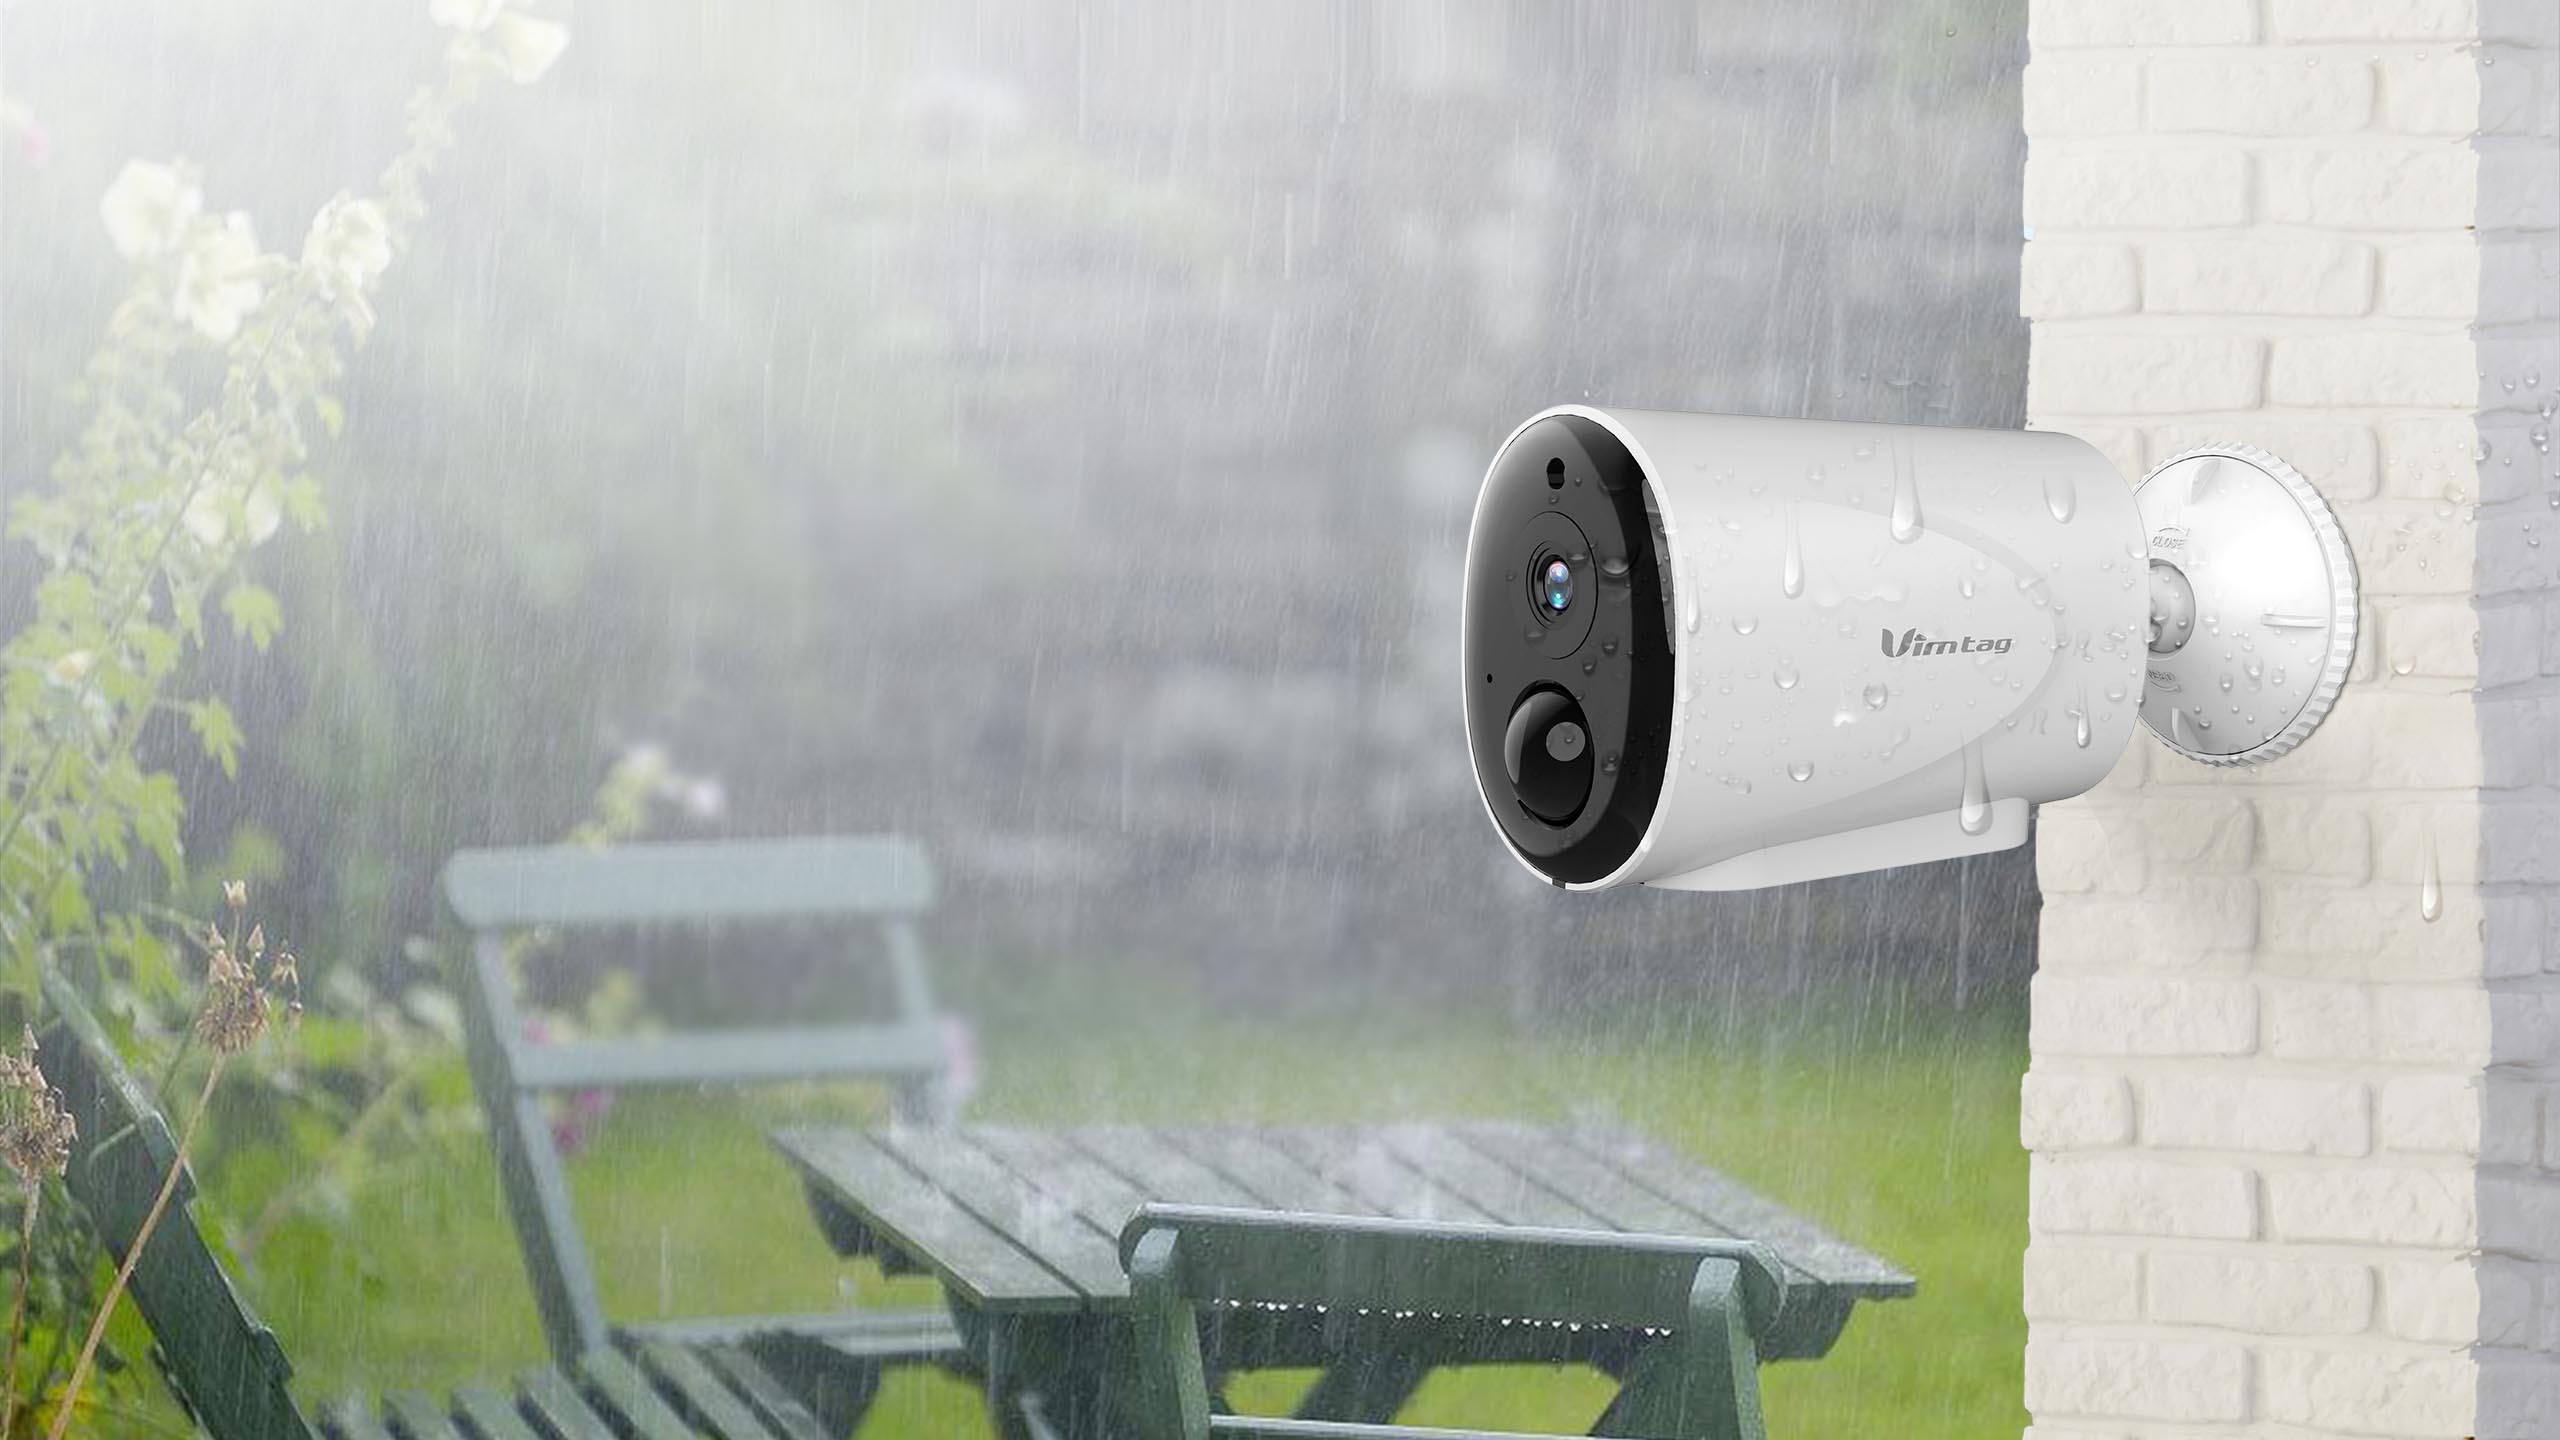
- Weather Resistance: Outdoor cameras are exposed to various weather conditions, so it’s essential to choose cameras that can withstand the elements. Look for cameras with weatherproof or IP-rated enclosures to ensure durability and protection against rain, dust, and extreme temperatures.
- Power and Connectivity: Consider the power source and connectivity options for the outdoor cameras. Wired cameras require a constant power supply and data connection, while wireless cameras offer more flexibility but may require batteries or regular charging.
- Add-On Features: Depending on your specific needs, consider additional features that can enhance the functionality of the camera. These may include motion detection, two-way audio, pan-tilt-zoom (PTZ) capabilities, or integration with a larger security system.
Take your time to research and compare different camera models and brands. Read reviews, check specifications, and consult with professionals if needed. Investing in the right outdoor cameras will ensure reliable surveillance and peace of mind for your home security system.
Step 3: Prepare the Necessary Tools
Before starting the installation process, it’s essential to gather all the necessary tools and equipment. Having the right tools on hand will make the installation process smoother and more efficient. Here are some tools you’ll likely need for installing outdoor cameras:
- Power drill: A power drill is essential for creating holes in the mounting surface for the camera brackets or cable routing.
- Drill bits: Depending on the mounting surface, you may need various drill bits to accommodate different types of screws or anchors.
- Screwdriver: A screwdriver will be needed to secure the camera bracket to the mounting surface or adjust the camera angle.
- Wire stripper: If you are running cables during the installation, a wire stripper will be necessary to strip the insulation from the cables and make proper connections.
- Cable clips or zip ties: These will help secure and neatly organize the camera cables along the mounting surface.
- Ladder or scaffold: Depending on the height and location of the camera installation, you may need a ladder or scaffold to access and mount the camera.
- Level: To ensure the camera is properly aligned, a level will help keep it straight during installation.
- Measuring tape: A measuring tape will be necessary to accurately measure and mark the mounting locations for the camera brackets.
- Extension cords or power extension cables: If the camera location is far from a power source, you may need extension cords or power extension cables to supply power to the camera.
- Protective gloves and safety goggles: Safety should always be a priority during any installation process. Use protective equipment such as gloves and safety goggles to avoid any injuries.
Make sure to gather these tools before you begin the installation process. It’s always better to be prepared and have everything you need within reach. This will save you time and frustration during the installation.
In addition to these tools, refer to the camera manufacturer’s instructions for any specific tools or equipment they recommend for your particular camera model.
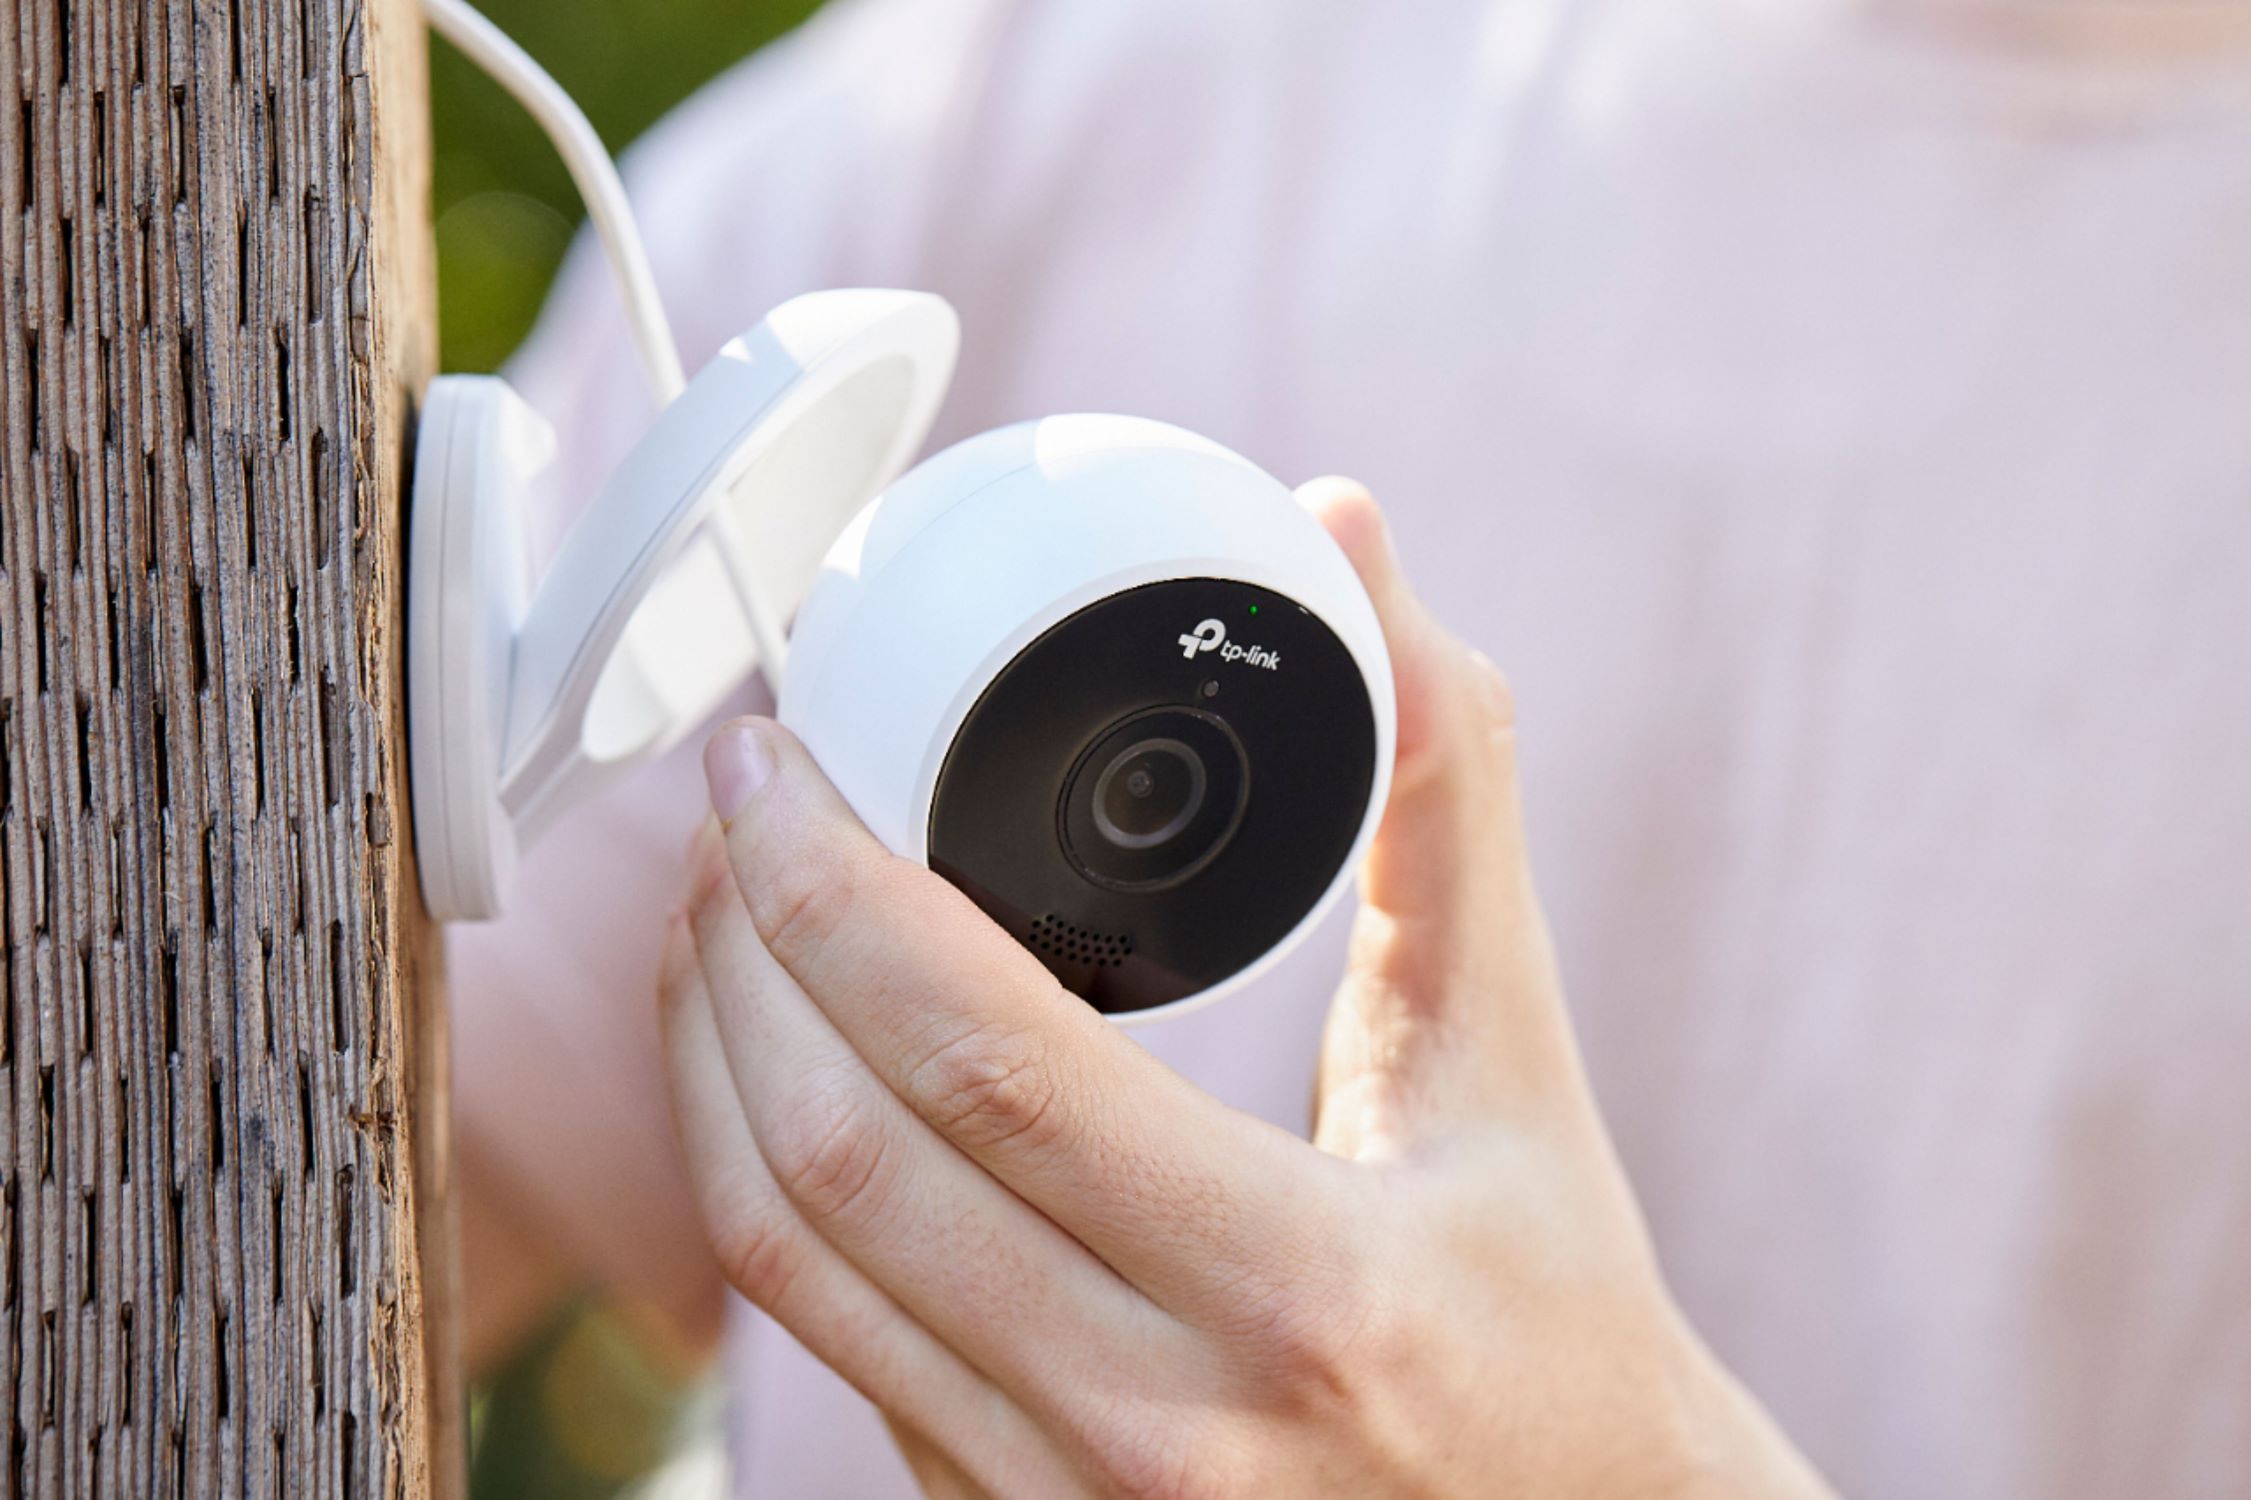
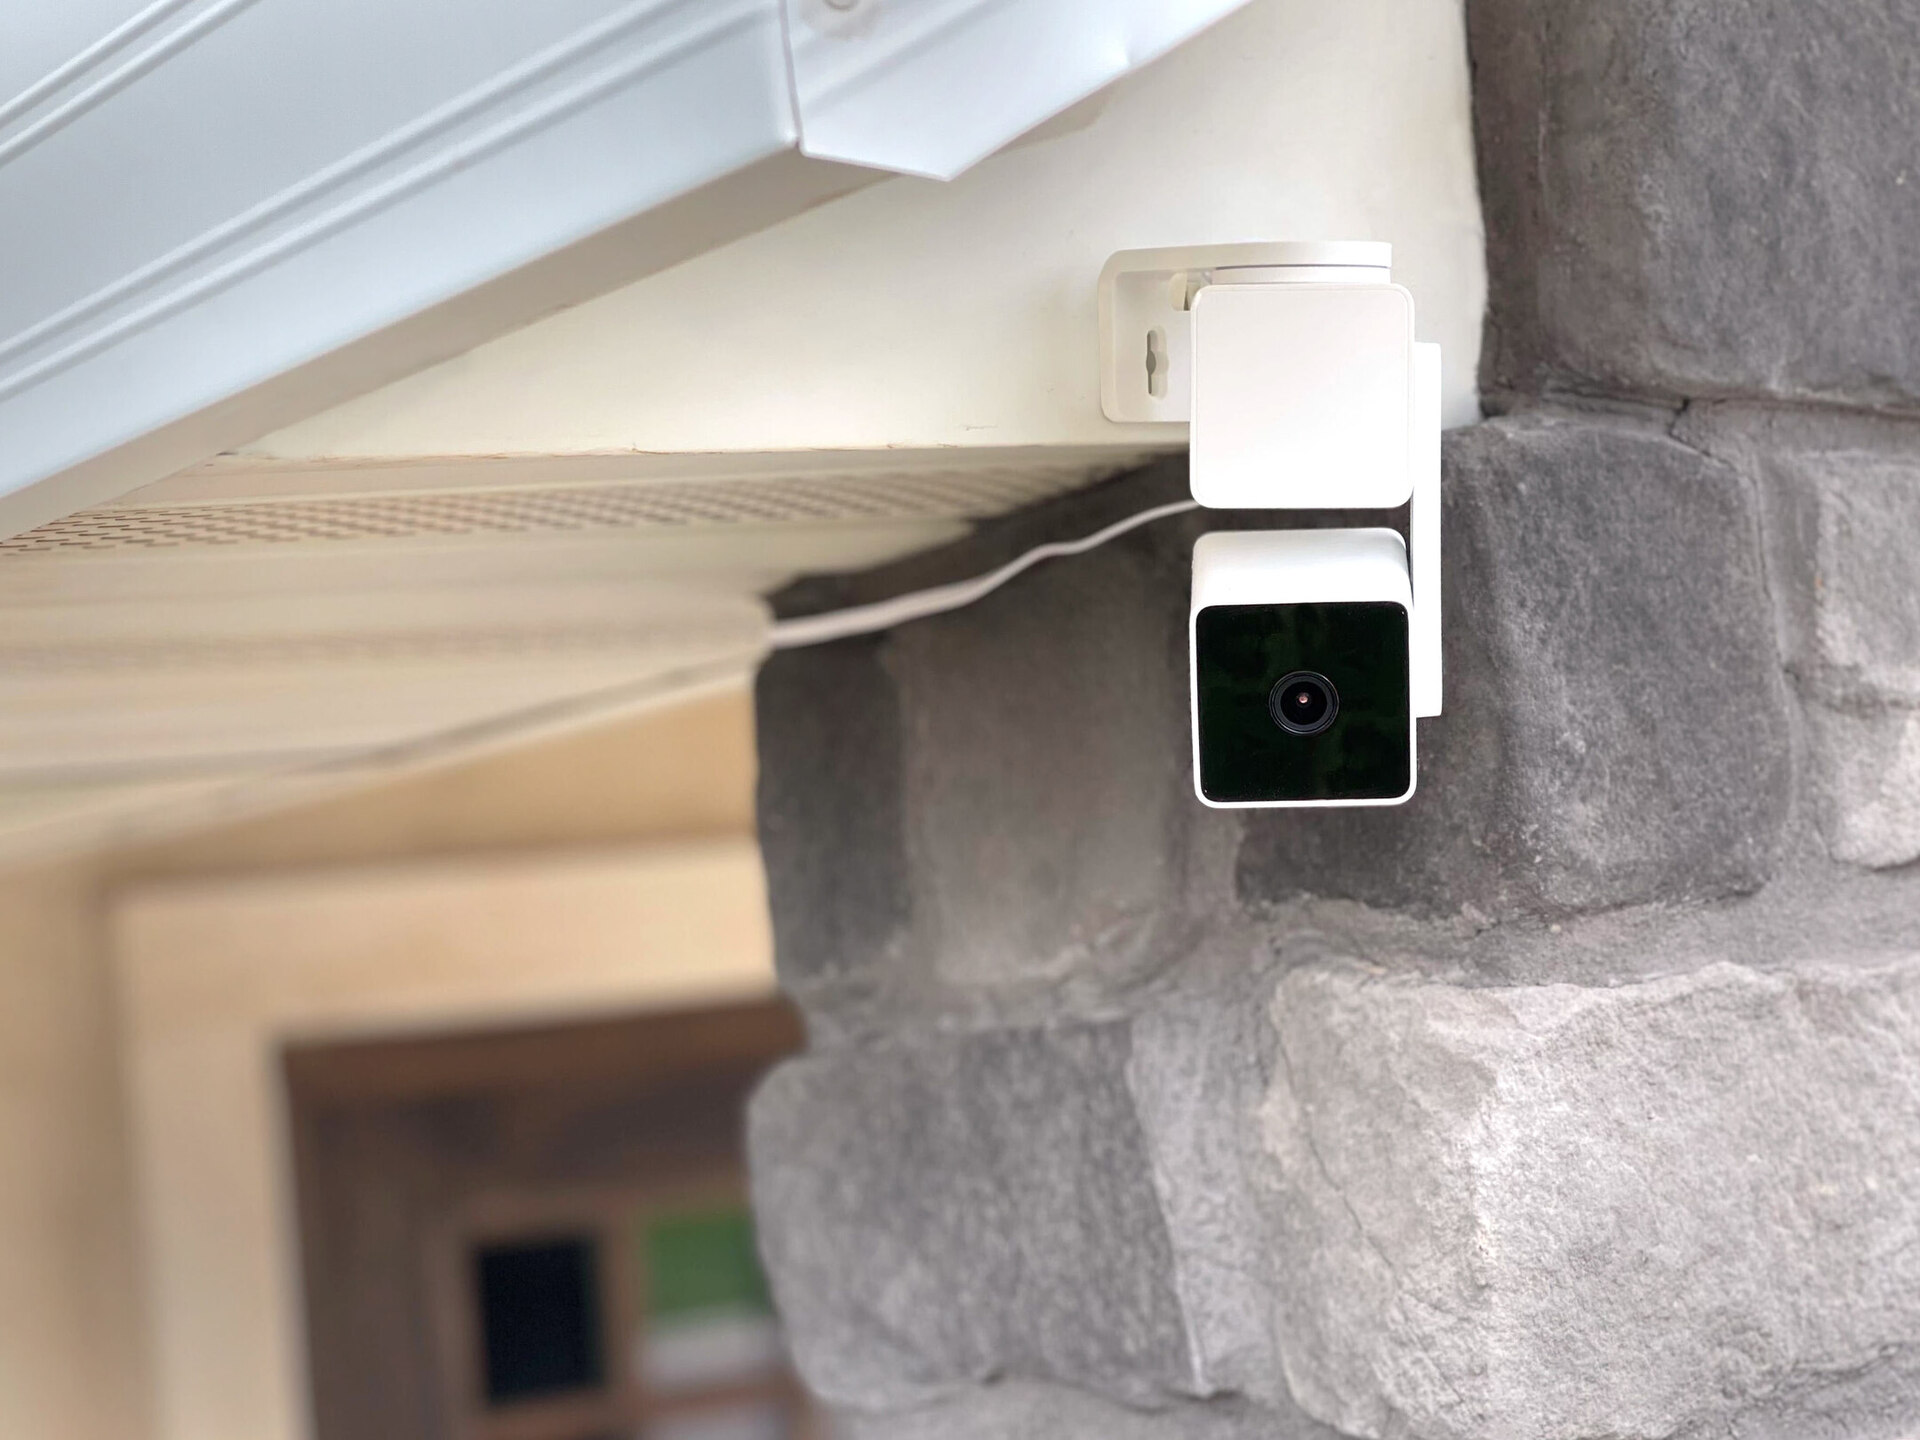
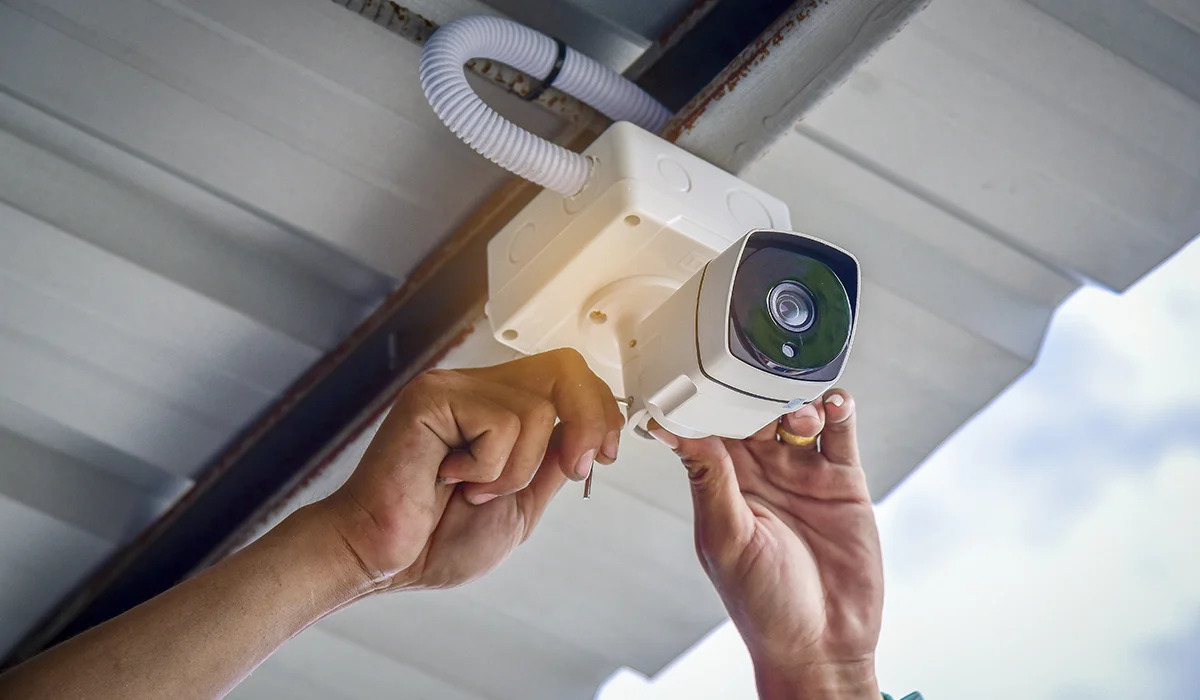
Step 4: Mount the Camera Bracket
Once you have determined the ideal camera placement and gathered the necessary tools, it’s time to mount the camera bracket. The camera bracket serves as the base for attaching the camera securely to the mounting surface. Follow these steps to mount the camera bracket:
- Using a power drill and the appropriate drill bit, create holes in the mounting surface according to the bracket’s hole layout. Ensure the holes are in the correct position and level.
- Insert the appropriate screws or anchors into the holes and use a screwdriver to secure them firmly. Make sure the bracket is securely attached to the mounting surface.
- Double-check the level of the bracket to ensure it is straight and properly aligned.
- If your camera requires a separate mounting plate or adapter, attach it to the bracket using the provided screws or mounting hardware.
- Before attaching the camera, consider any cable routing requirements. If you plan to run the camera cables through the bracket, make sure to create the necessary openings or channels.
- Attach the camera to the bracket or mounting plate using the provided screws or mounting hardware. Ensure the camera is securely fastened and properly aligned.
- Once the camera is attached, carefully adjust its angle and position to ensure it captures the desired area. Use a screwdriver to tighten any adjustment screws or knobs on the bracket.
It’s important to follow the camera manufacturer’s instructions for mounting the bracket and attaching the camera. Different camera models may have specific mounting requirements, so refer to the provided documentation for accurate installation guidance.
Remember to take your time and ensure the bracket is securely mounted before moving on to the next steps. A stable and properly installed camera bracket will provide a solid foundation for your outdoor surveillance system.
Read more: How To Install Simplisafe Camera Outdoor
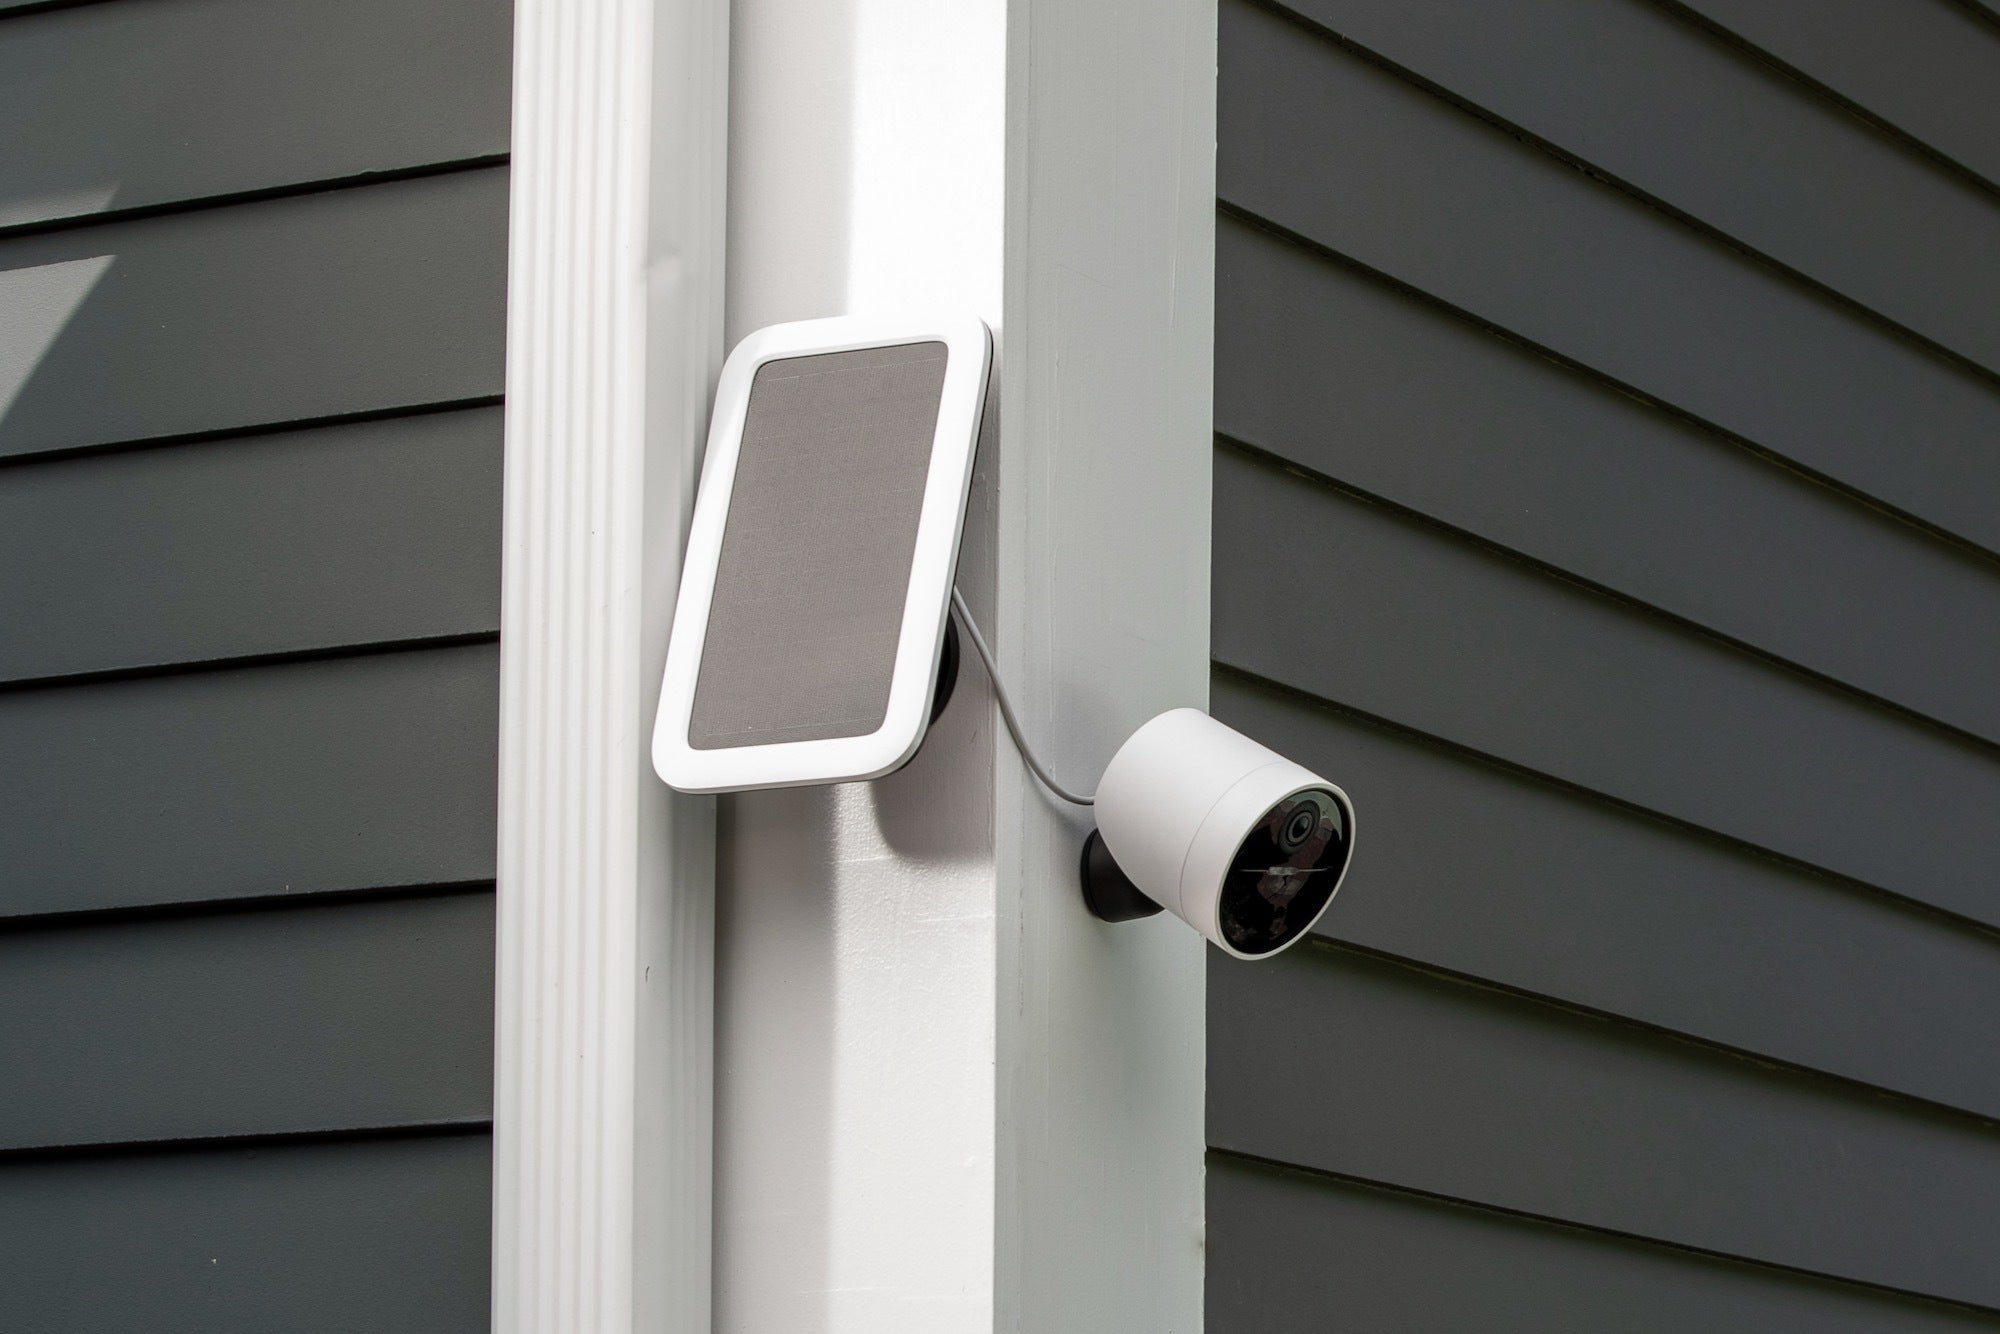
Step 5: Run the Cables
Now that the camera bracket is securely mounted, it’s time to run the cables for your outdoor camera. Proper cable routing is crucial for a clean and professional-looking installation. Follow these steps to run the cables:
- Plan the cable route: Map out the path the cables will take from the camera to the designated power source or recording device. Consider the most discreet and least visible route to minimize any potential tampering or damage.
- Measure and cut the cables: Using a measuring tape, determine the required length for each cable. Cut the cables to the appropriate length, leaving a little extra length for flexibility.
- Ensure weatherproof connections: If your camera has detachable cables, make sure to use weatherproof connectors or couplers to protect the connections from moisture and outdoor elements.
- Secure the cables along their route: Use cable clips or zip ties to secure the cables along the designated route. This will keep them organized, neat, and protected from any potential damage.
- Consider cable protection: If the cables need to cross any sharp edges or rough surfaces, consider using cable conduits or protective tubing to prevent any abrasion or wear.
- Keep the cables away from power sources: When running the camera cables, ensure they are kept separate from any power sources or electrical wiring to avoid interference or signal disruption.
- If necessary, use extension cords or power extension cables to reach the nearest power outlet while maintaining a tidy cable installation.
Take your time during the cable running process to ensure proper placement and organization. This will not only enhance the aesthetics but also make future maintenance or adjustments easier.
It’s important to mention that if you are not comfortable running cables yourself, it is always recommended to consult with a professional installer to ensure a clean and efficient installation.
When installing outdoor cameras, make sure to place them high enough to avoid tampering, but low enough for easy maintenance. Also, consider the camera’s field of view and potential obstructions.
Step 6: Connect the Camera
Now that the camera is mounted and the cables are run, it’s time to connect the camera to the power source and recording device. Follow these steps to ensure a proper camera connection:
- Locate the appropriate connections on the camera. Typically, you will find ports for power, video output, and network connectivity.
- If your camera requires a separate power adapter, plug it into a nearby power outlet or use a power extension cable if needed.
- Connect the power cable to the camera’s power port. Make sure to use the correct polarity and secure the connection snugly.
- If your camera supports network connectivity, you can connect an Ethernet cable to the camera’s network port and the router or NVR (Network Video Recorder).
- For cameras that provide video output, connect the appropriate cable (such as HDMI or RCA) from the camera’s video port to the corresponding input on your recording device or monitor.
- Double-check all the connections to ensure they are secure and properly aligned.
- If your camera supports wireless connectivity, follow the manufacturer’s instructions to connect it to your home network wirelessly. This may involve setting up Wi-Fi credentials or using a mobile app to complete the setup process.
Once the camera is connected, power it on and make sure it is functioning properly. You should see the camera feed on your recording device or monitor if the connections are established correctly.
It’s important to note that the specific camera connections may vary depending on the model and brand. Always refer to the camera manufacturer’s instructions for accurate connection steps.
If you are unsure about any aspect of the camera connection, consult the camera’s user manual or seek assistance from a professional installer.
Step 7: Adjust the Camera Angle
After connecting the camera, it’s essential to adjust the camera angle to ensure optimal coverage of the desired area. Proper camera positioning plays a crucial role in capturing accurate footage and maximizing the effectiveness of your surveillance system. Follow these steps to adjust the camera angle:
- Access the camera’s settings or adjustment controls. This can usually be done through the camera’s built-in interface, a mobile app, or the recording device.
- Monitor the camera feed on your recording device or monitor to get a real-time view of the camera’s field of view.
- Physically adjust the camera’s position by loosening the necessary screws or knobs on the camera bracket. Tilt, pan, or swivel the camera to the desired angle.
- Consider the coverage area and ensure that the camera is capturing the specific areas you want to monitor.
- Avoid any obstructions or obstacles that may impede the camera’s view, such as branches, walls, or other objects.
- Use a level to ensure that the camera is properly aligned and not tilted or crooked.
- Take note of any specific camera settings you may need to adjust, such as motion detection sensitivity, zoom levels, or video resolution.
- Monitor the camera feed again to confirm that the adjusted angle provides the desired coverage and clarity.
- Make any additional minor adjustments as needed until you are satisfied with the camera angle.
Properly adjusting the camera angle is important to ensure accurate monitoring and effective surveillance. Take the time to fine-tune the camera position and settings to optimize its performance.
Remember, regular maintenance and occasional readjustments may be required over time due to environmental factors or changes in your security needs.
If you are unsure about the camera adjustments or require assistance, consult the camera’s user manual or consider contacting a professional installer to ensure the best results.
Step 8: Test the Camera
Once the camera is mounted, connected, and properly adjusted, it’s crucial to test its functionality to ensure it is capturing the desired footage. Testing the camera will provide peace of mind and identify any potential issues that need to be addressed. Follow these steps to test the camera:
- Access the camera feed on your recording device, monitor, or mobile app to view the live footage.
- Verify that the camera is capturing the intended coverage area and that the image quality is clear and sharp.
- Walk around the monitored area to check for blind spots or areas that may not be adequately covered by the camera’s field of view.
- Test the camera’s night vision capabilities by monitoring the feed in low-light conditions or during nighttime.
- Verify that the camera’s motion detection features are functioning correctly by intentionally triggering motion in its field of view and observing if it records or alerts you as expected.
- Assess the camera’s performance in different weather conditions, such as rain or bright sunlight, to ensure it continues to function reliably.
- Check if the camera’s audio, if available, is capturing clear sound without any distortion or background noise.
- Review any specific camera settings or configurations, such as recording schedules, video quality, or motion sensitivity, to ensure they are set according to your preferences.
- Take note of any issues or concerns that arise during testing, such as poor image quality, connectivity problems, or inconsistent motion detection.
Testing the camera’s functionality is essential to ensure its reliable performance. It allows you to make any necessary adjustments or troubleshoot any potential issues before relying on the camera for ongoing surveillance.
If you encounter any problems during the testing process or if the camera does not function as expected, consult the camera’s user manual, contact the manufacturer’s support or seek assistance from a professional installer.
Read more: How To Install Nest Outdoor Camera
Step 9: Secure the Camera Wires
After successfully installing and testing the outdoor camera, the final step is to secure the camera wires to ensure a clean and professional installation. Properly securing the camera wires not only enhances the appearance of your surveillance system but also protects the cables against damage or tampering. Follow these steps to secure the camera wires:
- Inspect the camera wires for any signs of damage or fraying. Replace or repair any damaged cables before proceeding.
- Using cable clips or zip ties, secure the camera wires along the mounting surface or inside cable conduits, if available. Ensure that the cables are neatly arranged and not tangled.
- Route the camera wires away from high-traffic areas or areas where they could be easily accessed or tripped over.
- If necessary, use cable protectors or covers to shield any exposed wires from the elements or potential damage.
- Keep the camera wires separate from power cables or electrical wiring to avoid interference or signal disruption.
- Avoid placing excessive tension or pulling on the camera wires during installation. Use gentle, even pressure when securing them.
- Ensure that the camera’s connectors and cable connections remain tight and secure. Periodically check the connections to prevent any accidental dislodging.
- If your camera is equipped with a junction box or weatherproof housing, ensure that the wires are properly routed and connected to the appropriate ports.
- Perform a final visual inspection to ensure that the camera wires are invisible or inconspicuous, blending seamlessly with the surrounding environment.
Securing the camera wires not only improves the aesthetics of your installation but also helps protect the cables from damage and maintain the overall reliability of your outdoor camera system.
Remember to refer to the camera’s user manual or consult with a professional installer for any specific wire securing guidelines or recommendations.
Now that you have completed all the necessary steps, your outdoor camera is securely installed and ready to provide enhanced security and surveillance for your home. Regularly inspect and maintain your outdoor camera system to ensure continued functionality for years to come.
Conclusion
Installing outdoor cameras for your home security and surveillance is a crucial step in ensuring the safety and protection of your property. By following the step-by-step guide outlined in this article, you can successfully install and set up your own outdoor camera system.
We started by emphasizing the importance of choosing the right camera that suits your specific needs, taking into account factors such as resolution, field of view, night vision capabilities, weather resistance, and power and connectivity options.
We then walked you through the installation process, from determining the camera placement and preparing the necessary tools, to mounting the camera bracket, running the cables, connecting the camera, adjusting the camera angle, testing its functionality, and securing the camera wires.
Throughout the installation process, we highlighted the importance of attention to detail, ensuring proper connections, and considering factors such as lighting conditions, accessibility, and weather resistance to maximize the effectiveness of your outdoor cameras.
Proper installation and positioning of outdoor cameras can significantly enhance your home security system. They act as a deterrent to potential intruders, allow you to remotely monitor your property, and provide valuable evidence in case of any security incidents.
Remember to periodically test and maintain your outdoor camera system to ensure its continued functionality. Regularly check the camera feeds, adjust camera angles if needed, and inspect the connections and cables to prevent any problems or issues.
By following the steps outlined in this guide and staying vigilant, you can improve the security of your home and gain peace of mind knowing that you have a reliable outdoor camera system in place.
Now that you have the knowledge and understanding of installing outdoor cameras, it’s time to take action and protect your home and loved ones with an effective surveillance system.
Frequently Asked Questions about How To Install Outdoor Cameras
Was this page helpful?
At Storables.com, we guarantee accurate and reliable information. Our content, validated by Expert Board Contributors, is crafted following stringent Editorial Policies. We're committed to providing you with well-researched, expert-backed insights for all your informational needs.