Home>Home Security and Surveillance>Why Isn’t My Motion Detector Light Functioning
Home Security and Surveillance
Why Isn’t My Motion Detector Light Functioning
Modified: April 22, 2024
Troubleshoot your home security and surveillance system. Discover why your motion detector light may not be working effectively and learn how to fix it.
(Many of the links in this article redirect to a specific reviewed product. Your purchase of these products through affiliate links helps to generate commission for Storables.com, at no extra cost. Learn more)
Introduction
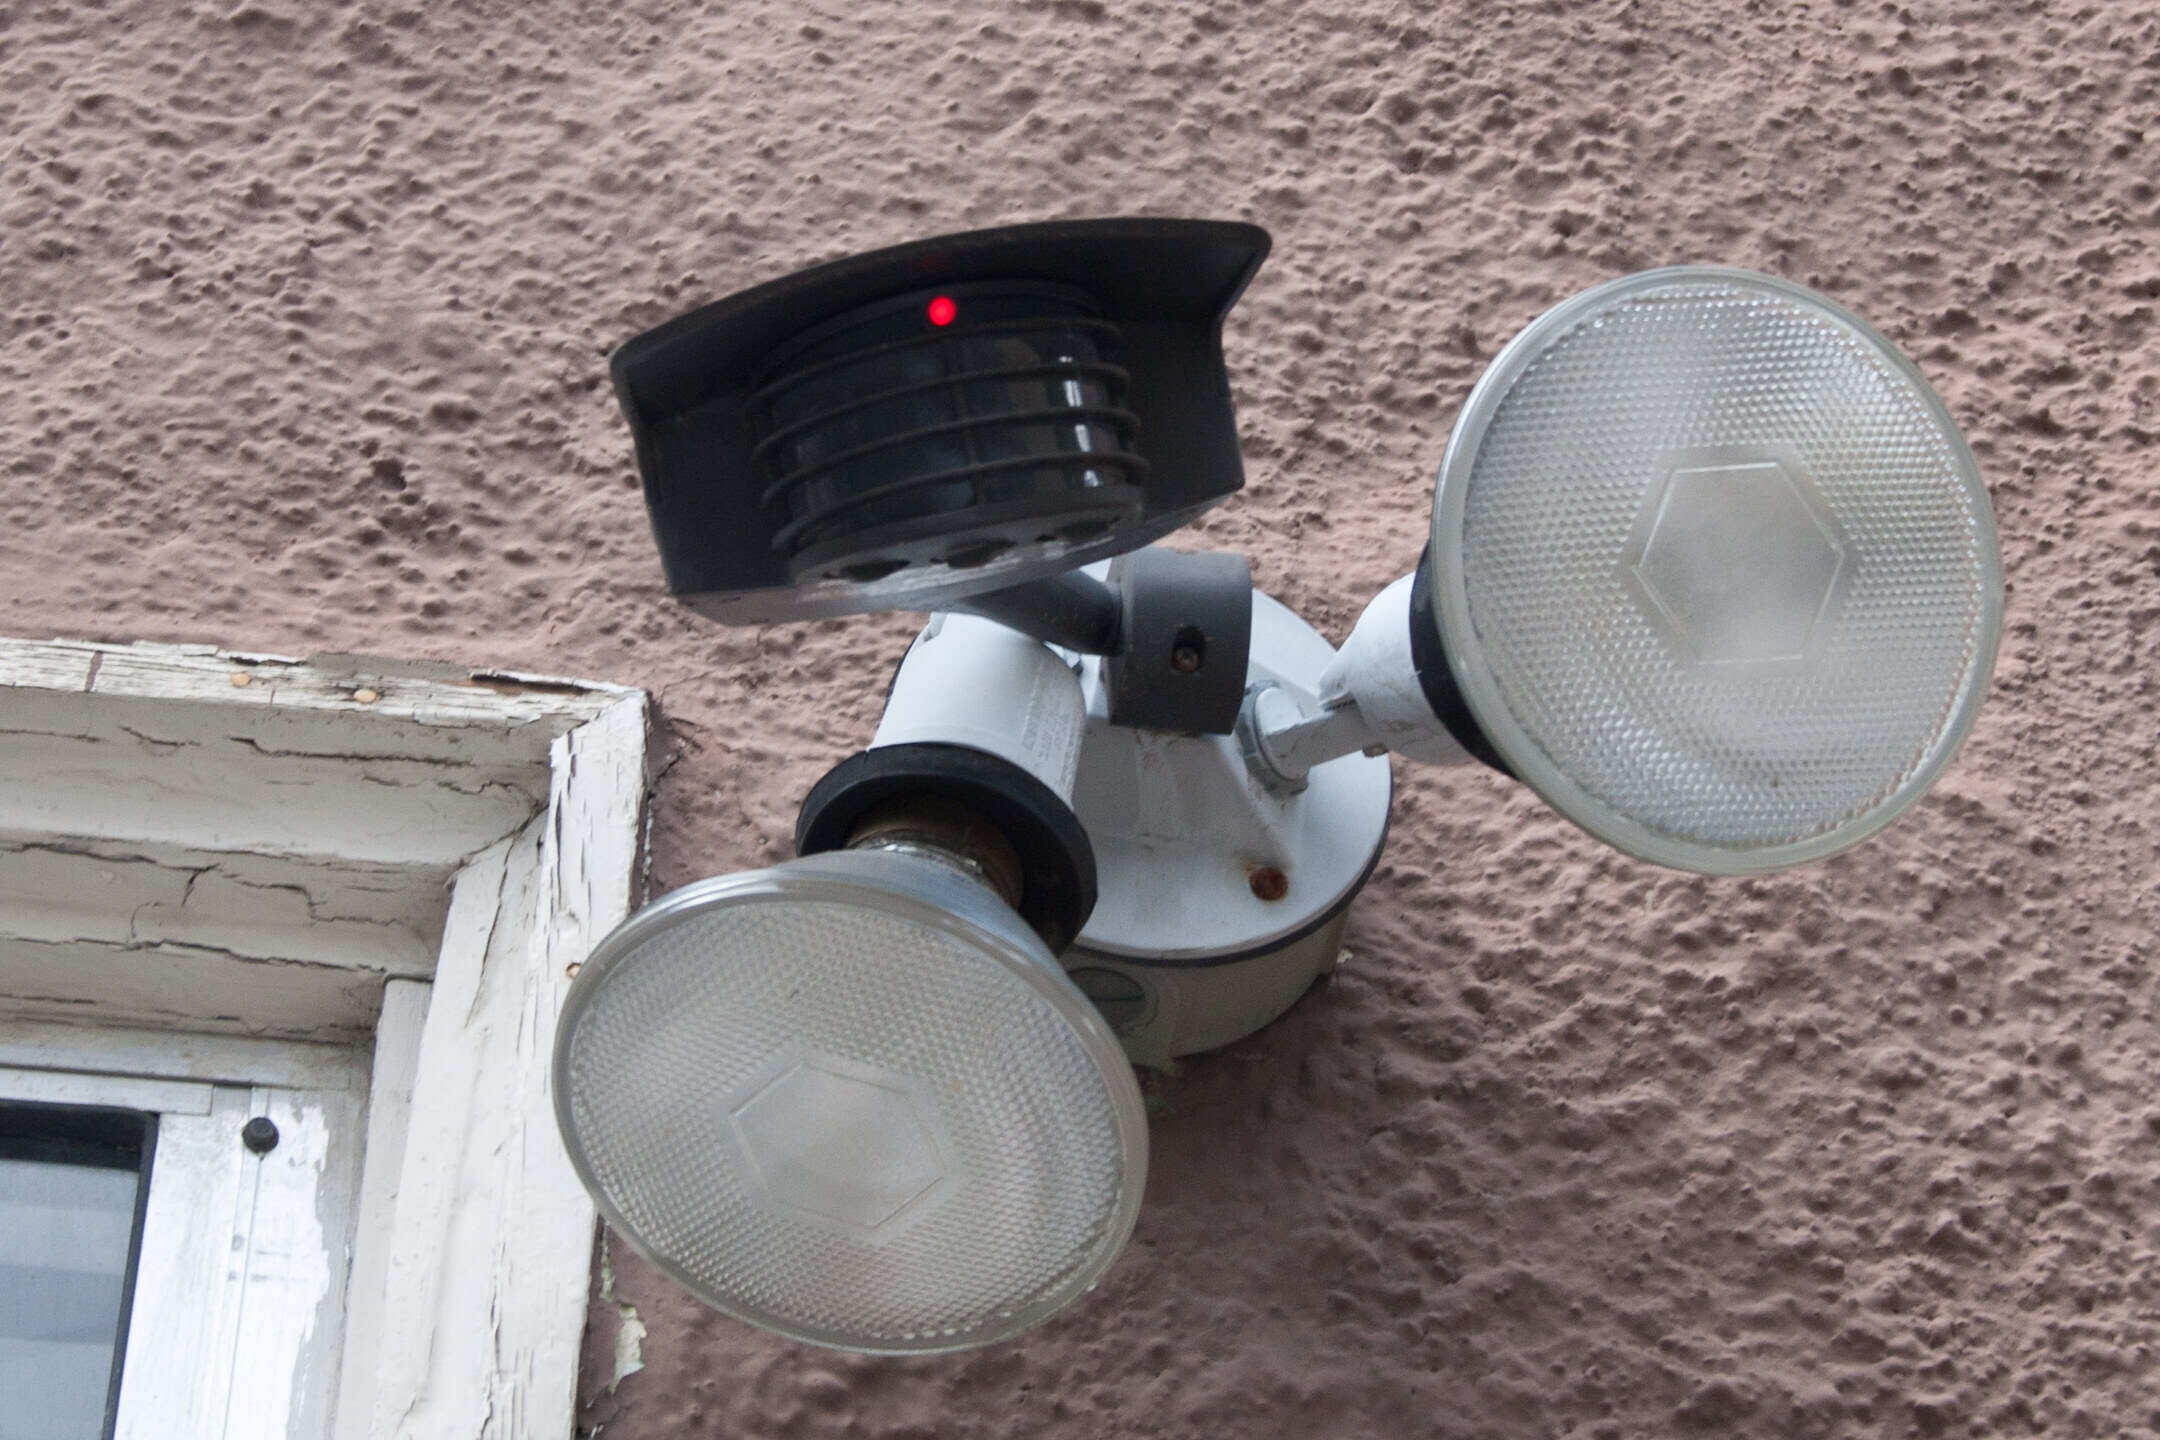
Home security is a top priority for homeowners, and motion detector lights play a vital role in enhancing the safety of your property. These lights are designed to detect motion within a specific range and automatically illuminate the surrounding area. However, there may be instances where your motion detector light fails to function as expected. This can be frustrating and leave you wondering what could be causing the issue.
In this article, we will explore some common reasons why your motion detector light may not be functioning properly. We will provide step-by-step instructions on how to troubleshoot and address these issues effectively. Whether you are a DIY enthusiast or simply looking for a better understanding of your home security system, this article will equip you with the knowledge to resolve motion detector light problems.
Before we dive into the troubleshooting steps, it’s important to note that motion detector lights can come in various designs and configurations. Some operate with infrared sensors, while others utilize microwave or ultrasonic technology. Regardless of the specific type, the troubleshooting steps outlined here are generally applicable to most motion detector lights.
So, if you are ready to shed light on the situation and get your motion detector light back in working order, let’s begin the troubleshooting process.
Key Takeaways:
- Keep your motion detector light functioning by checking power, inspecting bulbs, cleaning the sensor, and adjusting settings. Regular maintenance ensures reliable home security.
- If troubleshooting fails, consult a professional electrician for complex issues. Prioritize safety and proper maintenance for effective home security.
Read more: Why Does My Motion Detector Light Remain On?
Step 1: Check the Power Source
The first step in troubleshooting your motion detector light is to ensure that it is receiving an adequate power supply. A power issue can often be the culprit behind a malfunctioning light. Here’s what you need to do:
1. Check the circuit breaker: Start by checking the circuit breaker or fuse box to see if the switch controlling the motion detector light has tripped or blown. If it has, reset the switch or replace the fuse.
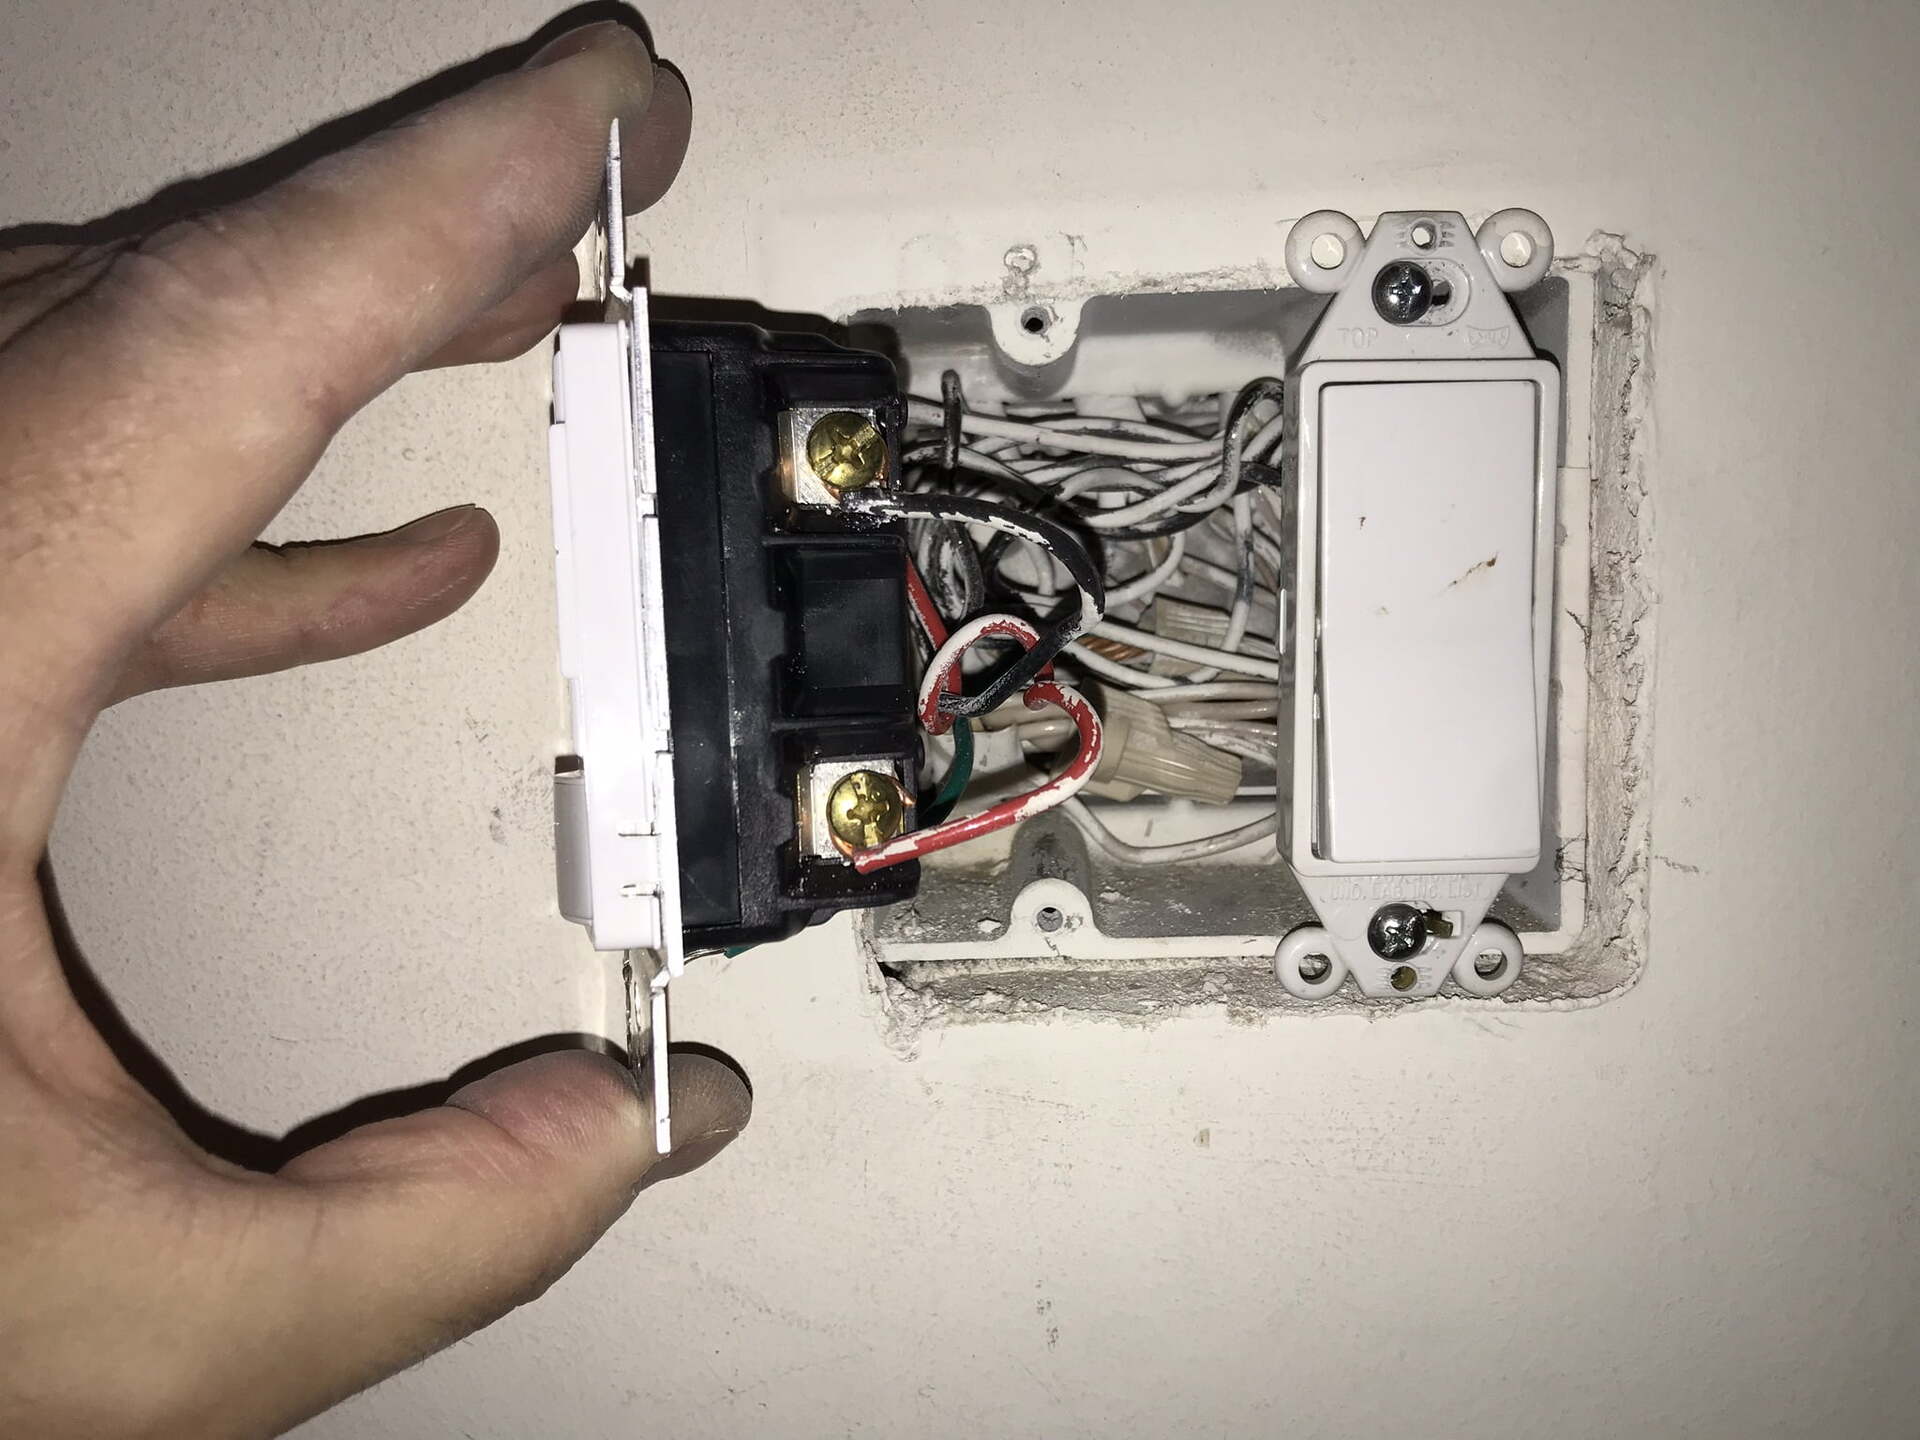
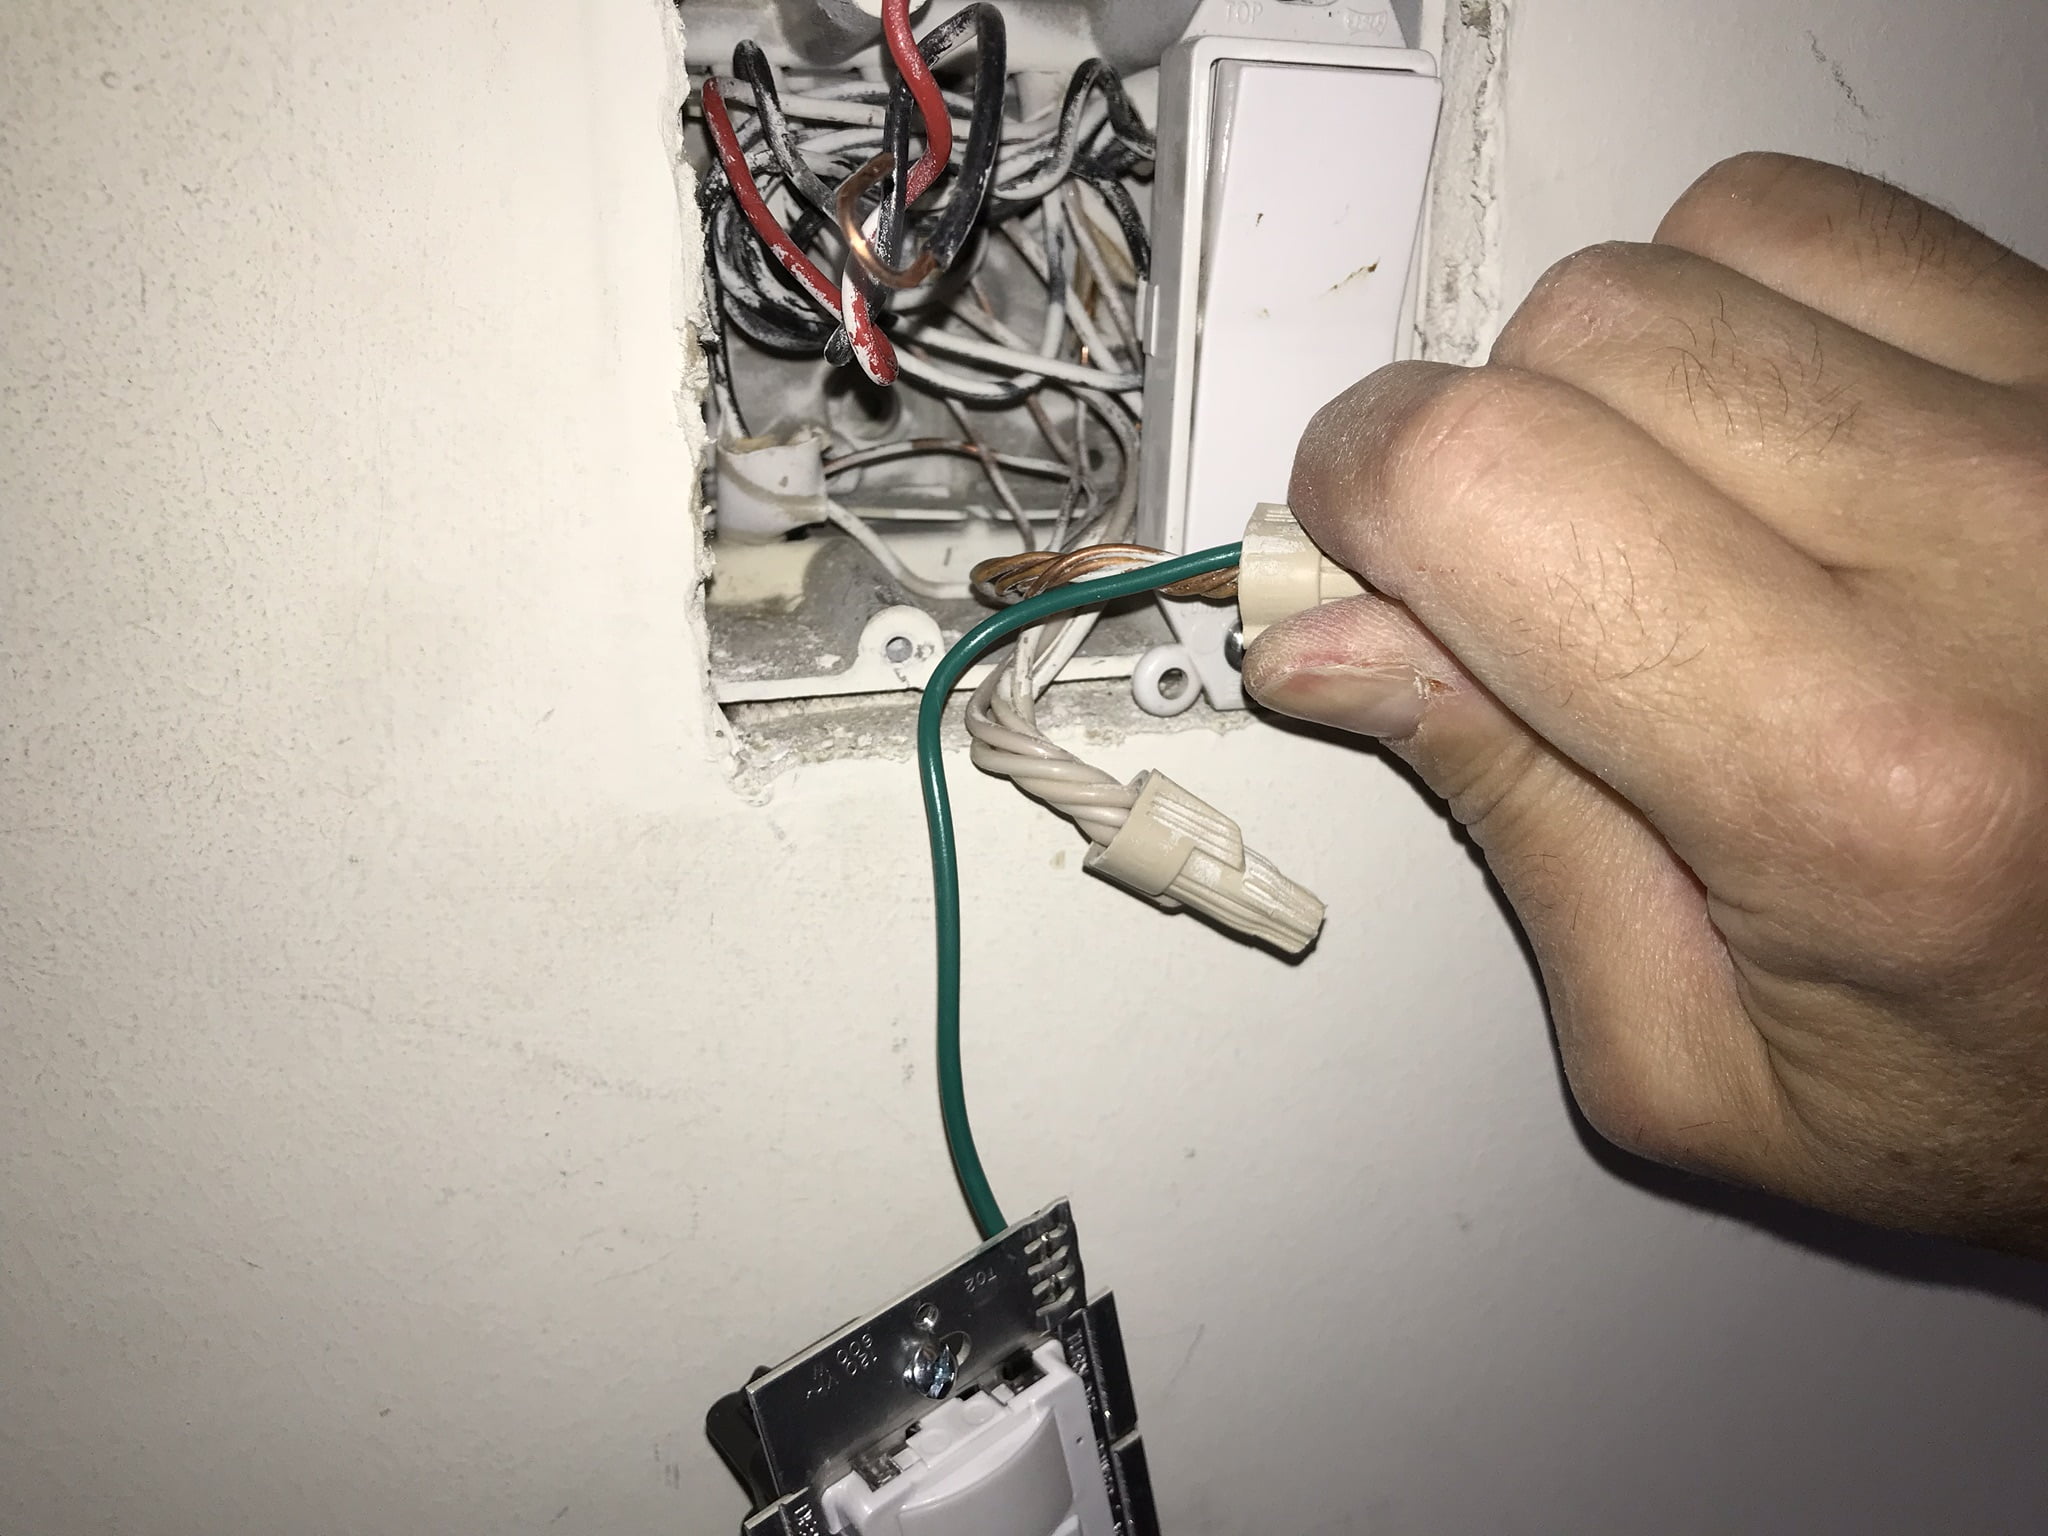
2. Inspect the wiring: Carefully inspect the wiring connections and make sure they are secure and free from any damage or corrosion. Loose or damaged wiring can disrupt the power flow and prevent the light from functioning properly. If you notice any issues, disconnect the power and repair or replace the wiring as needed.
3. Verify the power source: If your motion detector light is powered by batteries, make sure the batteries are fresh and properly installed. Replace the batteries if necessary.
4. Check the outdoor outlet: If your motion detector light is connected to an outdoor outlet, ensure that the outlet is working by plugging in another electrical device. If the outlet is not providing power, you may need to reset the GFCI (Ground Fault Circuit Interrupter) or call a qualified electrician to address the issue.
Once you have checked the power source and ensured that it is supplying sufficient power to your motion detector light, move on to the next step in the troubleshooting process.
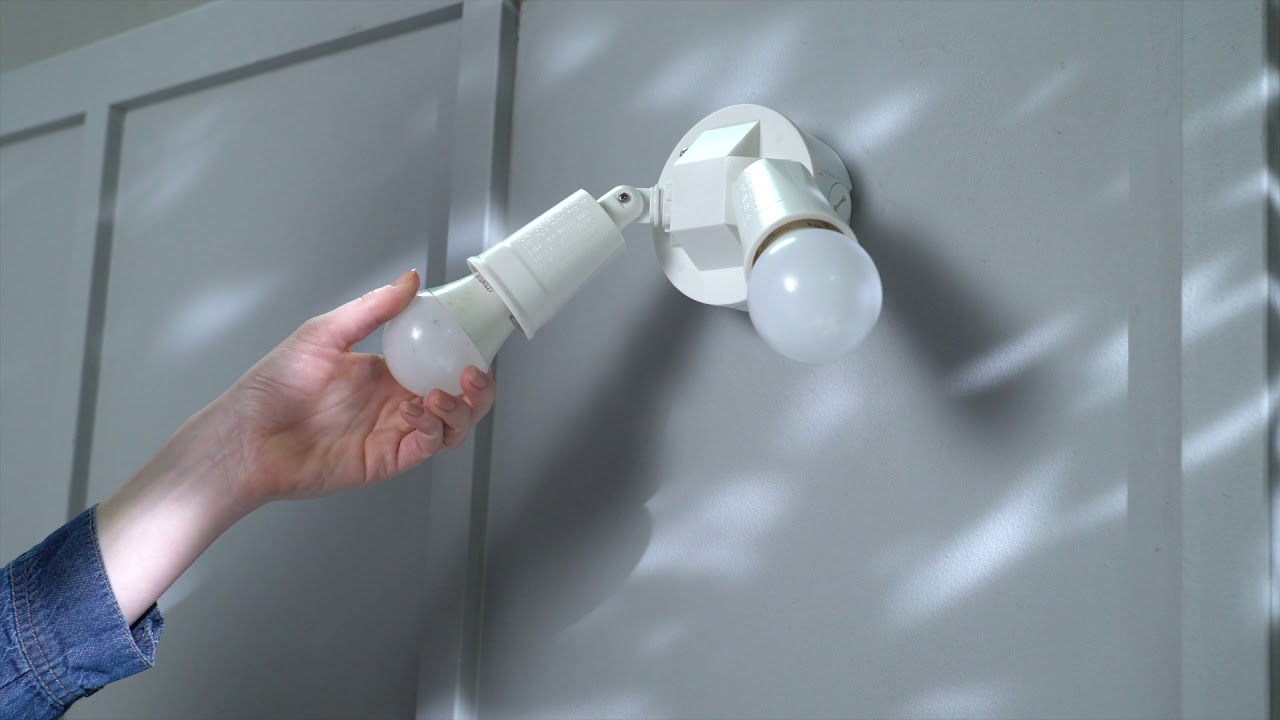
Step 2: Inspect the Light Bulbs
In some cases, the problem with your motion detector light may lie with the light bulbs themselves. It’s important to inspect the bulbs to ensure they are in proper working condition. Here’s what you should do:
1. Turn off the power: Before inspecting the light bulbs, remember to turn off the power to the motion detector light. This prevents any accidental shocks or injuries.
2. Remove the bulbs: Carefully remove the light bulbs from the fixture. If you are unsure how to do this, consult the manufacturer’s instructions or seek professional assistance.
3. Inspect the bulbs: Examine the bulbs for any signs of damage, such as cracks, burns, or blackened areas. If you notice any of these issues, replace the bulbs with new ones of the same wattage and type. It’s crucial to use the correct bulbs specified by the manufacturer to ensure optimal functionality.
4. Clean the bulbs: Even if the bulbs appear undamaged, they may accumulate dirt or dust that can reduce their brightness and effectiveness. Use a clean, dry cloth or a bulb cleaning solution to gently wipe the surface of the bulbs. Avoid using water or abrasive materials, as this can damage the bulbs.
5. Check the alignment: Once the bulbs are cleaned and inspected, reinsert them into the fixture, making sure they are properly aligned and securely fitted. Improper alignment can affect the light’s performance, so double-check this before proceeding.
6. Restore power and test: Turn the power back on and test the motion detector light to see if the issue has been resolved. If it still doesn’t function properly, proceed to the next troubleshooting step.
By inspecting and maintaining your light bulbs, you can ensure that they are not the cause of your motion detector light’s malfunction. If the problem persists, move on to the next step in the troubleshooting process to find a solution.
Step 3: Clean the Motion Sensor
A dirty or obstructed motion sensor can interfere with the proper functioning of your motion detector light. Over time, dust, debris, and insects can accumulate on the sensor, affecting its sensitivity and ability to detect motion accurately. Cleaning the motion sensor is an essential step in troubleshooting your motion detector light. Here’s how you can do it:
1. Turn off the power: Begin by turning off the power to the motion detector light. This ensures your safety while cleaning the sensor.
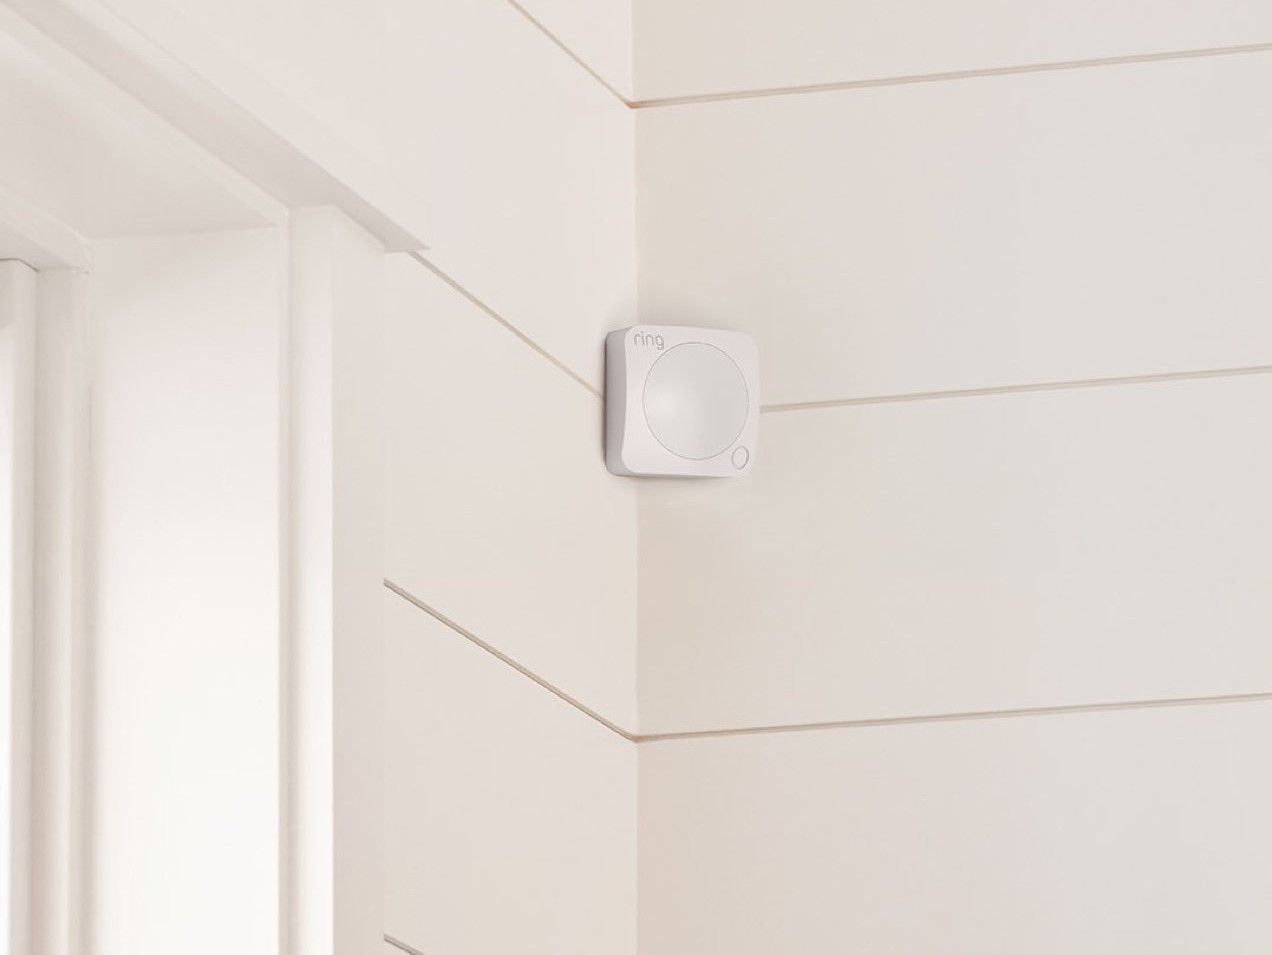
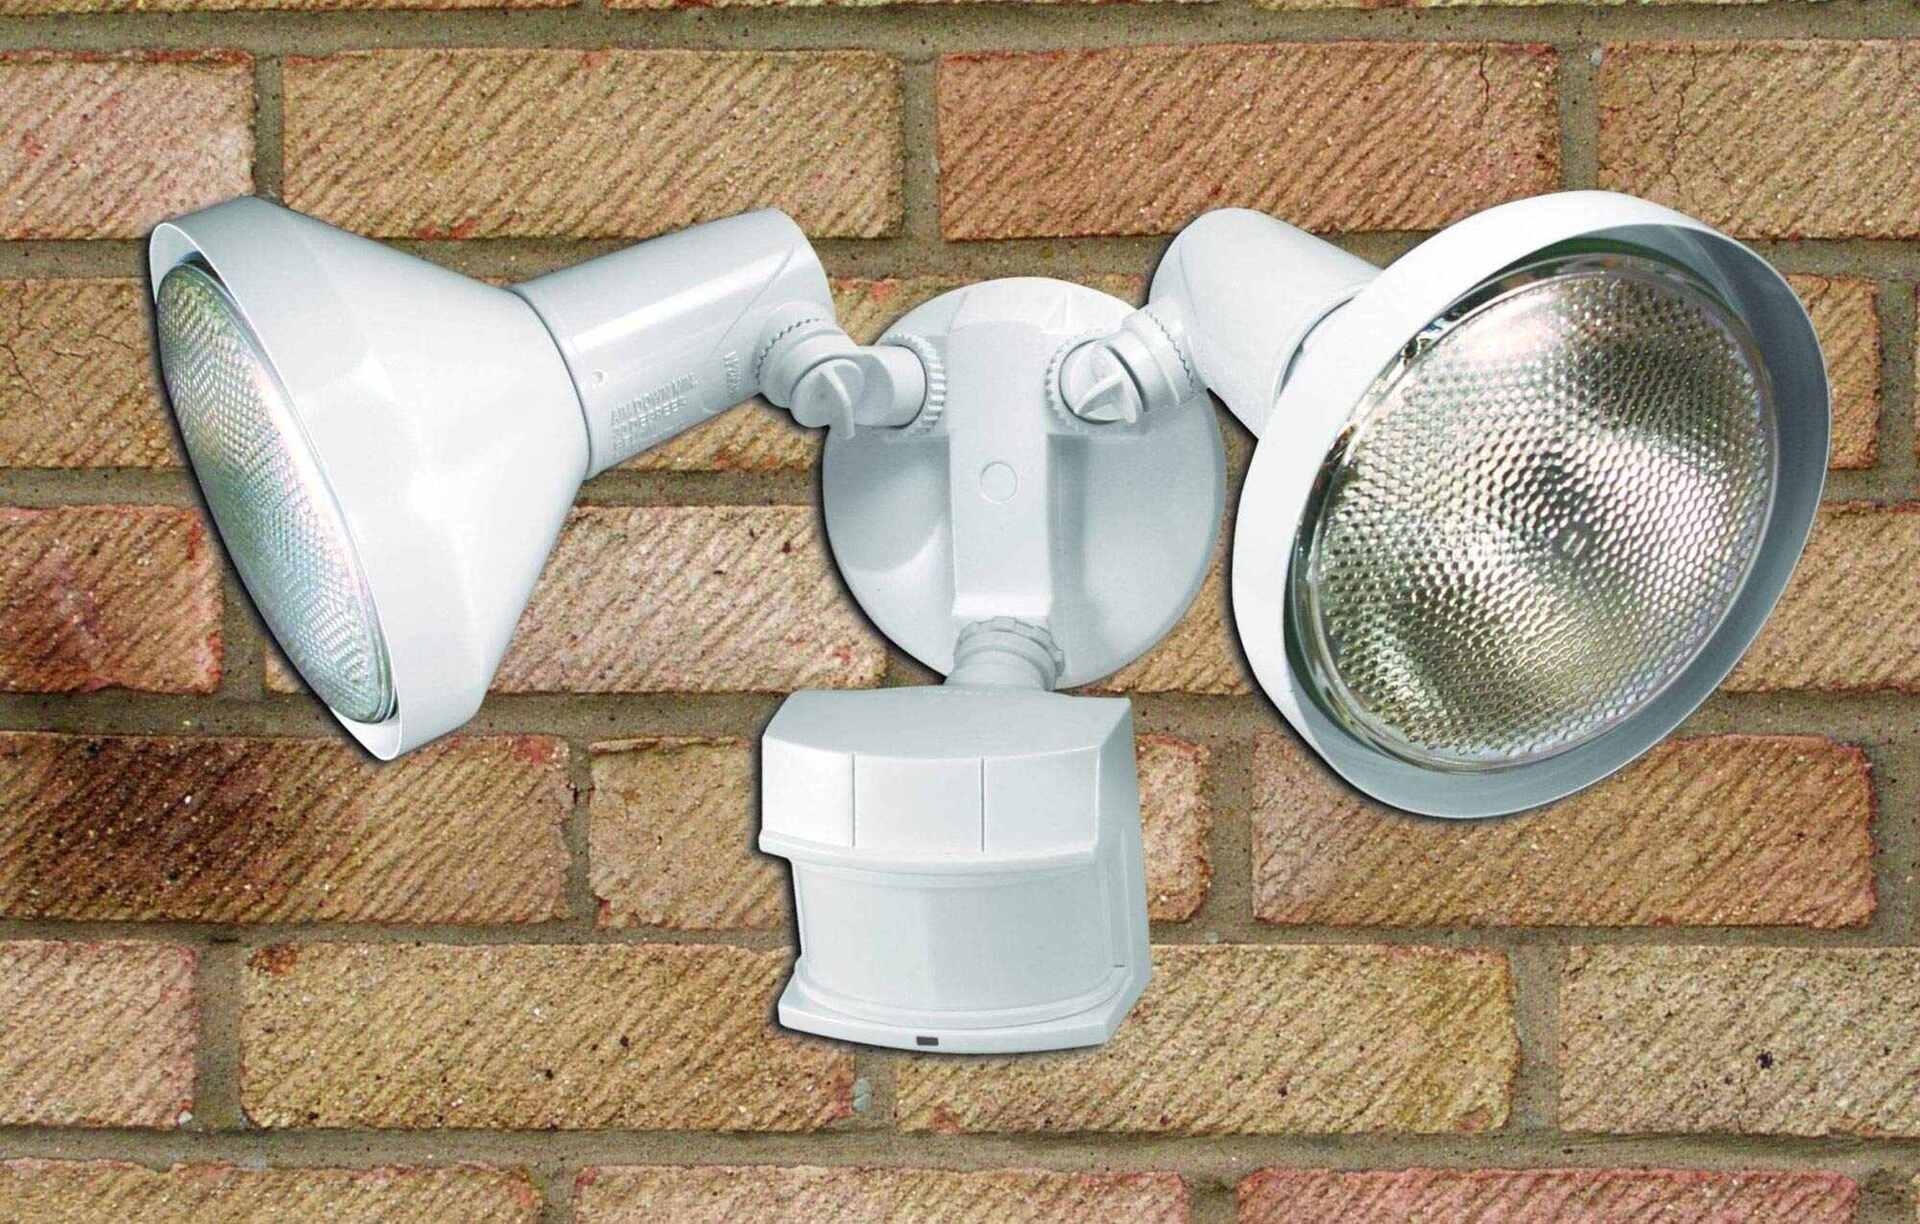
2. Locate the motion sensor: Identify the location of the motion sensor on your light fixture. The sensor is generally a small, round or rectangular component positioned near the light bulbs.
3. Remove any obstructions: If there are any leaves, cobwebs, or other debris obstructing the sensor, gently remove them using a soft brush or a can of compressed air. Be careful not to touch the sensor directly or use harsh cleaning solutions, as they can damage the sensor.
4. Clean the sensor: Use a clean, lint-free cloth or cotton swab lightly dampened with isopropyl alcohol to wipe the surface of the motion sensor. This helps remove any dirt or grime that may have accumulated, ensuring optimal performance.
5. Inspect for damage: While cleaning the sensor, inspect it for any signs of damage or corrosion. If you notice any issues, such as loose wires or visible damage, consider seeking professional assistance or contacting the manufacturer for further guidance.
6. Restore power and test: Once the sensor is cleaned and inspected, turn the power back on and test the motion detector light. Check if the light activates properly when motion is detected. If the issue persists, move on to the next step in the troubleshooting process.
Periodically cleaning your motion sensor can help maintain its effectiveness in detecting motion and ensure your motion detector light operates reliably. Continue troubleshooting by following the subsequent steps if the problem persists.
Step 4: Adjust the Motion Sensor Settings
Sometimes, the sensitivity or range settings of your motion sensor may need adjustment to ensure optimal performance of your motion detector light. Here’s how you can adjust the motion sensor settings:
1. Access the settings: Consult the manufacturer’s instructions or user manual to locate the adjustment controls for your motion sensor. In most cases, you can find these controls on the bottom or back of the sensor. Some motion sensor lights also have adjustable settings accessible through a control panel or mobile app.
2. Adjust the sensitivity: The sensitivity of the motion sensor determines how easily it detects motion. If your light frequently triggers false alarms due to wind, pets, or other non-threatening movements, you may need to decrease the sensitivity. Conversely, if the sensor fails to detect actual motion, you may need to increase the sensitivity.
3. Adjust the range: The range setting determines the distance over which the motion sensor can detect motion. If you find that the sensor’s range is either too short or too long for your needs, adjust the setting accordingly. Keep in mind that a shorter range may reduce false alarms but may not provide coverage over a large area, while a longer range may increase coverage but also lead to more false alarms.
4. Test the adjustments: Once you have adjusted the sensitivity and range settings, conduct tests to ensure that the motion sensor responds appropriately to motion within the desired range. Walk within the detection area and observe if the light activates as expected. Make adjustments if necessary until you achieve the desired performance.
5. Consider time settings: Some motion sensors have an adjustable time setting that determines how long the light stays on after motion is detected. If the light turns off too quickly or remains on for an extended period, you can adjust the time setting to suit your preferences.
By fine-tuning the motion sensor settings, you can customize the behavior of your motion detector light to meet your specific requirements. If the issue with your motion detector light persists, continue troubleshooting by following the next step.
Check the power source and make sure it’s connected properly. Also, clean the sensor and adjust the sensitivity if needed. If it still doesn’t work, consider replacing the bulb or the entire unit.
Step 5: Test the Motion Detector from Different Angles
If your motion detector light is still not functioning properly, it’s important to test its performance from different angles. Sometimes, the positioning of the light or obstacles in its vicinity can affect its ability to detect motion accurately. By testing the motion detector from different angles, you can identify any blind spots or areas where the sensor may not be detecting motion effectively. Here’s how you can do it:
1. Position the motion detector light: Ensure that the motion detector light is properly positioned and aimed in the desired direction. Adjust the angle and direction of the light as needed to maximize its coverage area.
2. Physically test the motion detection: Move to various locations within the detection range of the motion sensor and observe whether the light activates as expected. Walk slowly and deliberately to simulate the movement commonly associated with typical situations, such as approaching an entryway or walking across a pathway.
3. Observe any blind spots: Pay careful attention to areas where the motion detector seems to have difficulty detecting motion or fails to activate the light. These areas may indicate blind spots where adjustments are necessary.
4. Consider the potential causes: Take note of any potential causes of the blind spots or inaccurate motion detection. This may include nearby walls, trees, shrubs, or other objects that could obstruct the sensor’s line of sight or create a shadow effect.
5. Reposition or adjust: If you identify any blind spots or areas of poor detection, try repositioning the motion detector light or adjusting its angle to improve visibility in those areas. You may need to experiment with different positions or adjust the sensitivity or range settings to achieve optimal performance.
By testing the motion detector from different angles and addressing any blind spots or areas of poor detection, you can ensure that your motion detector light provides reliable and thorough coverage. If the problem persists, proceed to the next step in the troubleshooting process.
Step 6: Check for Any Obstructions
Obstructions in the vicinity of your motion detector light can interfere with its ability to detect motion accurately. It’s important to check for any potential obstructions that may be blocking the sensor’s line of sight or causing false triggers. Here’s what you need to do:
1. Inspect the surrounding area: Carefully examine the area surrounding your motion detector light. Look for any objects, vegetation, or structures that could obstruct the sensor’s field of view. Common obstructions include tree branches, bushes, overhanging eaves, and decorations.
2. Trim vegetation: If you find any branches or foliage that are blocking the sensor’s line of sight, trim them back. Ensure that there is a clear space in front of the motion detector so that it has an unobstructed view of the area it is meant to monitor.
3. Adjust nearby objects: If there are any objects in close proximity to the motion detector light that could potentially create false triggers, such as flags, wind chimes, or hanging plants, consider relocating or adjusting them to minimize their impact on the sensor.
4. Check for reflective surfaces: Reflective surfaces, such as glass windows or shiny metal objects, can reflect light and confuse the motion sensor. If there are any reflective surfaces near the sensor, try repositioning the light or adjusting its angle to minimize any potential interference.
5. Inspect the lens: Carefully inspect the lens of the motion sensor for any dirt, smudges, or condensation that may be obstructing its view. If necessary, clean the lens with a soft cloth or lens cleaning solution, taking care to avoid scratching it.
6. Test the detector: After removing any obstructions and ensuring a clear line of sight for the motion sensor, test the detector by walking within its range and observing if the light activates as expected. If the issue persists, proceed to the next step in the troubleshooting process.
By checking for and removing any potential obstructions, you can improve the accuracy and functionality of your motion detector light. If the problem persists, continue troubleshooting by following the next step.
Step 7: Reset the Motion Detector Light
If you have followed the previous steps but still haven’t resolved the issue with your motion detector light, it may be helpful to perform a reset. Resetting the light can help clear any temporary glitches or settings that may be causing the problem. Here’s how you can reset your motion detector light:
1. Turn off the power: Begin by turning off the power to the motion detector light. This ensures your safety during the reset process.
2. Locate the reset button: Check the manufacturer’s instructions or user manual to identify if your motion detector light has a reset button. This button is typically located on the sensor or control panel of the light.
3. Press and hold the reset button: Press and hold the reset button for a few seconds. This duration may vary depending on the specific light, so consult the manufacturer’s instructions for the recommended time.
4. Release the reset button: After the designated time, release the reset button and wait for a moment.
5. Restore the power: Turn the power back on to the motion detector light.
6. Reconfigure the settings: If you have any customized settings or adjustments configured on your motion detector light, you may need to reconfigure them after performing the reset.
7. Test the light: Once the reset is complete, test the motion detector light by walking within its range and observing if it activates as expected. Evaluate if the reset has resolved the issue you were experiencing.
Performing a reset can often resolve minor issues and restore the functionality of your motion detector light. However, if the problem persists, you may need to consider seeking professional assistance or contacting the manufacturer for further guidance.
Step 8: Consult a Professional Electrician if Needed
If you have followed all the previous troubleshooting steps and your motion detector light is still not functioning properly, it may be time to seek assistance from a professional electrician. While many issues can be resolved through DIY troubleshooting, there are instances where the expertise and knowledge of a professional are required. Here are a few reasons why you should consider consulting a professional electrician:
1. Complex electrical issues: If you suspect that there may be an underlying electrical problem causing the malfunction of your motion detector light, it is best to consult a professional. They have the expertise to diagnose and address complex electrical issues that may be beyond your skill level.
2. Wiring or electrical component faults: A faulty wiring connection, defective electrical component, or other internal issues could be the cause of your motion detector light’s malfunction. A professional electrician can inspect and troubleshoot these components accurately.
3. Compliance with electrical codes: Electrical work, including troubleshooting motion detector lights, must adhere to specific electrical codes and safety standards. A professional electrician is well-versed in these regulations and can ensure that any repairs or installations are carried out in compliance.
4. Safety concerns: Electricity can be dangerous, and attempting to troubleshoot complex electrical issues without the proper knowledge and tools can pose a risk to your safety. A professional electrician will have the experience and equipment required to work safely with electrical systems.
5. Warranty considerations: If your motion detector light is still under warranty, attempting DIY repairs or modifications may void the warranty. By consulting a professional electrician, you can ensure that any repairs or replacements are done according to the manufacturer’s guidelines, keeping your warranty intact.
When contacting a professional electrician, be sure to provide them with a detailed description of the issue you are experiencing and the troubleshooting steps you have already taken. This will help them diagnose the problem more efficiently and provide appropriate solutions.
Remember, the expertise of a professional electrician can save you time, effort, and potential risks associated with electrical work. Consider consulting a professional if you are unable to resolve the issue with your motion detector light on your own.
Read more: Why Is My Motion Detector Triggering Alarms
Conclusion
Ensuring the proper functioning of your motion detector light is essential for maintaining a safe and secure home environment. By following the troubleshooting steps outlined in this article, you can identify and resolve common issues that may be causing your motion detector light to malfunction.
We started by checking the power source and inspecting the light bulbs, as these are often straightforward solutions to address. Cleaning the motion sensor and adjusting its settings can also make a significant difference in the performance of your motion detector light. Testing the light from different angles and removing any obstructions can further improve its functionality.
If these steps don’t solve the problem, resetting the motion detector light might help clear any temporary glitches. However, in some cases, it may be necessary to consult a professional electrician, especially if there are complex electrical issues or safety concerns.
Remember to always prioritize your safety when troubleshooting and working with electrical systems. Turn off the power before conducting any inspections or repairs, and don’t hesitate to seek professional assistance if you are unsure or uncomfortable with the task.
By taking the time to troubleshoot your motion detector light, you can restore its functionality and provide enhanced security for your home. Regular maintenance, such as cleaning the motion sensor and checking for obstructions, can help prevent future issues and ensure ongoing performance.
Remember, proper maintenance and troubleshooting can go a long way in keeping your home security system in top condition. With your motion detector light working effectively, you can have peace of mind knowing that your property is well-protected.
Frequently Asked Questions about Why Isn't My Motion Detector Light Functioning
Was this page helpful?
At Storables.com, we guarantee accurate and reliable information. Our content, validated by Expert Board Contributors, is crafted following stringent Editorial Policies. We're committed to providing you with well-researched, expert-backed insights for all your informational needs.