Home>Ideas and Tips>DIY Guide: Building A Deck That Lasts
Ideas and Tips
DIY Guide: Building A Deck That Lasts
Published: September 25, 2024
Learn how to build a durable deck with our step-by-step DIY guide. From planning to finishing touches, create an outdoor space that stands the test of time.
(Many of the links in this article redirect to a specific reviewed product. Your purchase of these products through affiliate links helps to generate commission for Storables.com, at no extra cost. Learn more)
Building a deck is one of the most rewarding DIY projects you can undertake. Not only does it add value to your home, but it also provides a beautiful outdoor space where you can relax and entertain. However, building a deck that lasts requires careful planning, attention to detail, and adherence to safety guidelines. In this comprehensive guide, we will walk you through the entire process of building a deck from concept to finishing touches.
Step 1: Planning Your Deck
Before you start hammering nails, it's essential to have a clear plan in place. Here are some key steps to consider:
1. Sketch Your Deck
The first step in planning your deck is to create a detailed sketch. Use graph paper to maintain scale and include property landmarks such as your house, doors, shed, fences, etc. This will help you visualize the layout and ensure that your deck fits harmoniously with your surroundings.
2. Mind the Overhang
When finalizing your deck size, shrink it by 1-1/2 inches on all sides that don’t attach to a house. This will be the dimension of your deck framing. A 1/2-inch skirt covers the framing and the deck boards will hang over that by one inch.
3. Use a Guide
Deck planning involves many details. Even after building many decks, it's still important to refer to guides like the Designed for Code Acceptance 6 (DCA-6) Deck Construction Guide. This guide helps determine important spans, lumber sizes, and fastener requirements. If it’s not in this guide, your local building official is the final authority.
Read more: DIY Guide To Building A Deck
Step 2: Designing Your Deck
Designing your deck is where the magic begins. Here are some tools and tips to help you create the perfect design:
1. Lowe’s Deck Designer Software
Lowe’s offers a free online Deck Designer Software that makes designing your deck incredibly easy. This software allows you to choose from pre-designed templates or start from scratch. You can customize the type of decking material (wood or composite), color, and style of the railing. It also provides a real-time estimate of material cost so you can check if you’re within budget or not.
2. Creating Your Design
Once you have your software, start by selecting the size and shape of your deck. Consider building a wrap-around deck to add usable floor space and increase the value of your house. Think about the orientation of the decking and how it will interact with your home and other structures on your property.
Step 3: Obtaining Permits
Before you start digging holes for footings or cutting any lumber, it's crucial to obtain the necessary permits. Here’s how:
1. Check Local Building Codes
Contact your local building department and homeowners association regarding permits and building requirements. Note the elements of the project that require inspection and plan your work accordingly.
2. Mark Underground Utilities
Call 811 to have underground utilities marked before digging holes for deck footings.
Step 4: Building the Foundation
The foundation of your deck is its most critical component. Here’s how to build it:
1. Digging Footings
Dig holes for the deck footings that’ll support the structure. Make sure each footing is below the frost line in your area to prevent damage from freezing temperatures.
2. Pouring Concrete Piers
Pour concrete piers into the holes you've dug, making sure each pier is plumb and reinforced with concrete fiber. You can make the piers even stronger by using a concrete vibrator during the pour to increase density.
3. Reinforcing Footings
Each pier should stick up above the soil enough to leave at least eight inches of space between the ground and the underside of your deck. Build too close to the ground and moisture rising from the earth will rot your deck quickly.
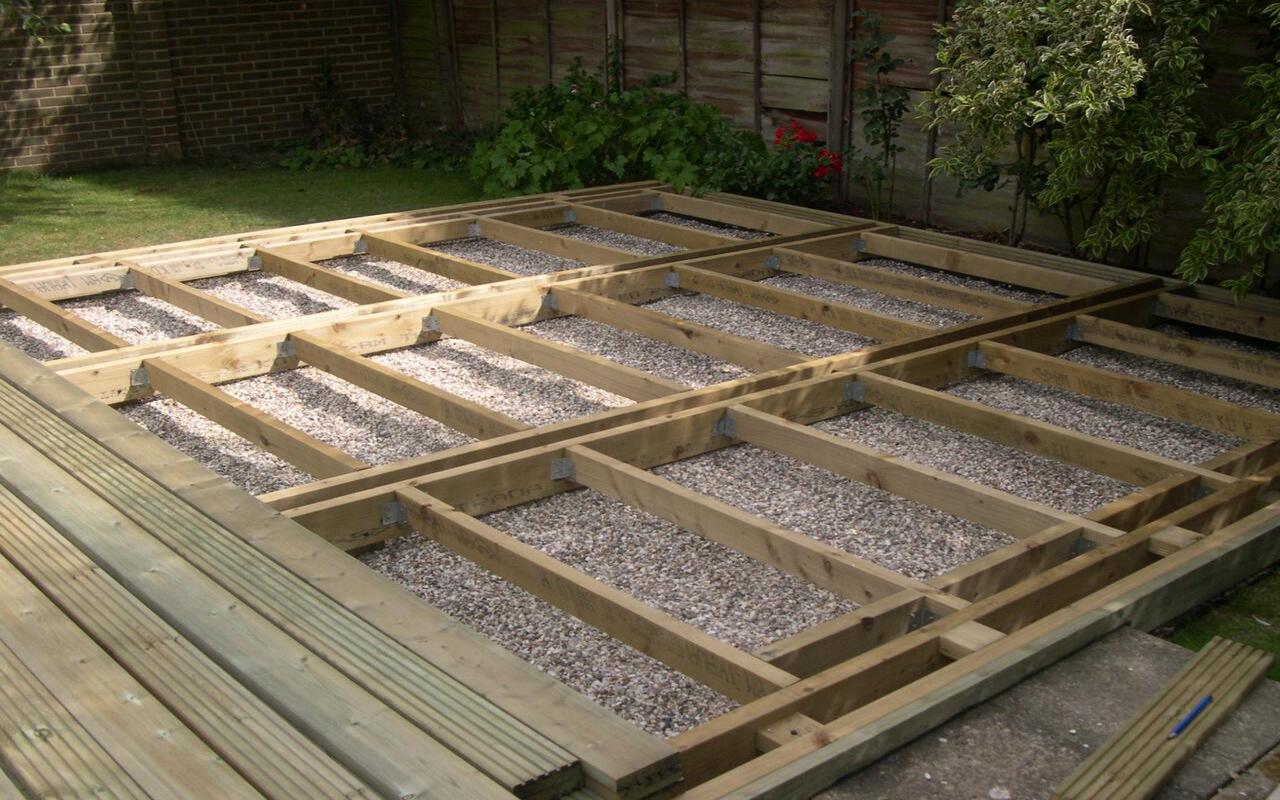
Step 5: Constructing the Frame
The frame of your deck provides its structural integrity. Here’s how to build it:
1. Choosing Lumber
Select lumber that is suitable for outdoor use and meets local building codes. For example, if you're using 2×12 joists, you need 2×12 hangers. Joist hangers for decks must also meet corrosion standards with a special G-185 coating (some manufacturers label this as ZMAX or Triple Zinc). Stainless steel versions are available for decks built near salt water.
2. Using Proper Joist Hangers
Joist hangers provide most of the structural integrity beneath your deck boards. Make sure they’re firmly attached by nailing through every hole in the hanger with the right-size nail specified by the hanger manufacturer.
3. Building Beams
Beams are laminated together from dimensional lumber using glue, clamps, and nails from both sides. As you nail them, use clamps to coax the boards’ tops and bottoms flush with each other. Any seams need to be staggered and land on a post. If the beam is closer than six inches to the ground, be sure to build it using pressure-treated lumber rated for ground contact.
4. Installing Joists
Install joists using joist hangers that match your lumber type and deck dimensions. Ensure that joist hangers are firmly attached by nailing through every hole in them.
5. Post-to-Beam Connection
The post-to-beam connection is one of the most critical components of your deck's structure. Instead of slapping the beam on the side of the post and bolting them together, make a notch in the post to fit the beam. Use a 1/2-inch through bolt or easy-to-use screw bolts made for this type of connection.
Read more: DIY Guide To Building A Backyard Pergola
Step 6: Installing Rim Joist
After installing joists, a rim joist holds them upright and keeps their spacing consistent. Unlike other joists, the rim joist carries no load and is simply held in place flush with the top and nailed to the ends of the joists.
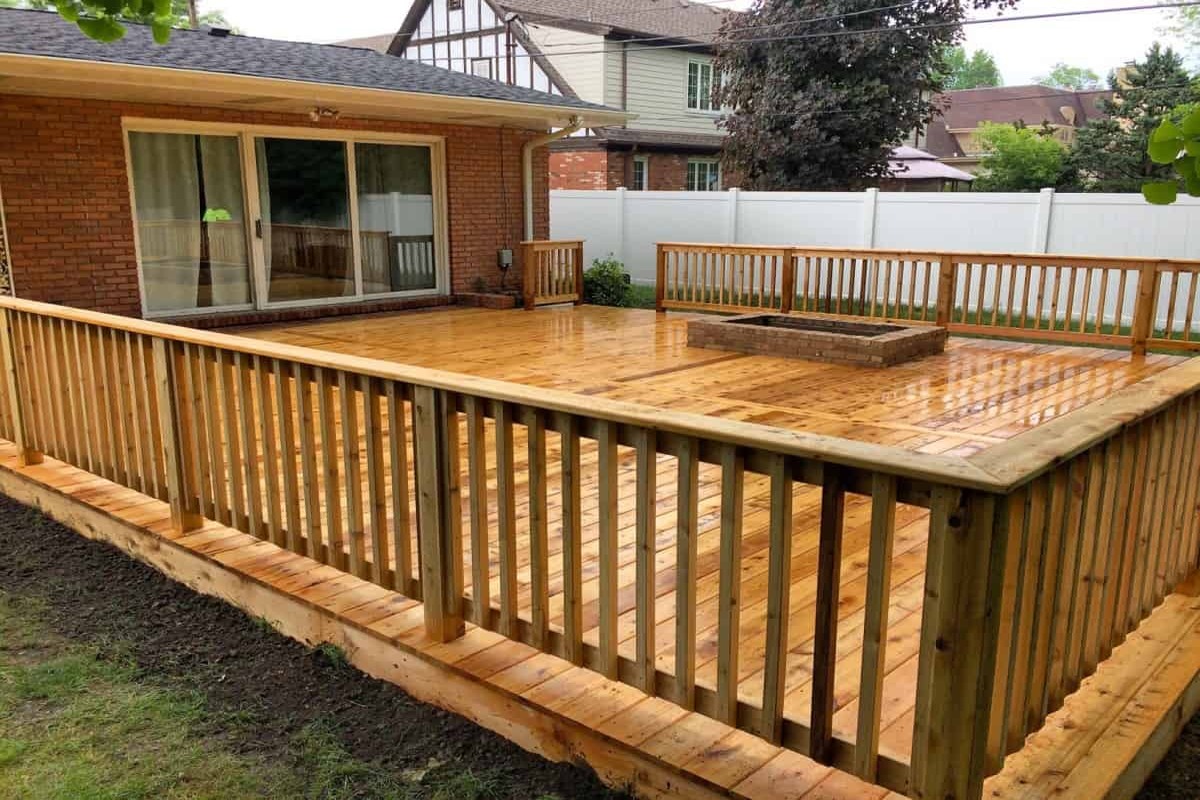
Step 7: Choosing Decking Materials
Choosing the right decking material is crucial for durability and longevity. Here are some popular options:
1. Pressure-Treated Lumber
Pressure-treated lumber is the standard material because it withstands weather well. However, it needs time to dry before staining—typically six months.
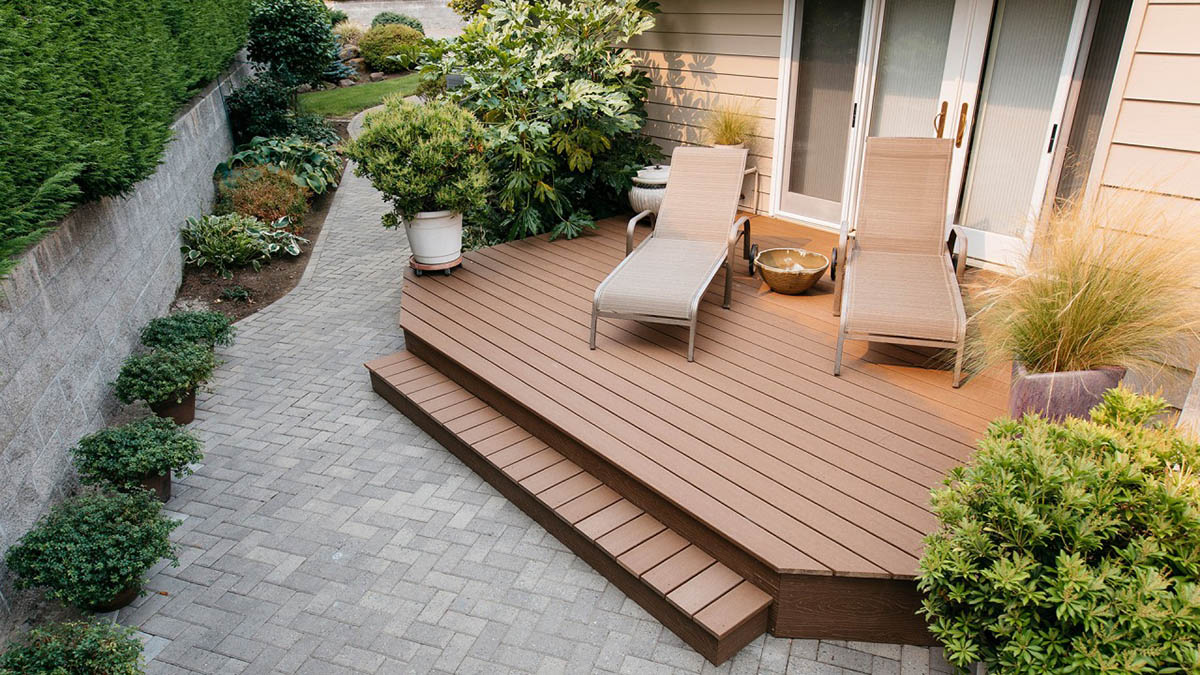
2. Composite Decking
Composite decking offers long-lasting performance with minimal maintenance. It comes in various colors and grain patterns that mimic high-end exotic wood. Brands like Deckorators’ Tropics line and NewTechWood provide excellent options.
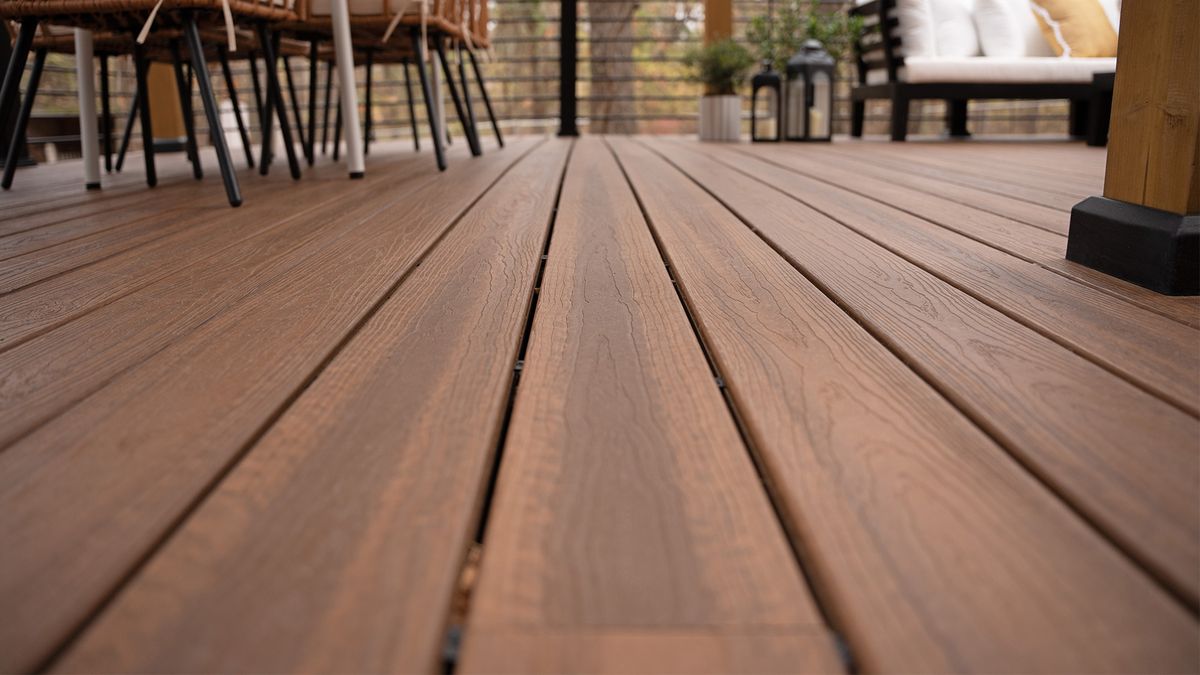
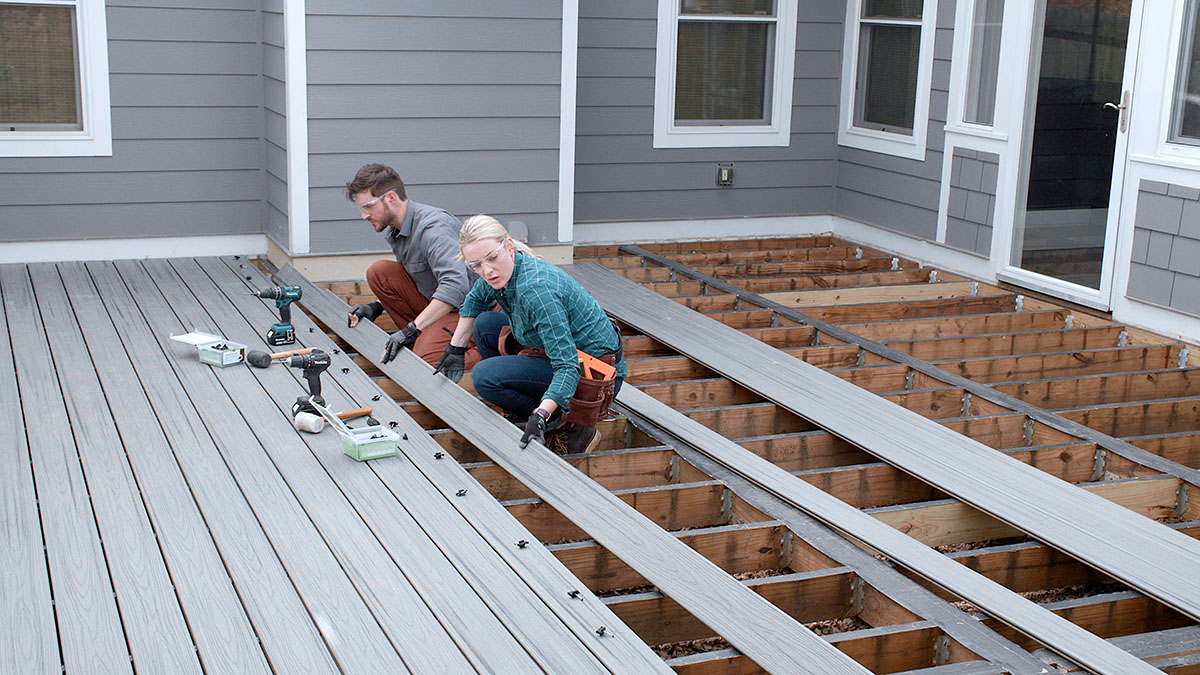
Step 8: Installing Deck Boards
Once you have your frame and decking materials ready, it's time to install deck boards:
1. Laying Deck Boards
Start by laying deck boards parallel to each other, ensuring they are evenly spaced. Use screws that don't sink too far into the decking material or you'll create tiny reservoirs where water will sit and soak in.
2. Gaps Between Deck Boards
Gaps between deck boards are necessary for better drainage and preventing debris buildup. Make sure gaps are big enough that you can sweep them without clogging up with dirt.
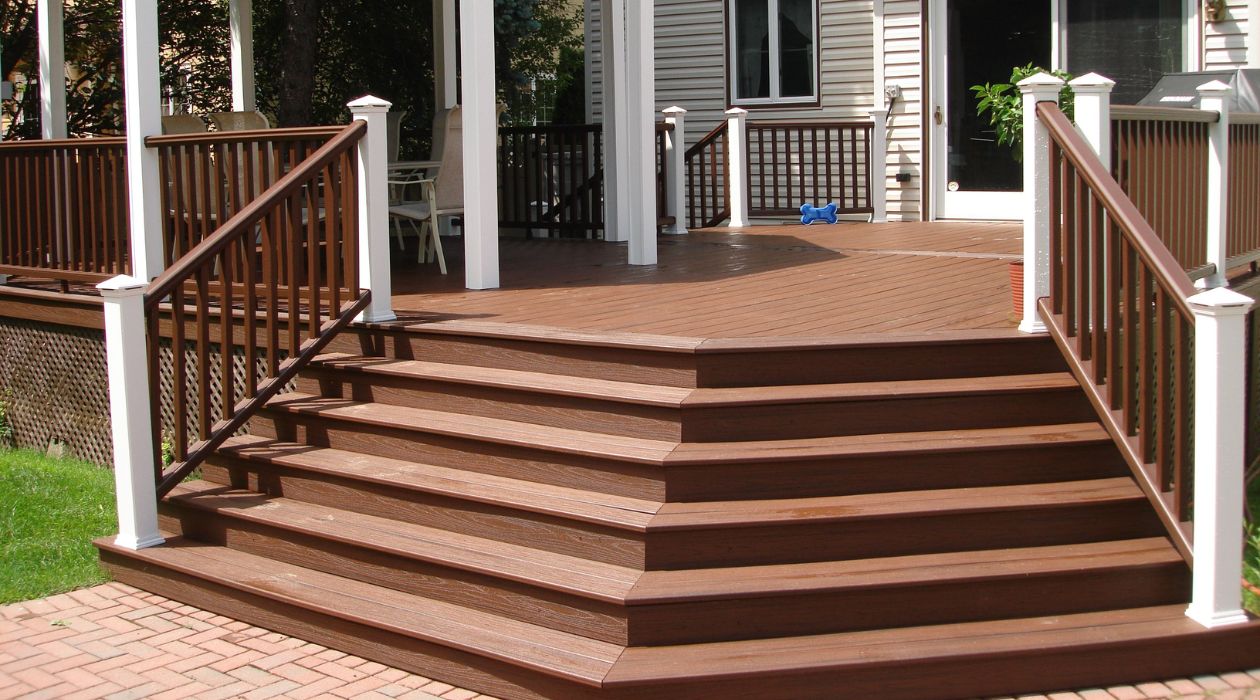
Step 9: Adding Railings
Railings provide safety and aesthetics to your deck:
1. Choosing Railing Style
Select railings that match your decking material and style preferences. Composite railings are durable and low-maintenance while wood railings offer traditional charm.
2. Installing Railings
Install railings according to manufacturer instructions or local building codes. Ensure they are securely attached to posts and beams for stability.
Read more: DIY Guide To Building A Backyard Fire Pit
Step 10: Finishing Touches
The final touches make all the difference in creating a beautiful and functional deck:
1. Finishing Deck Boards
Finish deck boards with stain or sealant according to manufacturer instructions. This protects them from weathering and enhances their appearance.
2. Adding Lighting
Install outdoor lighting around your deck for safety and ambiance. Solar-powered lights are energy-efficient and easy to install.
3. Adding Furniture
Place outdoor furniture like tables, chairs, and sofas strategically around your deck for comfort and functionality.
Conclusion
Building a deck that lasts requires careful planning, attention to detail, and adherence to safety guidelines. By following these steps from designing your deck to finishing touches, you'll create an outdoor space that enhances both functionality and aesthetics of your home. Remember always to check local building codes and consult professionals if needed for a successful project.
By following this comprehensive guide, you'll be well on your way to building a deck that not only looks great but also stands the test of time. Happy building
Was this page helpful?
At Storables.com, we guarantee accurate and reliable information. Our content, validated by Expert Board Contributors, is crafted following stringent Editorial Policies. We're committed to providing you with well-researched, expert-backed insights for all your informational needs.


0 thoughts on “DIY Guide: Building A Deck That Lasts”