
Articles
How To Build A Ramp For A Deck
Modified: August 23, 2024
Learn how to build a ramp for your deck with our informative articles. Get step-by-step instructions and expert tips to ensure a sturdy and safe construction.
(Many of the links in this article redirect to a specific reviewed product. Your purchase of these products through affiliate links helps to generate commission for Storables.com, at no extra cost. Learn more)
Introduction
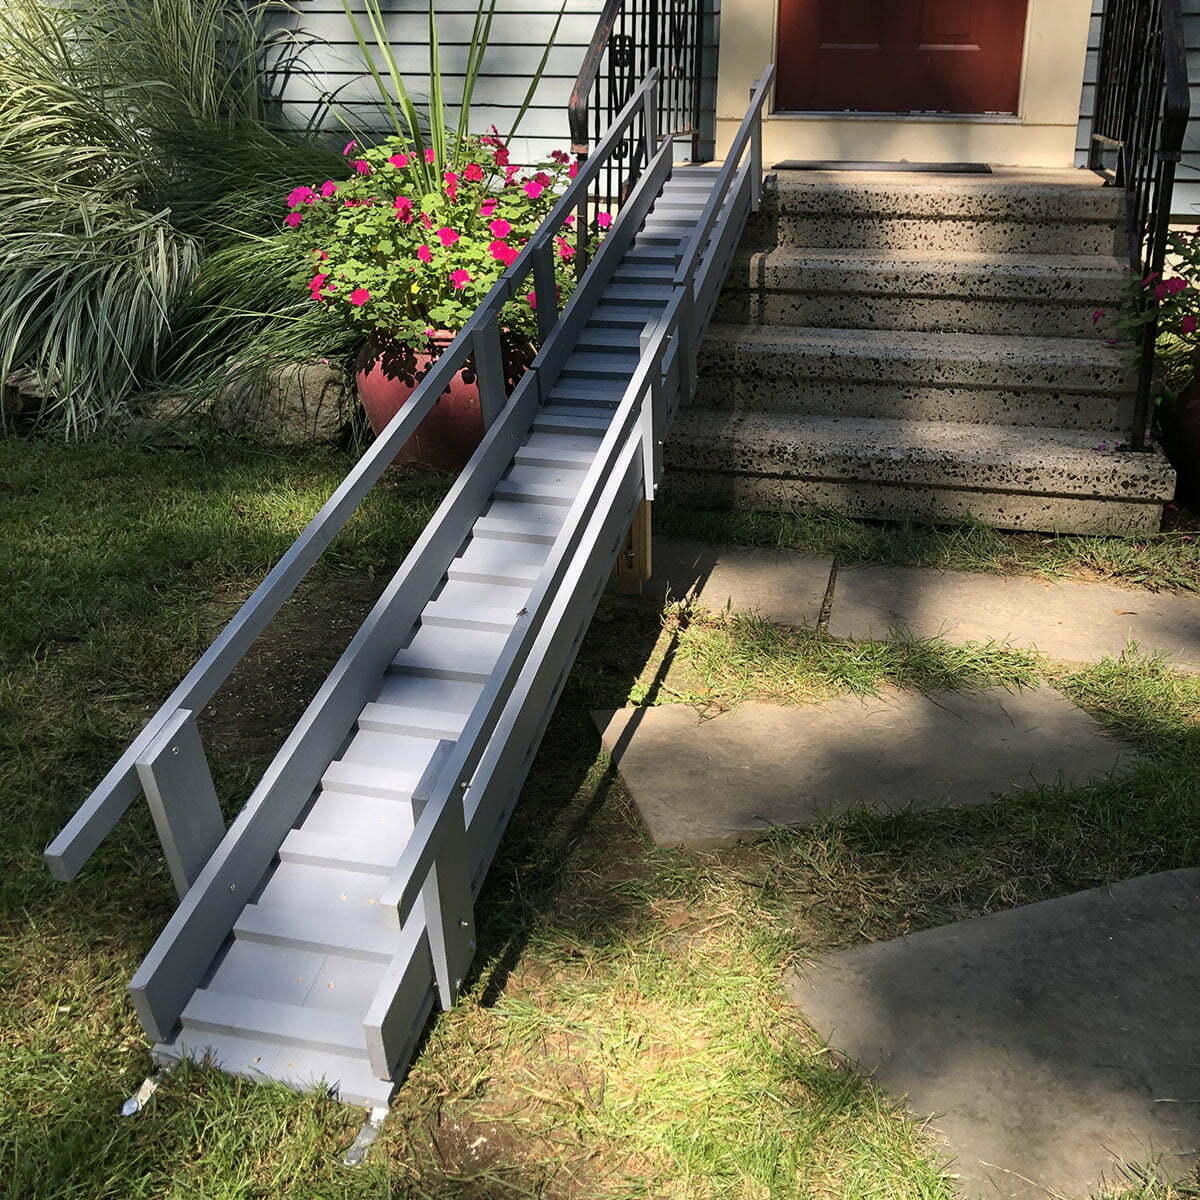
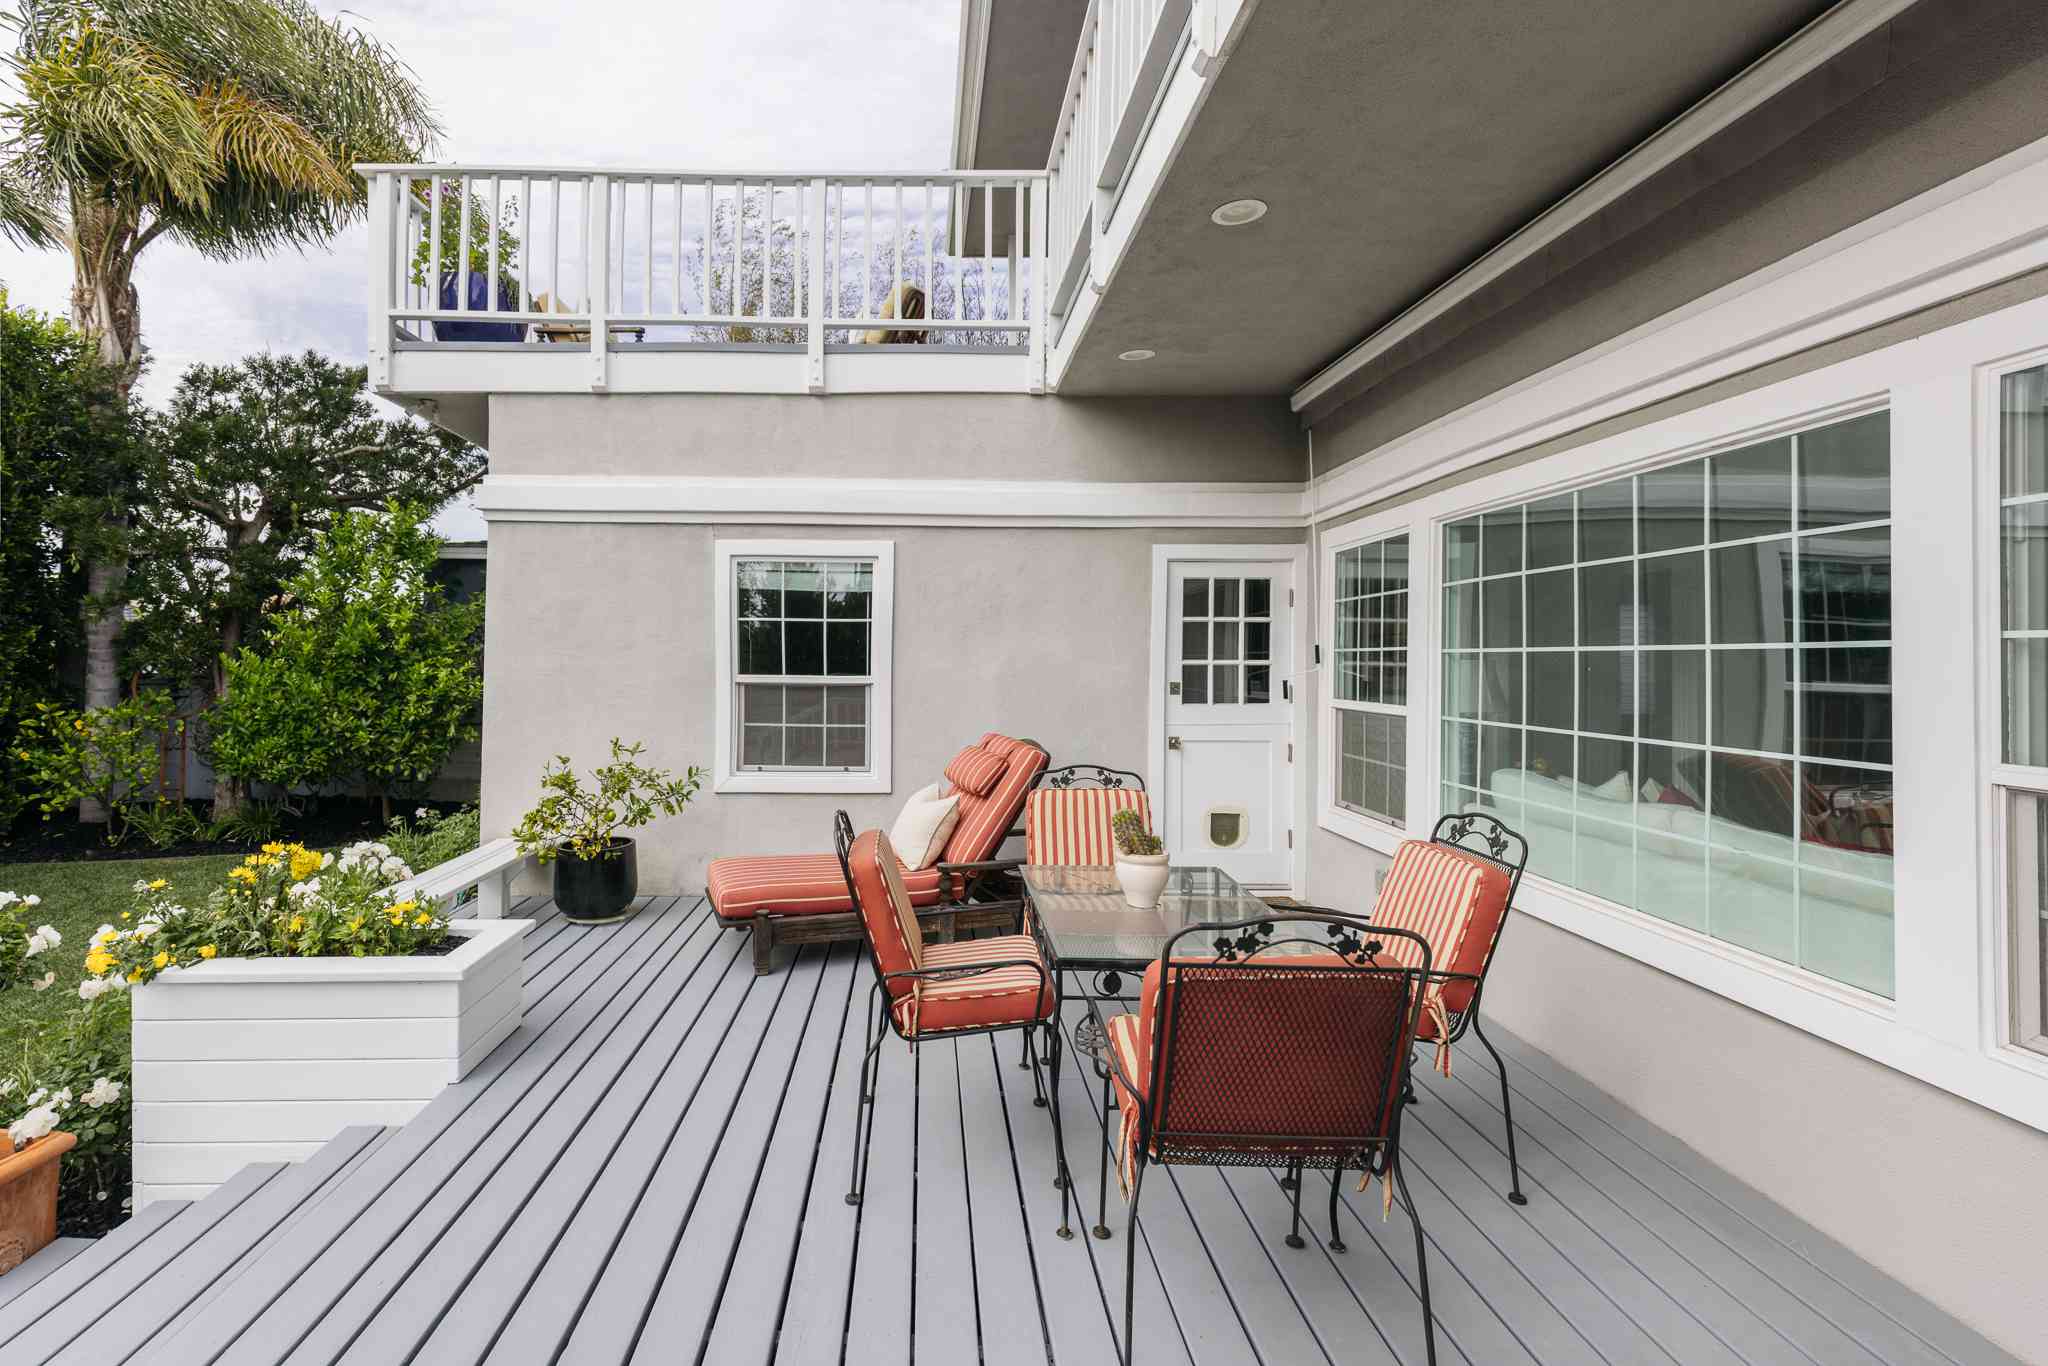
Building a ramp for a deck is a practical and essential addition for anyone with mobility challenges or for those who simply want easy access to their outdoor space. Whether you use a wheelchair, a walker, or just want to avoid navigating stairs, a ramp provides a safe and convenient solution.
In this article, we will guide you through the step-by-step process of building a ramp for your deck. We will cover everything from measurements and material gathering to the installation of support posts, building the frame, laying down decking boards, and adding handrails. By following these instructions, you can create a ramp that is sturdy, durable, and visually appealing.
Before we dive into the details, it’s essential to note that building codes and regulations may vary based on your location. It is always a good idea to check with your local building department to ensure compliance with any applicable requirements. Additionally, it’s important to prioritize safety throughout the construction process to prevent accidents and injuries.
Now, let’s get started on this rewarding project of building a ramp for your deck!
Key Takeaways:
- Building a ramp for your deck is a rewarding project that enhances accessibility and convenience for all users. Prioritize safety, consider specific user needs, and ensure proper maintenance for a durable and functional ramp.
- By following the step-by-step process outlined in this article, you can construct a ramp that is safe, sturdy, and visually appealing. Take pride in knowing that your ramp provides a safe and convenient pathway to your deck and outdoor enjoyment.
Read more: How To Build A Porch Ramp
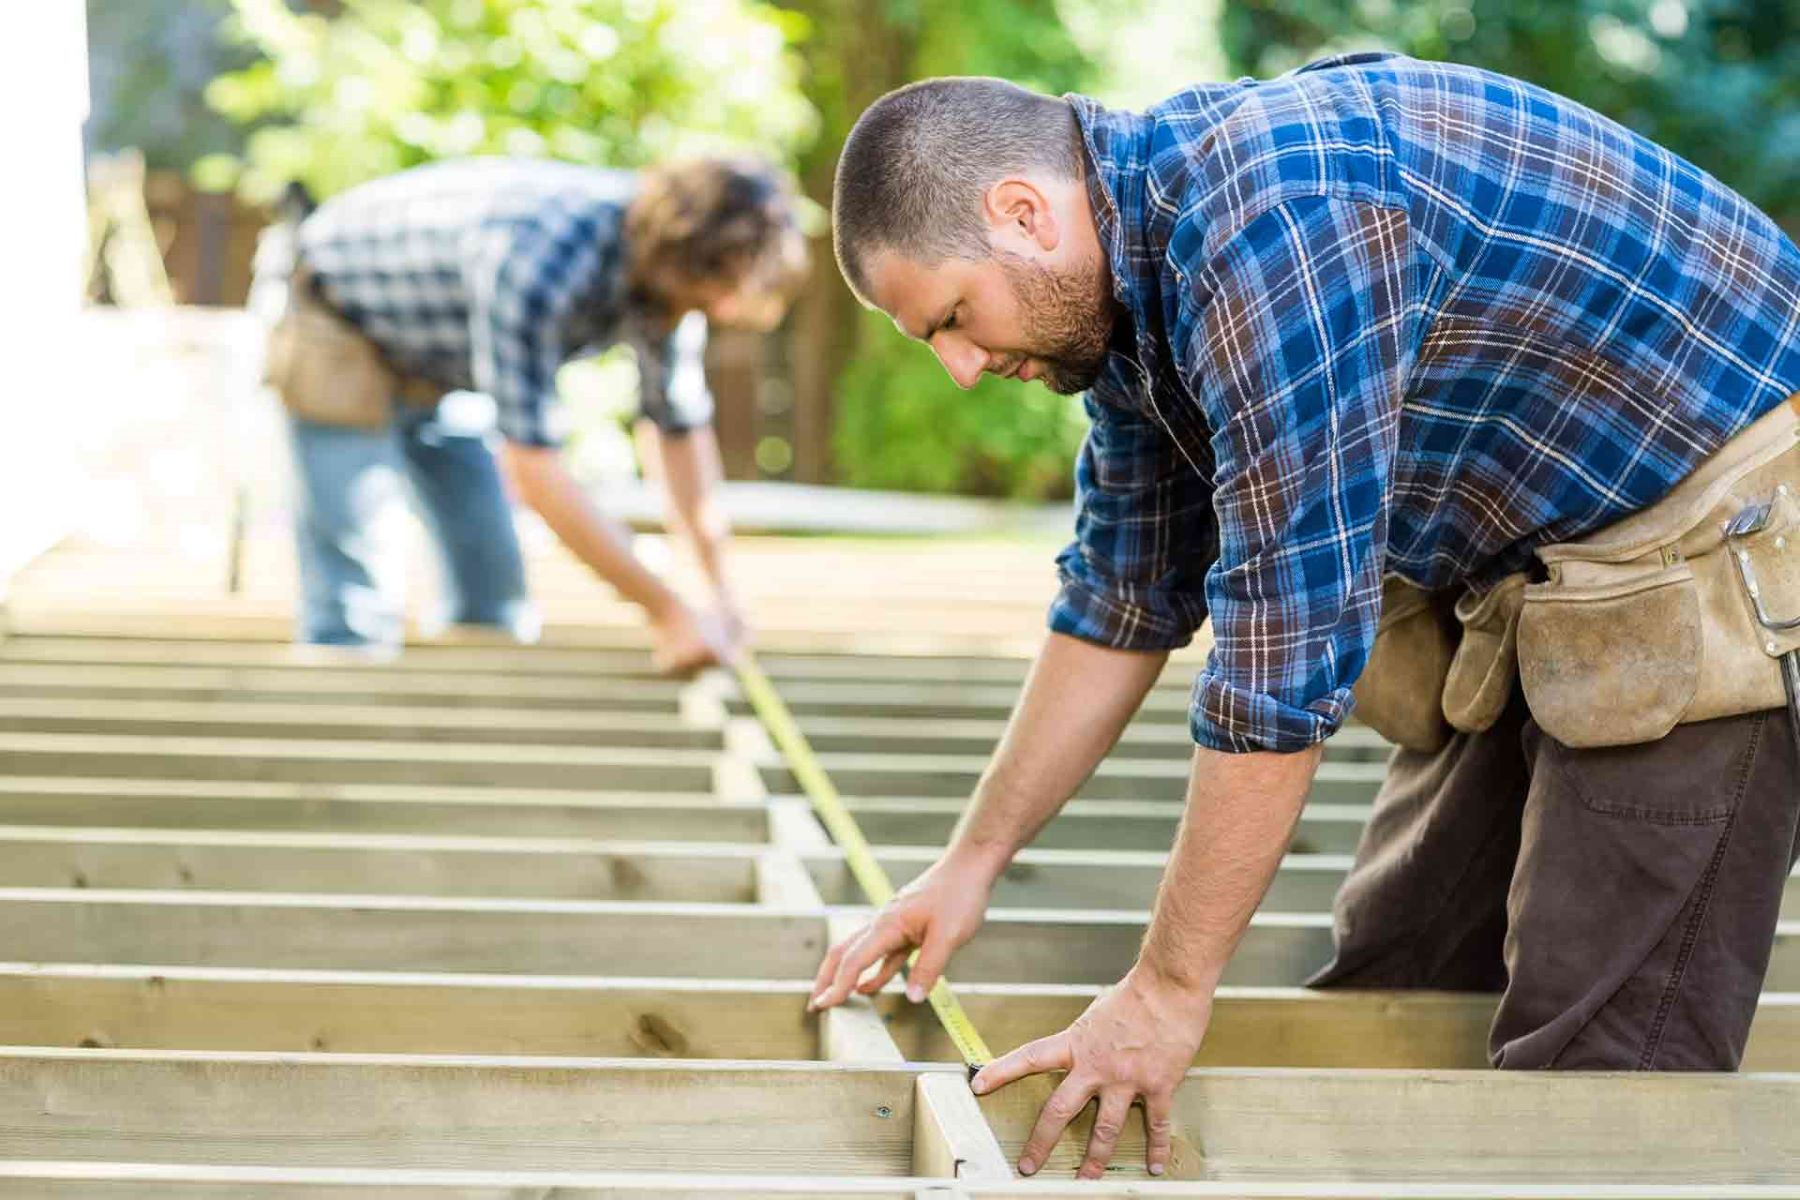
Step 1: Determine the Measurements
The first step in building a ramp for your deck is to carefully measure the area and determine the dimensions of your ramp. This will ensure that the ramp is properly sized and aligned with your deck.
Start by measuring the height from the ground to the top of your deck. This is the vertical distance that the ramp needs to cover. Next, measure the distance from the edge of the deck to where the ramp will touch the ground. This will determine the length of the ramp.
Keep in mind that the slope of the ramp should meet the guidelines set by the Americans with Disabilities Act (ADA), which recommends a ratio of 1:12 for a ramp’s slope. This means that for every 1 inch of rise, there should be 12 inches of ramp length. For example, if your deck is 36 inches high, your ramp should be at least 36 feet long.
Additionally, consider the width of the ramp. The ADA suggests a minimum width of 36 inches for a single ramp, but if space allows, it’s beneficial to make it wider to accommodate various mobility devices and provide more maneuvering room. Aim for a width of at least 48 inches or more.
Take note of any obstacles in the path of the ramp, such as trees, shrubs, or structures. You may need to make adjustments to the length, width, or layout of the ramp to ensure a clear and unobstructed path.
Once you have determined the measurements, it’s a good idea to sketch a rough diagram or use a design software to visualize the ramp and make any necessary adjustments before proceeding to the next steps. This will help ensure that the ramp fits seamlessly with your deck and meets your specific needs.
With your measurements in hand, you are now ready to move on to the next step: gathering the materials and tools necessary for building the ramp.
Step 2: Gather the Materials and Tools
Before you can start building your deck ramp, you’ll need to gather the necessary materials and tools. Having everything you need on hand will make the construction process smoother and more efficient.
Here’s a list of materials you will typically need for building a ramp:
- Pressure-treated lumber: Choose high-quality, pressure-treated wood that is durable and resistant to rot and decay. The amount will depend on the dimensions of your ramp.
- Decking boards: These will be used to create the ramp’s surface. Opt for boards that are strong, weather-resistant, and slip-resistant.
- Support posts: These will provide stability and support for the ramp. You’ll need posts that are long enough to reach from the ground to the top of your deck.
- Concrete mix: If your ramp requires support post footings, you’ll need concrete mix to secure them in place.
- Hardware: This includes screws, bolts, nuts, and washers to connect and secure various components of the ramp.
- Handrails and railing posts: If you want to add handrails to your ramp for added safety, you’ll need the appropriate railing posts and handrail materials.
- Gravel or compacted soil: This is necessary for creating a stable base for the ramp.
In addition to the materials, you’ll also need a variety of tools to complete the construction:
- Tape measure: Essential for accurate measurements.
- Circular saw or miter saw: Used to cut lumber to the desired lengths.
- Drill: Needed for drilling pilot holes and driving screws and bolts.
- Level: Used to ensure that the ramp is even and properly aligned.
- Shovel: For preparing the area and digging holes, if necessary.
- Wheelbarrow: Helpful for transporting materials, such as gravel or concrete mix.
- Hammer: Used for various tasks, such as pounding in stakes or adjusting components.
- Safety equipment: Don’t forget to include safety goggles, gloves, and a dust mask to protect yourself during construction.
By gathering all the necessary materials and tools before you begin, you can streamline the construction process and reduce the chances of delays or interruptions.
Now that you have everything you need, it’s time to move on to the next step: preparing the area for the ramp construction.
Step 3: Prepare the Area
Before you can start building the ramp for your deck, it’s important to prepare the area where the ramp will be located. Proper preparation ensures a stable and level foundation for the ramp, which is crucial for its overall functionality and safety.
Here are the steps to follow when preparing the area:
- Clear the area: Remove any obstacles, debris, or vegetation from the space where the ramp will be installed. This includes rocks, roots, and any other objects that could disrupt the ramp’s construction or pose a hazard.
- Mark the boundaries: Use stakes and string to mark the boundaries of the ramp area, outlining its length and width. This will provide a clear guide for the construction process and help ensure that the ramp is aligned correctly.
- Level the ground: If the ground is uneven, use a shovel and a rake to level it out. This will create a solid and stable base for the ramp. Remove any high spots and fill in any low areas with compacted soil or gravel. Use a level to check the ground’s evenness.
- Create support post footings (if needed): If your ramp design requires support posts, you’ll need to dig holes for the footings. The depth and diameter of the holes will depend on your local building codes and the specific size of your posts. Consult the proper guidelines or consult with a professional to ensure compliance and structural integrity.
- Install support post footings (if needed): Mix the concrete according to the manufacturer’s instructions and pour it into the prepared holes. Insert the support posts into the wet concrete and use a level to ensure they are plumb and aligned correctly. Allow the concrete to cure and harden completely before proceeding to the next steps.
By properly preparing the area, you lay the foundation for a robust and stable ramp. This step ensures that your ramp will have a level and secure base, which is crucial for its overall performance and longevity.
With the area prepared, you’re now ready to move on to the next step: installing the support posts for the ramp.
Step 4: Install the Support Posts
Installing the support posts is a critical step in building a ramp for your deck. These posts provide stability and support to the entire structure, ensuring that it can safely bear the weight and provide a secure path for those using the ramp.
Follow these steps to install the support posts:
- Measure and mark the locations for the support posts: Using your previously determined measurements and ramp design, carefully measure and mark the spots where the support posts will be placed. Ensure that the spacing between the posts is even and meets any code requirements.
- Dig the post holes: Use a post hole digger or a shovel to dig holes for the support posts. The depth and diameter of the holes will depend on your local building codes and the size of the support posts. Typically, the holes should be deep enough to reach below the frost line to prevent shifting due to freezing and thawing.
- Place the support posts: Insert the support posts into the holes, ensuring they are plumb and level. Use a level to check their alignment in both directions. Temporarily brace the posts to keep them upright during the installation process.
- Secure the support posts: Mix the concrete according to the manufacturer’s instructions, and pour it into the post holes around the support posts. As you pour the concrete, periodically check the posts’ alignment and make any necessary adjustments. Ensure that the posts are fully embedded in the concrete and that the concrete is properly compacted.
- Allow the concrete to cure: Follow the manufacturer’s instructions for curing time, typically around 24-48 hours. During this time, avoid placing any weight or stress on the support posts.
- Remove temporary braces: Once the concrete has cured, remove the temporary braces that were holding the support posts in place. The support posts should now be firmly set in the ground and ready to provide stability for the ramp.
Proper installation of the support posts is crucial for the structural integrity and safety of your ramp. Take the time to ensure that the posts are plumb, aligned, and securely set in the concrete.
With the support posts installed, you’re now ready to move on to the next step: attaching the ledger board to your deck.
Read more: How To Build A Wood Ramp For A Shed
Step 5: Attach the Ledger Board
Attaching the ledger board to your deck is an essential step in building a ramp. The ledger board provides a secure connection between the ramp and the deck, ensuring stability and structural integrity.
Follow these steps to attach the ledger board:
- Measure and mark the position: Using your measurements, determine the position of the ledger board. It should be parallel to the ground and level with the deck’s surface. Mark the location of the ledger board on the deck.
- Prep the ledger board: Cut the ledger board to the required length using a saw. If needed, shape the ends of the ledger board to fit the contour of the deck or any existing structures.
- Locate the joists: Locate the deck’s joists behind the area where the ledger board will be attached. You can use a stud finder to help you locate the joists if needed.
- Attach the ledger board: Position the ledger board against the deck, aligning it with the marked location. Use clamps to hold the ledger board firmly in place. Pre-drill holes into the ledger board and into the joists, ensuring they align properly. Then, secure the ledger board to the deck using lag screws or structural screws.
- Check for level and stability: Use a level to ensure the ledger board is straight and level. Double-check its stability by applying pressure to different points along its length. Make any necessary adjustments to ensure a secure and stable connection.
- Apply flashing (optional): To provide extra protection against water penetration, consider installing flashing between the ledger board and the deck surface. This helps prevent moisture-related damage to the ledger board and the deck structure.
Attaching the ledger board correctly is crucial for the overall strength and stability of the ramp. It provides a solid anchor point and distributes the weight of the ramp evenly to the deck’s underlying structure.
With the ledger board securely attached, you can now proceed to the next step: building the frame of the ramp.
When building a ramp for a deck, make sure to use pressure-treated lumber for durability and to follow local building codes for slope and railing requirements.
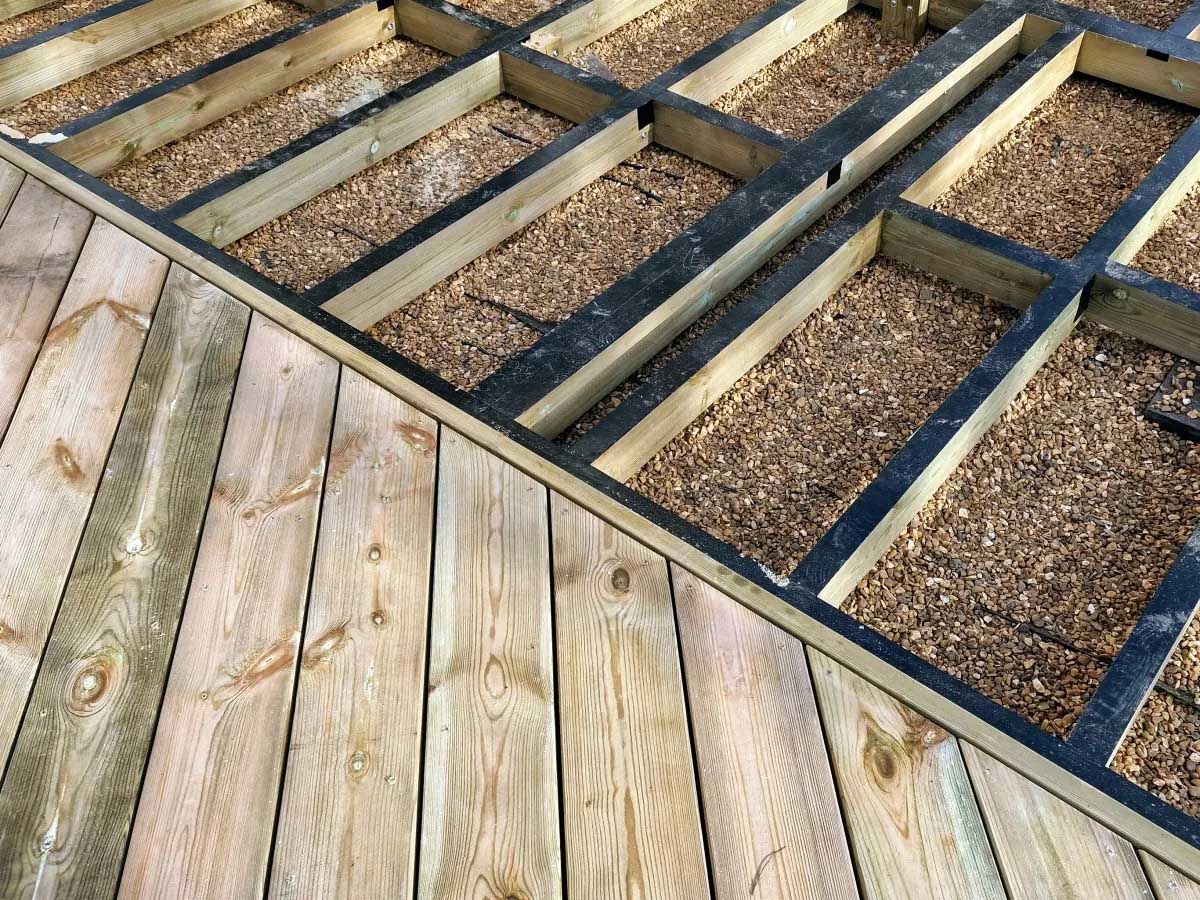
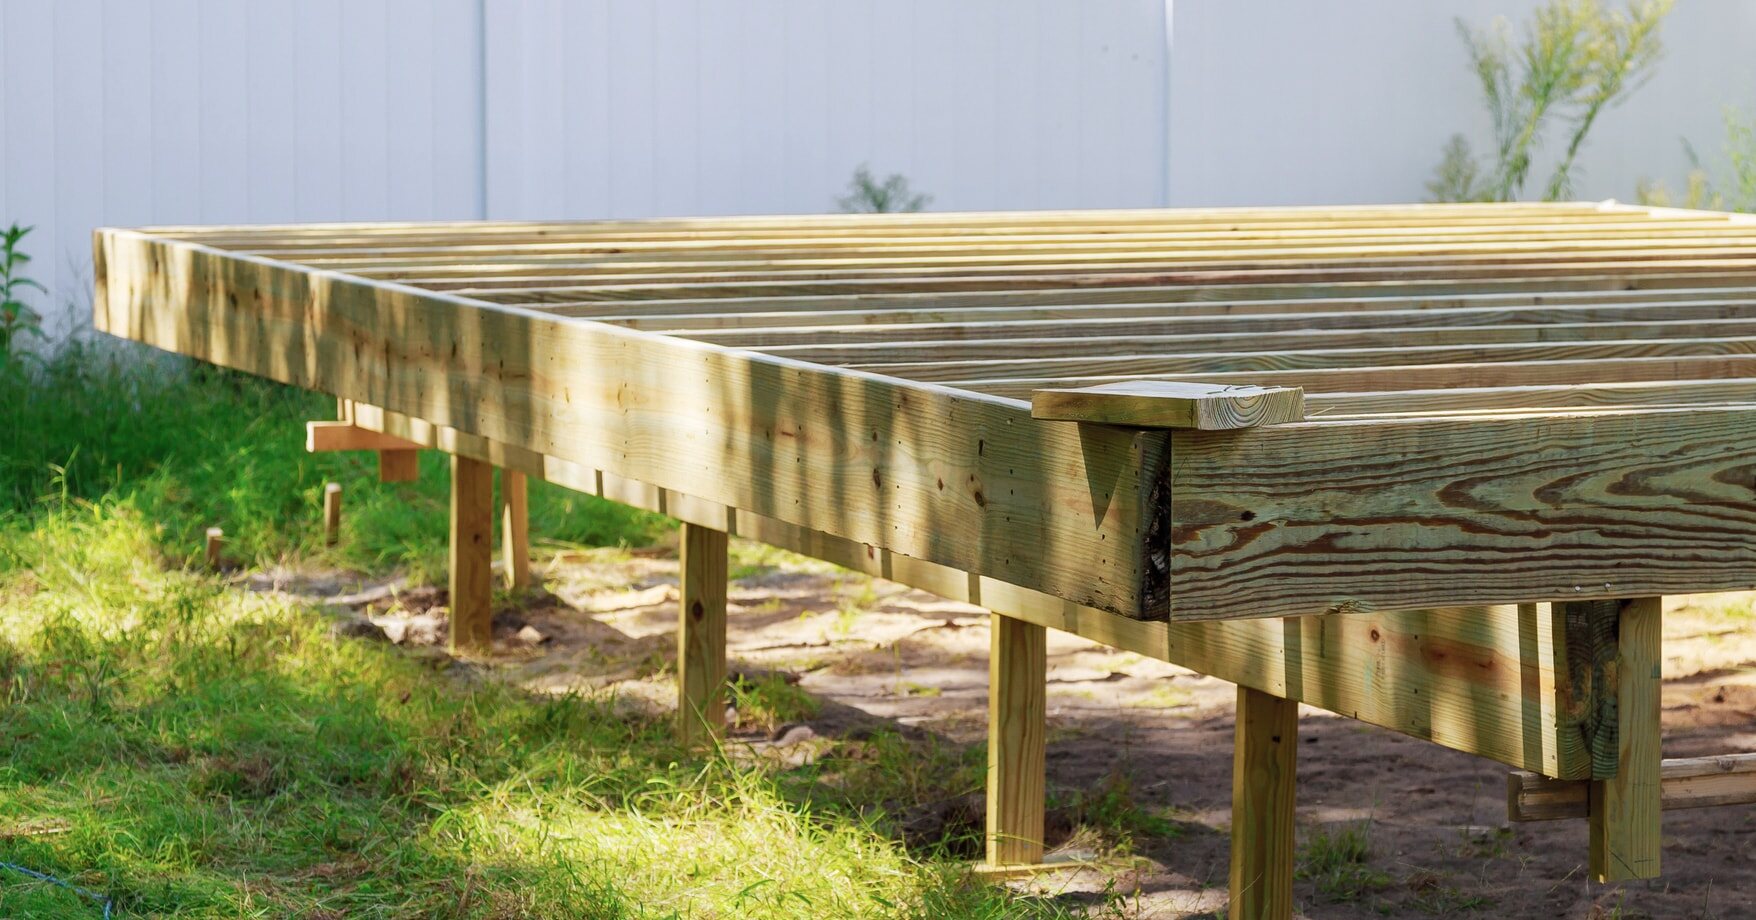
Step 6: Build the Frame of the Ramp
Building the frame of the ramp is an important step in the construction process. The frame provides the structure and support for the ramp decking and ensures its stability and durability.
Follow these steps to build the frame of the ramp:
- Measure and cut the frame boards: Based on your ramp design and dimensions, measure and cut the frame boards according to the required lengths. Use a saw to create the necessary angles or joints as per your design.
- Position the frame boards: Begin by laying out the frame boards along the sides of the ramp. Ensure they fit properly and run parallel to each other. Use clamps or temporary fasteners to hold the frame boards in place.
- Connect the frame boards: Use screws or nails to connect the frame boards at the corners or joints. Ensure they are securely fastened to provide stability. Use a level to check that the frame boards are even and level throughout.
- Add cross members (if needed): Depending on the length and width of your ramp, you may need to install additional cross members between the frame boards. These provide extra support and prevent the decking from sagging. Attach the cross members securely to the frame boards using screws or nails.
- Install diagonal bracing (if required): Diagonal bracing can be added to increase the stability and rigidity of the ramp. Cut the braces to the appropriate length and attach them securely between the frame boards and the cross members.
- Check for squareness and stability: Use a tape measure to check that the frame is square by measuring diagonally from corner to corner. The measurements should be equal. Also, ensure that the frame is stable and doesn’t wobble or shift when pressure is applied to it.
Building a sturdy and well-constructed frame is essential to ensure the ramp’s overall strength and durability. Take your time to measure accurately, make precise cuts, and securely fasten all components. A solid frame will provide a reliable base for the ramp’s decking and ensure a safe and stable structure.
With the frame built, you’re now ready to move on to the next step: installing the decking boards for the ramp.
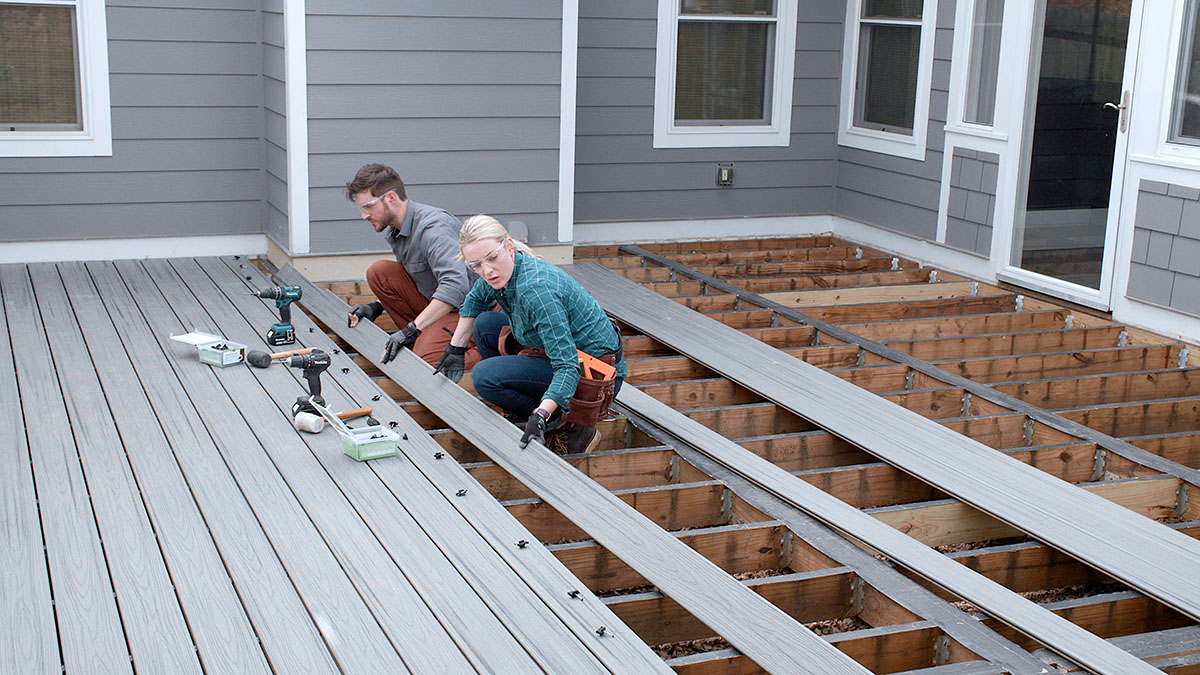
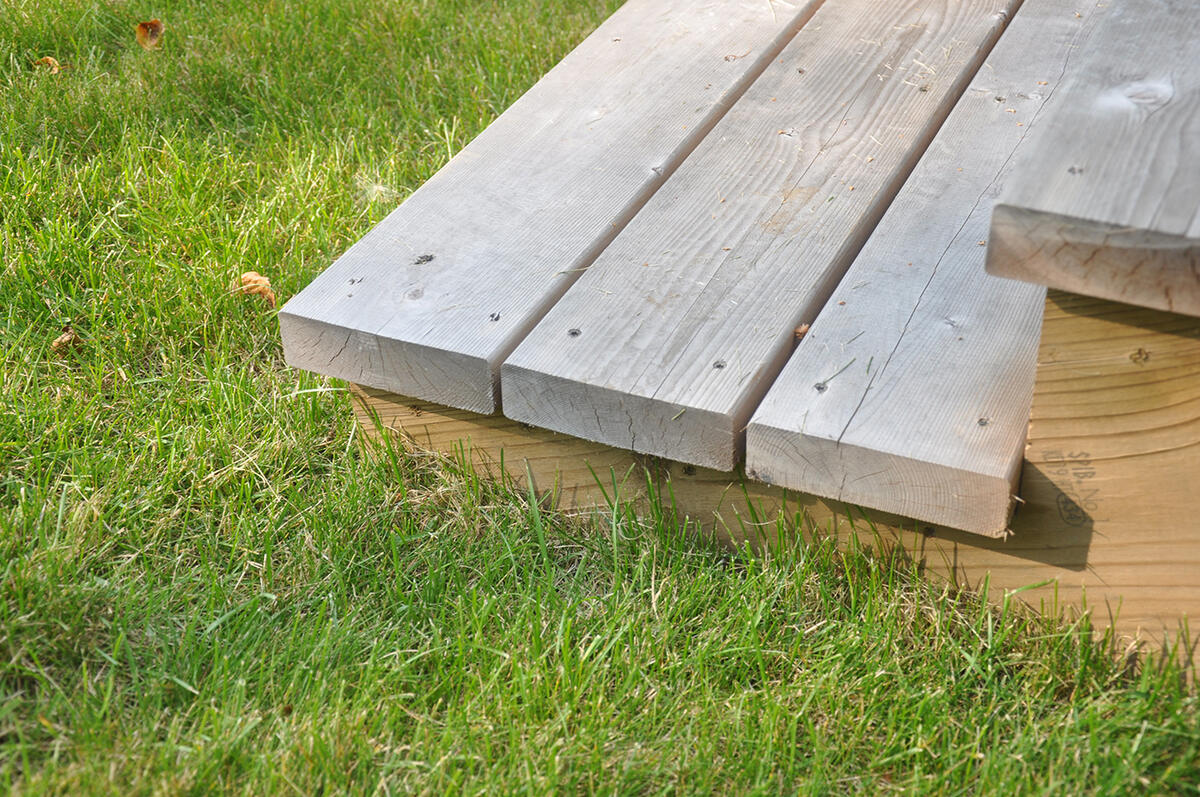
Step 7: Install the Decking Boards
Once you have built the frame of the ramp, the next step is to install the decking boards. These boards will create the surface of the ramp, providing a smooth and sturdy pathway for easy access to your deck.
Follow these steps to install the decking boards:
- Measure and cut the decking boards: Start by measuring the length needed for each decking board. Use a saw to cut the boards to the appropriate length. Ensure that the boards are wide enough to accommodate the required width of the ramp.
- Position the first decking board: Begin at the top of the ramp and align the first decking board with the edge of the frame. Make sure the board is perpendicular to the frame and runs along its entire length.
- Secure the first board: Use screws or nails to secure the first decking board to the frame. Place fasteners at regular intervals along the length of the board, ensuring they penetrate the frame and hold the decking board securely in place.
- Continue installing the decking boards: Repeat the process with the remaining decking boards, positioning them tightly next to each other. Ensure that each board is level and flush with the adjacent board to create a seamless and even surface.
- Leave a gap for expansion: When installing the decking boards, remember to leave a small gap (around 1/8 to 1/4 inch) between each board. This allows for natural wood expansion and contraction due to moisture and temperature changes.
- Trim the final board: Measure and cut the final decking board to fit the remaining space at the bottom of the ramp. Ensure a snug fit and secure it in place.
- Check for stability and alignment: Once all the decking boards are installed, check for stability and alignment. Make sure that the boards are securely fastened and that there are no gaps or uneven areas.
By installing the decking boards properly, you create a smooth and durable surface for your ramp. Take care to properly space and align the boards, ensuring a safe and comfortable pathway for users.
With the decking boards in place, you can now move on to the next step: adding handrails and railing posts, if desired, to enhance the safety of your ramp.
Step 8: Add Handrails and Railing Posts
Handrails and railing posts are important additions to a deck ramp, as they provide an extra layer of safety and support. Adding handrails and railing posts will ensure stability and help prevent accidents, making your ramp accessible to all users.
Here’s how to add handrails and railing posts to your ramp:
- Measure and mark the locations: Determine the placement of the railing posts along the sides of the ramp. Start at the top and bottom of the ramp, and evenly space the additional posts in between. Mark the locations on the ramp frame accordingly.
- Prep the railing posts: Cut the railing posts to the desired height, making sure they align with the required standards and codes for safety. You may need to shape the tops of the posts or add decorative elements if desired.
- Secure the railing posts: Position the railing posts at the marked locations on the ramp frame. Use clamps or temporary fasteners to hold the posts in place. Pre-drill and attach the posts securely to the frame using screws or bolts, ensuring they are plumb and aligned.
- Install handrails: Determine the length of the handrails and cut them accordingly. Attach the handrail brackets to the railing posts at the desired height, ensuring they are level and aligned. Then, attach the handrails securely to the brackets using screws or bolts.
- Check for stability and compliance: Ensure that the handrails and railing posts are securely attached and stable. Wiggle them to ensure there is no significant movement. Double-check that the height of the handrails meets the minimum requirements set by local building codes.
- Add finishing touches: Sand the railing posts and handrails to smooth any rough edges. Apply a weather-resistant finish or paint to protect the wood and enhance the aesthetics of your ramp.
Adding handrails and railing posts to the ramp provides an additional level of safety and support, especially for users with limited mobility. By adhering to safety standards and properly securing the posts and handrails, you can ensure that your ramp is safe and accessible for everyone.
With the handrails and railing posts installed, you are almost finished with your ramp construction. The next step is to complete the final touches and finish the ramp.
Read more: How To Build A Ramp Over Stairs
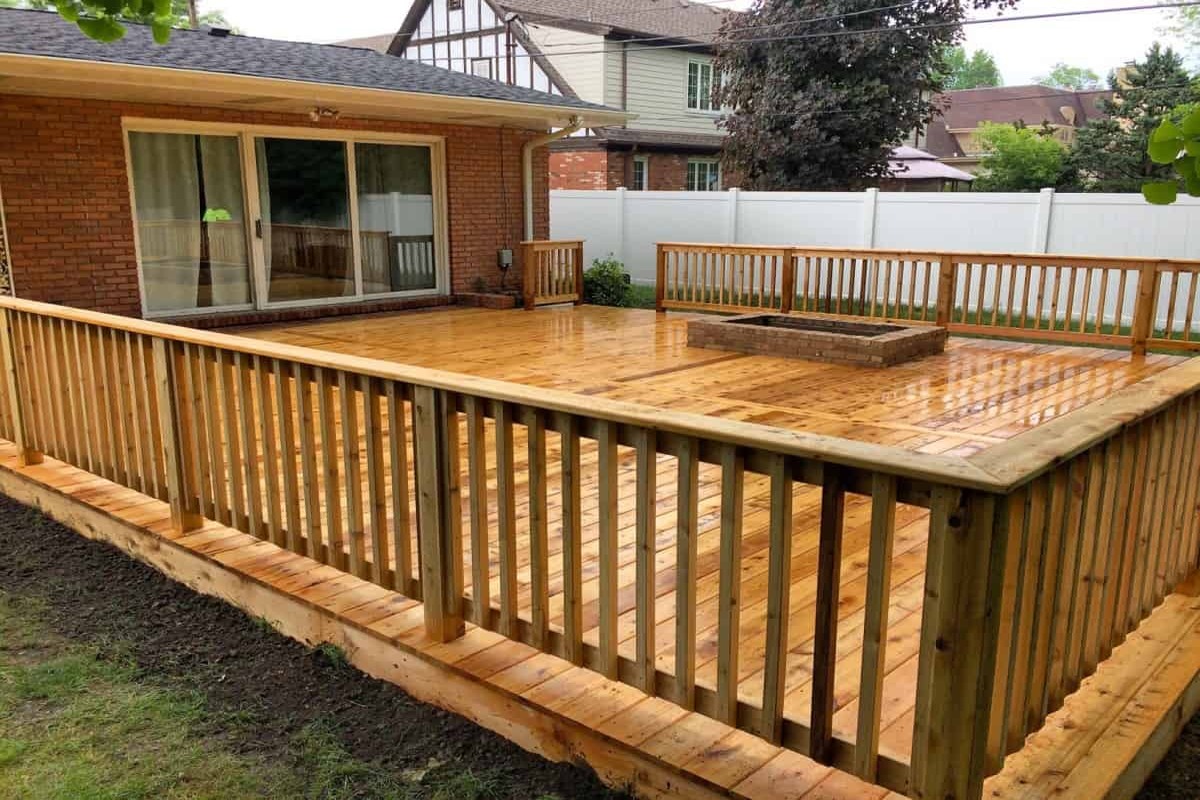
Step 9: Finish the Ramp
Completing the final touches and finishing the ramp is the last step in the construction process. This step involves ensuring the ramp is safe, visually appealing, and ready for use.
Follow these steps to finish the ramp:
- Inspect for any loose connections: Go over the entire ramp, checking for any loose screws, bolts, or connections. Tighten any loose fasteners to ensure the ramp is secure.
- Fill any gaps or cracks: Inspect the decking boards and frame for any gaps, cracks, or splinters. Fill any small gaps or cracks with wood filler and sand them down to create a smooth and even surface. Pay attention to any areas where there may be a risk of tripping or snagging.
- Apply a protective finish: Consider applying a protective finish to the decking boards to enhance their durability and resistance to the elements. Choose a finish that is specifically formulated for exterior wood and follow the manufacturer’s instructions for application.
- Ensure proper drainage: Check that the ramp has proper drainage to prevent water accumulation. If necessary, add additional slope or use a waterproof membrane under the decking boards to redirect water away from the ramp.
- Secure loose cables or wires: If you have any cables or wires running along or near the ramp, make sure they are secured and out of the way to prevent tripping hazards. Use cable clips or conduit to organize and fasten any loose cables.
- Install any additional safety features: Depending on your specific needs, you may want to add additional safety features such as non-slip tape or mats on the ramp surface. These can provide extra traction and reduce the risk of slips and falls.
- Test the ramp’s functionality: Before considering the ramp construction complete, test the functionality of the ramp. Roll a wheelchair or walk up and down the ramp to ensure it can handle the intended use without any issues or concerns.
By completing the final touches and ensuring the ramp is safe and visually appealing, you can enjoy a well-constructed and functional ramp that provides easy access to your deck for all users.
Congratulations! You have successfully completed the construction of your deck ramp. Now, take a moment to appreciate your hard work and enjoy the accessibility and convenience it provides.
Remember, regular maintenance and inspections are essential to ensure the longevity and continued safety of your ramp. Check for any signs of wear and tear, perform routine cleaning, and address any repairs or issues promptly to keep your ramp in pristine condition for years to come.
Conclusion
Building a ramp for your deck is a rewarding project that enhances accessibility and convenience for all users. By following the step-by-step process outlined in this article, you can construct a ramp that is safe, sturdy, and visually appealing.
Throughout the construction process, it’s important to prioritize safety. Familiarize yourself with the building codes and regulations in your area, and ensure that your ramp meets the necessary standards. Taking the time to measure accurately, use quality materials, and secure all components will result in a ramp that is durable, stable, and able to withstand the test of time.
Remember to consider the specific needs of the users when designing and building your ramp. Taking into account factors like slope, width, and handrail placement will ensure maximum accessibility and ease of use for individuals with mobility challenges.
Regular maintenance and inspections are crucial to keep your ramp in optimal condition. Ensure that all connections are secure, address any signs of wear or damage, and keep the surface clean and free of debris. By doing so, you can ensure the longevity and safety of your ramp for years to come.
Building a ramp for your deck not only improves accessibility but also enhances the overall functionality and value of your outdoor space. Whether it’s for personal use or to accommodate guests, you can take pride in knowing that your ramp provides a safe and convenient pathway to your deck and outdoor enjoyment.
Now that you have the knowledge and guidance to build a ramp for your deck, it’s time to get started on this fulfilling project. Gather your materials, tools, and enthusiasm, and begin constructing a ramp that will make your deck more accessible and welcoming to all.
Frequently Asked Questions about How To Build A Ramp For A Deck
Was this page helpful?
At Storables.com, we guarantee accurate and reliable information. Our content, validated by Expert Board Contributors, is crafted following stringent Editorial Policies. We're committed to providing you with well-researched, expert-backed insights for all your informational needs.


0 thoughts on “How To Build A Ramp For A Deck”