Home>Ideas and Tips>DIY Guide: Installing A Storm Door

Ideas and Tips
DIY Guide: Installing A Storm Door
Modified: October 18, 2024
Learn how to install a storm door with our step-by-step DIY guide. Enhance your home's energy efficiency, security, and curb appeal today!
(Many of the links in this article redirect to a specific reviewed product. Your purchase of these products through affiliate links helps to generate commission for Storables.com, at no extra cost. Learn more)
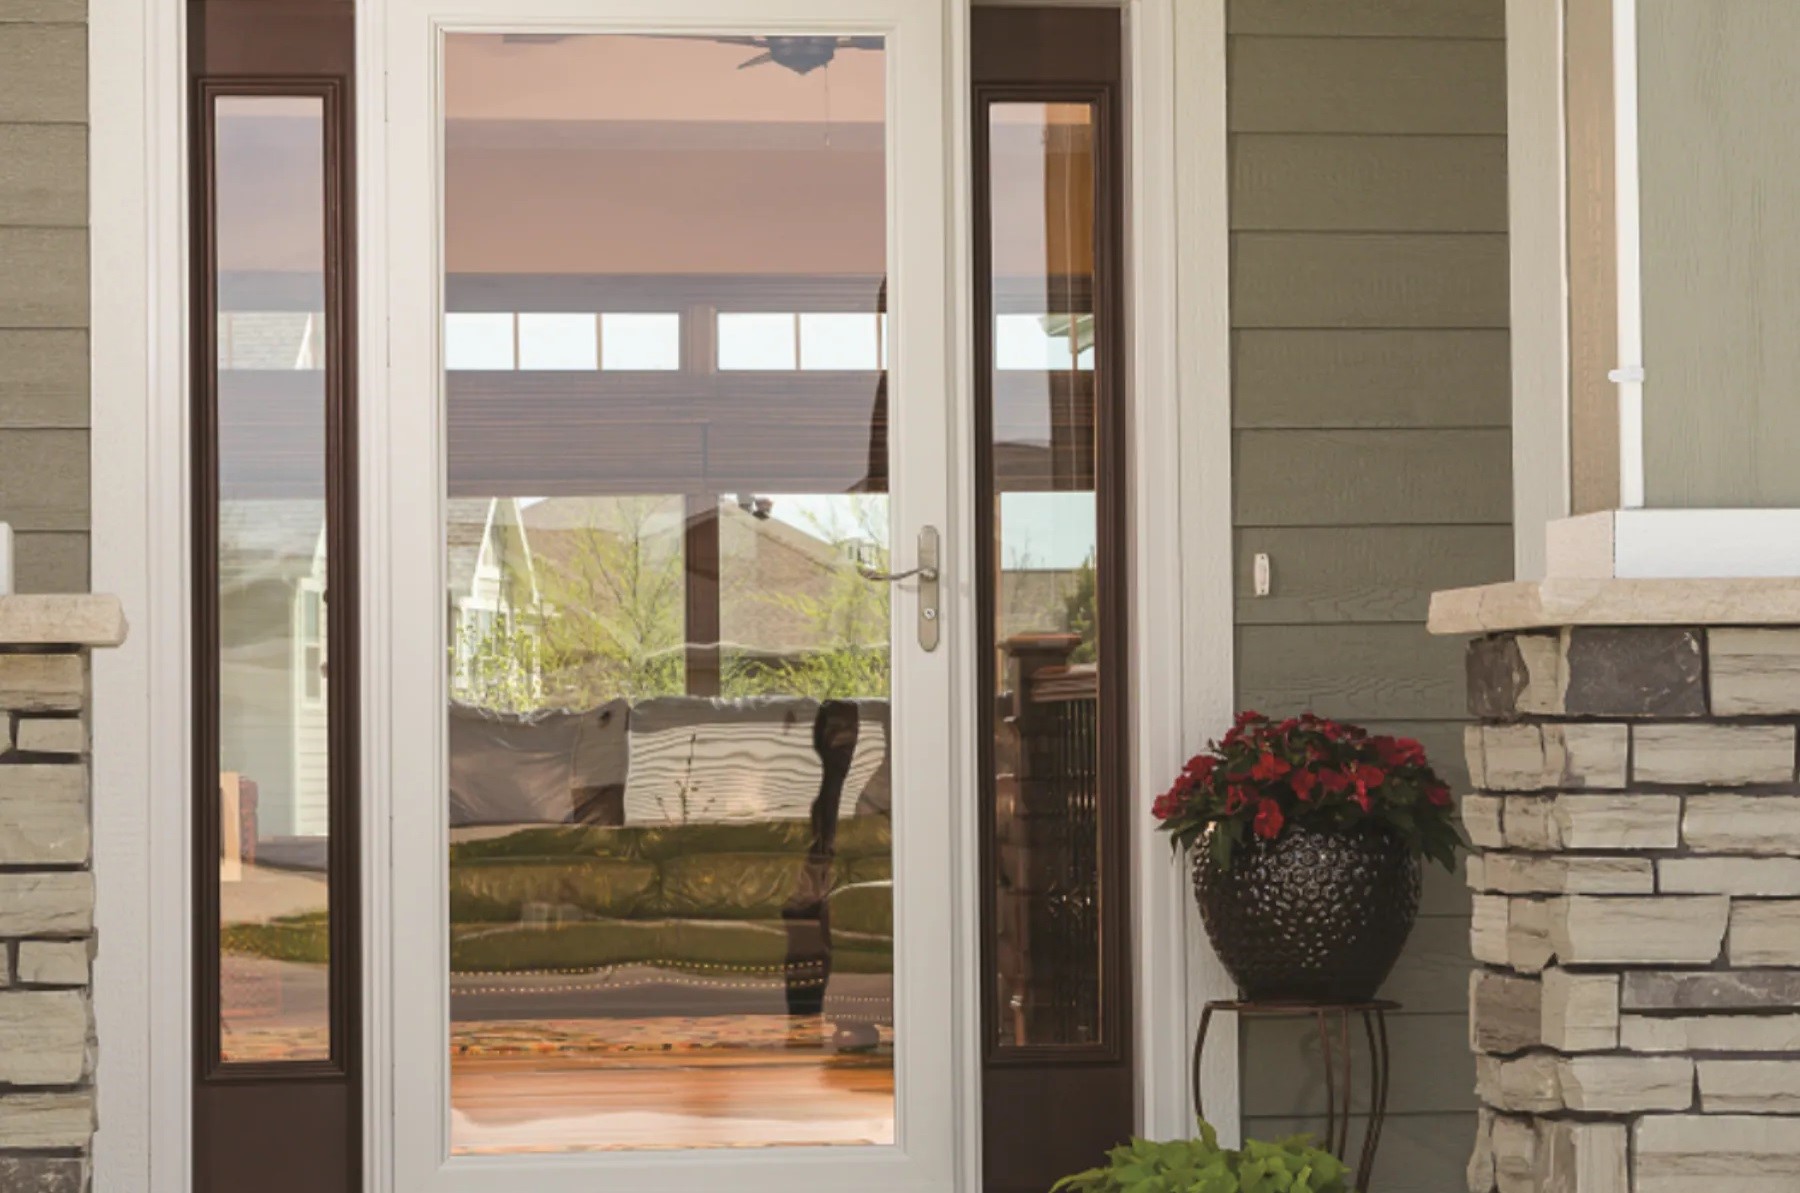
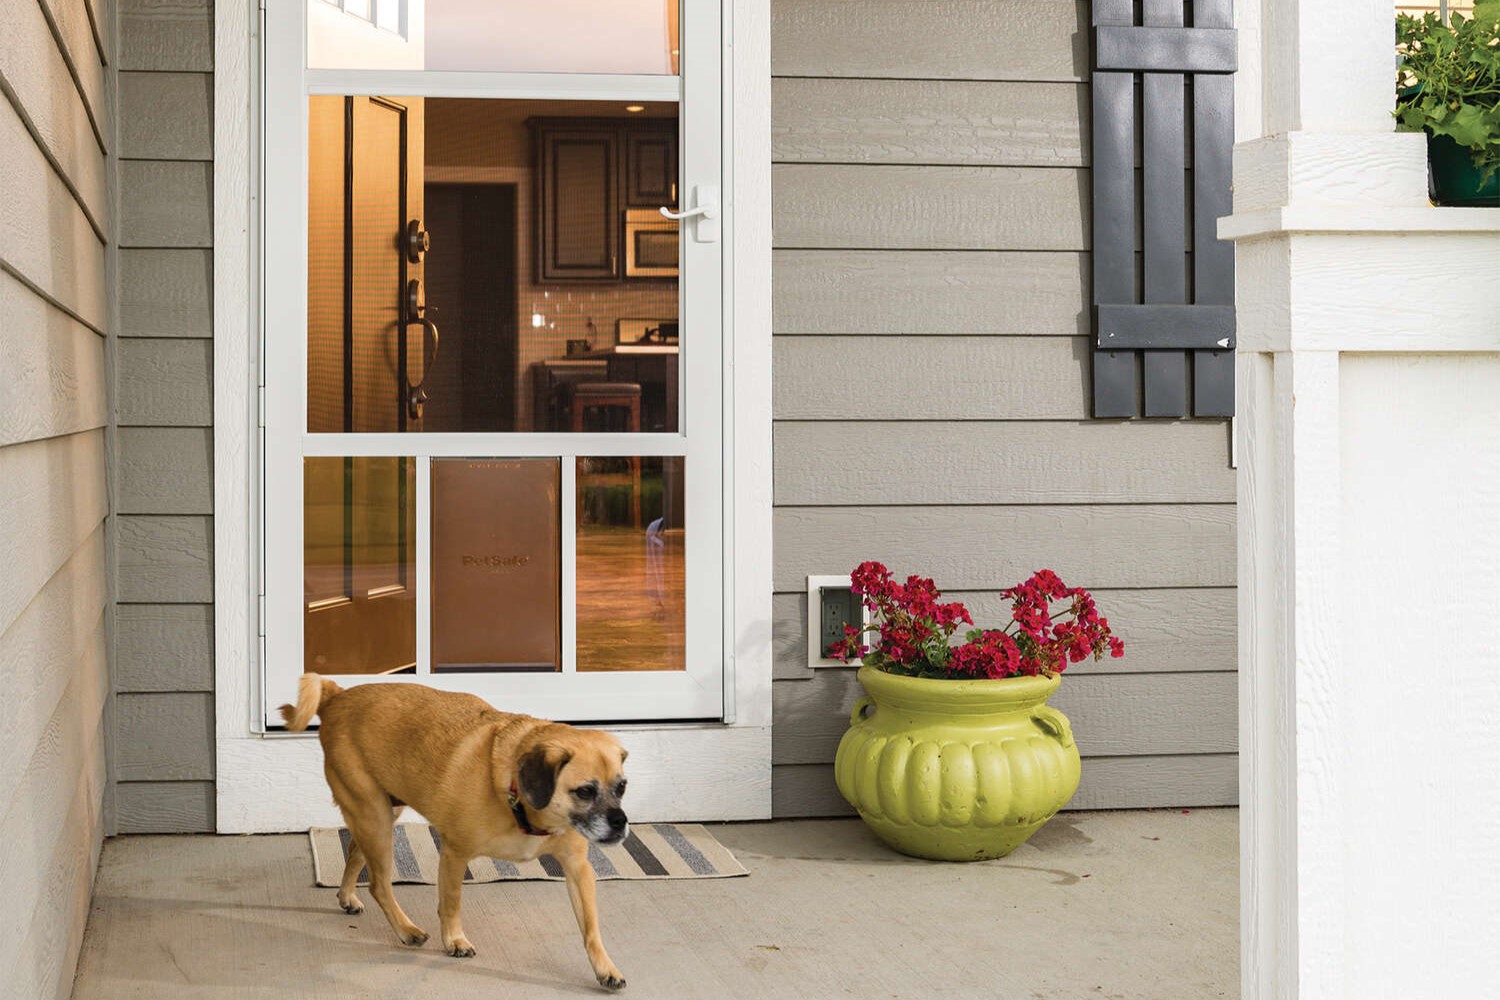
Installing a storm door is a fantastic DIY project that can enhance the functionality and aesthetic appeal of your home. Storm doors offer numerous benefits, including protection from the elements, improved energy efficiency, and increased security. In this comprehensive guide, we will walk you through the steps to install a storm door, ensuring that you can complete the project with ease and confidence.
Why Install a Storm Door?
Before diving into the installation process, let's explore the advantages of having a storm door:
-
Weather Protection: Storm doors act as a barrier against rain, snow, and wind. They help keep your entry door dry and prevent water from seeping into your home, which can cause damage to the door and surrounding areas.
-
Energy Efficiency: By preventing warm air from escaping and cold air from entering, storm doors can significantly reduce energy costs. This is particularly beneficial during extreme weather conditions when heating or cooling your home is essential.
-
Security: Two doors are better than one when it comes to home security. Modern storm doors often come with security features such as bars disguised as decorative scrolls or grillwork, adding an extra layer of protection against break-ins.
-
Customization: Storm doors are available in various materials, designs, and colors, allowing you to customize the look to suit your home's style. They also often come with interchangeable glass panels and window screens, enabling you to adjust the door seasonally.
Read more: Ultimate Guide To Storm Windows
Tools and Materials Needed
To successfully install a storm door, you'll need the following tools and materials:
- Hand Saw or Hack Saw: For cutting the hinge-side Z-bar if necessary.
- Drill: For drilling holes for the latch and installing hardware.
- Drill Bits: Various sizes for drilling through different materials.
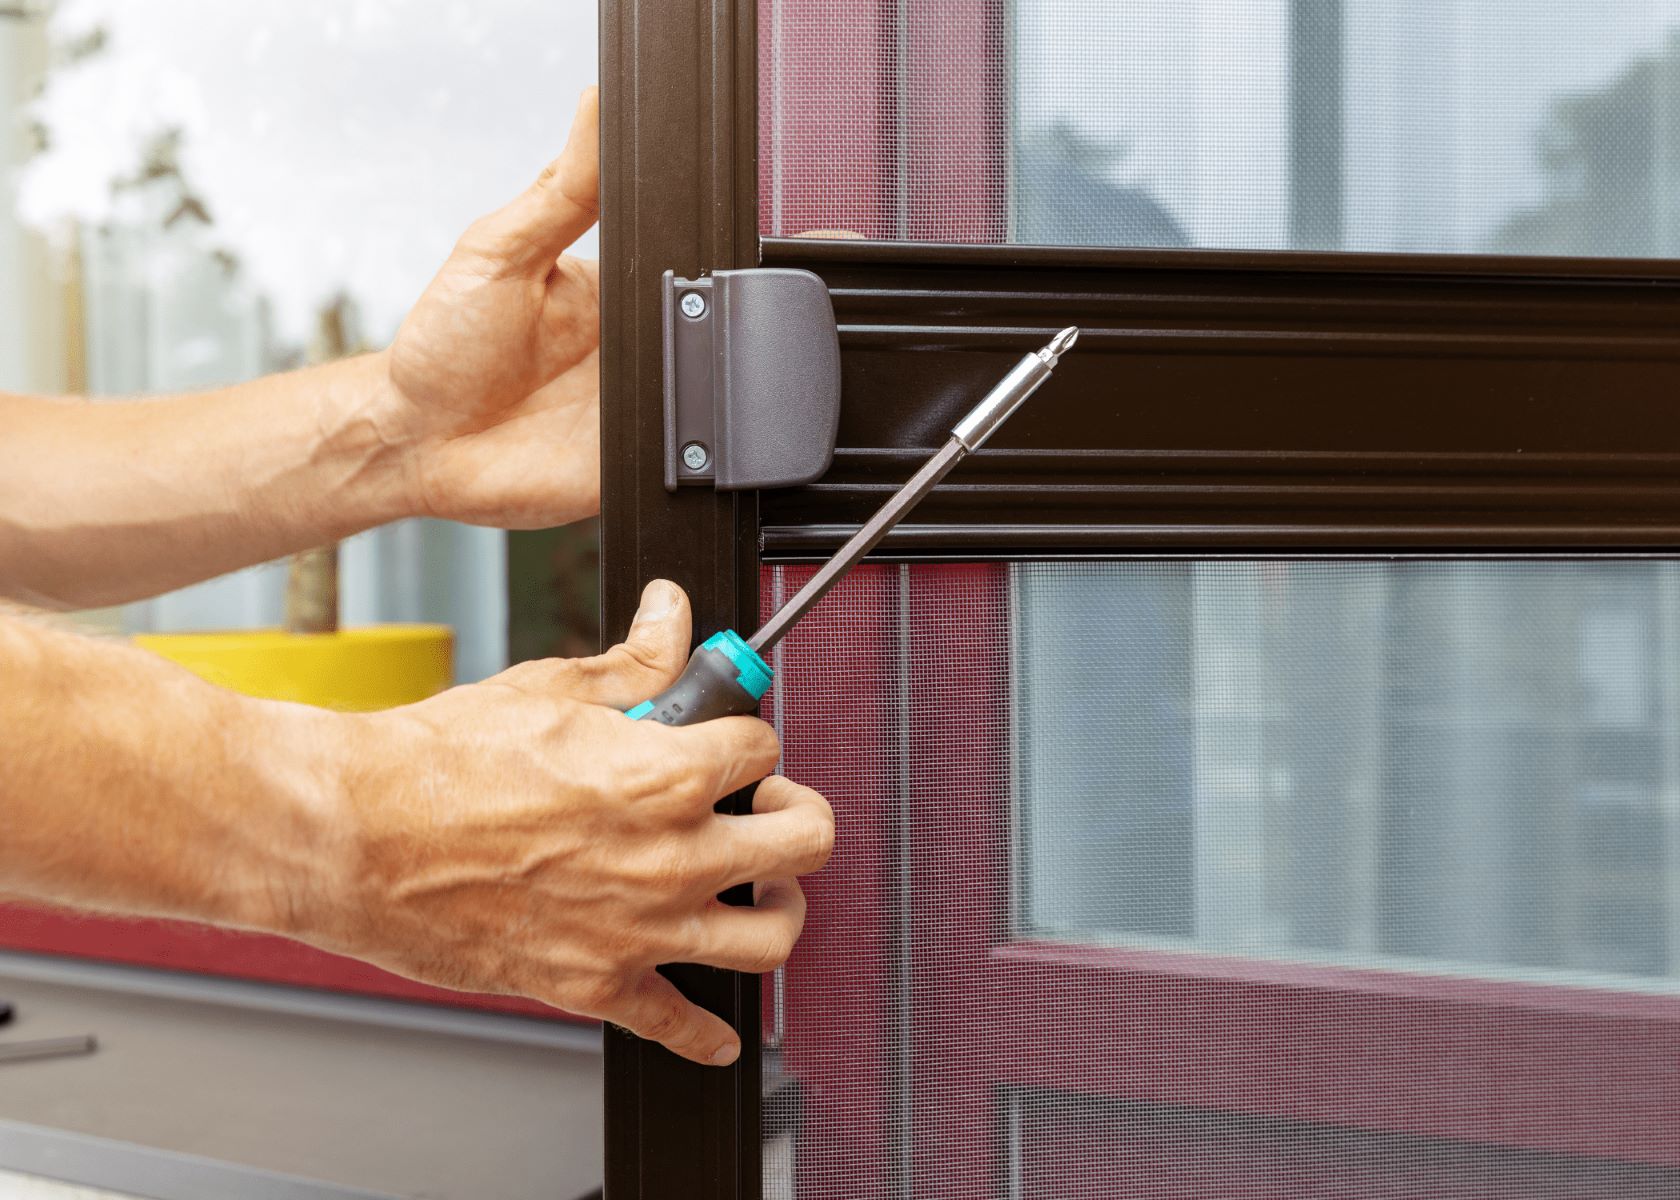
- Phillips-Head Screwdriver: For attaching hardware and screws.
- Safety Glasses: To protect your eyes from debris.
- Prehung Storm Door Kit: In the correct size (typically 30, 32, 34, or 36 inches).
- Extender Kit: If your door frame requires additional support.
- Handles and Locksets: If not included in the kit (follow manufacturer’s instructions).
- Door Sweep Weatherstripping: To seal the gap between the storm door and the floor.
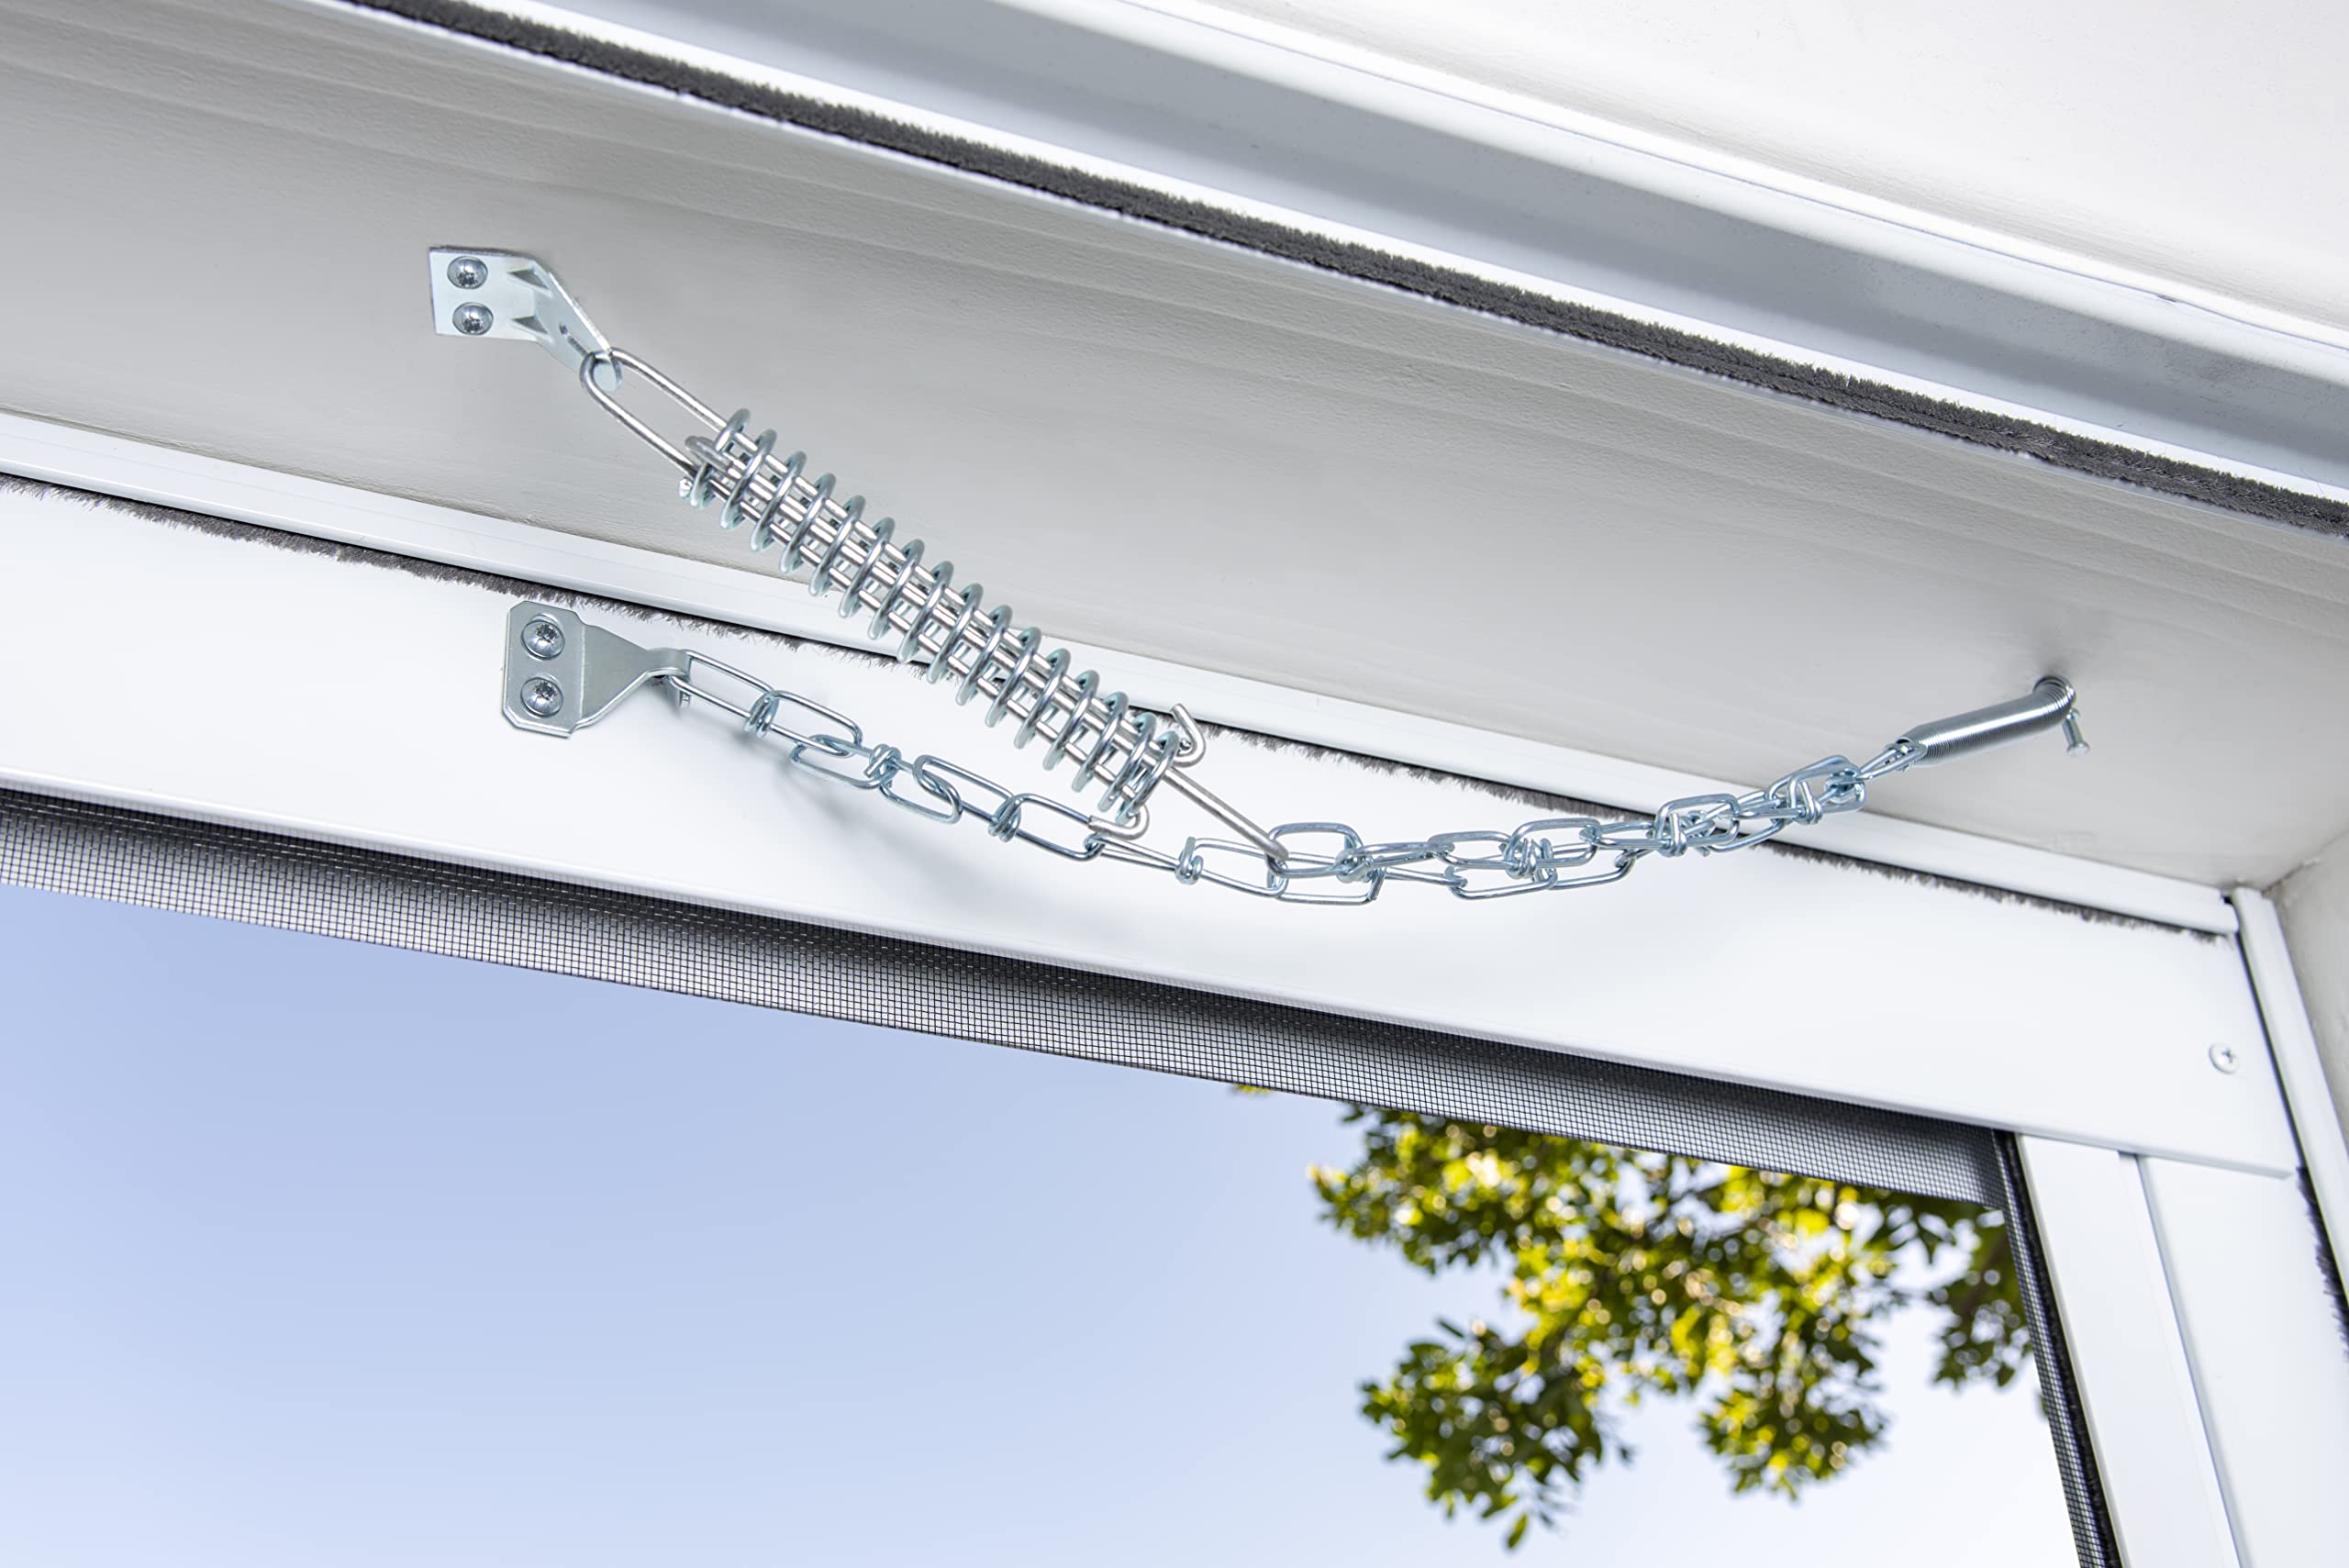
- Door Closer: To adjust the speed of the door closing.
Step-by-Step Installation Guide
Step 1: Measure Your Door Frame
The first step in installing a storm door is to measure your door frame accurately. This ensures that you purchase the correct size of storm door.
- Determine Door Swing Direction: Decide which direction you want the storm door to swing. Most storm doors swing outward because they are installed outside the regular entry door.
- Measure Height: Measure the height of your door frame from the threshold to the top of the door. Take measurements from both sides and in the middle. Use the shortest number.
- Measure Width: Measure the width of the door frame in three places:
- Six inches from the bottom of the frame.
- Six inches from the center of the frame.
- Six inches from the top of the frame.
- Choose Correct Size: Use these measurements to purchase a storm door in the correct size. If your measurements are too far off any standard door, consider custom storm doors for a perfect fit.
Step 2: Attach Rain Cap and Hinge-Side Z-Bar
Once you have your storm door, it's time to attach the rain cap and hinge-side Z-bar:
- Temporarily Attach Rain Cap: Place the rain cap at the top of the door frame, also known as the drip cap. This part is designed to stop rain from entering your home.
- Mark Height: Temporarily attach the rain cap with a screw on the hinge side. Measure from the underside of this cap to mark where it should sit on your hinge-side Z-bar.
- Cut Hinge-Side Z-Bar: Measure from this mark down to where it should sit on your door sill (typically around 1/4 inch gap). Cut along this line with a hand saw or hack saw at a slight slope towards the outside if necessary.
- Attach Hinge-Side Z-Bar: Place this Z-bar against your door opening on its hinge side and secure it with screws provided in your kit.
Read more: DIY Guide To Installing A French Door
Step 3: Hang Storm Door
Now that you've prepared your door frame with both rain cap and hinge-side Z-bar:
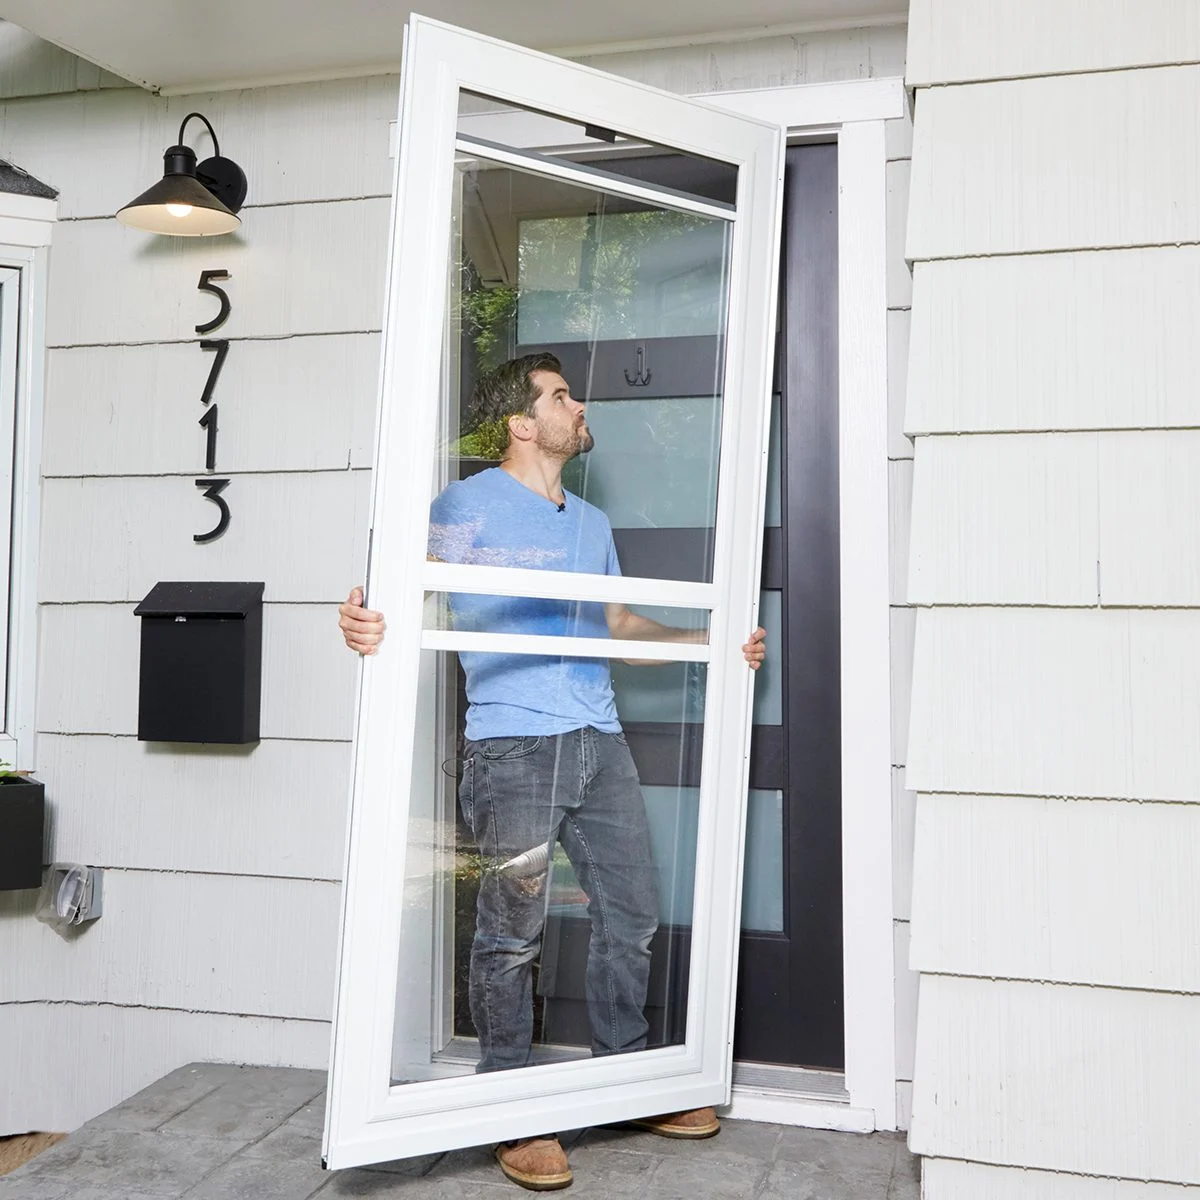
- Position Storm Door: Hang your storm door by placing it over these prepared parts while ensuring proper alignment.
- Secure Placeholders: Hold each hinge tight against its respective placeholder screw in place while driving them in until secure but leaving about an eighth-inch gap between screw head and trim for easy removal later if needed.
- Remove Hinge Rail: Remove any rail covering unused mortise holes before proceeding further steps ahead ensuring smooth operation without any obstructions inside outwards direction only please!
Step 4: Fasten Hinge Rail
After positioning everything correctly now fasten down inside rails along entire length ensuring no gaps left behind otherwise water might seep through causing damage over time eventually leading costly repairs down line later stages too!
- Drill Holes (if necessary): Snap drilling guide onto door frame then drill holes using provided spade bit from both sides carefully avoiding any misalignment issues during process itself!
- Insert Lock Body: Slide lock body into mortise hole fastening securely using screw provided within kit itself If latch isn’t facing right direction simply unscrew front part spinning latch accordingly until aligned properly again afterwards reassembling entire mechanism back together once done successfully completing task at hand here today folks!
Step 5: Install Handle Hardware
Next up installing handle hardware according manufacturer’s instructions provided within packaging materials received initially upon purchase made earlier today folks!
- Face Plates Installation : Place face plates at each side opening pushing handle rod through face plate lock body securing other handle set screw tightly ensuring no movement whatsoever observed during operation phase itself!
- Adjustments Needed : Make necessary adjustments ensuring latch deadbolt extending fully into latch opening without any obstructions present inside outwards direction only please!
Step 6: Install Door Sweeps & Closer
Finally install door sweeps weatherstripping along bottom edge sealing gaps between storm door floor preventing air leaks entering escaping freely outside inside respectively maintaining optimal energy efficiency levels throughout year round basis consistently hereafter onwards always remember folks!
- Trim Excess Lengths : Trim any excess lengths weatherstripping ensuring smooth operation without any obstructions present inside outwards direction only please!
- Screw Bottom Edge : Screw bottom edge firmly onto floor ensuring no movement whatsoever observed during operation phase itself!
- Adjust Closer Speed : Adjust closer speed loosening tightening accordingly until desired speed achieved successfully completing task at hand here today folks!
Read more: Installing A Storm Door
Final Thoughts
Adding a storm door to your home is one quick easy DIY project that can help save energy costs add extra layer security extend lifespan existing entry door by protecting finish longevity overall enhancing overall functionality aesthetic appeal significantly hereafter onwards always remember folks!
By carefully reading following guide installing storm door most homeowners can complete project about four hours relatively short investment time effort paying big benefits years come along way too remember folks always keep mind safety precautions taken while following instructions concepts provided videos tutorials available online today folks!
In conclusion installing storm door simple straightforward process requiring minimal tools materials available most hardware stores home improvement centers today folks With proper measurements preparation execution steps outlined above successfully completing task hand here today folks So go ahead give it try yourself see amazing difference makes overall enhancing home living experience significantly hereafter onwards always remember folks
Was this page helpful?
At Storables.com, we guarantee accurate and reliable information. Our content, validated by Expert Board Contributors, is crafted following stringent Editorial Policies. We're committed to providing you with well-researched, expert-backed insights for all your informational needs.




0 thoughts on “DIY Guide: Installing A Storm Door”