Home>Renovation & DIY>Home Renovation Guides>How To Install A Door Closer On A Storm Door

Home Renovation Guides
How To Install A Door Closer On A Storm Door
Modified: August 16, 2024
Learn how to install a door closer on a storm door with our comprehensive home renovation guide. Upgrade your door with ease!
(Many of the links in this article redirect to a specific reviewed product. Your purchase of these products through affiliate links helps to generate commission for Storables.com, at no extra cost. Learn more)
Introduction
Welcome to our comprehensive guide on installing a door closer on a storm door. A door closer is a vital component of any storm door, as it ensures smooth and controlled closing, enhancing both safety and energy efficiency. Whether you are a seasoned DIY enthusiast or a novice looking to tackle your first home improvement project, this step-by-step tutorial will equip you with the knowledge and confidence to successfully install a door closer on your storm door.
By following our detailed instructions and tips, you'll be able to complete this project with ease, adding functionality and security to your home while also boosting its aesthetic appeal. So, grab your tools and let's get started on this rewarding home renovation journey!
Key Takeaways:
- Enhance safety and energy efficiency by installing a door closer on your storm door. Follow our guide for a rewarding DIY home improvement project.
- Achieve smooth and controlled closing while boosting security and aesthetic appeal with a properly installed and adjusted door closer.
Read more: Installing A Storm Door
Tools and Materials
Before embarking on the installation process, it’s essential to gather the necessary tools and materials. Here’s what you’ll need:
Tools:
- Measuring tape
- Power drill
- Screwdriver
- Pencil
- Adjustable wrench
- Hacksaw (if the closer needs to be trimmed to fit)
Materials:
- Door closer kit (including the closer, mounting bracket, and screws)
- Self-tapping screws
- Lubricating oil
Ensuring that you have all the required tools and materials at the outset will streamline the installation process and minimize interruptions. Once you’ve gathered everything on the list, you’ll be fully prepared to proceed with confidence.
Step 1: Measure and Mark
Prior to installing the door closer, it’s crucial to accurately measure and mark the mounting locations. This initial step sets the foundation for a secure and functional installation. Here’s how to proceed:
Begin by identifying the appropriate placement for the door closer. Typically, it is installed on the door jamb, positioned parallel to the door. Using a measuring tape and a pencil, mark the spots where the mounting bracket and the door closer will be attached.
Next, ensure that the door closer is aligned with the door frame and the door itself. This alignment is essential for the proper operation of the door closer, as it enables smooth and controlled closing without any obstructions or misalignments. Take your time with this step to guarantee precise measurements and markings.
Once you’ve marked the mounting locations, double-check the alignment and measurements before proceeding to the next step. Accuracy at this stage will contribute to a seamless installation process and long-term functionality of the door closer.
By meticulously measuring and marking the mounting locations, you’re laying the groundwork for a successful installation, setting the stage for the next steps in the process. With this crucial step completed, you’re ready to move on to attaching the mounting bracket.
Read more: How To Install A Larson Storm Door
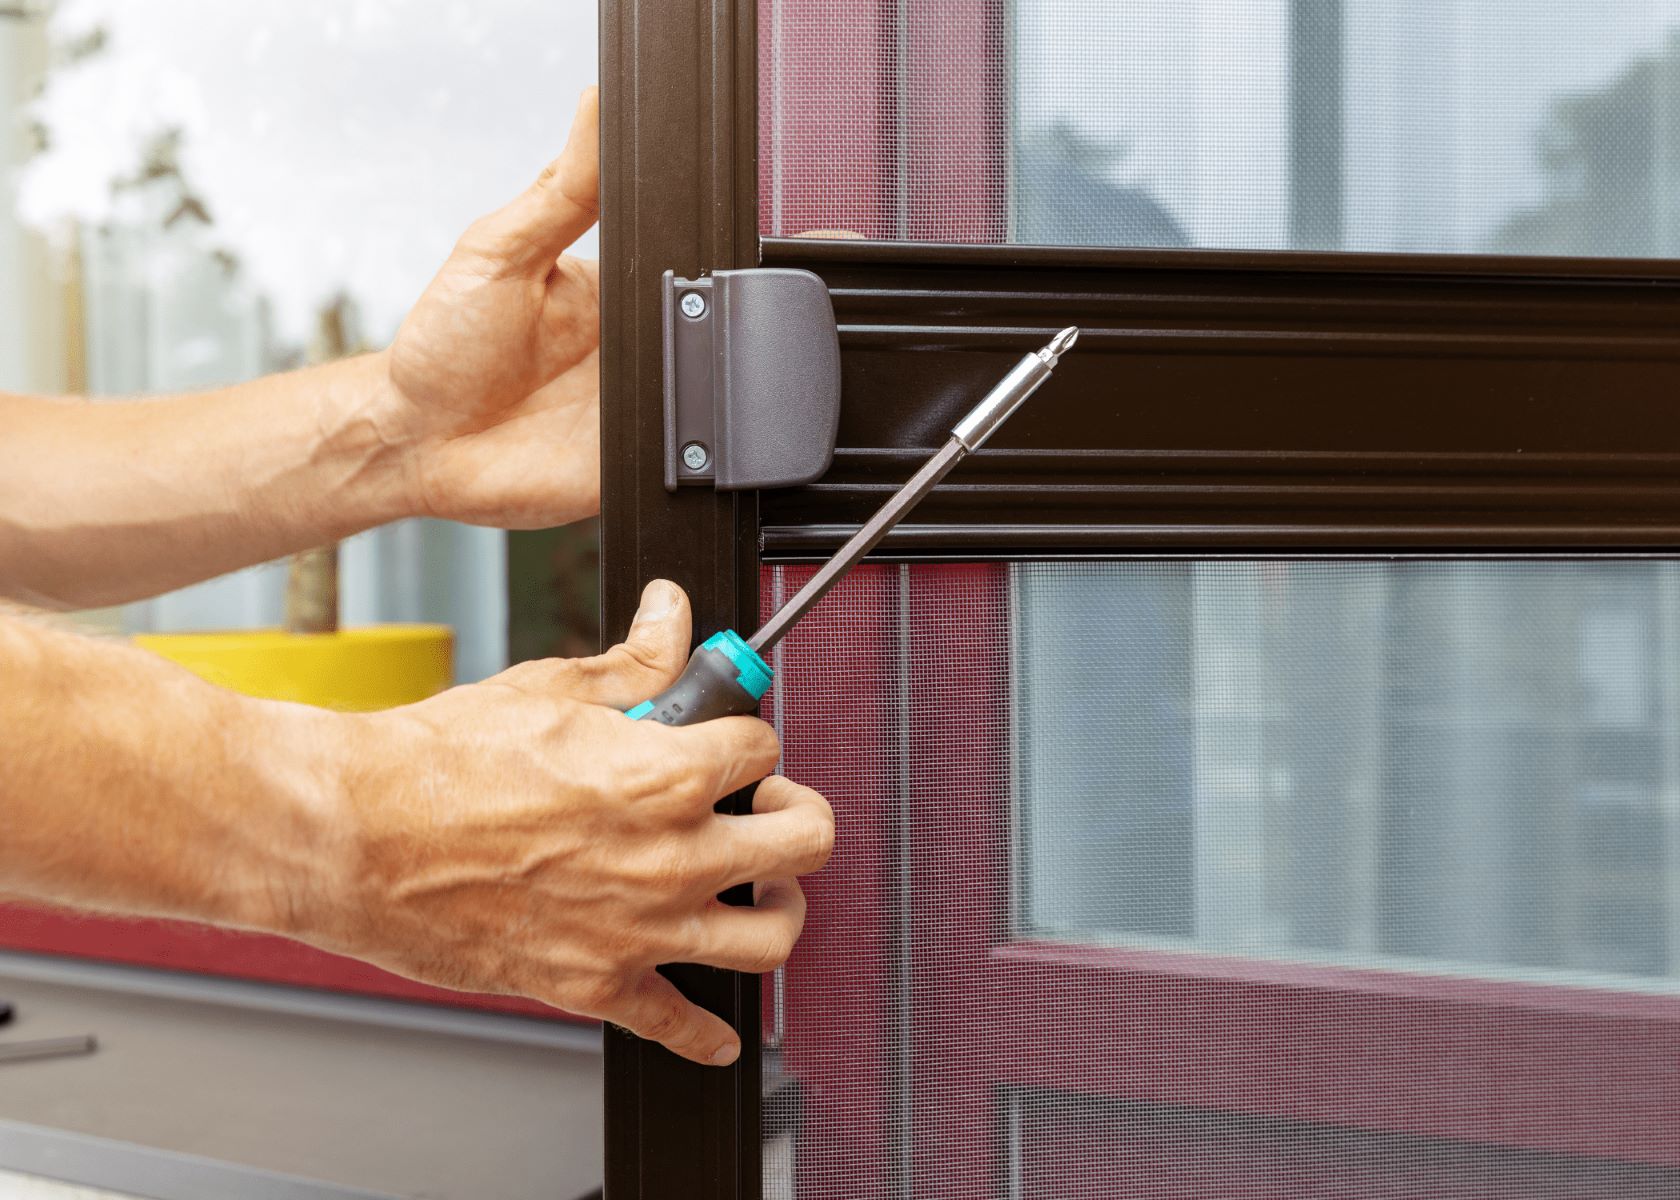
Step 2: Attach Mounting Bracket
With the mounting locations accurately marked, it’s time to proceed with attaching the mounting bracket for the door closer. The mounting bracket serves as the anchor point for the door closer, ensuring its stability and functionality. Follow these steps to securely attach the mounting bracket:
Using a power drill and the provided screws, affix the mounting bracket to the door jamb at the marked location. Ensure that the bracket is level and tightly secured to the surface, as it will bear the weight and stress of the door closer during operation.
Once the mounting bracket is firmly in place, verify that it is aligned with the markings made during the previous step. This alignment is crucial for the optimal performance of the door closer, as any misalignment can lead to operational issues and premature wear.
If the door closer kit includes a template for the mounting bracket, make use of it to ensure precise positioning and alignment. Following the provided guidelines will help streamline the installation process and contribute to a professional and reliable outcome.
After attaching the mounting bracket, give it a gentle tug to confirm its sturdiness. A securely fastened mounting bracket is essential for the safe and effective operation of the door closer, providing peace of mind and long-lasting performance.
With the mounting bracket securely in place, you’ve completed a critical stage of the installation process, laying the groundwork for the next steps. The door closer is now ready to be installed onto the mounting bracket, bringing you one step closer to a fully functional and secure storm door.
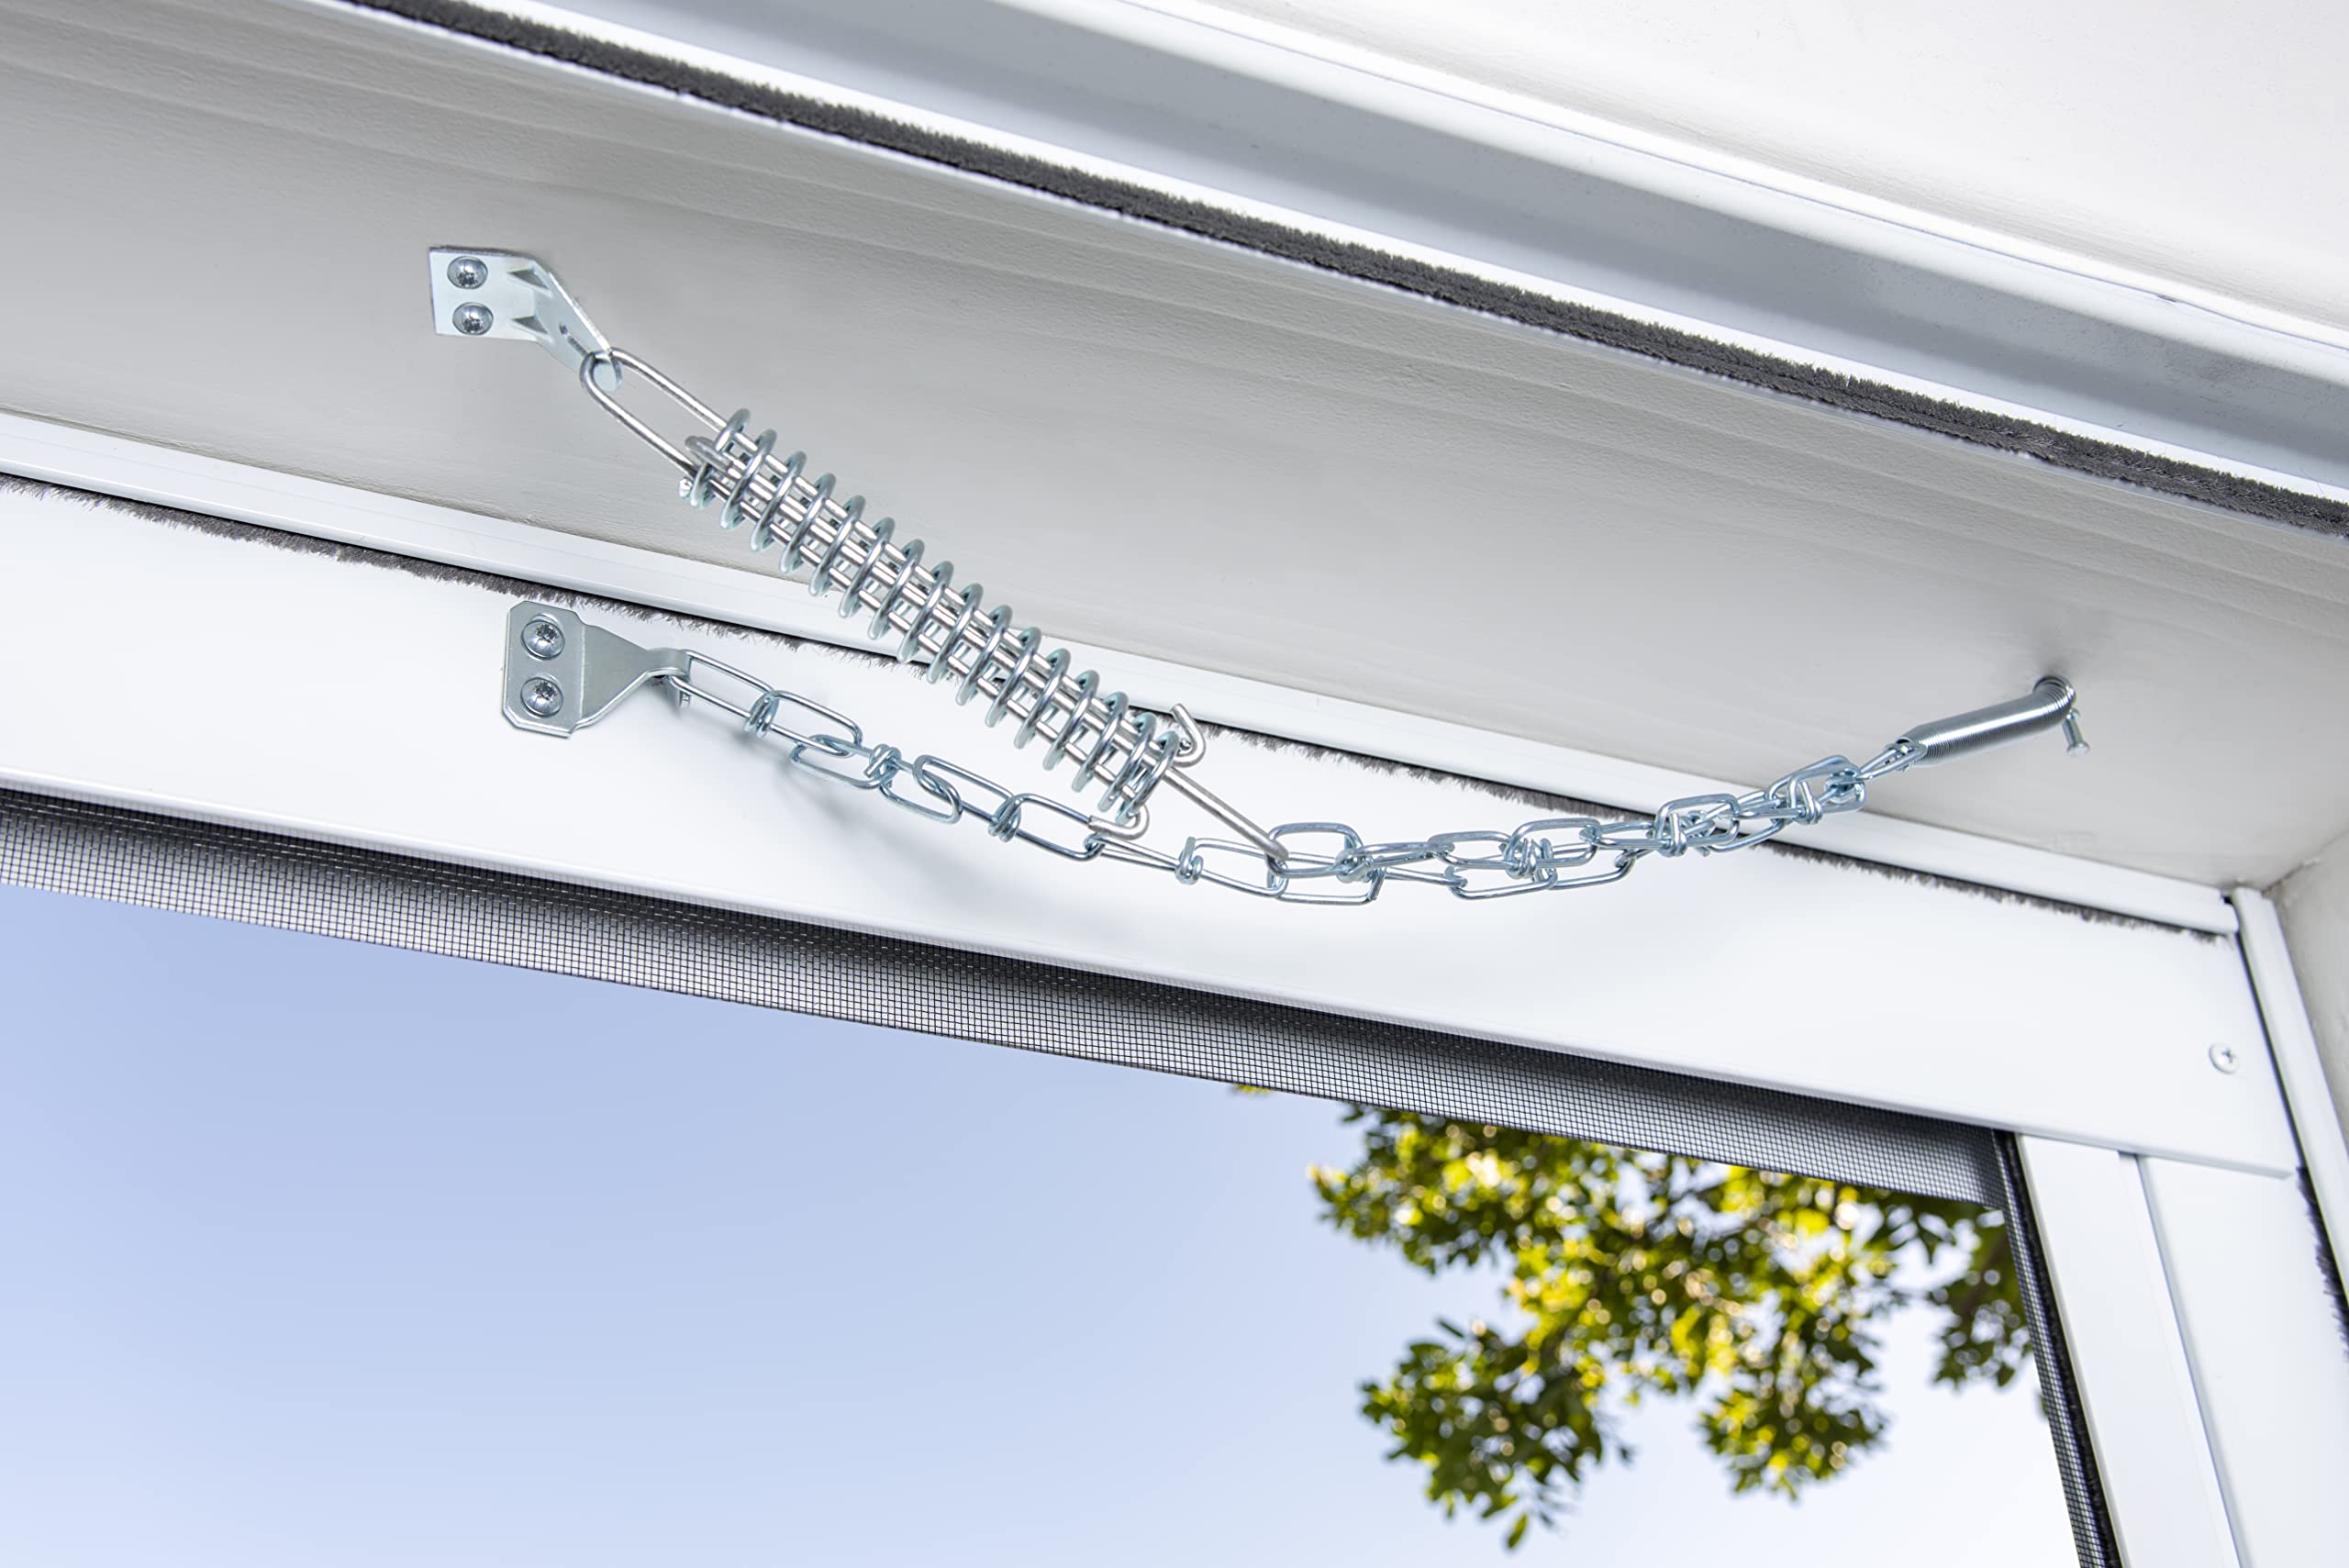
Step 3: Install Door Closer
Now that the mounting bracket is securely attached, it’s time to proceed with installing the door closer onto the door and the mounting bracket. This pivotal step brings you closer to the completion of the installation process. Follow these instructions to effectively install the door closer:
Begin by positioning the door closer at the designated spot on the storm door. Ensure that it aligns with the mounting bracket on the door jamb, allowing for a smooth and controlled closing motion. The closer should be positioned in a manner that facilitates efficient operation without obstructing the door’s movement.
With the door closer in place, use the provided screws to attach it to the storm door. Take care to fasten the screws securely, ensuring that the door closer is firmly affixed to the door. This step is crucial for the stability and functionality of the door closer, contributing to its long-term reliability.
Once the door closer is securely installed, double-check its alignment and positioning. It should operate smoothly without any resistance or misalignment. This attention to detail ensures that the door closer functions optimally, providing the desired controlled closing action for the storm door.
If the door closer requires trimming to fit the specific dimensions of your storm door, use a hacksaw to carefully adjust its length. Take precise measurements and exercise caution during this process to avoid any damage to the door closer. Once trimmed, ensure that the closer fits seamlessly onto the storm door and aligns with the mounting bracket.
With the door closer successfully installed, you’ve reached a significant milestone in the installation process, bringing you closer to the final steps of adjusting the tension and testing the door closer. The storm door is now equipped with a vital component that enhances its functionality and security, setting the stage for the next phase of the installation.
When installing a door closer on a storm door, make sure to carefully follow the manufacturer’s instructions for proper placement and installation. This will ensure that the door closer functions correctly and provides the desired level of security and convenience.
Step 4: Adjust Tension
After installing the door closer, it’s essential to adjust the tension to ensure that the storm door closes smoothly and securely. Proper tension adjustment is key to the optimal performance of the door closer. Follow these steps to adjust the tension effectively:
Locate the adjustment screw or valve on the door closer. This mechanism allows for the fine-tuning of the tension, regulating the speed and force at which the door closes. Depending on the specific model of the door closer, the adjustment feature may be located at the top, bottom, or side of the closer body.
Using a screwdriver or the provided adjustment tool, turn the adjustment screw or valve in the appropriate direction to achieve the desired tension. Clockwise rotation typically increases the tension, slowing down the door’s closing speed, while counterclockwise rotation reduces the tension, allowing for a faster closing action. Begin with small adjustments and test the door’s closing motion after each tweak to gauge the impact of the changes.
It’s important to strike a balance when adjusting the tension, aiming for a controlled and gradual closing of the storm door. The ideal tension setting ensures that the door closes securely without slamming shut or lingering open, offering convenience and safety for everyday use.
After making adjustments, observe the door’s closing motion to assess the tension’s effectiveness. Pay attention to the door’s speed and the force exerted during closing, making further adjustments as needed to achieve the desired closing action.
By carefully adjusting the tension, you’re fine-tuning the performance of the door closer, optimizing its functionality for smooth and controlled door operation. With the tension properly adjusted, the storm door is poised to deliver reliable and secure closing, enhancing both convenience and safety for household members and visitors.
Step 5: Test the Door Closer
With the door closer installed and the tension adjusted, it’s time to put it to the test to ensure that it operates as intended. Testing the door closer is a critical final step in the installation process, allowing you to verify its functionality and make any necessary adjustments. Follow these steps to effectively test the door closer:
Open the storm door to its maximum extent, then release it to observe the door closer in action. Take note of the door’s closing speed and the force exerted as it nears the fully closed position. The door should close smoothly and securely, without any abrupt slamming or hesitation.
Observe the door closer’s performance from both the exterior and interior sides of the door to ensure that it operates consistently and reliably from all vantage points. This comprehensive assessment provides valuable insights into the door closer’s functionality and any potential adjustments that may be required.
If the door closes too quickly or with excessive force, consider adjusting the tension to slow down the closing speed. Conversely, if the door closes too slowly or struggles to reach the fully closed position, fine-tune the tension to achieve the desired closing action. Make incremental adjustments and test the door’s closing motion after each tweak to gauge the impact of the changes.
During the testing phase, pay attention to any unusual sounds or resistance in the door’s closing motion, as these may indicate issues that require attention. The door closer should operate quietly and smoothly, providing a seamless closing experience without any disruptions or irregularities.
By thoroughly testing the door closer, you’re ensuring that it meets the performance standards expected of this essential component. Any necessary adjustments made during the testing phase contribute to the optimal functionality of the door closer, setting the stage for long-term reliability and convenience.
With the door closer successfully installed, adjusted, and tested, you’ve completed the installation process, equipping your storm door with a vital component that enhances both security and convenience. By following this comprehensive guide, you’ve empowered yourself to tackle this home improvement project with confidence, achieving a rewarding outcome that elevates the functionality and appeal of your home.
Read more: How To Install A Dog Door In A Storm Door
Conclusion
Congratulations on successfully completing the installation of a door closer on your storm door! By following the detailed steps outlined in this guide, you’ve equipped your home with a valuable enhancement that promotes safety, energy efficiency, and convenience. As you reflect on this accomplishment, consider the following key points:
First and foremost, the proper installation of a door closer contributes to the security and functionality of your storm door. With a smoothly controlled closing action, the door closer enhances the overall safety of your home, providing peace of mind for you and your family.
Additionally, the careful adjustment of the door closer’s tension ensures that the storm door closes securely and efficiently, minimizing drafts and optimizing energy conservation. This not only benefits your household’s comfort but also contributes to cost savings by reducing energy consumption.
Furthermore, the successful installation of a door closer represents a significant step in your journey as a DIY enthusiast. By taking on this project and seeing it through to completion, you’ve honed your skills and gained valuable experience in home improvement, setting the stage for future successful endeavors.
As you enjoy the enhanced functionality and security of your storm door, take pride in the knowledge that you’ve successfully tackled a meaningful home renovation project. Your dedication to this endeavor has not only enriched your living space but has also empowered you to take on new challenges with confidence and skill.
Thank you for entrusting us to guide you through this installation process. We hope this comprehensive tutorial has provided you with the knowledge and inspiration to embark on future home improvement projects, enriching your living environment and enhancing your sense of accomplishment.
With the completion of this project, your storm door now stands as a testament to your dedication and capability as a homeowner. Embrace the enhanced functionality and security it offers, knowing that you’ve made a valuable and lasting improvement to your home.
Frequently Asked Questions about How To Install A Door Closer On A Storm Door
Was this page helpful?
At Storables.com, we guarantee accurate and reliable information. Our content, validated by Expert Board Contributors, is crafted following stringent Editorial Policies. We're committed to providing you with well-researched, expert-backed insights for all your informational needs.


0 thoughts on “How To Install A Door Closer On A Storm Door”