Home>Renovation & DIY>Home Renovation Guides>How Long To Install A Storm Door
Home Renovation Guides
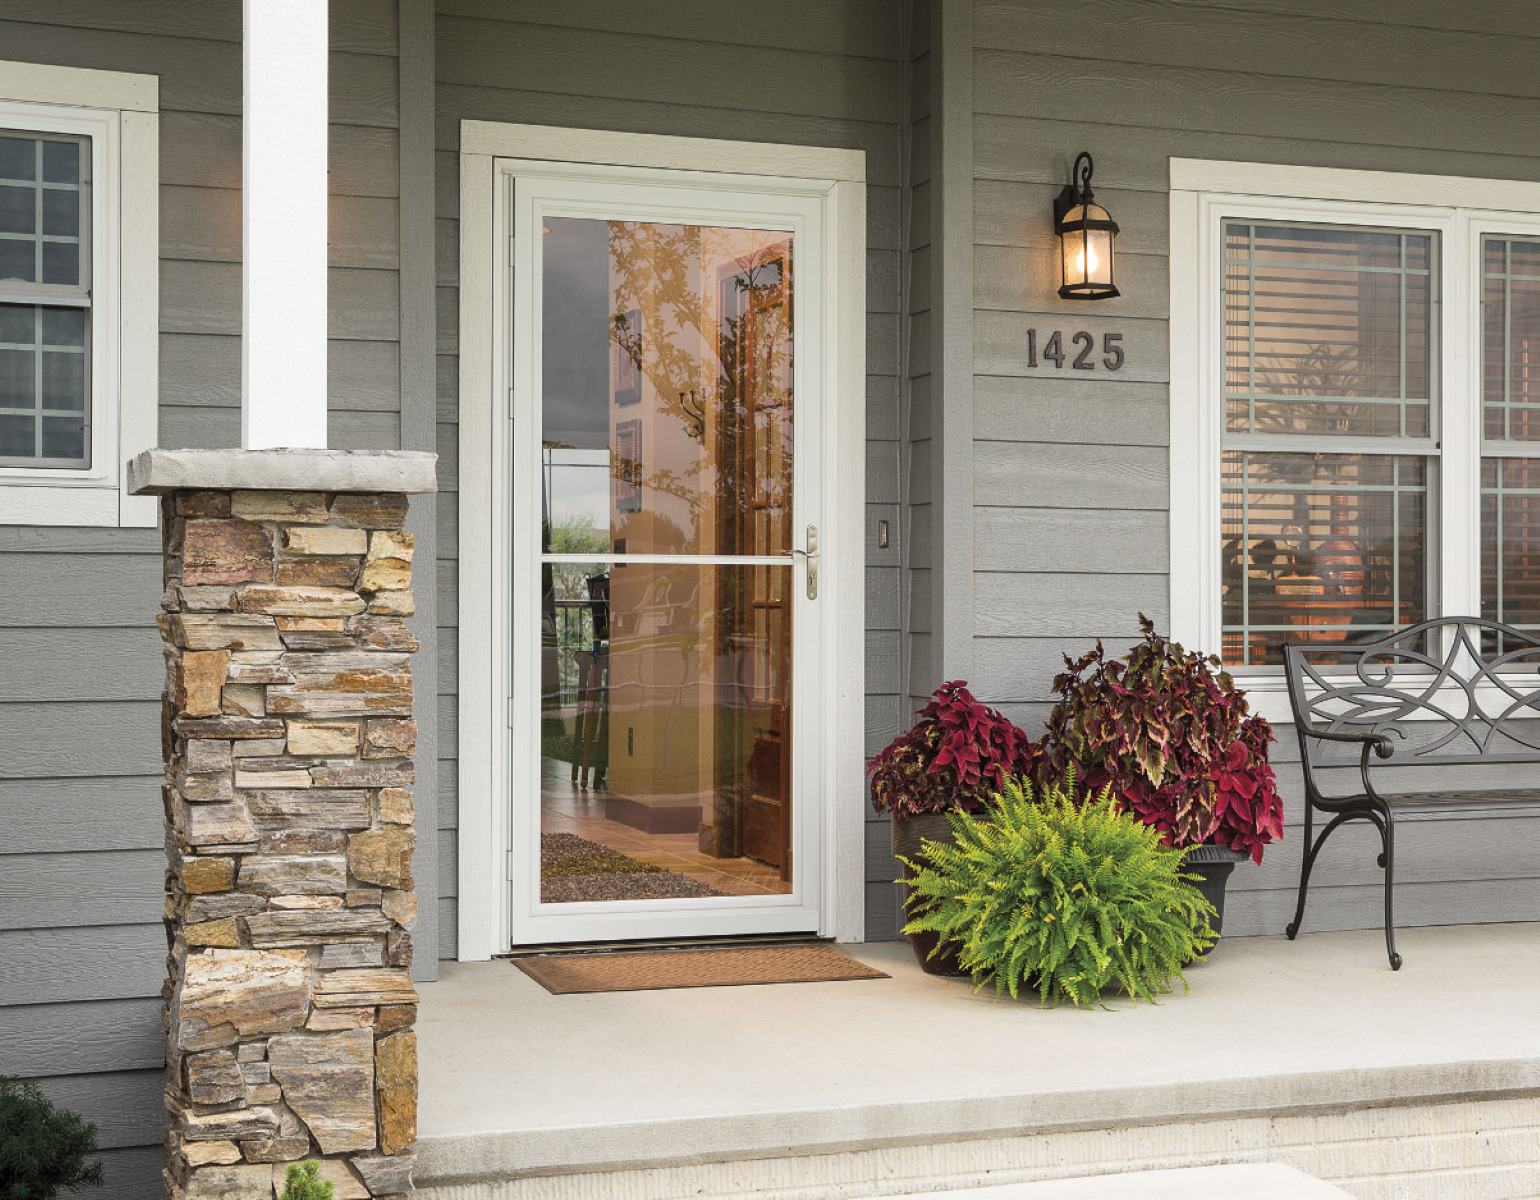
How Long To Install A Storm Door
Modified: August 24, 2024
Learn how long it takes to install a storm door with our comprehensive home renovation guide. Get expert tips and advice for a smooth installation process.
(Many of the links in this article redirect to a specific reviewed product. Your purchase of these products through affiliate links helps to generate commission for Storables.com, at no extra cost. Learn more)
Introduction
Welcome to our comprehensive guide on installing a storm door! Whether you're a seasoned DIY enthusiast or a first-time homeowner looking to spruce up your entryway, installing a storm door can be a rewarding and relatively straightforward project. A storm door not only enhances the aesthetic appeal of your home but also provides added protection against the elements, improves energy efficiency, and allows for better ventilation.
In this guide, we'll walk you through the process of installing a storm door, covering everything from the time it typically takes to complete the installation to the essential tools and materials you'll need. We'll also provide you with a step-by-step guide to ensure a smooth and successful installation. Additionally, we'll share some valuable tips to help you avoid common pitfalls and make the installation process as seamless as possible.
So, if you're ready to elevate your home's curb appeal and functionality while gaining valuable DIY skills along the way, let's dive into the factors that can impact the time required for installing a storm door.
Key Takeaways:
- Installing a storm door can take varying amounts of time, influenced by factors like experience level, door complexity, and unforeseen challenges. Adequate preparation and attention to detail are crucial for a smooth installation process.
- Gathering the right tools and materials, enlisting a helper, and prioritizing safety are essential for a successful storm door installation. Following the step-by-step guide and valuable tips can lead to a professionally installed storm door that enhances your home’s functionality and visual appeal.
Read more: Installing A Storm Door
Factors Affecting Installation Time
Several factors can influence the time it takes to install a storm door. Understanding these factors can help you better plan for the installation and manage your expectations regarding the timeline. Here are the key elements that can impact the installation duration:
- Experience Level: The level of experience you have with DIY projects, particularly those involving home renovations, can significantly affect the installation time. If you’re a novice, you may need to allocate more time to familiarize yourself with the process and ensure that each step is carried out accurately. On the other hand, seasoned DIYers may complete the installation more efficiently.
- Preparation: Adequate preparation, including measuring the door opening, ensuring the door frame is level and plumb, and gathering all necessary tools and materials, can streamline the installation process. Insufficient preparation may lead to delays as you address unforeseen issues along the way.
- Complexity of the Door: The complexity of the storm door itself can impact the installation time. Some doors come with pre-assembled components, while others may require more intricate assembly and adjustments. Additionally, the presence of advanced features, such as built-in retractable screens or elaborate hardware, can add to the installation duration.
- Assistance: Installing a storm door is often a two-person job, especially when handling larger and heavier doors. Having a helper can expedite the process and ensure that certain steps, such as lifting and aligning the door, are carried out safely and efficiently.
- Unforeseen Challenges: As with any home improvement project, unexpected challenges may arise during the installation. These could include issues with the door frame, discrepancies in measurements, or the need to make additional adjustments to ensure a proper fit. Addressing these challenges may extend the overall installation time.
By considering these factors, you can better assess the time required for installing a storm door and make the necessary preparations to facilitate a smooth and efficient installation process.
Tools and Materials Needed
Before embarking on the installation of a storm door, it’s essential to gather the necessary tools and materials to ensure a successful and hassle-free process. Here’s a comprehensive list of the items you’ll need:
Tools:
- Tape Measure: Essential for taking accurate measurements of the door opening and the storm door itself.
- Level: Ensures that the door frame is plumb and level, facilitating proper installation.
- Screwdriver (Phillips and Flathead): Used for securing screws and fastening various components.
- Drill and Bits: Necessary for pre-drilling holes and driving screws into the door frame.
- Utility Knife: Useful for trimming weatherstripping and removing excess material.
- Safety Glasses and Gloves: Provide protection during the installation process.
- Hammer: May be needed for minor adjustments and tapping components into place.
Materials:
- Storm Door Kit: Ensure you have the complete door kit, including the door slab, frame, hinges, handle set, and necessary hardware.
- Screws and Fasteners: Typically included in the door kit, but extras may be required based on the specific installation requirements.
- Shims: Used to adjust the door frame and ensure proper alignment and fit.
- Expanding Foam Insulation: Helps seal gaps between the door frame and the wall, enhancing energy efficiency.
- Silicone Caulk: Used for sealing gaps and preventing water infiltration around the door frame.
- Finishing Materials: Depending on the door design, you may need paint or stain for touch-ups and aesthetic enhancements.
By having these tools and materials on hand, you’ll be well-equipped to tackle the installation process and address any potential challenges that may arise. Proper preparation and organization can significantly contribute to a smooth and efficient installation of your storm door.
Read more: How To Install A Larson Storm Door
Step-by-Step Guide to Installing a Storm Door
Now that you have your tools and materials ready, it’s time to dive into the step-by-step process of installing a storm door. Follow these comprehensive instructions to ensure a successful installation:
Step 1: Prepare the Door Opening
Begin by removing the existing trim and ensuring that the door opening is clean and free of any debris. Check for any obstructions that may hinder the installation process.
Step 2: Measure and Adjust
Measure the door opening width and height to ensure that the storm door will fit properly. Make any necessary adjustments to the door frame, such as adding shims to ensure it is level and plumb.
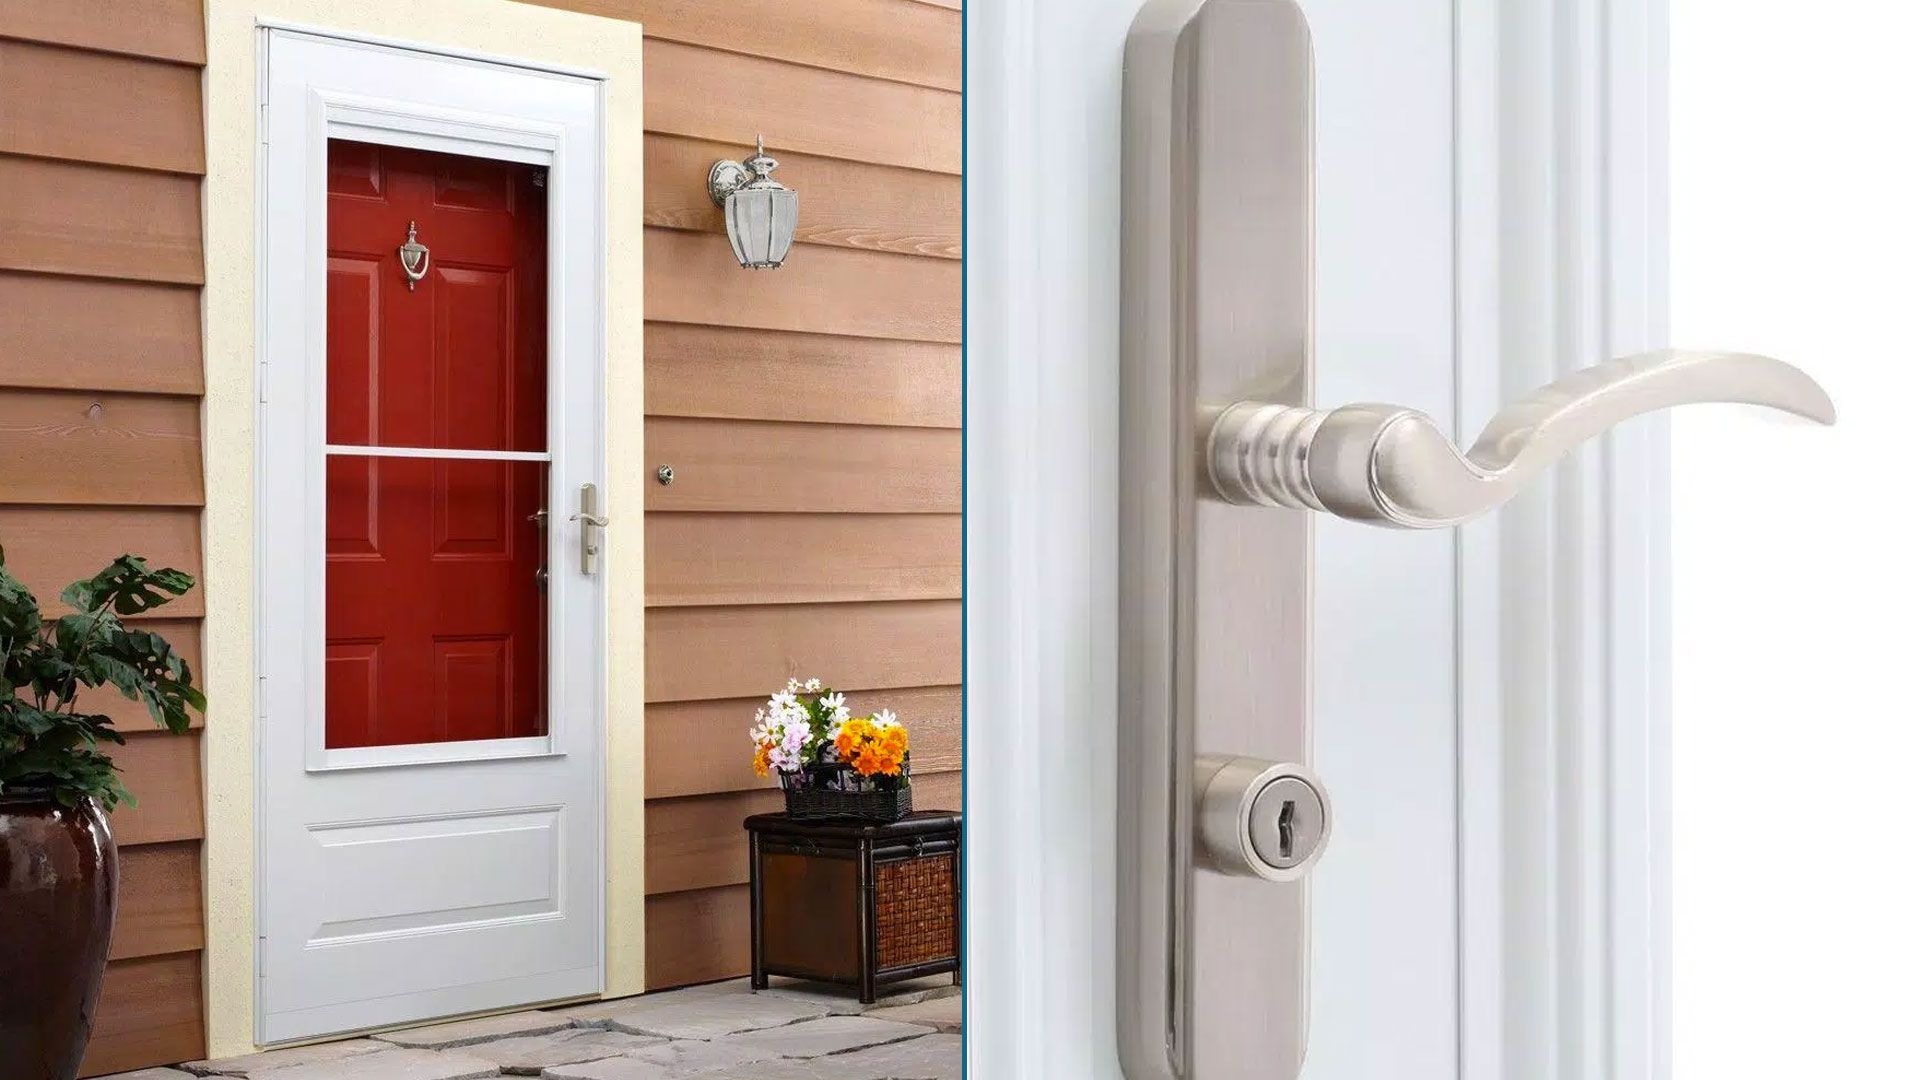
Step 3: Install Hinges and Hardware
Follow the manufacturer’s instructions to attach the hinges to the door frame. Then, install the handle set and any additional hardware included with the storm door kit.
Read more: How To Install A Door Closer On A Storm Door
Step 4: Position the Door
With the help of a friend or family member, carefully position the storm door in the opening. Ensure that it is aligned and level before proceeding.
Step 5: Secure the Door
Using the provided screws and fasteners, secure the storm door to the door frame. Make any necessary adjustments to ensure a proper fit and smooth operation of the door.
Step 6: Insulate and Seal
Apply expanding foam insulation around the perimeter of the door frame to seal any gaps. Additionally, use silicone caulk to seal the exterior edges of the frame, providing added protection against the elements.
Step 7: Test and Adjust
Open and close the door to ensure that it operates smoothly and securely. Make any final adjustments as needed to optimize the fit and functionality of the storm door.
Following these steps diligently will result in a professionally installed storm door that enhances your home’s appearance and functionality while providing added protection and energy efficiency.
Read more: How To Install A Dog Door In A Storm Door
Tips for a Smooth Installation Process
While installing a storm door can be a gratifying project, it’s essential to approach the process with careful consideration and attention to detail. Here are some valuable tips to ensure a smooth and successful installation:
1. Read the Instructions Thoroughly
Prior to beginning the installation, take the time to carefully review the manufacturer’s instructions provided with the storm door kit. Familiarizing yourself with the steps and requirements can prevent errors and streamline the process.
2. Enlist a Helper
Having an extra set of hands can make the installation process significantly easier and safer, especially when maneuvering and securing the door in place. A helper can assist with lifting, aligning, and holding components during the installation.
3. Take Accurate Measurements
Precision is key when measuring the door opening and the storm door itself. Double-check all measurements to ensure that the door will fit properly and operate smoothly once installed.
Read more: How To Install A Storm Door Chain
4. Use High-Quality Tools
Investing in reliable, high-quality tools can make a notable difference in the installation process. Sharp drill bits, sturdy screwdrivers, and a reliable level can contribute to a more precise and efficient installation.
5. Plan for Weather Conditions
If possible, choose a day with favorable weather conditions for the installation. Working in inclement weather can not only impede progress but also compromise the integrity of the installation.
6. Prioritize Safety
Ensure that you and your helper wear appropriate safety gear, including gloves and safety glasses, throughout the installation process. Additionally, exercise caution when handling tools and lifting heavy components.
7. Test the Door Operation
Before considering the installation complete, thoroughly test the operation of the storm door. Open and close it multiple times to ensure that it functions smoothly and securely.
Read more: DIY Guide: Installing A Storm Door
8. Address Any Issues Promptly
If you encounter any challenges or discrepancies during the installation, address them promptly. Ignoring minor issues can lead to larger complications down the line.
By adhering to these tips and approaching the installation process with patience and attention to detail, you can achieve a seamless and professional installation of your storm door, enhancing your home’s functionality and visual appeal.
Conclusion
Installing a storm door is a rewarding home improvement project that offers a multitude of benefits, from enhanced curb appeal to improved energy efficiency. By considering the factors that can impact the installation time, gathering the necessary tools and materials, and following a systematic installation process, you can achieve a successful outcome.
Remember, adequate preparation, attention to detail, and a focus on safety are crucial elements of a smooth and efficient installation. Taking the time to read and understand the manufacturer’s instructions, enlisting a helper, and prioritizing precision in measurements and adjustments can contribute to a seamless installation process.
Furthermore, by adhering to the provided tips and addressing any challenges promptly, you can navigate the installation with confidence and achieve a professionally installed storm door that enhances your home’s functionality and aesthetic appeal.
Whether you’re a seasoned DIY enthusiast or a homeowner eager to take on a new project, installing a storm door can be a fulfilling endeavor that adds value to your home. With the right approach and attention to detail, you can enjoy the benefits of a well-installed storm door for years to come.
So, roll up your sleeves, gather your tools, and embark on this exciting project to elevate your home’s entryway while gaining valuable DIY skills along the way. Here’s to a successful and rewarding installation of your new storm door!
Frequently Asked Questions about How Long To Install A Storm Door
Was this page helpful?
At Storables.com, we guarantee accurate and reliable information. Our content, validated by Expert Board Contributors, is crafted following stringent Editorial Policies. We're committed to providing you with well-researched, expert-backed insights for all your informational needs.


0 thoughts on “How Long To Install A Storm Door”