Articles
Installing A Storm Door
Modified: November 2, 2024
Looking for step-by-step instructions on installing a storm door? Check out our expert articles on how to properly install a storm door for your home.
(Many of the links in this article redirect to a specific reviewed product. Your purchase of these products through affiliate links helps to generate commission for Storables.com, at no extra cost. Learn more)
Introduction
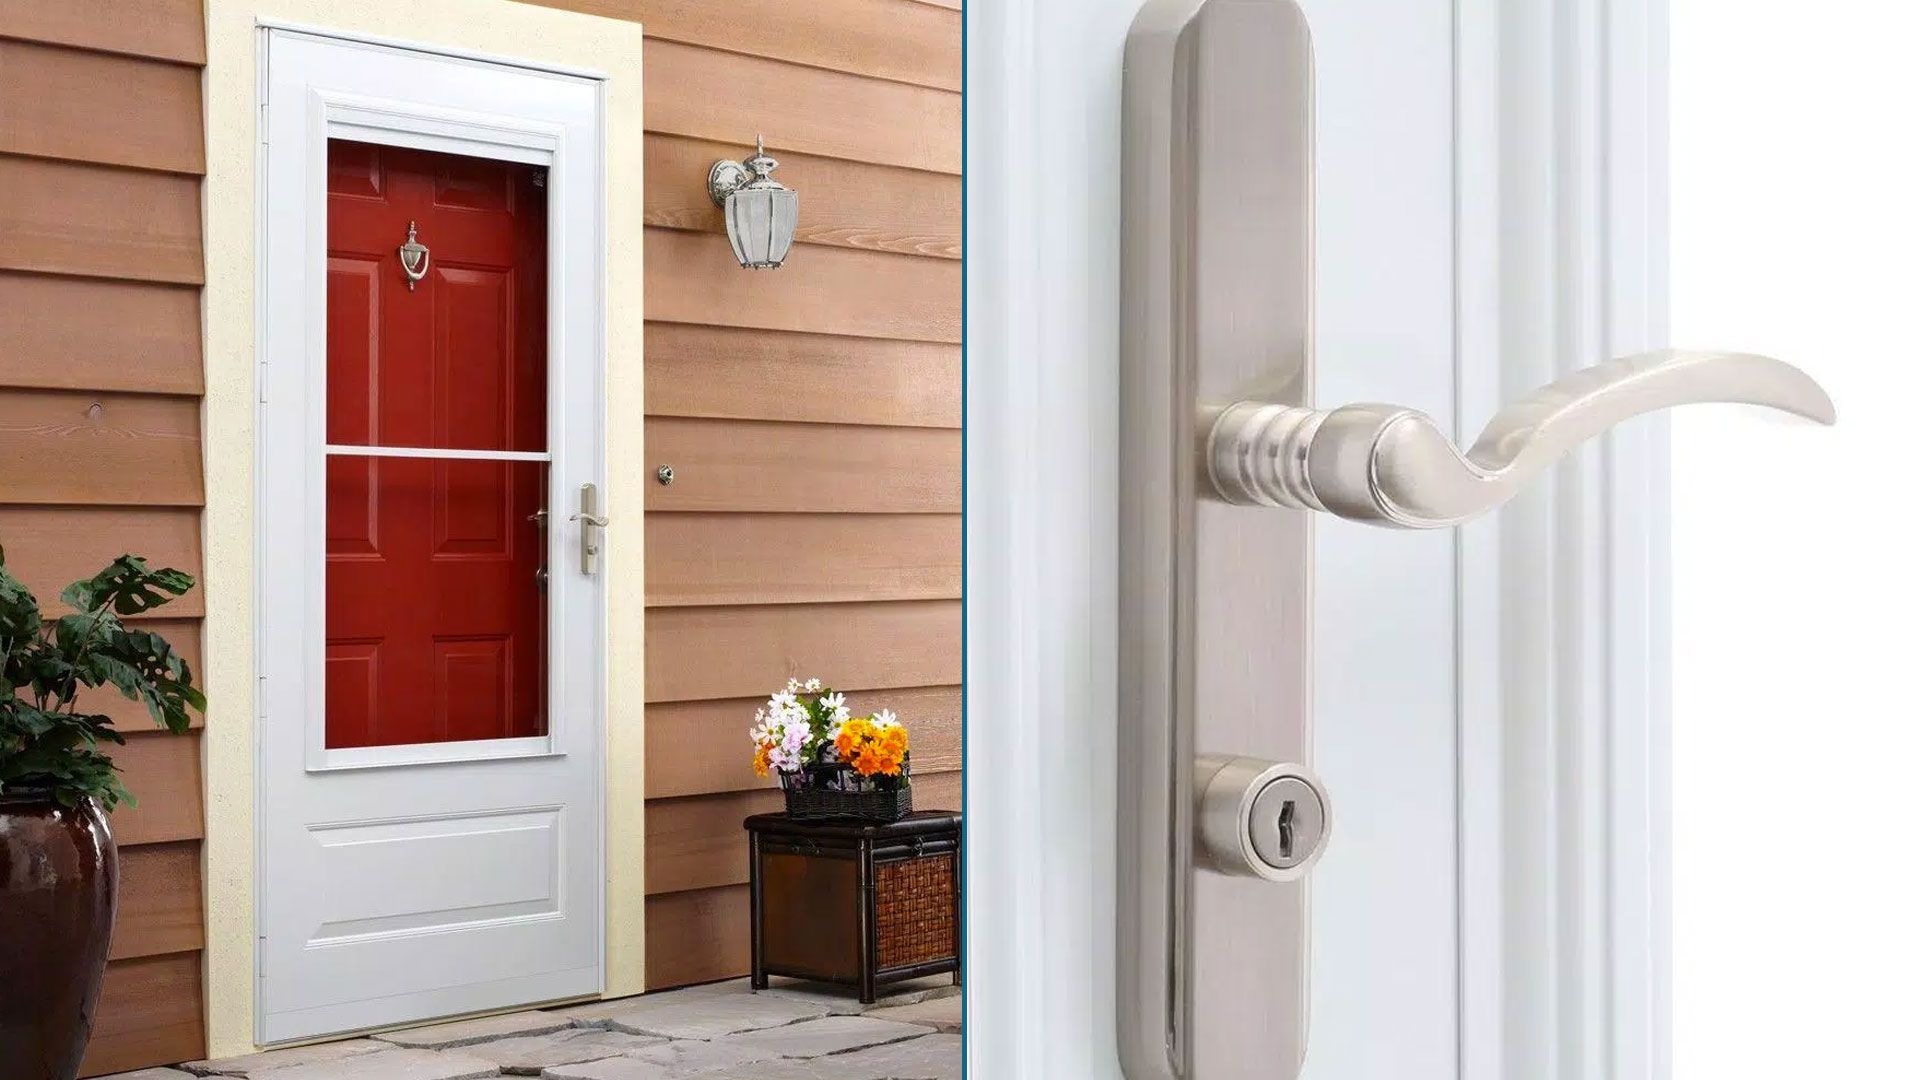
Welcome to our comprehensive guide on installing a storm door. A storm door is a great addition to any home as it offers protection from the elements and provides an extra layer of security. Whether you’re replacing an old storm door or installing a new one, this step-by-step guide will walk you through the process to ensure a successful installation.
Installing a storm door may seem like a daunting task, but with the right tools, materials, and a little bit of patience, you can easily tackle this project. Not only will you enhance the appearance of your home, but you’ll also enjoy the benefits of improved energy efficiency and increased curb appeal.
In this article, we’ll provide you with a detailed breakdown of the installation process, including measuring the door opening, preparing the door opening, assembling the storm door, and finally, installing and adjusting the door closure. So, let’s get started!
Key Takeaways:
- Installing a storm door is a manageable DIY project that enhances home security, energy efficiency, and curb appeal. Follow the step-by-step guide for a successful installation and enjoy the benefits for years to come.
- Prioritize safety, accurate measurements, and proper preparation when installing a storm door. Adjust the closure mechanism and perform thorough checks for smooth operation, ensuring maximum protection and visual appeal for your home.
Read more: How To Install A Larson Storm Door
Step 1: Gathering Materials
Before you begin the installation process, it’s important to gather all the necessary materials to ensure a smooth and efficient installation. Here’s a list of items you’ll need:
- Storm Door: Purchase a storm door that fits the dimensions of your door opening. Choose a door with the desired features, such as a full-view or ventilating style.
- Installation Kit: Most storm doors come with an installation kit that includes all the necessary screws, brackets, and hinges. Make sure your door includes this kit, or purchase one separately if needed.
- Tools: Gather a set of basic tools including a tape measure, drill, screwdriver, level, and a miter saw (if you need to trim the door to fit).
- Caulk and Sealant: You’ll need caulk and sealant to seal any gaps around the door frame and prevent water and air infiltration.
- Safety Equipment: Don’t forget to wear safety goggles and gloves to protect yourself during the installation process.
Once you’ve gathered all the necessary materials, double-check to ensure you have everything you need. It’s always a good idea to read the installation instructions that come with your storm door to familiarize yourself with the process and any specific requirements or recommendations.
With your materials in hand, you’re now ready to move on to the next step of installing a storm door: measuring the door opening.
Step 2: Measuring the Door Opening
Accurate measurements are crucial when installing a storm door to ensure a proper fit. Before proceeding, make sure you have the right tools on hand, including a tape measure and a level.
Here’s how you can measure the door opening:
- Remove any existing trim or molding around the door frame if needed. This will give you a clear view of the opening.
- Measure the width of the door opening from the inside of the door jamb on one side to the inside of the door jamb on the other side. Take measurements at the top, middle, and bottom of the opening, and use the smallest measurement as your final width.
- Next, measure the height of the door opening from the threshold to the top of the opening. Again, measure at the left, middle, and right sides, and use the shortest measurement for the height.
- Check for any irregularities in the door opening. Use a level to ensure the sides and header are plumb, and the sill is level. If needed, make any adjustments to ensure a level and square opening.
- Take note of the measurements and label them clearly. You’ll need these measurements when selecting a storm door that fits the dimensions of your opening.
Keep in mind that some storm doors may require additional clearance for proper installation. Check the manufacturer’s instructions or consult a professional if you have any concerns or specific requirements.
Once you have accurate measurements, you can move on to the next step of preparing the door opening for installation.
Step 3: Preparing the Door Opening
Preparing the door opening is an essential step in ensuring a smooth installation of your storm door. Before you proceed, make sure you have cleared the area and have all the necessary tools and materials on hand.
Follow these steps to prepare the door opening:
- Remove the existing door (if applicable): If you’re replacing an old door, remove it by unscrewing the hinges and carefully lifting it out. Set aside the old door and any hardware for disposal.
- Clean the door opening: Use a broom or vacuum to remove any dust, debris, or cobwebs from the door frame and surrounding area. Wipe down the door frame with a damp cloth to ensure a clean surface.
- Inspect the door frame: Check the condition of the door frame for any cracks, rot, or damage. Repair or replace any damaged areas as necessary to ensure a solid foundation for your storm door.
- Apply weatherstripping: Install weatherstripping around the door frame to provide a tight seal and improve energy efficiency. Measure and cut the weatherstripping to fit the top and sides, and secure it using adhesive or nails.
- Apply caulking or sealant: Apply a bead of caulking or sealant along the bottom of the door frame to prevent water infiltration. Smooth out the caulking with a finger or a caulk smoothing tool for a neat finish.
- Trim the storm door (if necessary): Measure the storm door against the door opening and trim it if needed to ensure a proper fit. Use a miter saw to cut the door according to the manufacturer’s instructions and your measurements.
By following these steps and ensuring the door opening is clean, sturdy, and properly sealed, you’ll be well-prepared to move on to the next step of assembling the storm door.
Step 4: Assembling the Storm Door
Now that you’ve measured and prepared the door opening, it’s time to assemble the storm door. Before you begin, make sure you have all the necessary components from the storm door kit and the appropriate tools on hand.
Follow these steps to assemble the storm door:
- Lay out all the components: Start by unpacking the storm door kit and laying out all the components on a clean and flat surface. Refer to the manufacturer’s instructions to identify each part.
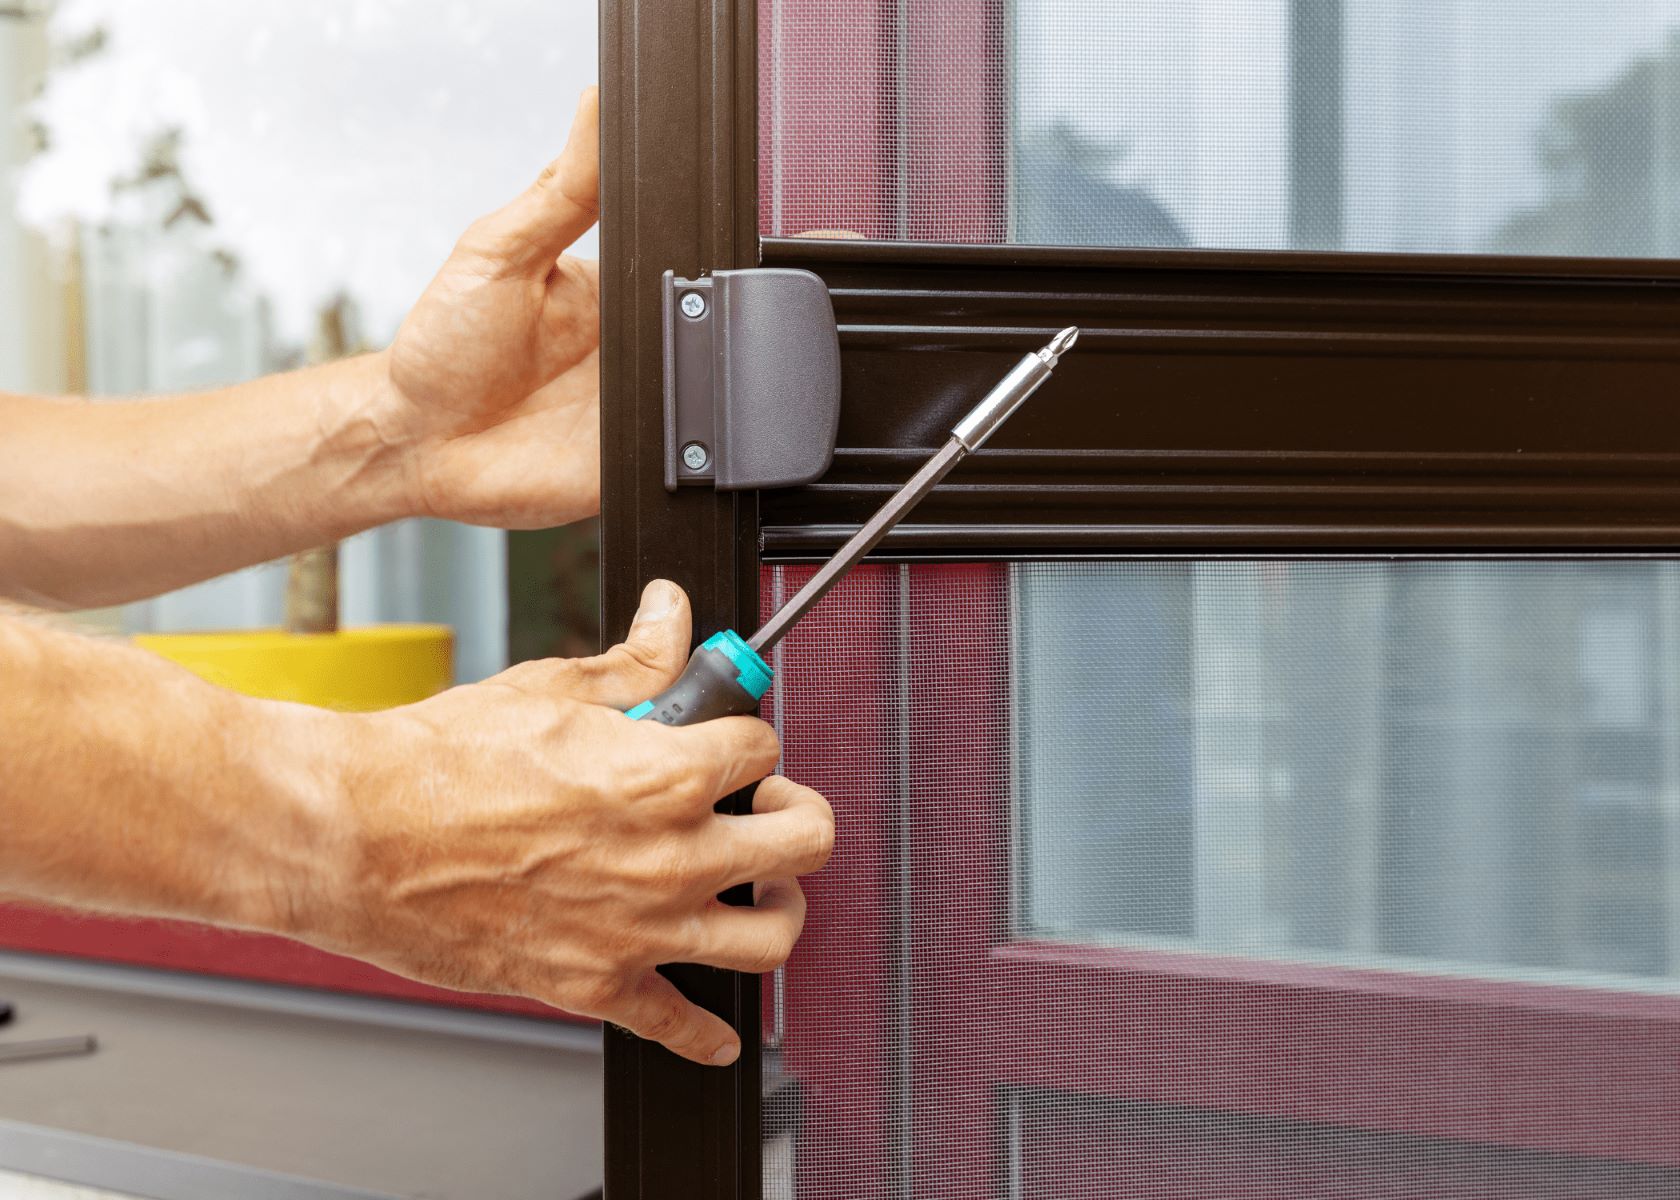
- Attach the hinges: Position the hinges on the storm door following the manufacturer’s instructions. Use screws to secure the hinges to the door, ensuring they are properly aligned and tight.
- Install the door handle and lock: Depending on the type of storm door you have, you’ll need to install the door handle and lockset. Follow the manufacturer’s instructions to attach these components securely.
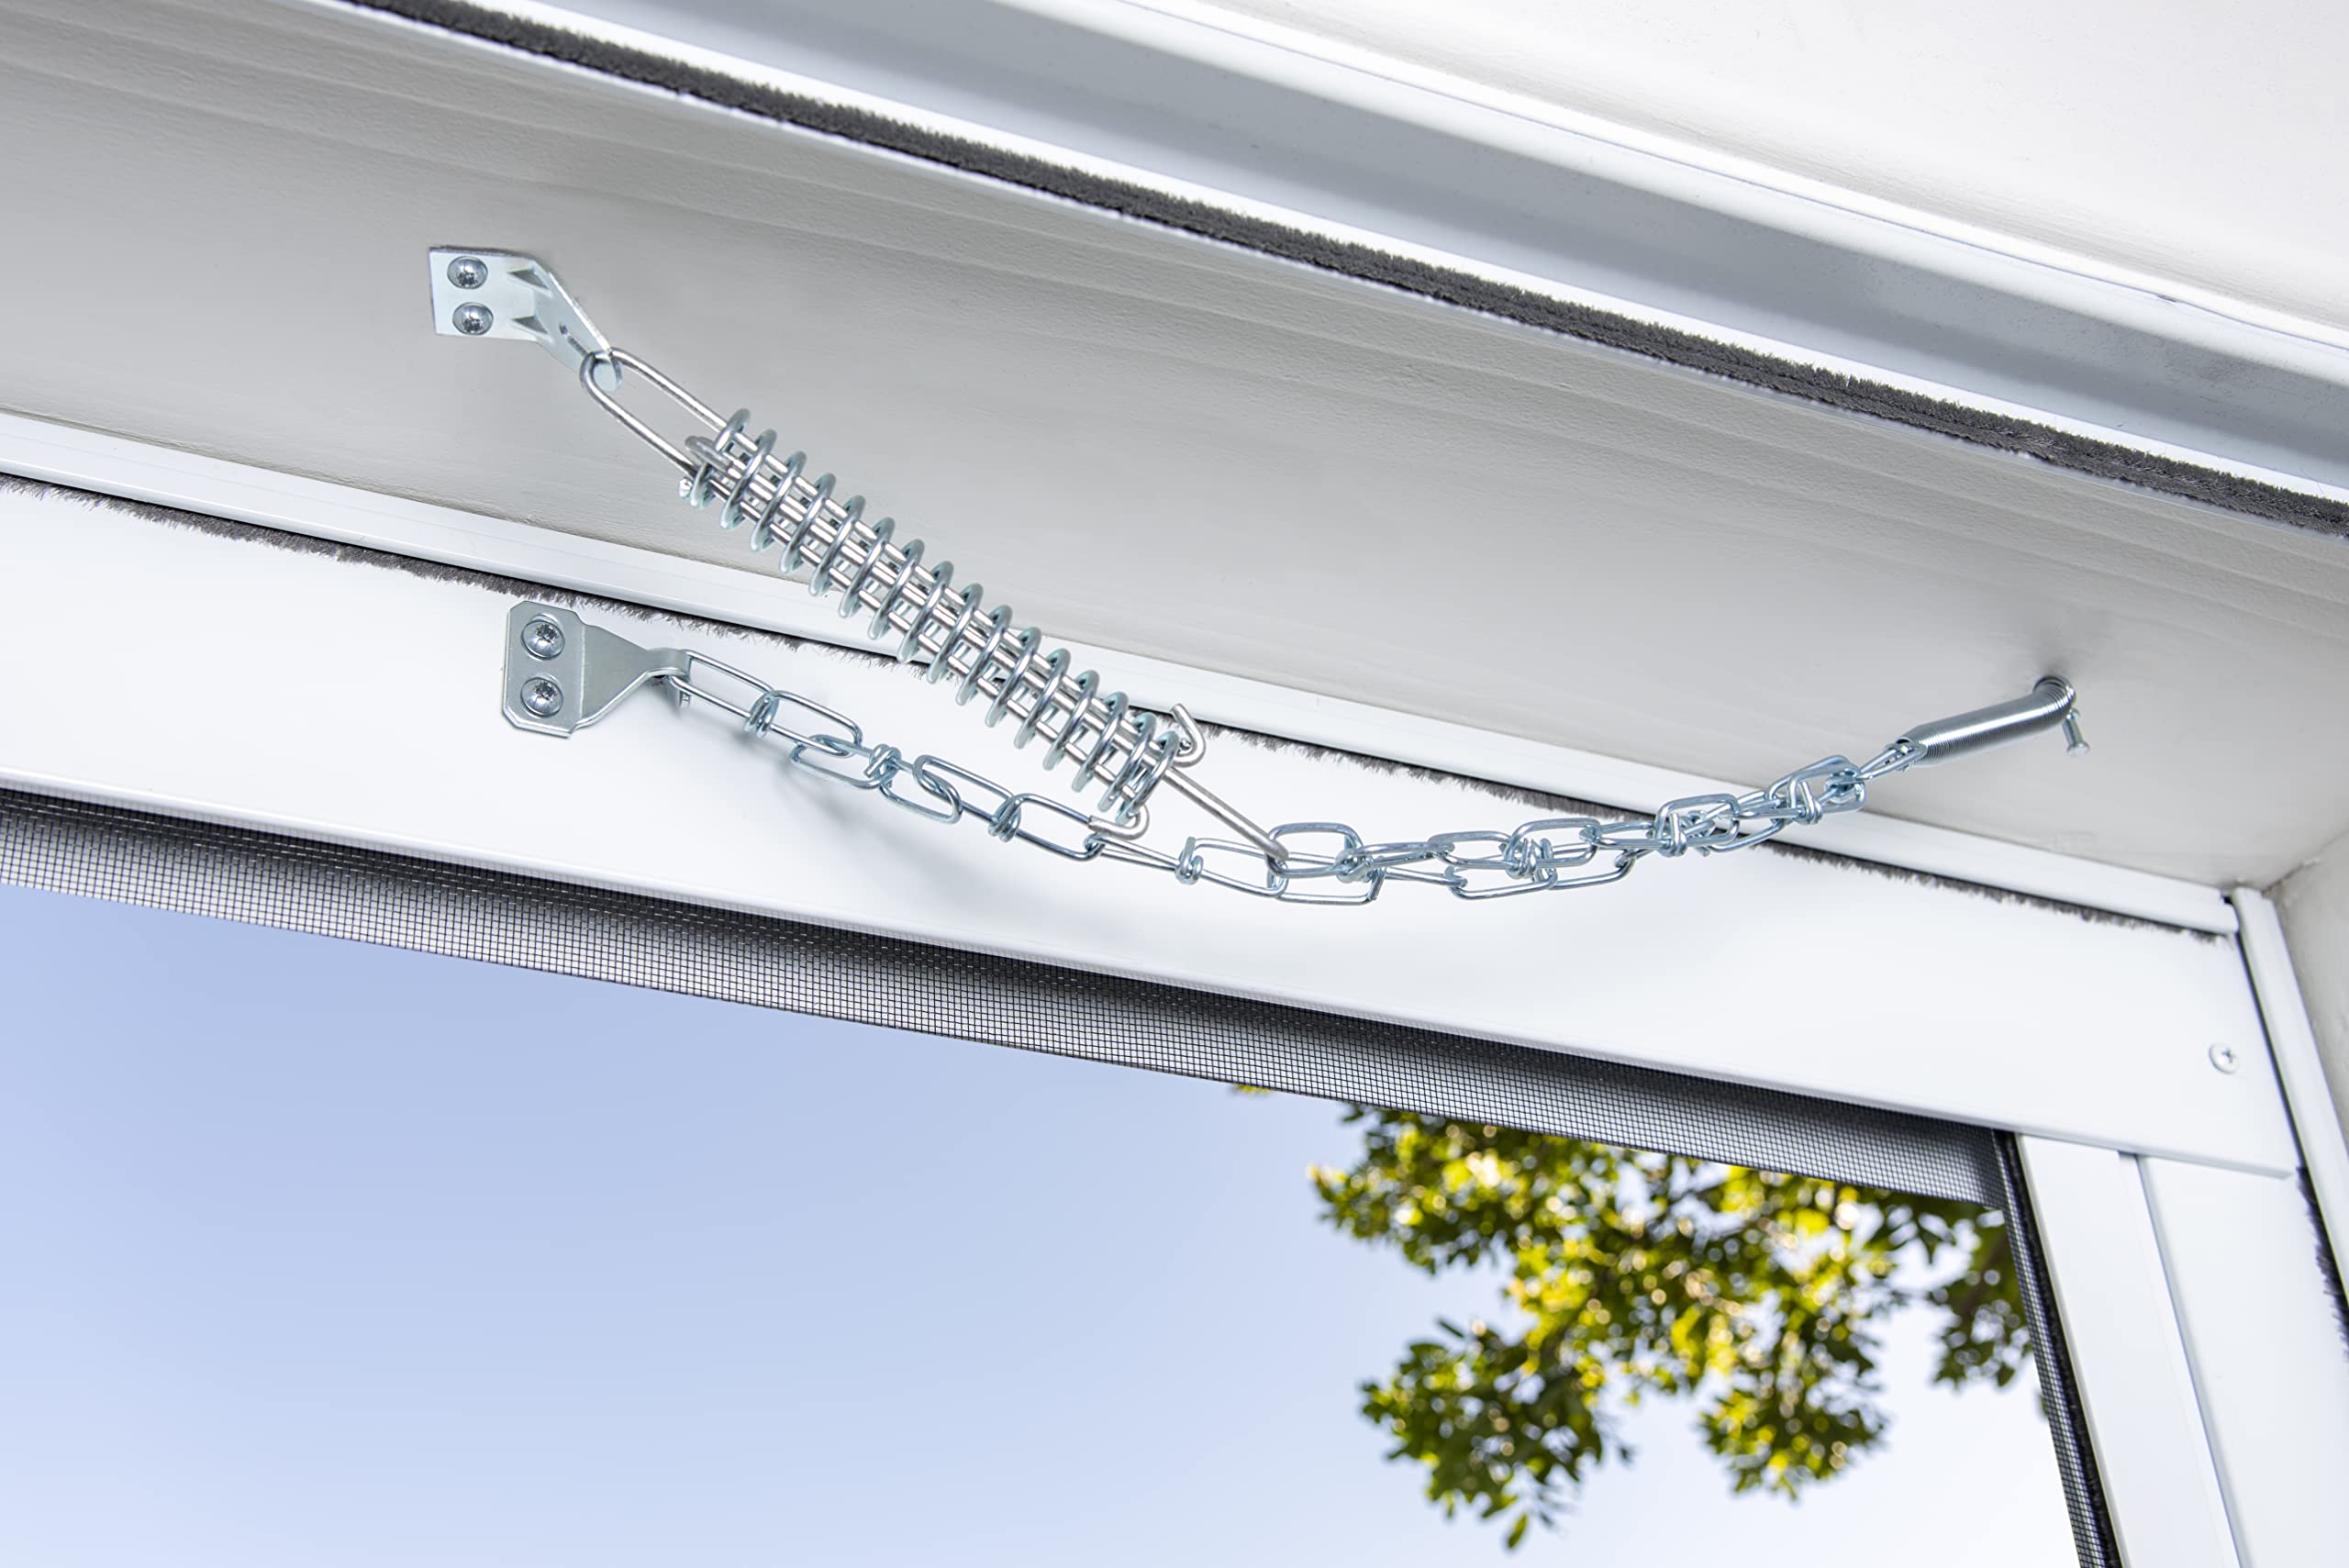
- Install the door closer: Attach the door closer bracket to the storm door frame. Then, attach the tube of the closer to the bracket, following the manufacturer’s instructions. Adjust the tension of the closer as necessary.
- Check the alignment: Before moving on to the next step, ensure that the storm door is properly aligned and that all the components are securely attached. Make any necessary adjustments to ensure a level and functional storm door.
Assembling the storm door may vary depending on the specific design and features of the door you’ve chosen. It’s important to carefully follow the manufacturer’s instructions provided with the storm door kit to ensure a successful assembly.
Once you’ve finished assembling the storm door, you’re ready to move on to the next step: installing the storm door in the prepared opening.
When installing a storm door, make sure to measure the door frame accurately before purchasing the door to ensure a proper fit. This will help prevent any issues during installation.
Read more: How To Install A Door Closer On A Storm Door
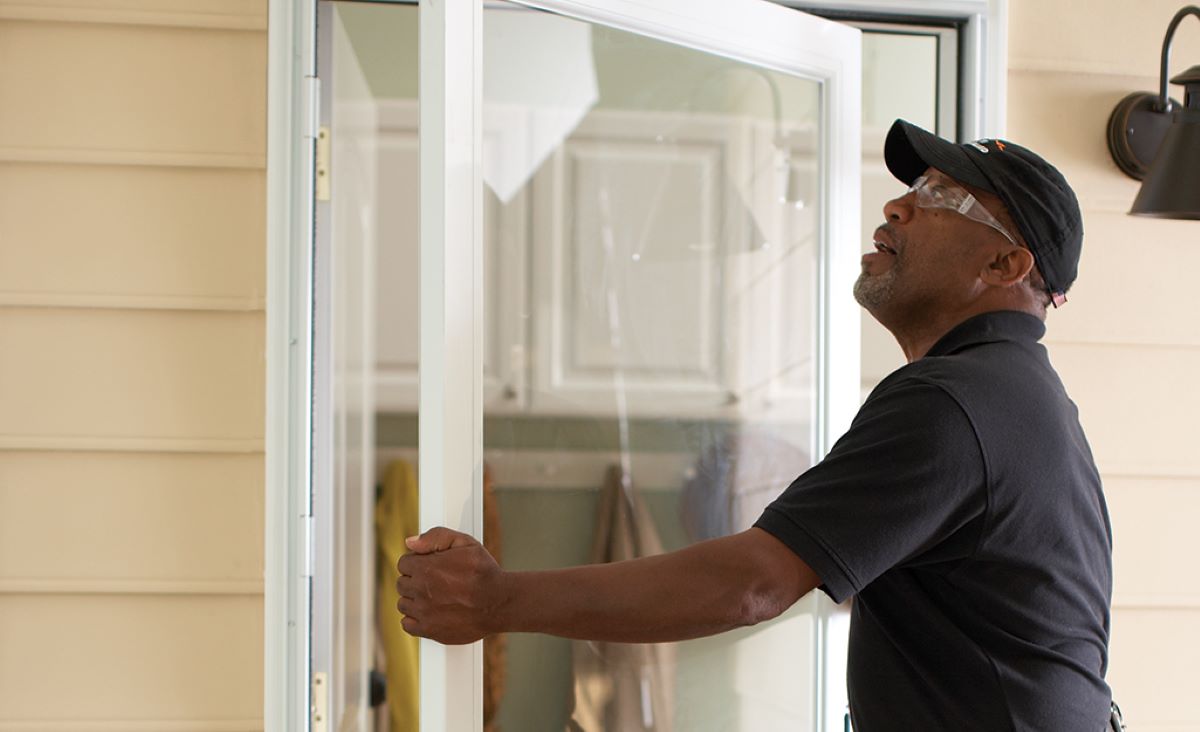
Step 5: Installing the Storm Door
With the storm door assembled, it’s time to proceed with the installation process. Make sure you have a helper if needed and take the necessary safety precautions, such as wearing gloves and safety goggles.
Follow these steps to install the storm door:
- Position the storm door: Lift the storm door and carefully position it in the door opening. Ensure that it is centered and aligned with the door frame.
- Insert shims: To keep the door in place temporarily, insert shims underneath the door frame at the hinge side and latch side. This will help ensure that the door is level and plumb.
- Secure the hinges: With the door in position, use a drill and screws to secure the hinges to the door frame. Start with the top hinge, then the middle, and finally the bottom hinge. Double-check the alignment as you go.
- Remove the shims: Once the hinges are securely attached, remove the shims. The door should stay in place on its own. Check the alignment again and make any necessary adjustments.
- Screw in the door closer: Attach the door closer to the storm door frame using screws. Adjust the tension of the closer according to the manufacturer’s instructions to ensure smooth operation.
- Secure the door handle and lock: Install the door handle and lockset according to the manufacturer’s instructions. Ensure that they are properly aligned and functioning correctly.
- Check the operation: Test the storm door by opening and closing it several times. Make any necessary adjustments to the hinges and closer to ensure smooth operation and proper alignment.
Throughout the installation process, it’s important to maintain a level and plumb door for optimal performance. Use a level to check the vertical and horizontal alignment, and make any adjustments as needed.
Once you have installed the storm door, you’re ready to move on to the next step: adjusting the door closure mechanism.
Step 6: Adjusting the Door Closure
After installing the storm door, you’ll want to ensure that the door closure mechanism is properly adjusted for smooth operation. The door closure mechanism controls the speed and force with which the storm door closes.
Follow these steps to adjust the door closure:
- Check the door swing: Stand inside your home and observe the door as it closes. Ensure that the door swings smoothly and doesn’t bind or rub against the door frame. If there are any issues, make necessary adjustments to the hinges or the alignment of the door.
- Adjust the closing speed: Most storm doors come with a closing speed adjustment mechanism. Use a screwdriver or an Allen wrench (depending on the design) to adjust the closing speed. Turning the adjustment screw clockwise will slow down the closing speed, while turning it counterclockwise will increase the speed.
- Adjust the closing force: If the door is difficult to close or slams shut too forcefully, you can adjust the closing force. Locate the closing force adjustment screw on the door closure mechanism. Turning the screw clockwise will increase the closing force, while turning it counterclockwise will decrease it.
- Test the adjustments: After making any adjustments, test the door to see if it closes smoothly and at the desired speed. Continue fine-tuning the closing speed and force until you’re satisfied with the performance.
It’s important to note that the specific adjustment mechanisms and methods may vary depending on the storm door model and manufacturer. Refer to the manufacturer’s instructions for detailed guidance specific to your storm door.
Once you’ve adjusted the door closure mechanism to your liking, you’re ready to move on to the final step: checking for proper operation.
Step 7: Checking for Proper Operation
After installing and adjusting the storm door, it’s crucial to ensure that it operates smoothly and functions properly. Taking the time to perform a final check for proper operation will ensure that your storm door provides the desired protection and ease of use.
Follow these steps to check the proper operation of your storm door:
- Open and close the door: Test the storm door by opening and closing it multiple times. Pay attention to any resistance, sticking, or unusual noises during the operation. The door should move freely without any hindrance.
- Check the latch: Ensure that the door latches securely when closed. Test the latch by gently pulling or pushing the door to verify that it remains firmly closed.
- Inspect the weatherstripping: Check the weatherstripping around the edges of the door frame. Make sure it makes consistent contact with the door and provides a tight seal. Replace or adjust the weatherstripping if necessary.
- Verify proper ventilation: If your storm door includes a ventilating feature, verify that it functions correctly. Open and close the vent panels to ensure they move smoothly and lock securely in the desired positions.
- Test the door closure: Let the storm door close on its own, and observe the closing action. Ensure that it closes gently and securely without slamming shut or bouncing back open. Adjust the door closure mechanism as needed.
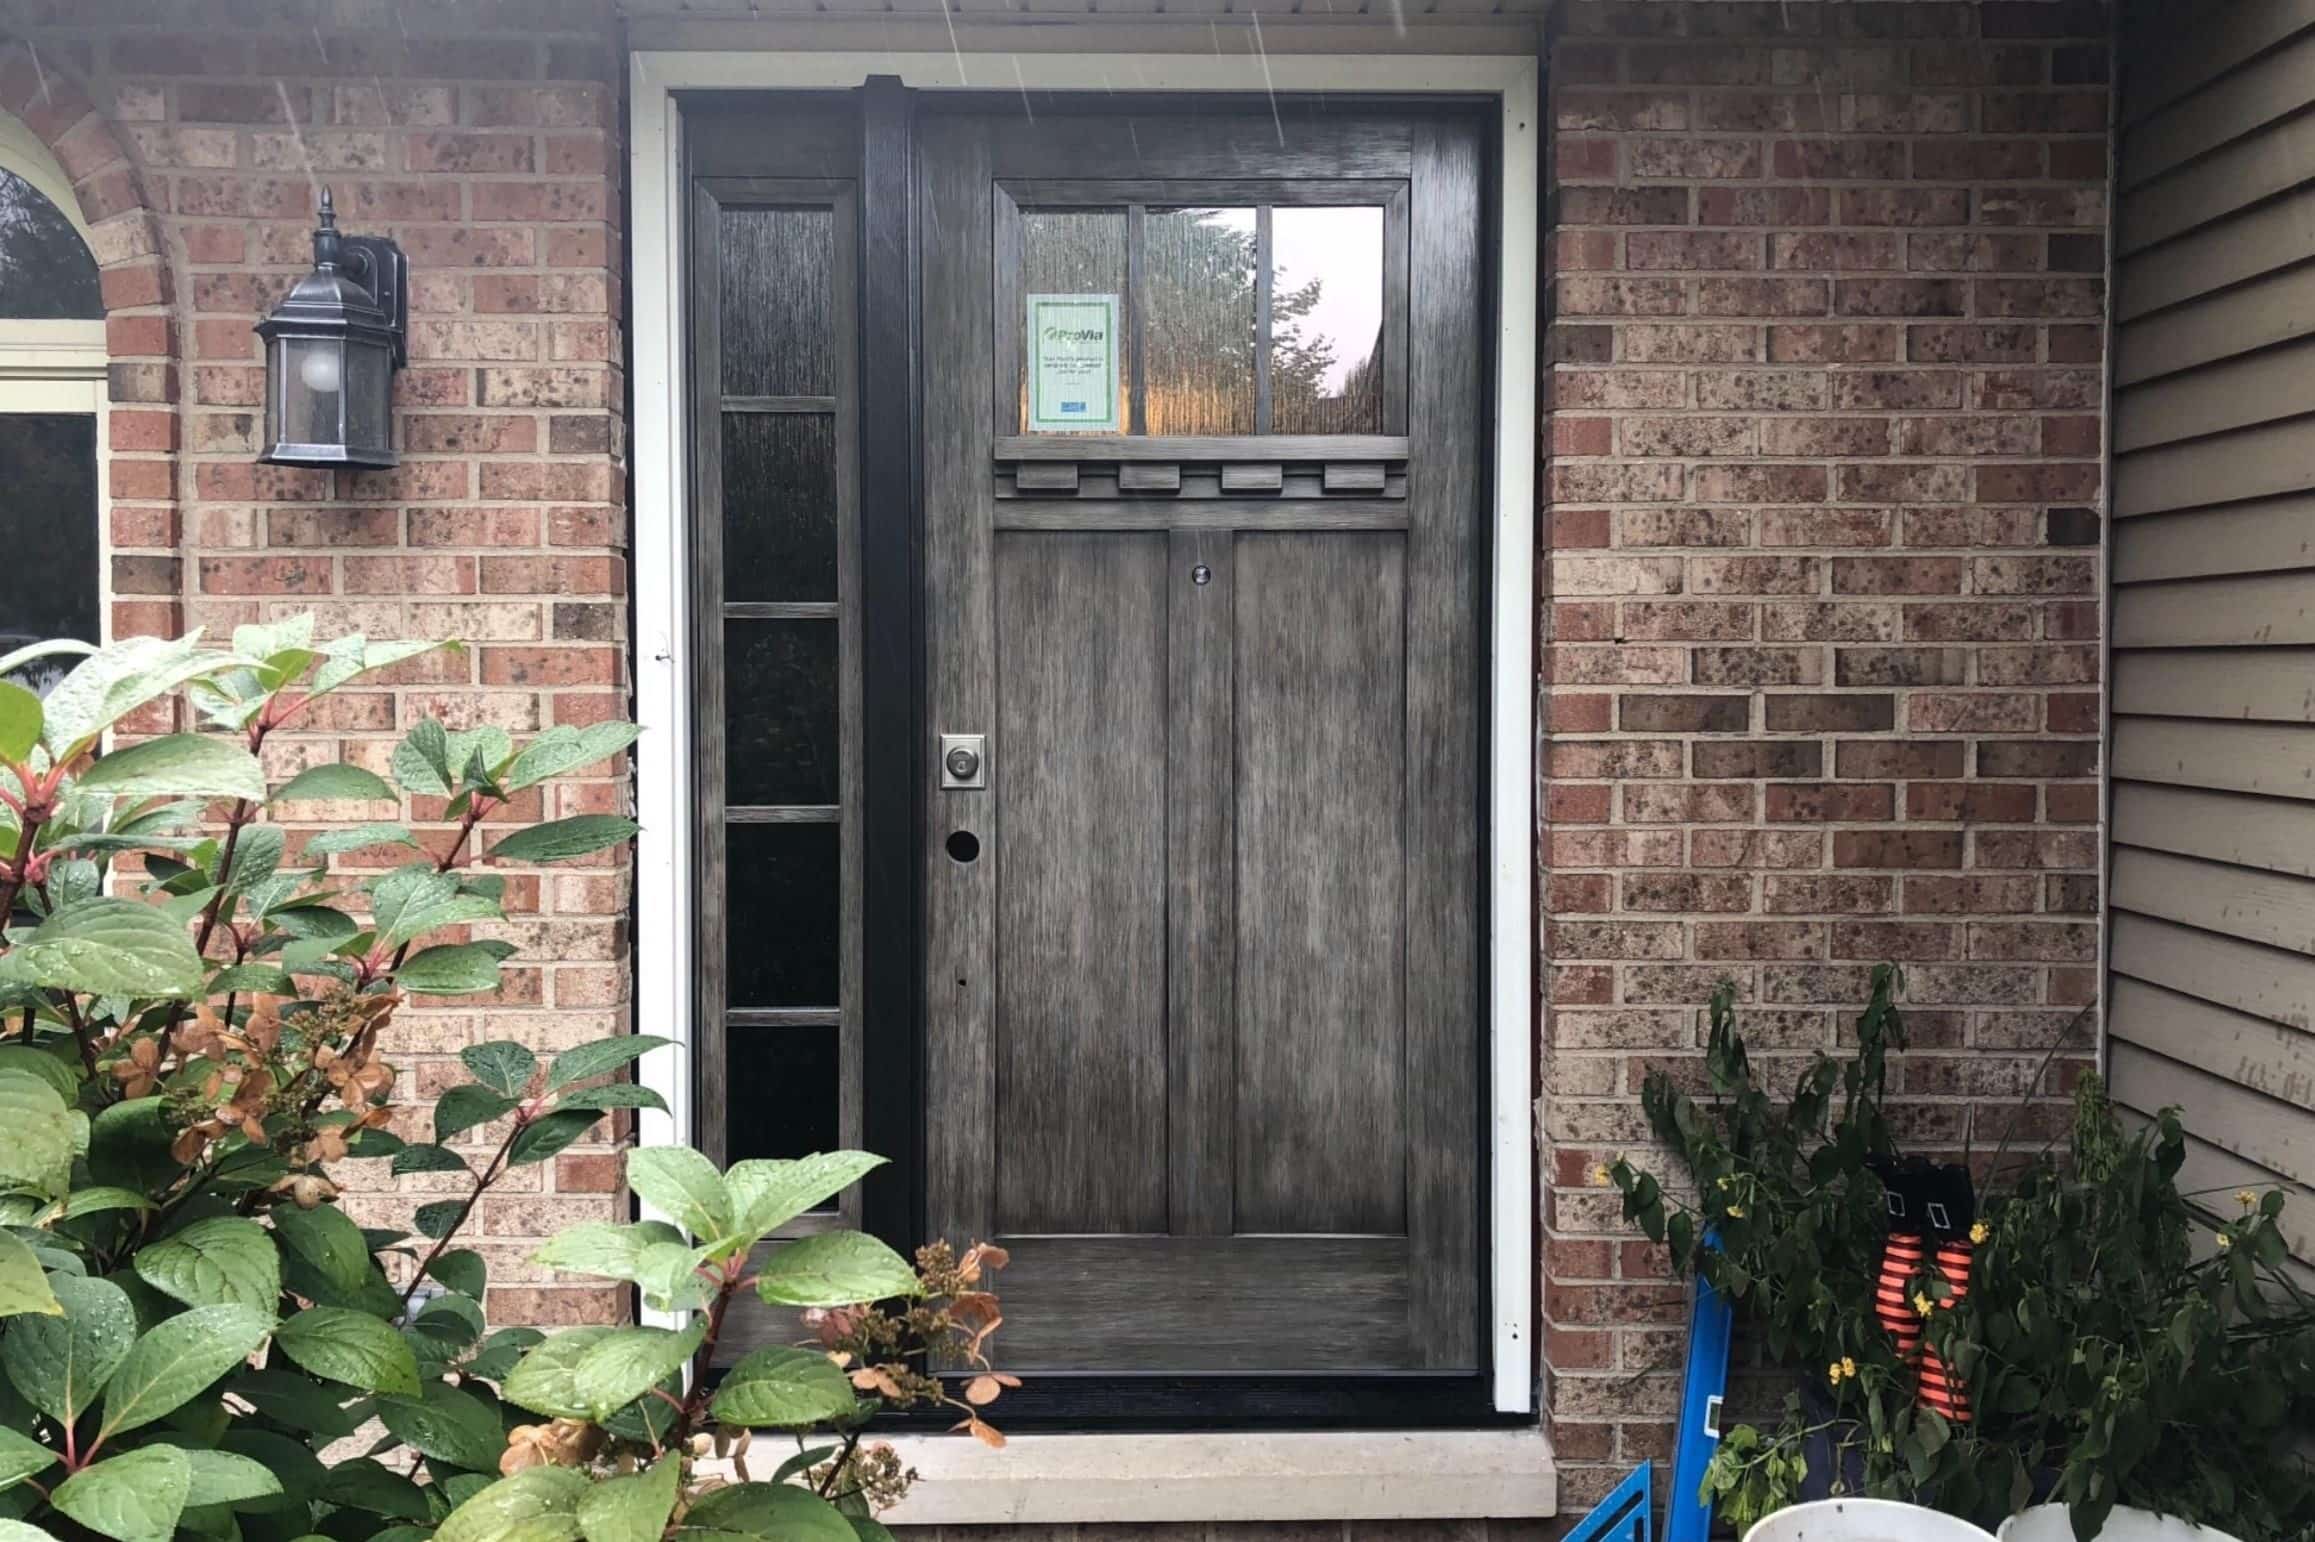
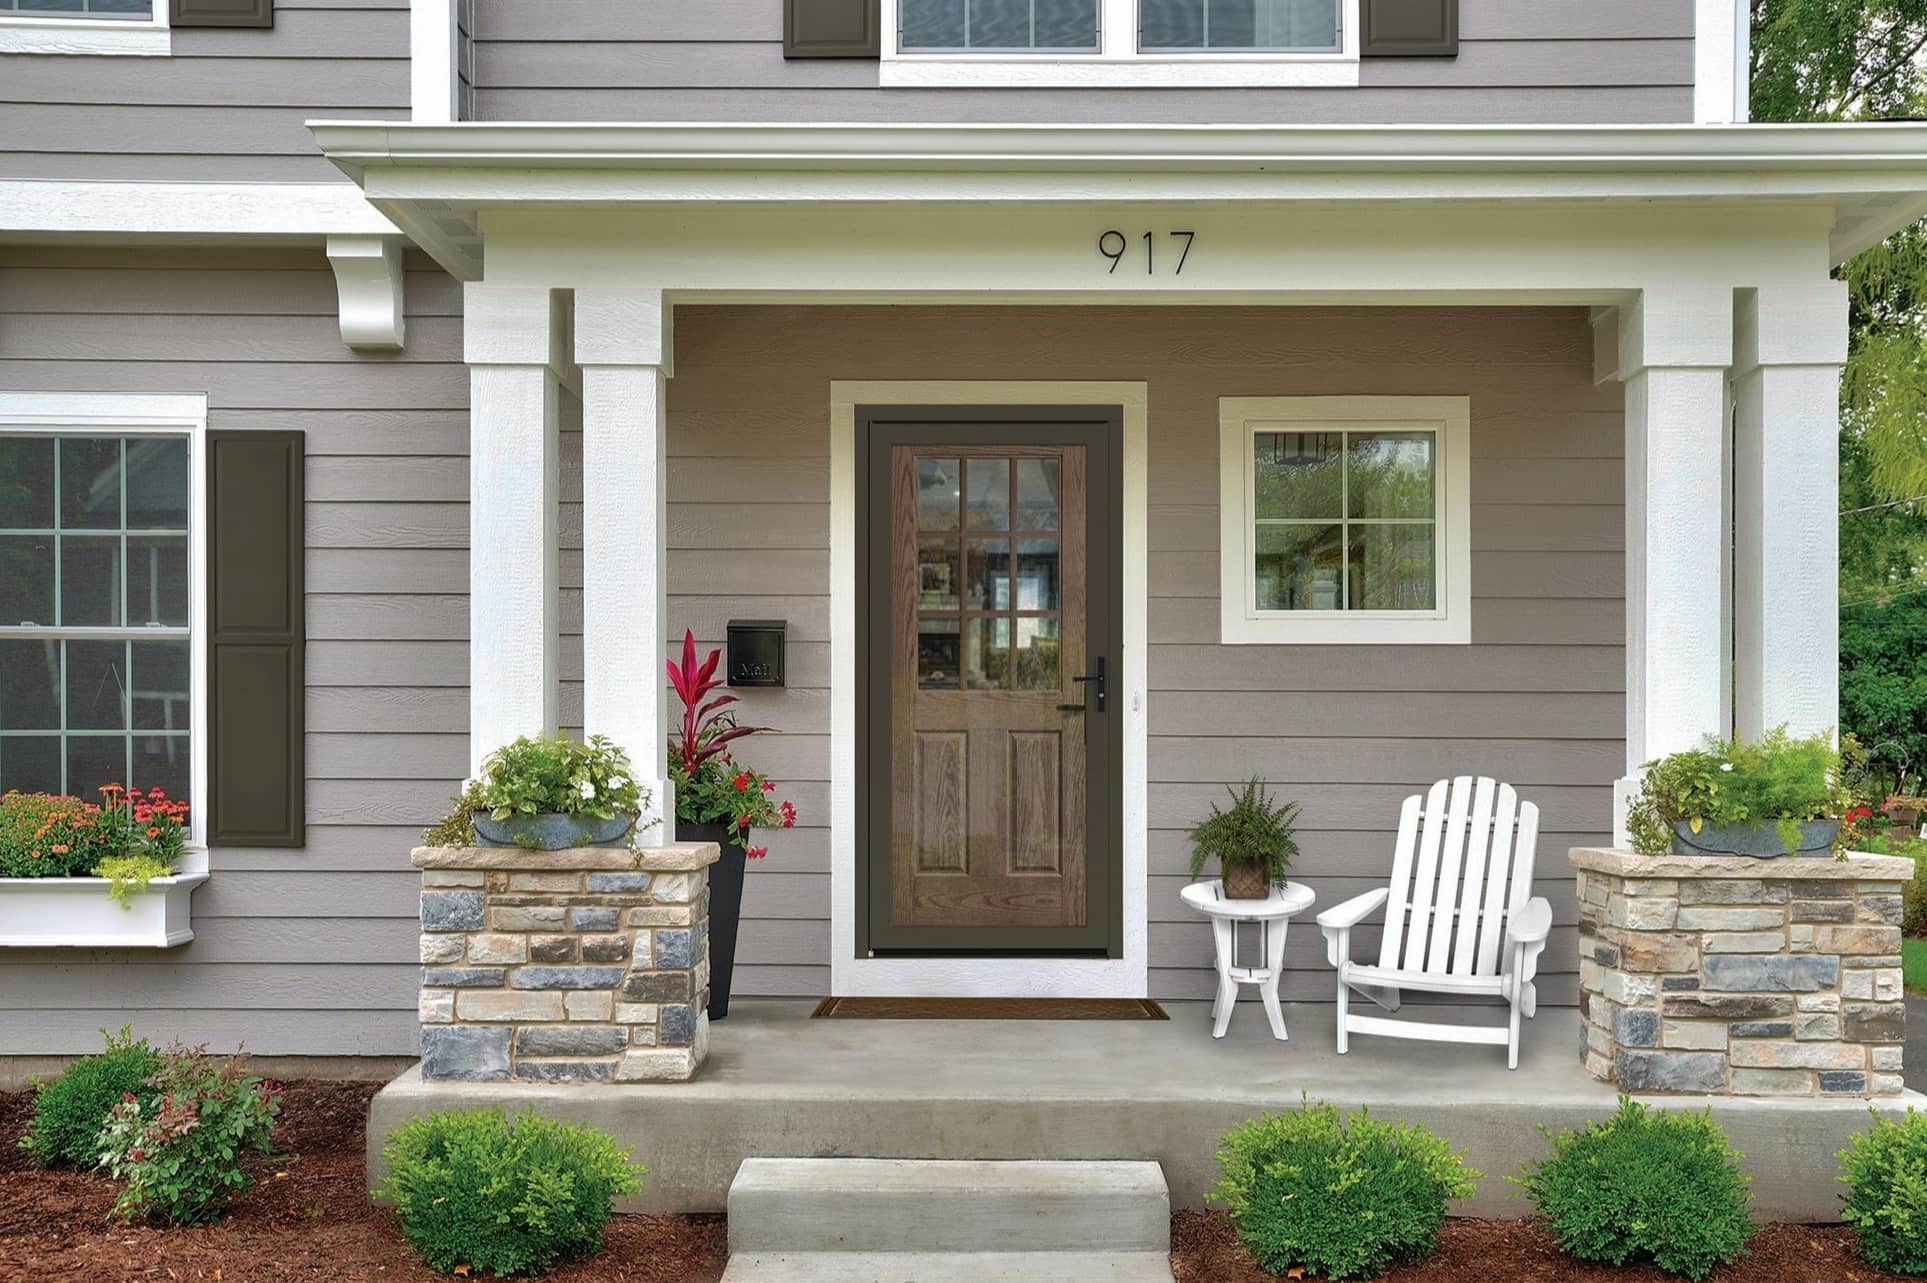
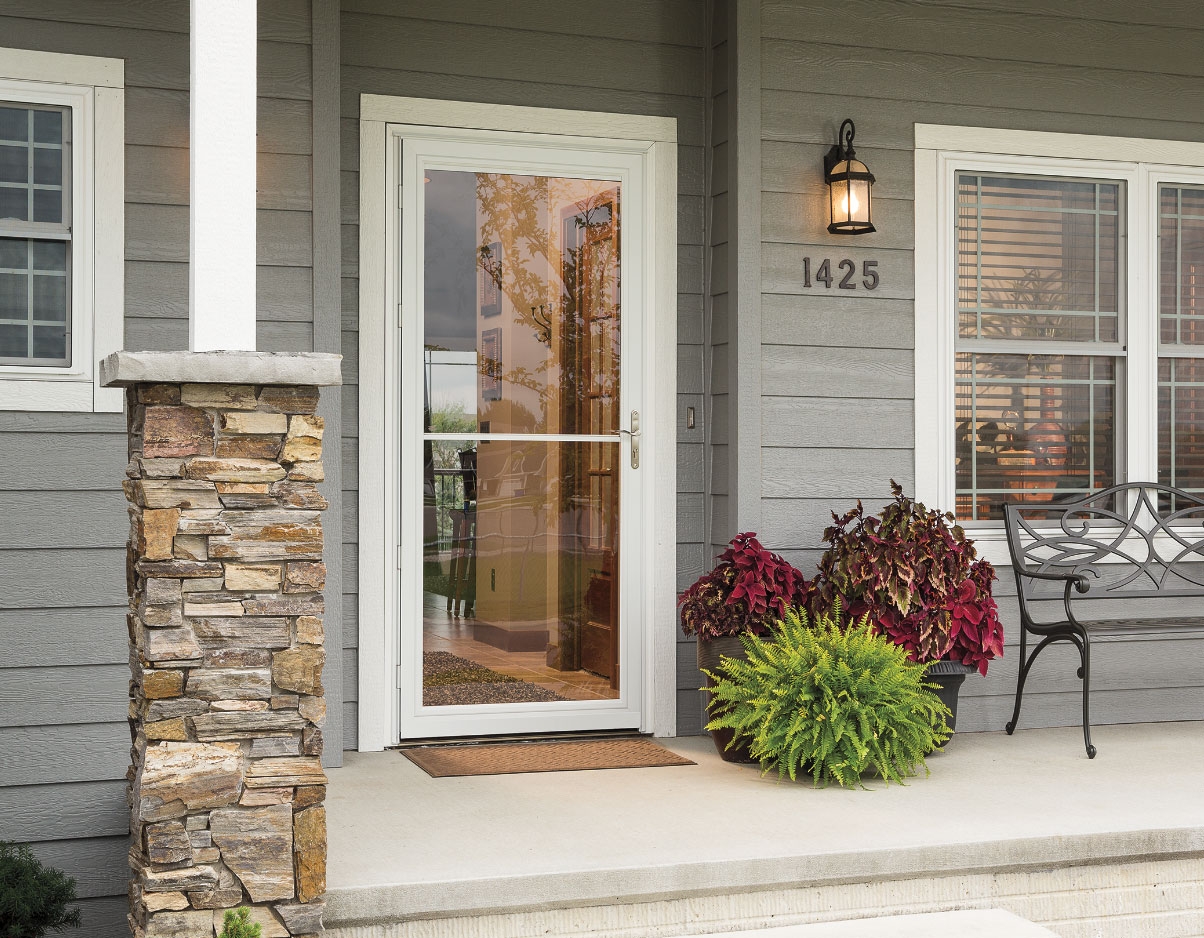
- Inspect the overall appearance: Finally, step back and examine the overall appearance of the door installation. Ensure that the storm door aligns properly with the door frame and complements the aesthetics of your home.
Performing these checks will help identify any issues that may need further adjustments or repairs. If you encounter any problems during this process, consult the manufacturer’s instructions or seek assistance from a professional for further guidance.
By thoroughly checking for proper operation and addressing any issues, you can ensure that your storm door functions effectively and provides the desired benefits for your home.
Congratulations! You have now successfully installed and checked the operation of your storm door. Enjoy the enhanced protection, energy efficiency, and aesthetic appeal it brings to your home.
Conclusion
Installing a storm door is a worthwhile investment that offers numerous benefits, such as protection from the elements, enhanced security, improved energy efficiency, and increased curb appeal for your home. By following the step-by-step guide outlined in this article, you can successfully install a storm door and enjoy its advantages.
Remember to begin by gathering all the necessary materials and tools before embarking on the installation process. Accurate measurements and proper preparation of the door opening are crucial for a successful installation. Take your time to assemble the storm door according to the manufacturer’s instructions, ensuring all components are securely attached.
When it comes to installing the storm door, position it carefully within the door opening and secure it with the hinges. Adjust the door closure mechanism to ensure a smooth and controlled closing action. Regularly check and maintain the door for proper operation, including the latch, weatherstripping, and any additional features such as ventilation panels.
Throughout the installation process, it’s important to prioritize safety. Wear appropriate protective gear and use caution when working with tools and heavy materials. If you encounter any difficulties or concerns, consult the manufacturer’s instructions or seek assistance from professionals.
With your newly installed storm door, you can enjoy the benefits of improved energy efficiency, enhanced security, and added curb appeal. Not only will you protect your home from harsh weather conditions but also increase its value and visual appeal.
Thank you for following this comprehensive guide on installing a storm door. We hope that it has provided you with the guidance and confidence to successfully complete this project and enjoy the benefits of your new storm door for years to come.
Frequently Asked Questions about Installing A Storm Door
Was this page helpful?
At Storables.com, we guarantee accurate and reliable information. Our content, validated by Expert Board Contributors, is crafted following stringent Editorial Policies. We're committed to providing you with well-researched, expert-backed insights for all your informational needs.


0 thoughts on “Installing A Storm Door”