Home>Renovation & DIY>Home Renovation Guides>How To Install A Dog Door In A Storm Door

Home Renovation Guides
How To Install A Dog Door In A Storm Door
Modified: August 27, 2024
Learn how to install a dog door in a storm door with our comprehensive home renovation guide. Make your home pet-friendly today!
(Many of the links in this article redirect to a specific reviewed product. Your purchase of these products through affiliate links helps to generate commission for Storables.com, at no extra cost. Learn more)
Introduction
Welcome to our comprehensive guide on installing a dog door in a storm door! If you're a pet owner, you understand the importance of providing your furry friend with the freedom to move in and out of your home at their leisure. Installing a dog door in your storm door not only grants your pet this freedom but also offers you the convenience of not having to open the door every time your pet wants to go outside.
In this guide, we will walk you through the step-by-step process of installing a dog door in your storm door. Whether you're a seasoned DIY enthusiast or a novice looking to embark on your first home improvement project, we've got you covered. By the end of this guide, you'll have the knowledge and confidence to tackle this project with ease.
So, grab your tools and let's get started on creating a convenient and accessible entryway for your beloved pet!
Key Takeaways:
- Give your furry friend the freedom they deserve by installing a dog door in your storm door. It’s a DIY project that enhances convenience for both you and your pet, allowing them to come and go as they please.
- With careful planning and attention to detail, you can create a secure and functional access point for your pet. Enjoy the satisfaction of providing them with a comfortable and convenient means of entering and exiting your home.
Read more: Installing A Storm Door
Tools and Materials
Before you begin the installation process, it’s essential to gather all the necessary tools and materials. Here’s a comprehensive list to ensure you have everything you need:
Tools:
- Measuring tape
- Pencil or marker
- Level
- Drill
- Jigsaw or reciprocating saw
- Screwdriver
- Utility knife
- Safety goggles
- Protective gloves
Materials:
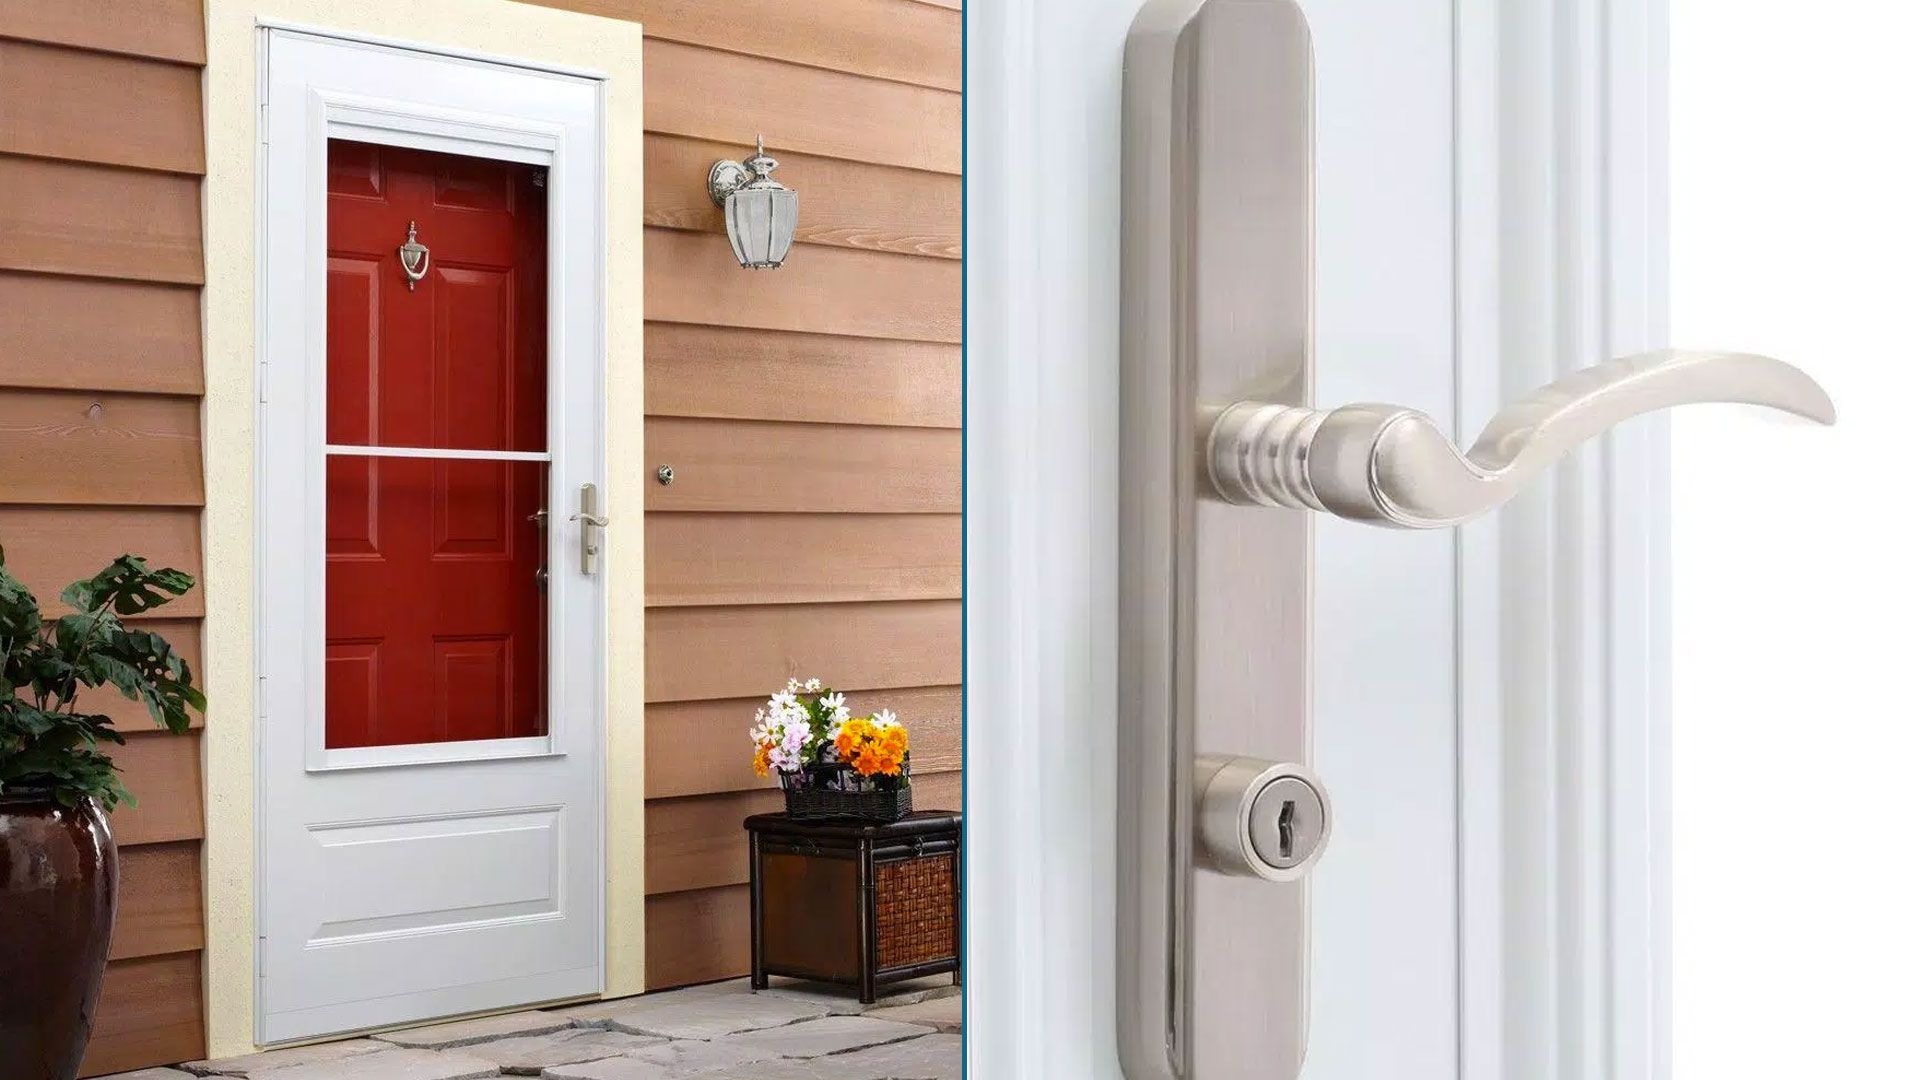
- Dog door kit (make sure it's suitable for a storm door installation)
- Screws
- Exterior caulk
- Paint or finish (if needed to match the door)
Having these tools and materials at your disposal will streamline the installation process and ensure that you can complete the project efficiently. Once you’ve gathered everything on the list, you’ll be ready to move on to the next steps of measuring and marking the door for the dog door installation.
Measuring and Marking
Before you start cutting into your storm door, it’s crucial to take accurate measurements and make precise markings to ensure that the dog door is installed in the correct location. Here’s a step-by-step guide to help you through this process:
Read more: How To Install A Larson Storm Door
Step 1: Choose the Location
- Consider the height of your pet and the convenience of access when choosing the placement of the dog door.
- Ensure that the location allows for easy entry and exit without obstructing the door’s functionality.
Step 2: Measure and Mark
- Use a measuring tape to determine the appropriate height for the dog door, typically a few inches above the floor to accommodate pets of various sizes.
- Mark the outline of the dog door template on the storm door using a pencil or marker. Most dog door kits come with a template for this purpose.
- Use a level to ensure that the markings are straight and aligned properly.
Step 3: Check the Measurements
- Double-check the measurements and markings to avoid any errors before proceeding to cut the opening.
- Verify that the placement allows for a clear pathway for your pet to move through the door comfortably.
By carefully measuring and marking the location for the dog door, you’ll lay the foundation for a successful installation. Taking the time to ensure accuracy at this stage will contribute to a seamless and professional-looking outcome.
Cutting the Opening
Once you’ve measured and marked the location for the dog door, the next step is to cut the opening in the storm door. This step requires precision and attention to detail to ensure that the opening is the right size for the dog door. Here’s a detailed guide to help you through the cutting process:
Read more: How To Install A Door Closer On A Storm Door
Step 1: Prepare the Door
- Remove the storm door from its hinges and lay it flat on a stable work surface to make the cutting process more manageable.
- Ensure that the door is secure and won’t move during the cutting process.
Step 2: Use the Template
- Place the dog door template on the marked area, ensuring that it aligns perfectly with the markings you made earlier.
- Secure the template in place using masking tape to prevent it from shifting while you work.
Step 3: Cutting the Opening
- Use a drill to create starter holes at the corners of the marked outline. These holes will serve as entry points for the jigsaw or reciprocating saw.
- Carefully use a jigsaw or reciprocating saw to cut along the marked outline, following the template’s shape.
- Take your time and use steady, even pressure to ensure clean and precise cuts.
Step 4: Smooth the Edges
- After cutting the opening, use a utility knife or sandpaper to smooth any rough edges or splinters around the newly created opening.
- Ensure that the edges are smooth to prevent any potential injury to your pet as they pass through the door.
By following these steps, you’ll successfully create a clean and accurately sized opening for the dog door. With the cutting process complete, you’re now ready to move on to the next phase of installing the dog door in the storm door.
Read more: How To Install A Storm Door Chain
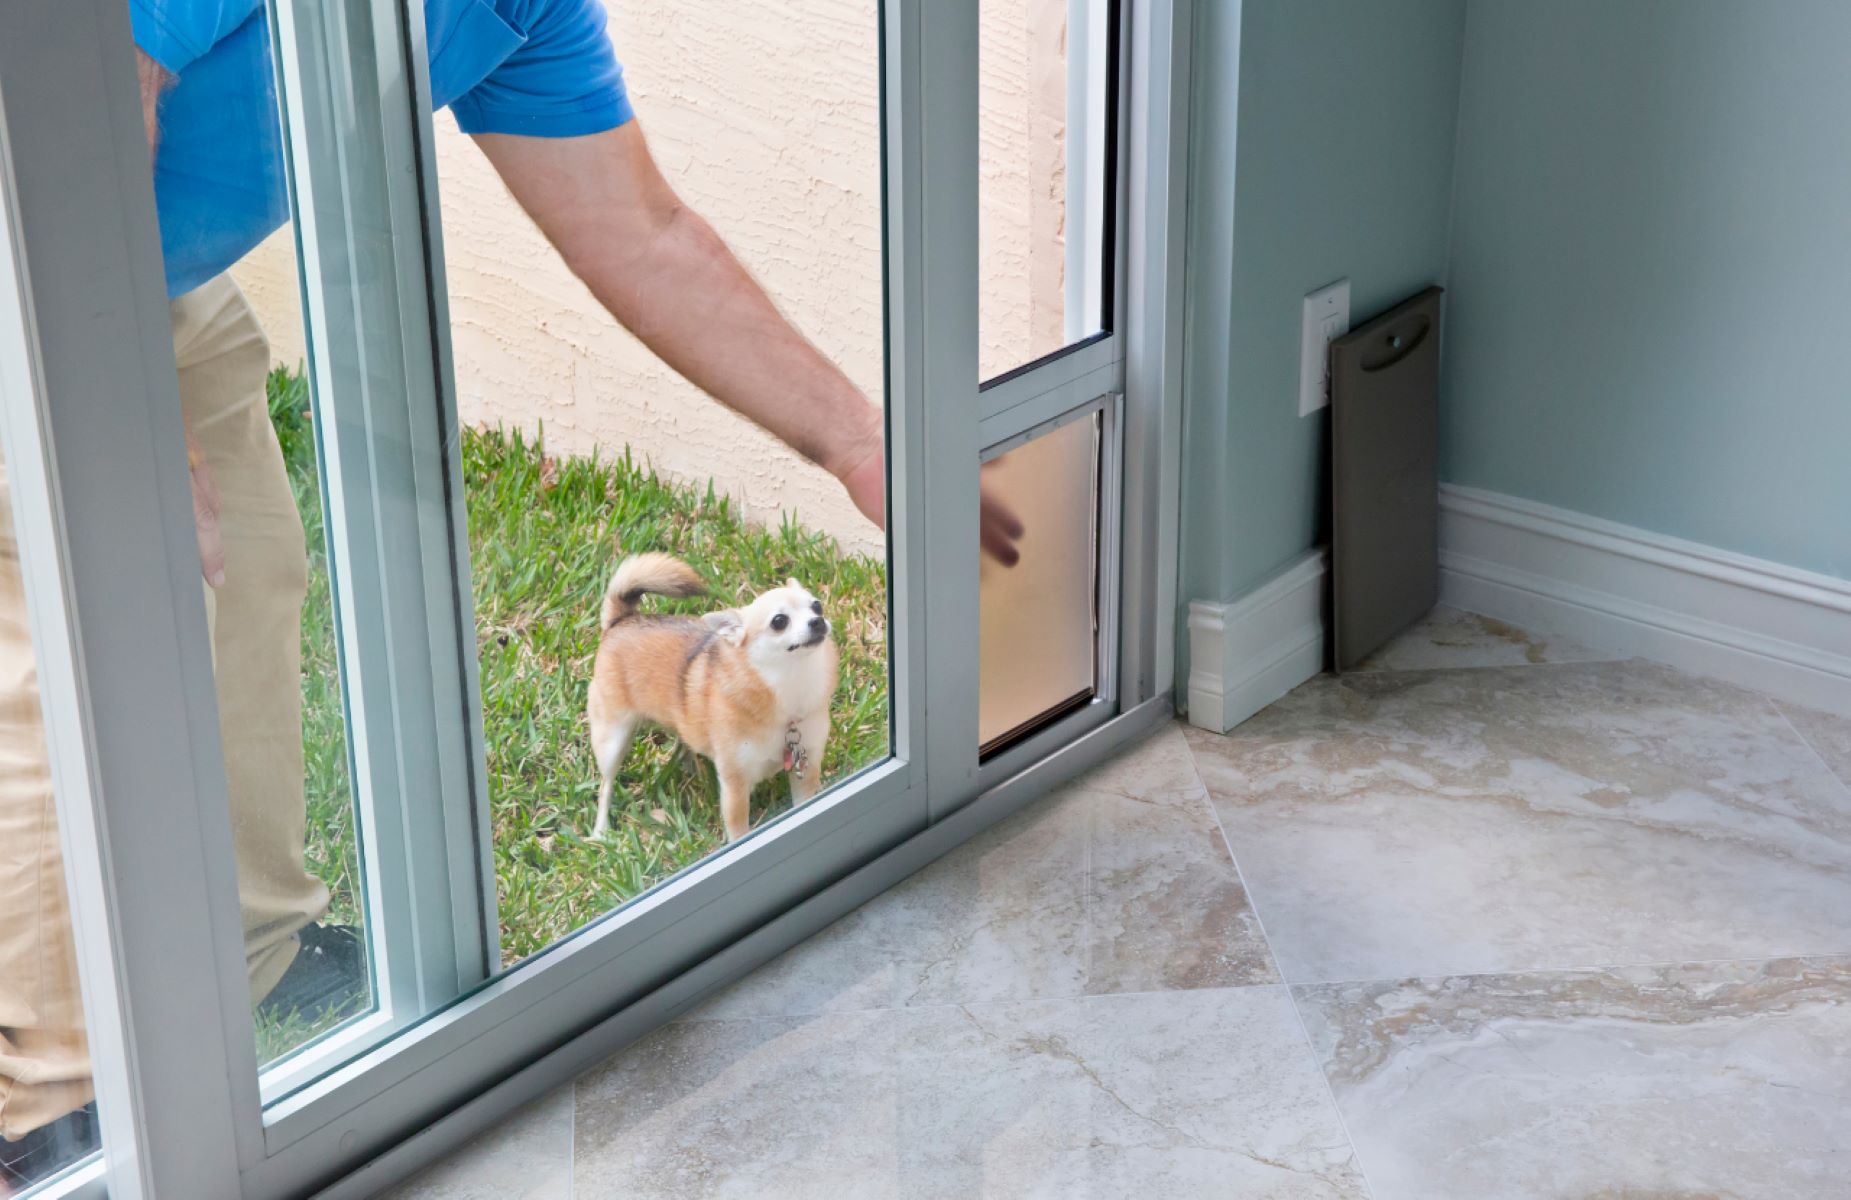
Installing the Dog Door
With the opening cut into the storm door, you’re now ready to proceed with the installation of the dog door. This step will involve securing the dog door into the opening and ensuring that it is properly aligned and sealed. Follow these steps to complete the installation:
Step 1: Position the Dog Door
- Place the dog door into the opening to check the fit and alignment.
- Ensure that the door is level and centered within the opening.
Step 2: Secure the Dog Door
- Following the manufacturer’s instructions, use screws to secure the dog door into the storm door.
- Ensure that the door is firmly attached and does not wobble or shift when pressure is applied.
Step 3: Apply Exterior Caulk
- Use exterior caulk to seal the edges of the dog door where it meets the storm door.
- This will help prevent drafts and moisture from seeping into the house and ensure a weather-tight seal.
Read more: How Long To Install A Storm Door
Step 4: Follow Manufacturer’s Guidelines
- Refer to the specific instructions provided by the dog door manufacturer to ensure that you are following their recommended installation process.
- Some dog door kits may have additional steps or requirements based on the design and features of the door.
By carefully following these steps, you’ll successfully install the dog door into the storm door, providing your pet with a convenient and secure access point to the outdoors. With the dog door in place, you’re now ready to proceed with testing and adjusting to ensure that everything functions as intended.
Testing and Adjusting
After installing the dog door in the storm door, it’s crucial to test its functionality and make any necessary adjustments to ensure that it operates smoothly and provides a secure entry and exit point for your pet. Follow these steps to test and adjust the dog door:
Step 1: Test the Flap
- Gently encourage your pet to approach the dog door and observe their interaction with it.
- Ensure that the flap opens easily for your pet to pass through and closes securely once they are inside.
- Make any necessary adjustments to the flap tension or magnets to achieve the desired functionality.
Step 2: Check for Drafts
- Stand near the dog door and feel for any drafts or air leaks around the edges.
- If you detect drafts, apply additional caulk or weather-stripping to seal the edges and prevent energy loss.
Read more: DIY Guide: Installing A Storm Door
Step 3: Verify Security
- Ensure that the dog door is secure and cannot be easily tampered with from the outside.
- Check the locking mechanism, if applicable, to confirm that it provides the necessary security when the door is not in use.
Step 4: Observe Your Pet’s Comfort
- Watch your pet as they use the dog door to go in and out of the house.
- Ensure that they are comfortable with the new access point and that it meets their needs without causing any distress.
By thoroughly testing the dog door and making any required adjustments, you can guarantee that it functions seamlessly and provides your pet with a safe and convenient entryway. With the testing and adjustments complete, you can now enjoy the benefits of a well-installed dog door in your storm door.
Conclusion
Congratulations on successfully installing a dog door in your storm door! By following the steps outlined in this guide, you’ve provided your beloved pet with the freedom to move in and out of your home while offering yourself the convenience of not having to open the door every time your pet wants to go outside. The seamless integration of a dog door into your storm door enhances the overall functionality and accessibility of your home, benefiting both you and your pet.
Remember, the key to a successful dog door installation lies in careful planning, precise measurements, and attention to detail during the cutting and installation process. By gathering the necessary tools and materials, measuring and marking the door accurately, cutting the opening with precision, and properly installing and testing the dog door, you’ve created a secure and functional access point for your pet.
As you observe your pet confidently using the new door, you’ll experience the satisfaction of providing them with a comfortable and convenient means of entering and exiting your home. Additionally, the energy-efficient features of a well-installed dog door can contribute to cost savings on heating and cooling bills while reducing your pet’s reliance on your assistance to go outdoors.
With the dog door in place, you can look forward to a harmonious coexistence with your pet, enriched by the newfound freedom and independence they now enjoy. Whether it’s a quick trip outside to stretch their legs or a leisurely stroll in the yard, your pet can now come and go as they please, adding joy and spontaneity to their daily routine.
We hope this guide has empowered you to undertake this home improvement project with confidence and enthusiasm. As you and your pet embrace the newfound freedom and convenience of the dog door, may your home be filled with warmth, comfort, and the delightful presence of your furry companion.
Frequently Asked Questions about How To Install A Dog Door In A Storm Door
Was this page helpful?
At Storables.com, we guarantee accurate and reliable information. Our content, validated by Expert Board Contributors, is crafted following stringent Editorial Policies. We're committed to providing you with well-researched, expert-backed insights for all your informational needs.


0 thoughts on “How To Install A Dog Door In A Storm Door”