Home>Renovation & DIY>Home Renovation Guides>How To Install A Larson Storm Door
Home Renovation Guides
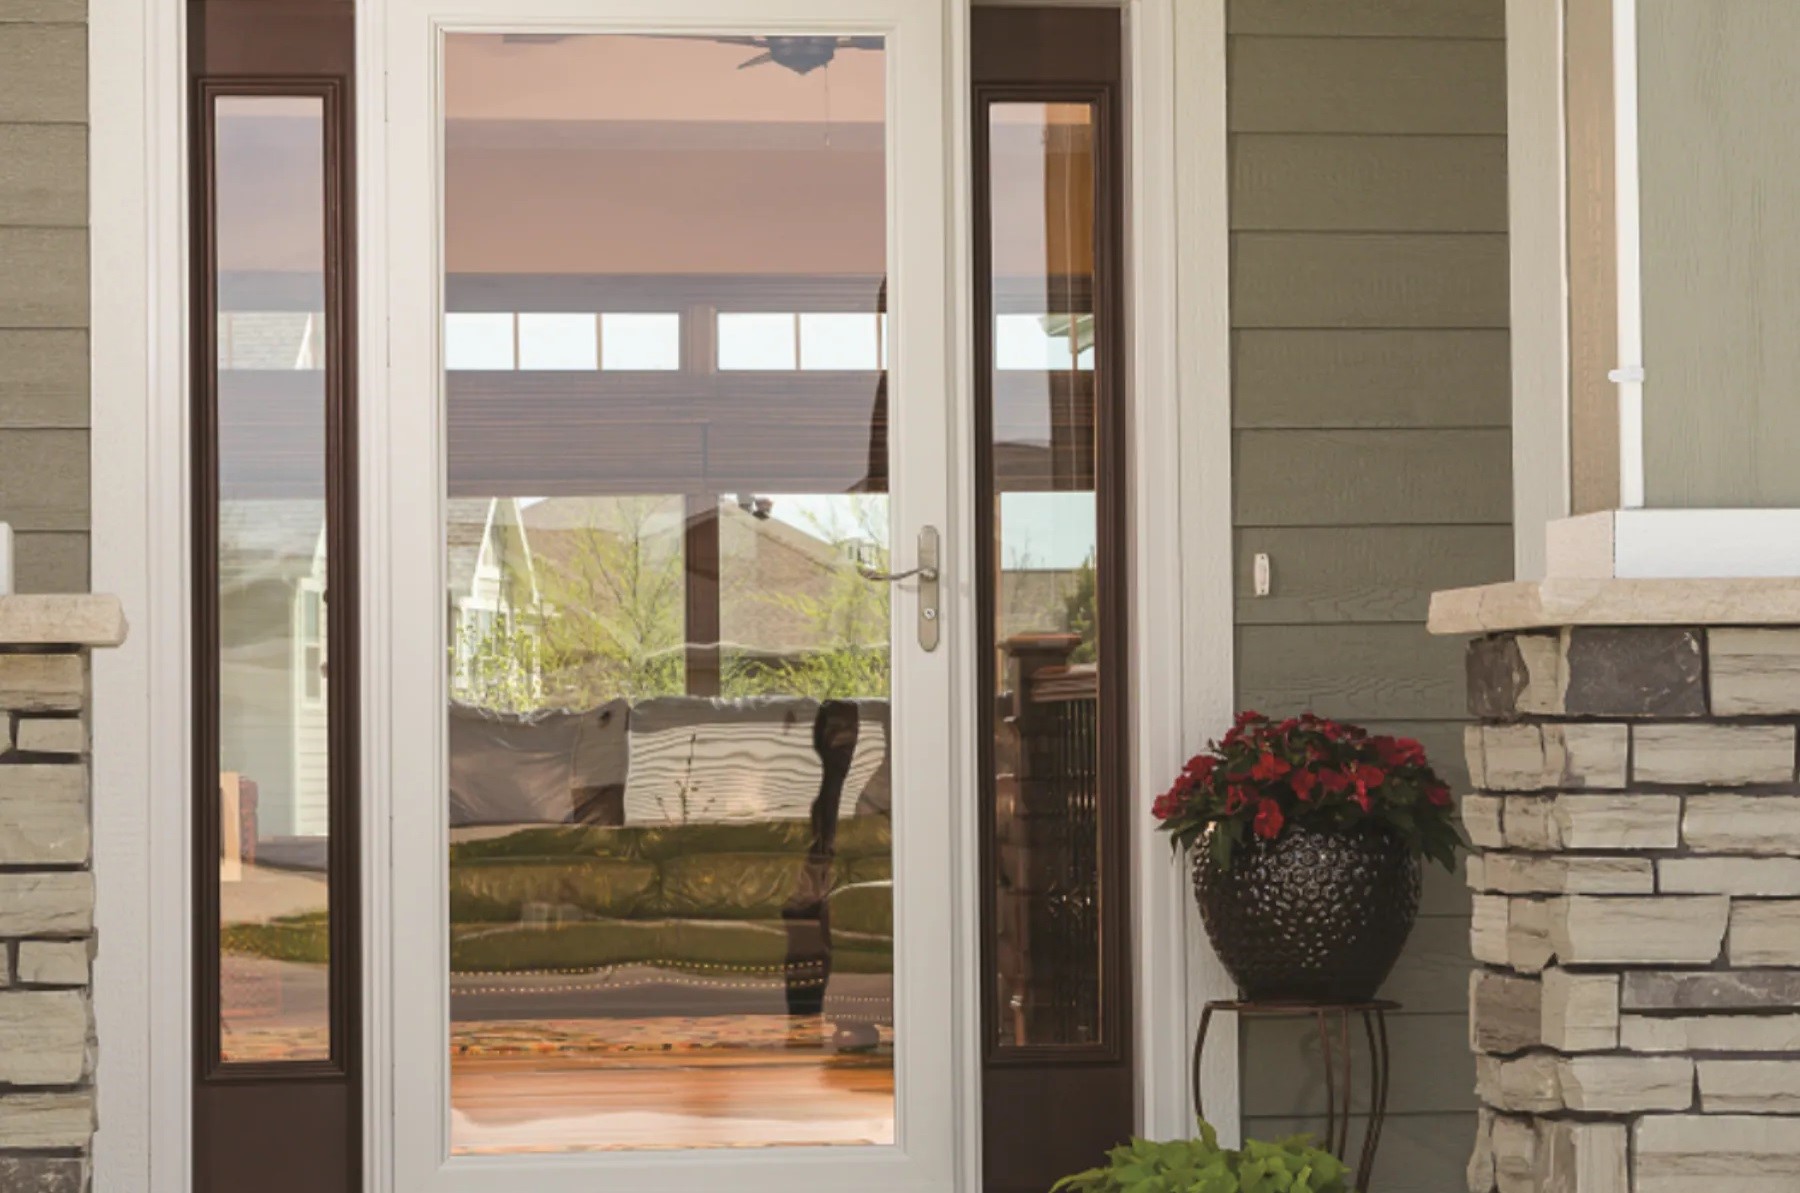
How To Install A Larson Storm Door
Modified: August 27, 2024
Learn how to install a Larson storm door with our comprehensive home renovation guide. Get step-by-step instructions for a seamless installation process.
(Many of the links in this article redirect to a specific reviewed product. Your purchase of these products through affiliate links helps to generate commission for Storables.com, at no extra cost. Learn more)
Introduction
So, you've decided to upgrade your home with a Larson storm door. Congratulations! This addition not only enhances the aesthetic appeal of your home but also provides an extra layer of protection against the elements. Whether you're a seasoned DIY enthusiast or a newcomer to the world of home improvement, installing a Larson storm door can be a rewarding and achievable project with the right guidance.
In this comprehensive guide, we'll walk you through the step-by-step process of installing a Larson storm door. From the essential tools and materials you'll need to the final adjustments that ensure a perfect fit, we've got you covered. By the end of this guide, you'll have the knowledge and confidence to tackle this project and elevate the functionality and charm of your home.
So, roll up your sleeves, gather your tools, and let's dive into the exciting world of Larson storm door installation!
Key Takeaways:
- Upgrade your home with a Larson storm door for added protection and aesthetic appeal. Follow the step-by-step guide for a rewarding DIY project that enhances your home’s charm and functionality.
- Prepare thoroughly, follow each step carefully, and make final adjustments for a perfect Larson storm door installation. Enjoy the benefits of improved energy efficiency and enhanced curb appeal.
Read more: How To Remove A Larson Storm Door Handle
Tools and Materials Needed
Before you begin the installation process, it's essential to gather all the necessary tools and materials. Having everything on hand will streamline the installation and prevent unnecessary interruptions. Here's a comprehensive list of what you'll need:
Tools:
- Measuring tape
- Power drill
- Screwdriver set
- Level
- Hacksaw (if needed for trimming)
- Utility knife
- Hammer
- Center punch
- Drill bits
- Adjustable wrench
Materials:
- Larson storm door kit (including all components and hardware)
- Screws
- Shims
- Expanding foam insulation
- Silicone caulk
Ensure that you have all the tools and materials listed above before you start the installation. This preparation will save you time and frustration during the process, allowing you to focus on the task at hand.
Preparation
Before diving into the installation process, it’s crucial to prepare the area and familiarize yourself with the components of the Larson storm door kit. Here’s a step-by-step guide to help you get ready:
Read more: Installing A Storm Door
Clear the Installation Area
Begin by clearing the area where the storm door will be installed. Remove any obstructions and ensure that the space is clean and free of debris. This will provide you with ample working space and make the installation process more manageable.
Review the Instructions
Take the time to thoroughly review the installation instructions provided with the Larson storm door kit. Familiarize yourself with the components, hardware, and any specific guidelines or tips outlined in the manual. Understanding the steps in advance will give you confidence as you proceed with the installation.
Inspect the Door Frame
Inspect the existing door frame to ensure that it is structurally sound and free of any damage. If there are any issues, such as rot or instability, address them before proceeding with the storm door installation. A sturdy and secure door frame is essential for the successful installation of the Larson storm door.
Gather the Necessary Tools and Materials
Refer to the “Tools and Materials Needed” section of this guide and gather all the required tools and materials. Having everything at your disposal before starting the installation will streamline the process and minimize interruptions.
Measure and Prepare the Opening
Measure the opening where the storm door will be installed to ensure that it accommodates the dimensions of the Larson storm door. Make any necessary adjustments to the opening, such as trimming or shimming, to create a precise and secure fit for the door.
By thoroughly preparing the installation area and familiarizing yourself with the components and instructions, you’ll set the stage for a smooth and successful installation of your Larson storm door.
Installing the Door Frame
With the preparation complete, it’s time to move on to the first crucial step of installing your Larson storm door: installing the door frame. This foundational element sets the stage for the rest of the installation process. Follow these steps to ensure a secure and precise installation:
Position the Frame
Position the door frame in the opening where the storm door will be installed. Ensure that it is centered and level within the opening. Use shims as needed to adjust the positioning and ensure that the frame is plumb and square.
Secure the Frame
Once the frame is positioned correctly, secure it in place using screws provided in the Larson storm door kit. Drive the screws through the pre-drilled holes in the frame and into the surrounding structure. This will anchor the frame securely and provide a stable foundation for the storm door.
Check for Alignment
After securing the frame, double-check the alignment to confirm that it remains level, plumb, and centered within the opening. Making any necessary adjustments at this stage will prevent issues later in the installation process.
Insulate the Gaps
Apply expanding foam insulation around the perimeter of the door frame to fill any gaps between the frame and the surrounding structure. This insulation will improve energy efficiency and provide additional stability for the frame.
Trim Excess Insulation
Once the expanding foam insulation has set, trim any excess foam using a utility knife or a similar cutting tool. This will ensure a clean and professional appearance around the door frame.
By following these steps, you’ll successfully install the door frame for your Larson storm door, laying the groundwork for the remaining installation process.
Attaching the Hinges
With the door frame securely in place, the next critical step in installing your Larson storm door is attaching the hinges. The hinges play a pivotal role in enabling the door to swing open and closed smoothly. Follow these steps to ensure a seamless and secure attachment of the hinges:
Read more: How To Install A Door Closer On A Storm Door
Position the Hinges
Hold the door in the open position and position the hinges on the side of the door that will be attached to the frame. Ensure that the hinges are aligned correctly and that they will allow the door to swing open and closed without obstruction.
Secure the Hinges
Using the screws provided in the Larson storm door kit, secure the hinges to the door. Drive the screws through the pre-drilled holes in the hinges and into the door material, ensuring a firm and stable attachment.
Align the Hinges with the Frame
With the hinges attached to the door, carefully position the door within the frame. Align the hinges with the corresponding mounting locations on the frame, ensuring that the door is positioned correctly and swings smoothly within the frame.
Secure the Hinges to the Frame
Once the hinges are aligned with the mounting locations on the frame, secure them in place using the screws provided in the Larson storm door kit. Drive the screws through the hinges and into the frame, ensuring a secure and stable attachment.
Read more: How To Install A Dog Door In A Storm Door
Test the Door Movement
After attaching the hinges, test the movement of the door to ensure that it swings open and closed smoothly within the frame. Make any necessary adjustments to the hinges or the door position to achieve optimal movement and alignment.
By following these steps, you’ll successfully attach the hinges to your Larson storm door, setting the stage for the next phases of the installation process.
Installing the Closer
As you progress with the installation of your Larson storm door, the next essential step is installing the closer. The closer is responsible for controlling the speed and smoothness of the door’s closing action. Follow these steps to ensure a precise and effective installation of the closer:
Position the Closer
Begin by positioning the closer at the top of the door, aligning it with the designated mounting locations. The closer should be situated to facilitate a controlled and gradual closing motion when the door is released.
Secure the Closer
Using the screws provided in the Larson storm door kit, secure the closer to the designated mounting locations on the door. Drive the screws through the pre-drilled holes in the closer and into the door material, ensuring a firm and stable attachment.
Read more: How To Install A Storm Door Chain
Adjust the Closer Tension
Most closers allow for adjustment of the closing speed and tension. Refer to the manufacturer’s instructions to make any necessary adjustments to the closer’s tension, ensuring that the door closes smoothly and securely without slamming or latching too slowly.
Test the Closing Action
After installing and adjusting the closer, test the door’s closing action to ensure that it operates smoothly and securely. Open the door and release it to observe the closer in action, making any additional adjustments as needed to achieve the desired closing motion.
Verify the Latching Mechanism
As the door closes, verify that the latching mechanism engages securely with the door frame, providing a tight and reliable seal. Make any necessary adjustments to the closer or the door’s position to ensure proper latching and sealing.
By following these steps, you’ll successfully install the closer for your Larson storm door, enhancing its functionality and ensuring a smooth and controlled closing action.
Attaching the Door Handle
With the core components of your Larson storm door in place, it’s time to focus on attaching the door handle. The door handle not only serves as a functional element for opening and closing the door but also adds a touch of style to the overall appearance. Follow these steps to ensure a secure and aesthetically pleasing attachment of the door handle:
Read more: How Long To Install A Storm Door
Prepare the Handle Components
Before attaching the door handle, familiarize yourself with its components, including the handle set, latch, and any additional hardware provided in the Larson storm door kit. Ensure that all necessary components are readily available and in proper working condition.
Position the Handle Set
Position the handle set on the exterior side of the door, aligning it with the pre-drilled holes designated for the handle installation. Ensure that the handle set is oriented correctly, with the lever or knob positioned for easy and intuitive operation.
Secure the Handle Set
Using the screws provided in the Larson storm door kit, secure the handle set to the exterior side of the door. Drive the screws through the pre-drilled holes in the handle set and into the door material, ensuring a firm and stable attachment that allows for smooth operation of the handle.
Install the Latch
Position the latch mechanism on the interior side of the door, aligning it with the corresponding components of the handle set. Secure the latch in place using the screws provided, ensuring that it operates smoothly and consistently with the handle set.
Read more: DIY Guide: Installing A Storm Door
Test the Handle and Latch
After attaching the door handle and latch, test the functionality of the handle set and the latch mechanism. Verify that the handle operates smoothly, allowing for easy opening and closing of the door, and ensure that the latch engages securely with the door frame when the door is closed.
By following these steps, you’ll successfully attach the door handle to your Larson storm door, adding both functionality and visual appeal to this essential entryway feature.
Final Adjustments
As you near the completion of your Larson storm door installation, it’s essential to focus on the final adjustments to ensure that the door operates seamlessly and provides optimal functionality. These adjustments encompass fine-tuning various elements to achieve a perfect fit and smooth operation. Follow these steps to make the necessary final adjustments:
Check Alignment and Operation
Thoroughly inspect the installed storm door, paying close attention to its alignment within the frame and its overall operation. Open and close the door multiple times to assess its movement and ensure that it operates smoothly without any obstructions or misalignments.
Adjust the Closer
If necessary, make any additional adjustments to the closer mechanism to fine-tune the door’s closing action. Refer to the manufacturer’s instructions to modify the closer’s tension or speed, ensuring that the door closes smoothly and securely without any abrupt movements.
Verify the Latching Mechanism
Ensure that the door’s latching mechanism engages securely with the frame, providing a tight and reliable seal when the door is closed. Make any adjustments to the latch or the door handle components to guarantee that the door latches securely without excessive force.
Inspect and Seal Gaps
Thoroughly inspect the perimeter of the installed storm door to identify any gaps between the frame and the surrounding structure. Use silicone caulk to seal any gaps and prevent drafts, moisture, or debris from entering the space between the door frame and the structure.
Test for Energy Efficiency
Conduct a final assessment of the storm door’s energy efficiency by verifying that it provides a reliable barrier against drafts and outdoor elements. Stand near the door and assess for any air leaks or drafts, making any necessary adjustments to enhance its energy-saving properties.
Ensure Smooth Operation
Once all adjustments are made, test the door’s operation again to ensure that it opens and closes smoothly, latches securely, and provides a seamless transition between open and closed positions. Verify that the door handle operates effortlessly and that the door maintains its alignment within the frame.
By completing these final adjustments, you’ll ensure that your Larson storm door is installed to perfection, providing both functionality and aesthetic appeal while offering reliable protection and energy efficiency for your home.
Read more: How To Install Emco 400 Series Storm Door
Conclusion
Congratulations on successfully installing your Larson storm door! You’ve not only enhanced the visual appeal of your home but also fortified it with an additional layer of protection against the elements. The process of installing a Larson storm door may have presented its challenges, but your dedication and attention to detail have resulted in a valuable addition to your home.
As you reflect on this accomplishment, take pride in the fact that you’ve expanded your DIY skills and contributed to the comfort and security of your living space. The installation process may have been a journey of learning and discovery, and your commitment to achieving a professional result has undoubtedly paid off.
With your new Larson storm door in place, you can look forward to enjoying the benefits it brings, from improved energy efficiency to enhanced curb appeal. As you open and close the door, feeling the smooth operation and secure closure, you’ll appreciate the effort you’ve invested in this project.
Remember, the installation of a Larson storm door is not just a practical task; it’s a testament to your ability to take on home improvement projects that elevate the functionality and beauty of your living space. Your dedication to this endeavor is a reflection of your commitment to creating a comfortable and welcoming home environment for yourself and your loved ones.
As you admire your newly installed Larson storm door, take a moment to appreciate the transformation it has brought to your home. Your attention to detail, patience, and perseverance have resulted in a valuable upgrade that will be enjoyed for years to come.
So, take a well-deserved moment to bask in the satisfaction of a job well done. Your Larson storm door stands as a testament to your determination and capability, and it will continue to serve as a functional and stylish asset to your home for the long term.
Frequently Asked Questions about How To Install A Larson Storm Door
Was this page helpful?
At Storables.com, we guarantee accurate and reliable information. Our content, validated by Expert Board Contributors, is crafted following stringent Editorial Policies. We're committed to providing you with well-researched, expert-backed insights for all your informational needs.


0 thoughts on “How To Install A Larson Storm Door”