Home>Ideas and Tips>DIY Guide: Refinishing Hardwood Floors
Ideas and Tips
DIY Guide: Refinishing Hardwood Floors
Published: September 26, 2024
Learn how to refinish hardwood floors with our step-by-step DIY guide. Restore your floors' beauty and save money with expert tips and techniques.
(Many of the links in this article redirect to a specific reviewed product. Your purchase of these products through affiliate links helps to generate commission for Storables.com, at no extra cost. Learn more)
Refinishing your hardwood floors can be a rewarding and cost-effective way to restore the beauty and functionality of your home. This comprehensive guide will walk you through the step-by-step process of refinishing hardwood floors, from preparation to finishing, providing you with all the necessary tools, materials, and tips to achieve professional-looking results.
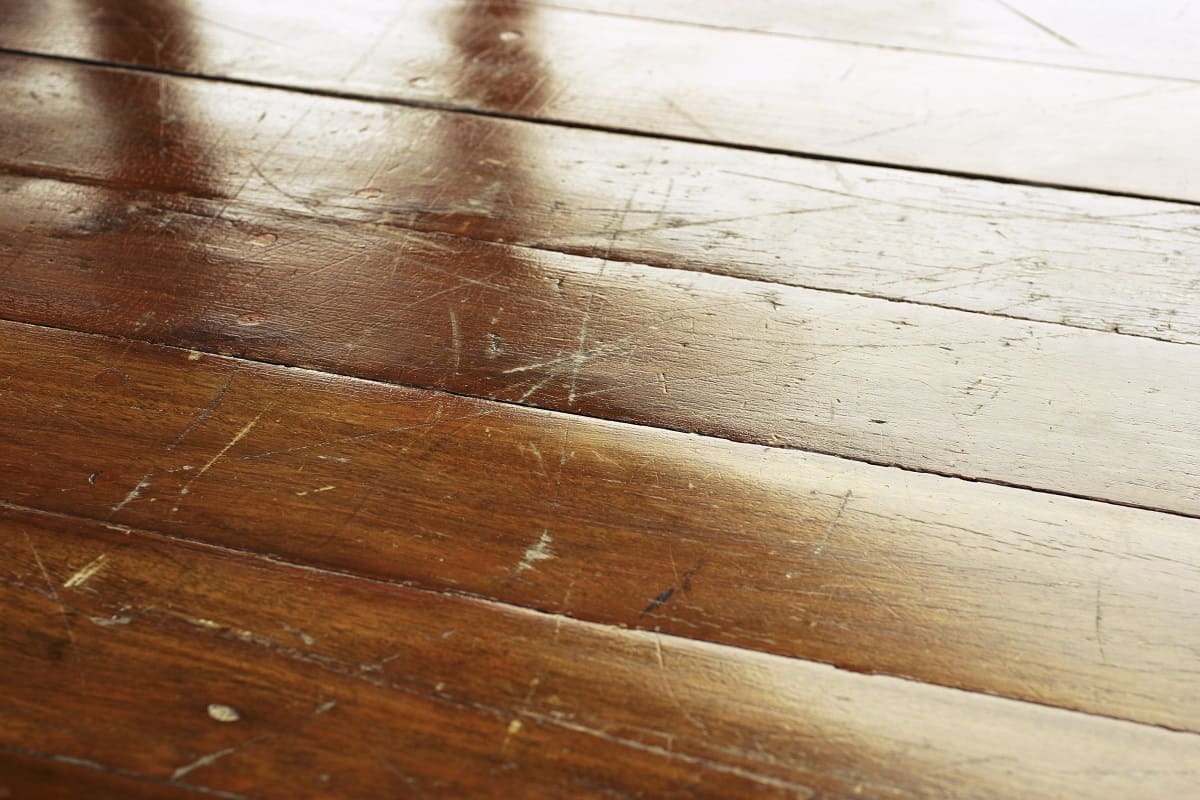
Hardwood floors are a timeless and elegant addition to any home. However, over time, they can become worn and damaged, losing their original luster. Refinishing your hardwood floors is a great way to restore them to their former glory without breaking the bank. With the right tools and some elbow grease, you can transform your floors from dull and scratched to smooth and shiny.
Why Refinish Your Hardwood Floors?
Refinishing your hardwood floors is a smart move for several reasons. First off, it’s cost-effective. Instead of shelling out big bucks for new flooring, you can spend between $500 to $1,000 to refinish what you already have. That’s a steal compared to the price of new hardwood.
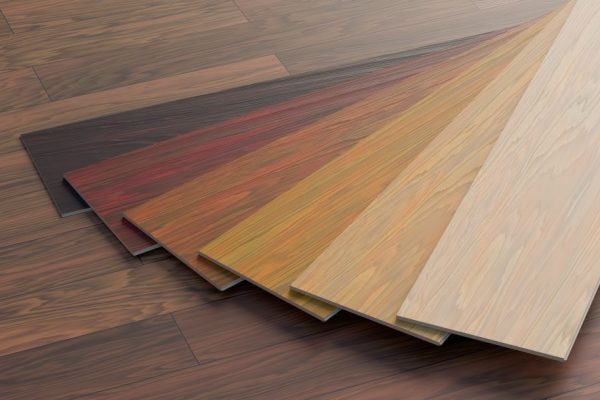
Another reason is the environmental benefits. By refinishing, you’re reducing waste and cutting down on the need for new materials. It’s a win-win for you and the planet. Plus, you get to customize the finish and color to match your home’s style. Want a darker stain or a glossy finish? You got it.
Lastly, well-maintained hardwood floors can increase your home’s value. Potential buyers love the look of polished, well-kept floors. So, not only do you get to enjoy beautiful floors now, but you also make a smart investment for the future.
Read more: DIY Guide To Refinishing Hardwood Floors
Preparation
Before you start refinishing your hardwood floors, it's crucial to prepare the area thoroughly.
Step 1: Remove Furniture and Baseboards
-
Clear the Room: Move all furniture, including chairs, tables, and beds, out of the room. If you can't remove the furniture entirely, cover it with drop cloths or plastic sheets to protect it from dust and finish spills.
-
Remove Baseboards: Take down all baseboards and wall trim to prevent dust and finish from getting behind them. Number the baseboards so they can be easily reinstalled later.
-
Protect Walls and Doors: Use blue tape to seal off areas around doors, windows, cabinets, and any other surfaces you don't want to get dusty or finished.
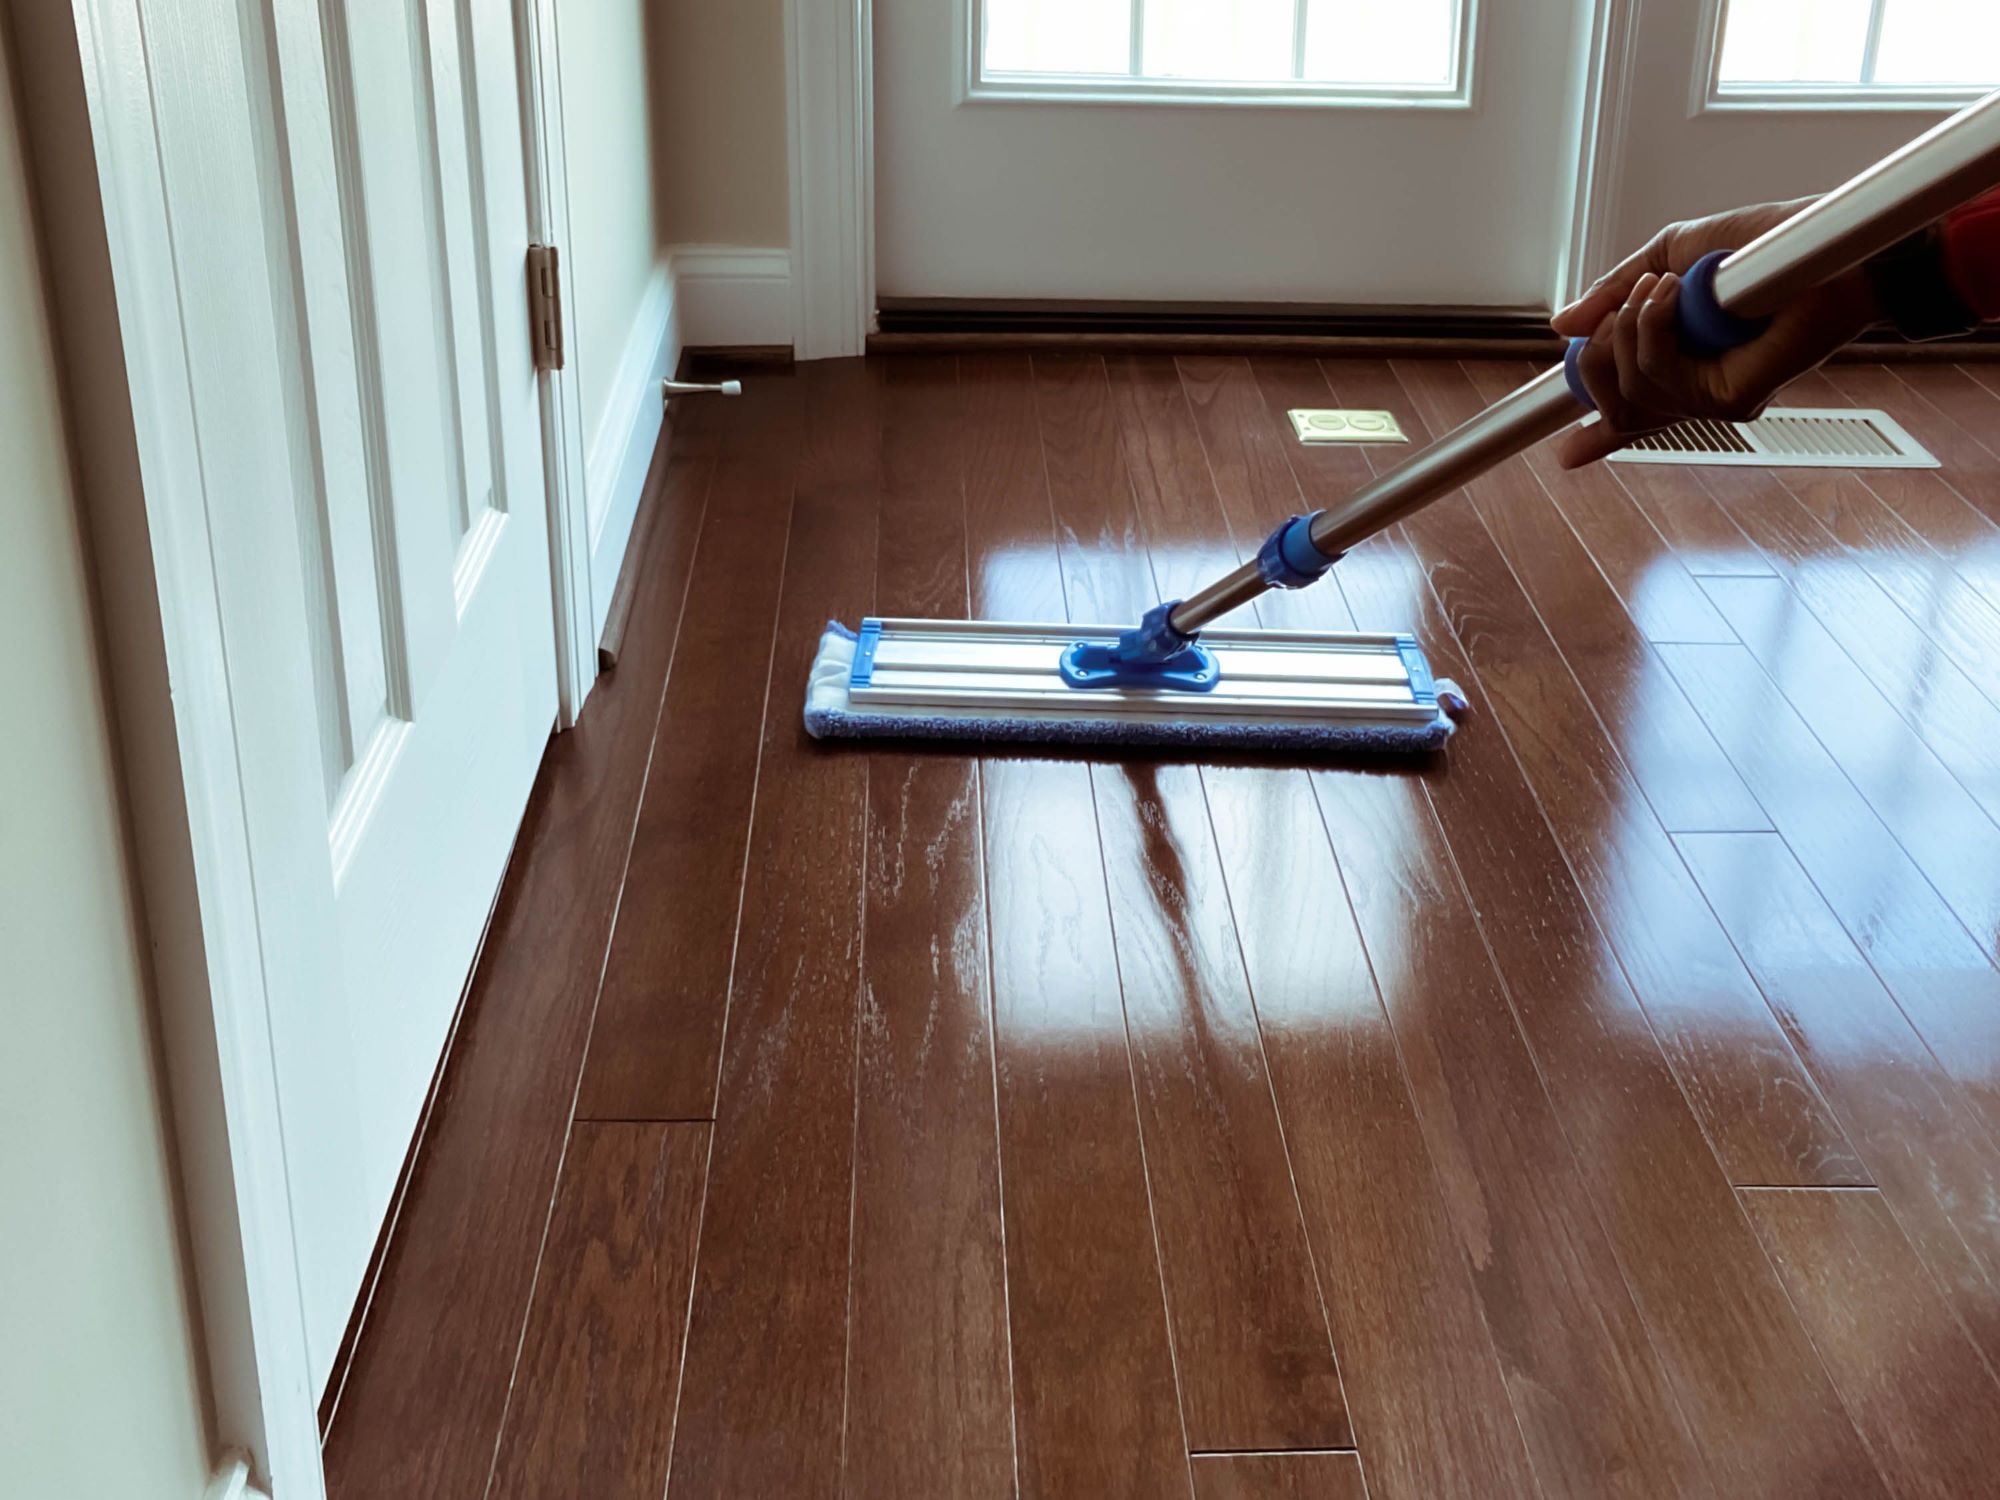
Step 2: Clean the Floor
-
Remove Old Finish: Scrape off any old finish using a scraper or putty knife. This will help you identify any areas that need more attention.
-
Clean the Floor: Use a hardwood floor cleaner or a mixture of 10 parts water to one part white vinegar to clean the floor thoroughly. Gently wipe the floor with a terry-cloth mop or a towel wrapped around a mop head.
-
Dry the Floor: Open windows and doors to let the floor dry completely before proceeding with sanding.
Sanding
Sanding is a critical step in refinishing your hardwood floors. It helps remove old finish, smooth out the surface, and prepare it for new finish.
Read more: How To Refinish A Hardwood Floor
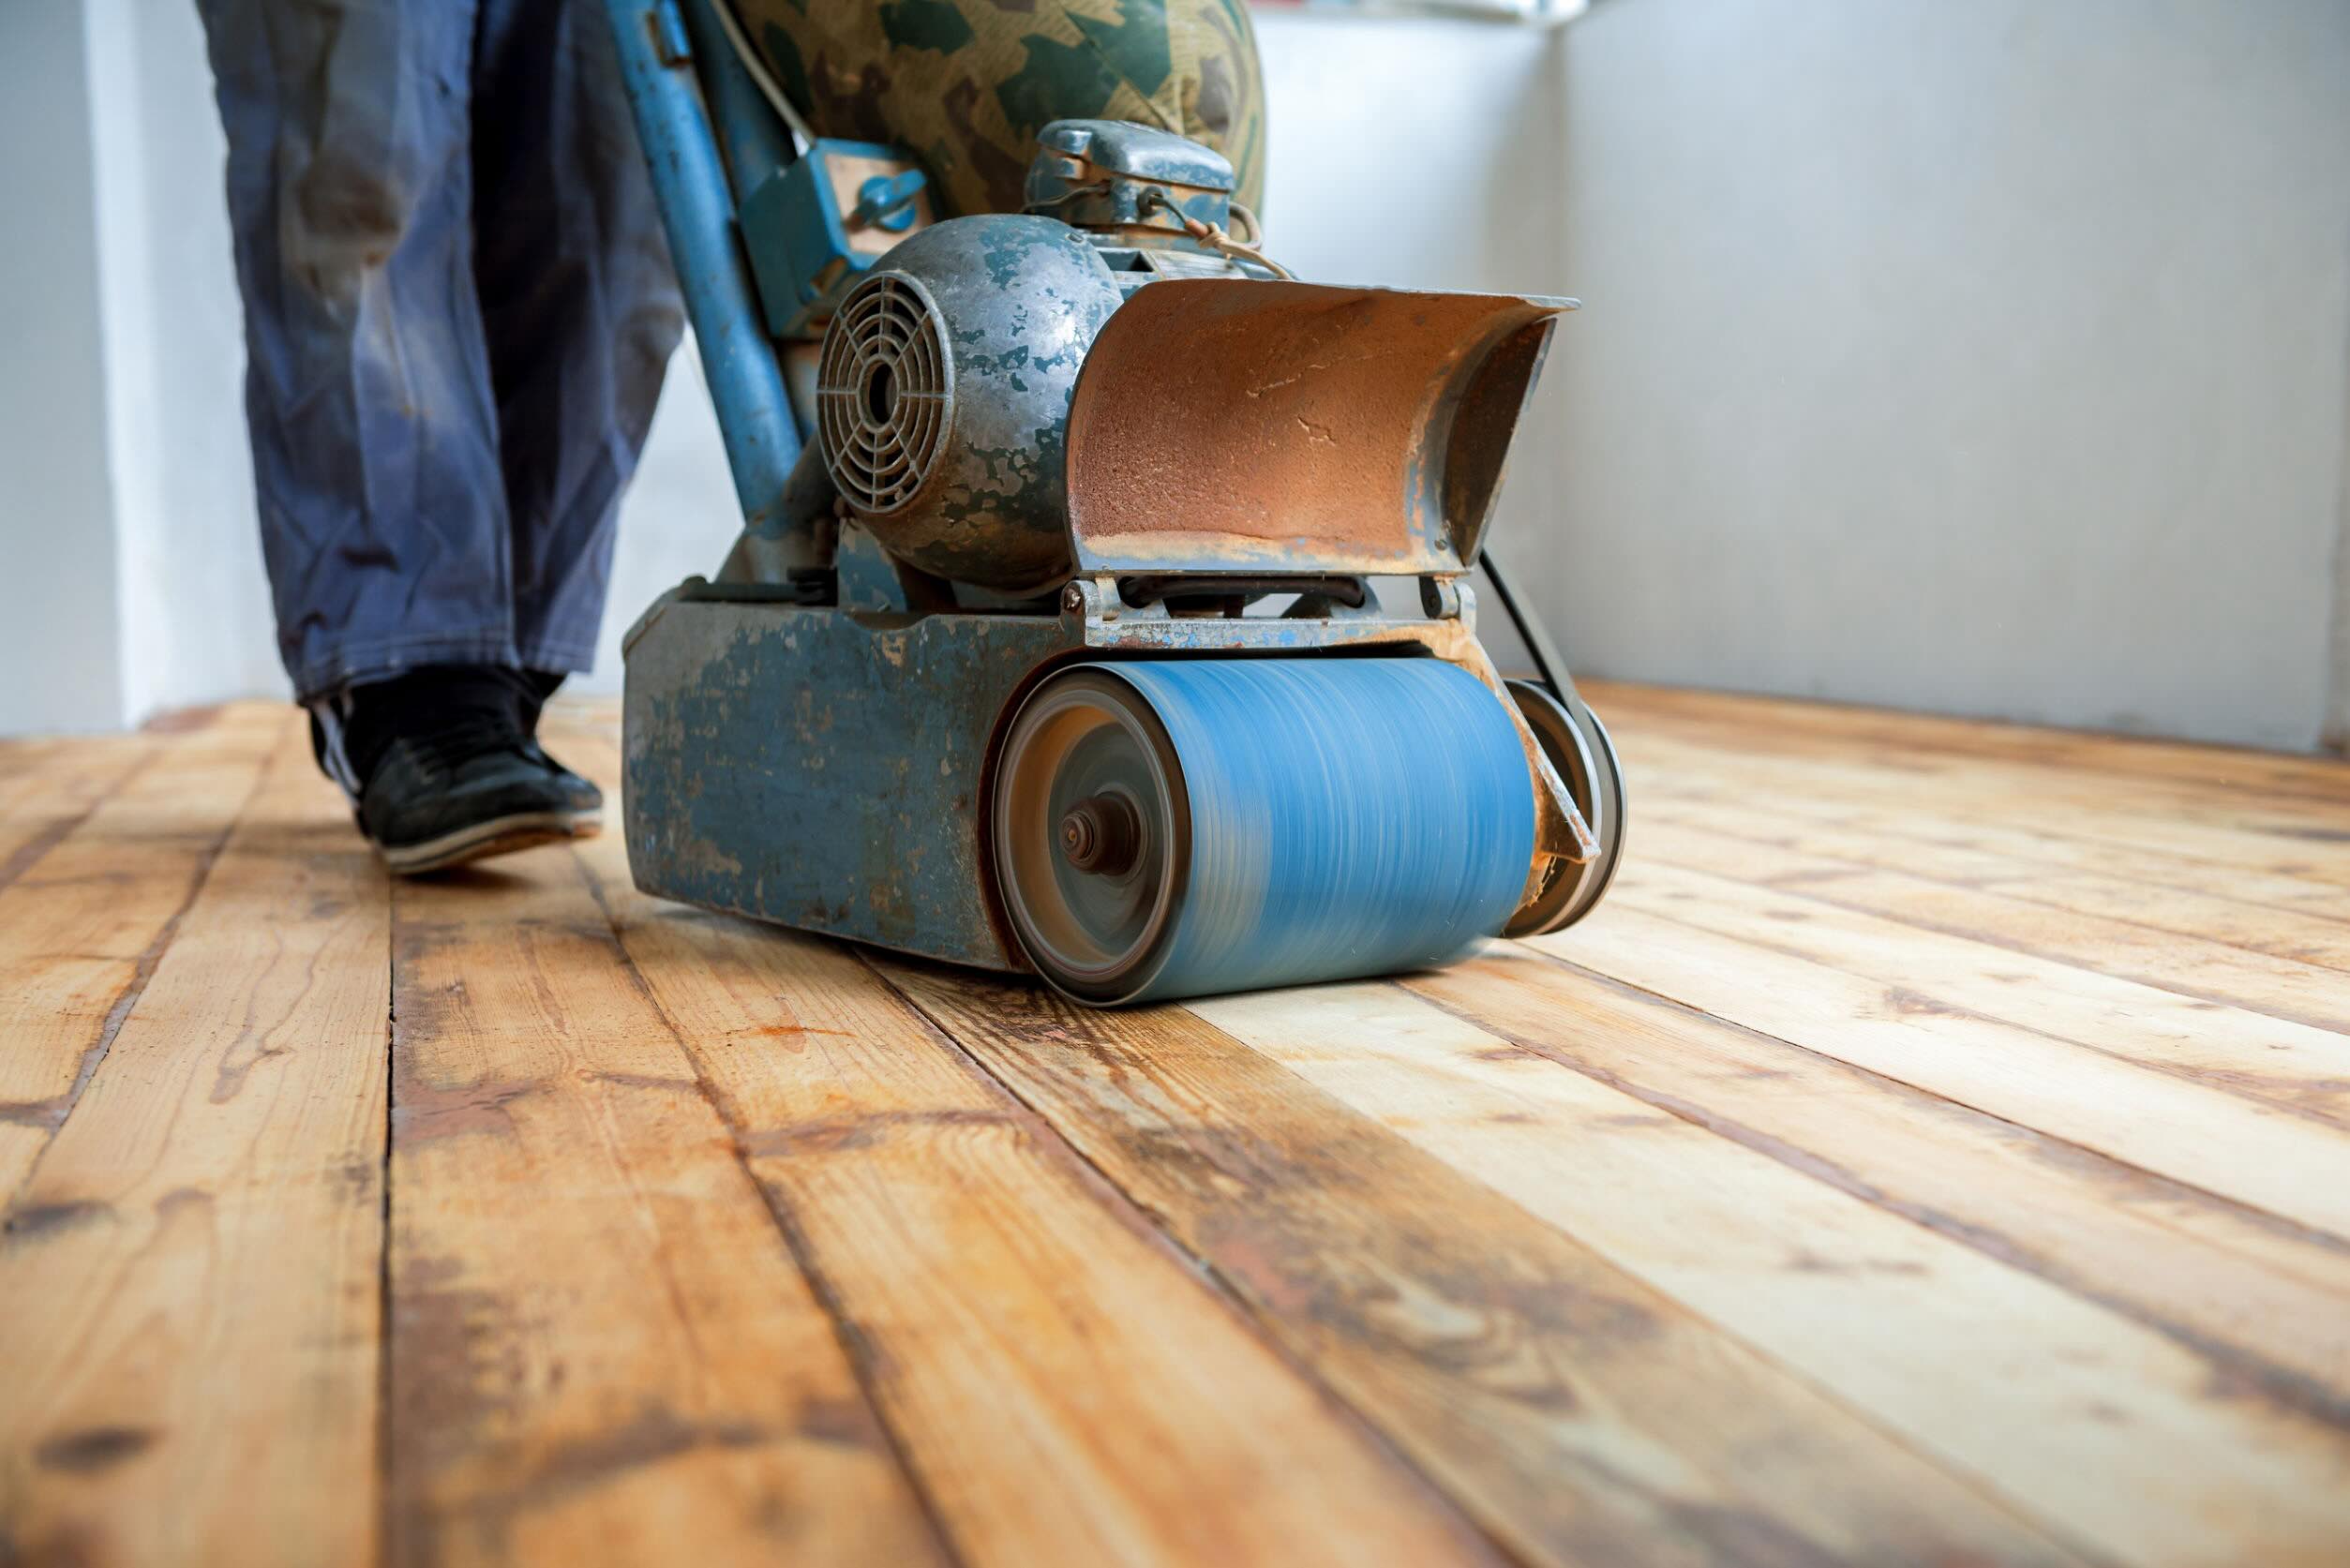
Step 1: Coarse Sanding
-
Rent a Floor Sander: If you have access to a floor sander, use it for coarse sanding. If not, you can use a drum sander or a belt sander for smaller areas.
-
Choose the Right Grit: Start with coarse grit sandpaper (about 40-60 grit) to remove old finish and smooth out the surface.
-
Work in Sections: Divide the floor into sections and sand one section at a time to maintain even progress.
-
Sand with the Grain: Always sand in the direction of the wood grain to avoid scratching the floor.
Step 2: Finer Sanding
-
Switch to Finer Grit: Once you've removed most of the old finish, switch to finer grit sandpaper (about 80-100 grit) for smoother results.
-
Repeat as Necessary: Depending on how rough your floor was initially, you may need to repeat this process with even finer grits (120-150 grit) until you achieve a smooth finish.
-
Use Power Sanders for Corners: Use power sanders for corners and edges where floor sanders can't reach properly.
Step 3: Final Sanding
-
220-Grit Sandpaper: Use 220-grit sandpaper for final sanding to remove any raised grain caused by previous coats of finish.
-
Vacuum Thoroughly: Vacuum the entire area thoroughly after each sanding session to remove dust and debris.
Filling Gaps and Nails
Before applying new finish, it's essential to fill any gaps or holes in the floor.
-
Identify Gaps: Look for gaps in your flooring that are more than a couple of millimeters wide and fill them with wood filler that closely matches your floor's type of timber.
-
Use Nail Punch: Wherever you hear squeaks, it's because the floor has become loose and is shifting on the joists as you walk. Use a nail punch to drive nails further into place and then fill any holes created.
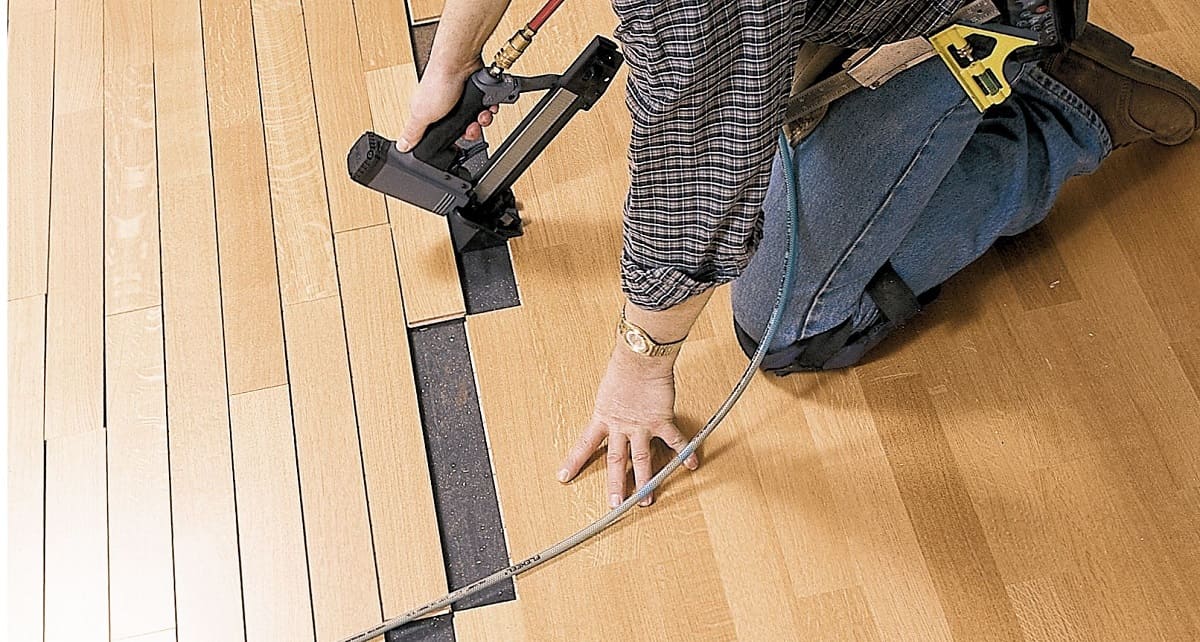
Read more: DIY Guide To Installing Hardwood Floors
Applying Finish
Applying finish is the final step in refinishing your hardwood floors.
Step 1: Choose Your Finish
-
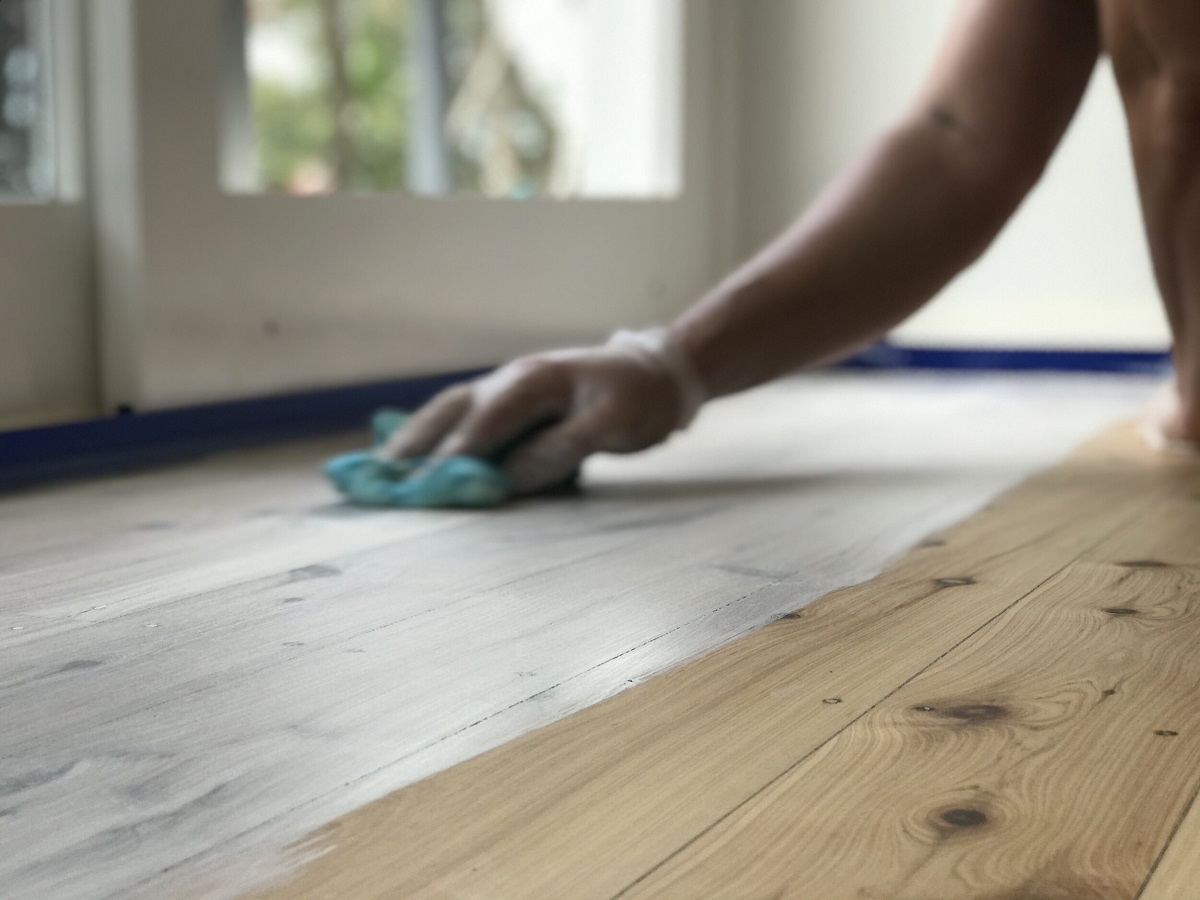
Water-Based vs Oil-Based: Decide between water-based polyurethane (recommended for its low odor and shorter drying time) or oil-based polyurethane (which tends to have an amber color but provides better durability).
-
Base Coat: If you're using water-based polyurethane, apply a base coat first to avoid discoloration caused by tannins from your wood floor reacting with the finish.
Step 2: Apply Finish
-
Cut-In Along Edges: Use a paintbrush to apply a 3-inch-wide stripe beside baseboards at a point farthest from your exit door.
-
Roll Out Polyurethane: Pour out a 1-inch-wide stripe of finish in line with the grain—only as much as you can spread in 10 minutes—and roll it out using a long-handled roller with a 1/4-inch nap cover.
-
Overlap Passes: Overlap each pass while working quickly to keep a wet edge; stop after 10 minutes and brush more finish along the edge before pouring and rolling again.
-
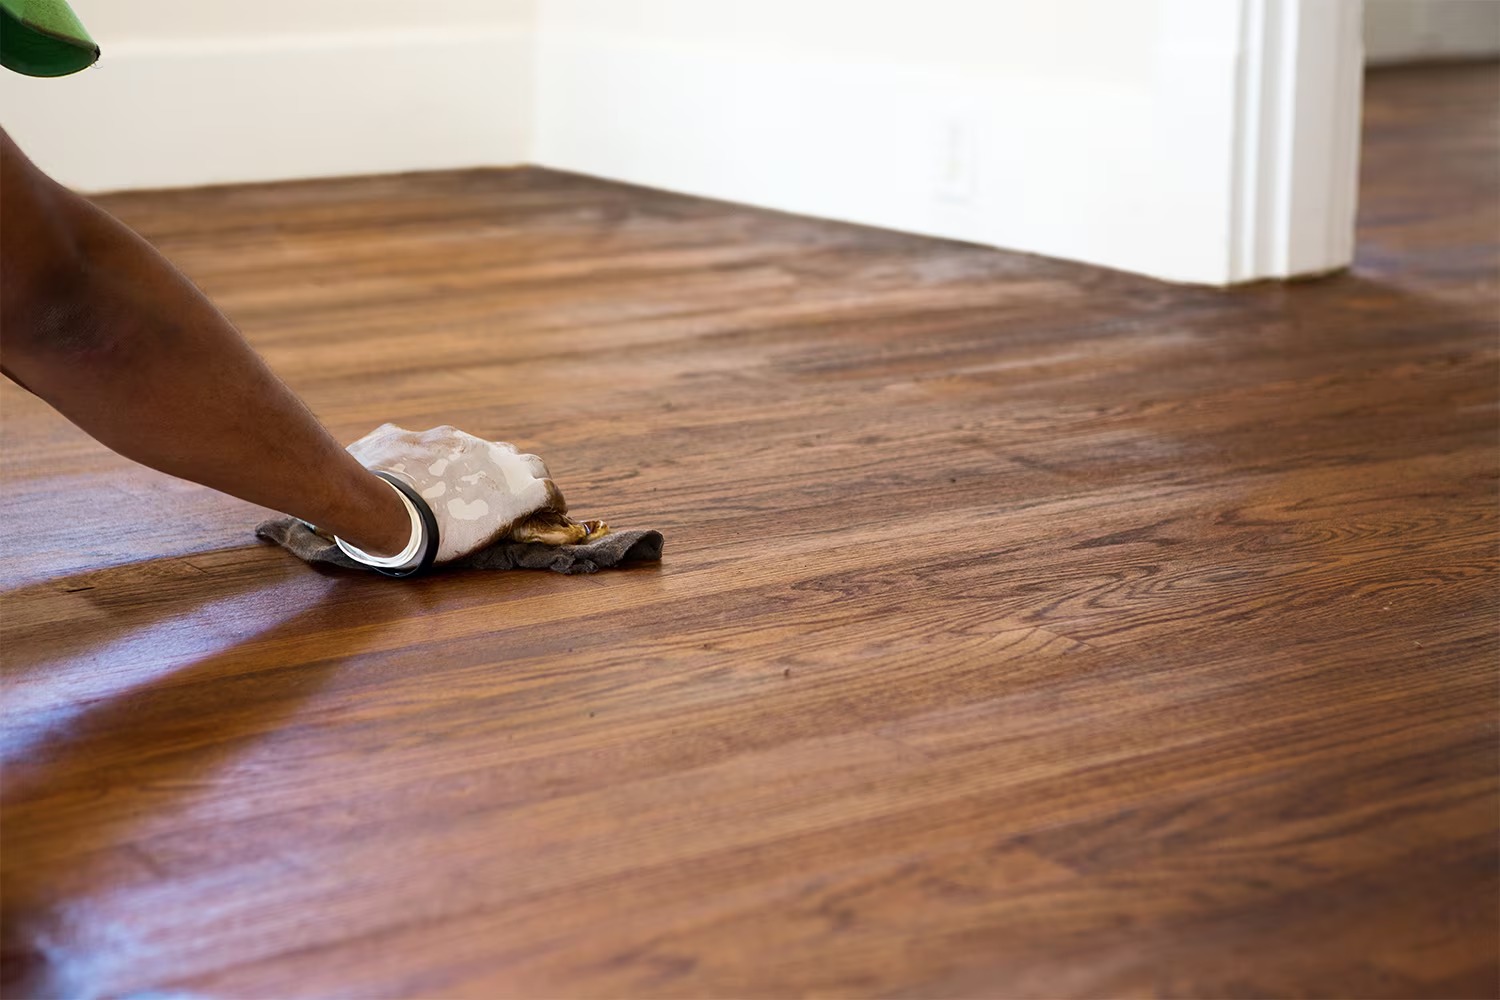
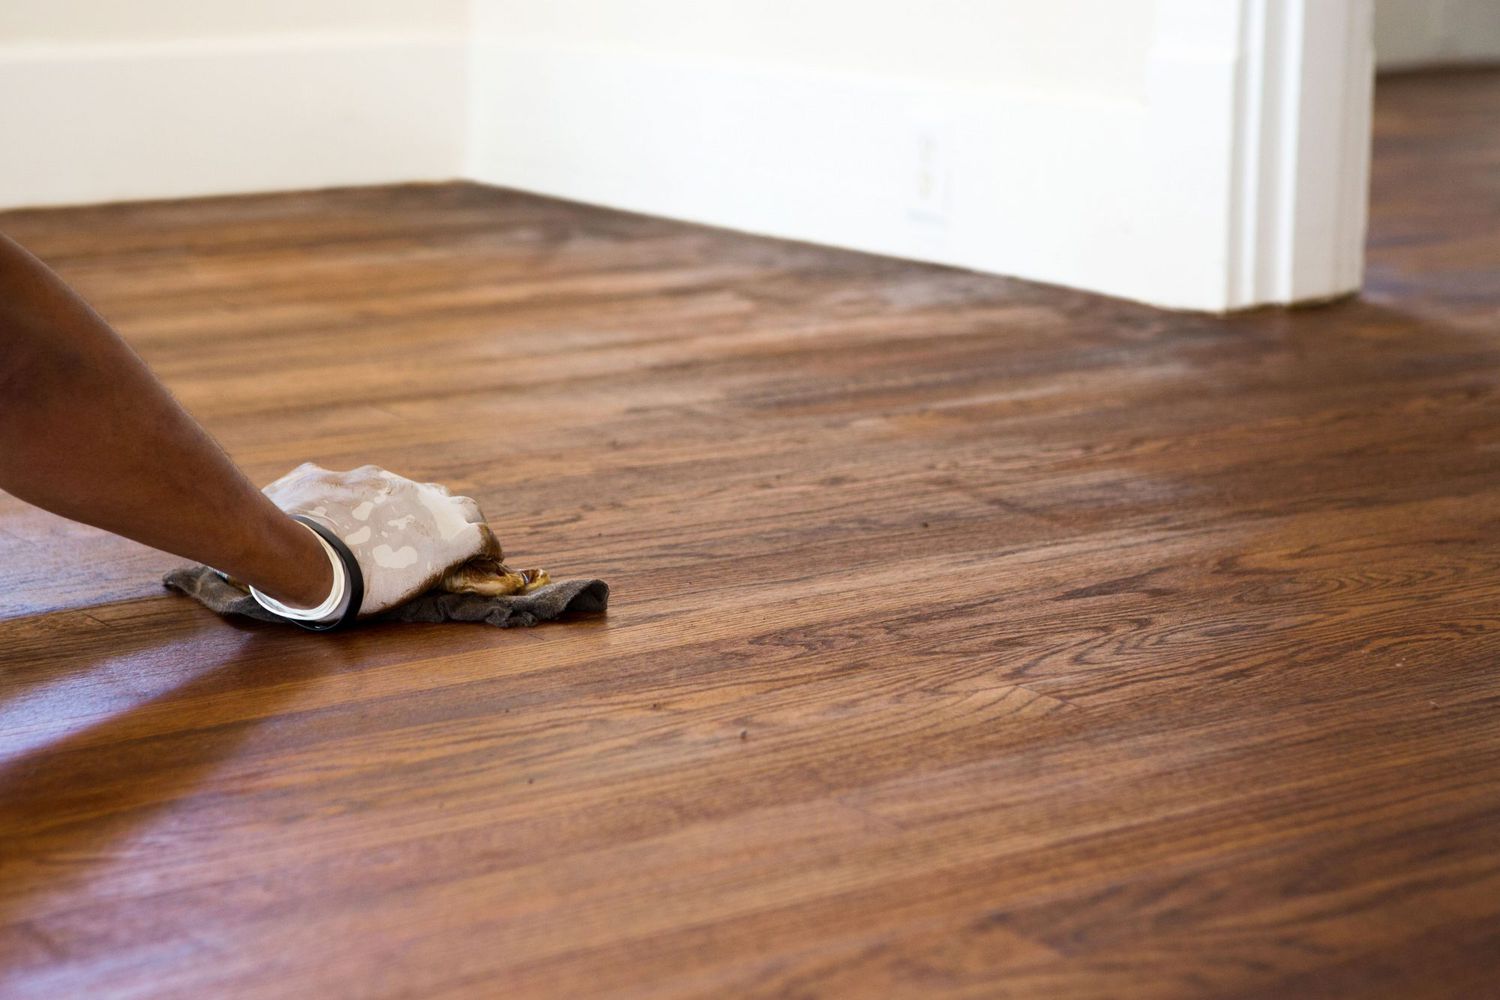
Recoat After Three Hours: Wait three hours before recoating; repeat this process until you achieve desired results.
-
Final Coat: Apply at least two coats of finish; if necessary, apply up to four coats depending on how much protection you want to apply.
Step 3: Clean Up
-
Vacuum Thoroughly: Vacuum the entire area thoroughly after each application of finish to remove dust and debris.
-
Dry Tack: Use microfiber cloths pushed with the grain to dry-tack any remaining dust from the finish.
Conclusion
Refinishing your hardwood floors is a rewarding DIY project that requires patience but yields excellent results. By following these steps carefully and using the right tools and materials, you can restore your floors to their original beauty without breaking the bank.
Tips & Warnings
-
Work in Sections: Divide large areas into smaller sections for easier management during sanding and finishing processes.
-
Use Proper Safety Gear: Always wear protective gear like respirators, gloves, safety glasses, and protective clothing when working with power tools or chemicals.
-
Test Small Area First: Before applying any finish or stain on a large area, test it on a small inconspicuous spot first to ensure desired results without damaging your floors further.
-
Allow Proper Drying Time: Never rush through drying times between coats; improper drying can lead to uneven finishes or even damage your floors permanently.
By following this guide meticulously while staying focused on safety protocols throughout each step involved in refinishing hardwood floors yourself will ensure successful outcomes every time
Was this page helpful?
At Storables.com, we guarantee accurate and reliable information. Our content, validated by Expert Board Contributors, is crafted following stringent Editorial Policies. We're committed to providing you with well-researched, expert-backed insights for all your informational needs.


0 thoughts on “DIY Guide: Refinishing Hardwood Floors”