Home>Interior Design>How To Restore Hardwood Floors Without Sanding: A Step-by-step Guide
Interior Design
How To Restore Hardwood Floors Without Sanding: A Step-by-step Guide
Modified: August 27, 2024
Learn how to restore hardwood floors without the hassle of sanding with our step-by-step guide. Achieve a beautiful and cost-effective interior design solution.
(Many of the links in this article redirect to a specific reviewed product. Your purchase of these products through affiliate links helps to generate commission for Storables.com, at no extra cost. Learn more)
Introduction
Welcome to our comprehensive guide on how to restore hardwood floors without sanding. Hardwood floors add warmth, beauty, and value to any home, but over time they can become worn and dull. Traditionally, sanding has been the go-to method for restoring hardwood floors, but it can be messy, time-consuming, and requires professional equipment. Fortunately, there are alternative methods that can bring life back to your hardwood floors without the need for sanding.
Restoring hardwood floors without sanding is not only a cost-effective solution, but it also preserves the original character and patina of the wood. Whether your hardwood floors have minor scratches, dullness, or gaps between the boards, following our step-by-step guide will help you achieve beautiful results.
Note: The methods outlined in this guide are suitable for hardwood floors that are in relatively good condition. If your floors have major damage, deep stains, or unevenness, it is recommended to consult a professional for more thorough restoration.
Now, let’s dive into the step-by-step process of restoring hardwood floors without sanding.
Key Takeaways:
- Restoring hardwood floors without sanding is a cost-effective and practical way to revitalize your space, preserving the original character and patina of the wood while avoiding the mess and expense of traditional sanding.
- From deep cleaning to filling in gaps and cracks, buffing, polishing, and applying a protective finish, each step plays a crucial role in restoring hardwood floors without sanding, ensuring longevity, durability, and stunning aesthetics.
Read more: DIY Guide To Installing Hardwood Floors
Step 1: Clearing the Floor
The first step in restoring your hardwood floors without sanding is to clear the floor of any furniture, rugs, or debris. This will give you a clean and clear workspace to work with, allowing you to focus on the restoration process without any obstacles.
Start by removing all furniture from the room. It’s best to find a temporary storage solution, such as another room in your home or a rented storage unit, to keep your furniture safe and out of the way during the restoration process.
Next, remove any rugs or mats from the floor. This will ensure that the entire surface of the hardwood floor is accessible for the restoration process. If you have any adhesive residue left behind from the rugs or mats, use a gentle adhesive remover and a soft cloth to clean it off.
Once the floor is clear of furniture and rugs, it’s time to thoroughly sweep or vacuum the floor to remove any loose dirt, dust, or debris. Pay close attention to the corners and crevices where dirt tends to accumulate. For a more thorough cleaning, you can use a microfiber mop or a soft-bristle broom to sweep away any remaining dirt.
After sweeping or vacuuming, it’s a good idea to do a final wipe-down of the floor with a slightly dampened microfiber cloth. This will help remove any lingering dust and ensure that the floor is clean and ready for the next steps of the restoration process.
By clearing the floor of furniture, rugs, and debris, you create a clean and clear workspace that allows you to focus on restoring your hardwood floors without any hindrance. With the floor cleared, you’re now ready to move on to the next step: deep cleaning.
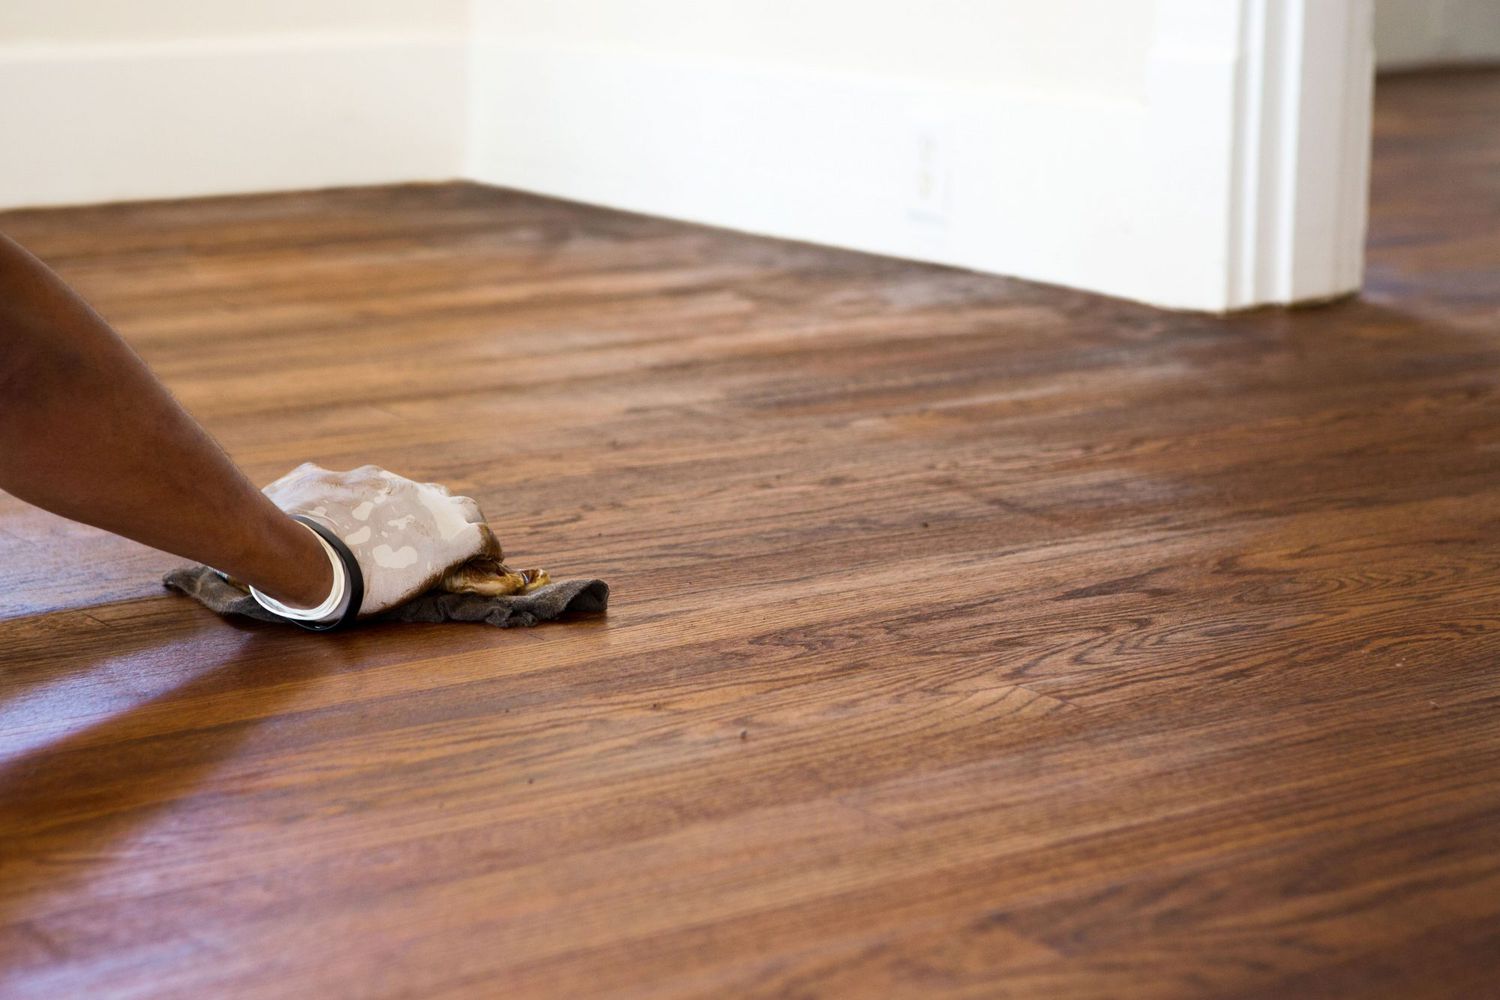
Step 2: Deep Cleaning
Once the floor is cleared, the next step in restoring your hardwood floors without sanding is to give them a thorough deep cleaning. Deep cleaning will help remove dirt, grime, and old coatings from the surface of the wood, revealing the natural beauty underneath.
There are various methods you can use to deep clean your hardwood floors, depending on their condition and your personal preference. Here are a few options:
- Vinegar and Water Solution: Mix equal parts white vinegar and warm water in a bucket. Dip a mop or a soft cloth into the solution, wring out any excess liquid, and thoroughly mop the floor. Vinegar has natural cleaning properties that can help remove dirt and grime without damaging the wood.
- Commercial Hardwood Floor Cleaner: There are many commercial hardwood floor cleaners available on the market. Follow the instructions on the product label to mix the cleaner with water, and use a mop or a soft cloth to clean the floor. Be sure to choose a cleaner specifically designed for hardwood floors.
- Steam Cleaning: If you have a steam cleaner specifically designed for hardwood floors, you can use it to deep clean your floors. Follow the manufacturer’s instructions carefully and ensure that the steam is set to a suitable level for hardwood floors. Steam cleaning can effectively remove stubborn stains and grime.
Whichever method you choose, it’s important to work in small sections, ensuring that the floor doesn’t stay wet for an extended period. Avoid using excessive water, as it can seep into the wood and cause damage. After cleaning each section, dry it with a soft cloth or mop to remove any excess moisture.
If you encounter any stubborn stains or marks that the deep cleaning process doesn’t fully remove, you can gently scrub them with a soft-bristle brush or a scrub pad. Be cautious not to use abrasive cleaners or tools that can scratch the wood surface.
Remember to allow the floor to dry completely before proceeding to the next step. Typically, it’s best to leave the floor to air dry for at least 24 hours to ensure that no moisture remains.
By deep cleaning your hardwood floors, you remove dirt, grime, and old coatings, revealing the natural beauty of the wood. This step prepares the floor for the next stage of the restoration process: filling in gaps and cracks.
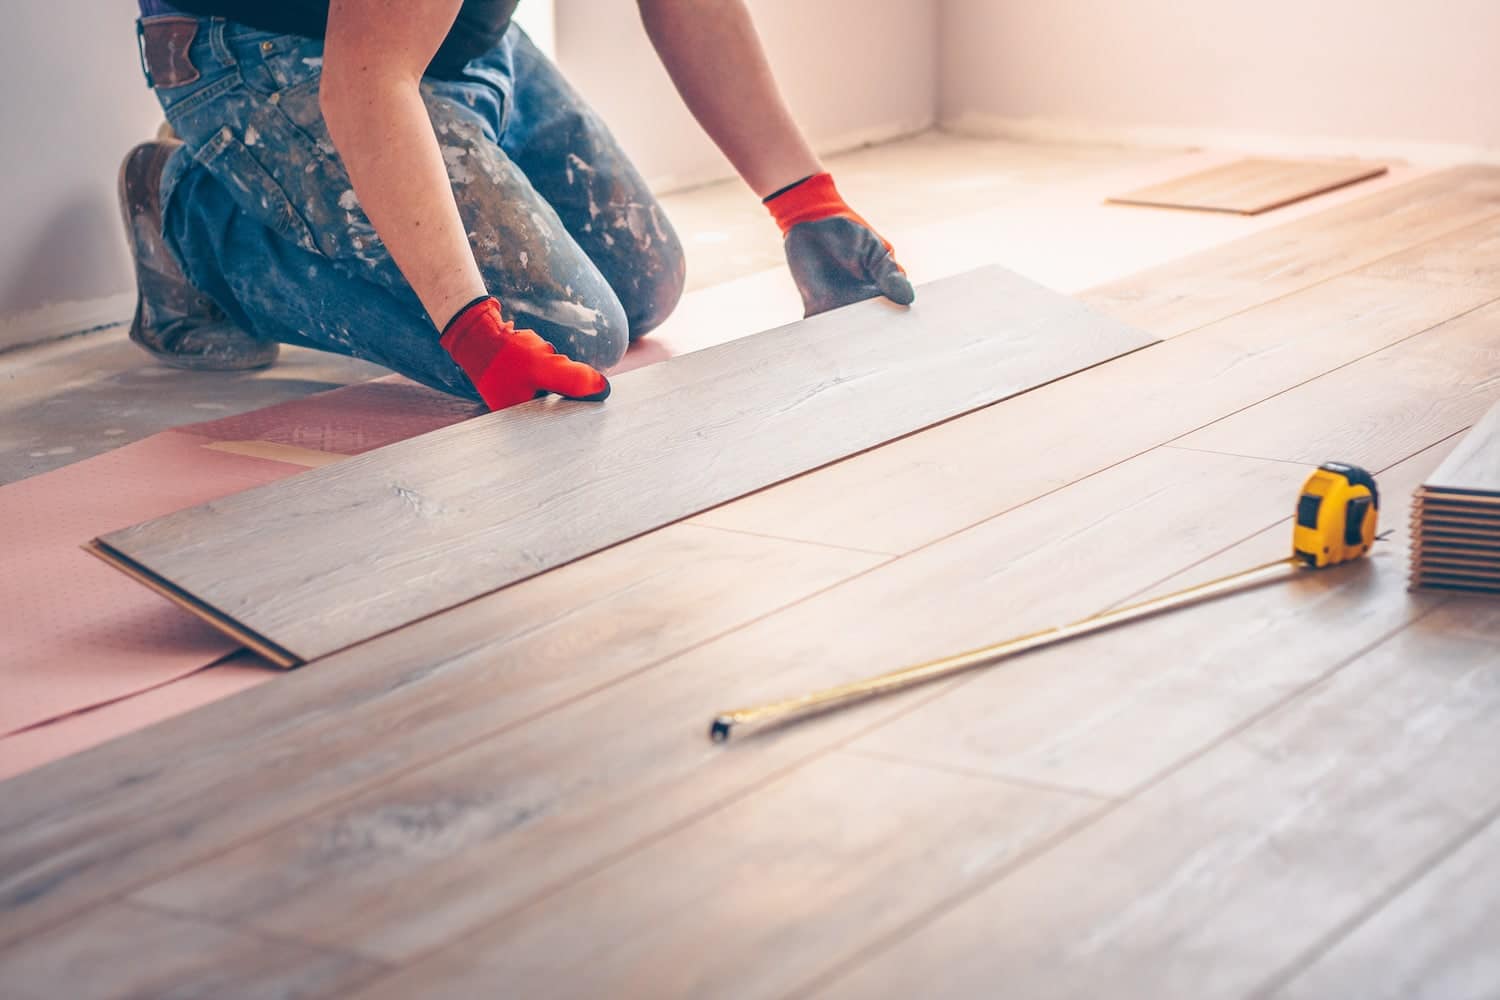
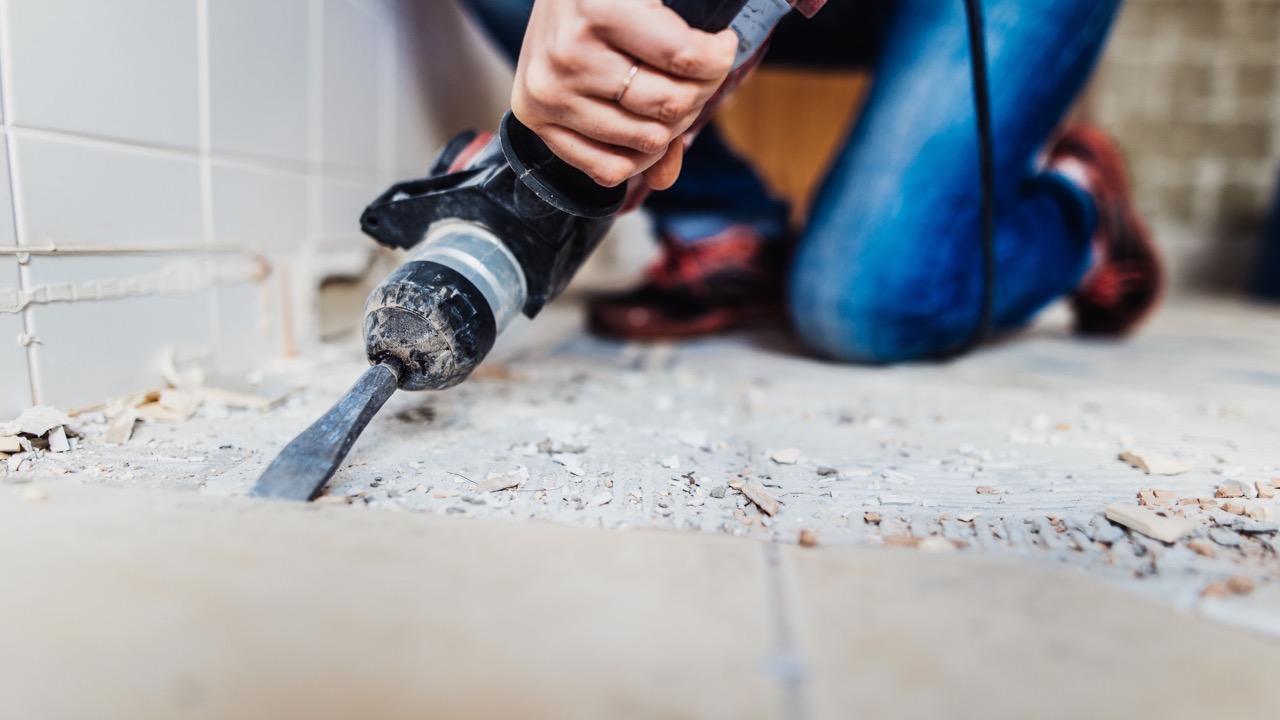
Step 3: Filling in Gaps and Cracks
One common issue with older hardwood floors is the presence of gaps and cracks between the floorboards. These gaps can not only be unsightly but can also lead to dust build-up and drafts. In this step, we will address this problem by filling in the gaps and cracks, giving your hardwood floors a more seamless and polished appearance.
Before you start filling in the gaps and cracks, ensure that the floor is clean and free of any debris. This will allow the filling material to adhere properly and provide a smooth finish.
There are several options for filling in gaps and cracks, depending on the size and depth of the imperfections:
- Wood Putty: Wood putty is a popular choice for filling in small to medium-sized gaps and cracks. Select a wood putty that closely matches the color of your hardwood floor. Apply the putty to the gaps using a putty knife or a small spatula, and make sure to press it firmly into the gaps. Allow the putty to dry according to the manufacturer’s instructions, and then sand it down to ensure a smooth and level surface.
- Wood Filler: For larger gaps or cracks, consider using a wood filler. Wood fillers come in various colors and formulations, and some are specifically designed for hardwood floors. Apply the wood filler into the gaps, using a putty knife or a spatula, and make sure to fill the gaps completely. Allow the filler to dry thoroughly before sanding down any excess material to achieve a level surface.
- Sawdust and Glue Mixture: If you prefer a more natural option, you can create a mixture of sawdust and wood glue to fill in gaps and cracks. Collect fine sawdust from the same species of wood as your hardwood floors and mix it with wood glue to create a thick paste. Apply the paste to the gaps and cracks, ensuring it fills them completely. Once dry, sand down any excess material for a smooth finish.
After filling in the gaps and cracks, it’s important to ensure that the filled areas blend seamlessly with the rest of the floor. Use a fine-grit sandpaper or a sanding block to gently sand the filled areas until they are level with the surrounding floor. Take care not to oversand or damage the surrounding wood.
Once you have filled in the gaps and cracks and sanded them down, use a soft cloth or vacuum to remove any dust or debris. Your hardwood floors should now have a more uniform and polished look, ready for the next step: buffing and polishing.
Use a wood floor cleaner to remove dirt and grime, then apply a wood floor refresher to fill in scratches and restore shine. Buff the floor for a smooth finish.
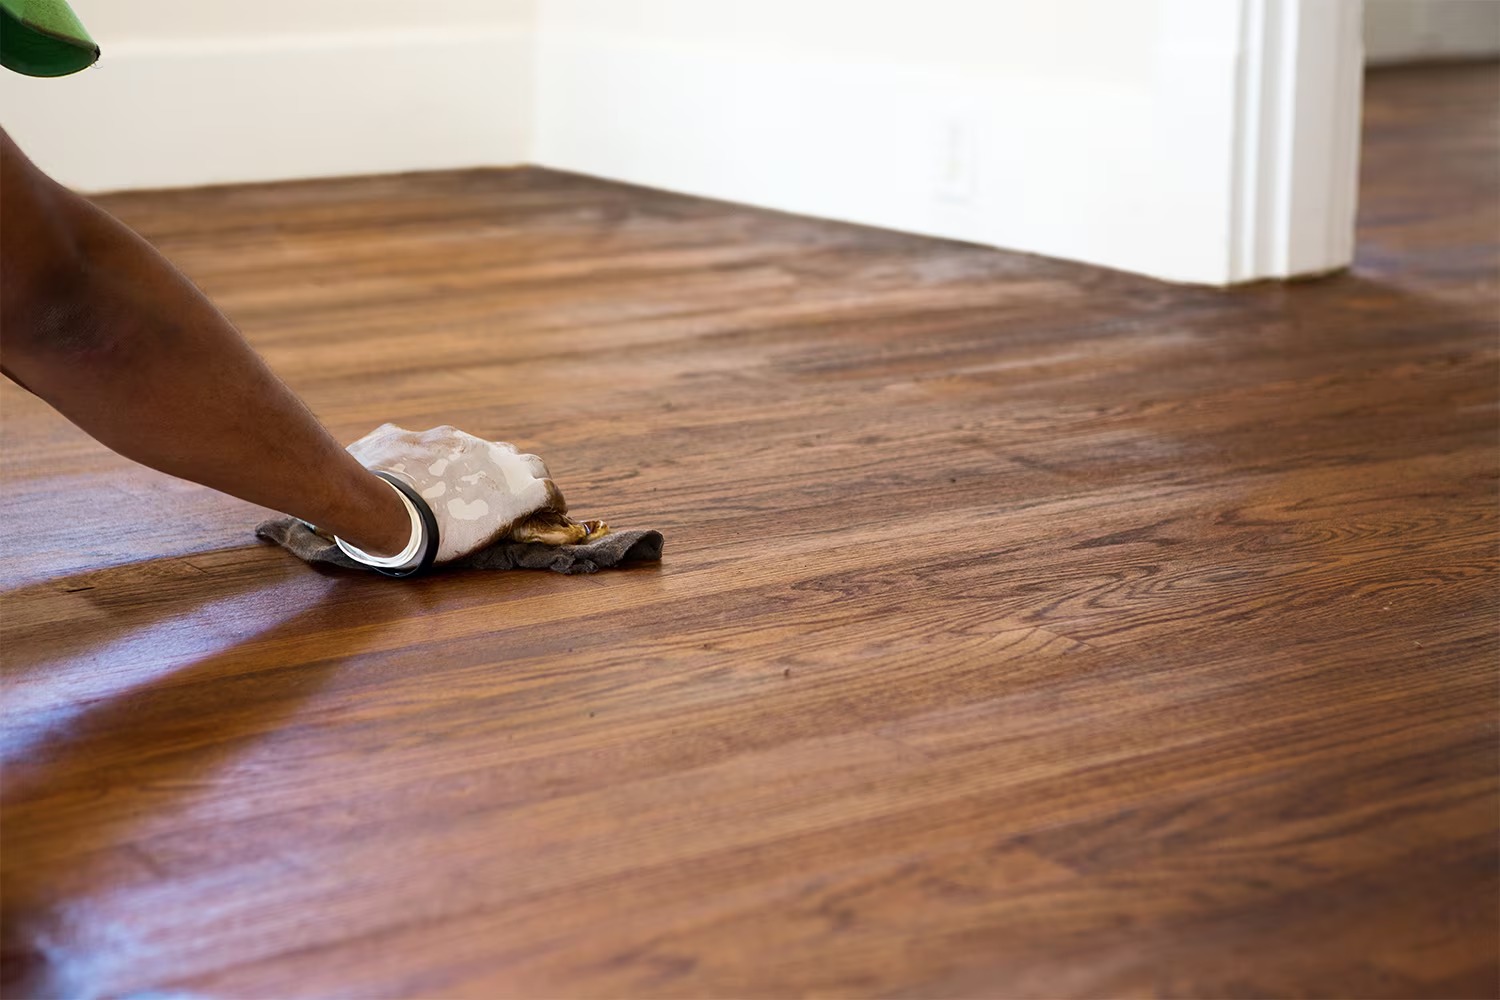
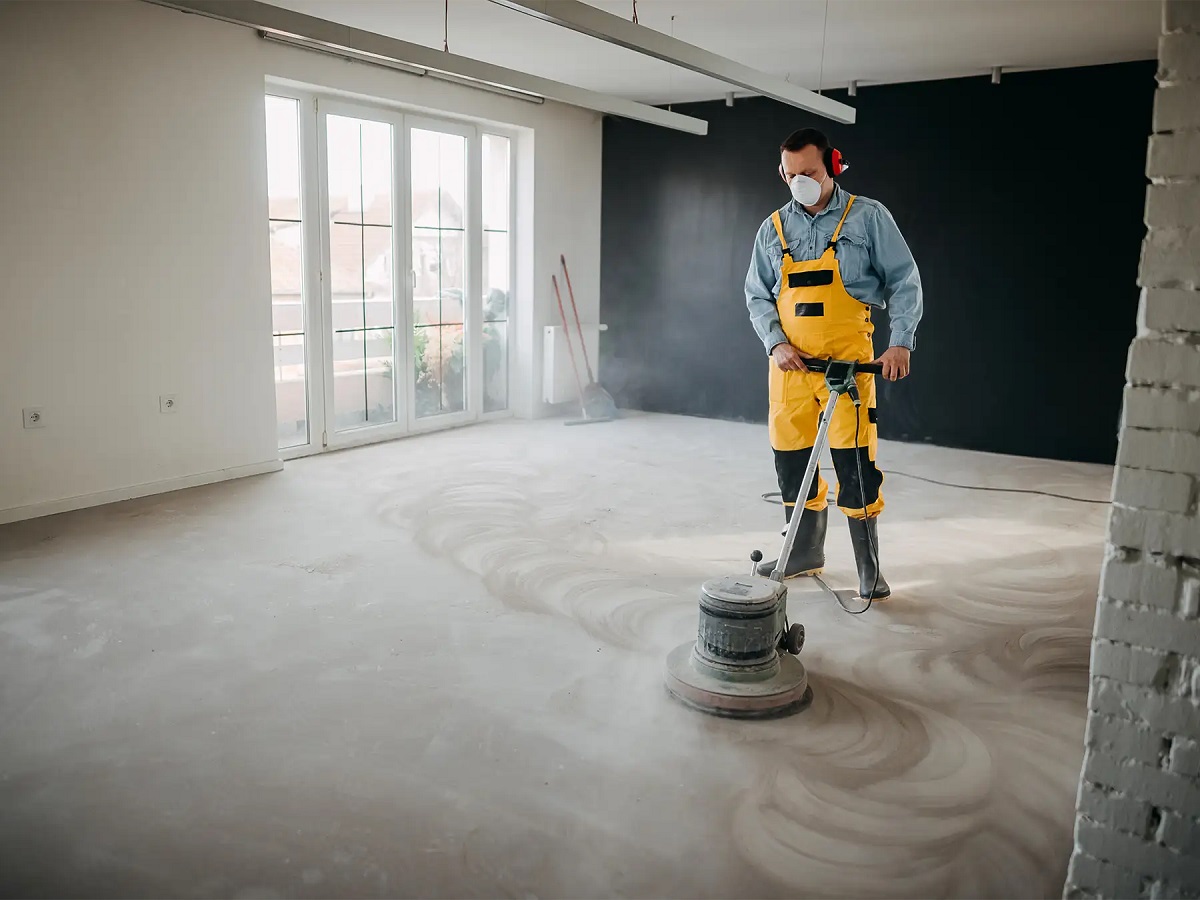
Step 4: Buffing and Polishing
After filling in the gaps and cracks, the next step in restoring your hardwood floors without sanding is to give them a beautiful shine through buffing and polishing. This process will help rejuvenate the wood and enhance its natural luster.
To start, you’ll need a buffer machine, which you can rent from a local hardware store or home improvement center. Make sure to choose the appropriate type of pad for your hardwood floors – a white or natural fiber pad is usually suitable. Additionally, you’ll need a hardwood floor polish that is specifically formulated for your type of wood.
Here’s how to buff and polish your hardwood floors:
- Prepare the buffer: Attach the appropriate pad to the buffer machine, following the manufacturer’s instructions. Ensure that the pad is clean and free of any debris.
- Apply the polish: Shake the hardwood floor polish well before use. Pour a small amount onto the floor and spread it evenly using a mop or a microfiber cloth. Work in sections, as you’ll be using the buffer machine to spread and buff the polish.
- Buff the floor: Turn on the buffer machine and move it in slow, overlapping motions across the floor. Make sure to keep the machine moving at all times to avoid damaging the wood. The buffer will distribute the polish evenly and create a glossy, smooth finish.
- Repeat the process: Continue applying the polish and buffing the floor in small sections until the entire floor is covered. Take breaks periodically to check the progress and ensure the polish is being spread evenly.
- Allow the polish to dry: Once you have finished buffing the entire floor, allow the polish to dry completely. This may take a few hours, depending on the product and environmental conditions.
- Apply additional coats (optional): If you desire a higher level of shine or increased durability, you can apply additional coats of hardwood floor polish. Make sure to follow the manufacturer’s instructions for drying times between coats.
After the polish has dried, take a moment to inspect the floor for any uneven areas or missed spots. Use a soft cloth or a mop to touch up any areas that may need additional polish.
Buffing and polishing your hardwood floors not only gives them a glossy shine, but also helps protect the wood and enhance its natural beauty. With the floors buffed to perfection, you’re now ready for the final step: applying a protective finish.
Read more: DIY Guide To Refinishing Hardwood Floors
Step 5: Applying a Protective Finish
The final step in restoring your hardwood floors without sanding is to apply a protective finish. This finish will add an additional layer of protection to the wood, helping to prevent future damage and keeping your floors looking beautiful for years to come.
There are various types of finishes available, including polyurethane, lacquer, and wax. Each has its own benefits and considerations, so it’s important to choose the one that best suits your needs and the type of hardwood flooring you have.
Here’s how to apply a protective finish to your hardwood floors:
- Prepare the floor: Ensure that the floor is clean and free of any dust or debris. Use a vacuum or a soft cloth to remove any remaining particles.
- Choose the finish: Select the type of finish that is suitable for your hardwood floors. Read the instructions and recommendations provided by the manufacturer.
- Apply the finish: Follow the manufacturer’s instructions for applying the finish. Usually, you will use a clean, lint-free cloth or a brush, starting from one corner of the room and working your way towards the exit. Apply the finish in smooth and even strokes, avoiding any overlap or pooling of the product.
- Allow the finish to dry: After applying the first coat, allow the finish to dry according to the manufacturer’s instructions. This can range from a few hours to overnight. Take care to keep the area free from foot traffic or any objects that may disturb the drying process.
- Apply additional coats (optional): Depending on the type of finish and the desired level of protection, you may choose to apply additional coats. Follow the manufacturer’s instructions for drying times between coats.
- Cure the finish: Once you have applied the desired number of coats, allow the finish to cure for the recommended amount of time. This is usually several days, during which you should avoid placing furniture or rugs back on the floor.
It’s important to note that different types of finishes have different maintenance requirements. Some may require periodic reapplication or special cleaning methods. Refer to the manufacturer’s instructions and recommendations for proper care and maintenance of the finish.
By applying a protective finish to your newly restored hardwood floors, you ensure longevity, durability, and a stunning appearance. The protective finish acts as a shield against everyday wear and tear, extending the life of your hardwood floors.
With the protective finish applied, you have successfully completed the restoration process of your hardwood floors without sanding. Take a moment to admire the transformation and enjoy the beauty of your restored floors.
Conclusion
Restoring hardwood floors without sanding is a cost-effective and practical solution to revitalize the beauty and durability of your floors. By following the step-by-step guide outlined in this article, you can bring new life to your hardwood floors and enhance the overall aesthetic of your space.
From clearing the floor and deep cleaning to filling in gaps and cracks, buffing and polishing, and applying a protective finish, each step plays a crucial role in the restoration process. The methods and techniques shared in this guide allow you to achieve impressive results while avoiding the mess and expense of traditional sanding.
As you embark on this journey, it’s important to choose the right products and tools for your specific hardwood flooring type. Pay attention to manufacturer instructions, ensure proper drying times, and take necessary precautions to protect the floor during each stage of the restoration process.
Remember, restoring hardwood floors without sanding is most effective when the floors are in relatively good condition. For extensive damage or deeper stains, consulting with a professional can provide more comprehensive solutions and expertise.
By taking the time and effort to restore your hardwood floors, you are investing in the longevity of your home and creating a visually appealing space for years to come. Whether you’re planning to sell your property or simply want to enjoy the beauty of well-maintained hardwood floors, the results will be worth the effort.
So, roll up your sleeves, gather the necessary supplies, and embark on the journey of restoring your hardwood floors without sanding. Take pride in the process and enjoy the satisfaction of transforming worn-out floors into stunning focal points in your home.
With proper care and maintenance, your restored hardwood floors will continue to bring warmth, elegance, and value to your living space for generations to come.
Frequently Asked Questions about How To Restore Hardwood Floors Without Sanding: A Step-by-step Guide
Was this page helpful?
At Storables.com, we guarantee accurate and reliable information. Our content, validated by Expert Board Contributors, is crafted following stringent Editorial Policies. We're committed to providing you with well-researched, expert-backed insights for all your informational needs.


0 thoughts on “How To Restore Hardwood Floors Without Sanding: A Step-by-step Guide”