Articles
How To Fix Hardwood Floor Dents
Modified: January 19, 2024
Learn how to easily fix dents in hardwood floors with our informative articles. Restore your floors to their former glory today!
(Many of the links in this article redirect to a specific reviewed product. Your purchase of these products through affiliate links helps to generate commission for Storables.com, at no extra cost. Learn more)
Introduction
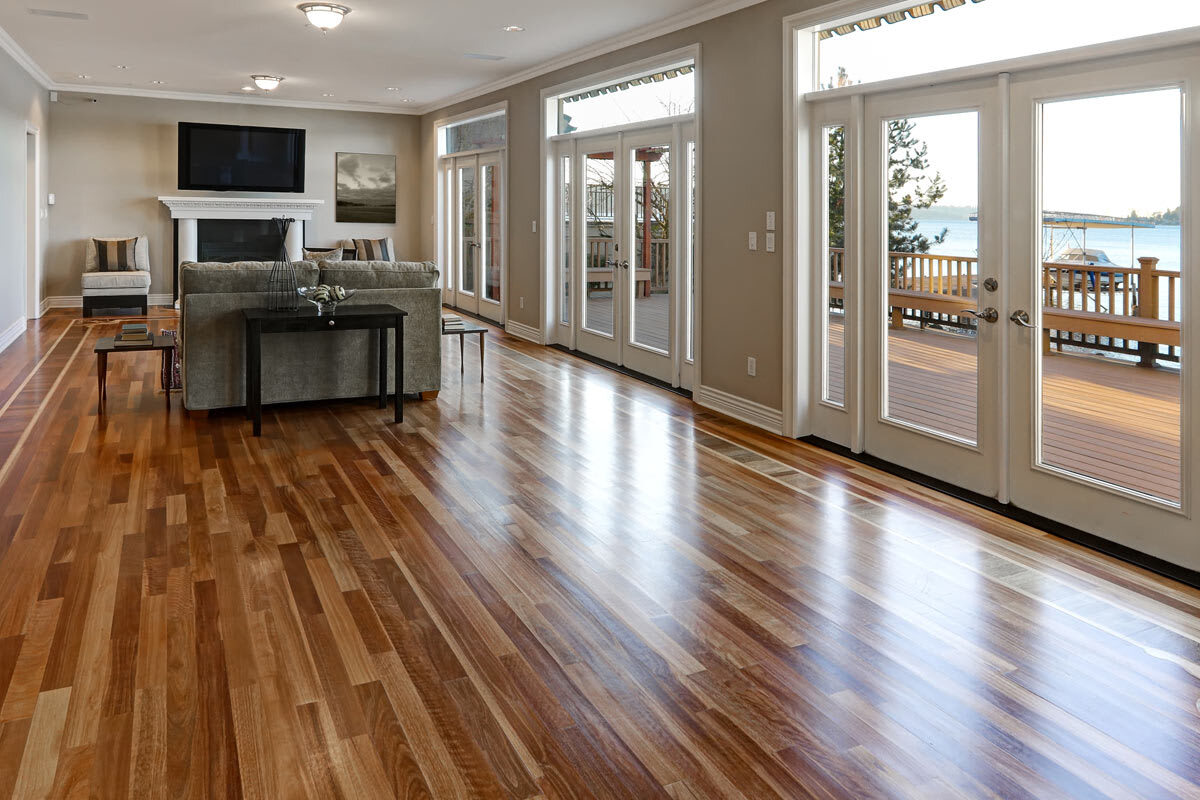
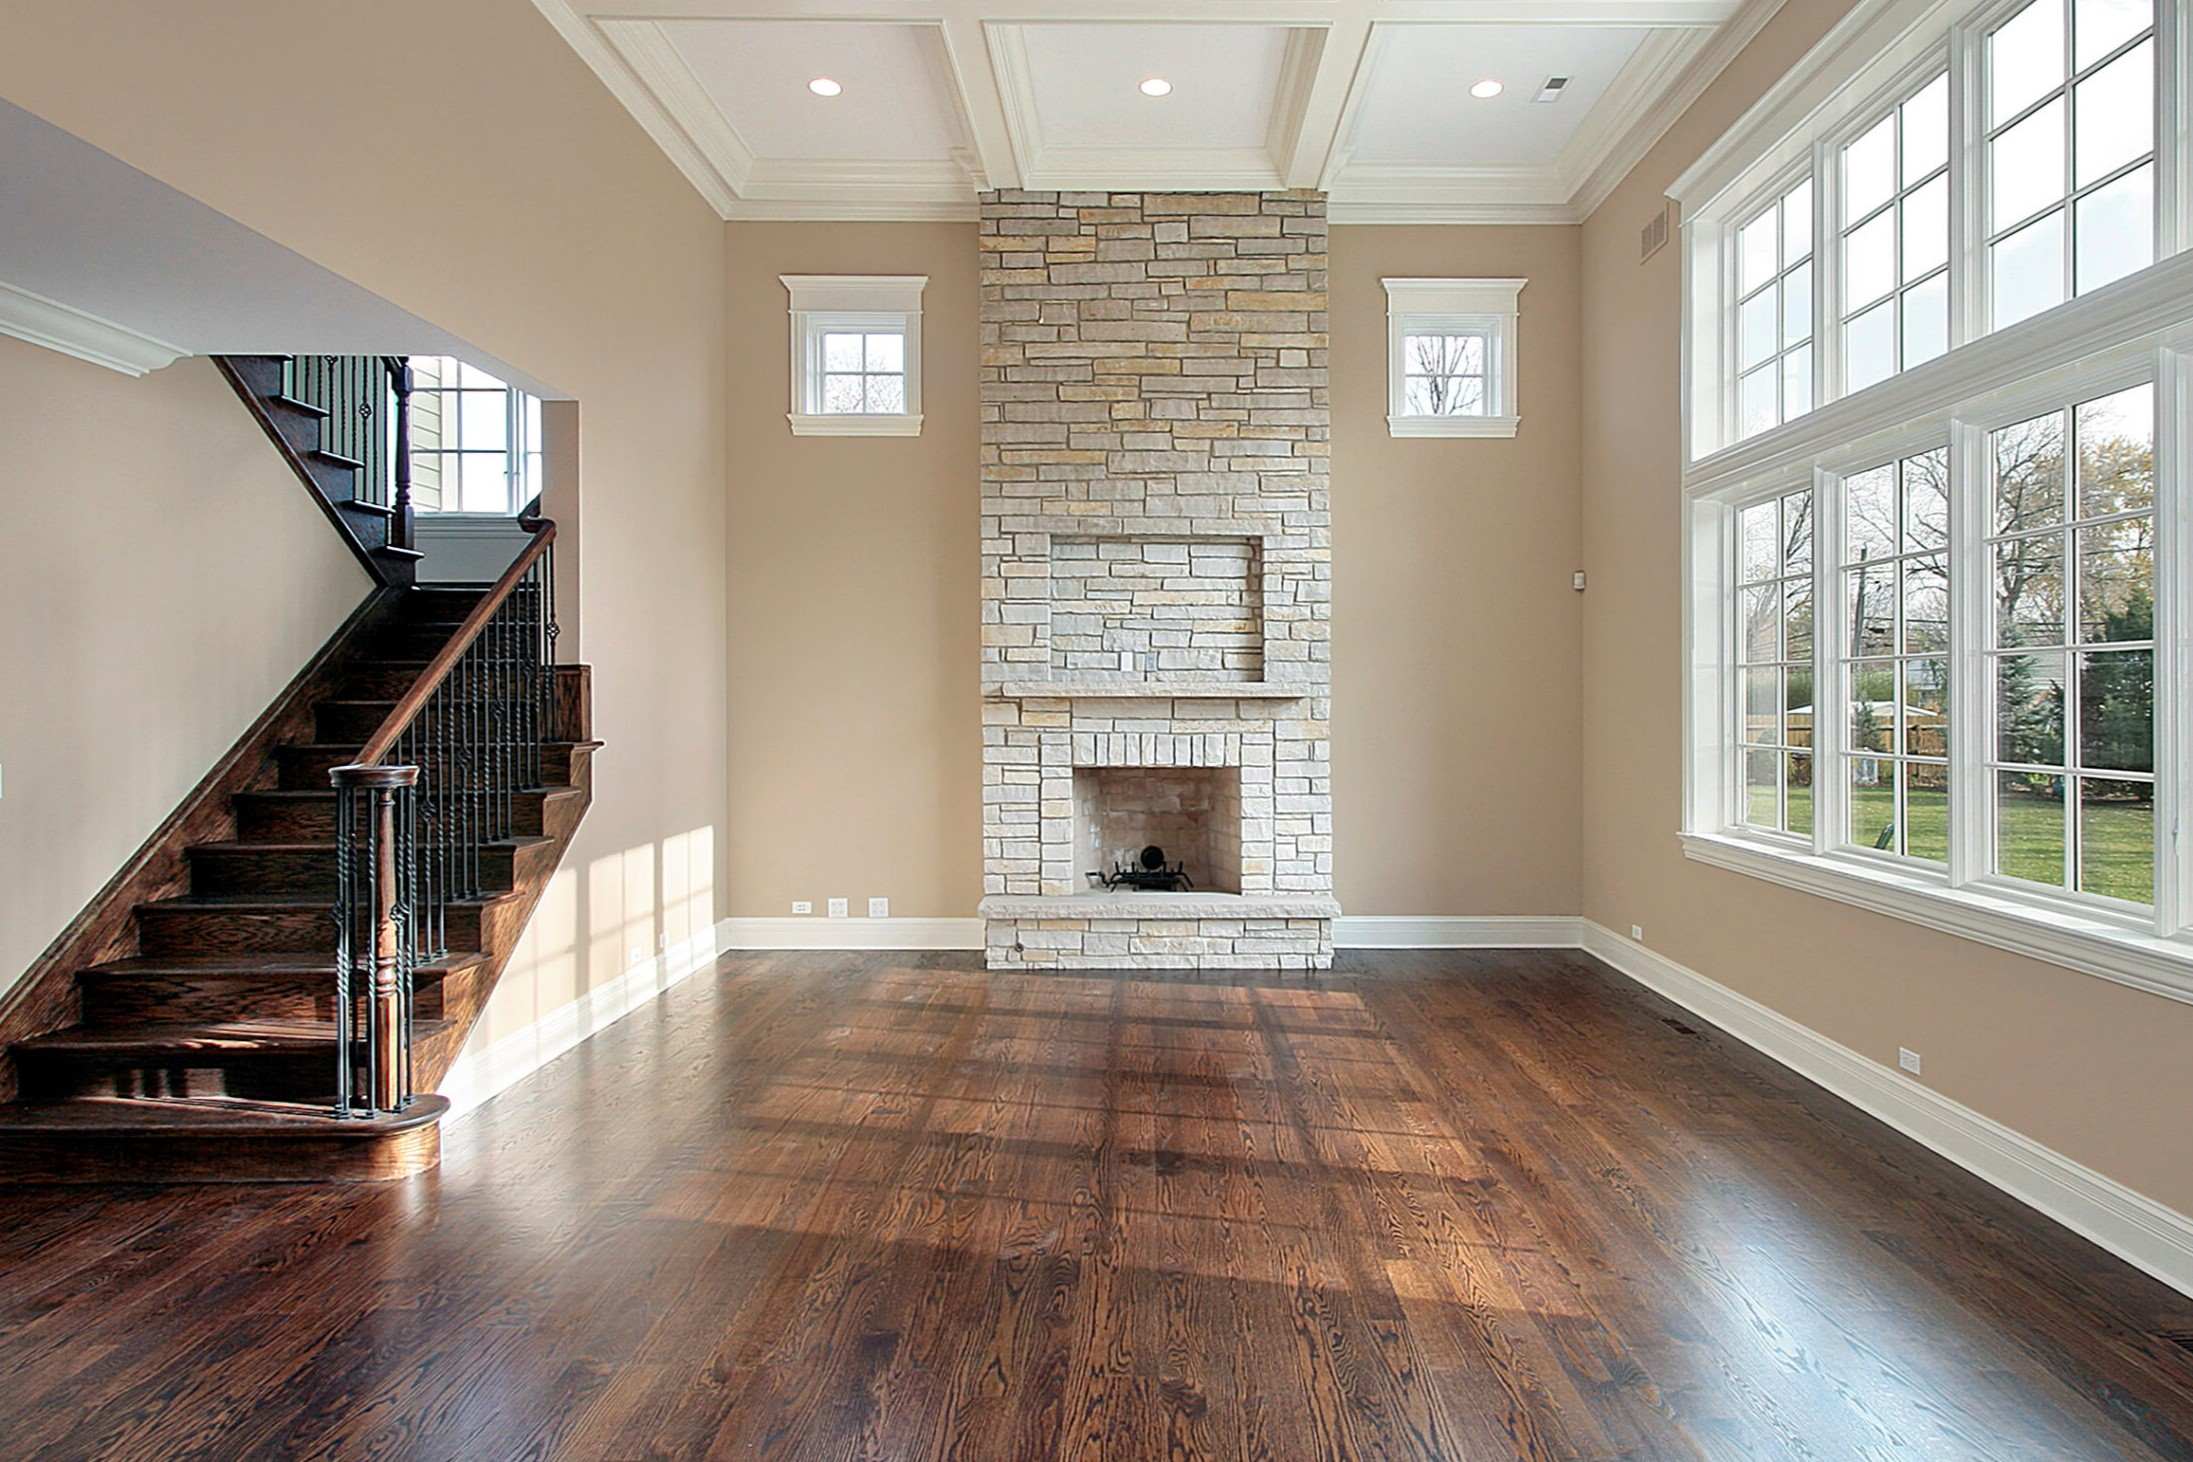
Hardwood floors are a beautiful addition to any home, but over time they can develop dents and imperfections. Whether caused by heavy furniture, high heels, or dropped objects, these dents can be unsightly and detract from the overall appearance of your floors. However, fear not! With the right tools and techniques, you can easily repair these dents and restore your hardwood floors to their former glory.
In this article, we will guide you through the process of fixing hardwood floor dents, step by step. We will explain the underlying causes of dents, the tools and materials you will need, and provide detailed instructions on each repair method. By following our instructions, you will be able to remove dents and restore your floors to their original, seamless beauty.
Before we dive into the repair process, it’s important to understand the nature of hardwood floors. Hardwood floors are composed of layers of wood, with a protective finish on top. The topmost layer, known as the wear layer, is the most susceptible to damage. When a heavy object is dropped or pressure is applied to a small area, it can cause the wood fibers to compress, creating a dent.
While dents are not typically considered a serious issue, they can accumulate over time and impact the overall appearance of your floors. Additionally, if left untreated, dents can lead to cracks or splintering. Therefore, it is important to address them as soon as possible to maintain the aesthetic appeal and structural integrity of your hardwood floors.
Now that we understand the problem at hand, let’s move on to the tools and materials you will need for the repair process. By gathering all the necessary items beforehand, you can ensure a smooth and efficient repair process without any interruptions.
Key Takeaways:
- Don’t let hardwood floor dents ruin the beauty of your home. From understanding the causes to using heat and moisture, a seamless repair is achievable with the right tools and techniques.
- Prevent future dents by using furniture pads, removing shoes, and maintaining regular cleaning. With proactive care, your hardwood floors will remain stunning and durable for years to come.
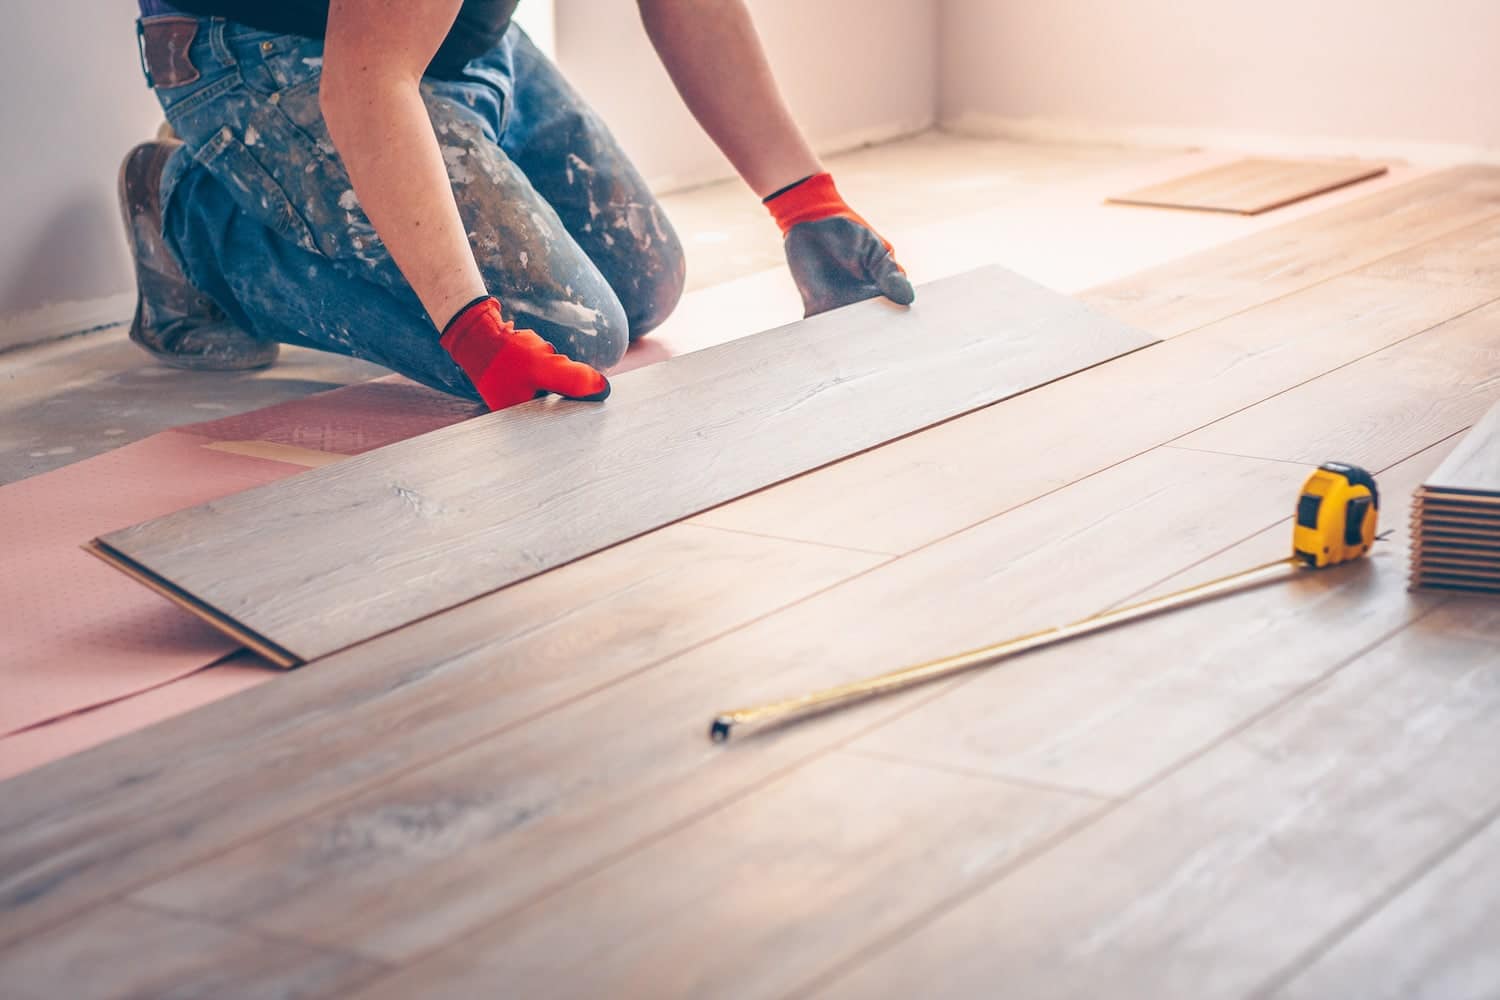
Read more: How To Install Hardwood Floors
Understanding Hardwood Floor Dents
Before diving into the process of fixing hardwood floor dents, it’s essential to understand the underlying causes and types of dents you may encounter. By gaining this knowledge, you can better assess the severity of the damage and choose the appropriate repair method.
There are two primary types of hardwood floor dents:
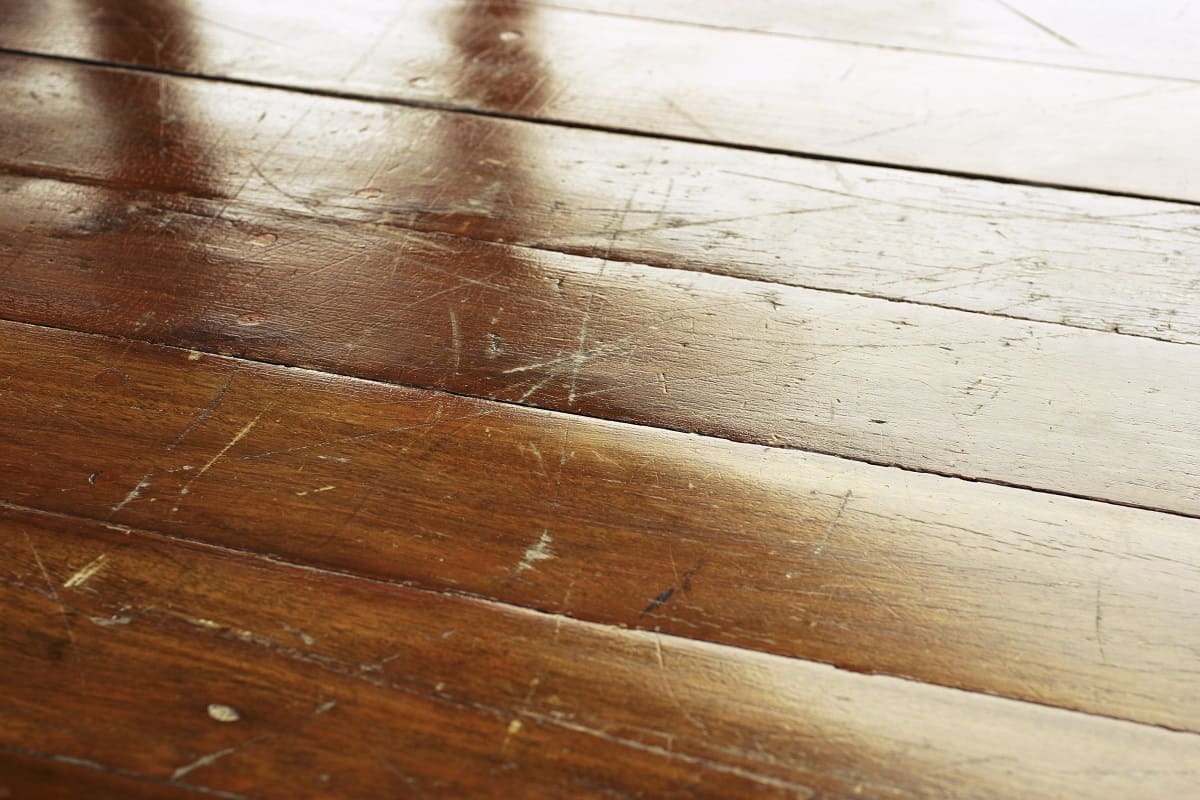
- Surface Dents: Surface dents are relatively shallow and affect only the top layer of the flooring. They are usually caused by lighter objects, such as furniture legs, dropping hard objects, or high heels. Surface dents may appear as small depressions or indented marks on the surface of the floor. These dents are generally easier to repair.
- Deep Dents: Deep dents occur when substantial force is applied to a small area, causing the wood fibers to compress deeply. These dents are often caused by heavy furniture or appliances dropping onto the floor. Deep dents may appear as larger and more pronounced depressions, sometimes with visible cracks or splintering. Repairing deep dents requires a more involved process.
Now that we have covered the types of dents, let’s discuss the common causes of hardwood floor dents:
- Heavy Furniture: Moving furniture without proper precautions, or dragging heavy objects across the floor, can result in deep dents.
- High Heels: Walking in high heels, especially with thin or sharp heels, can cause surface dents. The concentrated pressure from the heels can leave marks on the floor.
- Dropped Objects: Accidentally dropping heavy objects or tools can cause both surface and deep dents. The impact of the object hitting the floor can leave noticeable marks.
While it is impossible to completely prevent dents from occurring, there are steps you can take to minimize the risk:
- Use Furniture Pads: Place furniture pads under the legs of chairs, tables, and other heavy objects. These pads distribute the weight and help prevent dents.
- Remove Shoes: Encourage visitors and household members to remove their shoes before walking on the hardwood floors. This reduces the risk of dents and scratches caused by shoe heels or debris.
- Handle Heavy Objects Carefully: When moving heavy furniture or appliances, use furniture sliders or enlist the help of others to avoid dropping or dragging them across the floor.
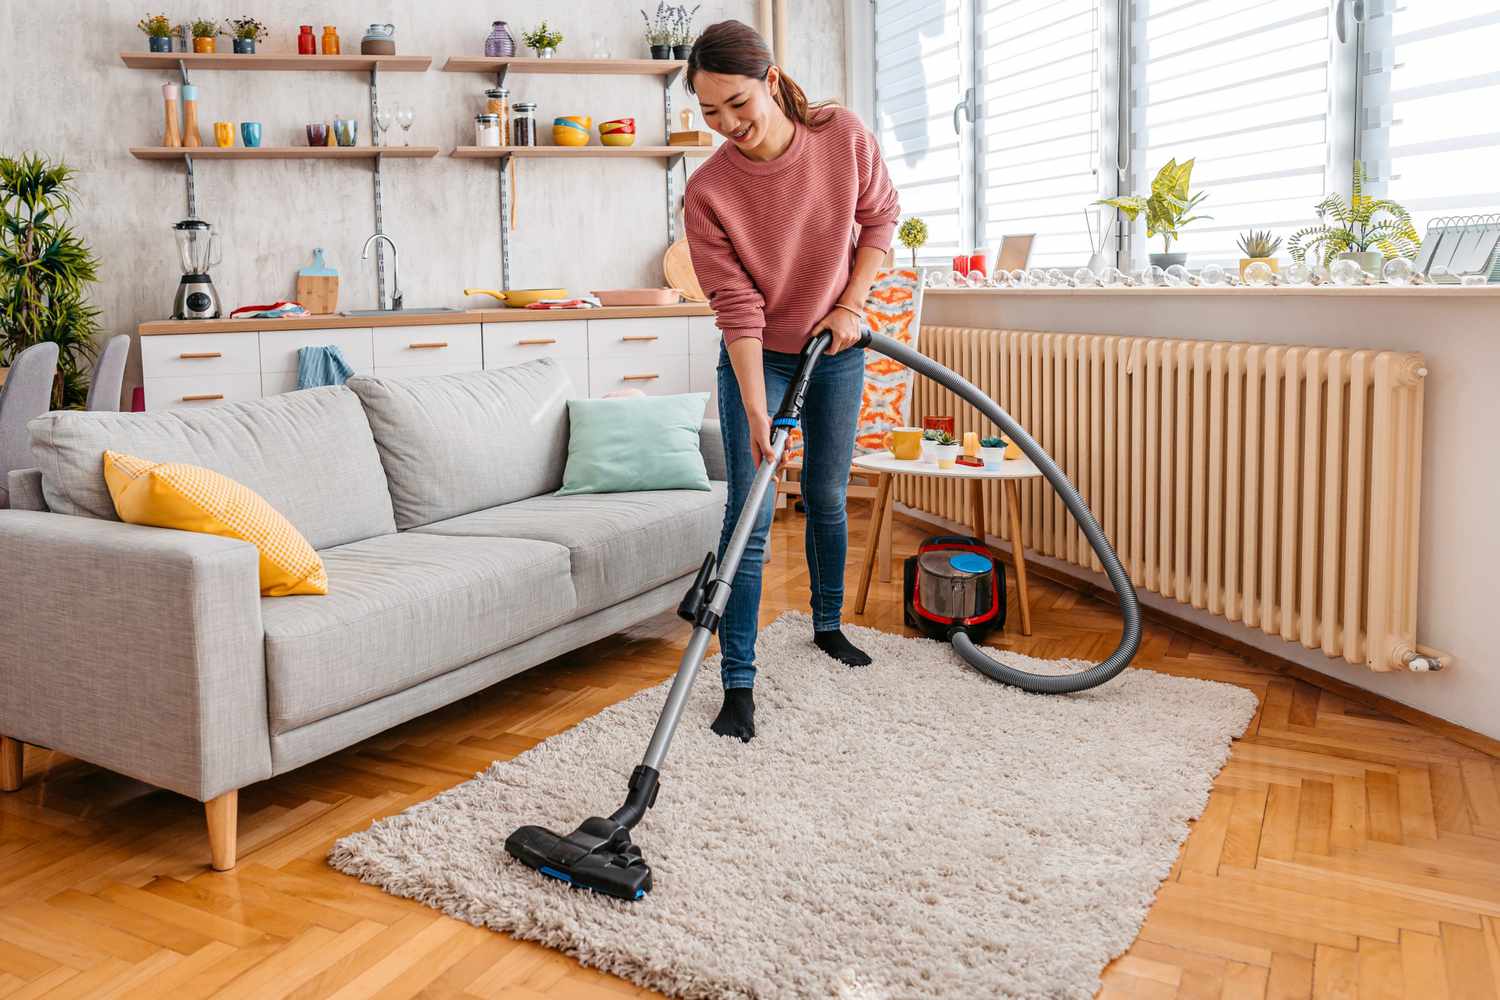
- Regular Maintenance: Keep your hardwood floors clean and free of debris. Regularly sweeping and using a gentle hardwood floor cleaner can help maintain the surface integrity.
Now that we have a better understanding of hardwood floor dents, we can move on to the tools and materials needed for the repair process.
Tools and Materials Needed
Repairing hardwood floor dents requires the use of specific tools and materials. By gathering these items before you begin the repair process, you can ensure a smooth and efficient experience. Below is a list of the key tools and materials you will need:
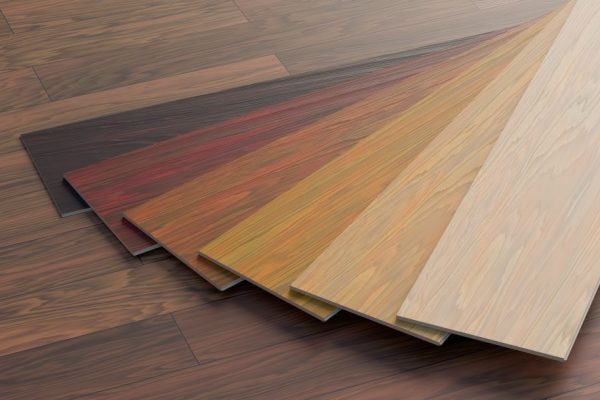
- Wood Filler: Wood filler is a paste-like substance used to fill in the dents. Opt for a wood filler that matches the color of your hardwood floors for a seamless repair.
- Putty Knife: A putty knife is essential for applying and smoothing the wood filler. Choose a putty knife with a flexible blade for easy application and clean edges.
- Sanding Block or Sandpaper: To ensure a smooth and even repaired surface, you will need a sanding block or sandpaper. Choose a grit level appropriate for your specific needs, typically between 120 and 220 grit.
- Wood Stain (if necessary): If your hardwood floors have a stained finish, you may need to apply a matching wood stain to the repaired area to achieve a consistent color. Choose a stain that closely matches the existing floor color.
- Sealer or Finish: After the repairs have been made, you will need a finish or sealer to protect the repaired area and blend it with the rest of the floor. Choose a finish that matches the sheen and type of your existing floor finish.
- Soft Cloth or Sponge: For cleaning the affected area before repair and applying the finish, a soft cloth or sponge is essential. This will help to remove debris and ensure a clean surface for the repair materials.
- Heat Source (such as a blow dryer): For surface dents that are not deep, applying heat can help to restore the wood fibers to their original shape. A blow dryer with adjustable temperature settings will work well for this purpose.
- Moisture: Additionally, for surface dents, using moisture can aid in raising the compressed wood fibers. A damp cloth or vaporizer can provide the necessary moisture for this step.
- Protective Gear: Lastly, it is important to wear protective gear during the repair process. This can include safety glasses, gloves, and a mask to protect against any harmful substances or dust that may be generated during the repair.
Now that you have a comprehensive list of the tools and materials needed, you can move on to the step-by-step process of fixing hardwood floor dents. Remember to read through the instructions thoroughly before beginning the repair to ensure a successful outcome.
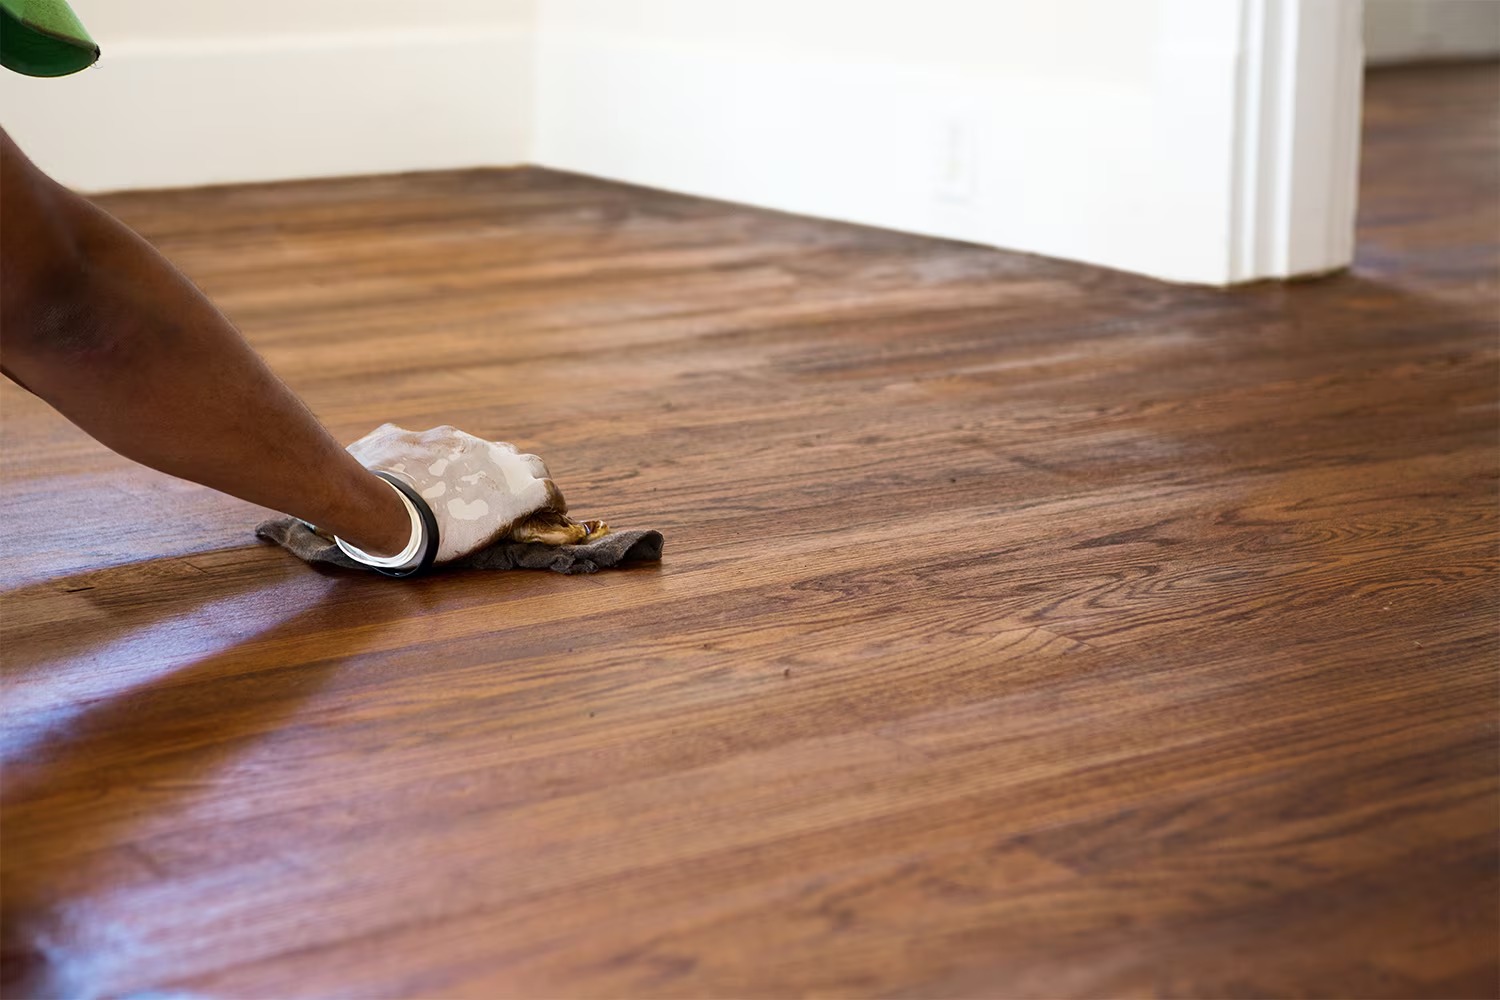
Step 1: Cleaning the Affected Area
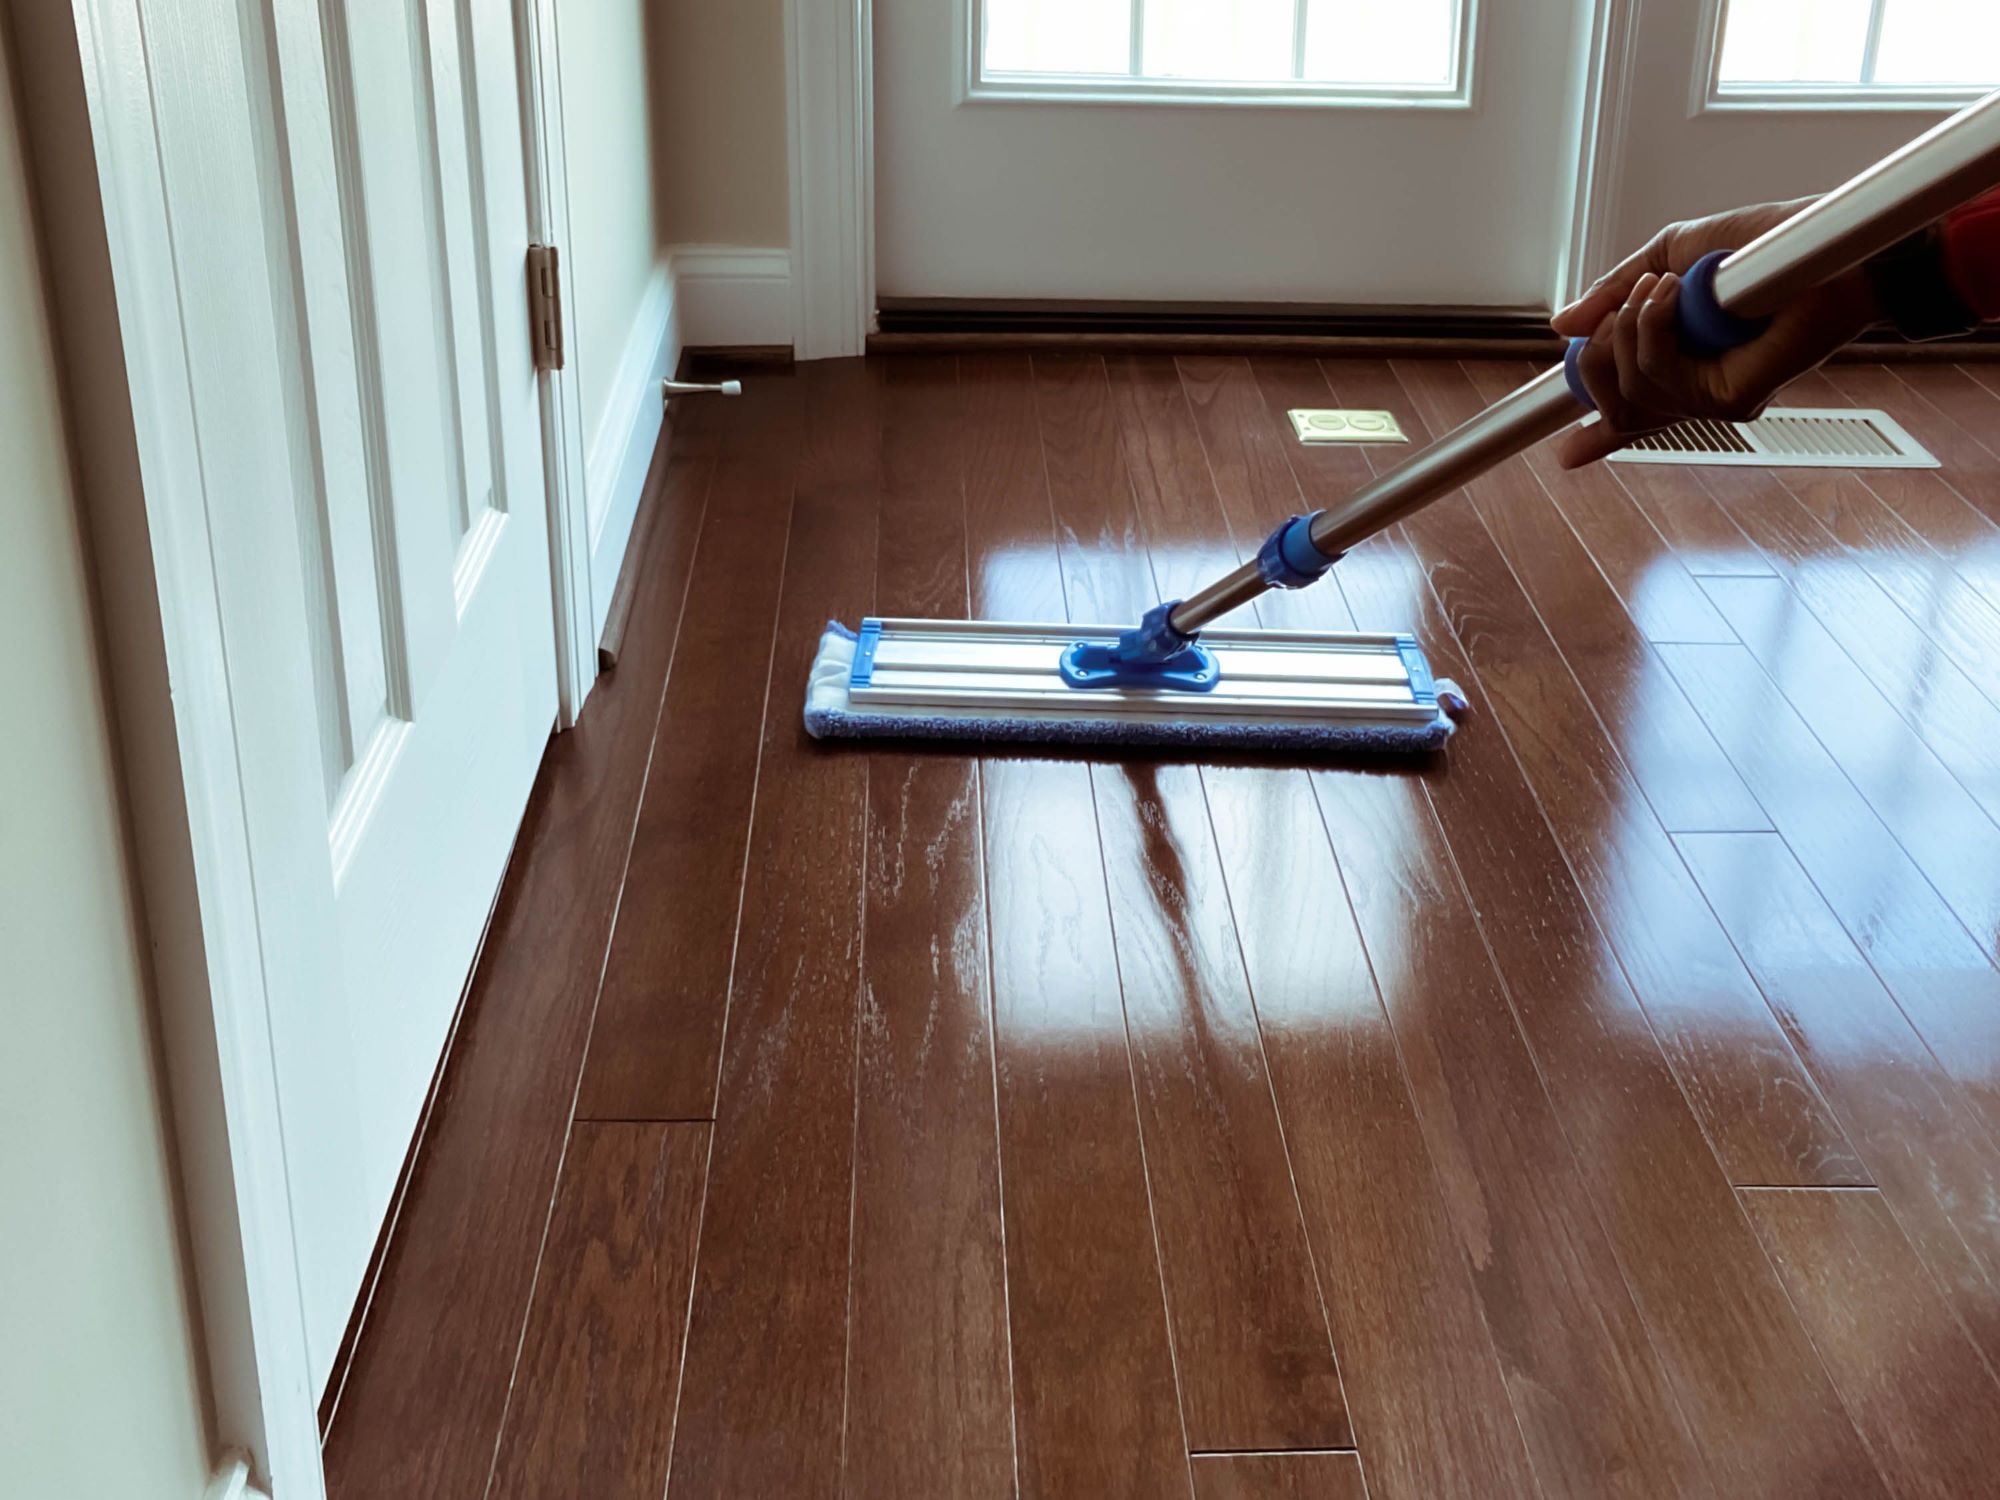
Before you can start repairing the dents on your hardwood floor, it is important to clean the affected area thoroughly. This will ensure that there are no dust, debris, or other particles that may interfere with the repair process or affect the adhesion of the repair materials.
Here are the steps to clean the affected area:
- Carefully Remove any Loose Debris: Begin by removing any loose debris, such as dirt or small wood splinters, from the dent. You can use a soft-bristle brush or a vacuum with a brush attachment to gently sweep away the debris.
- Use a Gentle Hardwood Floor Cleaner: Prepare a mild hardwood floor cleaner by following the instructions on the product. Alternatively, you can make a DIY cleaner by mixing a few drops of dish soap with warm water.
- Dampen a Soft Cloth or Sponge: Dip a soft cloth or sponge into the hardwood floor cleaner solution, ensuring that it is damp and not soaking wet. Excess moisture can damage the wood.
- Gently Clean the Affected Area: Carefully wipe down the damaged area, applying gentle pressure to remove any dirt or stains. Avoid scrubbing too hard, as this can cause further damage to the surrounding areas.
- Dry the Area Completely: Use a clean, dry cloth or towel to remove any excess moisture from the cleaned area. Ensure that the area is completely dry before proceeding with the repair process.
By thoroughly cleaning the affected area, you create a clean and smooth surface for the repair materials to adhere to. This step also helps to remove any contaminants that could affect the finished appearance of your repaired hardwood floor.
Once the area is clean and dry, you can proceed to the next steps in the repair process, depending on the depth and severity of the dents. Surface dents can often be fixed through the application of heat and moisture, while deeper dents may require the use of wood filler and sanding.
In the upcoming steps, we will guide you through each repair method, providing detailed instructions to ensure a successful and seamless repair of your hardwood floor dents.
Step 2: Applying Heat and Moisture
For surface dents on your hardwood floor, applying heat and moisture can help to expand the compressed wood fibers and restore them to their original shape. This method is particularly effective for minor dents that have not caused any structural damage.
Here are the steps to apply heat and moisture to the surface dents:
- Prepare a Heat Source: Use a blow dryer with adjustable temperature settings to provide the heat necessary for this step. Set the blow dryer to a medium or low heat setting to avoid damaging the wood or finish.
- Apply Heat to the Dent: Hold the blow dryer approximately 6-8 inches away from the affected area. Direct the heat towards the dent and move the blow dryer in a circular motion for about 1-2 minutes. The heat will help to expand the wood fibers.
- Apply Moisture: After applying heat, moisten a clean cloth or use a vaporizer to introduce moisture to the affected area. Gently dab the cloth onto the dent or allow the vaporizer to release moisture in the vicinity of the dent. Be cautious not to oversaturate the area with moisture.
- Allow the Wood to Absorb the Moisture: After applying moisture, allow the wood to absorb it for approximately 15-20 minutes. This will help the expanded wood fibers to regain their original shape.
- Assess the Dent: After the allotted time, check the dent to see if it has improved. In many cases, it will have reduced or disappeared entirely. If the dent is not completely resolved, you can repeat the heat and moisture process a few more times.
It’s important to note that applying heat and moisture may not be effective for deep dents or those that have caused significant damage to the wood fibers. In such cases, the next steps involving wood filler and sanding will be necessary to restore the floor’s appearance.
By applying heat and moisture, you can often eliminate surface dents in your hardwood floor without the need for additional repairs. This method is a non-invasive solution that allows the natural properties of the wood to work in your favor.
In the next step, we will discuss the use of a hardwood floor repair kit for more extensive dents and damage.
Use a steam iron and damp cloth to apply heat and moisture to the dented area. This will cause the wood fibers to swell and help the dent to rise back up. Be sure to protect the surrounding area with a cloth to avoid any damage.
Read more: How To Refinish A Hardwood Floor
Step 3: Using a Hardwood Floor Repair Kit
If the surface dents on your hardwood floor do not improve with the application of heat and moisture, or if you are dealing with deeper dents and damage, using a hardwood floor repair kit can be a highly effective solution. These kits typically contain wood filler, putty knives, and other specialized tools to help you achieve a seamless repair.
Here are the steps to use a hardwood floor repair kit:
- Select a Wood Filler: Choose a wood filler that matches the color of your hardwood floors for the most inconspicuous repair. You can find a variety of options available at your local home improvement store.
- Prepare the Wood Filler: Follow the manufacturer’s instructions to prepare the wood filler. This typically involves mixing the filler components together until they form a smooth paste-like consistency.
- Apply the Wood Filler: Use a putty knife to apply the wood filler to the dent, ensuring that it completely fills the depressed area. Overfill slightly to compensate for any shrinkage that may occur as the filler dries.
- Smooth the Filler: Use the putty knife to smooth the surface of the wood filler, removing any excess and ensuring a level finish with the surrounding floor. Wipe off any excess filler from the surrounding area using a damp cloth.
- Allow the Filler to Dry: Follow the manufacturer’s instructions for the drying time of the wood filler. The drying time can vary depending on the product and environmental conditions. Avoid walking on the repaired area until the filler has fully dried.
- Sand the Repaired Area: Once the wood filler is completely dry, use a sanding block or sandpaper to gently smooth the repaired area. Start with a coarser grit sandpaper and gradually move to a finer grit for a polished finish. Sand in the direction of the wood grain for the best results.
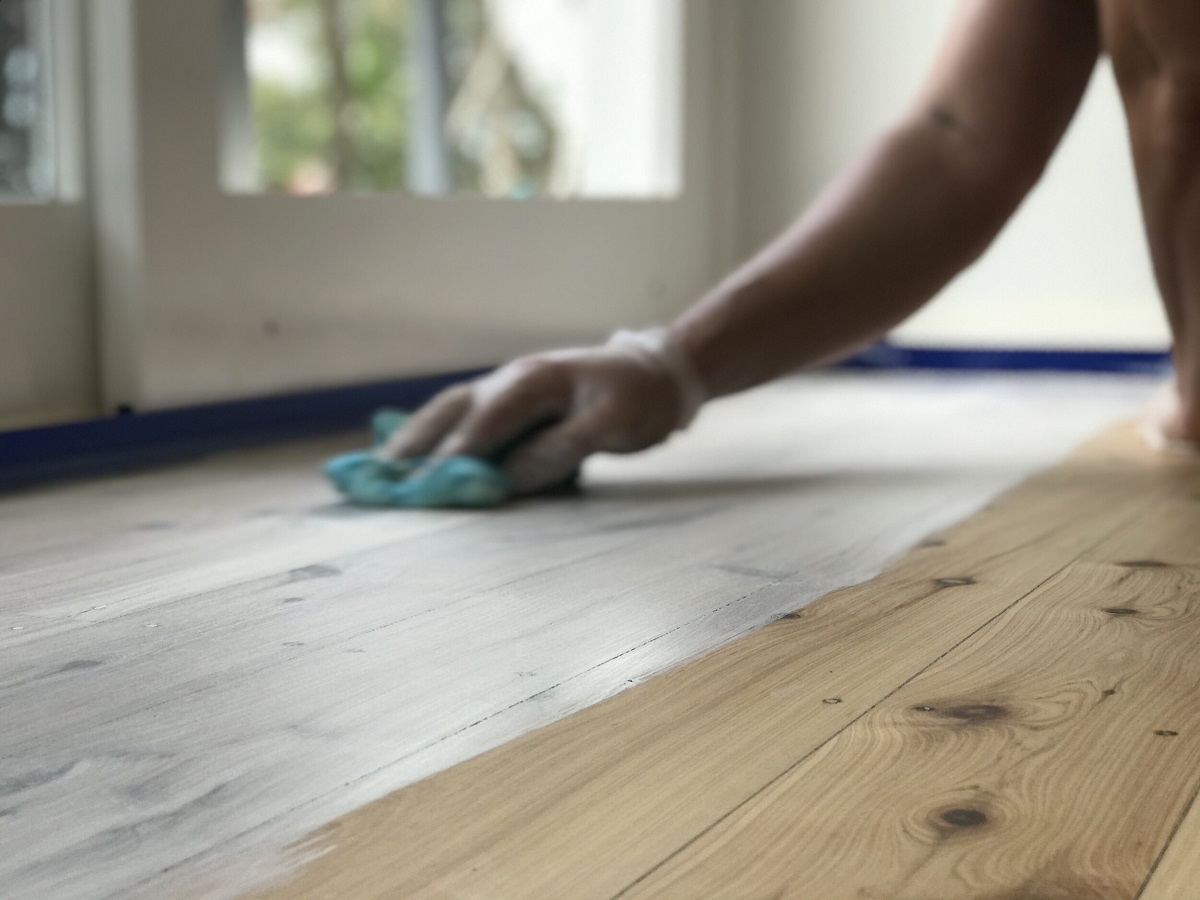
- Clean and Finish: After sanding, use a soft cloth or sponge to clean any dust or debris from the repaired area. If necessary, you can apply a matching wood stain to ensure a consistent color. Finish the repair by applying a sealer or finish coat that matches the sheen and type of your existing floor finish. Follow the manufacturer’s instructions for the drying and curing time of the finish.
Using a hardwood floor repair kit provides you with the necessary tools and materials to address deeper and more visible dents on your hardwood floor. Follow the instructions provided in the kit and take your time to achieve a seamless and professional-looking repair.
In the next step, we will discuss the final steps of sanding and refinishing to complete the repair process.
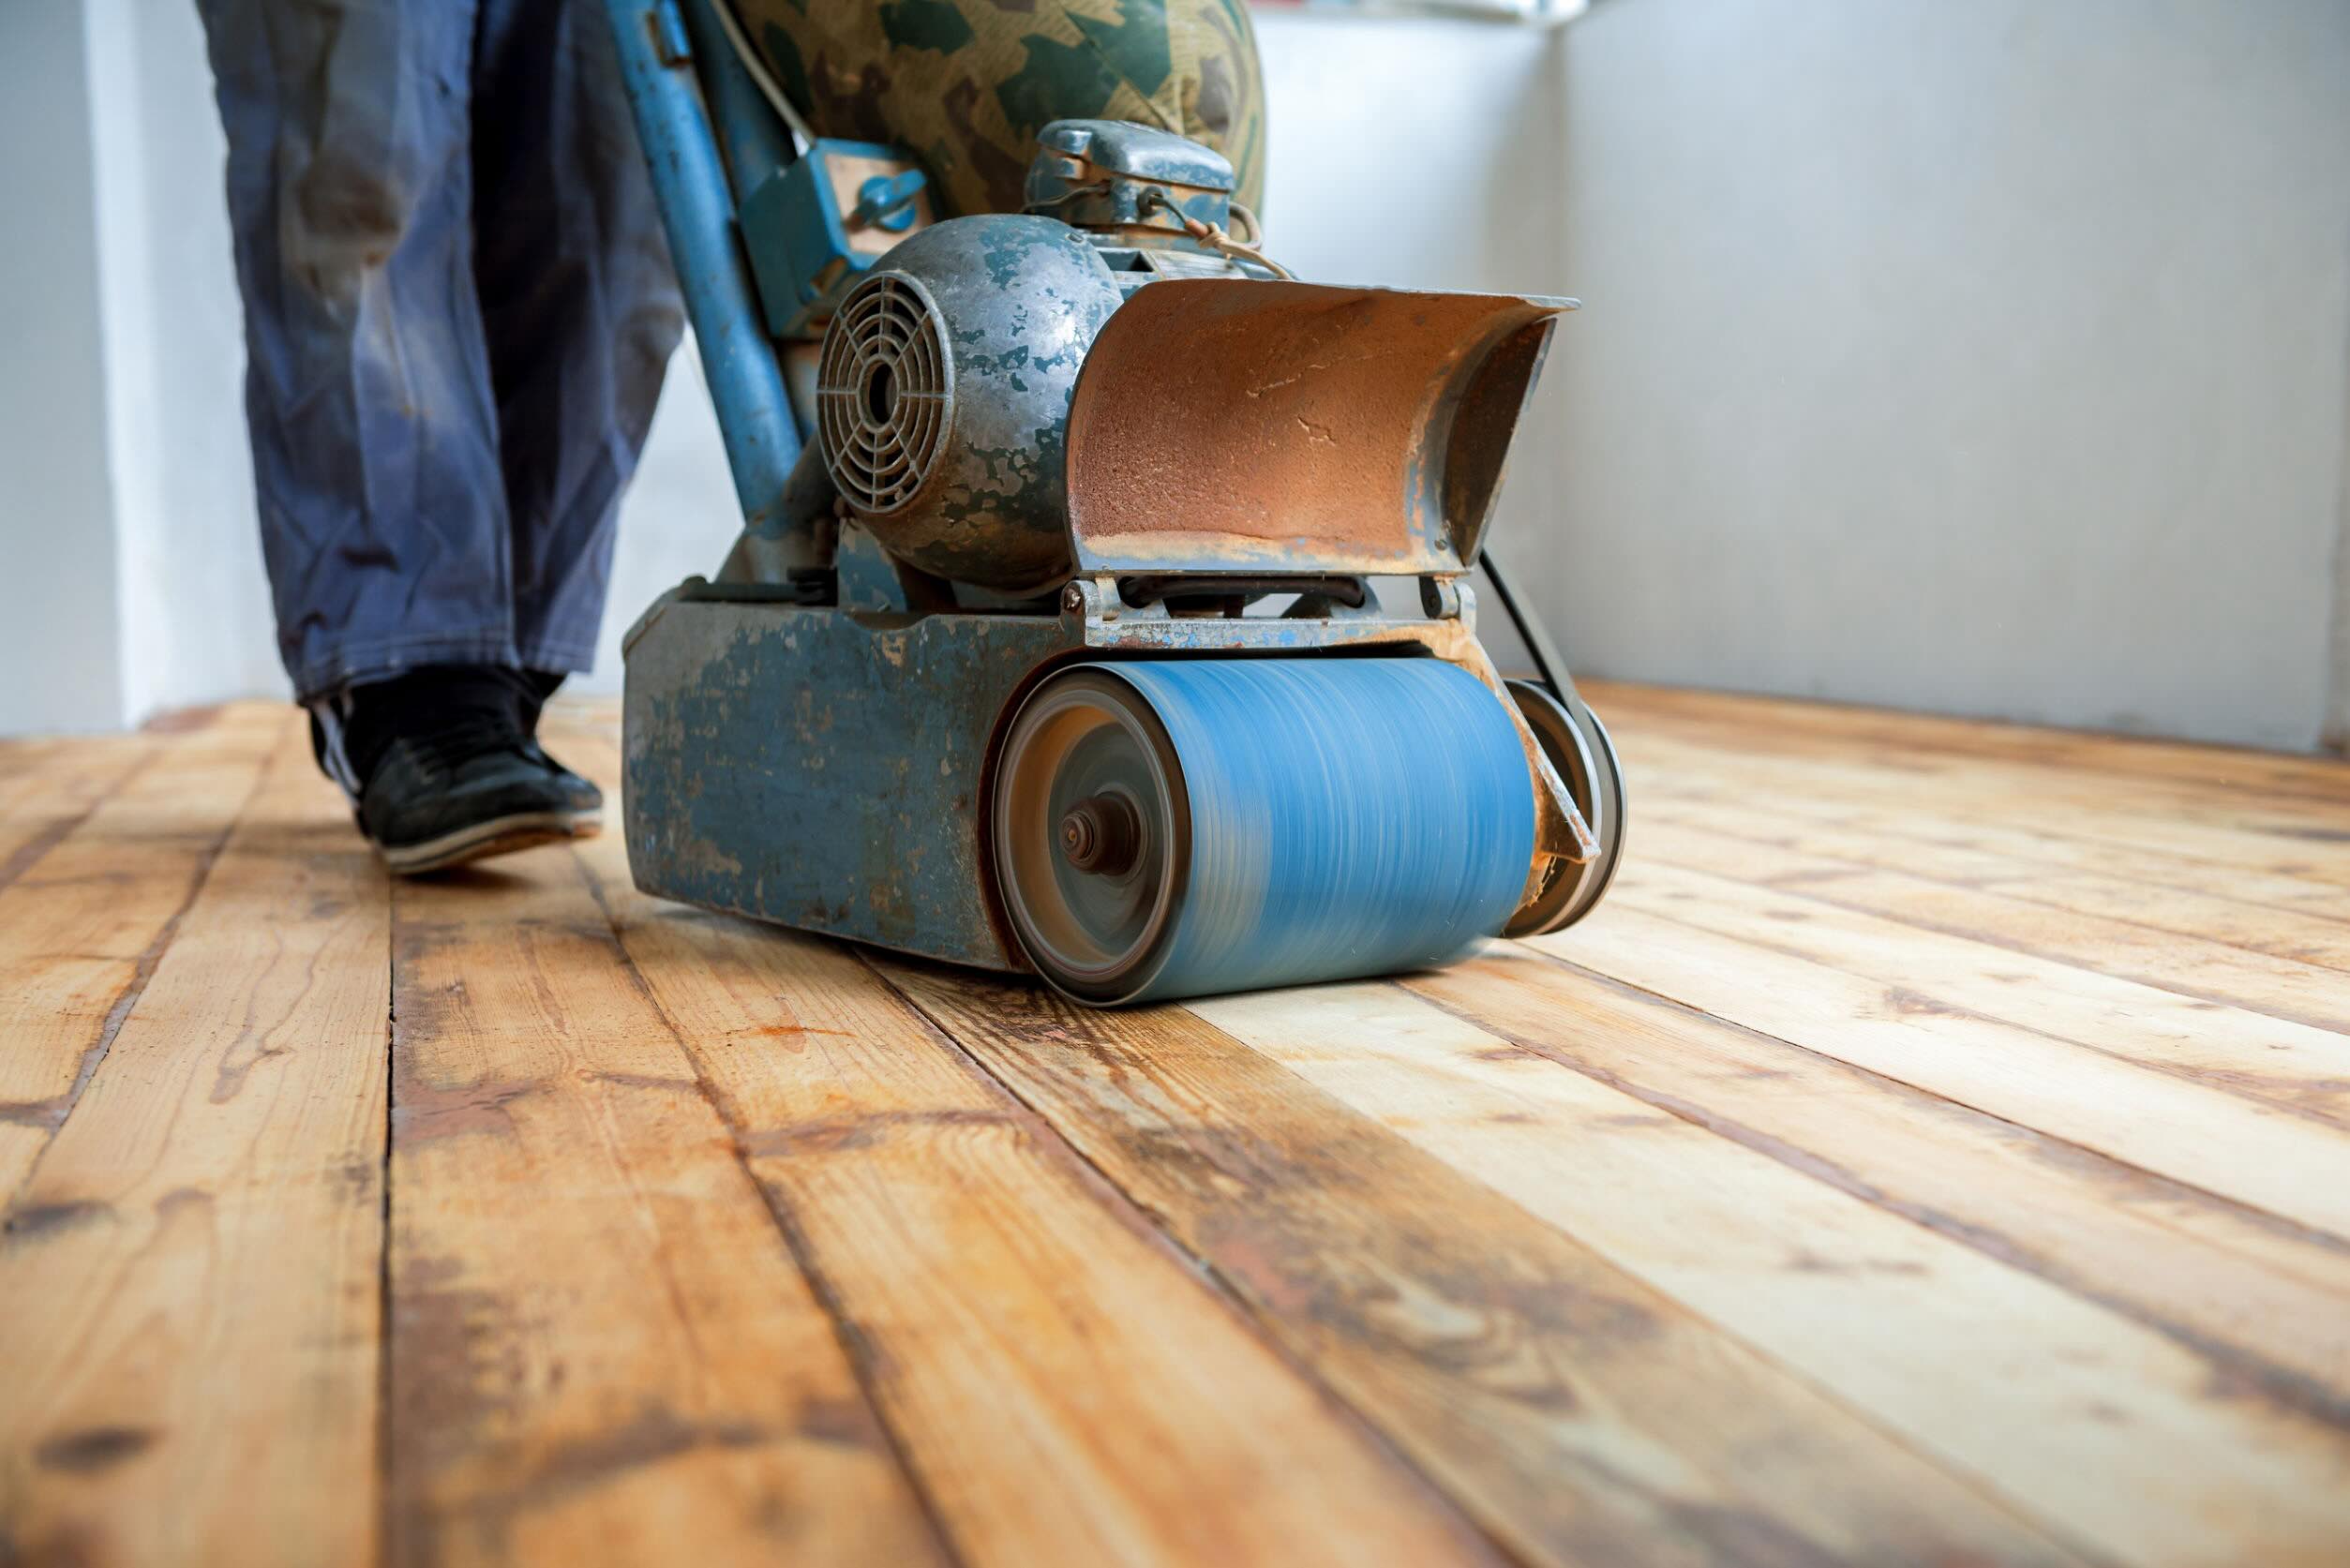
Step 4: Sanding and Refinishing
After using a hardwood floor repair kit to fill in the dents and cracks, the next step is to sand and refinish the repaired area. This will ensure that the repaired section blends seamlessly with the rest of the floor, both in terms of texture and appearance.
Here are the steps to sand and refinish the repaired area:
- Gather the Necessary Tools: You will need a sanding block or sandpaper with varying grit levels, ranging from coarse to fine. Additionally, have a soft cloth or sponge ready to clean the area between sanding stages.
- Start with Coarse Grit Sandpaper: Begin the sanding process with a coarse grit sandpaper, such as 80 or 100 grit. Sand the repaired area gently, moving in the direction of the wood grain. This will help to smooth out any unevenness caused by the wood filler and blend it with the surrounding floor.
- Progress to Finer Grit Sandpaper: Gradually switch to finer grit sandpaper, such as 120 and 220, to achieve a smoother finish. Repeat the sanding process, ensuring that each stage removes the scratches left by the previous grit.
- Clean the Area Thoroughly: After each sanding stage, use a soft cloth or sponge to clean the area and remove any dust or debris. This will help you assess the progress and ensure the surface is ready for refinishing.
- Apply a Matching Wood Stain (if necessary): If the repaired area is noticeably lighter or darker than the rest of the floor, you can apply a matching wood stain to achieve a more uniform color. Follow the manufacturer’s instructions for the application process and drying time.
- Finish with a Protective Sealer or Finish Coat: To complete the refinishing process, apply a protective sealer or finish coat that matches the sheen and type of your existing floor finish. Use a brush or roller to apply the sealer in thin and even coats, following the manufacturer’s instructions for drying and curing time.
- Allow Sufficient Drying Time: Once the final coat of sealer or finish is applied, allow sufficient drying time before walking on the repaired area or placing furniture back on the floor. This will ensure that the finish cures properly and provides long-lasting protection.
By properly sanding and refinishing the repaired area, you can achieve a seamless integration with the rest of your hardwood floor. Take your time during the sanding process, ensuring that each stage eliminates imperfections and creates a smooth and professional-looking result.
With the sanding and refinishing complete, your repaired hardwood floor should now regain its original beauty and luster. In the final step, we will discuss some preventive measures to help avoid future dents and maintain the longevity of your floors.
Step 5: Preventing Future Dents
Now that you have successfully repaired the dents on your hardwood floor, it’s important to take preventive measures to avoid future damage. By implementing some proactive strategies, you can maintain the beauty of your floors and prolong their lifespan. Here are some preventive steps you can take:
- Use Furniture Pads: Place furniture pads under the legs of chairs, tables, and other heavy furniture items. These pads help distribute the weight and minimize the impact on the floor when moving or rearranging furniture.
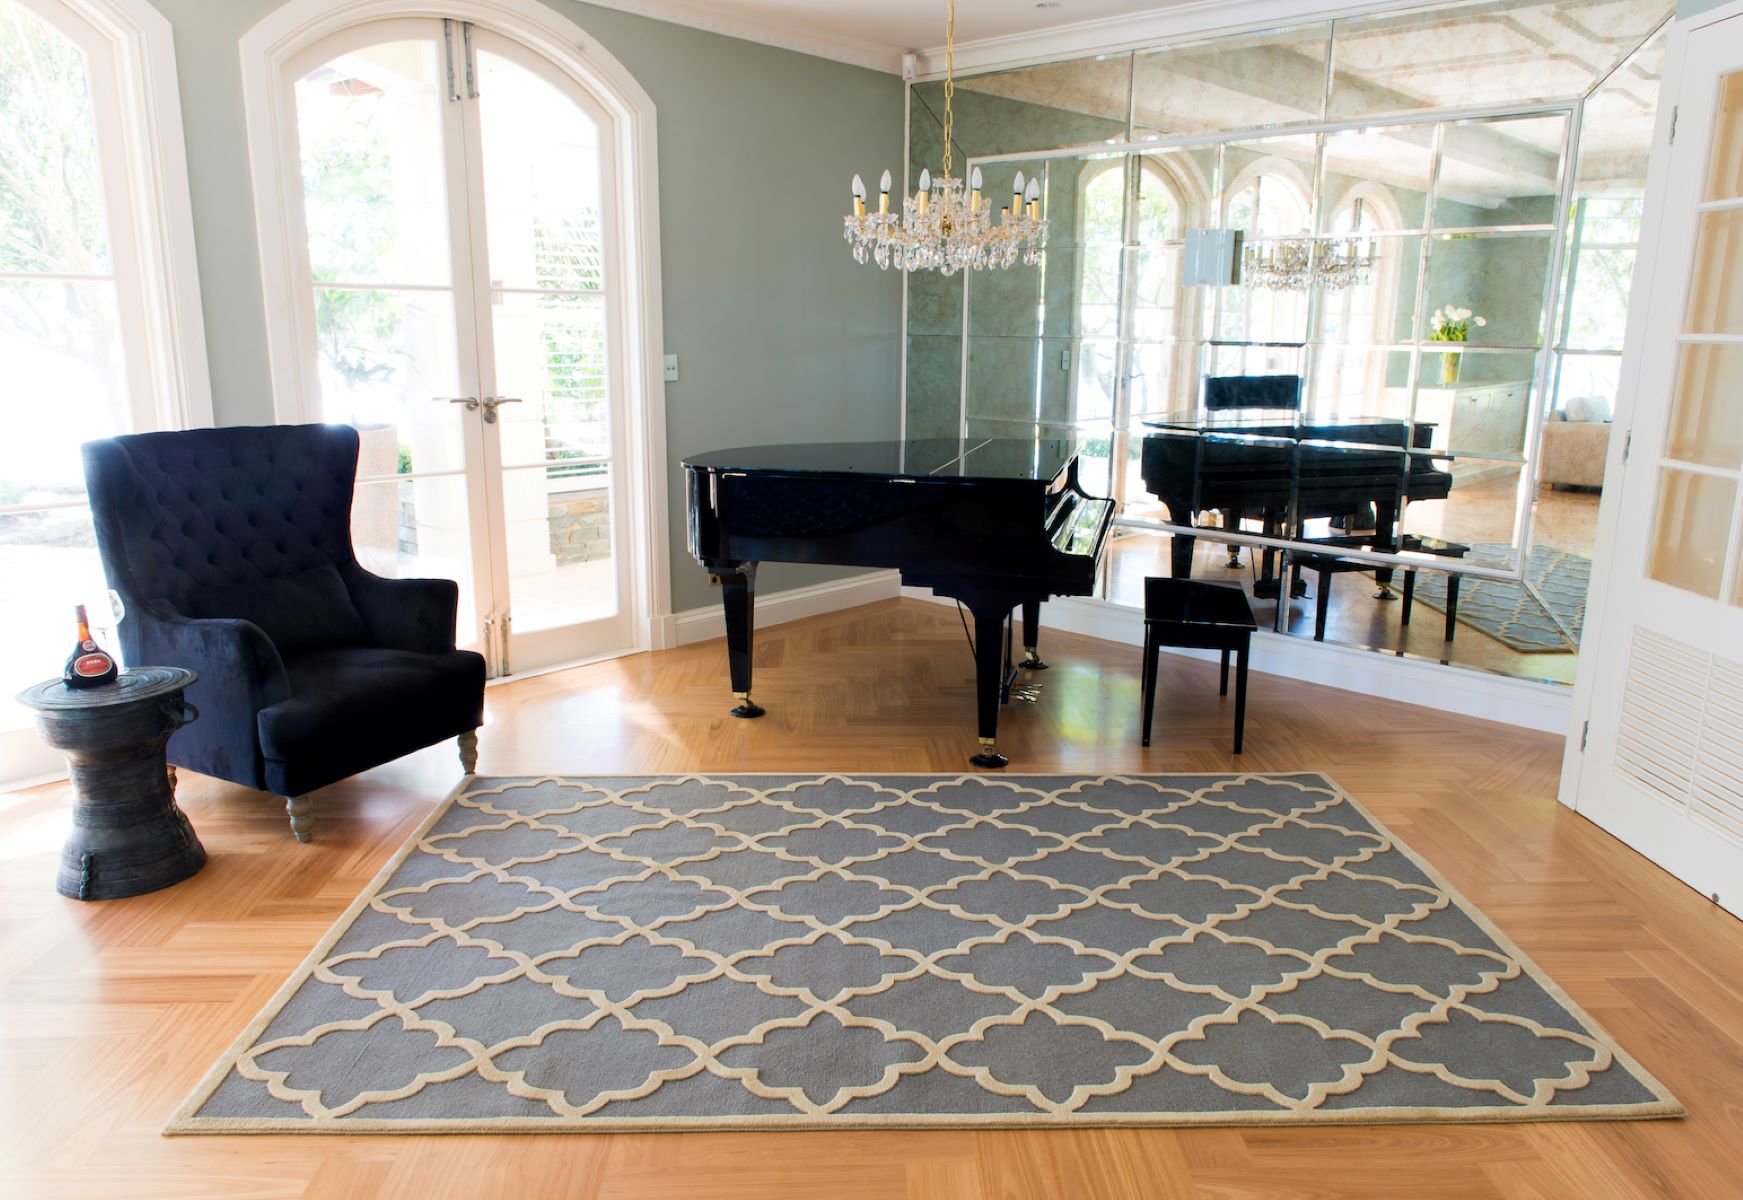
- Protect High-Traffic Areas: Consider placing area rugs or runners in areas with high foot traffic. This will help to cushion the floor and reduce the risk of dents and scratches.
- Remove Shoes: Encourage family members and guests to remove their shoes when entering your home. Shoes, especially those with hard or sharp heels, can cause significant damage to the hardwood floor surface over time.
- Use Floor Mats: Place floor mats at entranceways to collect dirt, debris, and moisture from shoes. This will prevent them from being tracked onto the hardwood floor, which can cause scratching or staining.
- Handle Heavy Objects with Care: When moving heavy furniture or appliances, use furniture sliders or enlist the help of others to avoid dragging or dropping them onto the floor. Be cautious and avoid excessive pressure on small areas.
- Maintain Regular Cleaning: Implement a regular cleaning routine to keep your hardwood floors free from dirt, dust, and debris. Sweep or vacuum frequently, and use a damp mop with a hardwood floor cleaner to maintain their natural beauty.
- Reapply Protective Finish: Over time, the protective finish on your hardwood floors may wear off. Consider periodically reapplying a new layer of finish to ensure that the surface remains protected from scratches and dents.
- Stay Mindful of Pet Claws: If you have pets with claws, keep them well-groomed to minimize the risk of scratches. Trim their nails regularly and provide them with scratch-resistant surfaces or furniture alternatives.
By following these preventive measures, you can significantly reduce the likelihood of future dents and maintain the appearance of your hardwood floors for years to come. Regular maintenance and proactive care will help preserve their natural beauty and ensure their durability.
Now that you have completed the repair process and learned how to prevent future dents, you can enjoy your beautiful hardwood floors with peace of mind. Remember to address any new dents or damage promptly to maintain the longevity and aesthetic appeal of your floors.
Congratulations on successfully repairing your hardwood floor dents and taking steps to protect them in the future!
Conclusion
Repairing hardwood floor dents doesn’t have to be a daunting task. With the right tools, materials, and techniques, you can restore your hardwood floors to their original beauty and maintain their integrity for years to come. Throughout this article, we have covered the steps involved in fixing hardwood floor dents, from understanding the different types of dents to using heat and moisture, utilizing a repair kit, sanding, and refinishing.
It’s important to remember that prevention is key in maintaining the quality of your hardwood floors. By implementing preventative measures such as using furniture pads, removing shoes, and protecting high-traffic areas, you can minimize the risk of future dents and damage.
Regular cleaning and maintenance play a crucial role in preserving the beauty of your hardwood floors. Sweeping, vacuuming, and using a hardwood floor cleaner will help keep them looking their best while removing dirt and debris that can contribute to wear and tear.
When dents do occur, address them promptly to prevent further damage. Surface dents can often be improved with the application of heat and moisture, while deeper dents may require the use of a hardwood floor repair kit. Sanding and refinishing the repaired area will provide a seamless blend with the rest of the floor, ensuring a professional finish.
By understanding the nature of hardwood floor dents, using the right tools and materials, and following the step-by-step instructions provided in this article, you can successfully repair dents and restore the natural beauty of your hardwood floors.
Remember, proper prevention, maintenance, and timely repairs are key to preserving the longevity and appearance of your hardwood floors. With care and attention, your hardwood floors will continue to be a stunning feature in your home for years to come.
Frequently Asked Questions about How To Fix Hardwood Floor Dents
Was this page helpful?
At Storables.com, we guarantee accurate and reliable information. Our content, validated by Expert Board Contributors, is crafted following stringent Editorial Policies. We're committed to providing you with well-researched, expert-backed insights for all your informational needs.

0 thoughts on “How To Fix Hardwood Floor Dents”