Home>Ideas and Tips>DIY Guide To Installing A Kitchen Range Hood With Custom Cover
Ideas and Tips
DIY Guide To Installing A Kitchen Range Hood With Custom Cover
Modified: November 1, 2024
Learn how to install a kitchen range hood and build a custom cover with our step-by-step DIY guide. Enhance your kitchen's functionality and style.
(Many of the links in this article redirect to a specific reviewed product. Your purchase of these products through affiliate links helps to generate commission for Storables.com, at no extra cost. Learn more)
Introduction
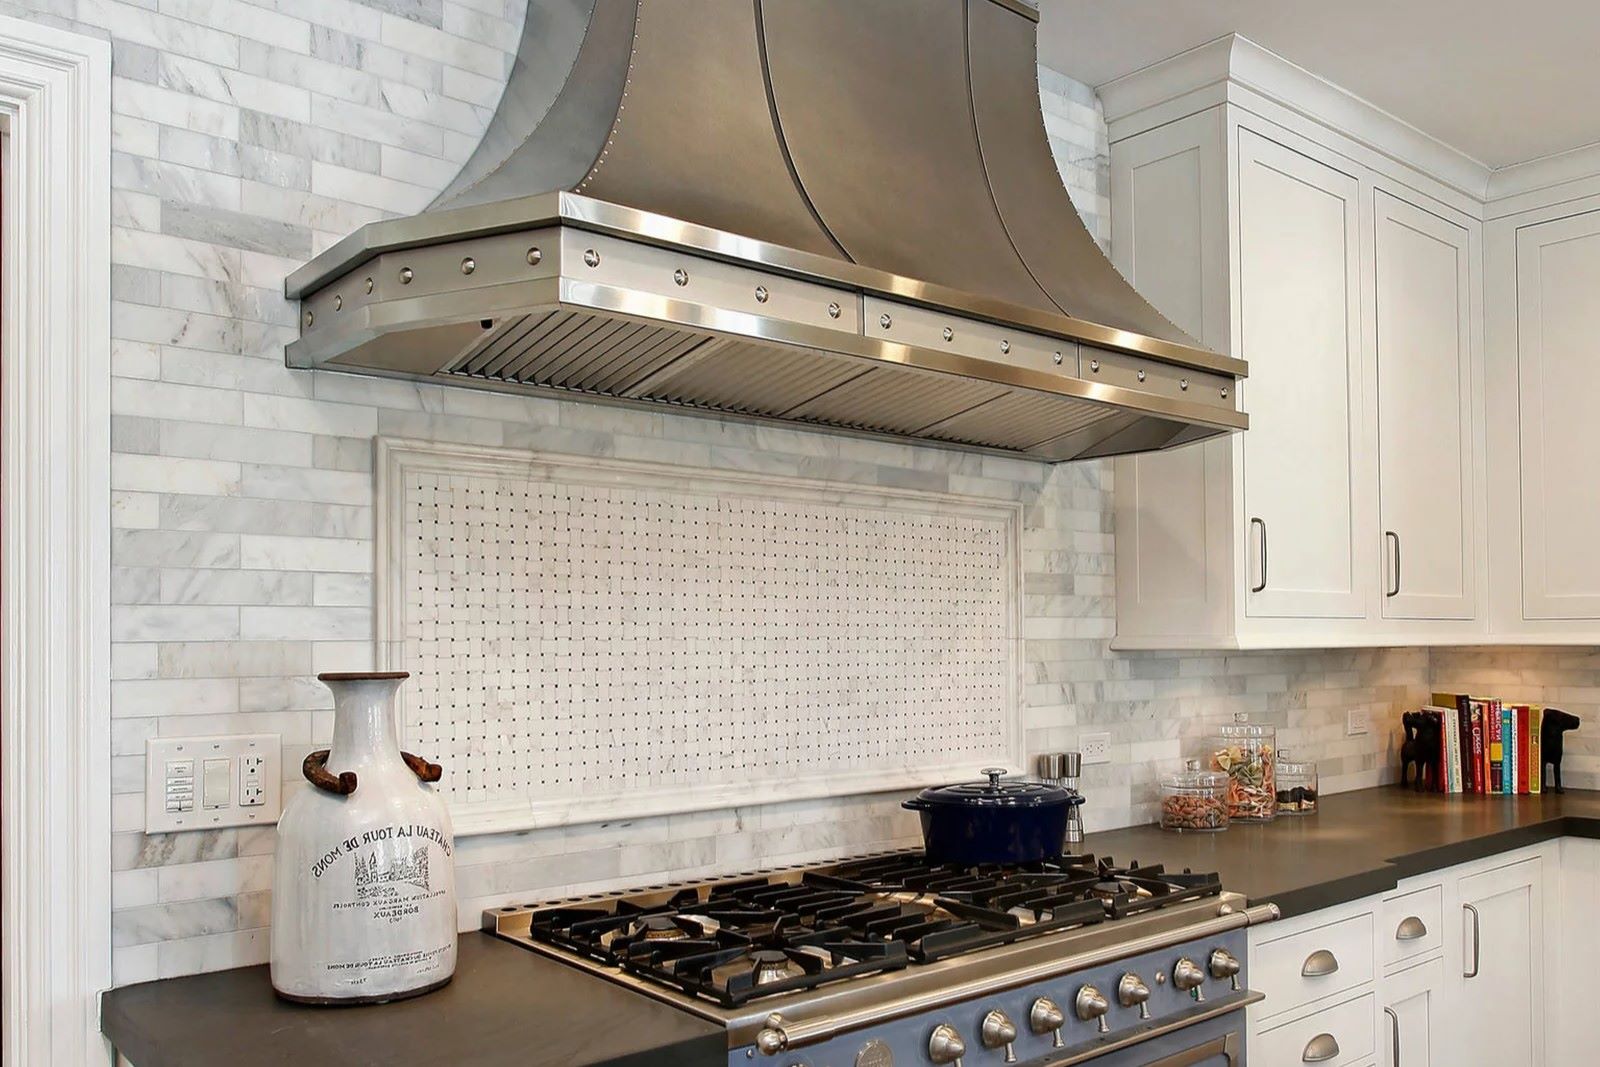
Installing a kitchen range hood is a crucial step in enhancing the functionality and aesthetic appeal of your kitchen. However, many homeowners overlook the opportunity to create a custom cover for their range hood, which can add a unique touch to the space. In this article, we will guide you through the process of installing a kitchen range hood and provide a detailed DIY tutorial on how to build a custom cover.
Read more: DIY Guide To Installing A Kitchen Range Hood
Why Choose a Custom Range Hood Cover?
A custom range hood cover offers several benefits over a standard installation. It allows you to personalize the design of your kitchen, match the cover with your existing cabinetry, and create a seamless look that enhances the overall aesthetic of your space. Additionally, a custom cover can be designed to fit your specific needs, whether you want to conceal the vent or add decorative elements.
Step 1: Planning and Preparation
Before you begin, it's essential to plan and prepare for the installation. Here are some steps to follow:
-
Measure Your Range Hood:
- Measure the width and height of your range hood to determine the size of the cover you need to build.
- Consider any obstructions such as buttons or handles on the front of the hood.
-
Choose Your Materials:
- For a basic custom cover, you'll need materials like plywood or MDF for the face and sides, pine boards for supports, and molding for trim.
- If you're planning to tile the cover, you'll need additional materials such as tile adhesive, grout, and grout sealer.
-
Gather Tools:
- Basic tools like a drill, saw, hammer, nails, and screws are necessary.
- For tiling, you'll need a tile cutter, grout float, and grout spreader.
-
Plan Your Design:
- Sketch out your design to ensure it fits your space and meets your aesthetic requirements.
- Consider the style of your kitchen and match the cover accordingly.
Step 2: Removing the Old Range Hood
Before you start building your custom cover, you need to remove the old range hood. This step is crucial as it allows you to assess the space and make any necessary adjustments.
-
Disconnect Power:
- Ensure that the power to the range hood is disconnected before you start removing it.
-
Remove Mounting Brackets:
- Use a drill to remove the bolts that hold the range hood in place. Be careful not to damage any surrounding surfaces.
-
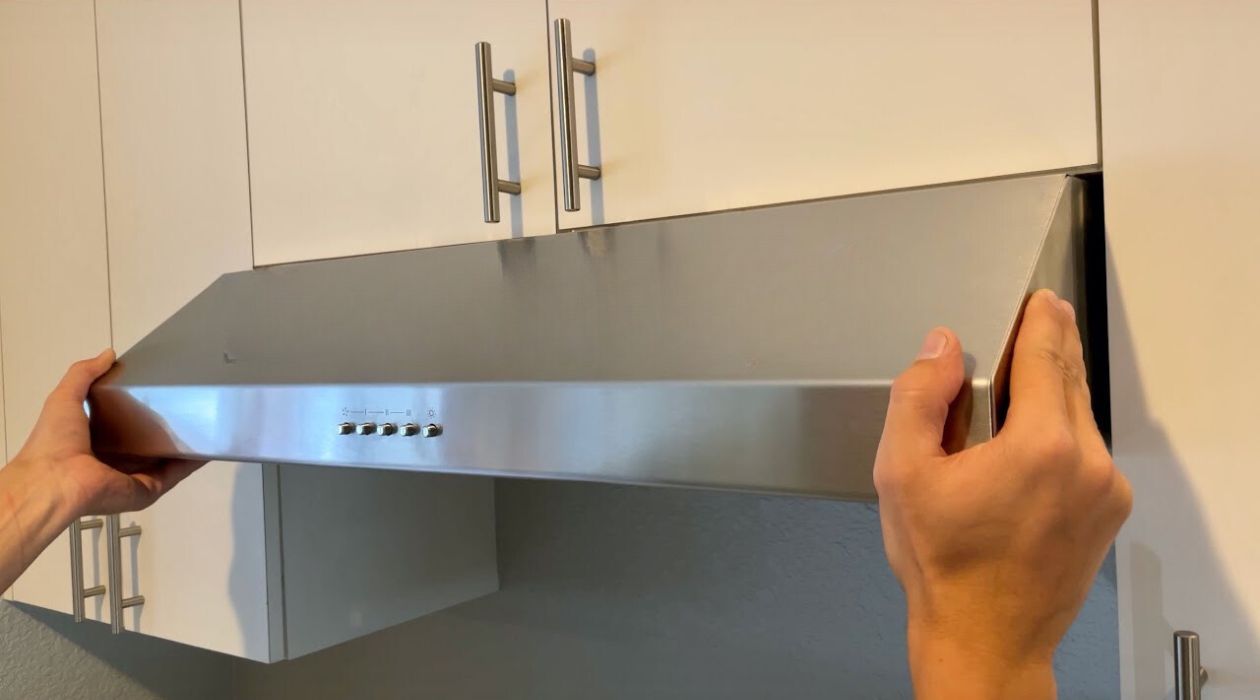
Take Down the Hood:
- With the brackets removed, carefully take down the range hood. If it's heavy, consider enlisting help.
-
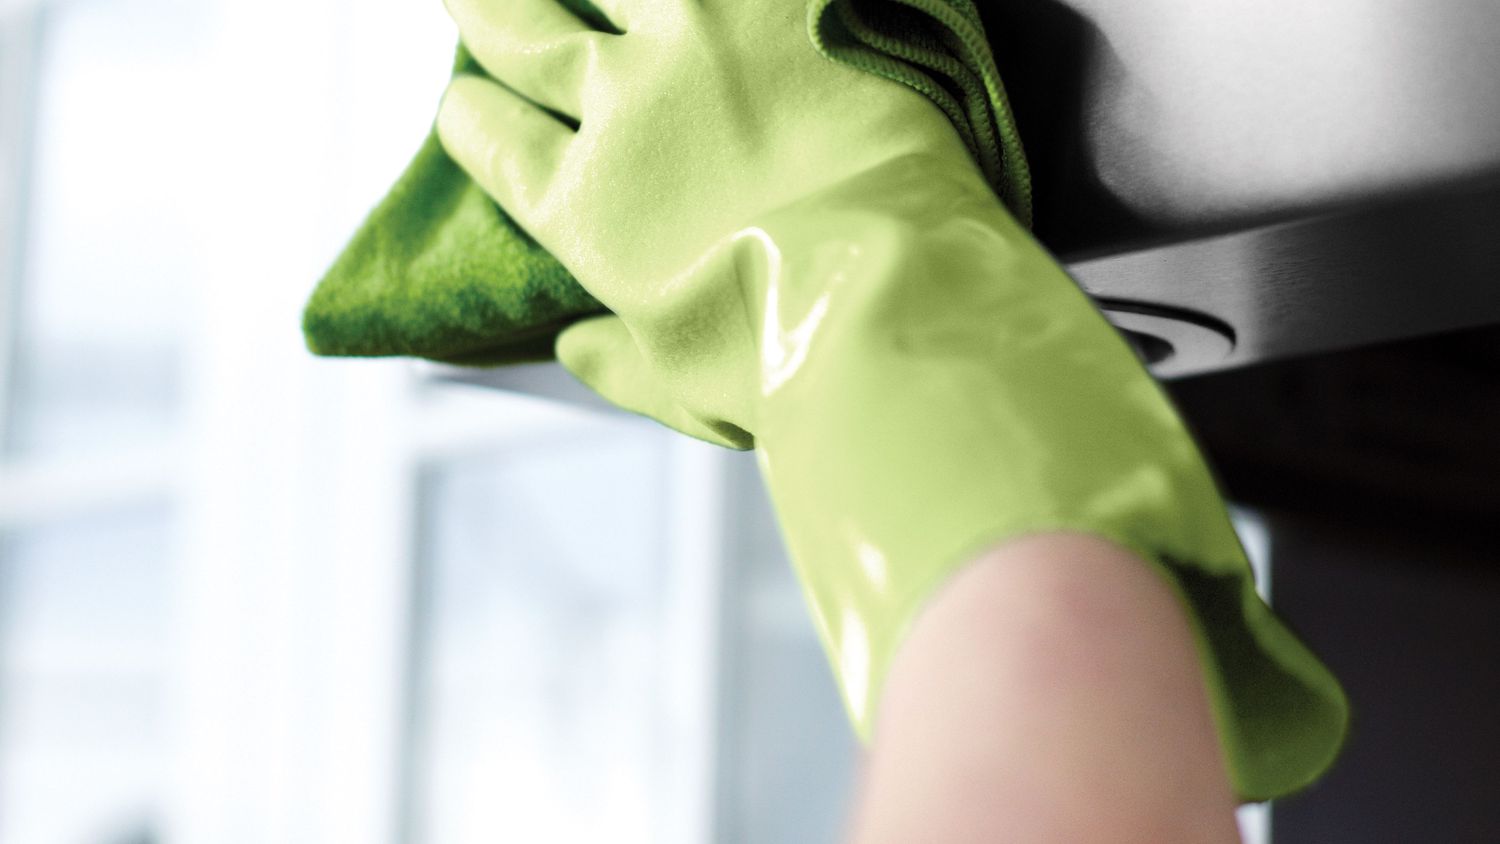
Clean the Area:
- Once the old range hood is removed, give the area a good cleaning to ensure there are no debris or dust particles that could interfere with your installation.
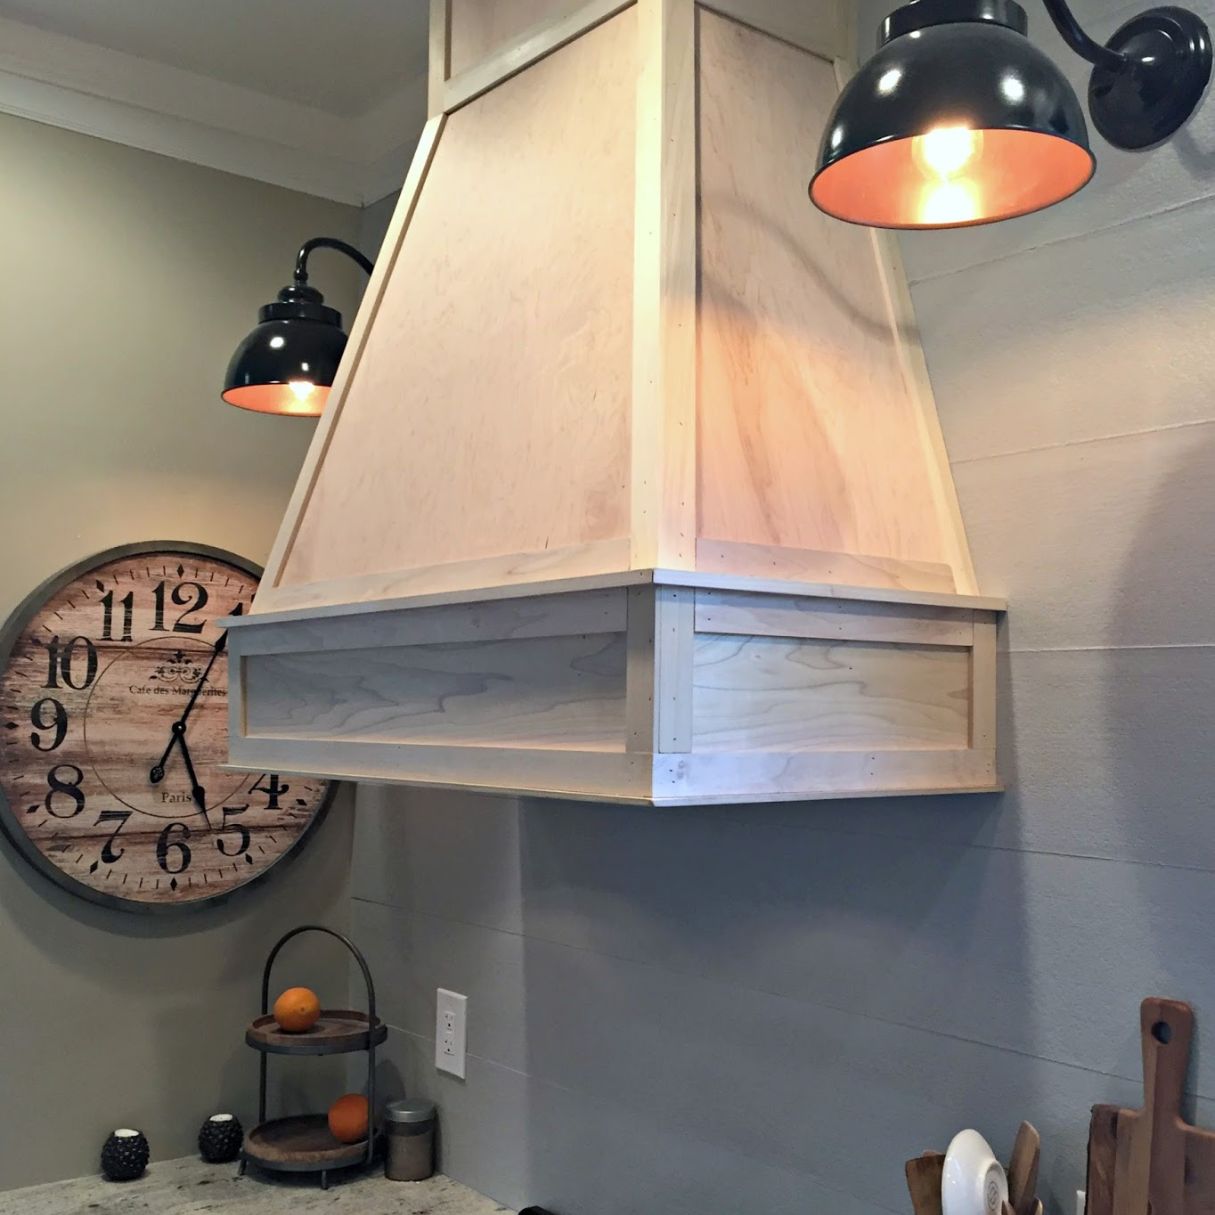
Step 3: Building the Frame
The frame is the backbone of your custom range hood cover. Here’s how you can build it:
-
Measure and Cut Lumber:
- Measure the width and height of your range hood and cut lumber accordingly. For a basic frame, you'll need two-by-fours or two-by-threes.
-
Create Rectangular Frames:
- Cut two large rectangles that will serve as the front and back of your frame. Attach these pieces together using pocket hole screws or nails.
-
Add Supports:
- Use shorter pieces of lumber to create a box structure by attaching them between the front and back frames.
-
Ensure Proper Fitment:
- Before installing the framework, add shims to account for any depth variations in your tile backsplash or other obstructions.
Read also: 10 Unbelievable Range Hood Cover For 2025
Step 4: Adding Molding and Trim
Once your frame is in place, it's time to add molding and trim to give your custom range hood cover a polished look.
-
Choose Molding Type:
- Decide on the type of molding you want to use—crown molding for the top, corner molding for edges, and pine lattice for the bottom.
-
Measure and Cut Molding Pieces:
- Measure around your frame and cut molding pieces accordingly.
-
Install Molding:
- Start by adding crown molding to the top of your frame. Use corner molding to frame out the edges of the top portion, and then simple pine lattice molding to trim out the bottom portion.
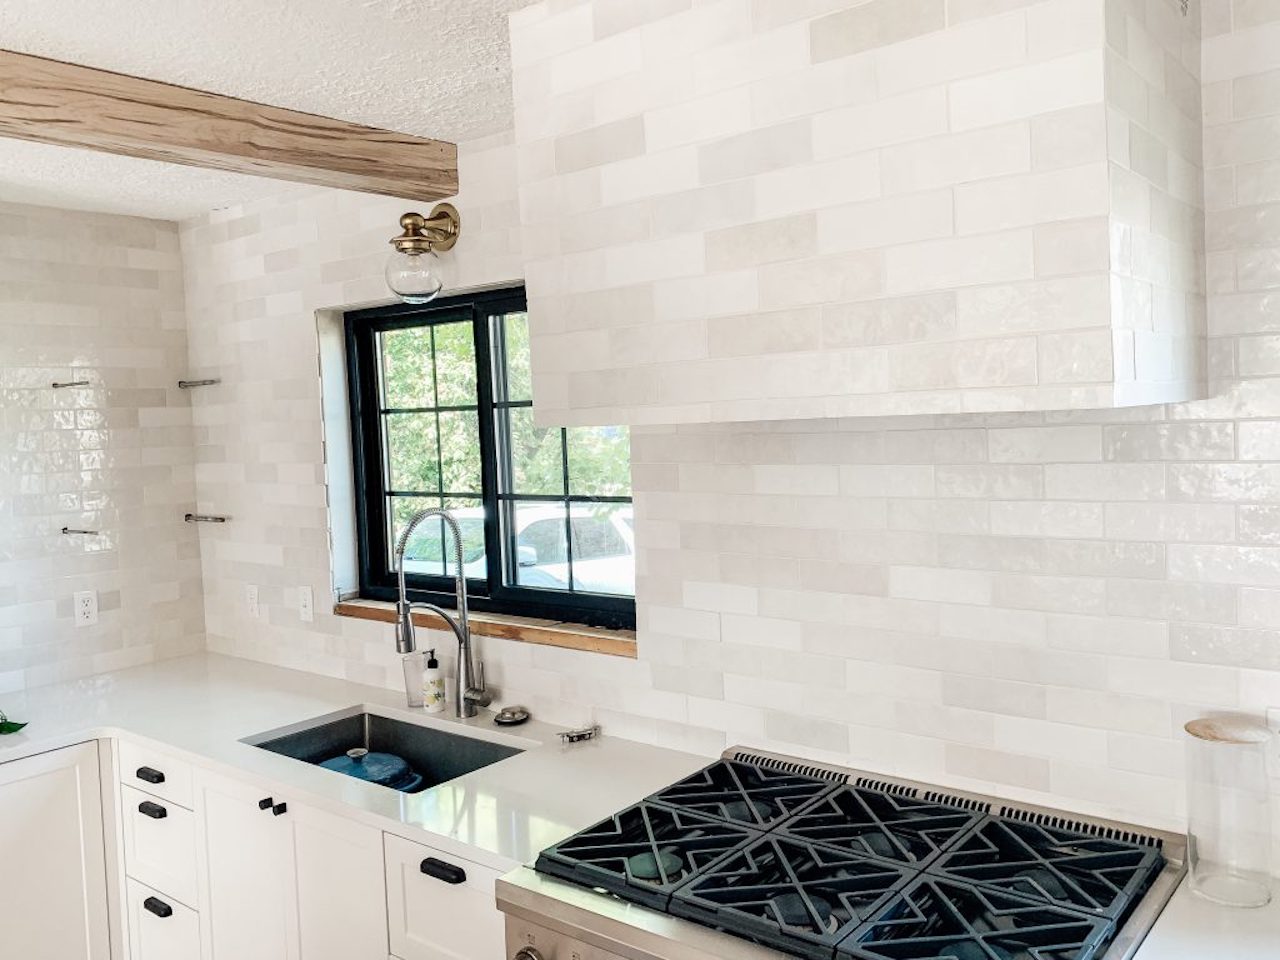
Step 5: Tiling (Optional)
If you've decided to tile your custom range hood cover, here’s how you can do it:
-
Prepare Surface:
- Ensure that your frame is stable and secure before applying tile adhesive.
-
Apply Tile Adhesive:
- Use a notched trowel to apply tile adhesive evenly across the surface of your frame.
-
Lay Tiles:
- Begin laying tiles from the center outward, ensuring they are evenly spaced and aligned properly.
-
Grout Tiles:
- Once all tiles are laid, use a grout float to spread grout between tiles. Wipe away excess grout with a damp cloth.
-
Seal Grout (Optional):
- If desired, apply a grout sealer to protect the grout from stains and moisture.
Step 6: Painting or Staining
After tiling or if you've chosen not to tile, it's time to paint or stain your custom range hood cover.
-
Choose Paint/Stain Color:
- Select a color that matches or complements your kitchen decor.
-
Prepare Surface:
- Clean the surface thoroughly before applying paint or stain.
-
Apply Paint/Stain:
- Follow manufacturer instructions for application and drying times.
Step 7: Installing the Custom Range Hood Cover
Now that your custom range hood cover is ready, it's time to install it.
-
Measure Placement:
- Measure where the access hole on the hood will line up with the bottom of the cabinet.
-
Drill Hole:
- Drill a hole in the bottom of the cabinet at this location.
-
Run Wiring:
- Run wiring through both holes if necessary for electrical connections.
-
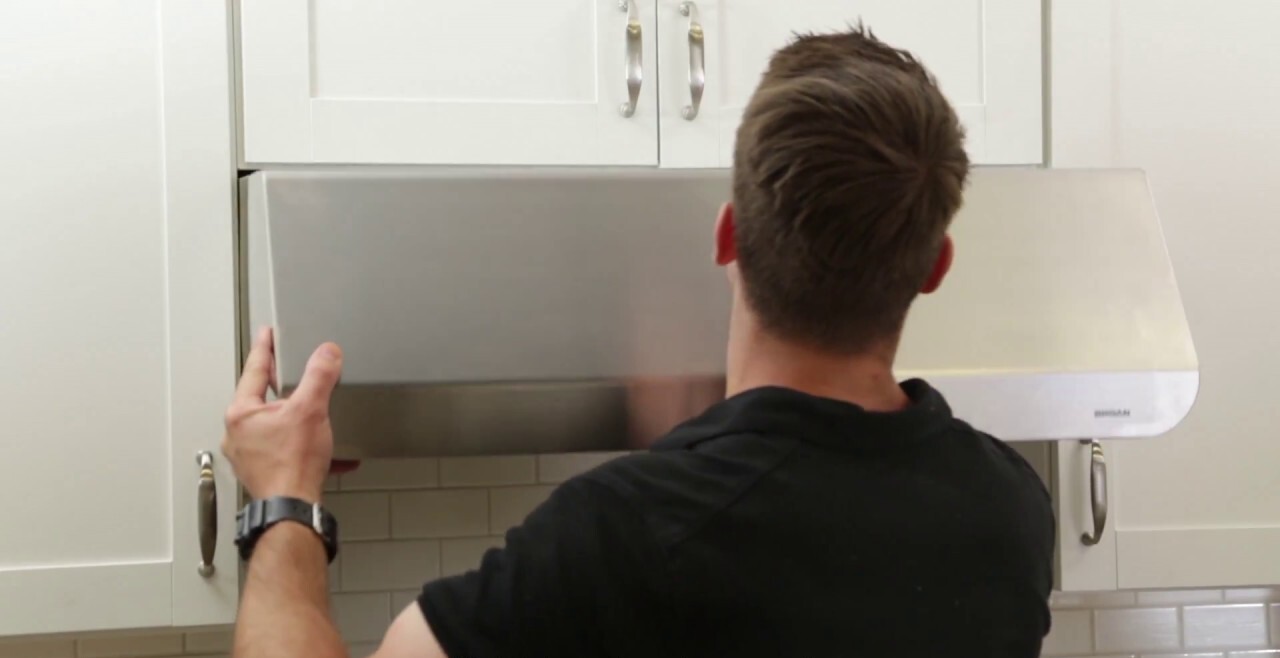
Mount Hood Insert:
- Mount the hood insert according to manufacturer instructions.
-
Attach Frame:
- Attach your custom frame around the front bottom of the hood using L brackets and nails or screws.
-
Add Final Touches:
- Install any additional trim or molding pieces as needed.
Read more: DIY Guide To Building Custom Shelving Units
Conclusion
Building a custom range hood cover is a rewarding DIY project that can significantly enhance your kitchen's aesthetic appeal while providing functional benefits like concealing vents or adding decorative elements. By following these steps, you can create a unique piece that perfectly fits your space and style preferences.
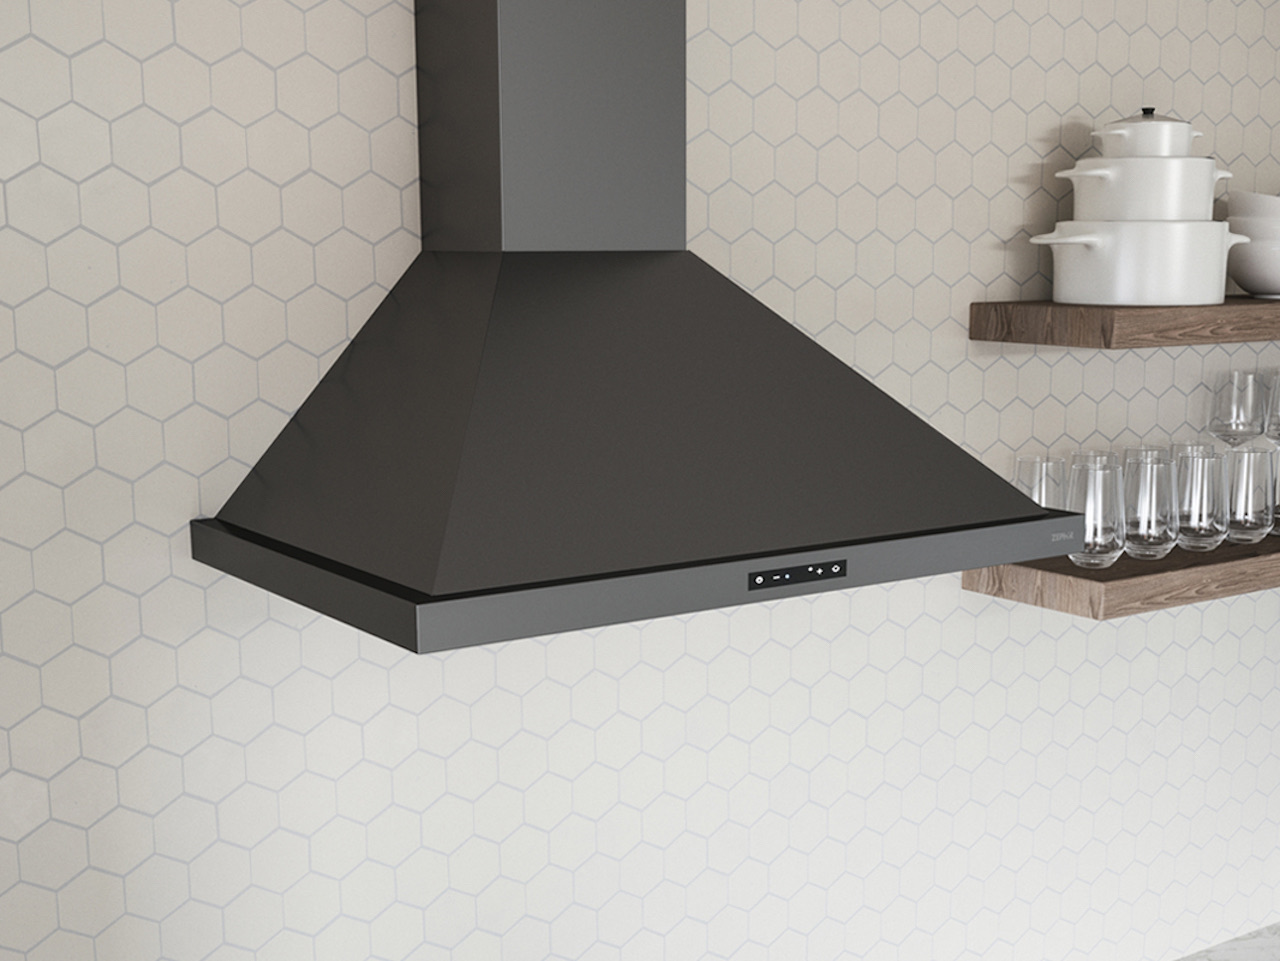
Tips and Variations
- Access Considerations: Ensure that there is easy access to the hood for maintenance purposes by leaving enough space between the cover and the hood.
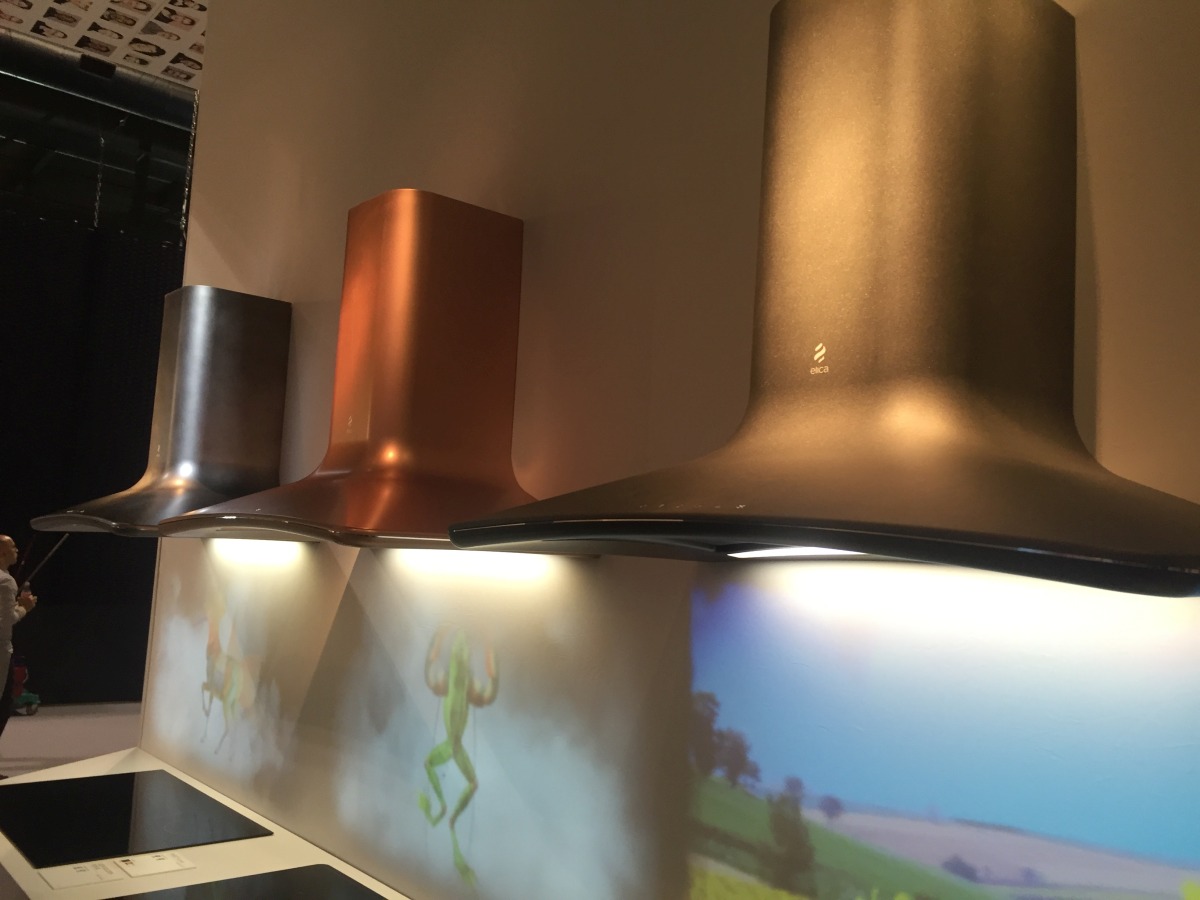
- Material Choices: Experiment with different materials like wood, tile, or even glass for a more modern look.
- Design Flexibility: Tailor your design to match your kitchen's style—from rustic wood tones to sleek modern designs.
By taking on this project, you'll not only save money but also gain a sense of accomplishment knowing that you've created something truly unique for your home.
FAQs
Q: How long does it take to build a custom range hood cover?
A: The time required can vary depending on the complexity of your design and whether you choose to tile it. Generally, it can take anywhere from a few days to a week or more if you're working on it part-time.
Q: What materials do I need for a basic custom cover?
A: For a basic cover, you'll need plywood or MDF for the face and sides, pine boards for supports, and molding for trim.
Q: Can I use any type of wood for my custom cover?
A: While you can use various types of wood, it's recommended to use materials that are durable enough to withstand kitchen conditions. Plywood or MDF are good options as they are less prone to warping.
Q: How do I ensure proper ventilation when building a custom range hood cover?
A: Ensure that your design maintains adequate airflow by leaving enough space between the cover and the hood. This will prevent any obstruction that could compromise ventilation.
By following these steps and tips, you'll be able to create a beautiful custom range hood cover that not only enhances your kitchen's functionality but also adds a unique touch to its aesthetic appeal. Happy building!
Was this page helpful?
At Storables.com, we guarantee accurate and reliable information. Our content, validated by Expert Board Contributors, is crafted following stringent Editorial Policies. We're committed to providing you with well-researched, expert-backed insights for all your informational needs.


0 thoughts on “DIY Guide To Installing A Kitchen Range Hood With Custom Cover”