

Articles
How To Install Ductwork For Range Hood
Modified: January 23, 2024
Learn how to install ductwork for your range hood with our informative articles. Gain the knowledge and skills you need to complete this home improvement project successfully.
(Many of the links in this article redirect to a specific reviewed product. Your purchase of these products through affiliate links helps to generate commission for Storables.com, at no extra cost. Learn more)
Introduction
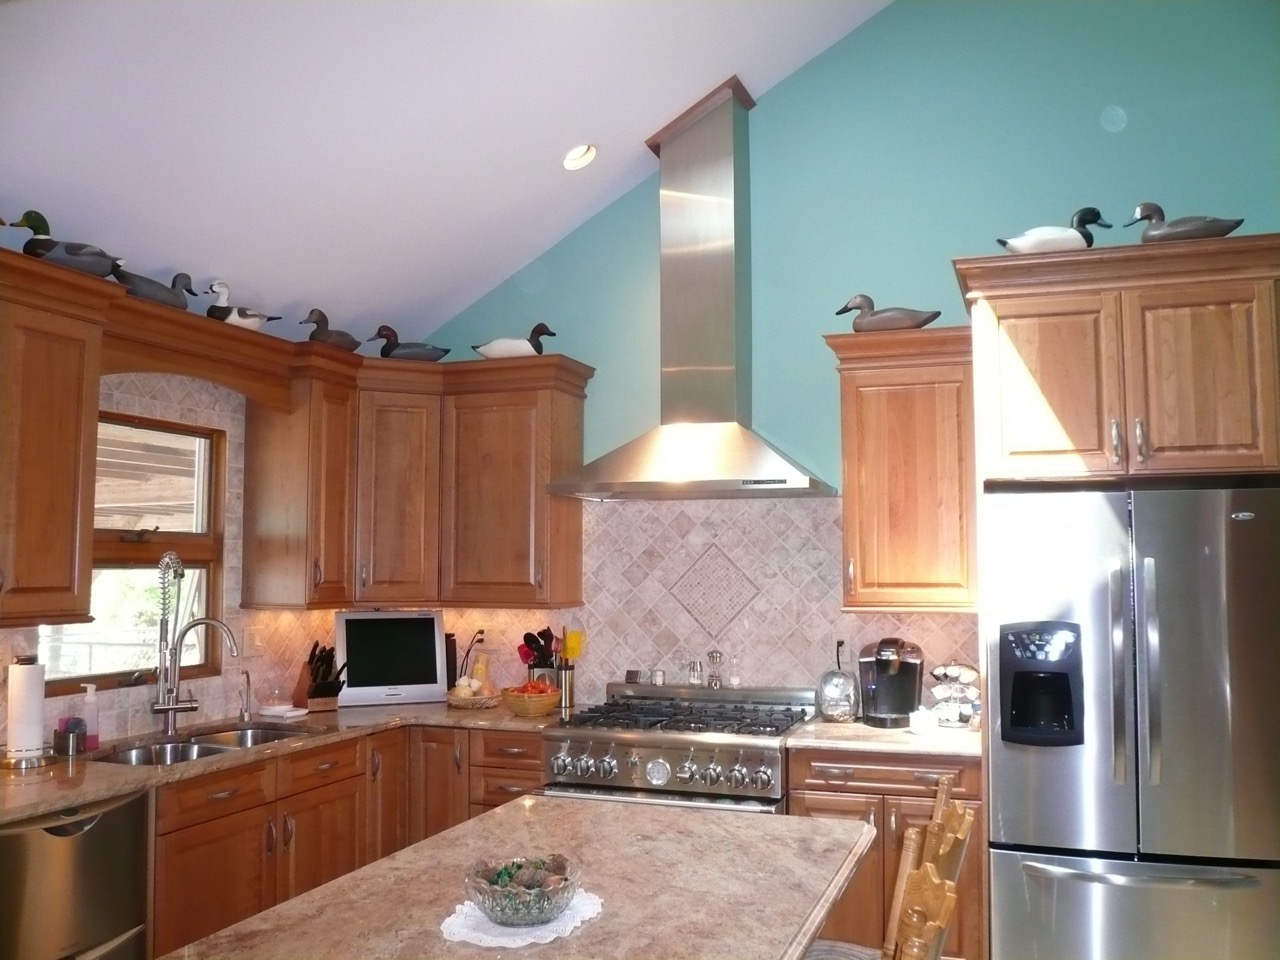
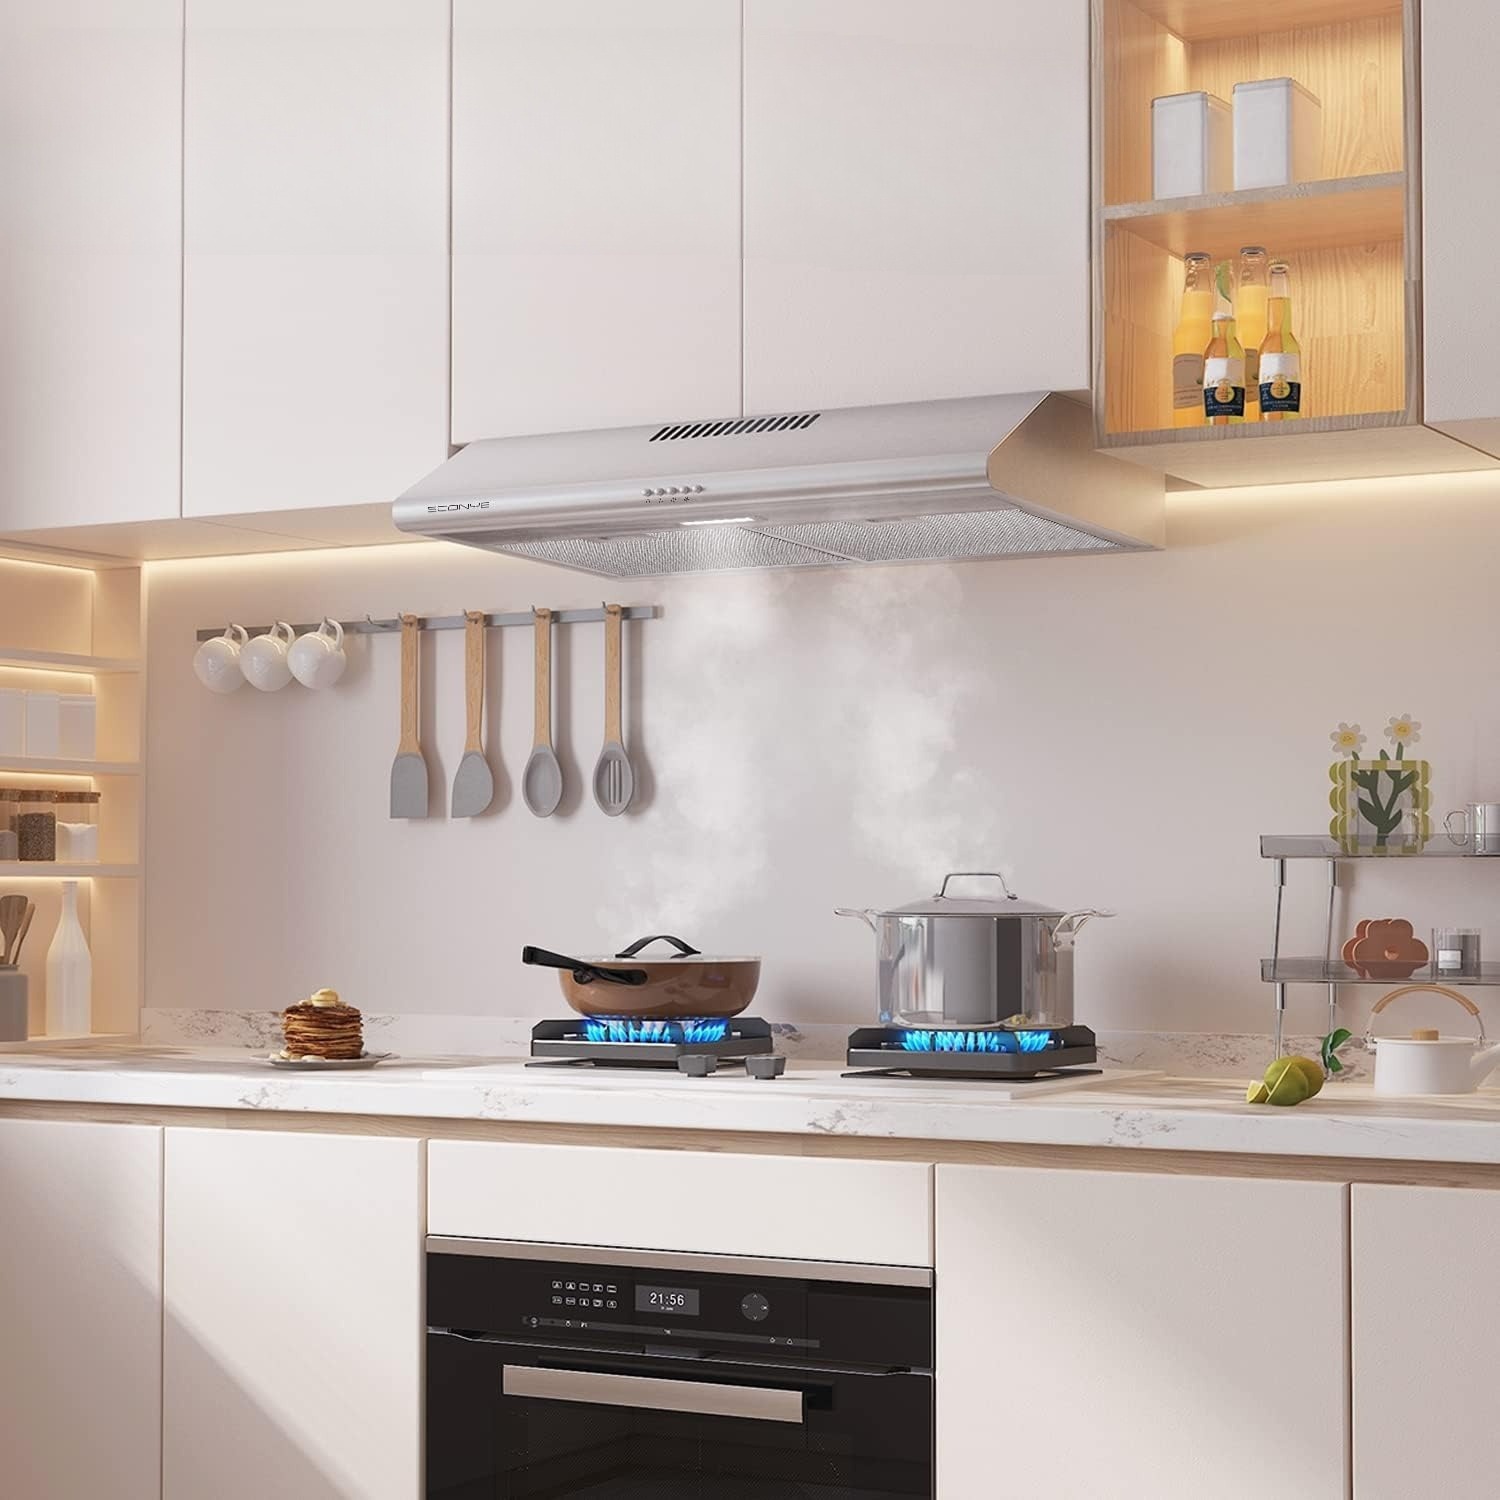
Installing ductwork for a range hood is a crucial step in the process of creating a well-functioning and efficient kitchen ventilation system. It not only helps to remove smoke, odors, and grease from cooking, but also improves the air quality in your kitchen, making it a more comfortable and pleasant environment.
Proper installation of the ductwork ensures that the range hood effectively exhausts air to the outside of your home, preventing the buildup of pollutants and minimizing the risk of fire hazards. While the task may seem daunting, with the right tools, materials, and guidance, you can successfully install ductwork for a range hood and enjoy the benefits it offers.
In this comprehensive guide, we will walk you through the step-by-step process of installing ductwork for a range hood. From gathering the necessary tools and materials to testing and adjusting the ductwork, we will cover all the essential aspects to ensure a successful installation.
By following these steps, you will be able to create a well-ventilated kitchen space that promotes a healthy environment and enhances your cooking experience. So, let’s get started with the first step: gathering the necessary tools and materials.
Key Takeaways:
- Proper installation of ductwork for a range hood is essential for creating a well-ventilated and healthy kitchen environment. Following the step-by-step guide ensures efficient removal of smoke, odors, and grease, enhancing the cooking experience.
- Careful planning, accurate measurements, and thorough testing are crucial for successful ductwork installation. Securing connections, insulating the ductwork, and adding finishing touches contribute to a polished and effective range hood setup.
Read more: How To Install Range Hood
Step 1: Gather the Necessary Tools and Materials
Before you begin installing the ductwork for your range hood, it’s important to gather all the necessary tools and materials. Having everything prepared in advance will help streamline the installation process and ensure you have everything you need on hand. Here are the tools and materials you will need:
Tools Needed:
- Measuring tape
- Pencil or marker
- Level
- Stud finder
- Power drill
- Saw (circular saw or reciprocating saw)
- Tin snips
- Screwdrivers (flathead and Phillips head)
- Adjustable wrench
- Tape measure
- Framing square
Materials Needed:
- Ductwork sections (galvanized steel or aluminum)
- Ductwork fittings (elbows, reducers, etc.)
- Duct tape (foil tape or metal-backed tape)
- Screws
- Transition duct (if required)
- Mounting brackets or straps
- Insulation (if desired)
It’s important to choose ductwork materials that are suitable for range hood installations. Galvanized steel and aluminum are popular choices due to their durability and resistance to corrosion. Additionally, make sure to select the correct size and shape of ductwork fittings to ensure a proper fit and efficient airflow.
Having a good selection of tools will make the installation process easier and more efficient. It’s important to have a power drill for creating holes, a saw for cutting openings in the wall or ceiling, and tin snips for cutting the ductwork. A stud finder will help locate the wall studs and ensure secure mounting of the range hood.
Make sure to have a tape measure, level, and pencil on hand for accurate measurements and marking the mounting location. An adjustable wrench and screwdrivers will be needed to secure the ductwork and make any necessary adjustments.
Remember to wear safety glasses and gloves when working with tools and materials to protect yourself from potential injuries.
By ensuring you have all the necessary tools and materials before you begin, you’ll be well-prepared to tackle the installation process and ensure a successful outcome. With everything gathered, let’s move on to step 2: determining the ideal location for the range hood.
Step 2: Determine the Ideal Location for the Range Hood
Choosing the right location for your range hood is crucial for its effective performance and aesthetics. Before diving into the installation process, take the time to carefully consider the following factors and guidelines to ensure you select the ideal location:
Read more: How To Install Range Hood Insert
Factors to Consider:
- Kitchen layout: Consider the layout of your kitchen and determine the most suitable position for the range hood. Ideally, it should be placed directly above the cooking surface to efficiently capture and exhaust smoke, odors, and grease.
- Clearance: Make sure to leave enough clearance between the range hood and the stovetop or cooktop to avoid any interference while cooking. Check the manufacturer’s guidelines for the recommended clearance specifications.
- Exterior wall or ceiling: Choose a location where you can easily route the ductwork to the outside of your home. It’s typically more straightforward to install the ductwork through an exterior wall, but ceiling installations are also possible with the right planning.
- Structural considerations: Take into account the position of wall studs or ceiling joists to ensure proper support for the range hood and ductwork. Use a stud finder to locate studs and plan the installation accordingly.
- Existing utilities: Check for any existing electrical wiring, plumbing, or HVAC vents in the vicinity of the chosen location. Ensure that the installation of the range hood and ductwork does not interfere with these utilities.
Measuring and Marking the Location:
Once you have identified the ideal location for your range hood, it’s important to measure and mark the precise spot before installation. Follow these steps to ensure accuracy:
- Measure the width of your range hood and mark the center of the installation location on the wall or ceiling. Use a level to ensure the mark is perfectly straight.
- Measure the height from the floor or countertop to the desired height of the range hood, keeping in mind the recommended clearance specifications. Mark this measurement on the wall or ceiling.
- If installing the range hood against an exterior wall, use a stud finder to locate the nearest wall studs on either side of the marked location. Mark these stud positions for later reference.
- Double-check your measurements and marks to ensure accuracy before proceeding with the installation process.
Taking the time to carefully consider the ideal location for your range hood and accurately measuring and marking the installation spot will help ensure a successful and efficient installation. With the location determined, we can now move on to step 3: planning the ductwork route.
Step 3: Plan the Ductwork Route
Planning the ductwork route is a crucial step in the installation process as it determines the efficiency and effectiveness of your range hood. Before proceeding, take the time to assess the existing ventilation system, choose the type of ductwork, and calculate the necessary length and size of the ductwork needed.
Assessing the Existing Ventilation System:
Before installing the ductwork for your range hood, it’s important to assess the existing ventilation system in your home. This includes examining any existing ductwork, vents, or exhaust fans to identify potential areas of improvement or any needed modifications. If there is an existing duct system, it may be possible to connect your range hood to it, saving time and effort in installation.
Read more: How To Install ZLINE Range Hood
Choosing the Type of Ductwork:
There are several types of ductwork materials available for range hood installations, including galvanized steel, aluminum, and flexible ducting. Each has its own advantages and considerations:
- Galvanized steel: This material is durable and resistant to corrosion, making it a popular choice. It provides a smooth interior surface for better airflow and is suitable for long duct runs.
- Aluminum: Aluminum ductwork is lightweight, easy to handle, and also resistant to corrosion. It is flexible, making it easier to maneuver around obstacles, but it may not be suitable for long duct runs.
- Flexible ducting: This type of ductwork is made of a flexible plastic material encased in a metal spiral. It is highly flexible, making it ideal for installations with limited space or tight turns. However, it is not recommended for long duct runs as it can restrict airflow.
Consider factors such as the length of the duct run, available space for installation, and any specific guidelines from the range hood manufacturer when choosing the type of ductwork for your installation.
Calculating the Length and Size of Ductwork Needed:
To ensure optimal performance and airflow, it’s important to calculate the proper length and size of ductwork needed for your range hood installation. Here’s how to do it:
- Measure the distance between the range hood installation location and the exterior wall or roof where the duct will terminate. This will give you the length of the duct run.
- Consider any additional turns or bends in the ductwork and add their lengths to the overall measurement.
- Refer to the range hood manufacturer’s guidelines to determine the recommended size of the ductwork. It will typically be based on the CFM (cubic feet per minute) rating of the range hood.
- Calculate the appropriate size of ductwork based on the CFM rating. This will ensure sufficient airflow and prevent restricted airflow or excessive noise. Consult an HVAC professional if you are unsure about the calculations.
By assessing the existing ventilation system, choosing the right type of ductwork, and calculating the necessary length and size, you will be well prepared to proceed with the installation. In the next step, we will guide you through preparing the area for installation.
Step 4: Prepare the Area for Installation
Before you begin installing the ductwork for your range hood, it’s important to prepare the area to ensure a smooth and safe installation process. This involves clearing the workspace and protecting the surrounding surfaces to avoid damage. By taking these steps, you can minimize the risk of accidents and ensure a successful installation.
Clearing the Workspace:
Start by clearing the area where the range hood will be installed. Remove any obstacles, such as furniture, appliances, or decorations, that may hinder the installation process. Clearing the workspace will provide you with ample room to work and maneuver during the installation.
It’s also essential to ensure there is enough overhead space, especially if you are working on a ceiling installation. Check for any light fixtures or obstructions and make necessary adjustments to accommodate the range hood and ductwork.
Remember to disconnect and safely remove any existing range hood, if applicable, before proceeding with the installation.
Read more: How To Install Island Range Hood
Protecting Surrounding Surfaces:
To prevent any damage or scratches to surrounding surfaces, take the necessary precautions to protect them during the installation process.
For walls, use drop cloths or plastic sheets to cover and protect the area adjacent to the range hood installation location. This will shield the walls from accidental scratches or marks while working with tools and materials.
When working on a ceiling installation, use protective coverings on the floor and countertops to catch any debris or dust that may be generated during the installation.
It’s also a good practice to cover your range or cooktop with a protective sheet or cardboard to prevent any debris or tools from falling into it during the installation.
By taking the time to clear the workspace and protect the surrounding surfaces, you can ensure a clean and damage-free installation. These simple steps will help maintain the aesthetics of your kitchen while minimizing any potential accidents.
With the area prepared, you are now ready to move on to the next step: installing the ductwork.
Step 5: Install the Ductwork
Now that the workspace is prepared, it’s time to install the ductwork for your range hood. This step involves cutting an opening in the wall or ceiling for the duct, attaching the ductwork sections, and ensuring that the ductwork is securely in place.
Cutting an Opening for the Duct in the Wall or Ceiling:
Start by marking the exact location where the duct will pass through the wall or ceiling. Use a pencil or marker to indicate the dimensions of the opening you will need to create. Ensure that you are cutting in a straight line and following any specific guidelines provided by the range hood manufacturer regarding the size of the opening.
Next, use a saw (such as a circular saw or reciprocating saw) to carefully cut along the marked lines. Take caution to avoid damaging any electrical or plumbing lines behind the wall. Once the opening is cut, remove any excess debris or material to clear the pathway for the ductwork.
Attaching the Ductwork Sections:
With the opening in place, it’s time to attach the individual sections of ductwork. Begin near the range hood and work your way towards the exterior wall or roof where the duct will terminate.
Carefully connect each section of ductwork, using the appropriate fittings (such as elbows or reducers) as needed to ensure proper alignment. Secure the connections with screws or clamps to prevent any air leaks that could compromise the effectiveness of the range hood.
If you encounter any obstacles or obstructions during the installation, such as electrical wires or wall studs, make necessary adjustments to safely route the ductwork around them. Use tin snips to cut and shape the ductwork if needed.
Read more: Who Installs A Range Hood
Securing the Ductwork Properly:
To ensure that the ductwork remains in place and doesn’t loosen over time, secure it properly along the entire length. Use metal straps or mounting brackets to secure the ductwork at regular intervals, following the manufacturer’s guidelines for recommended spacing. Make sure the straps or brackets are firmly attached to the wall or ceiling studs for maximum stability.
Take the time to align and level the ductwork as you secure it, ensuring that it follows a straight and even path. This will optimize airflow and prevent any restrictions or obstructions.
Additionally, use duct tape (foil tape or metal-backed tape) to seal any joints or connections, further preventing air leaks and improving overall efficiency.
By cutting the opening for the duct, attaching the ductwork sections, and securing it properly, you are one step closer to completing the installation of your range hood. The next step is to connect the ductwork to the range hood itself.
Step 6: Connect the Ductwork to the Range Hood
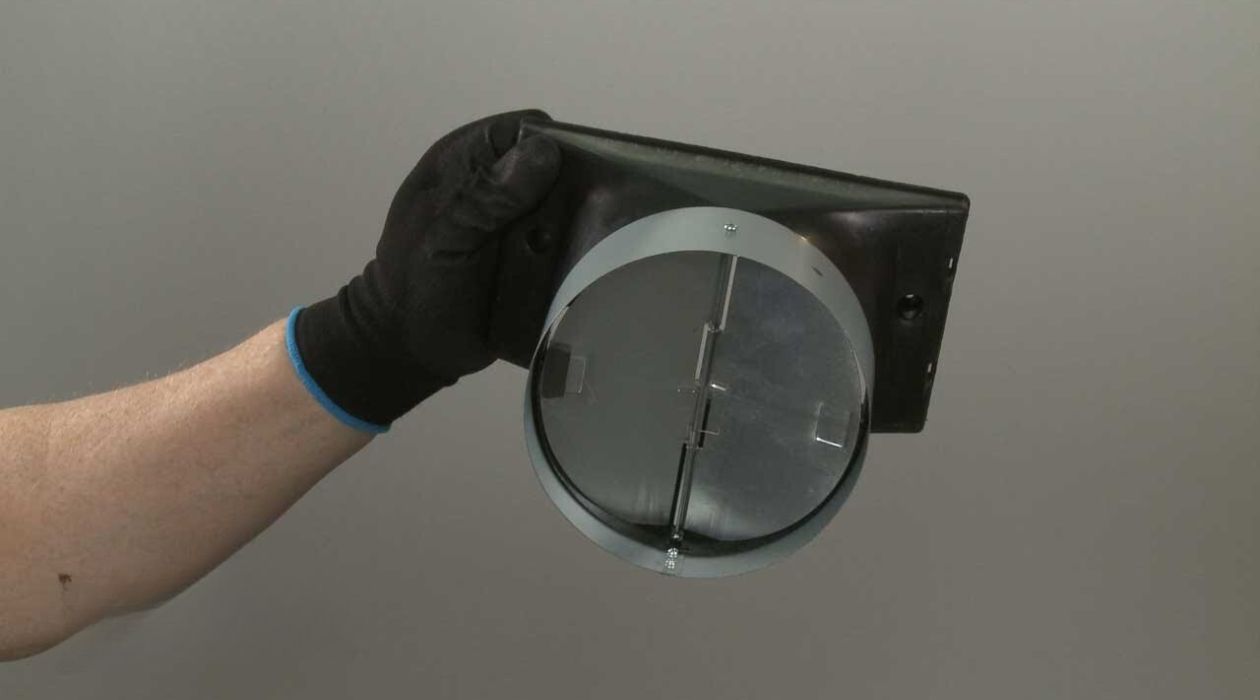
Now that the ductwork is in place, it’s time to connect it to the range hood itself. This step involves installing a transition duct, attaching the ductwork sections, and ensuring a secure connection. By properly connecting the ductwork, you will ensure that the range hood effectively directs air outside your home.
Installing the Transition Duct:
Before connecting the ductwork, you may need to install a transition duct, depending on the design of your range hood. The transition duct is essential for connecting the main ductwork to the range hood exhaust outlet. Here’s how to install it:
- Measure and cut the transition duct to the appropriate length, ensuring it allows for a secure connection between the range hood and the main ductwork.
- Attach one end of the transition duct to the range hood exhaust outlet, ensuring a proper fit. Use the appropriate screws or clamps to secure the connection.
- If necessary, use duct tape to seal any gaps or joints in the transition duct, ensuring a tight and secure connection.
Attaching the Ductwork to the Range Hood:
With the transition duct in place, it’s time to attach the ductwork sections to the range hood. Here’s how to do it:
- Position the ductwork sections near the range hood, ensuring they align properly with the transition duct and the range hood exhaust outlet.
- Securely attach the ductwork sections to the range hood using screws or clamps. Make sure the connections are tight to prevent any air leaks.
- Check the manufacturer’s guidelines for any additional instructions or recommendations regarding the installation of the ductwork to the range hood.
Take the time to inspect and double-check all connections to ensure they are secure and properly aligned. Properly connecting the ductwork to the range hood will ensure that air is efficiently directed outside your home, preventing the buildup of smoke, odors, and grease in your kitchen.
Now that the ductwork is connected to the range hood, the next step is to test and adjust the ductwork to ensure optimal performance.
Read more: How To Install A Ductless Range Hood?
Step 7: Test and Adjust the Ductwork
Once the ductwork is installed and connected to the range hood, it’s important to test and adjust it to ensure optimal performance. This step involves checking for proper airflow and making any necessary adjustments to maximize the effectiveness of your ventilation system.
Checking for Proper Airflow:
To ensure that the ductwork is functioning correctly, it’s crucial to check for proper airflow. Here’s how to do it:
- Turn on the range hood and set it to its highest setting.
- Place your hand near the range hood exhaust outlet and feel for the airflow. The airflow should be strong and consistent, indicating that the ductwork is effectively removing smoke, odors, and grease.
- If the airflow feels weak or inconsistent, there may be a restriction or obstruction in the ductwork. Check for any kinks, bends, or blockages and make necessary adjustments to ensure smooth airflow.
Making Necessary Adjustments:
If you find any issues with the airflow during the testing process, it’s important to make the necessary adjustments to improve the performance of the ductwork. Here are some common adjustments you may need to make:
- Check for any bends or angles in the ductwork that could be restricting airflow. Straighten the ductwork or use adjustable elbows to create smoother transitions.
- Inspect the ductwork for any blockages, dirt, or debris. Clear away any obstructions that may be impeding the airflow.
- Ensure that all connections between ductwork sections and the range hood are secure and airtight. Tighten screws or clamps if necessary.
- If there are any leaks or gaps in the ductwork, use duct tape or other appropriate sealing materials to seal them. This will prevent air from escaping and ensure efficient airflow.
It’s important to note that making adjustments to the ductwork may require some trial and error. Testing the airflow after each adjustment will help you determine if the performance has improved or if further adjustments are needed.
By checking for proper airflow and making any necessary adjustments, you can ensure that your range hood and ductwork are functioning optimally, effectively removing smoke, odors, and grease from your kitchen.
Now that you have tested and adjusted the ductwork, you are ready to move on to the final step: completing the installation.
Step 8: Complete the Installation
You’re in the final stretch! With the ductwork installed, tested, and adjusted, it’s time to complete the installation process. This step involves securing all connections, insulating the ductwork, and finishing up with some important touches to ensure a professional and effective range hood installation.
Read more: How To Install Broan Range Hood
Securing All Connections:
Double-check all connections between the ductwork sections, transition duct, and the range hood. Make sure they are securely fastened using screws or clamps. Tighten any loose connections to prevent any air leaks that could diminish the effectiveness of the range hood.
Inspect the mounting brackets or straps that secure the ductwork to the wall or ceiling and ensure they are tight and stable. Adjust as necessary to provide adequate support and stability for the ductwork.
Insulating the Ductwork:
Insulating the ductwork can provide multiple benefits, such as reducing heat loss or condensation buildup. While it is not always necessary, insulation can help improve the overall performance and energy efficiency of the ductwork. Here’s how to insulate the ductwork:
- Measure the length of the ductwork that needs insulation.
- Select the appropriate insulation material, such as fiberglass or foam insulation, and ensure it is the correct size for your ductwork.
- Pay extra attention to insulating any areas that may be prone to heat loss or condensation buildup, such as exterior sections of the ductwork.
Finishing Touches:
To complete the installation process, focus on some final touches that will enhance both the appearance and functionality of your range hood installation. Consider the following tips:
- Trim any excess ductwork if necessary, ensuring a neat and tidy appearance.
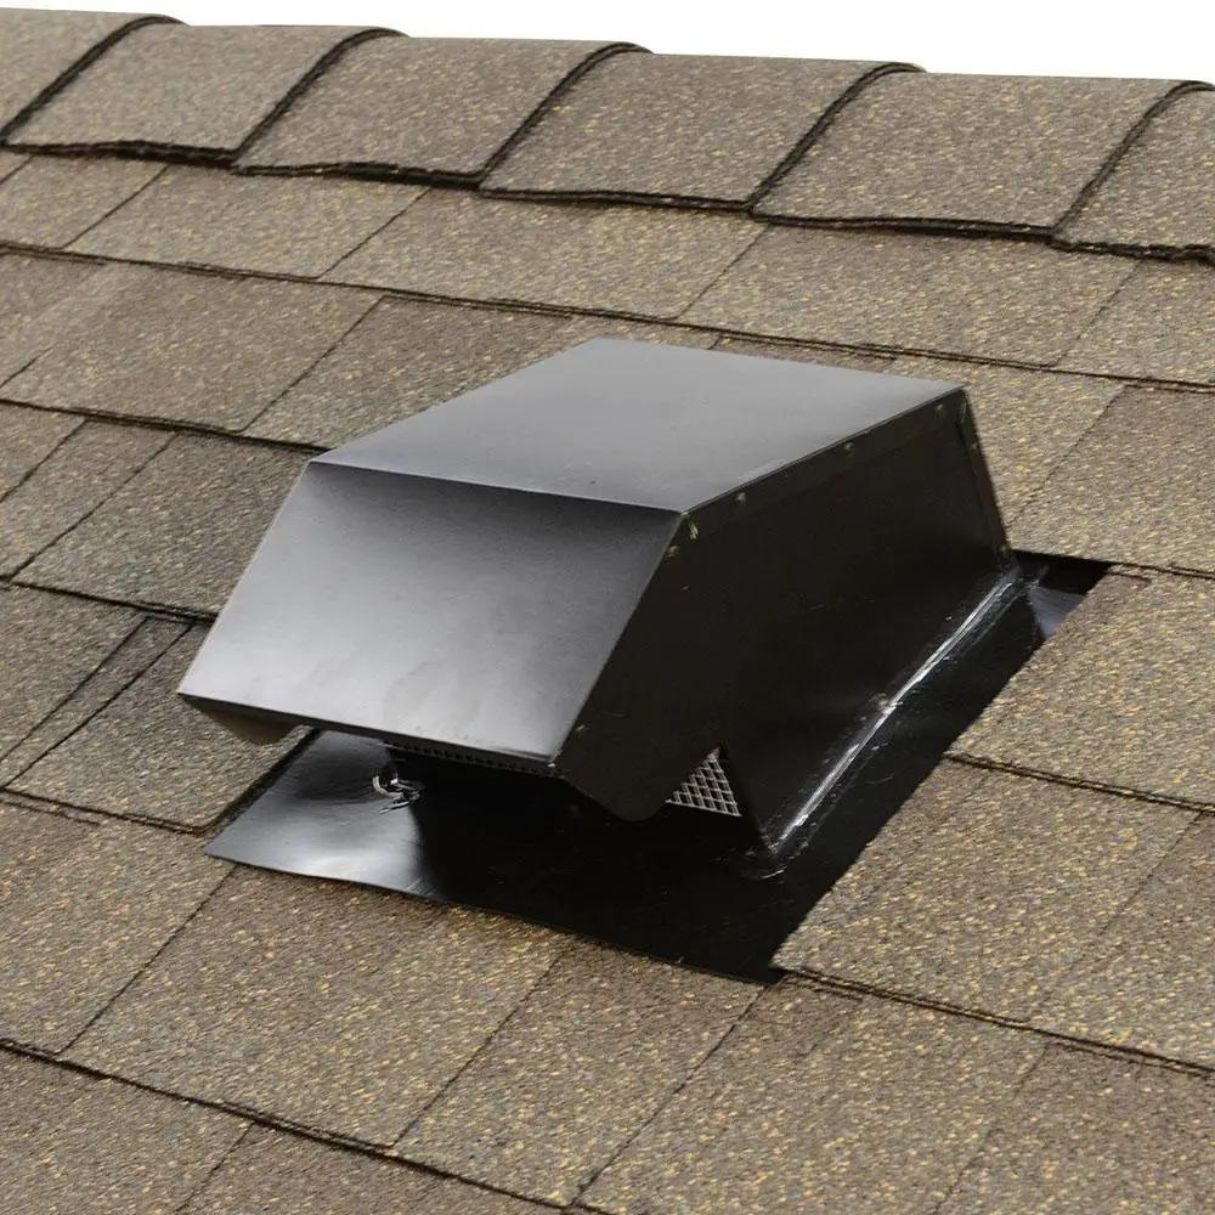
- Install a vent cap or hood cover on the exterior of your home to protect the ductwork from weather elements and pests. This will also help prevent backdrafts and ensure proper exhaust airflow.
- Clean up any debris or dust that may have accumulated during the installation process. Wipe down the range hood and surrounding surfaces to give your kitchen a polished finish.
By securing all connections, insulating the ductwork, and adding the finishing touches, you are now ready to enjoy the benefits of a properly installed range hood. Not only will it enhance your cooking experience by effectively removing smoke, odors, and grease, but it will also contribute to a healthier and cleaner kitchen environment.
Congratulations! You have successfully completed the installation of ductwork for your range hood. Now, sit back, relax, and enjoy the fresh and clean air in your kitchen!
Conclusion
Installing ductwork for a range hood is a significant undertaking that requires careful planning, attention to detail, and the right tools and materials. By following the step-by-step guide outlined in this article, you can successfully install ductwork for your range hood and enjoy the benefits of a well-ventilated kitchen.
Throughout the installation process, we covered essential steps such as gathering the necessary tools and materials, determining the ideal location for the range hood, planning the ductwork route, preparing the area for installation, installing the ductwork, connecting it to the range hood, testing and adjusting the ductwork, and finally, completing the installation with securing connections, insulating the ductwork, and adding finishing touches.
Proper installation and maintenance of ductwork for your range hood ensure that smoke, odors, and grease are effectively removed from your kitchen, creating a healthier and more pleasant cooking environment. It also helps prevent the buildup of pollutants and reduces the risk of fire hazards.
Remember to check the manufacturer’s guidelines and recommendations throughout the installation process to ensure that you are following the specific requirements of your range hood and ductwork. Additionally, consult with a professional if you have any doubts or need further assistance.
With the completion of the installation, take some time to enjoy the benefits of your range hood and appreciate the improved air quality in your kitchen. Regular maintenance and cleaning of the range hood and ductwork will help ensure its continued efficiency and performance.
Thank you for following this comprehensive guide on how to install ductwork for a range hood. With the right knowledge and preparation, you have successfully completed a project that contributes to a healthier and more enjoyable cooking experience in your kitchen.
Frequently Asked Questions about How To Install Ductwork For Range Hood
Was this page helpful?
At Storables.com, we guarantee accurate and reliable information. Our content, validated by Expert Board Contributors, is crafted following stringent Editorial Policies. We're committed to providing you with well-researched, expert-backed insights for all your informational needs.

0 thoughts on “How To Install Ductwork For Range Hood”