
Articles
How To Install ZLINE Range Hood
Modified: August 31, 2024
Learn how to easily install a Zline range hood with step-by-step instructions and helpful tips. Our comprehensive articles guide you through the installation process, ensuring a seamless experience.
(Many of the links in this article redirect to a specific reviewed product. Your purchase of these products through affiliate links helps to generate commission for Storables.com, at no extra cost. Learn more)
Introduction
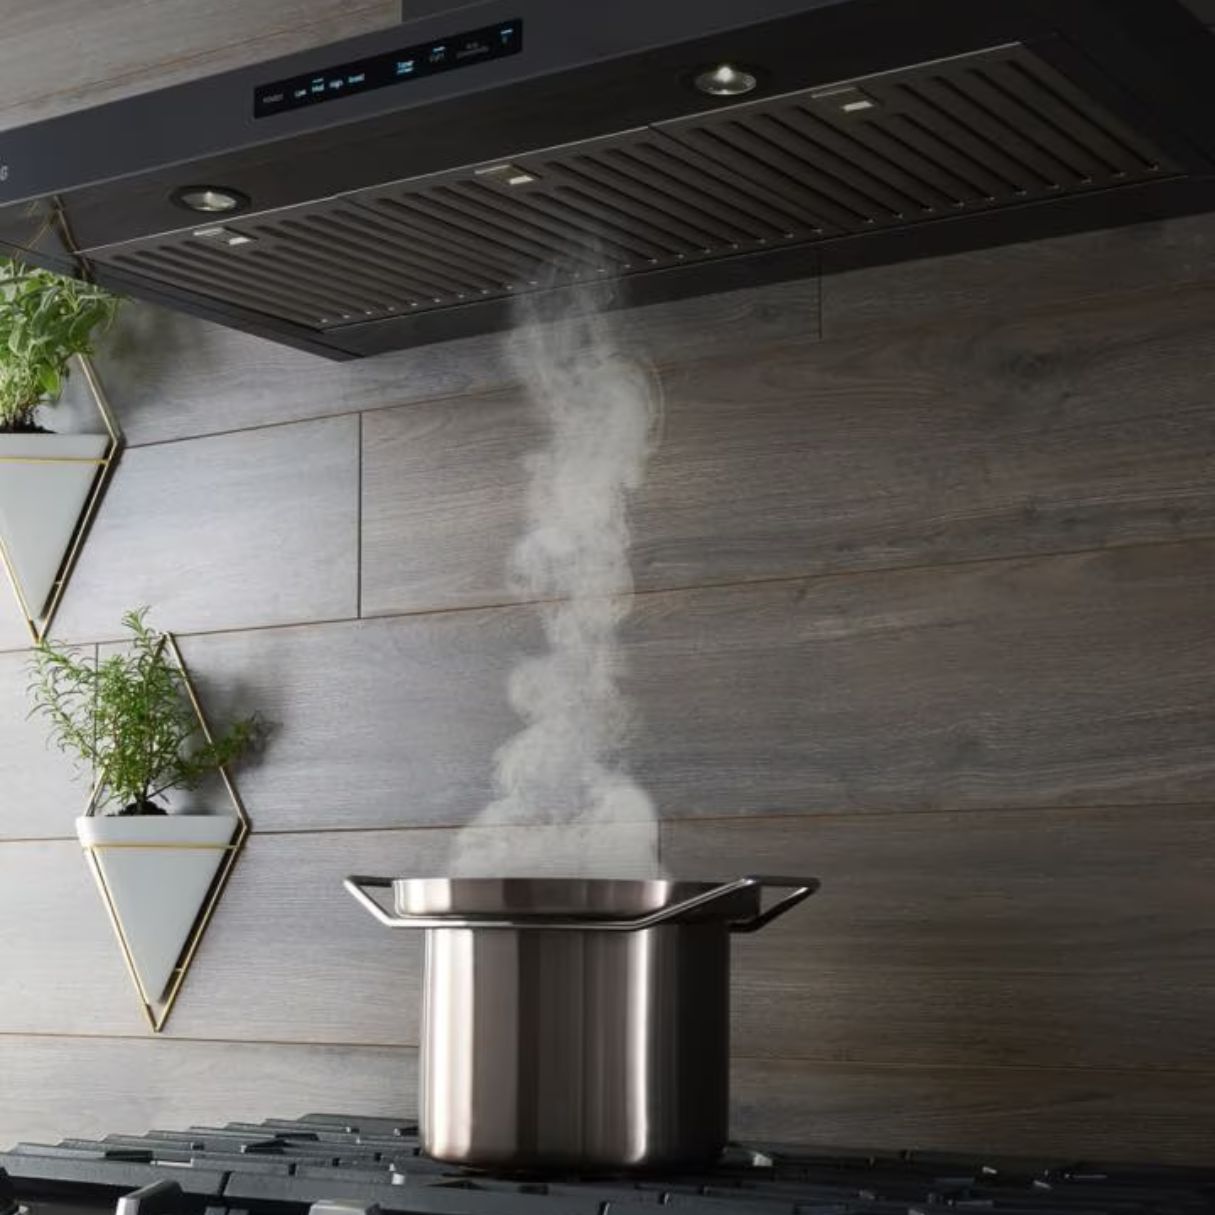
Installing a Zline range hood not only adds functionality to your kitchen but also upgrades its overall aesthetic appeal. A range hood helps to remove smoke, odors, and grease particles from the air while cooking, ensuring a cleaner and healthier cooking environment. Proper installation is key to ensuring optimal performance and safety.
In this article, we will guide you through the step-by-step process of installing a Zline range hood. Whether you’re replacing an old range hood or installing a new one, this article will provide you with all the information you need to get the job done successfully. So, let’s get started!
Key Takeaways:
- Proper installation of a Zline range hood is crucial for optimal performance and safety, ensuring a clean and healthy cooking environment. Follow the step-by-step guide for a seamless and efficient installation process.
- Enjoy the benefits of a Zline range hood by following the installation guide, maintaining it regularly, and utilizing its features for a cleaner and healthier cooking space. Seek professional assistance if needed for a successful installation.
Read more: How To Install Range Hood Insert
Tools and Materials Needed
Before you begin the installation process, make sure you have all the necessary tools and materials. Here’s a list of what you’ll need:
- Zline range hood (with all included components)
- Tape measure
- Pencil or marker
- Drill
- Screwdriver
- Level
- Stud finder (if mounting to wall)
- Ductwork (if applicable)
- Inlet and outlet vent covers
- Electrical wire and connectors (if wiring is required)
- Protective gloves
- Protective eyewear
Make sure to gather all the necessary tools and materials before starting the installation process. This will help ensure a smooth and efficient installation.
Step 1: Measure and Prepare
The first step in installing a Zline range hood is to measure the space where it will be installed and make any necessary preparations. Follow these steps:
- Measure the available space: Use a tape measure to determine the width, depth, and height of the installation area. Make note of these measurements as they will be used to select the appropriate size range hood.
- Check clearance requirements: Most range hoods require a certain amount of clearance between the cooking surface and the bottom of the hood. Refer to the manufacturer’s instructions for specific clearance requirements. Ensure that there is enough space to accommodate the range hood.
- Prepare the installation area: Clear the area where the range hood will be installed. Remove any objects or obstacles that may interfere with the installation process. Clean the installation area to ensure a clean and solid mounting surface.
- Locate electrical and ductwork connections: If you’re replacing an old range hood, locate the electrical wiring and ductwork connections. Turn off the power to the existing range hood and disconnect any electrical connections. If you’re installing a new range hood, make sure there is an accessible electrical outlet and plan the routing of the ductwork if applicable.
By measuring the space, checking clearance requirements, preparing the installation area, and locating electrical and ductwork connections, you’ll be well-prepared for the next steps in the installation process.
Step 2: Remove Old Range Hood (if applicable)
If you’re replacing an existing range hood, follow these steps to remove it before installing the new Zline range hood:
- Turn off power: Before you start working on your old range hood, make sure to turn off the power at the circuit breaker or fuse box.
- Disconnect wiring: Carefully disconnect the electrical wiring connections. Take note of the wiring configuration or take a picture for reference during the installation of the new range hood.
- Remove ductwork (if applicable): If your old range hood is connected to a ductwork system, disconnect it using a screwdriver or appropriate tools. Ensure that the ductwork is properly supported to avoid any damage or injuries.
- Remove mounting screws: Locate the mounting screws that hold the old range hood in place. Use a screwdriver or drill to remove these screws. Have someone assist you in holding the range hood as you remove the last screws to prevent it from falling.
- Detach the old range hood: Once all the mounting screws have been removed, carefully detach the old range hood from the wall or cabinet. Set it aside in a safe place or dispose of it properly.
- Inspect the installation area: After removing the old range hood, inspect the installation area for any damage, debris, or other issues. Clean and repair the area as needed before proceeding with the installation of the new range hood.
By following these steps, you’ll be able to safely remove the old range hood and prepare the installation area for the new Zline range hood.
Step 3: Install Wall Mounting Brackets
Before you can mount the Zline range hood to the wall, you’ll need to install the wall mounting brackets. Follow these steps:
- Locate wall studs: Use a stud finder to locate and mark the position of the wall studs where you’ll be installing the range hood. Wall studs provide the necessary support for the weight of the range hood.
- Measure and mark bracket placement: Measure and mark the height where you want to install the wall mounting brackets. Ensure that the marks align with the studs you located in the previous step.
- Attach the brackets: Hold the wall mounting brackets against the wall, aligning them with the marked positions and the wall studs. Use a drill and screws to securely attach the brackets to the wall. Make sure the brackets are level and properly aligned.
- Check the stability: Once the wall mounting brackets are attached, check their stability by gently pushing and pulling on them. They should feel firm and secure against the wall.
By installing the wall mounting brackets correctly, you’ll ensure a stable and secure foundation for mounting the Zline range hood. This step is crucial as it will support the weight of the range hood and prevent any potential hazards or accidents.
Read more: How To Install Island Range Hood
Step 4: Install Ductwork (if applicable)
If your Zline range hood requires ductwork for ventilation, you’ll need to install it before mounting the hood. Follow these steps:
- Determine the ductwork route: Plan the path that the ductwork will take to vent the air outside. Take into consideration any obstacles or obstructions that may be in the way.
- Measure and cut the ductwork: Use a tape measure to determine the required length of the ductwork. Mark the measurements on the ductwork and use tin snips or a hacksaw to cut it to size.
- Connect the ductwork components: Assemble the different sections of ductwork, ensuring a secure connection between each piece. Use metal duct tape or appropriate connectors to seal the joints and prevent air leaks.
- Secure the ductwork: Fasten the ductwork to the wall or ceiling using metal duct straps or clamps. Make sure the ductwork is securely attached and does not sag or hang loose.
- Route the ductwork to the range hood: Position the ductwork in a way that it aligns with the ventilation opening on the Zline range hood. Leave enough room for the final connection.
- Make the final connection: Connect the end of the ductwork to the ventilation opening on the range hood, ensuring a tight and secure fit. Use metal duct tape or appropriate connectors to seal the connection.
Proper installation of the ductwork is essential for efficient ventilation and optimal performance of the Zline range hood. It helps to remove smoke, odors, and grease particles from your kitchen, promoting a cleaner and healthier cooking environment.
When installing a Zline range hood, make sure to carefully follow the manufacturer’s instructions for proper placement and secure mounting. It’s important to also ensure proper ventilation and electrical connections for safe and effective operation.
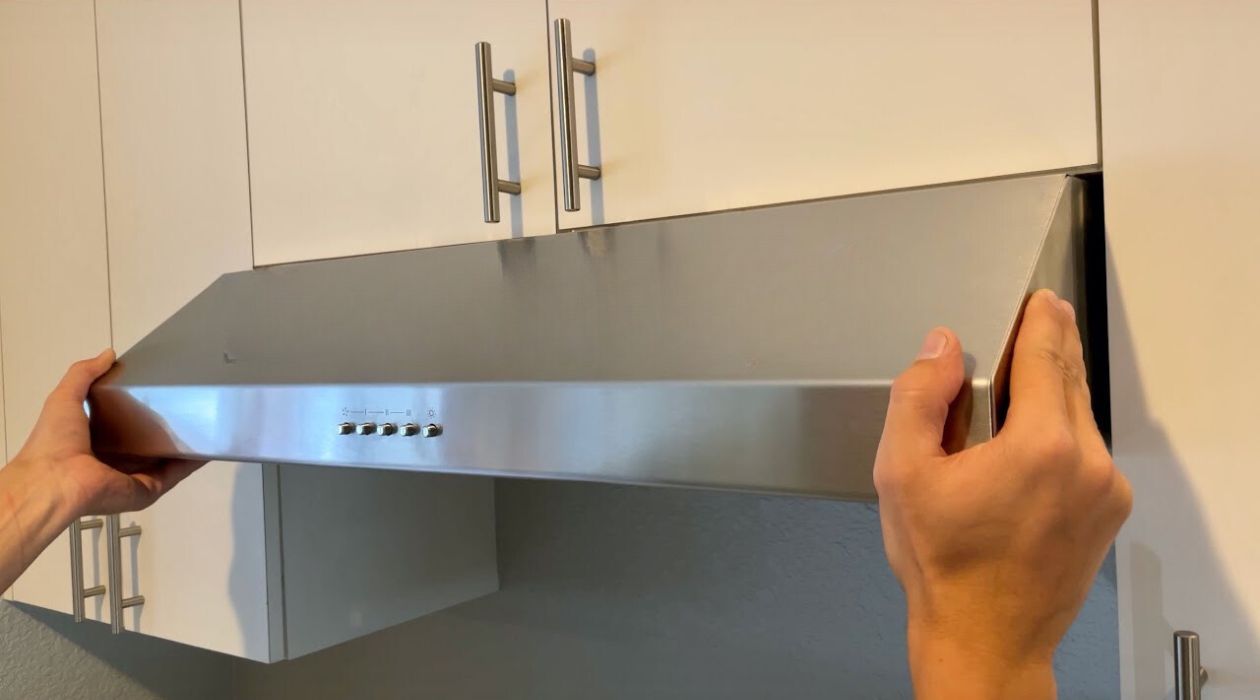
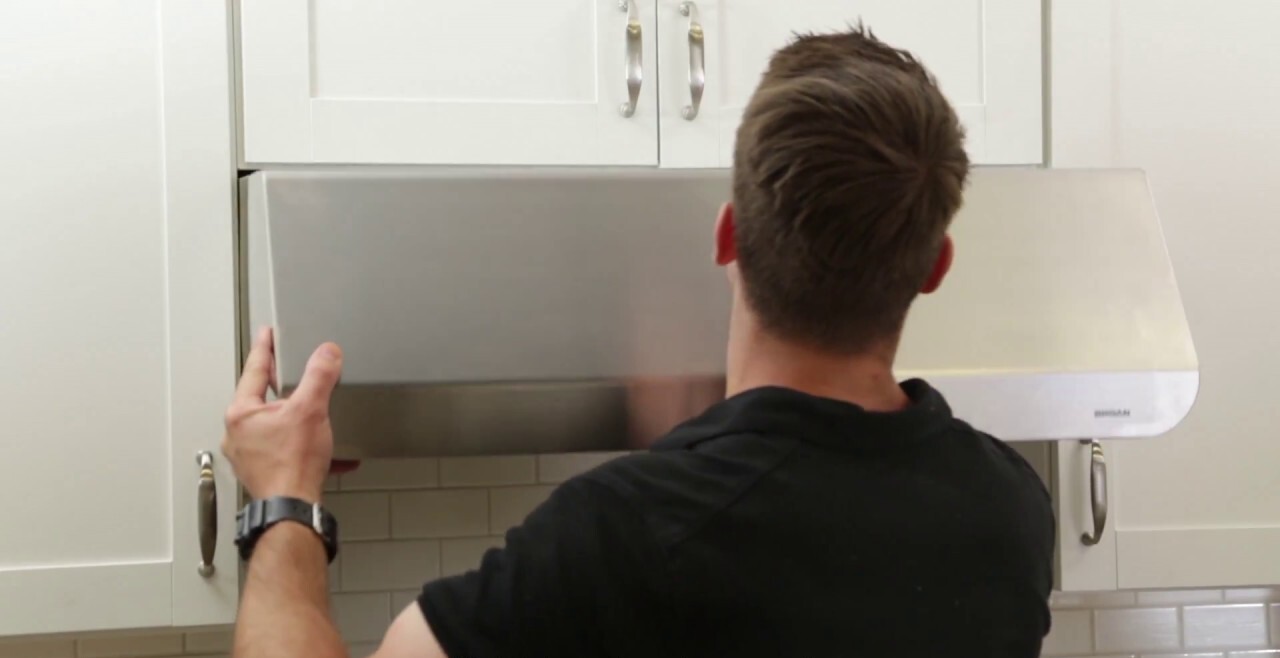
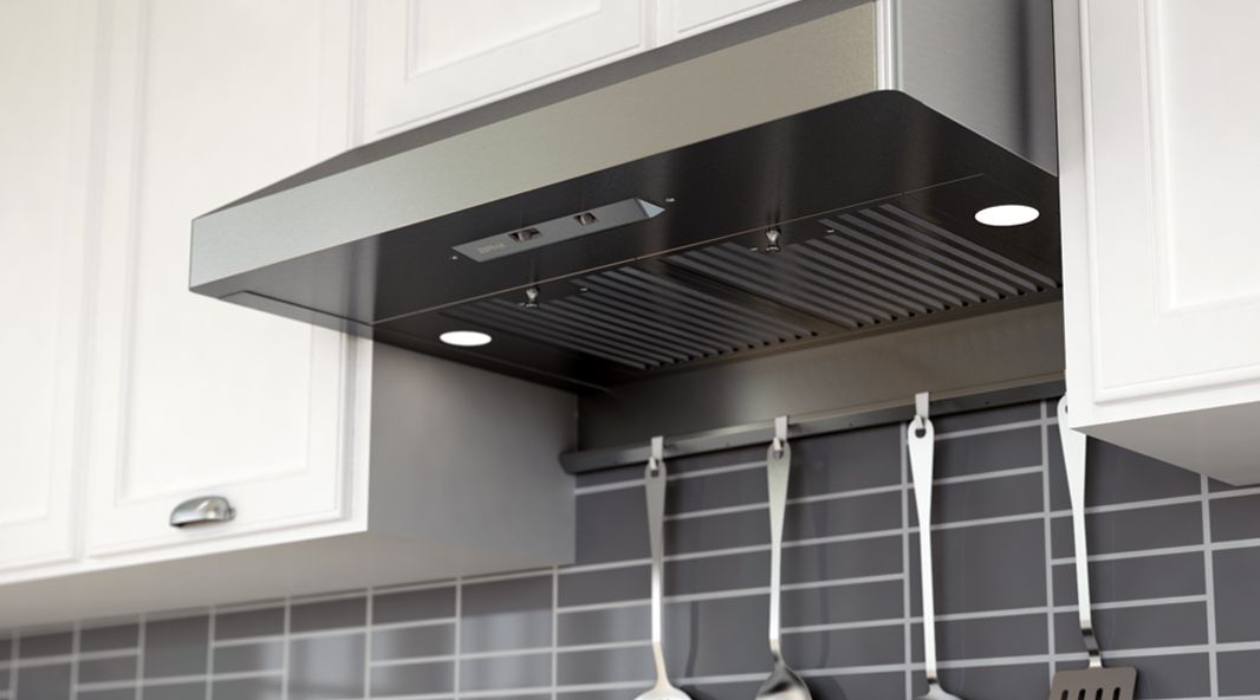
Step 5: Mount Range Hood to Wall
Once you have prepared the installation area and installed the wall mounting brackets, it’s time to mount the Zline range hood to the wall. Follow these steps:
- Align the range hood: Position the range hood against the wall, ensuring that it aligns with the installed wall mounting brackets. Make sure the range hood is level using a level tool.
- Attach the range hood to the brackets: With the help of a friend or family member, hold the range hood in place while you secure it to the wall mounting brackets. Insert screws through the holes in the range hood and into the brackets. Tighten the screws to securely attach the range hood to the wall.
- Check for stability: Once the range hood is mounted, check its stability by gently shaking it. It should feel firm and secure against the wall. If it wobbles or feels loose, adjust the screws or brackets as needed to ensure a stable installation.
Mounting the Zline range hood to the wall properly is crucial for its stability and functionality. It ensures that the range hood stays securely in place while effectively removing smoke, odors, and grease particles from your kitchen.
Step 6: Connect Wiring
Connecting the wiring is an important step in the installation process of your Zline range hood. Follow these steps to safely and correctly connect the wiring:
- Ensure power is off: Before you begin connecting the wiring, make sure the power is turned off at the circuit breaker or fuse box. This will prevent any accidents or electrical shocks.
- Prepare the electrical wiring: Strip the insulation from the end of the electrical wires coming out of the wall. If necessary, consult an electrician for proper wire stripping techniques.
- Connect the wires: Match the corresponding colored wires from the range hood to the wires coming out of the wall. Typically, black wires are connected to black, white to white, and green (or bare copper) to green (or bare copper).
- Secure the connections: Twist the wires together clockwise and cover the connections with wire nuts. Make sure the connections are tight and secure. If necessary, you can use electrical tape to further secure the wire nuts.
- Tuck away the wiring: Carefully tuck the connected wiring into the electrical box, making sure there is no strain on the electrical connections. Avoid pinching or damaging the wires in the process.
- Turn on the power: Once the wiring is securely connected, turn on the power at the circuit breaker or fuse box. Test the range hood to ensure that the electrical connections are functioning properly.
Connecting the wiring correctly is essential for the safe operation of your Zline range hood. If you are unsure about the electrical connections, it is recommended to consult a licensed electrician to ensure proper installation.
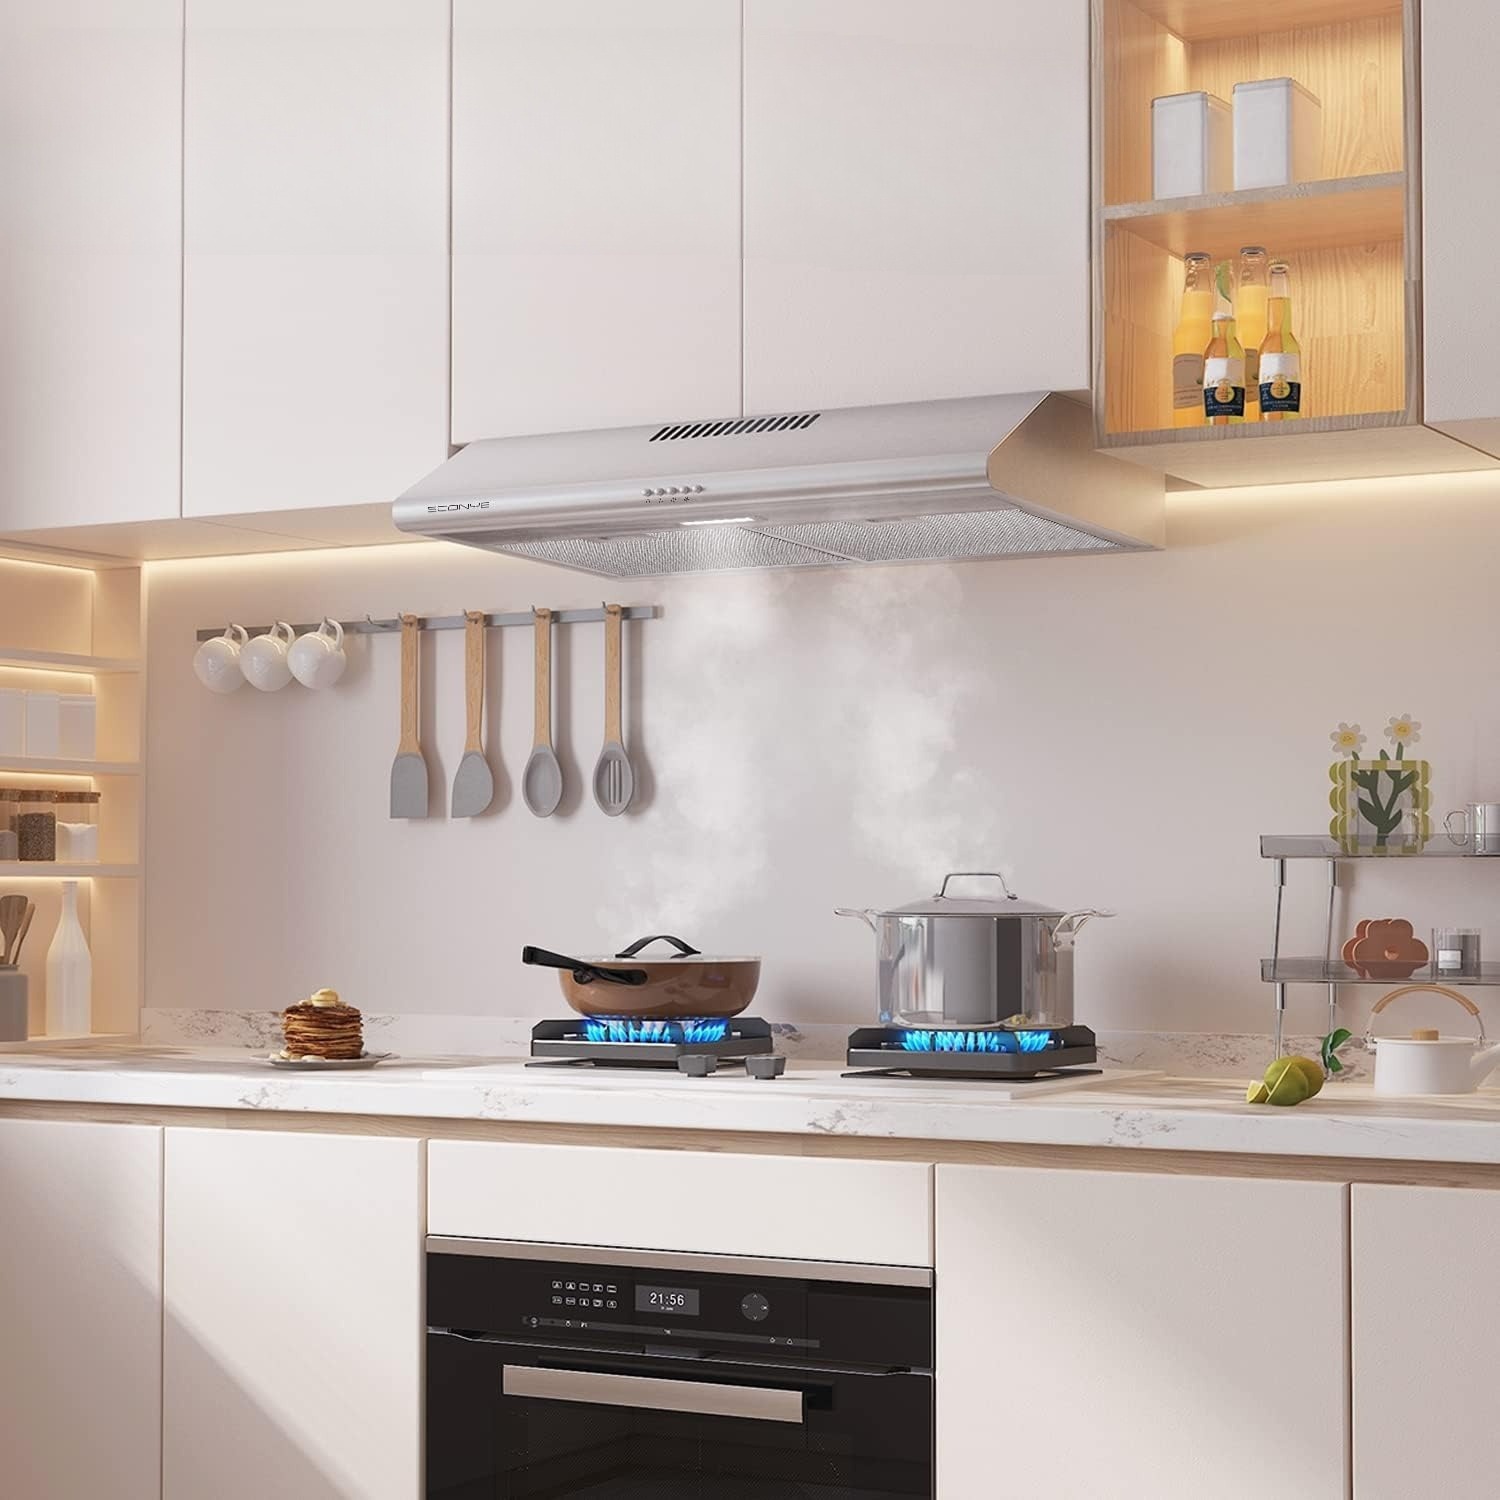
Step 7: Install Range Hood Filters
Installing the range hood filters is an important step in the installation process as they help to trap grease and other airborne particles. Follow these steps to properly install the filters:
- Remove packaging: Start by removing any packaging material from the range hood filters. Carefully unwrap them and discard the packaging.
- Locate filter housing: Locate the filter housing on the underside of the range hood. This is where the filters will be inserted.
- Slide the filters in: Depending on the model of your Zline range hood, there may be one or two filters. Slide the filters into the filter housing, ensuring that they are properly aligned and securely in place.
- Secure filter tabs (if applicable): Some filters may have tabs or clips that need to be secured in order to hold them in place. Follow the manufacturer’s instructions to properly secure the filters using the provided tabs or clips.
- Clean filters (if applicable): If your range hood has reusable filters, it is recommended to clean them regularly according to the manufacturer’s instructions. This will ensure optimal filtration and performance.
Properly installing the range hood filters will help to effectively capture grease and other airborne particles, improving the air quality in your kitchen. Regular maintenance and cleaning of the filters will ensure their longevity and continued effectiveness.
Step 8: Test and Adjust Range Hood
Testing and adjusting the range hood is a crucial step to ensure it is functioning properly and providing adequate ventilation. Follow these steps to test and make any necessary adjustments:
- Turn on the power: Ensure the power to the range hood is turned on at the circuit breaker or fuse box.
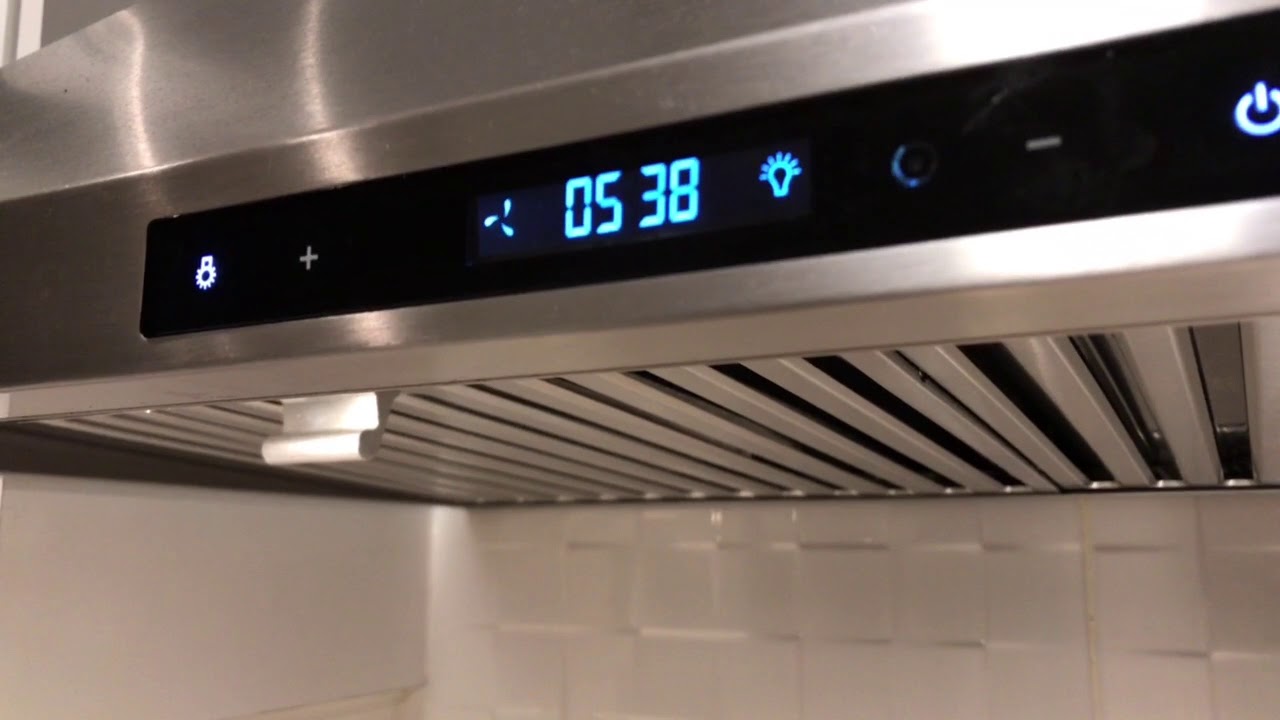
- Check the fan speed and lighting: Turn on the range hood and test the different fan speed settings to ensure they are functioning correctly. Also, check the lighting to ensure it illuminates the cooking area effectively.
- Ensure proper airflow: Place a piece of tissue or light piece of paper in front of the range hood and observe its movement. The suction of the range hood should cause the paper to be drawn towards it. If there is weak airflow, check for any obstructions or blockages in the ductwork or filters.
- Adjust fan speeds (if applicable): If the airflow seems weak or too strong, adjust the fan speeds according to your preference and cooking needs. Refer to the manufacturer’s instructions for specific fan speed adjustment methods.
- Check for unusual noises: Listen for any unusual noises or vibrations coming from the range hood. If you notice any, investigate the source and make adjustments as necessary.
By thoroughly testing and adjusting the range hood, you can ensure that it is operating at its optimal capacity, providing effective ventilation and maintaining a comfortable cooking environment.
Step 9: Finalize Installation
After completing the previous steps, it’s time to finalize the installation of your Zline range hood. Follow these steps to complete the process:
- Secure any loose components: Double-check that all screws, brackets, and other components are securely fastened. Tighten any loose parts to ensure a stable installation.
- Clean and inspect the range hood: Wipe down the exterior of the range hood with a damp cloth to remove any dust or debris. Inspect the range hood for any signs of damage or defects, and report them to the manufacturer if necessary.
- Check for proper ventilation: Confirm that the range hood is effectively venting the air outside. Ensure that the ductwork is properly connected and that there are no leaks or obstructions compromising its performance.
- Review safety precautions: Familiarize yourself with the range hood’s safety features, such as automatic shut-off, if applicable. Make sure you understand how to safely operate the range hood and handle any maintenance or cleaning procedures.
- Enjoy your newly installed range hood: With the installation complete, you can now enjoy the benefits of your Zline range hood. It will effectively remove smoke, odors, and grease particles from your kitchen, improving the air quality and keeping your cooking space fresh and clean.
Congratulations on successfully installing your Zline range hood! By following these steps and ensuring a proper and secure installation, you can now fully enjoy the functionality and aesthetic appeal that your new range hood brings to your kitchen.
Conclusion
Installing a Zline range hood can greatly enhance the functionality and aesthetics of your kitchen. Proper installation ensures optimal performance and safety, allowing you to cook in a clean and healthy environment. By following the step-by-step guide in this article, you can successfully install your Zline range hood and enjoy its benefits.
From measuring and preparing the installation area to mounting the range hood to the wall, connecting the wiring, and installing the filters, each step plays a crucial role in the overall installation process. It is important to pay attention to detail and follow the manufacturer’s instructions to ensure a seamless and efficient installation.
Once your Zline range hood is installed, be sure to regularly clean and maintain it according to the manufacturer’s guidelines. This will help to prolong its lifespan and ensure consistent performance. Additionally, familiarize yourself with the range hood’s features, such as different fan speeds and safety precautions, to fully utilize its capabilities.
Remember, if you are unsure about any aspect of the installation process or encounter any challenges, it is always recommended to seek professional assistance or consult the manufacturer’s customer support. They can provide expert guidance and support to ensure a successful installation.
With your Zline range hood installed, you can now enjoy a cleaner and healthier cooking environment. Say goodbye to smoke, odors, and grease particles and embrace the efficiency and style that your Zline range hood brings to your kitchen.
Frequently Asked Questions about How To Install ZLINE Range Hood
Was this page helpful?
At Storables.com, we guarantee accurate and reliable information. Our content, validated by Expert Board Contributors, is crafted following stringent Editorial Policies. We're committed to providing you with well-researched, expert-backed insights for all your informational needs.


0 thoughts on “How To Install ZLINE Range Hood”