Home>Ideas and Tips>DIY Guide To Refinishing Hardwood Floors
Ideas and Tips
DIY Guide To Refinishing Hardwood Floors
Published: September 17, 2024
Save money and restore your home's beauty with our DIY guide to refinishing hardwood floors. Step-by-step instructions for professional results.
(Many of the links in this article redirect to a specific reviewed product. Your purchase of these products through affiliate links helps to generate commission for Storables.com, at no extra cost. Learn more)
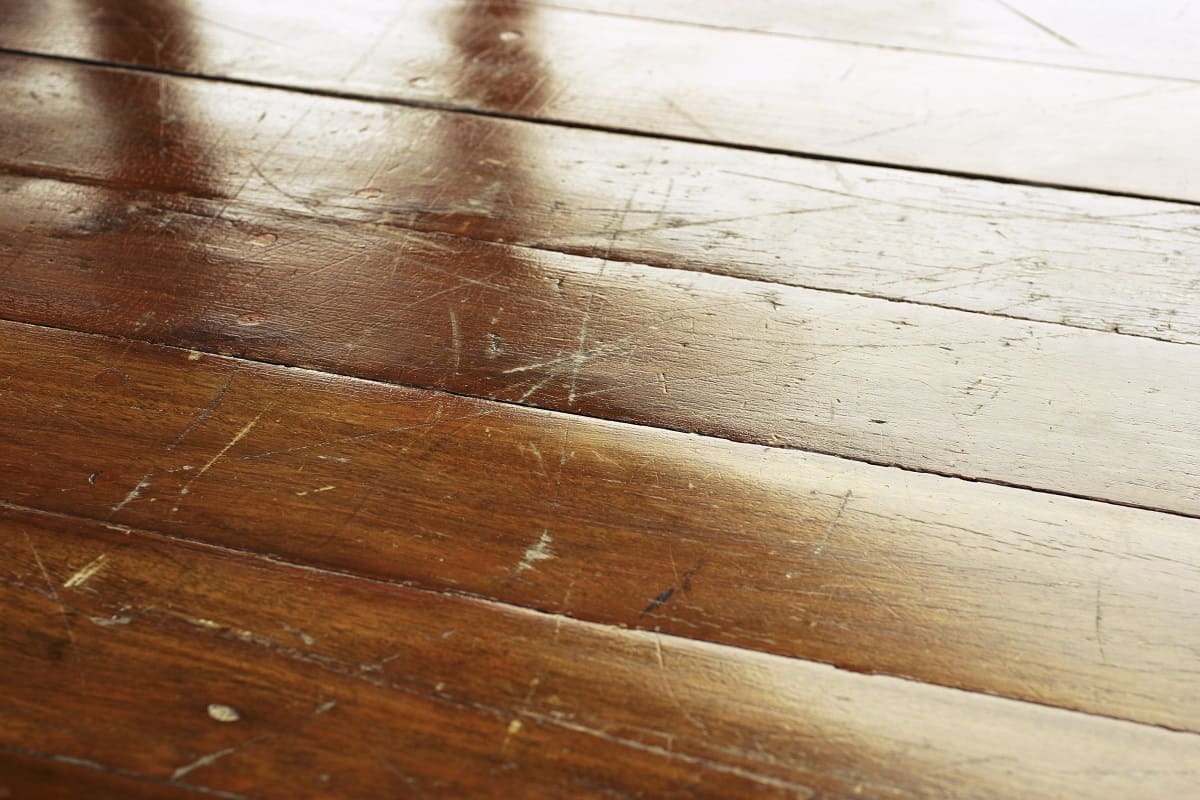
Refinishing your hardwood floors can be a rewarding and cost-effective way to restore the beauty and value of your home. With the right tools, materials, and a bit of elbow grease, you can achieve professional-looking results without breaking the bank. In this comprehensive guide, we will walk you through every step of the refinishing process, from preparation to the final coat of polyurethane.
Why Refinish Your Hardwood Floors?
Before diving into the process, it's essential to understand why refinishing your hardwood floors is a good idea. Here are a few compelling reasons:
- Cost-Effective: Hiring a professional to refinish your hardwood floors can be expensive, often costing several thousand dollars. By doing it yourself, you can save a significant amount of money.
- Personal Satisfaction: Refinishing your hardwood floors is a DIY project that can give you a sense of accomplishment and pride in your home.
- Environmental Benefits: Refinishing existing hardwood floors reduces the need for new materials and minimizes waste.
- Long-Term Value: A well-refinished hardwood floor can last for decades, adding to the overall value of your home.
Read more: DIY Guide: Refinishing Hardwood Floors
Tools and Materials Needed
To start your project, you'll need a variety of tools and materials. Here’s a comprehensive list:
- Pry Bar or Molding Bar: For removing shoe molding and other trim pieces.
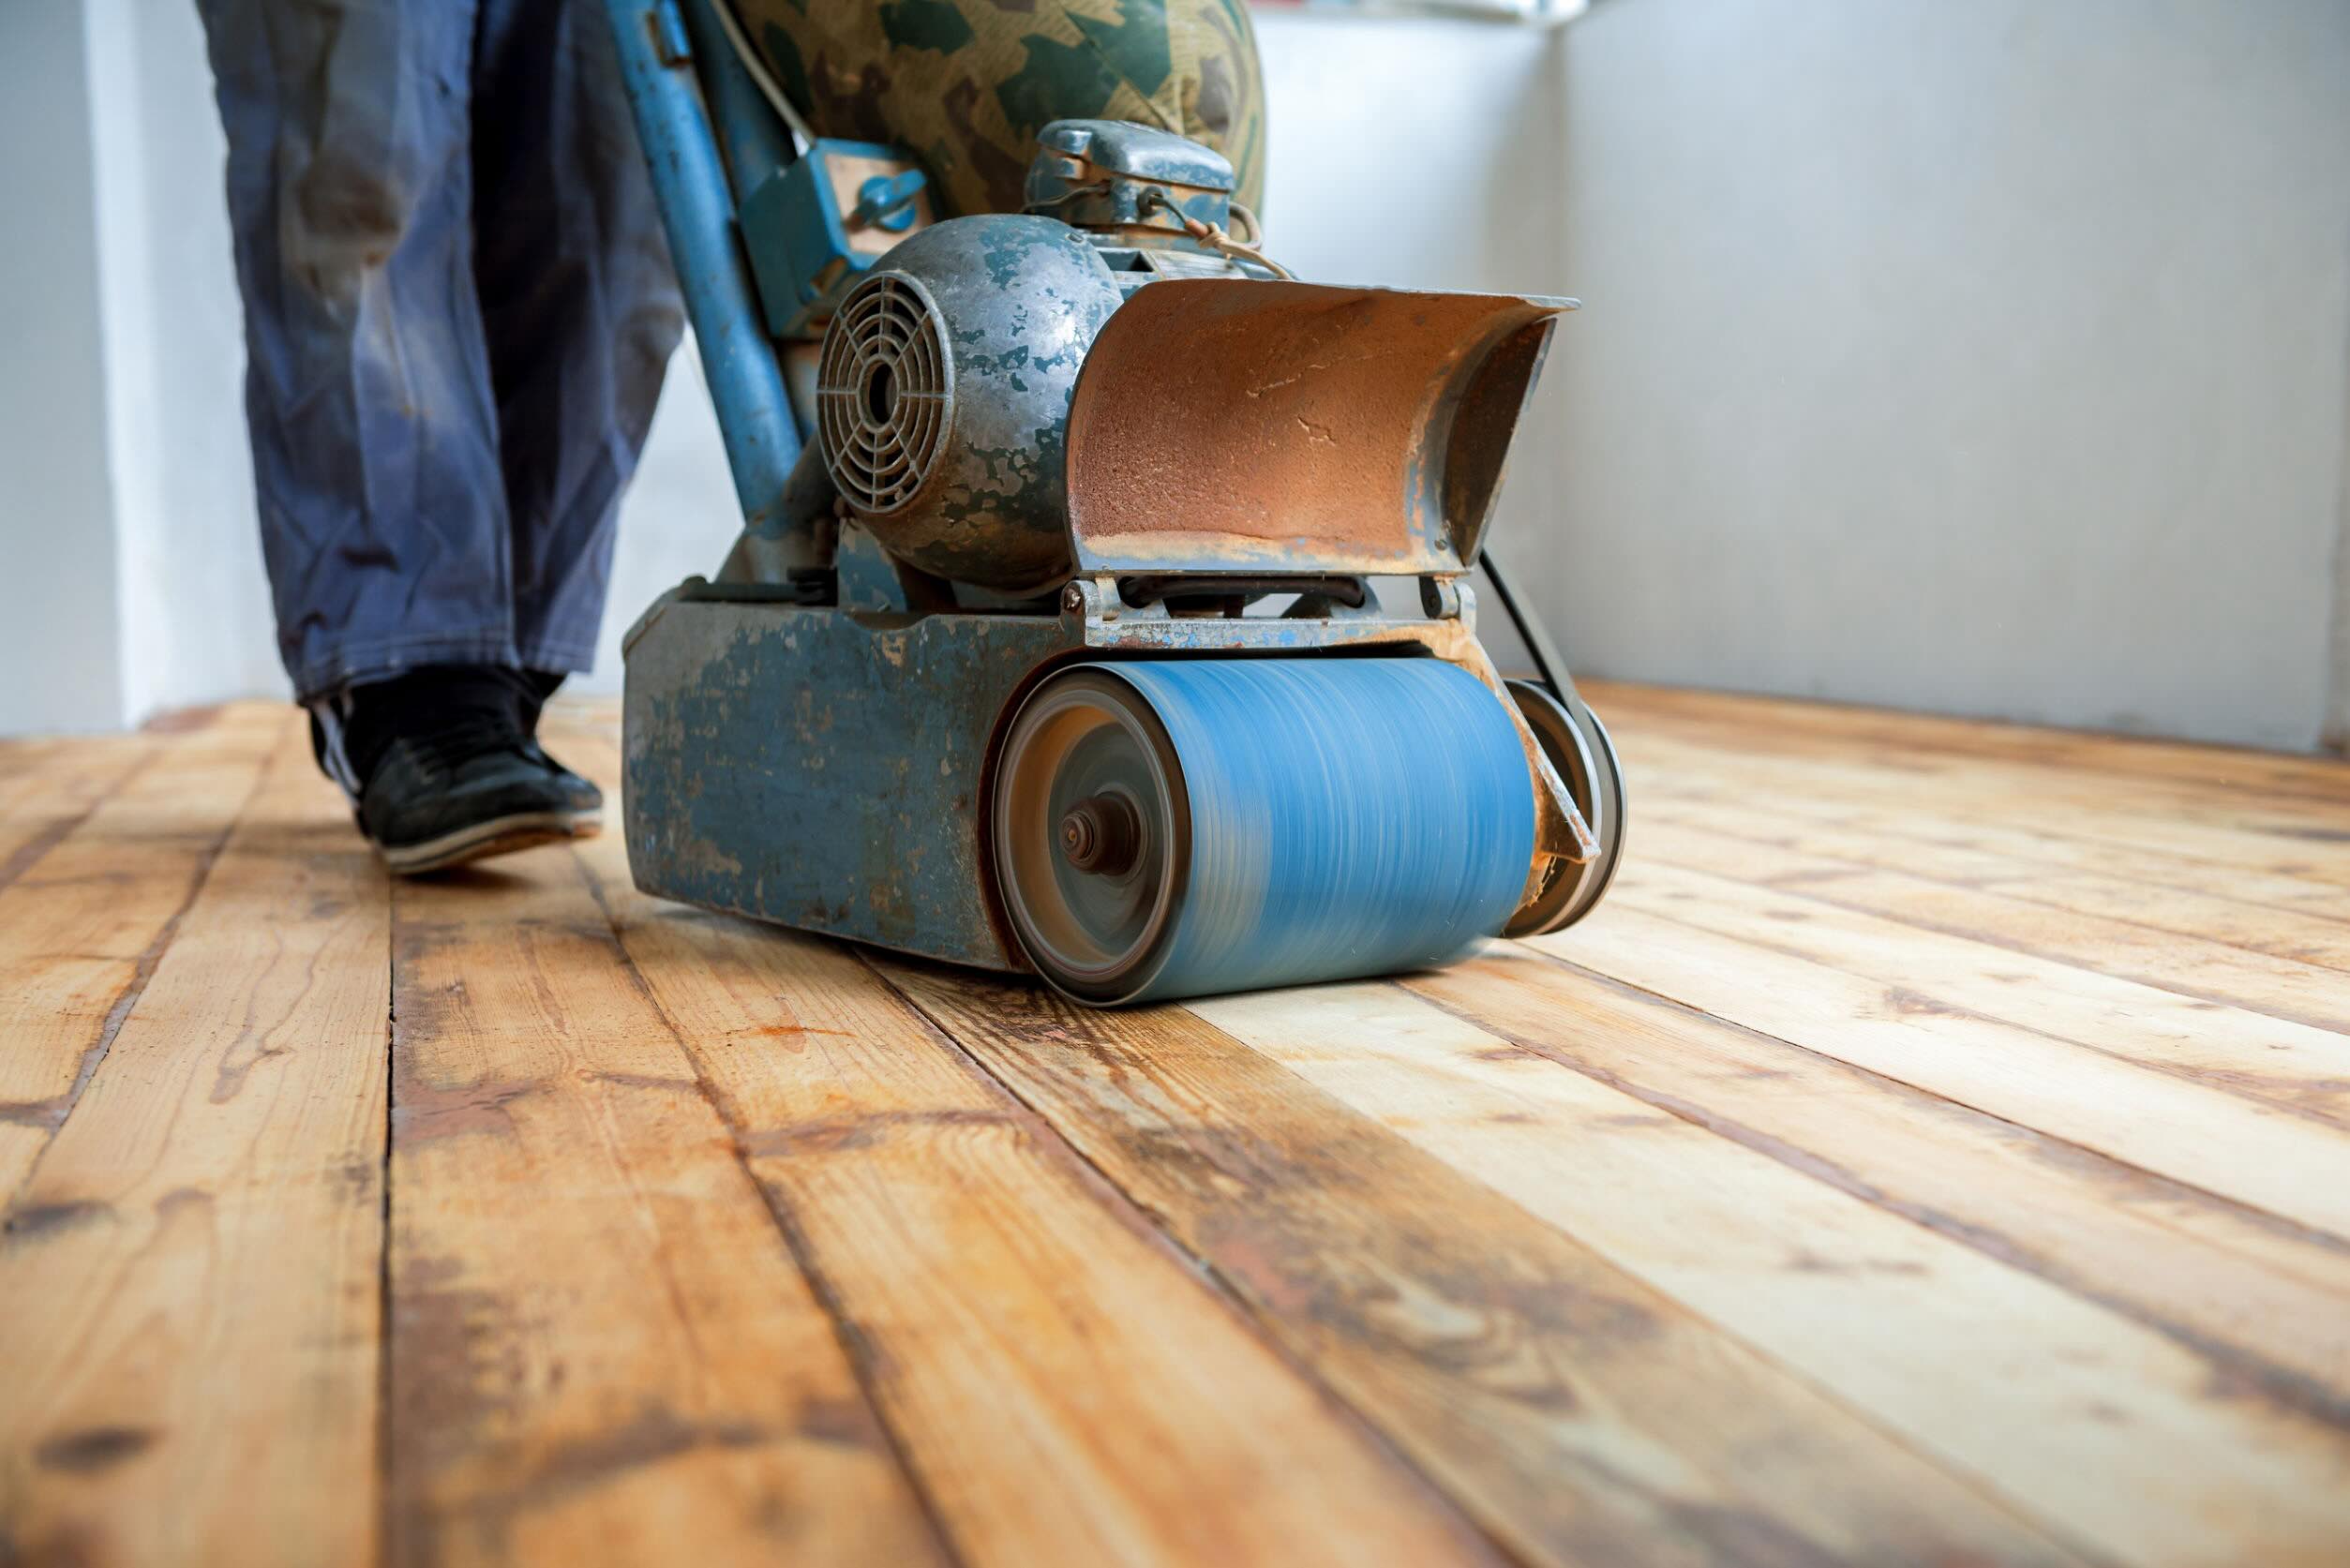
- Drum Sander or Belt Sander: For sanding large areas of the floor.
- Edge Sander or Orbital Sander: For sanding edges and corners.
- Machine Buffer or Pole Buffer: For final polishing.
- Wood Filler: To fill any gaps or holes in the floor.
- 36- or 40-Grit Sandpaper: For coarse sanding.
- 60-Grit Sandpaper: For medium sanding.
- 80-Grit Sandpaper: For fine sanding.
- 100-Grit Sandpaper: For very fine sanding.
- 120-Grit Sandpaper: For final sanding before applying stain or finish.
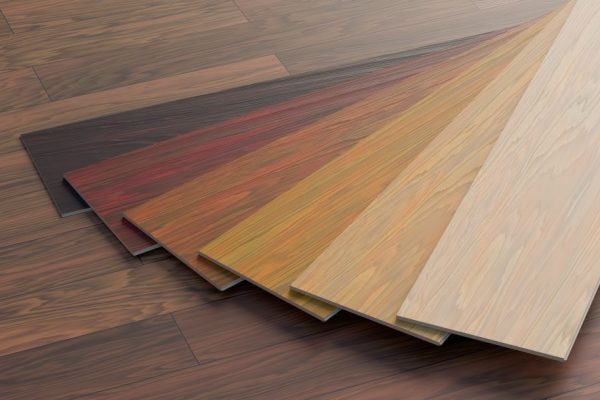
- Oil-Based Wood Stain (Optional): To add color and protection to your floors.
- Polyurethane Finish or Oil-Based Finish: To protect and seal your floors.
- Foam Applicator Pads: For applying stain evenly.
- Lambswool Roller: For applying polyurethane finish.
- Paintbrush: For applying finish to edges and corners.
- #2 or #000 Steel Wool Pads, or 220-Grit Sandpaper: For final polishing.
- Tack Cloth: To remove dust and debris from the floor.
- Putty Knife: For applying wood filler.
- Respirators: To protect yourself from dust and fumes.
- Safety Goggles: To protect your eyes from debris.
- Shop Vacuum or Vacuum Cleaner: For cleaning the floor before starting the project.
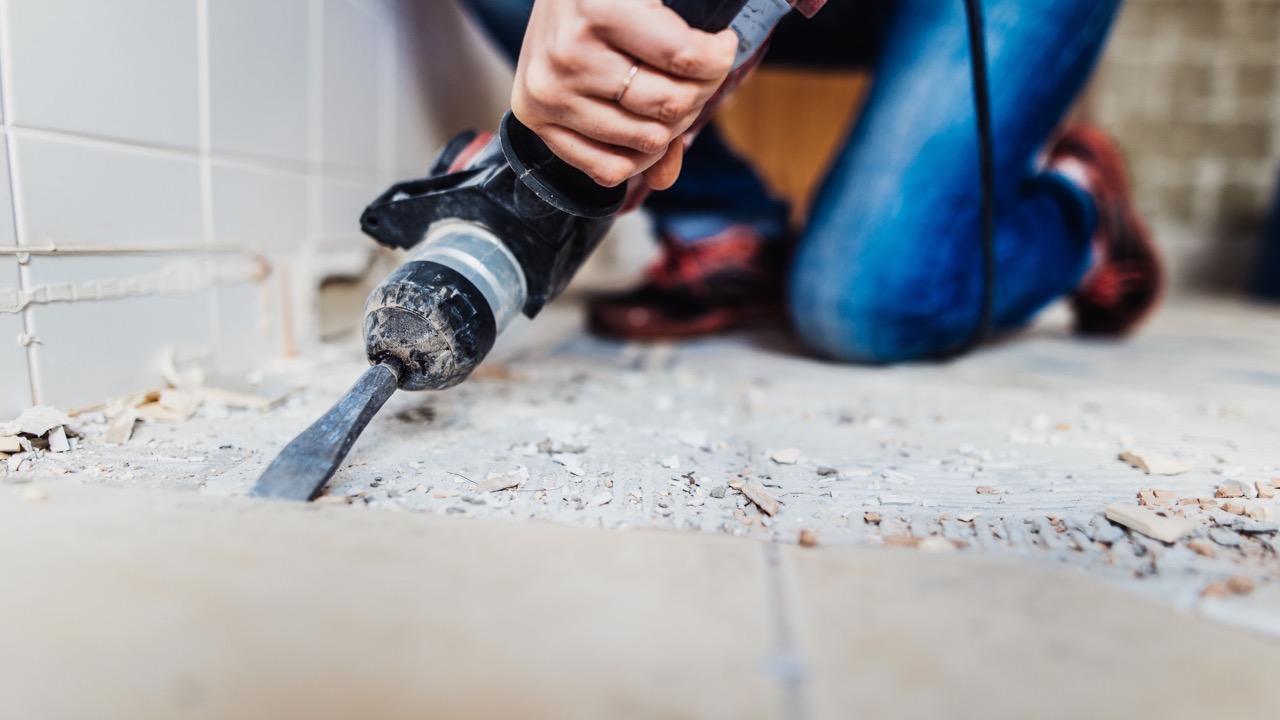
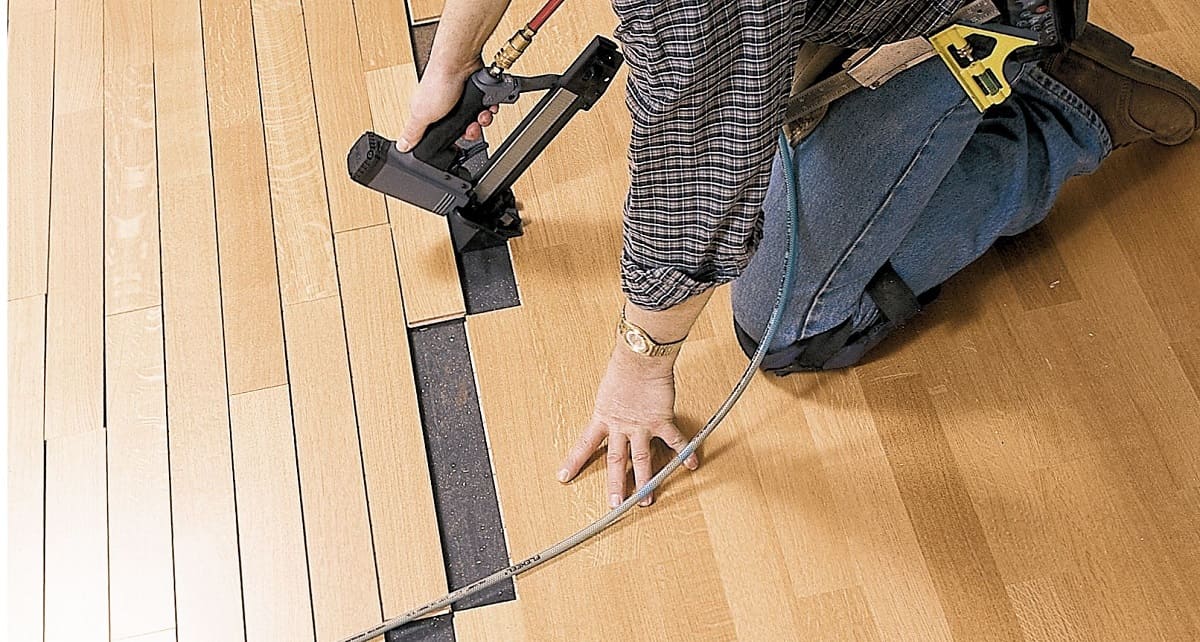
Preparation
Before you begin sanding, it's crucial to prepare the room thoroughly. Here are the steps:
- Remove Furniture and Rugs: Move all furniture, rugs, and any other items from the room. This will give you clear access to the entire floor and prevent damage to your belongings.
- Remove Baseboards: If necessary, remove baseboards to ensure that you can sand the entire floor evenly. If your baseboards are already in rough shape, you can leave them off until the end of the project when you reinstall them.
- Cover the Room: Cover any areas of the room, including doorways, with heavy-duty plastic sheets. This will prevent dust and debris from spreading to other parts of your home.
- Inspect the Floor: Thoroughly inspect the floor for any nails, staples, or screws. Remove or hammer these in as they can ruin the sanders.
- Ventilation: Open windows for proper ventilation to prevent the buildup of dust and fumes.
Sanding
Sanding is one of the most critical steps in refinishing your hardwood floors. Here’s how to do it:
- Coarse Sanding: Start with coarse sandpaper (36- or 40-grit) if your floors are in rough shape. This will help remove old finishes and smooth out the surface.
- Medium Sanding: Once you've sanded with coarse grit, move to medium grit (60-grit) to further smooth out the surface.
- Fine Sanding: After medium sanding, switch to fine grit (80-grit) to achieve a smooth finish.
- Very Fine Sanding: For an even smoother finish, use very fine grit (100-grit) sandpaper.
- Final Sanding: Before applying stain or finish, use 120-grit sandpaper for final sanding.
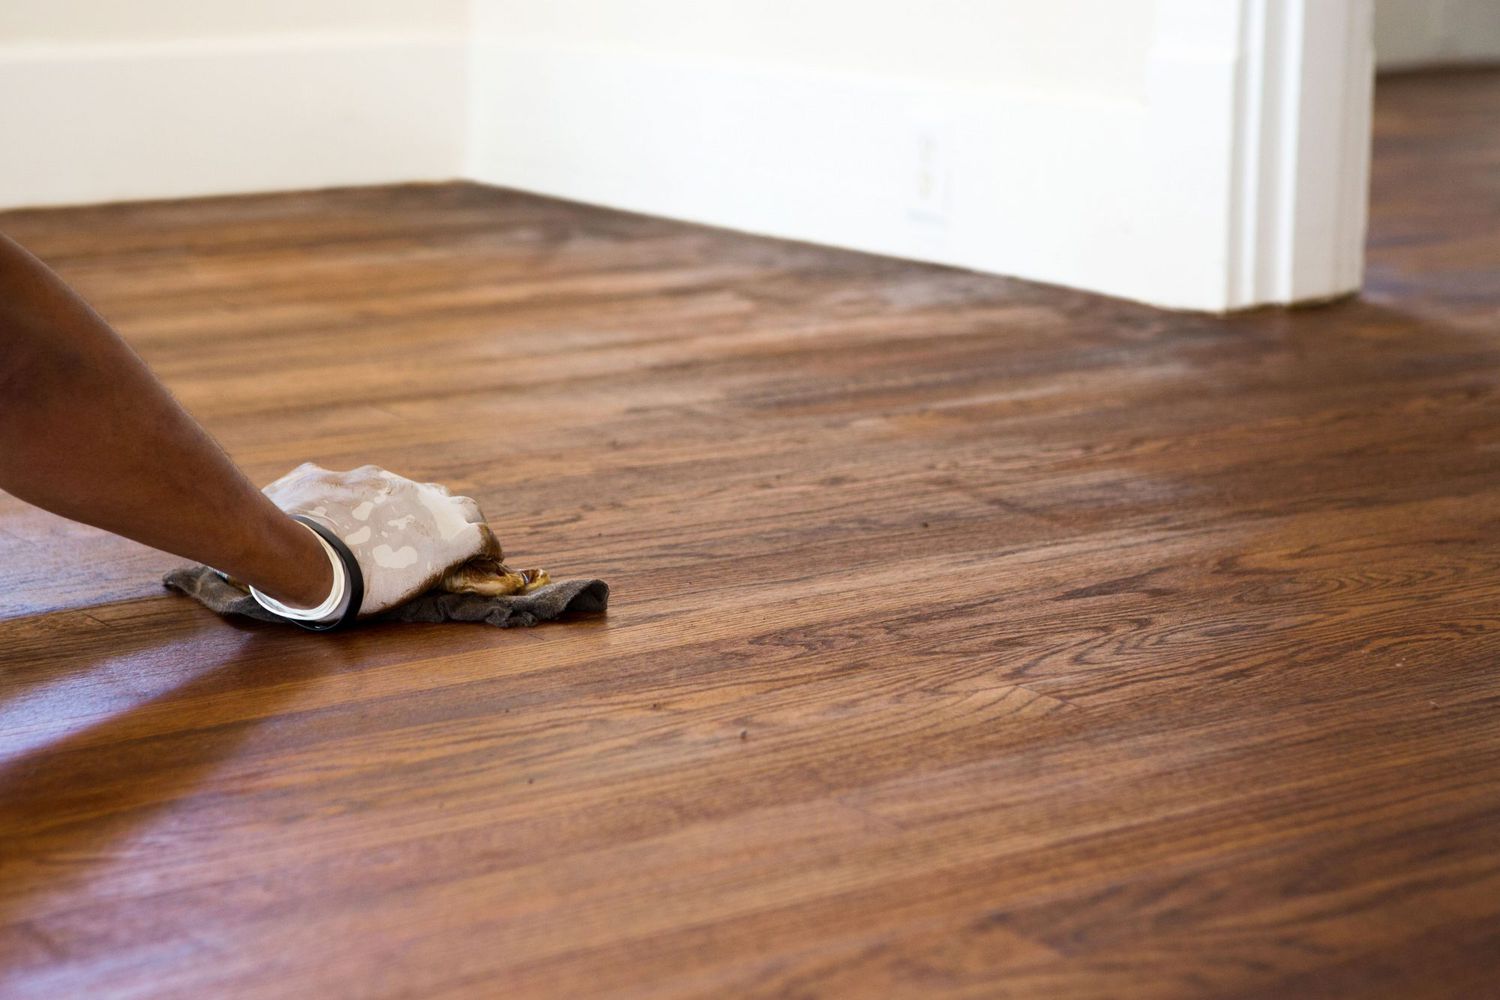
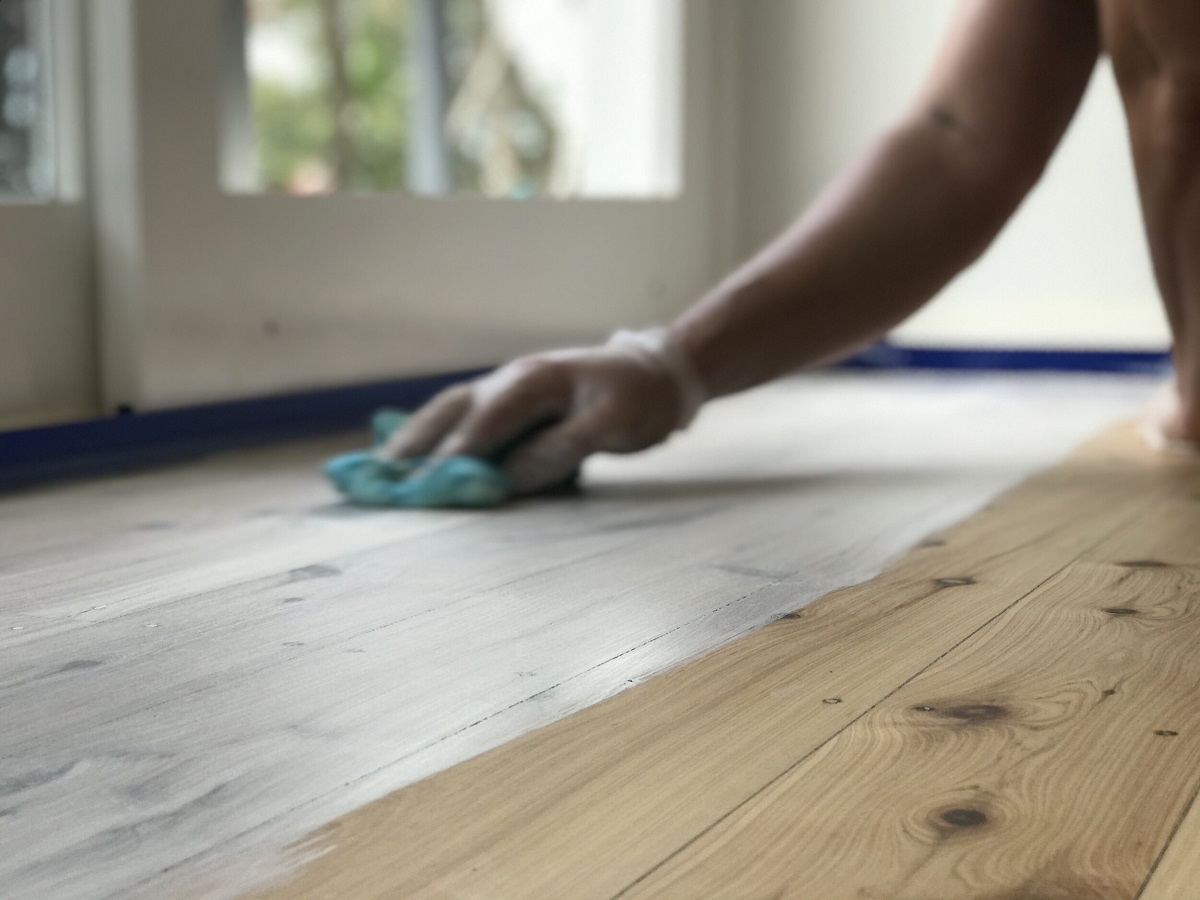
Applying Stain (Optional)
If you decide to stain your hardwood floors, here’s how to do it:
- Clean the Floor: Make sure the floor is clean and free of dust and debris.
- Apply Stain: Use a foam applicator pad to apply stain evenly along the wood grain. Start at the far end of the room and work your way towards the doorway to avoid trapping yourself.
- Remove Excess Stain: Use a clean cloth or paper towel to remove any excess stain.
- Allow to Dry: Let the wood dry completely before applying the next coat of stain or moving on to the finish.
Read more: How To Refinish A Hardwood Floor
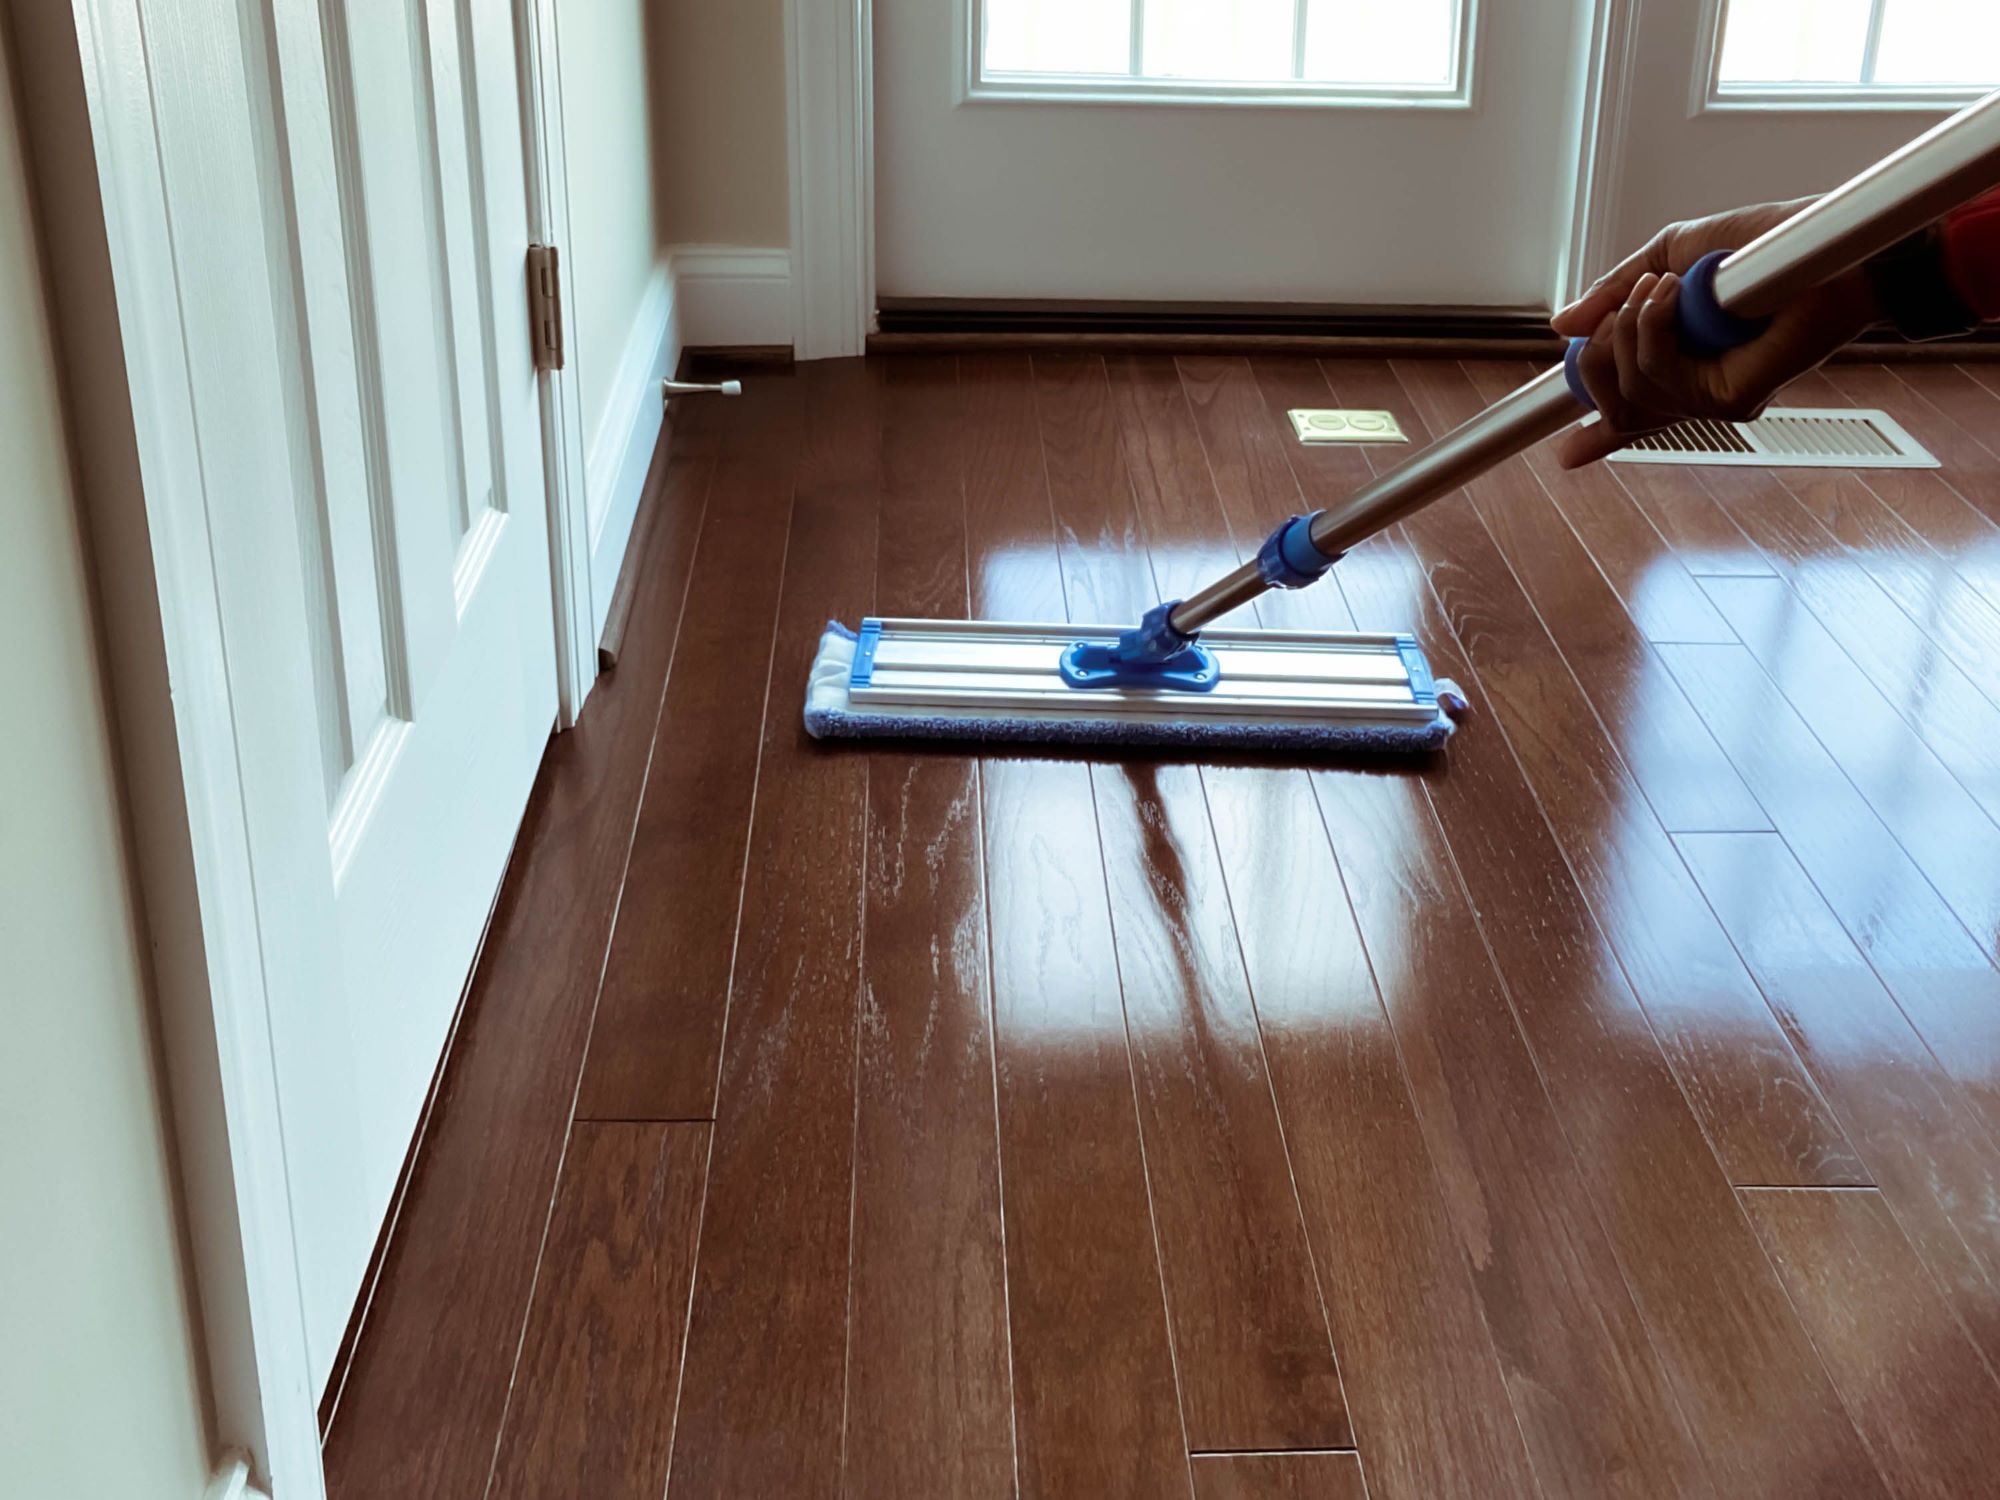
Applying Finish
Applying the finish is the final step in refinishing your hardwood floors:
- Choose Your Finish: Decide whether you want a water-based polyurethane finish or an oil-based finish. Water-based finishes provide good protection against scuffs and water damage but require more coats and can be tricky to apply because they dry quickly. Oil-based finishes give you a smoother finish but take longer to dry and tend to have VOCs (volatile organic compounds) and can yellow with time.
- Apply Finish: Use a lambswool roller to apply the finish in even strokes across the floor, avoiding pooling and dripping. Start at the far corner of the room and work your way outwards so you don’t trap yourself.
- Apply Multiple Coats: Apply as many coats as is reasonable since each coat adds another layer of protection for your floors. High-traffic floors need the most coats.
- Final Polish: Use a machine buffer or pole buffer with steel wool pads or 220-grit sandpaper for final polishing.
Tips and Tricks
Here are some additional tips and tricks to help you through the process:
- Ventilation is Key: Always ensure good ventilation when applying stain or finish to prevent the buildup of fumes.
- Protective Gear: Wear safety goggles, a respirator or N95 mask, and ear protection to protect yourself from dust and fumes.
- Work in Sections: Divide the floor into sections to maintain even coverage and avoid mistakes.
- Test Run: If you're using a drum sander for the first time, start with a test run using 100-grit sandpaper to get a feel for the machine.
- Don’t Rush: Refinishing hardwood floors takes time and patience. Don’t rush through any step as it can lead to mistakes and uneven finishes.
Common Issues and Solutions
Here are some common issues you might encounter during the refinishing process along with their solutions:
- Shellac Removal: If your floors have shellac on them, it can be challenging to remove. However, sanding it off with a drum sander and progressing through different grits can yield decent results.
- Nails or Staples: If you find nails or staples protruding from the floor, gently tap them back in with a hammer and appropriately sized nail set.
- Dust and Debris: Use a tack cloth to remove dust and debris from the floor after each sanding session.
Conclusion
Refinishing your hardwood floors is a rewarding DIY project that can save you money and add value to your home. With the right tools, materials, and preparation, you can achieve professional-looking results. Remember to take your time, work in sections, and follow safety guidelines to ensure a smooth and successful project.
By following this guide, you’ll be well on your way to transforming your worn-out hardwood floors into beautiful, durable surfaces that will enhance the beauty and value of your home for years to come. Happy refinishing
Was this page helpful?
At Storables.com, we guarantee accurate and reliable information. Our content, validated by Expert Board Contributors, is crafted following stringent Editorial Policies. We're committed to providing you with well-researched, expert-backed insights for all your informational needs.


0 thoughts on “DIY Guide To Refinishing Hardwood Floors”