Home>Ideas and Tips>Home Climbing Wall Installation: Indoor Adventure Spaces
Ideas and Tips
Home Climbing Wall Installation: Indoor Adventure Spaces
Modified: October 20, 2024
Learn how to design and install a home climbing wall with our comprehensive guide. Create a fun, safe indoor adventure space for all skill levels.
(Many of the links in this article redirect to a specific reviewed product. Your purchase of these products through affiliate links helps to generate commission for Storables.com, at no extra cost. Learn more)
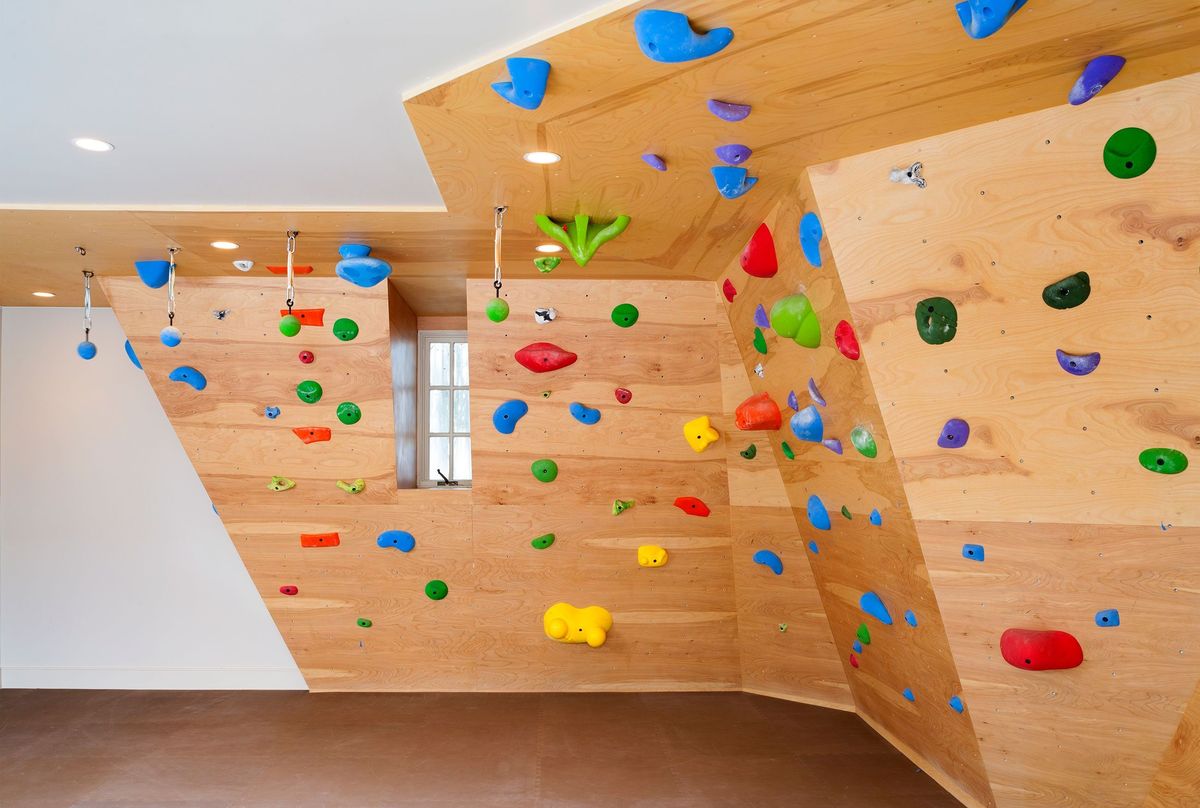
Creating a home climbing wall is an exciting project that combines functionality with fun. Whether you're a seasoned climber or just starting out, having a dedicated climbing space in your home can be a fantastic way to improve your skills, stay active, and enjoy quality time with family and friends. In this article, we'll guide you through the process of designing and installing a home climbing wall, covering everything from assessing your space to selecting the right materials and features.
Assessing Space and Safety Considerations
Before diving into the construction process, it's essential to assess the available space and ensure it meets the necessary safety requirements. Here are some key considerations:
-
Ceiling Height: The ideal ceiling height for a home climbing wall is 10 feet or more. This allows for comfortable climbing without hitting the ceiling, which can be dangerous and damaging to the wall.
-
Floor Space: Ensure there is enough floor space around the climbing wall for safe movement. A minimum of 8 feet of clearance on each side is recommended to prevent collisions and ensure easy access.
-
Floor Padding: The floor should be adequately padded with thick crash pads or gym mats to cushion potential falls and protect yourself from injuries. This is crucial for both safety and comfort.
-
Room Usage: Consider what else the space may need to be used for. If it’s a garage, do you need to leave room to park the car? Is it also a storage area? You can design and position the angles of your wall to fit over and around a parked car or build shelves into the backside of your wall for storage.
-
Lighting, Ventilation, and Access: Ensure that you maintain access to electrical outlets and the back of the wall for any necessary repairs. Also, consider lighting and ventilation in your design to keep the space comfortable during use.
-
Noise and Chalk: Falling is noisy, and chalk gets everywhere. If it’s indoors, try to isolate it as much as possible from your living space, especially if you share your dwelling with others.
-
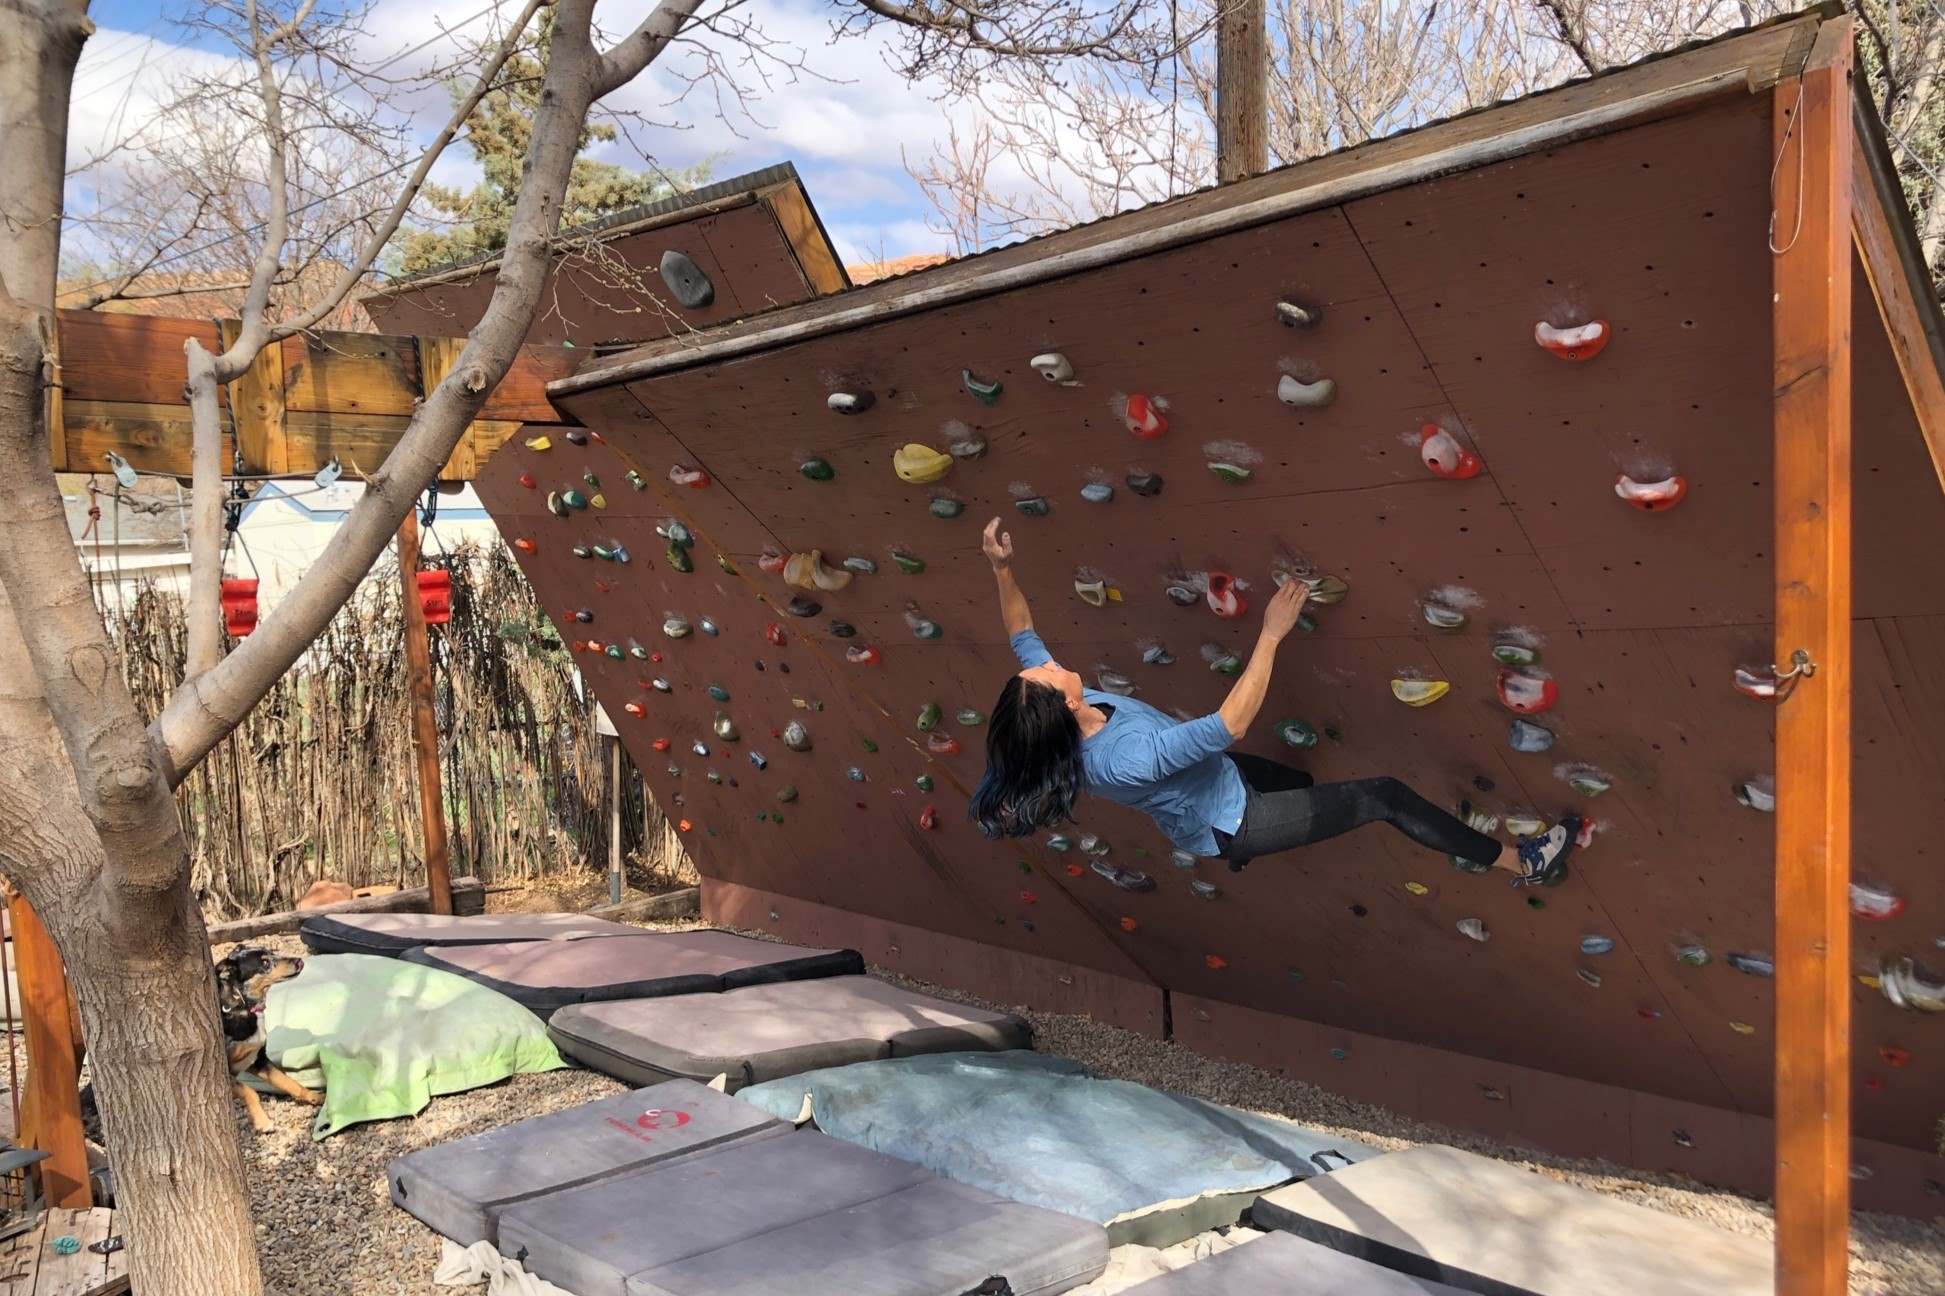
Outdoor Considerations: If you’re considering an outdoor wall, remember that you’ll have to weatherproof it somehow, and no matter what you do, the holds won’t last as long as they would inside.
Determining Wall Type
There are two primary types of home bouldering walls: freestanding and attached.
-
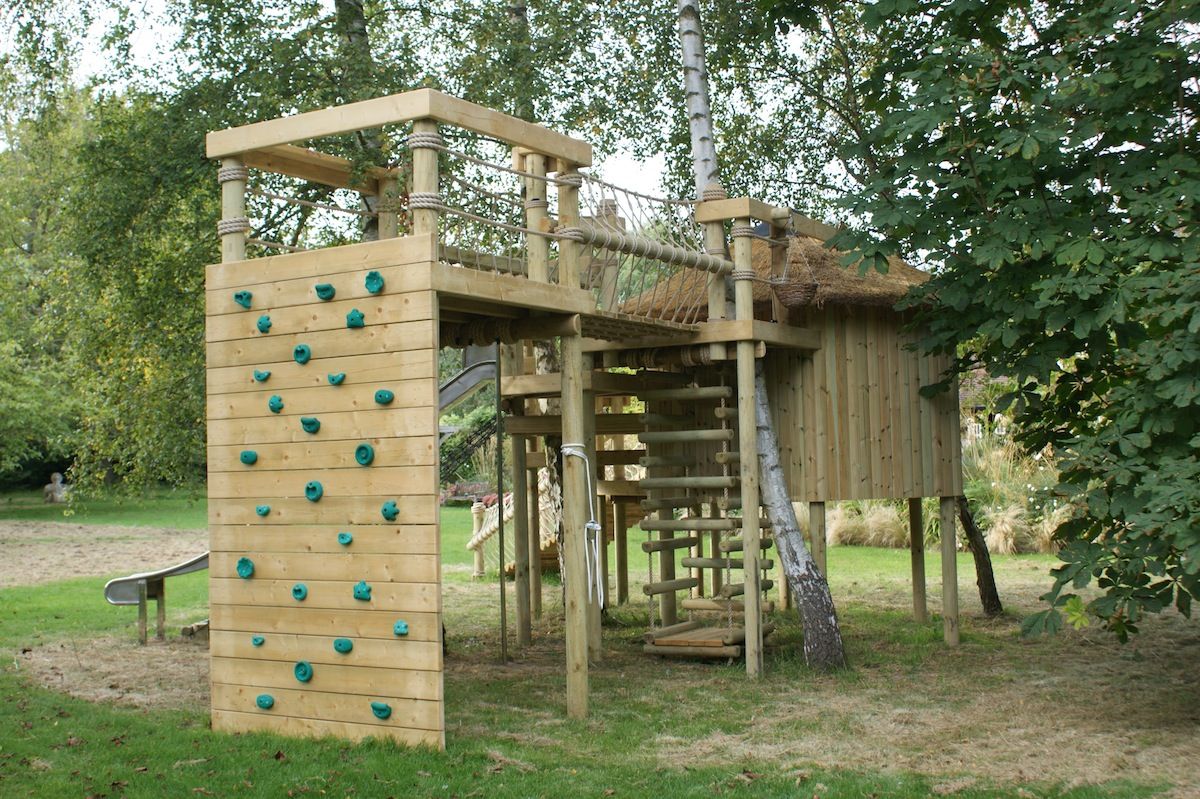
Freestanding Walls: These are self-supporting structures that offer more versatility in terms of placement. They can be placed anywhere in your home or yard without needing an existing structure.
-
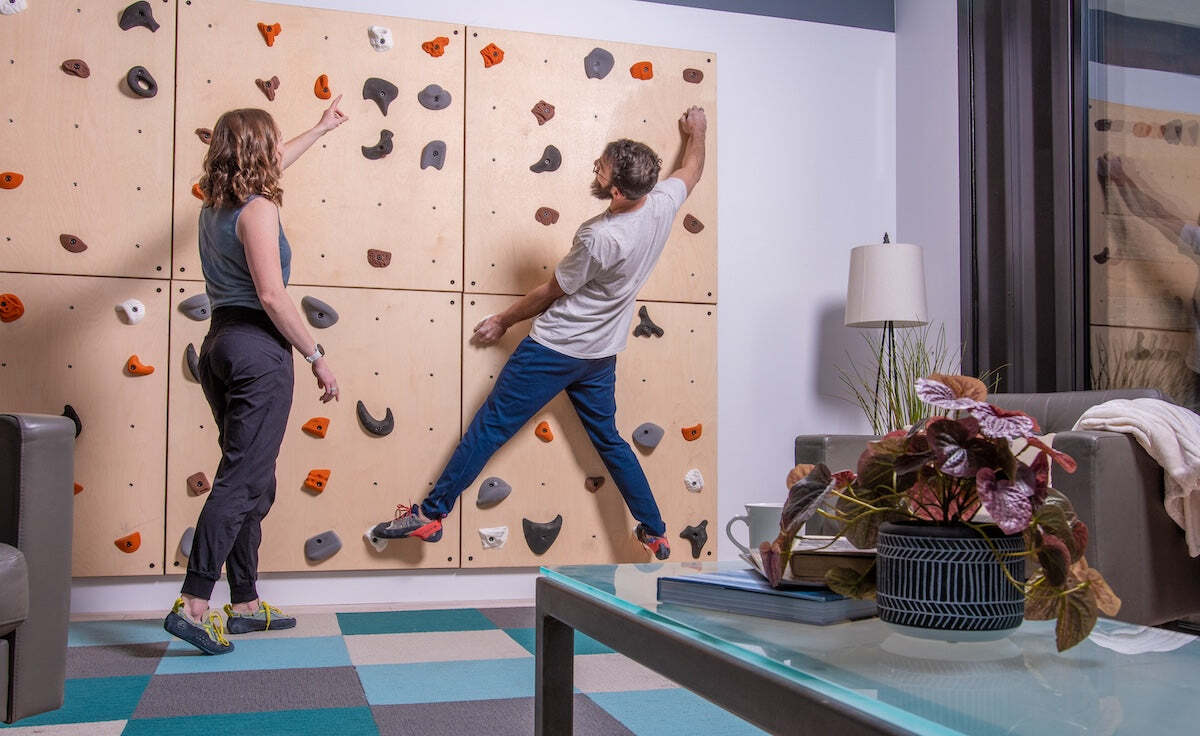
Attached Walls: These walls are fixed to an existing wall or structure, which can save space and construction costs. However, they may limit your placement options.
Choose the type that best suits your available space and desired climbing experience.
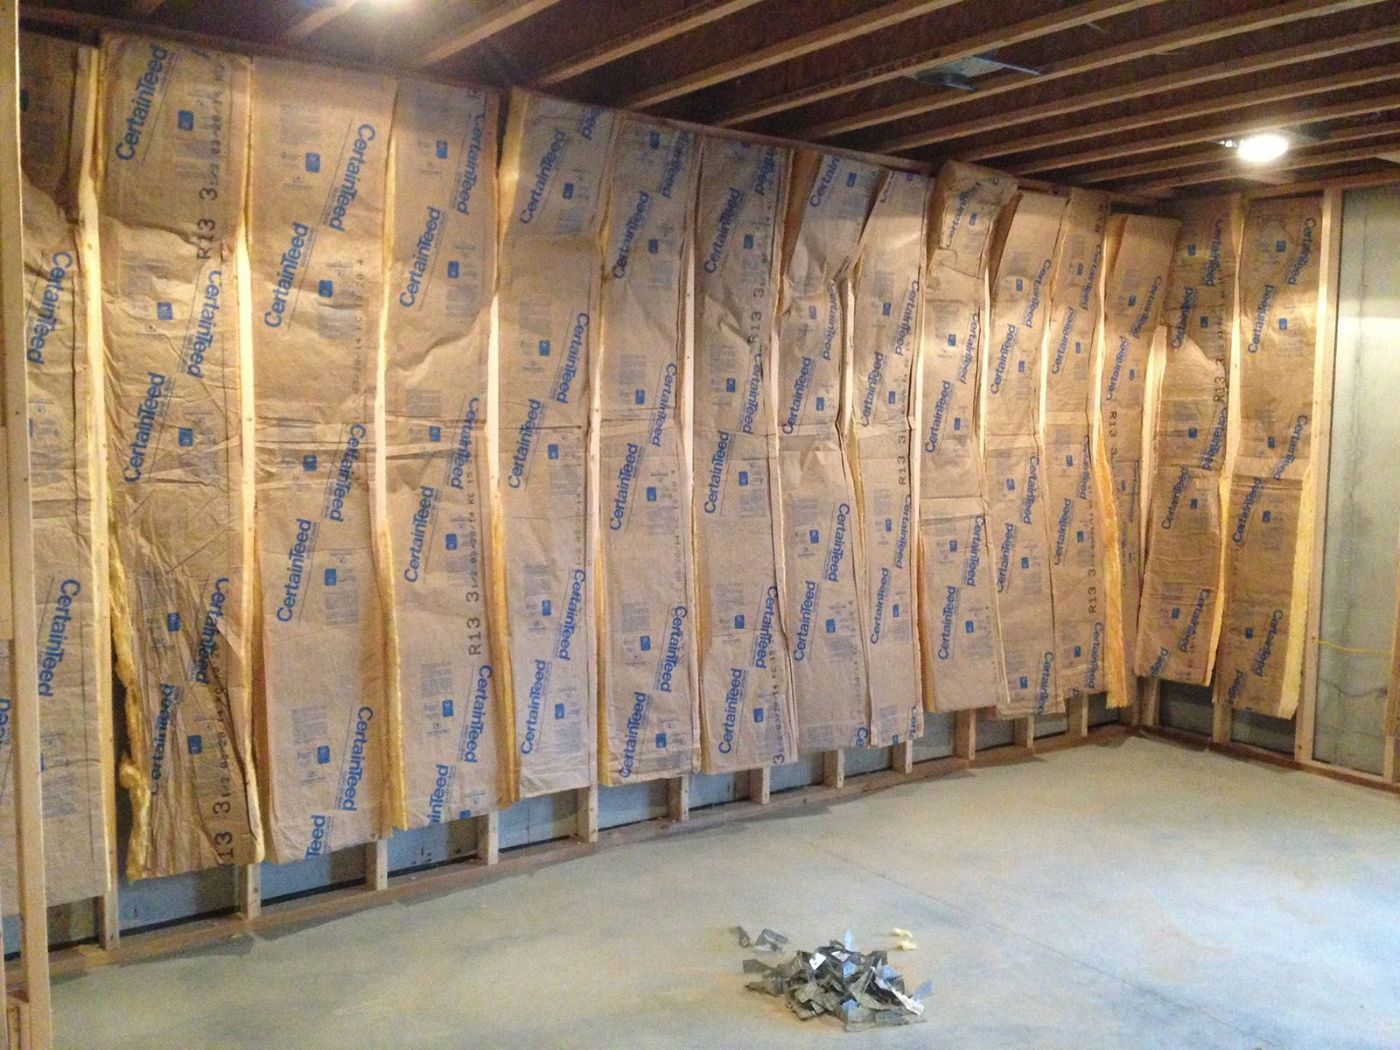
Constructing the Wall Frame
Constructing a sturdy frame is crucial for any climbing wall. Here’s how you can do it:
-
Materials: Use high-quality, load-bearing materials such as plywood, 2x4s, or steel beams for the frame. Plywood is often preferred because it provides a smooth surface for holds.
-
Measurements: Follow precise measurements to ensure that the frame is square and level. This will prevent any structural issues during use.
-
Securing the Frame: Secure the frame firmly to the floor and walls using screws or nails. Ensure stability and safety by double-checking all connections.
-
Supporting Panels: If your primary walls abut or face each other, you may need to add secondary walls (or panels) to fill the space between them and tie them together into a seamless climbing structure.
Selecting and Installing Climbing Holds
Climbing holds are the grips attached to the wall that climbers use to navigate routes. Here’s how to select and install them:
-
Types of Holds: Choose a variety of holds, including jugs (large and easy holds), crimps (small and challenging holds), slopers (smooth and rounded holds), and pinches (holds requiring squeezing).
-
Placement Strategy: Place the holds strategically to create diverse and challenging routes suitable for your skill level. Use the provided bolt holes on the holds to attach them securely to the wall, ensuring they can withstand repeated use.
-
Hold Quality: Select holds made from durable materials that can withstand regular use without deteriorating quickly.
Adding Features and Angles
To make your home bouldering wall more versatile and engaging, consider adding features such as overhangs, slabs, or arêtes:
-
Overhangs: These create steep sections where climbers must use their feet and hands in combination to progress.
-
Slabs: These provide flat surfaces that require climbers to use their feet extensively.
-
Arêtes: These are narrow ridges that require climbers to use both hands and feet in a precise manner.
Be mindful of the space available and your own climbing goals when deciding on these features.
Creating a Safe Landing Zone
Safety should be a top priority when setting up a home bouldering wall:
-
Crash Pads: Place thick crash pads or gym mats at the base of the wall to provide a safe landing zone and minimize the impact of falls.
-
Secure Fixing: Ensure that the pads cover the entire landing area and are securely fixed in place to prevent slipping or shifting during climbs.
-
Regular Maintenance: Regularly inspect the crash pads for signs of wear and ensure they remain in good condition.
Regular Maintenance and Safety Checks
Once your home bouldering wall is set up, it's essential to perform regular maintenance and safety checks:
-
Inspecting Holds: Inspect the holds for any signs of wear, loose bolts, or damage.
-
Tightening Bolts: Tighten bolts as needed to ensure holds remain secure.
-
Replacing Holds: Replace worn-out or damaged holds promptly to maintain safety.
-
Cleaning Holds: Regularly clean the holds and wall surface to maintain their quality and grip.
Designing Your Climbing Wall
Designing your climbing wall involves several steps:
-
Visiting Climbing Gyms: If you don’t have much experience climbing on indoor walls, try to visit as many different climbing gyms and home walls as you can before designing your own wall. Record some basic measurements from the walls you like.
-
Evaluating Space: Look at the space you have available to build your wall and decide how to use it most efficiently. Consider what else the space may need to be used for.
-
Visualizing The Wall: Once you understand the space you’re working with, try to visualize the basic shape that you want your wall to take. Imagine what different shapes, sizes, and angles would look like in place.
-
Creating A Scale Model: Build a scale model with cardboard or foam board once you have decided on the climbing wall’s shape, location, and orientation.
-
Choosing Wall Shape: Consider that certain shapes and angles tend to produce similar moves and limit variety. Flat, overhanging walls of between 20° and 45° seem to allow for the best variety of moves.
-
Module Design: Think of your wall as a series of 8-foot-wide modules. Identify 1 or more basic wall shapes that you want to include in your design based on how much space you have available.
-
Arranging Modules: Play around arranging these primary walls in a variety of different configurations until you’re satisfied with the result. Remember to leave enough room to fall from any given point without hitting another wall.
-
Adding Kicker Panels: For any walls steeper than 20° or 30°, plan to have a short, vertical kicker panel at the bottom to provide ample room for your feet at the start of problems.
-
Secondary Walls: Design secondary walls (or panels) to fill the space between the primary walls and tie them together into a seamless climbing structure.
Practical Tips for Building a Home Climbing Wall
Building a home climbing wall can be a rewarding project, but it requires careful planning and execution:
-
DIY vs Hiring a Carpenter: If you’re familiar with basic construction techniques, building your own wall will be a snap. However, if you don’t feel comfortable running a circular saw or just don’t have the time or inclination to let the sawdust fly, consider hiring a carpenter to handle the actual construction.
-
Using Templates: Use templates or guides when cutting plywood or other materials to ensure precise measurements and avoid errors.
-
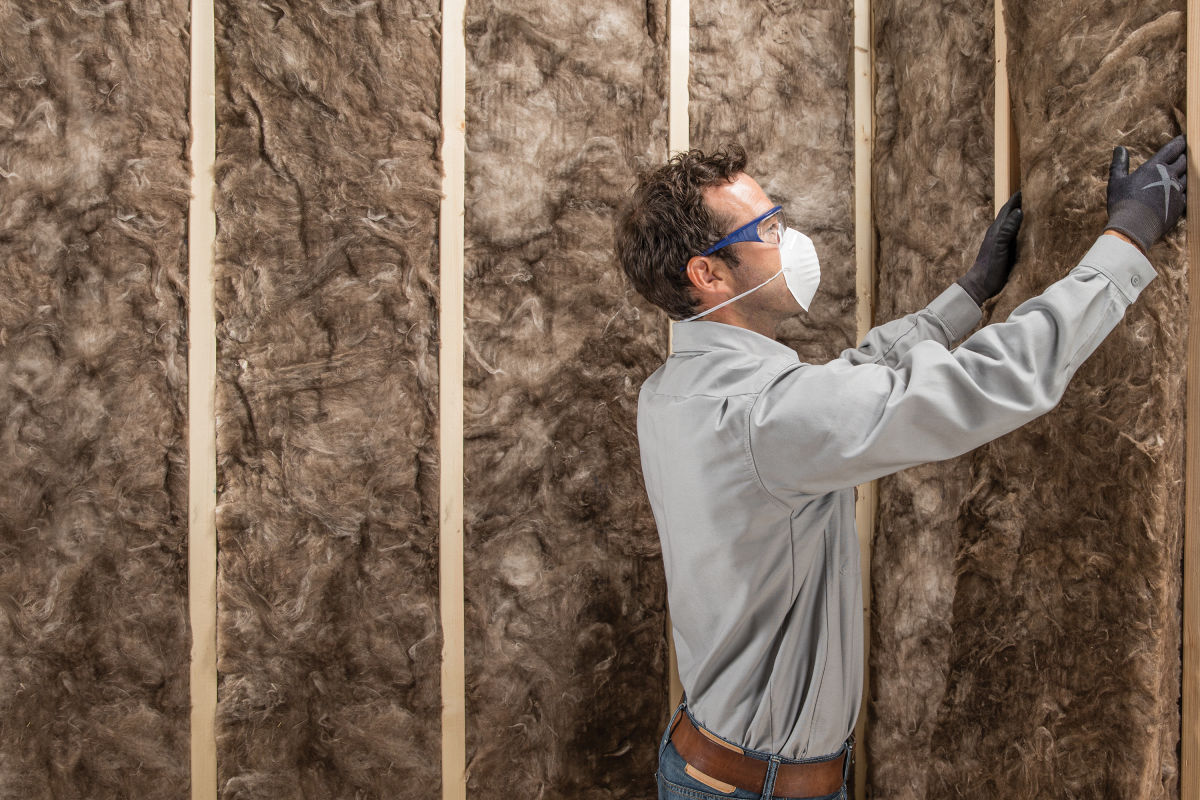
Safety Gear: Always wear safety gear such as gloves and goggles when working with power tools or handling materials.
-
Material Selection: Choose high-quality materials that are durable and can withstand regular use without deteriorating quickly.
-
Budgeting: Set a budget and stick to it. Climbing walls can range from simple DIY projects to complex installations requiring professional help.
-
Consulting Professionals: If you're unsure about any part of the process, consider consulting professionals who specialize in home climbing walls. They can provide valuable insights and ensure that your wall meets all safety standards.
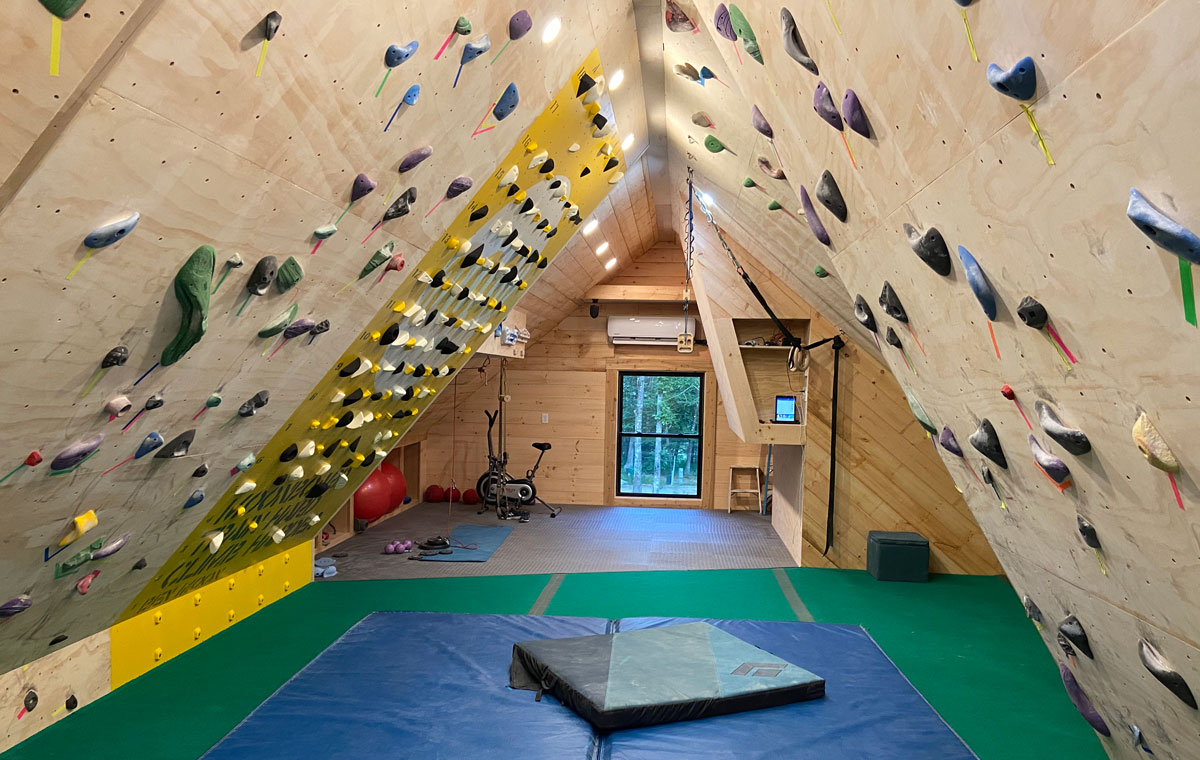
Examples of Home Climbing Walls
Here are some examples of home climbing walls that you might find inspiring:
-
Freestanding Walls: These are self-supporting structures that can be placed anywhere in your home or yard. They offer more versatility in terms of placement but may require more space.
-
Attached Walls: These walls are fixed to an existing wall or structure, which can save space and construction costs but may limit your placement options.
-
Vertical Climbing Walls: These are ideal for larger spaces with ceilings over 12 feet high. They require a belay system for safety and can include features like overhangs, roofs, and slabs.
-
Traverse Walls: These are perfect for smaller spaces with lower ceiling heights. They allow for horizontal climbing from side to side and can be built up to 10 feet high.
-
DIY Projects: There are many DIY projects available online that showcase how to build a home climbing wall using basic materials like plywood and climbing holds.
Conclusion
Creating a home climbing wall is an exciting project that offers numerous benefits, from improving your climbing skills to providing a fun activity for family and friends. By following these steps and considering the various options available, you can design and install a safe and engaging climbing space in your home.
Remember to always prioritize safety by ensuring that your wall meets all necessary safety standards and performing regular maintenance checks. With careful planning and execution, you can enjoy the thrill of indoor climbing right from the comfort of your own home.
Whether you're looking to create a simple DIY project or a complex installation requiring professional help, this guide should provide you with all the information needed to get started on your home climbing wall adventure. Happy climbing
Was this page helpful?
At Storables.com, we guarantee accurate and reliable information. Our content, validated by Expert Board Contributors, is crafted following stringent Editorial Policies. We're committed to providing you with well-researched, expert-backed insights for all your informational needs.


0 thoughts on “Home Climbing Wall Installation: Indoor Adventure Spaces”