Home>Articles>How To Install Faced Insulation In Interior Walls
Articles
How To Install Faced Insulation In Interior Walls
Modified: February 23, 2024
Learn how to install faced insulation in interior walls with these informative articles. Step-by-step instructions and helpful tips to ensure a successful insulation project.
(Many of the links in this article redirect to a specific reviewed product. Your purchase of these products through affiliate links helps to generate commission for Storables.com, at no extra cost. Learn more)
Introduction
When it comes to insulating interior walls, faced insulation can be a highly effective solution. Whether you’re looking to improve energy efficiency, reduce noise transmission, or create a more comfortable environment, installing faced insulation in your interior walls can make a significant difference.
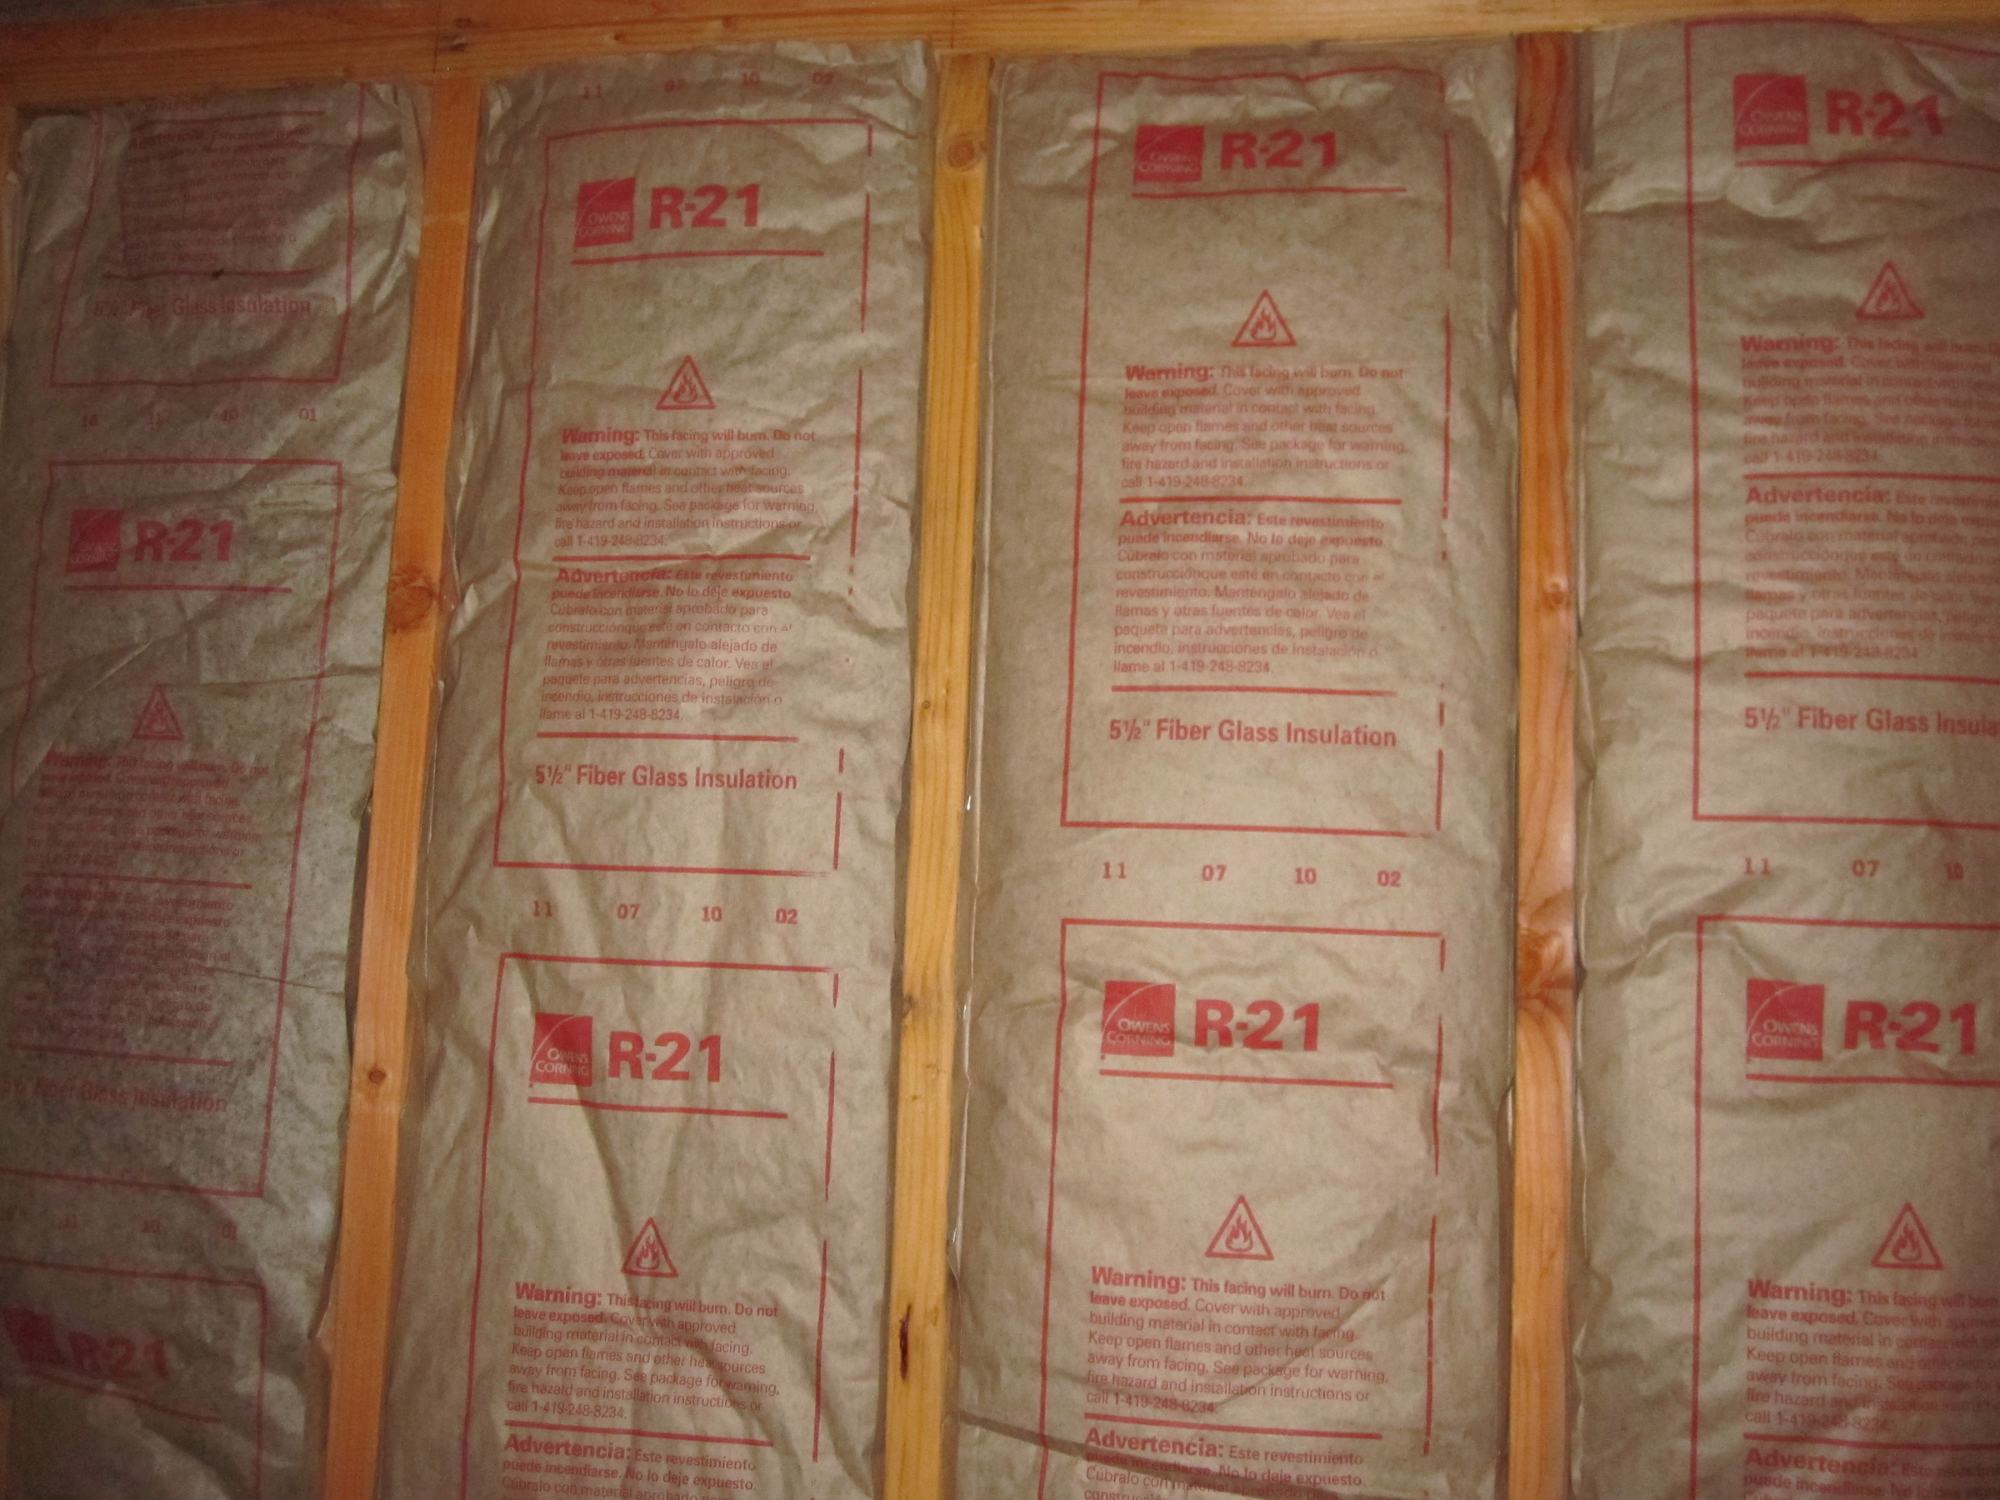
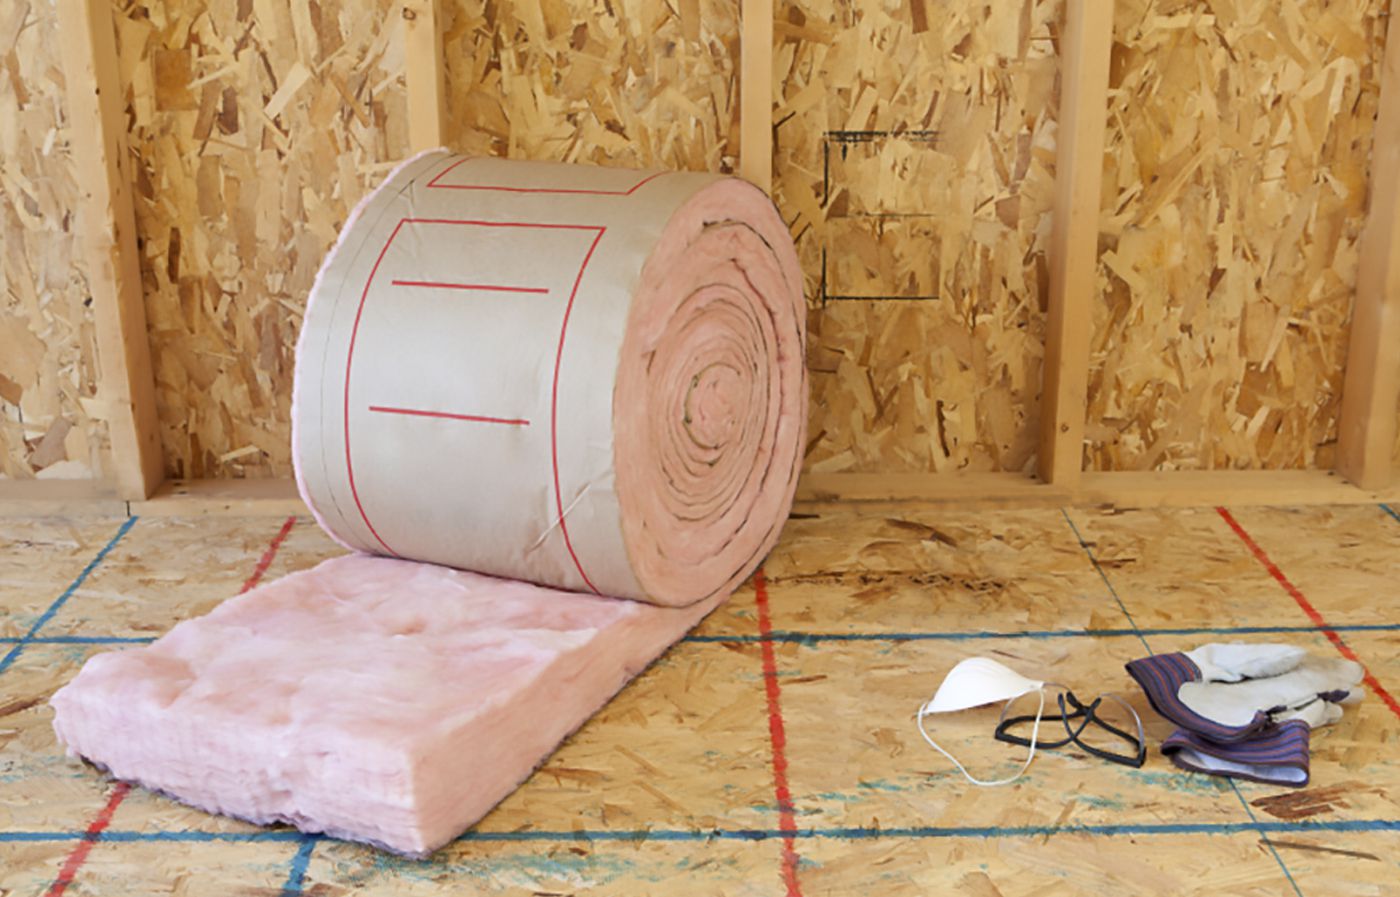
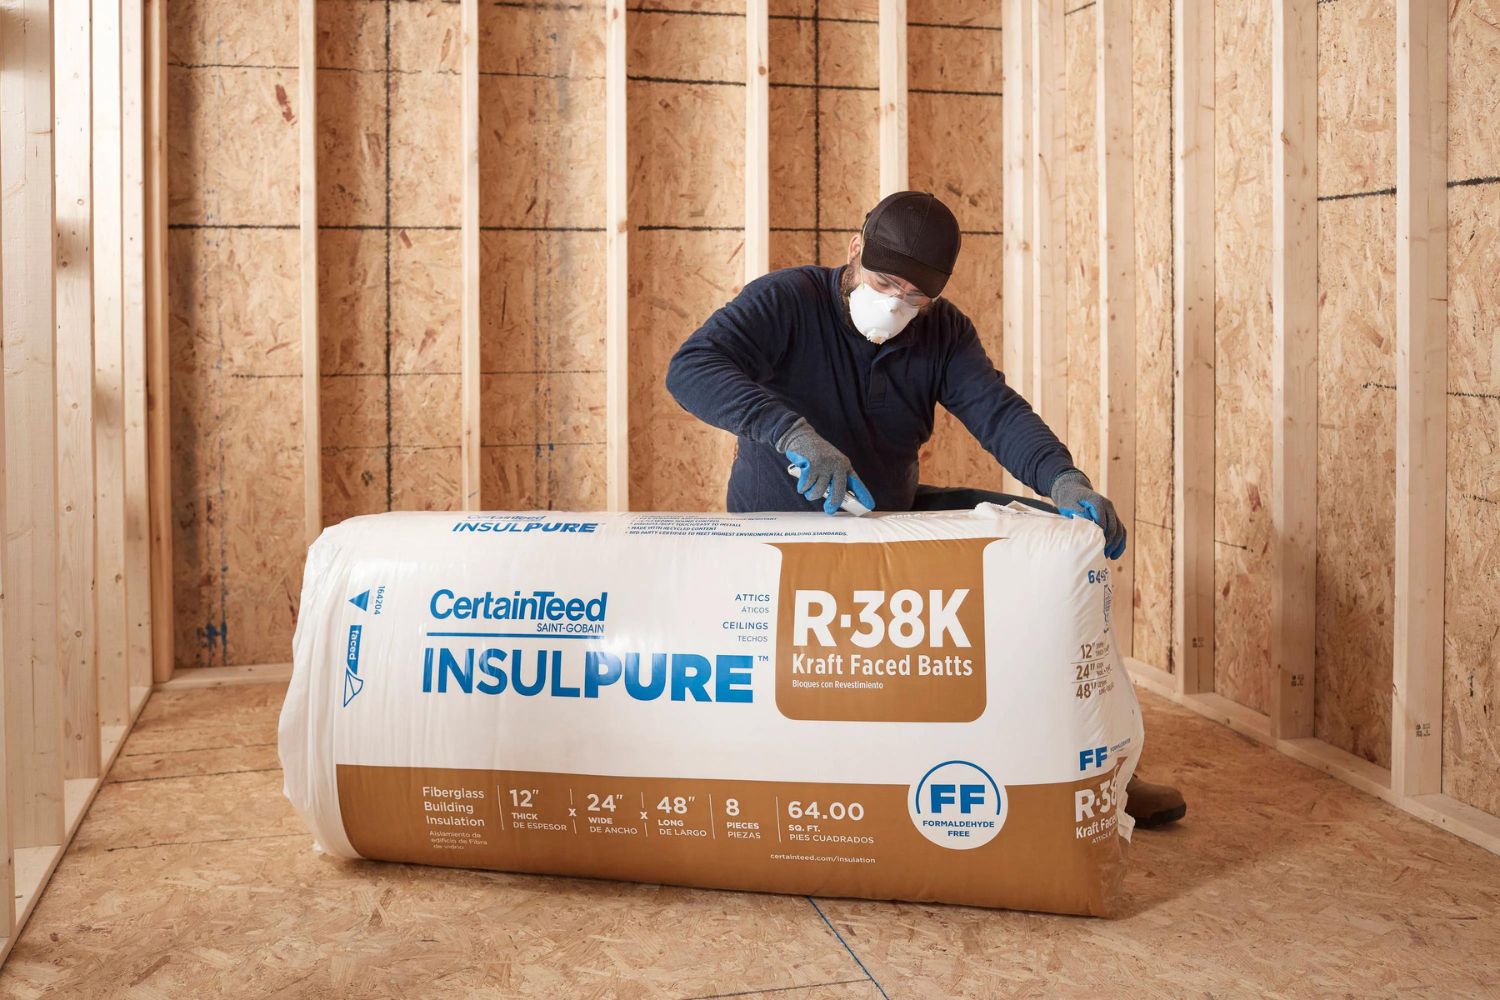
Faced insulation is a type of insulation that has a moisture barrier or vapor retarder attached to one side. This barrier helps prevent moisture from penetrating the insulation, protecting your walls from potential damage caused by moisture buildup.
In this article, we will guide you through the process of installing faced insulation in your interior walls. We will provide you with a step-by-step approach, along with the materials needed to complete the installation. By following these instructions, you can ensure a successful and efficient insulation project.
Key Takeaways:
- Properly preparing interior walls, accurately measuring and cutting faced insulation, and securing it in place are crucial steps in creating an effective insulation barrier. This process helps regulate temperatures, reduce noise, and protect against moisture damage.
- Sealing any gaps or air leaks after installing faced insulation maximizes its performance, leading to a more comfortable and energy-efficient living or working space. This comprehensive process ensures reduced energy consumption, improved indoor air quality, and a quieter environment.
Materials Needed
Before you begin installing faced insulation in your interior walls, it’s important to gather all the necessary materials. Here is a list of what you will need:
- Faced insulation: Choose the appropriate R-value for your specific wall and climate requirements.
- Measuring tape: To measure the dimensions of your walls accurately.
- Utility knife: For cutting the faced insulation to the correct size.
- Safety goggles: To protect your eyes from any debris during the installation process.
- Protective gloves: To safeguard your hands while handling the insulation.
- Staple gun: To secure the faced insulation in place.
- Staples: Ensure you have enough staples to securely fasten the insulation to the wall studs.
- Foam insulation or caulk: To seal any gaps or air leaks in the insulation or around the windows and electrical outlets.
- Plastic sheeting or drop cloths: To protect your work area from any mess or debris.
It’s crucial to have all these materials on hand before you begin the installation process. This will ensure a smooth and efficient work flow, allowing you to complete the project successfully.
Step 1: Prepare the Interior Walls
Before you can start installing faced insulation in your interior walls, you need to properly prepare the walls for the installation. Follow these steps to ensure a clean and smooth surface:
- Remove any existing wall coverings or wallpaper: If there are any existing wall coverings, such as wallpaper, paint, or paneling, remove them using the appropriate tools and techniques. Ensure that the wall surface is clean and free of any debris or adhesives.
- Inspect the walls for any damage: Check the walls for any cracks, holes, or damage that may need to be repaired before installing the insulation. If you come across any issues, it’s important to address them before proceeding.
- Clear the area around outlets and switches: If there are electrical outlets or switches on the wall, make sure to turn off the power and remove the cover plates. This will allow you to access the wall behind them and install the insulation properly.
- Clean the walls: Use a mild detergent and warm water to clean the walls thoroughly. This will remove any dirt, dust, or grease that might interfere with the adhesion of the insulation.
By taking the time to prepare the interior walls properly, you will create a solid foundation for the installation of faced insulation. This will help ensure a seamless and effective insulation project.
Step 2: Measure and Cut the Faced Insulation
Now that the interior walls are prepared, it’s time to measure and cut the faced insulation to fit the wall dimensions accurately. Follow these steps:
- Measure the wall dimensions: Use a measuring tape to measure the height and width of the wall. Be sure to add a few extra inches to the measurements to ensure a proper fit.
- Transfer the measurements to the faced insulation: Place the faced insulation on a clean, flat surface. Use a utility knife to mark the measurements from Step 1 on the insulation. Be cautious when cutting, and ensure your hand is clear of the blade at all times.
- Cut the insulation: Following the marked measurements, carefully cut the faced insulation using a straight edge of the utility knife. Apply enough pressure to cut through the insulation but avoid pressing too hard, which could damage the vapor barrier.
- Repeat for additional walls: If you have multiple walls to insulate, repeat Steps 1-3 for each wall, ensuring that you cut the faced insulation to fit the dimensions of each specific wall.
By accurately measuring and cutting the faced insulation, you will ensure a precise fit and minimize any gaps or voids in the insulation. This will help maximize the effectiveness of the insulation in providing thermal and sound insulation to your interior walls.
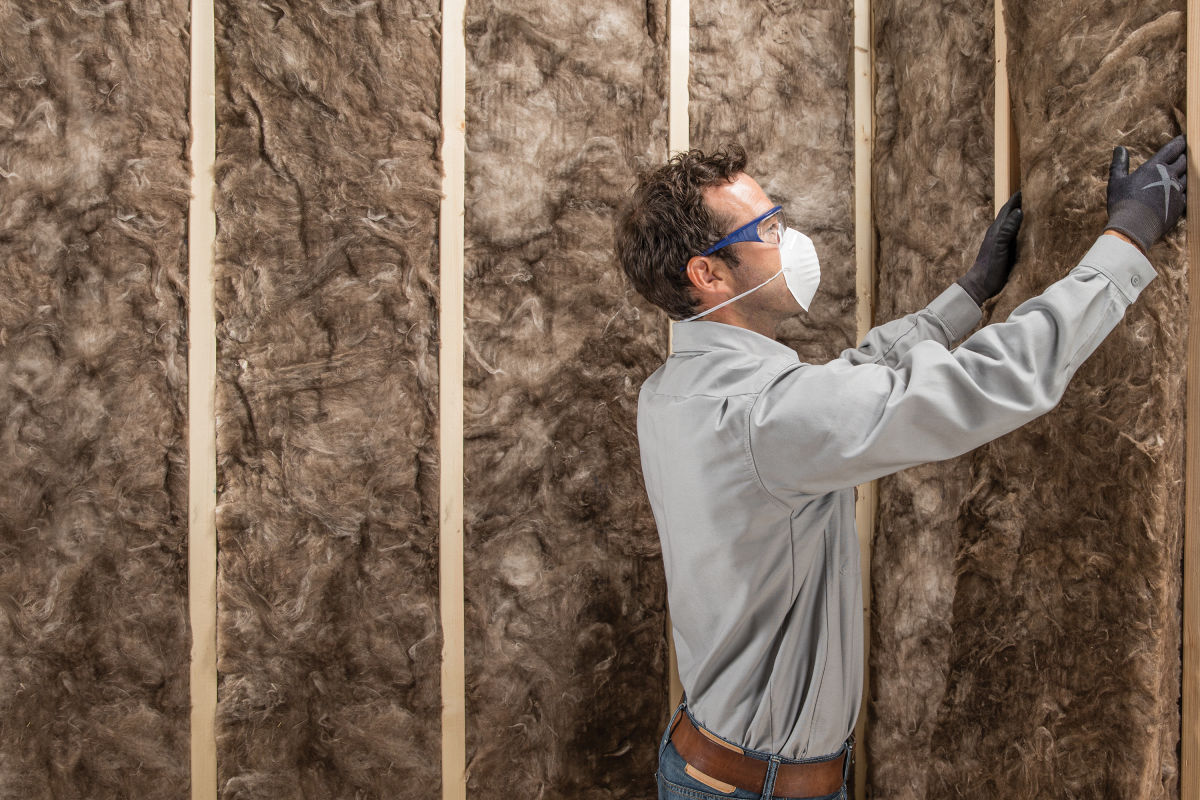
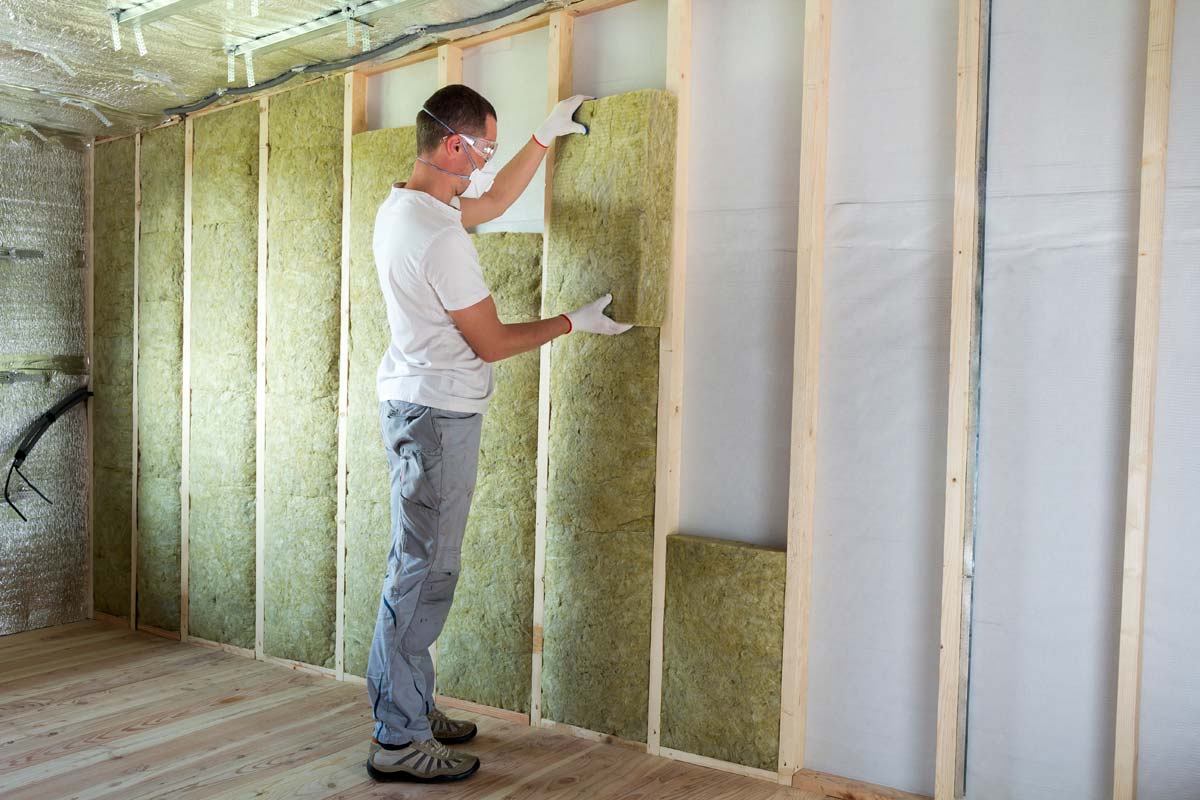
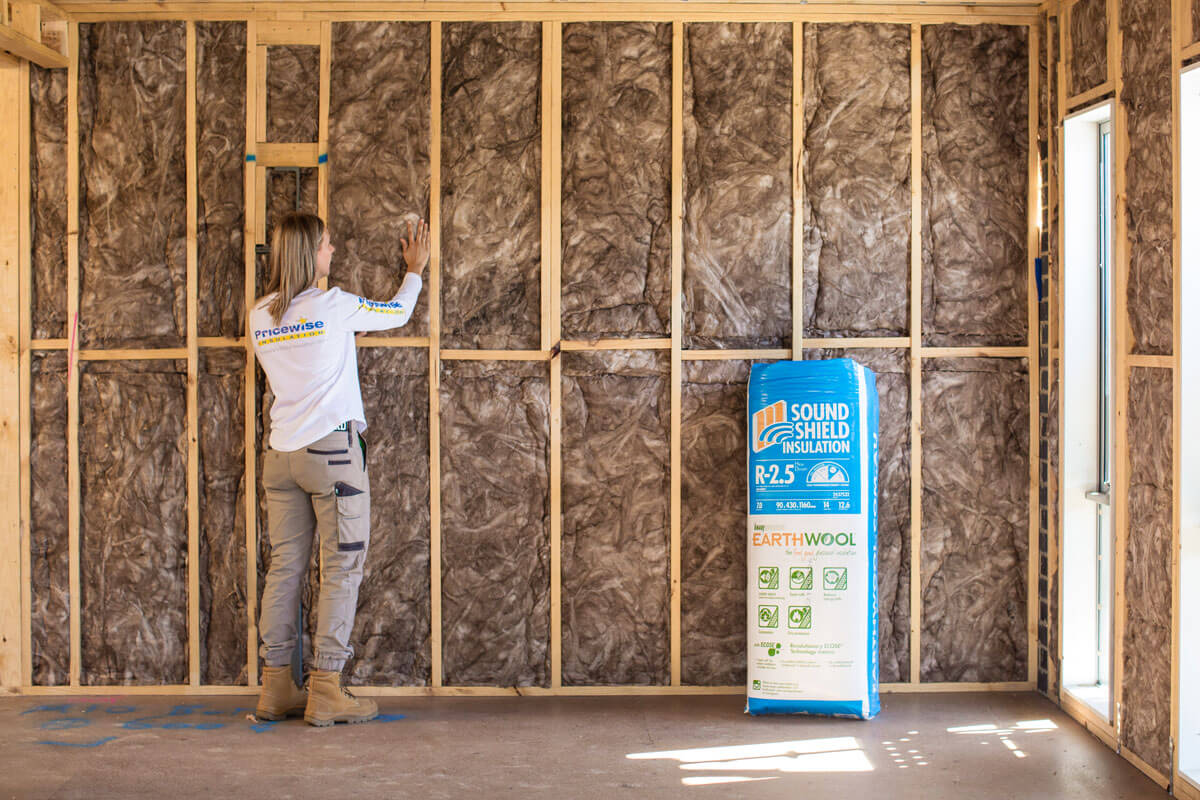
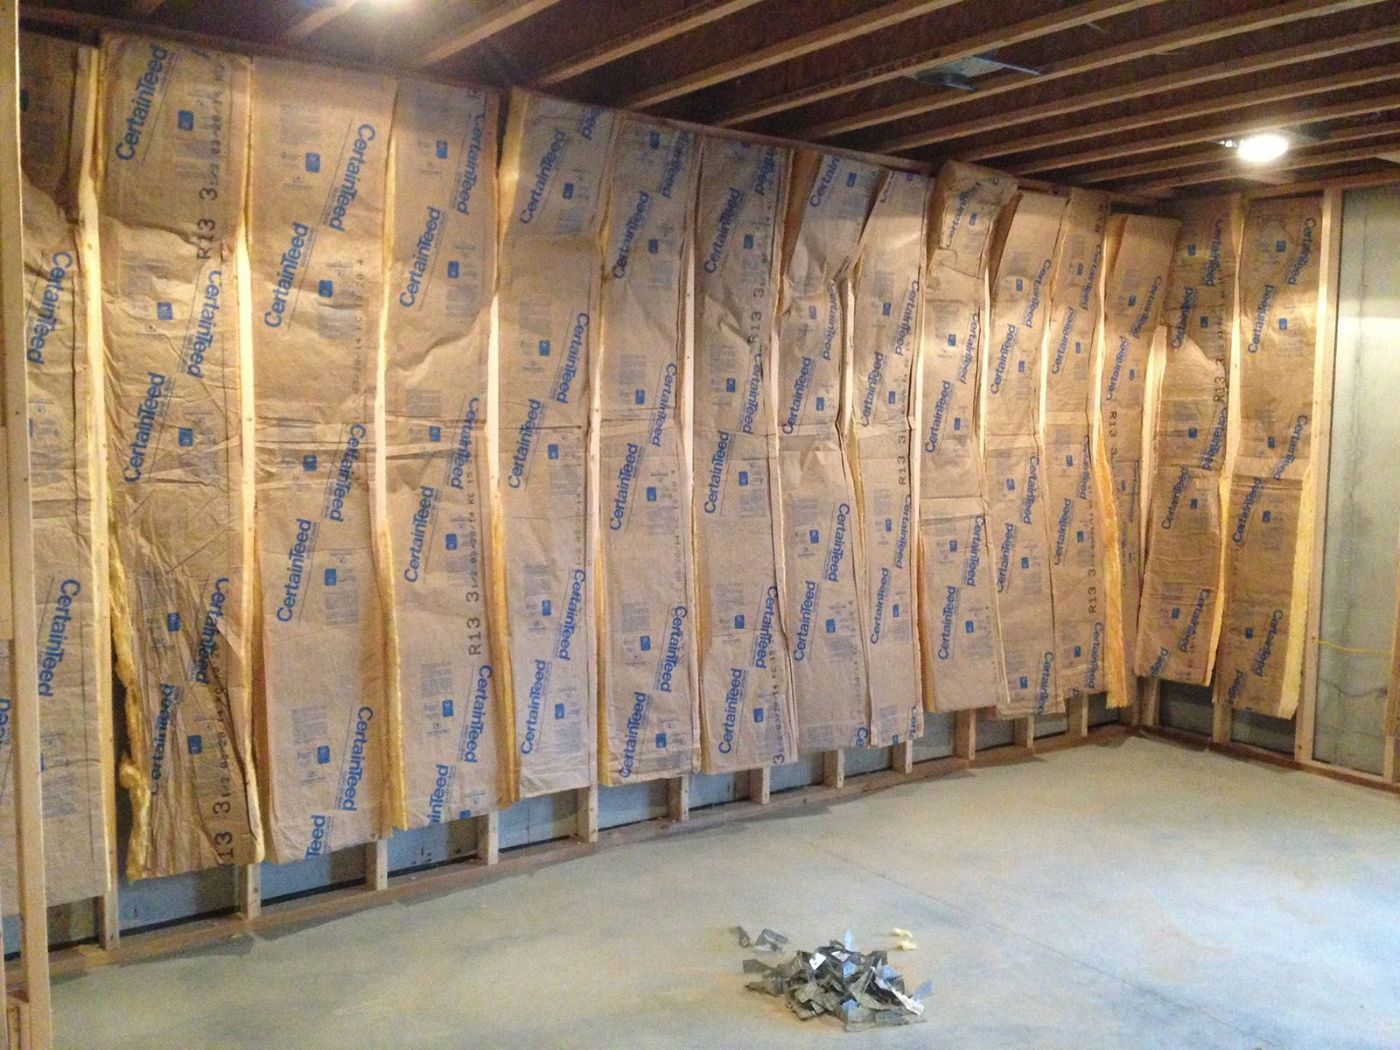
Step 3: Install the Faced Insulation
With the faced insulation cut to the correct dimensions, you are now ready to start installing it in your interior walls. Follow these steps:
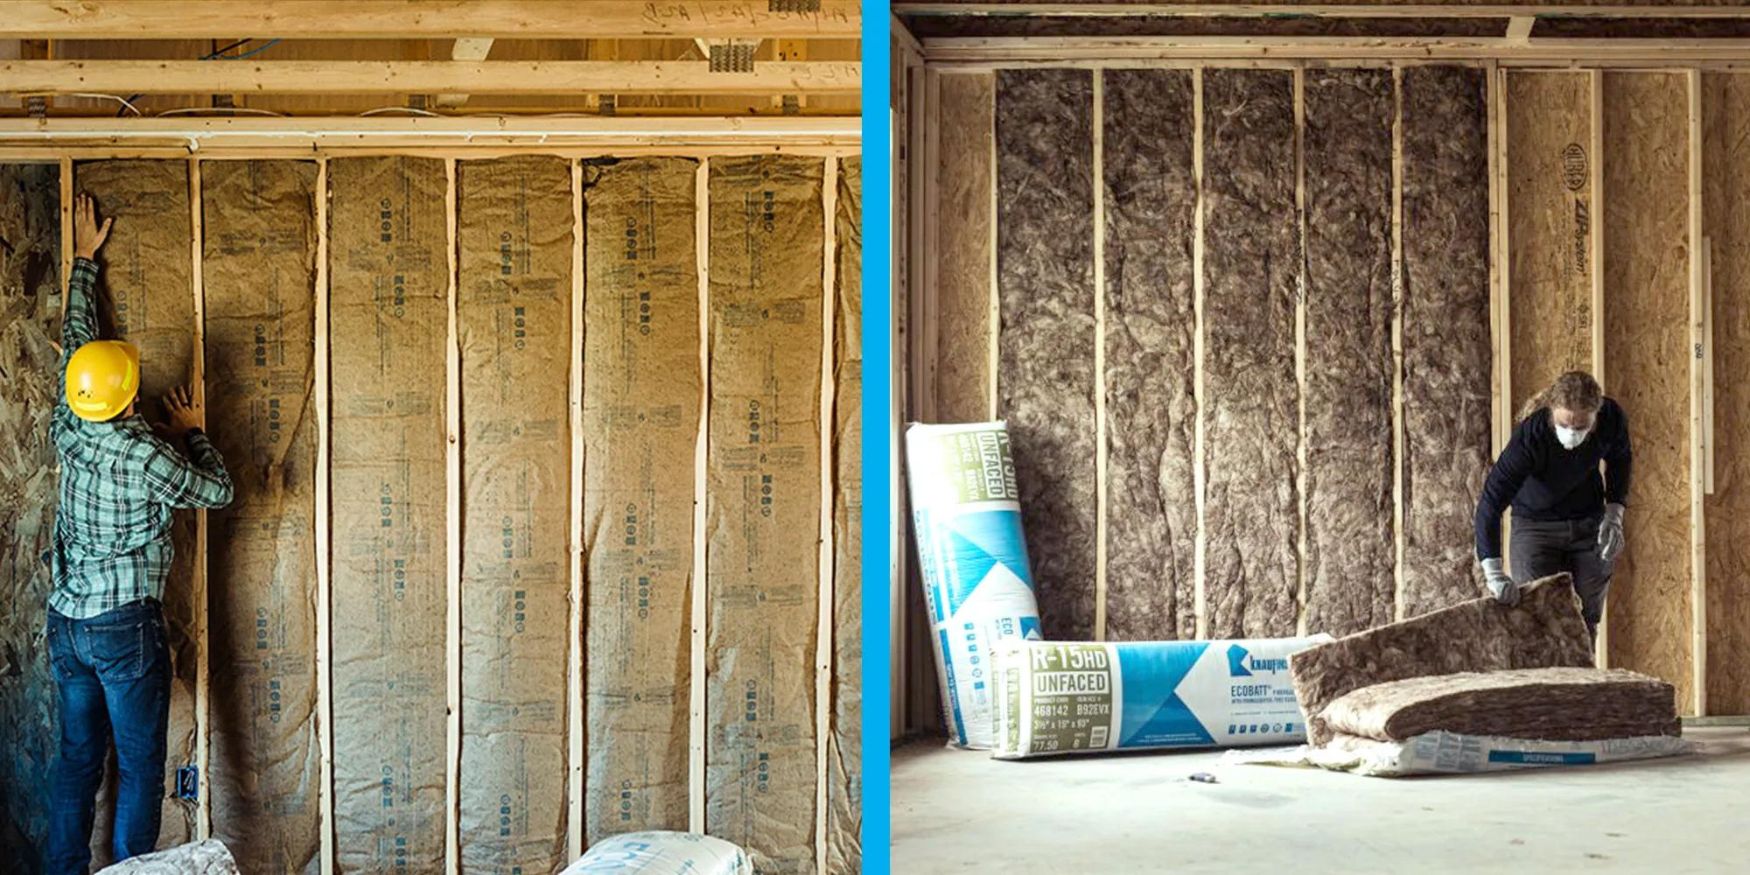
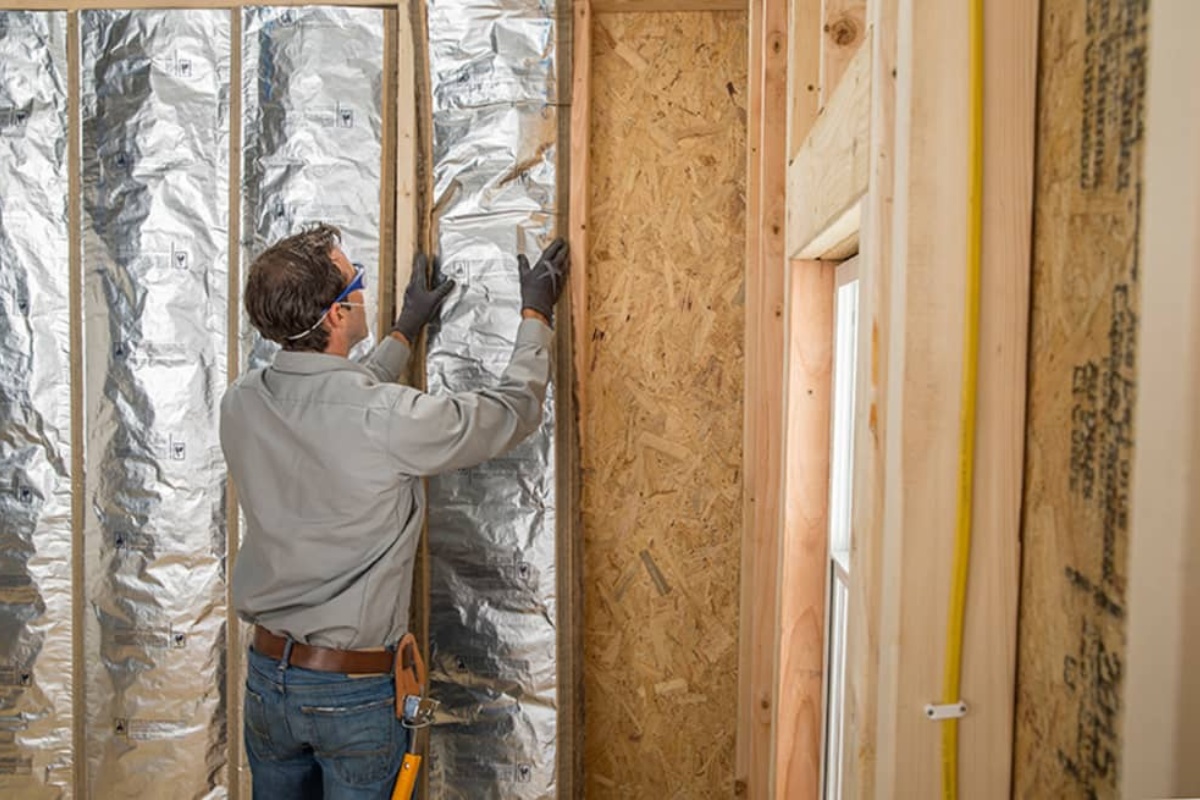
- Start at one corner: Begin installation at a corner of the wall. Press the faced insulation against the wall, ensuring that the vapor retarder is facing the interior of the room.
- Hold the insulation in place: Use one hand to hold the insulation against the wall, while using the other hand to smooth out any wrinkles or creases in the insulation.
- Align the insulation: Make sure the insulation aligns with the top and bottom of the wall. You may need to trim or adjust the insulation slightly to achieve a perfect fit.
- Overlap the insulation: If necessary, overlap the faced insulation sheets by a few inches to create a continuous vapor barrier. This will help prevent any moisture from seeping through the seams.
- Continue installing the insulation: Move along the wall, placing the faced insulation sheets side by side until you cover the entire wall. Take your time and be mindful of any obstacles, such as electrical outlets or switches, making necessary cuts or adjustments as you go.
Remember to take breaks if needed and maintain a steady pace to ensure a consistent installation. Keeping the vapor retarder facing the interior of the room is essential for proper moisture control and insulation performance.
By following these steps, you will successfully install faced insulation in your interior walls, creating a more energy-efficient and comfortable living space.
When installing faced insulation in interior walls, make sure to position the paper vapor barrier towards the interior of the room. This helps to prevent moisture from entering the wall cavity and causing damage.
Read more: How To Install Foil Faced Insulation Sheets
Step 4: Secure the Insulation in Place
Once the faced insulation is installed on your interior walls, it’s important to secure it in place to prevent any movement or sagging. Follow these steps to ensure a secure installation:
- Use a staple gun: Starting at one corner of the wall, use a staple gun to secure the faced insulation to the wall studs. Place staples every few inches along the edges of the insulation, ensuring a tight and secure attachment.
- Staple the center of the insulation: Along with stapling the edges, also apply staples to the center of the faced insulation. This will provide additional support and prevent any sagging.
- Avoid oversupply of staples: Be cautious not to overdo the stapling, as too many staples can compress the insulation and reduce its effectiveness. Use enough staples to hold the insulation firmly in place without causing damage.
- Trim excessive insulation: If there is any excess insulation protruding beyond the wall, use a utility knife to carefully trim it, ensuring a neat and tidy appearance.
Remember to take your time during this step, ensuring that the faced insulation is securely attached to the wall without any loose or sagging areas. It is important to maintain the integrity of the insulation for optimal thermal and sound insulation performance.
By effectively securing the faced insulation, you will achieve a long-lasting and reliable insulation barrier in your interior walls.
Step 5: Seal any Gaps or Air Leaks
After securing the faced insulation in place, it’s crucial to seal any gaps or air leaks to maximize the insulation’s effectiveness. Follow these steps to ensure a proper seal:
- Inspect for gaps: Carefully examine the installed faced insulation for any gaps or openings where air may leak through. Pay close attention to corners, edges, and around outlets or switches.
- Apply foam insulation or caulk: Use foam insulation or caulk to fill in any gaps or holes. Apply the product generously, ensuring that it completely fills the space and provides a tight seal.
- Focus on electrical outlets and switches: Electrical outlets and switches are common areas for air leakage. Use foam insulation gaskets specifically designed for outlets and switches to create a secure seal around them.
- Inspect windows and doors: If there are windows or doors in the wall, check for any gaps or drafts around them. Use weatherstripping or caulk to seal these areas effectively.
Sealing gaps and air leaks is an essential step in maximizing the energy efficiency of your interior walls. By preventing air infiltration, you can ensure that your insulation works efficiently in maintaining a comfortable indoor environment and reducing energy consumption.
Take your time during this step and thoroughly inspect the installation for any potential gaps or areas that may need sealing. By addressing these issues, you will enhance the overall performance of your faced insulation.
Step 6: Finish Installing Faced Insulation in all Interior Walls
The final step in the installation process is to complete the insulation in all interior walls of the space. Follow these steps:
- Move to the next wall: Once you have finished installing faced insulation on one wall, move on to the next wall in the room.
- Repeat the installation process: Follow the previous steps, including preparing the wall, measuring and cutting the faced insulation, installing it, securing it in place, and sealing any gaps or air leaks.
- Continue until all walls are insulated: Repeat the installation process for each remaining interior wall in the space until all walls are effectively insulated.
- Double-check for any missed areas: Once the installation is complete, do a thorough inspection of all walls to ensure that there are no missed spots or gaps in the insulation. Make any necessary adjustments or additions to ensure complete coverage.
Installing faced insulation in all interior walls will provide uniform thermal and sound insulation throughout the space. This will help maintain a consistent indoor temperature, reduce noise transmission, and improve energy efficiency.
Remember to take your time during this step and ensure that each wall is properly insulated. By giving attention to detail, you will achieve a well-insulated and comfortable living or working environment.
Conclusion
Installing faced insulation in your interior walls is a worthwhile investment that can greatly improve the comfort and energy efficiency of your space. By following the steps outlined in this article, you can successfully insulate your interior walls with ease.
From preparing the walls to measuring and cutting the faced insulation, installing it securely, and sealing any gaps or air leaks, each step is essential in creating an effective insulation barrier. Faced insulation helps to regulate temperatures, reduce noise transmission, and protect your walls from moisture damage.
Remember to gather all the necessary materials before starting the installation process. Take your time to accurately measure and cut the faced insulation, ensuring a proper fit on each wall. Secure the insulation firmly in place and seal any gaps or air leaks to maximize its performance.
By properly insulating your interior walls, you can create a more comfortable and energy-efficient living or working space. Enjoy the benefits of reduced energy consumption, improved indoor air quality, and a quieter environment.
Now that you have a comprehensive understanding of how to install faced insulation in your interior walls, you can confidently undertake this project and enjoy the long-lasting benefits it brings.
Frequently Asked Questions about How To Install Faced Insulation In Interior Walls
Was this page helpful?
At Storables.com, we guarantee accurate and reliable information. Our content, validated by Expert Board Contributors, is crafted following stringent Editorial Policies. We're committed to providing you with well-researched, expert-backed insights for all your informational needs.

0 thoughts on “How To Install Faced Insulation In Interior Walls”