Home>Gardening & Outdoor>Landscaping Ideas>How To Install A Grass Wall
Landscaping Ideas
How To Install A Grass Wall
Modified: August 17, 2024
Learn how to install a stunning grass wall with our expert landscaping ideas. Create a beautiful outdoor space with our step-by-step guide.
(Many of the links in this article redirect to a specific reviewed product. Your purchase of these products through affiliate links helps to generate commission for Storables.com, at no extra cost. Learn more)
Introduction
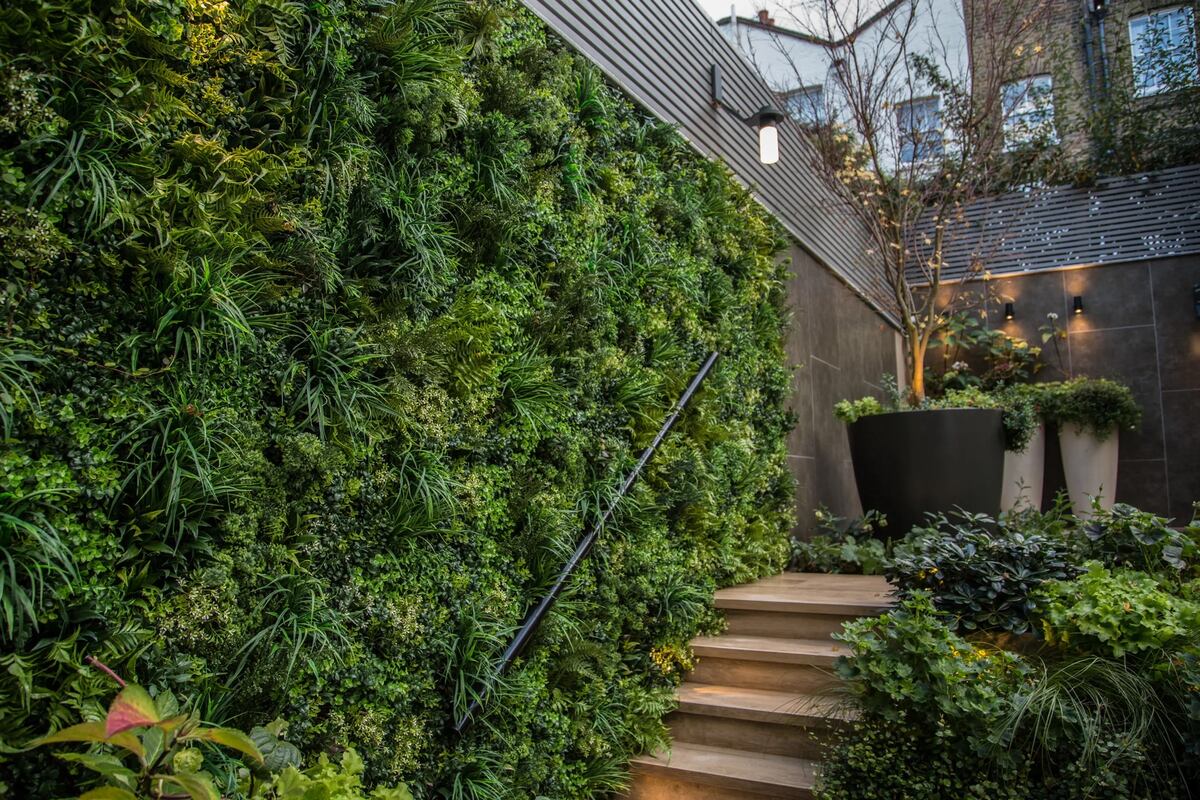
Welcome to the world of innovative landscaping! If you’re looking to add a touch of natural elegance to your indoor or outdoor space, installing a grass wall is a fantastic way to achieve a stunning, contemporary look. A grass wall, also known as a living wall or green wall, offers a unique and refreshing aesthetic that can transform any environment into a vibrant and inviting oasis.
Whether you’re a landscaping enthusiast or a DIY novice, creating your own grass wall is a rewarding and achievable project that can elevate the ambiance of your home, office, or outdoor area. In this comprehensive guide, we’ll walk you through the step-by-step process of installing a grass wall, from gathering the necessary materials to adding the finishing touches. By the end of this article, you’ll be equipped with the knowledge and confidence to embark on this exciting landscaping endeavor.
So, roll up your sleeves, unleash your creativity, and get ready to bring the beauty of the outdoors inside with your very own lush and captivating grass wall!
Key Takeaways:
- Creating a grass wall is a fun and achievable project that can transform any space into a vibrant oasis. With the right materials and preparation, you can bring the beauty of the outdoors inside with your very own lush and captivating grass wall!
- By meticulously following the installation steps and adding finishing touches like decorative accents and lighting, you can create a visually stunning and inviting focal point. Embrace the transformative power of innovative landscaping and enjoy the radiant charm of your grass wall!
Read more: How To Install Artificial Grass On Wall
Step 1: Gather Materials
Before diving into the installation process, it’s essential to gather all the necessary materials and tools. Here’s a comprehensive list of what you’ll need to bring your grass wall to life:
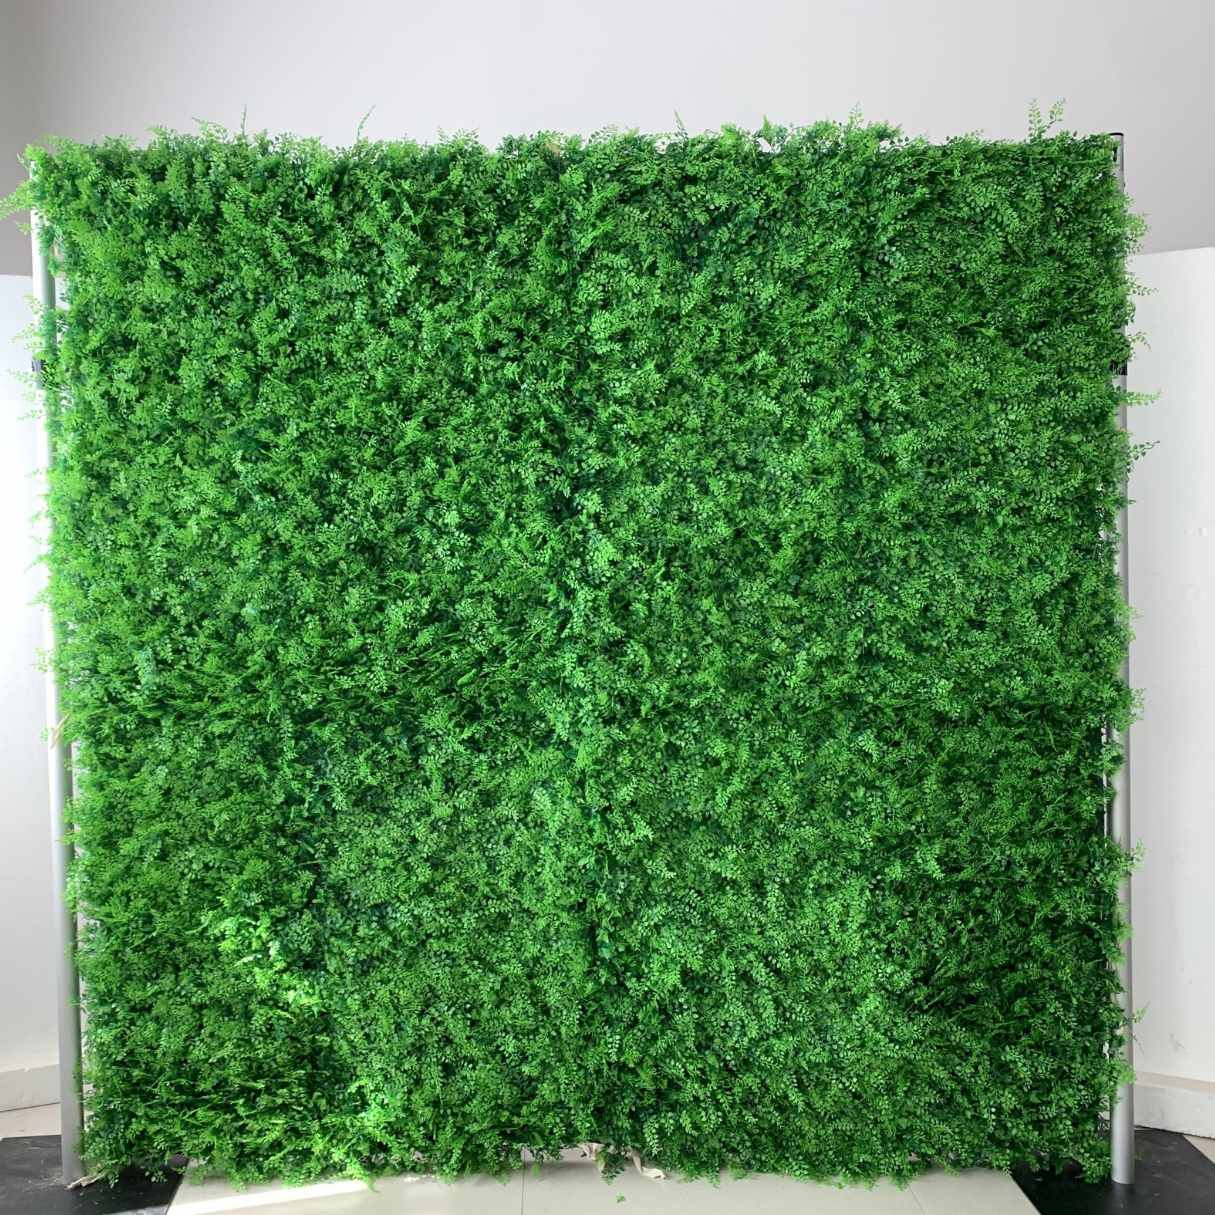
- Grass Panels: Select high-quality artificial grass panels that suit your aesthetic preferences and the intended location of your grass wall. Ensure that the panels are UV-resistant and durable to maintain their lush appearance over time.
- Frame Materials: Depending on the size and design of your grass wall, acquire the appropriate frame materials such as wooden planks, metal grids, or PVC piping. These will serve as the foundation for securing the grass panels and providing structural support.
- Mounting Hardware: Invest in sturdy mounting brackets, screws, and anchors to securely affix the frame to the chosen wall surface. The type of hardware needed may vary based on whether the wall is made of drywall, concrete, or wood.
- Measuring Tape and Level: Accurate measurements and precise leveling are crucial for a seamless installation. Have these essential tools on hand to ensure the frame is aligned and balanced.
- Utility Knife or Scissors: A sharp utility knife or heavy-duty scissors will be indispensable for trimming and shaping the grass panels to fit the dimensions of the frame.
- Protective Gear: Since you’ll be working with materials and tools, prioritize safety by wearing gloves, safety goggles, and a dust mask to shield yourself from potential hazards.
- Optional Accessories: Depending on your design vision, consider additional embellishments such as decorative moss, artificial flowers, or LED lighting to enhance the visual appeal of your grass wall.
By gathering these materials, you’ll be well-prepared to proceed with confidence to the next step of the installation process. With everything in place, you’re one step closer to creating a captivating green focal point that will breathe new life into your space.
Step 2: Prepare the Area
Before commencing the installation of your grass wall, it’s crucial to prepare the designated area to ensure a smooth and successful process. Follow these essential steps to set the stage for your green masterpiece:
- Clean the Surface: Begin by thoroughly cleaning the wall where the grass panels will be installed. Remove any dirt, dust, or debris, and ensure the surface is dry before proceeding. This will promote optimal adhesion and prevent any imperfections from affecting the final result.
- Mark the Layout: Use a pencil or removable marking tool to outline the dimensions of the grass wall on the wall surface. This visual guide will help you visualize the placement of the frame and ensure precise alignment during installation.
- Secure the Frame Location: Based on the marked layout, position the frame materials against the wall to confirm the placement and make any necessary adjustments. Use a level to ensure the frame is perfectly straight and aligned according to your design vision.
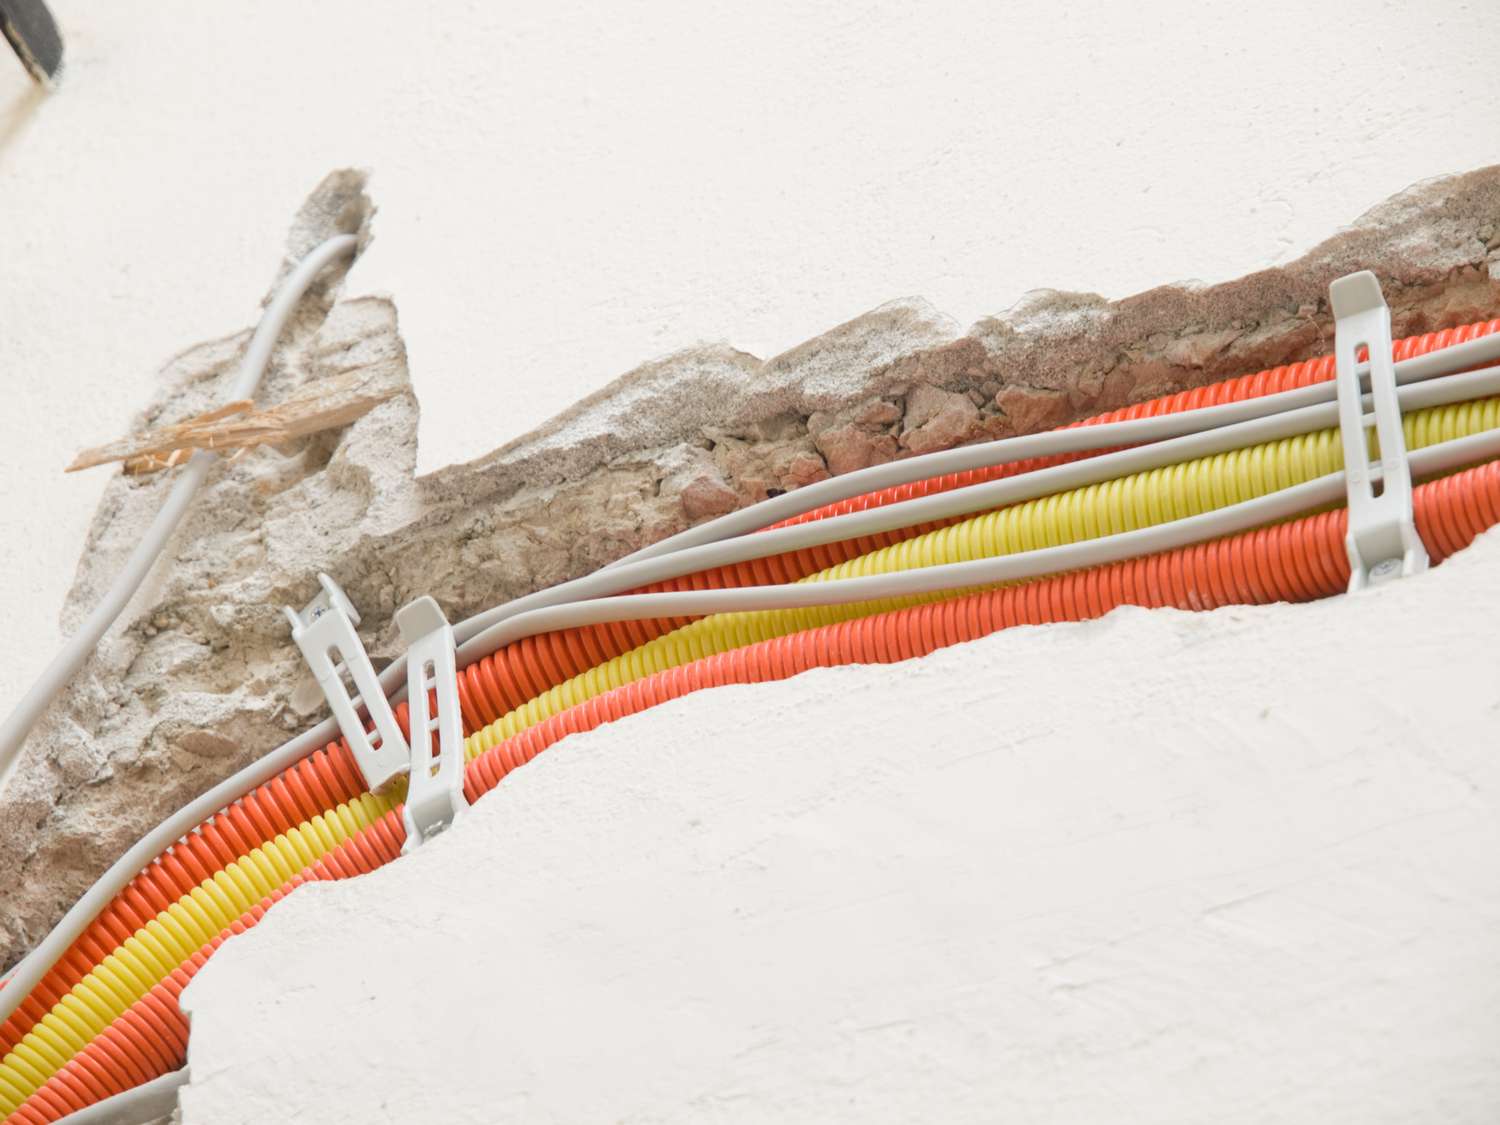
- Identify Studs or Anchoring Points: If your wall is made of drywall, locate the wall studs or use a stud finder to identify the best anchoring points for securing the frame. For concrete or brick walls, determine the ideal spots for installing anchors to support the weight of the grass wall.
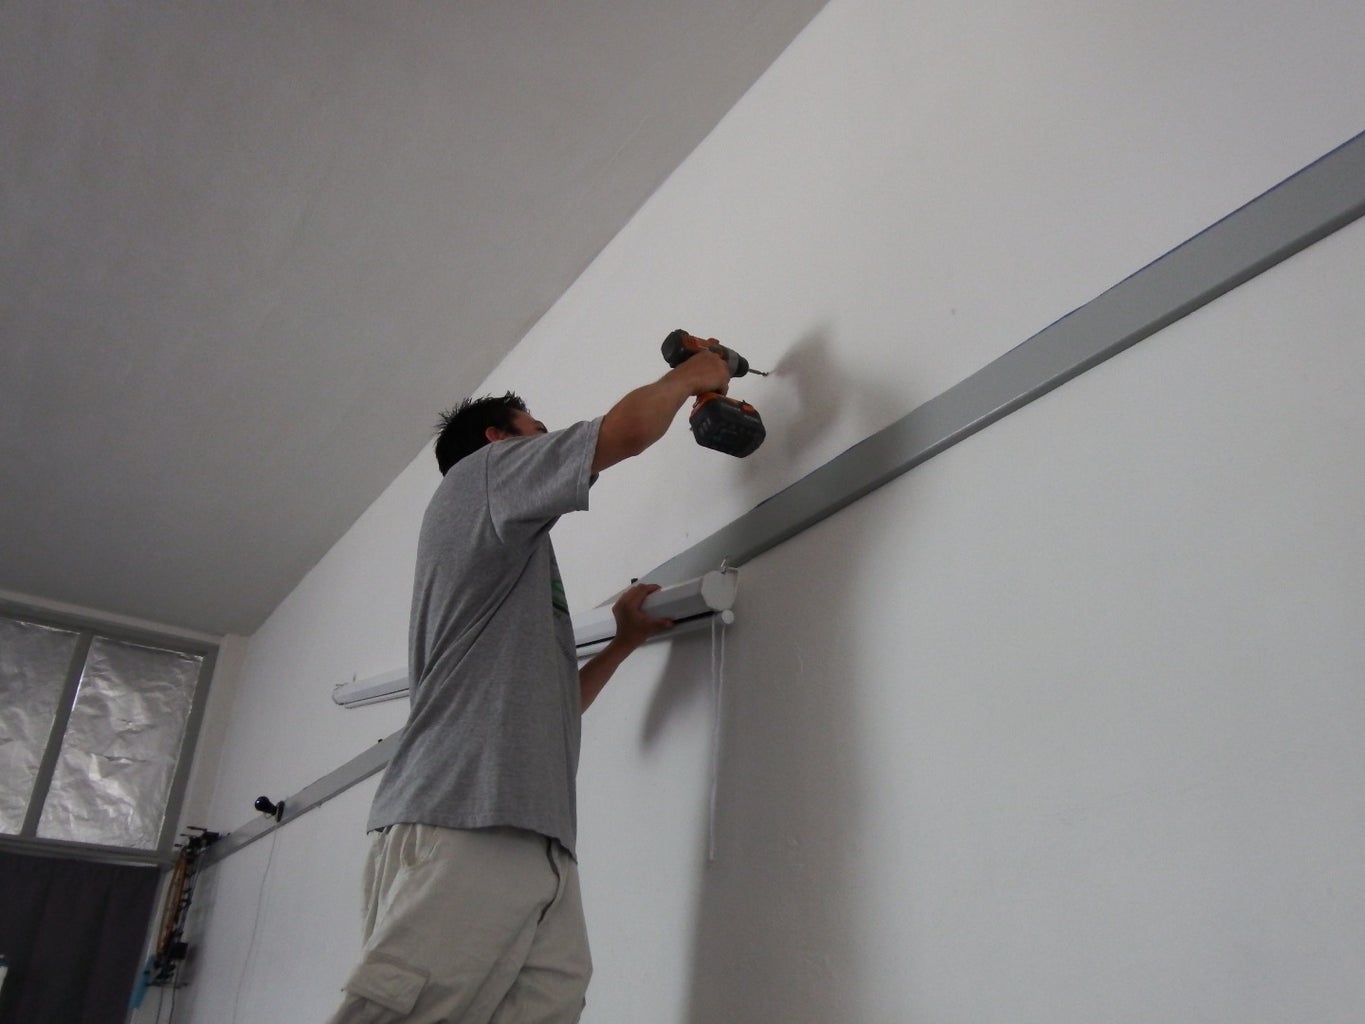
- Pre-Drill Mounting Holes: With the frame positioned and the anchoring points identified, carefully pre-drill holes for the mounting hardware. This preparation will streamline the installation process and minimize the risk of damaging the wall surface.
- Create a Workspace: Set up a designated workspace with ample room to maneuver and assemble the grass panels. Lay down protective coverings to safeguard the floor and surrounding area from potential scratches or debris during the installation.
By diligently preparing the area, you’ll establish a solid foundation for the subsequent steps of installing the grass wall. This meticulous groundwork will contribute to a seamless and visually striking final outcome that elevates the aesthetic appeal of your space.
Step 3: Install the Frame
With the area prepared, it’s time to embark on the pivotal stage of installing the frame for your grass wall. Follow these systematic steps to ensure a sturdy and visually appealing foundation for the lush greenery:
- Secure Mounting Hardware: Begin by affixing the mounting brackets or anchors to the pre-drilled holes on the wall. Ensure that the hardware is tightly secured, providing robust support for the frame.
- Assemble the Frame: If you’re using wooden planks, metal grids, or PVC piping, assemble the frame according to the predetermined layout. Connect the frame components securely, verifying that the structure is stable and level before proceeding.
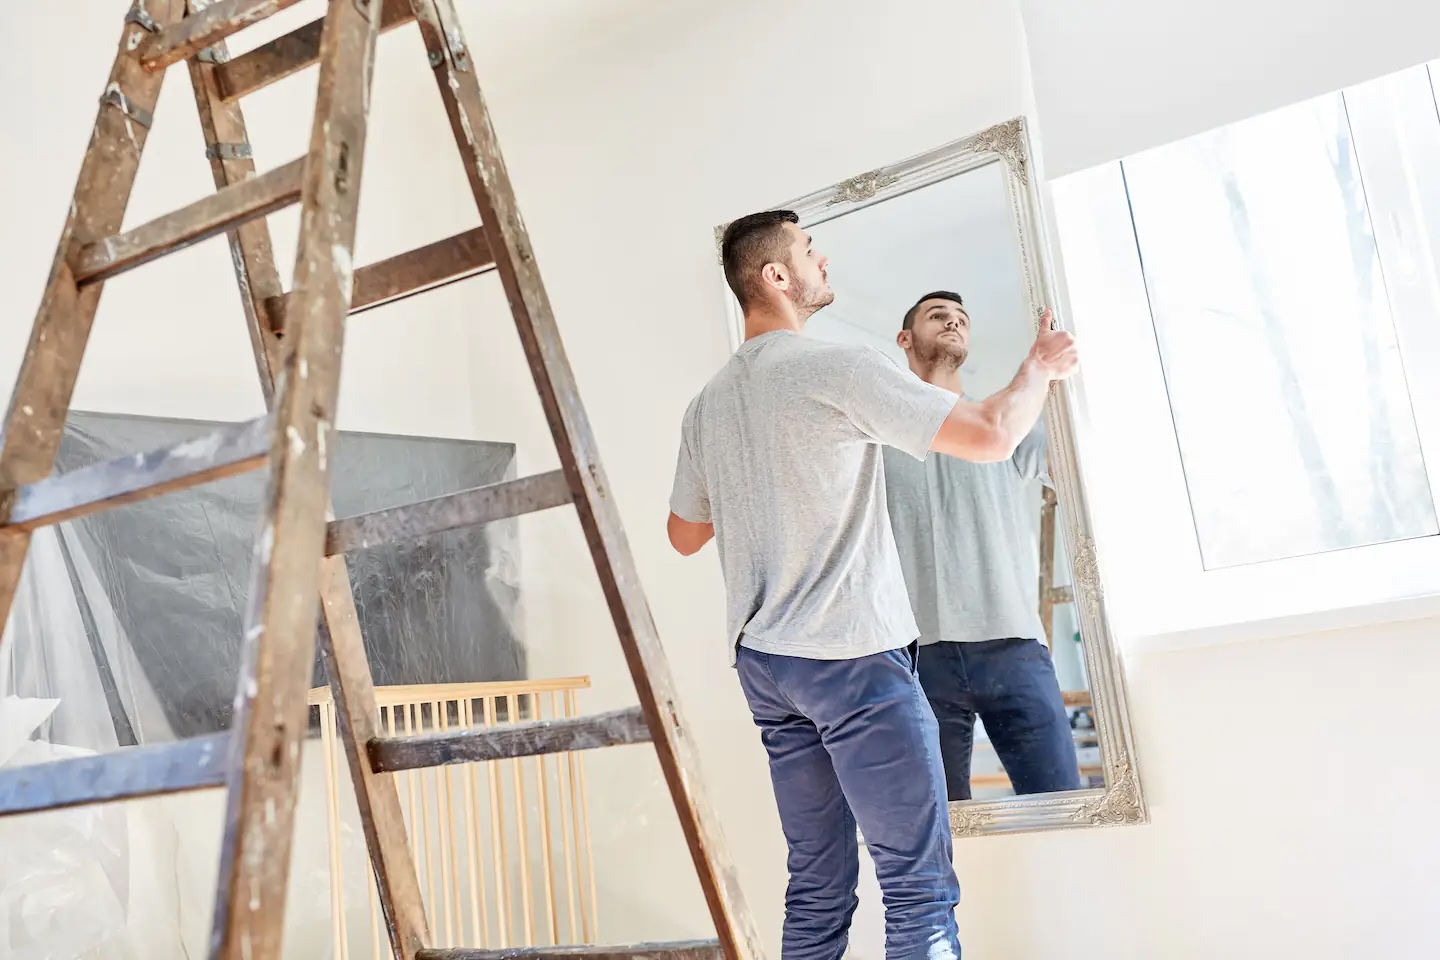
- Attach the Frame to the Wall: With the assistance of a friend or family member, carefully lift the assembled frame and position it against the wall, aligning it with the marked layout. Using a level, confirm that the frame is perfectly straight and adjust as needed.
- Secure the Frame: Utilize appropriate fasteners, such as screws or bolts, to secure the frame to the wall. Ensure that the frame is firmly anchored and capable of supporting the weight of the grass panels without any risk of instability.
- Check for Stability: Test the stability of the installed frame by gently applying pressure and verifying that it remains securely affixed to the wall. Address any wobbling or misalignment promptly to guarantee a solid foundation for the subsequent steps.
By diligently following these steps, you’ll establish a robust and precisely positioned frame that forms the backbone of your stunning grass wall. With the frame securely in place, you’re ready to proceed to the next phase of attaching the vibrant greenery that will breathe life into your space.
When installing a grass wall, make sure to prepare the surface by clearing any debris and leveling the area. Use a strong adhesive to attach the grass panels, and ensure they are securely in place for a natural look.
Step 4: Attach the Grass Panels
Now that the frame is securely installed, it’s time to infuse your space with the lush, verdant allure of the grass panels. Follow these steps to seamlessly attach the panels and bring your vision to fruition:
- Measure and Trim: Lay out the grass panels next to the frame and measure the dimensions needed to cover each section. Using a measuring tape and a straight edge, mark the panels for precise trimming to fit the frame’s contours.
- Cut with Precision: With a sharp utility knife or heavy-duty scissors, carefully trim the grass panels along the marked lines. Exercise caution to achieve clean, straight cuts that seamlessly align with the frame’s edges.
- Secure the Panels: Starting from the bottom of the frame, affix the trimmed grass panels by securely attaching them to the frame using appropriate fastening methods, such as staples, zip ties, or adhesive designed for outdoor use.
- Overlap for Seamless Integration: When positioning subsequent panels, ensure a slight overlap between adjacent pieces to create a cohesive and natural-looking expanse of greenery. This technique conceals the frame and enhances the visual continuity of the grass wall.
- Verify Alignment and Coverage: Periodically step back to assess the alignment and overall coverage of the grass panels. Make any necessary adjustments to maintain a uniform and visually appealing presentation across the entire expanse of the wall.
- Blend and Conceal Joints: If multiple panels are required to cover the entire wall, focus on seamlessly blending the joints to create an illusion of uninterrupted greenery. Tuck and secure the edges of adjacent panels to minimize visible seams and achieve a cohesive, natural appearance.
By meticulously adhering to these steps, you’ll seamlessly integrate the grass panels into the frame, transforming your space with a striking display of vibrant greenery. With the panels securely in place, you’re poised to add the finishing touches that will elevate the visual impact of your captivating grass wall.
Read more: How To Install Cabinet On Wall
Step 5: Finishing Touches
As you near the completion of your grass wall installation, it’s time to add the finishing touches that will elevate its visual appeal and ensure a polished, sophisticated result. Follow these steps to infuse your creation with an extra layer of charm and finesse:
- Embellish with Accents: Consider incorporating decorative elements such as artificial flowers, moss, or succulents to enhance the natural allure of the grass wall. Strategically place these accents to create visual interest and add a touch of whimsy to the overall composition.
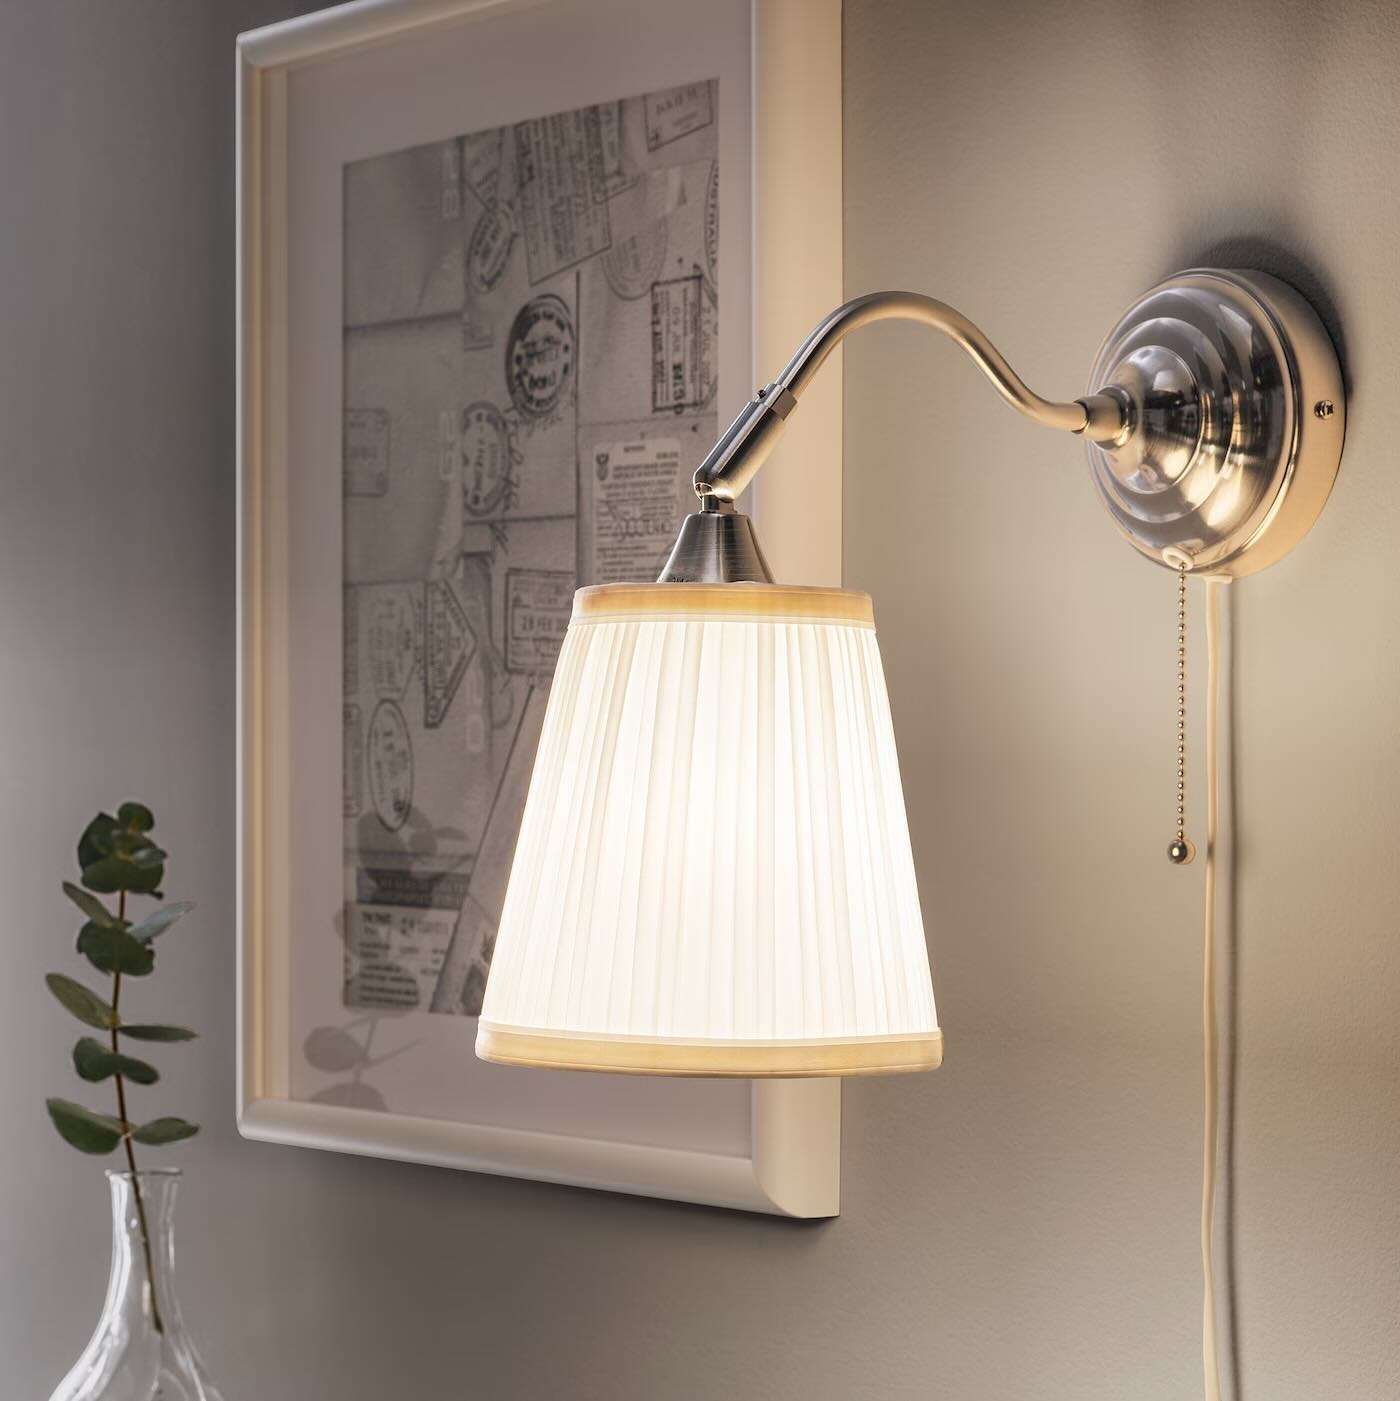
- Integrate Lighting: For an enchanting ambiance, explore the option of integrating LED lighting within the grass wall. Conceal discreet LED strips behind the panels to cast a soft, inviting glow, transforming your green masterpiece into a captivating focal point, especially in the evening hours.
- Maintain and Clean: Establish a routine maintenance schedule to preserve the vibrancy of your grass wall. Gently clean the panels periodically to remove dust and debris, ensuring that the lush greenery maintains its pristine appearance and continues to enliven your space.
- Personalize with Art: Infuse your grass wall with a personalized touch by incorporating artistic elements, such as framed botanical prints or handcrafted wall art. These additions can harmonize with the natural aesthetic of the grass wall, creating a harmonious and visually captivating environment.
- Admire and Enjoy: Step back and savor the transformative impact of your completed grass wall. Take the time to appreciate the revitalized ambiance it brings to your space, whether it’s a serene oasis in your home, a captivating backdrop in your office, or a stunning feature in your outdoor setting.
By embracing these finishing touches, you’ll infuse your grass wall with a unique blend of artistry and natural allure, culminating in a visually stunning and inviting focal point. With these enhancements in place, your grass wall will stand as a testament to your creativity and dedication, enriching the atmosphere of your surroundings for years to come.
Conclusion
Congratulations on successfully completing the installation of your captivating grass wall! By embarking on this creative endeavor, you’ve not only added a touch of natural elegance to your environment but also infused it with a revitalizing and visually striking allure. As you admire the lush expanse of greenery that now graces your space, take pride in the artistry and dedication you’ve poured into this transformative project.
Through meticulous preparation, precise installation, and thoughtful finishing touches, you’ve cultivated a vibrant and inviting focal point that breathes new life into your surroundings. Whether adorning the walls of your home, office, or outdoor area, your grass wall stands as a testament to your ingenuity and commitment to creating an enchanting atmosphere.
As you revel in the captivating beauty of your grass wall, remember to embrace a routine maintenance regimen to ensure its enduring vibrancy. By caring for the panels and integrating personalized touches, such as decorative accents and ambient lighting, you’ll continue to enhance the allure of your green masterpiece for years to come.
More than a mere decorative feature, your grass wall serves as a testament to the seamless fusion of nature and artistry, enriching the ambiance of your space with its timeless appeal. Whether you seek a tranquil retreat, a captivating backdrop, or a captivating conversation piece, your grass wall stands as a testament to the transformative power of innovative landscaping.
So, bask in the radiant charm of your grass wall, revel in the ambiance it creates, and take pride in the remarkable achievement of bringing the beauty of the outdoors inside. Your grass wall is not just a creation; it’s a living, breathing testament to your creativity and vision, enriching your environment with its enduring allure.
Frequently Asked Questions about How To Install A Grass Wall
Was this page helpful?
At Storables.com, we guarantee accurate and reliable information. Our content, validated by Expert Board Contributors, is crafted following stringent Editorial Policies. We're committed to providing you with well-researched, expert-backed insights for all your informational needs.


0 thoughts on “How To Install A Grass Wall”