Home>Ideas and Tips>Making Your Own DIY Soap And Candles For A Personal Touch

Ideas and Tips
Making Your Own DIY Soap And Candles For A Personal Touch
Published: November 1, 2024
Create unique, personalized DIY soap and candles with our step-by-step guide. Discover tips, benefits, and creative ideas for your home projects.
(Many of the links in this article redirect to a specific reviewed product. Your purchase of these products through affiliate links helps to generate commission for Storables.com, at no extra cost. Learn more)
In today's world, where everything is mass-produced and often lacks a personal touch, creating your own DIY soap and candles can be a delightful way to add a unique and meaningful element to your home. Not only do these activities provide an opportunity for creative expression, but they also offer therapeutic benefits and the satisfaction of crafting something with your own hands. In this article, we will guide you through the processes of making your own DIY soap and candles, highlighting the steps, tips, and personalization options available.
The Therapeutic Benefits of Crafting
Crafting, in general, has been recognized for its ability to reduce stress and promote emotional well-being. The act of creating something from scratch allows individuals to express themselves creatively, which can be incredibly fulfilling. Additionally, the tactile nature of working with materials like soap bases, waxes, and fragrances can be very soothing.
Soap and candle making offer unique opportunities for emotional expression. Choosing colors, fragrances, and shapes that resonate with personal experiences or emotions can make the crafting process even more meaningful. For instance, using essential oils that evoke memories of a favorite place or scent can transport you back to those moments, sparking positive emotions and memories.
Getting Started with Soap Making
Soap making is an art that requires some caution but is rewarding for those who take the time to learn it. Here’s a step-by-step guide to help you get started:
1. Choose a Recipe and Check It with a Lye Calculator
The first step in making soap is to choose a recipe. There are many beginner-friendly recipes available online, but it's crucial to ensure that the ingredients are correct. A lye calculator is an essential tool for this purpose. Lye (sodium hydroxide) is a caustic substance that must be handled carefully, and using a calculator ensures that you have the right amount of lye for your recipe.
2. Assemble Ingredients and Safety Gear
Once you have your recipe, gather all the necessary ingredients and safety gear. This includes protective gloves, goggles, and a well-ventilated workspace. It's also important to keep children and pets away from the area where you're working with lye.
3. Prepare the Mold
Prepare your mold by lining it with freezer paper if it's made of wood or another material that requires it. Silicone molds do not need lining but can be used to create intricate designs.
Read more: How To Make Soaps And Candles
4. Weigh the Water
Use a digital scale to weigh the water accurately. This is crucial because soap making requires precise measurements to achieve the right consistency.
5. Weigh the Lye
Weigh the lye carefully while wearing protective gloves and goggles. Pour the lye slowly into the water while stirring gently to avoid splashing.
6. Sprinkle the Lye into the Water
Add the lye to the water in a slow and controlled manner. This step should be done in a well-ventilated area to avoid inhaling any fumes from the lye solution.
7. Blend Until Trace
Once both the lye solution and oil mixture have reached the desired temperatures (usually around 100°F to 120°F), slowly drizzle the lye solution into the oil mixture while blending until you reach "trace." Trace is when the mixture thickens enough to hold its shape when you lift it with a spatula.
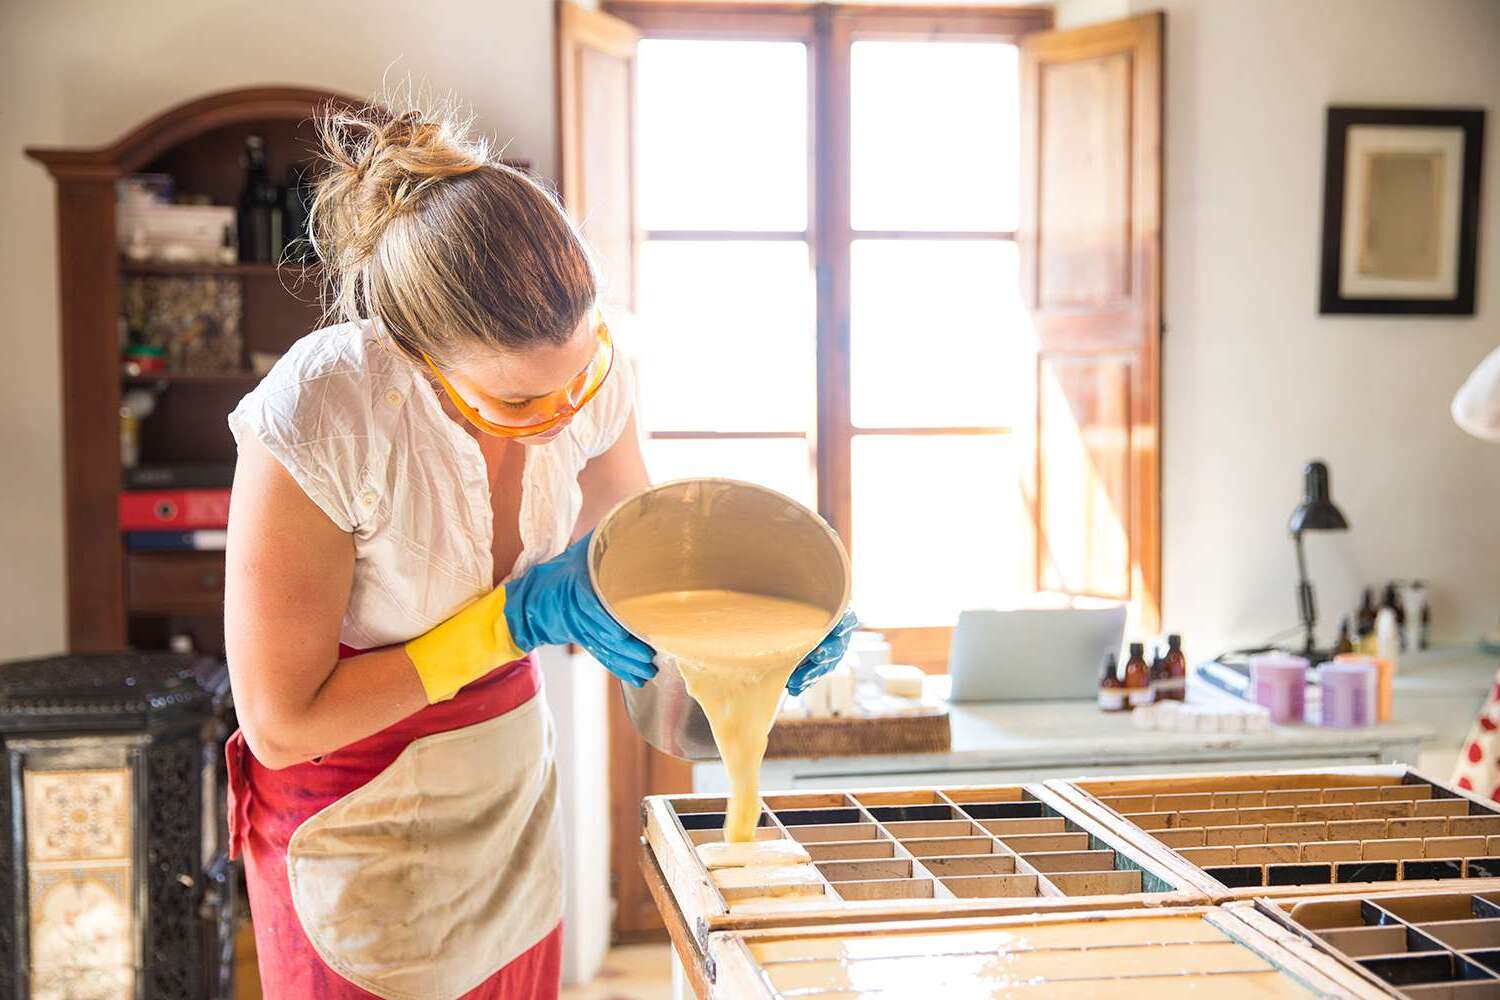
8. Pour into Mold
Pour the soap mixture into your prepared mold, smoothing out any air bubbles with a spatula or spoon. Give the mold a few sharp raps on the table to remove any remaining bubbles.
9. Cover and Insulate Mold
Cover your mold with plastic wrap or a towel to keep it warm and allow it to go through the gel phase, which is essential for saponification (the process by which soap is formed).
Tips for Making Soap
- Use High-Quality Ingredients: The quality of your soap will directly reflect the quality of your ingredients. Choose high-quality oils and fragrances for better results.
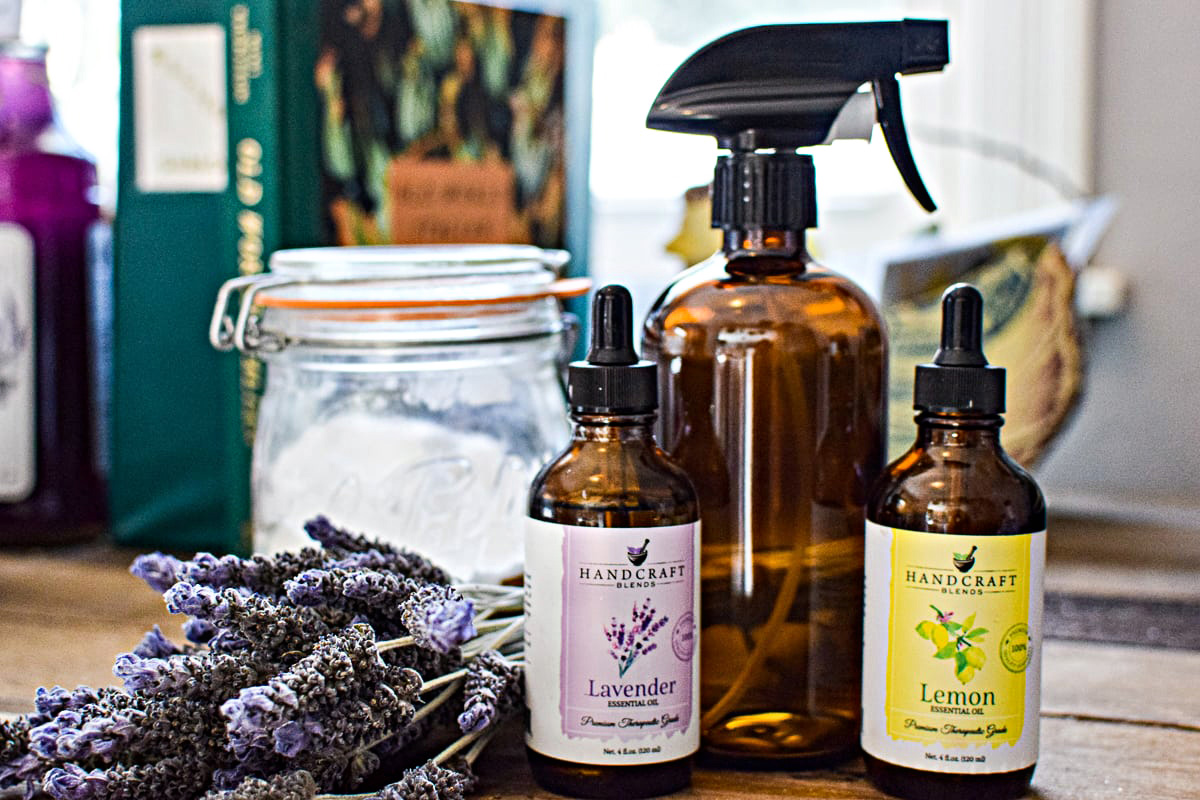
- Experiment with Fragrances: Essential oils can add a variety of scents to your soap, from calming lavender to invigorating peppermint. Experimenting with different fragrances can help you create unique soaps that cater to different preferences.
- Add Personal Touches: Consider adding personal touches like herbs, spices, or even small toys (like toy cars) to make your soap more unique and fun.
Getting Started with Candle Making
Candle making is another delightful DIY project that offers numerous creative possibilities. Here’s a step-by-step guide to help you get started:
Read more: How To Make Your Own Blinds
1. Choose Your Wax
The first step in making candles is to choose your wax. There are several types of wax available, including paraffin wax, soy wax, and beeswax. Each type has its own advantages and disadvantages, so it's important to choose one that suits your needs.
2. Prepare Your Mold
Prepare your mold by making sure it's clean and dry. You can use various molds such as glass jars, metal tins, or silicone molds to create different shapes and sizes of candles.
3. Melt Your Wax
Melt your wax in a double boiler or a dedicated candle-making pot. Make sure the temperature reaches around 180°F to 200°F for paraffin wax.
4. Add Color and Fragrance
Once the wax is melted, you can add colorants and fragrances to give your candle a personalized touch. Use candle dye chips or blocks for color and essential oils for fragrance.
Read more: How To Make Your Own Mattress
5. Pour into Mold
Pour the melted wax into your prepared mold, making sure to fill it to the top. If necessary, use a spatula or spoon to remove any air bubbles that may form.
6. Allow to Cool and Solidify
Allow the wax to cool and solidify completely before removing it from the mold. This process can take several hours depending on the size of your candle.
Tips for Making Candles
- Choose Safe Containers: When making container candles, choose containers that are safe for use with heat. Glass jars are popular choices because they can withstand high temperatures without breaking.
- Experiment with Fragrances: Like soap making, experimenting with different fragrances can help you create unique candles that cater to different preferences. Essential oils can add a variety of scents ranging from calming lavender to invigorating peppermint.
- Add Personal Touches: Consider adding personal touches like decorative items inside the candle or using unique molds to create one-of-a-kind candles.
Personalization Tips
Both soap and candle making offer numerous opportunities for personalization. Here are some tips to help you add a personal touch:
Soap Personalization
- Choose High-Quality Ingredients: The quality of your soap will directly reflect the quality of your ingredients. Choose high-quality oils and fragrances for better results.
- Experiment with Fragrances: Essential oils can add a variety of scents to your soap, from calming lavender to invigorating peppermint. Experimenting with different fragrances can help you create unique soaps that cater to different preferences.
- Add Personal Touches: Consider adding personal touches like herbs, spices, or even small toys (like toy cars) to make your soap more unique and fun.
Candle Personalization
- Choose Unique Molds: Use unique molds to create one-of-a-kind candles. You can find molds in various shapes and sizes, from simple glass jars to intricate silicone molds.
- Experiment with Fragrances: Like soap making, experimenting with different fragrances can help you create unique candles that cater to different preferences. Essential oils can add a variety of scents ranging from calming lavender to invigorating peppermint.
- Add Decorative Items: Consider adding decorative items inside the candle or using unique containers to create personalized candles.
Conclusion
Making your own DIY soap and candles is not only a fun and creative activity but also offers therapeutic benefits and the satisfaction of crafting something with your own hands. By following these steps and tips, you can create unique soaps and candles that reflect your personal style and preferences. Whether you're looking for a relaxing activity or want to start selling your own line, these DIY projects are perfect for anyone who wants to add a personal touch to their home.
Remember always to handle lye with caution when making soap, and ensure proper ventilation when working with wax for candle making. With practice and patience, you'll be able to create beautiful handmade soaps and candles that bring warmth and light into every room of your home.
References
- The Nerdy Farm Wife. (n.d.). Soap Making 101: How to Make Soap (+printable checklist). Retrieved from https://thenerdyfarmwife.com/soap-making-101-making-cold-process-soap/
- The Spruce Crafts. (2024, July 17). How to Make Candles: A Beginner Guide. Retrieved from https://www.thesprucecrafts.com/basic-candle-making-instructions-516753
- La Savonnerie Divine. (2024, May 29). Crafting the Perfect Artisan Soap Gift: Personalization Tips. Retrieved from https://lasavonneriedivine.com/crafting-the-perfect-artisan-soap-gift-personalization-tips/?srsltid=AfmBOorHdrtPbjAZ_gOu-uvOAFjz3yJV14Mu40HTyQIpMMwOK7XiRmZD
- Well Traveled Child. (2021, December 19). DIY Candles and Soap – Made Easy Retrieved from https://welltraveledchild.com/2021/12/19/diy-candles-and-soap-made-easy/
- JJ Handmade Essentials. (2024, May 23). The Therapeutic Powers of Crafting: Why Soap and Candle Making Classes Are More Popular Than Ever. Retrieved from https://jjhandmadeessentials.com/insights/the-therapeutic-powers-of-crafting-why-soap-and-candle-making-classes-are-more-popular-than-ever
Was this page helpful?
At Storables.com, we guarantee accurate and reliable information. Our content, validated by Expert Board Contributors, is crafted following stringent Editorial Policies. We're committed to providing you with well-researched, expert-backed insights for all your informational needs.



0 thoughts on “Making Your Own DIY Soap And Candles For A Personal Touch”