
Articles
How To Paint Ceiling Edges Without Tape
Modified: March 1, 2024
Learn how to paint ceiling edges without tape in this informative article. Discover tips and techniques for achieving clean and professional-looking results.
(Many of the links in this article redirect to a specific reviewed product. Your purchase of these products through affiliate links helps to generate commission for Storables.com, at no extra cost. Learn more)
Introduction
Painting ceiling edges can be a challenging task, especially when it comes to achieving clean and precise lines without using tape. While using tape can help protect the walls and make the process easier, it can also leave behind residue and require additional time to apply and remove. If you’re looking for a tape-free alternative for painting ceiling edges, this article is here to help.
In this guide, we will walk you through the step-by-step process of painting ceiling edges without the need for tape. With the right materials and techniques, you can achieve sharp and seamless edges that blend harmoniously with the rest of the ceiling.
Not only will this method save you time and effort, but it will also give you the satisfaction of accomplishing a professional-looking paint job on your own. So, let’s gather the necessary materials and get started!
Key Takeaways:
- Achieve professional-looking ceiling edges without tape by using an angled paint brush, steady hand, and blending techniques. Enjoy a seamless finish and skip the hassle of tape residue.
- Prepare the room, paint in sections, and touch up any mistakes to achieve flawless ceiling edges. Embrace the DIY challenge and take pride in your professional-looking results!
Read more: How To Tape Ceiling For Painting
Materials Needed
Before we begin, let’s gather the materials you’ll need for painting ceiling edges without tape:
- An angled paint brush – Look for a brush with a comfortable grip and bristles that are suitable for the type of paint you’re using.
- Drop cloths or plastic sheets – Protect the floor and furniture from any accidental paint splatters.
- A ladder or step stool – Ensure you have a stable and secure surface to comfortably reach the ceiling.
- A paint tray or roller pan – Use this to load the paint onto your brush.
- Painter’s tape (optional) – While we won’t be using tape as the main method, it can still be handy for protecting certain areas if needed.
- Primer (if required) – Depending on the condition of your ceiling, you may need to apply a primer before painting.
- Ceiling paint – Choose a color and finish that suits your style and preferences.
- A bucket of water – Use this to clean your brush between coats or when you’re finished painting.
- Rags or paper towels – Keep these nearby to wipe up any spills or drips.
By ensuring you have these materials readily available, you’ll be able to work efficiently and smoothly throughout the painting process. Now that we have everything we need, let’s move on to the step-by-step instructions for painting ceiling edges without tape!
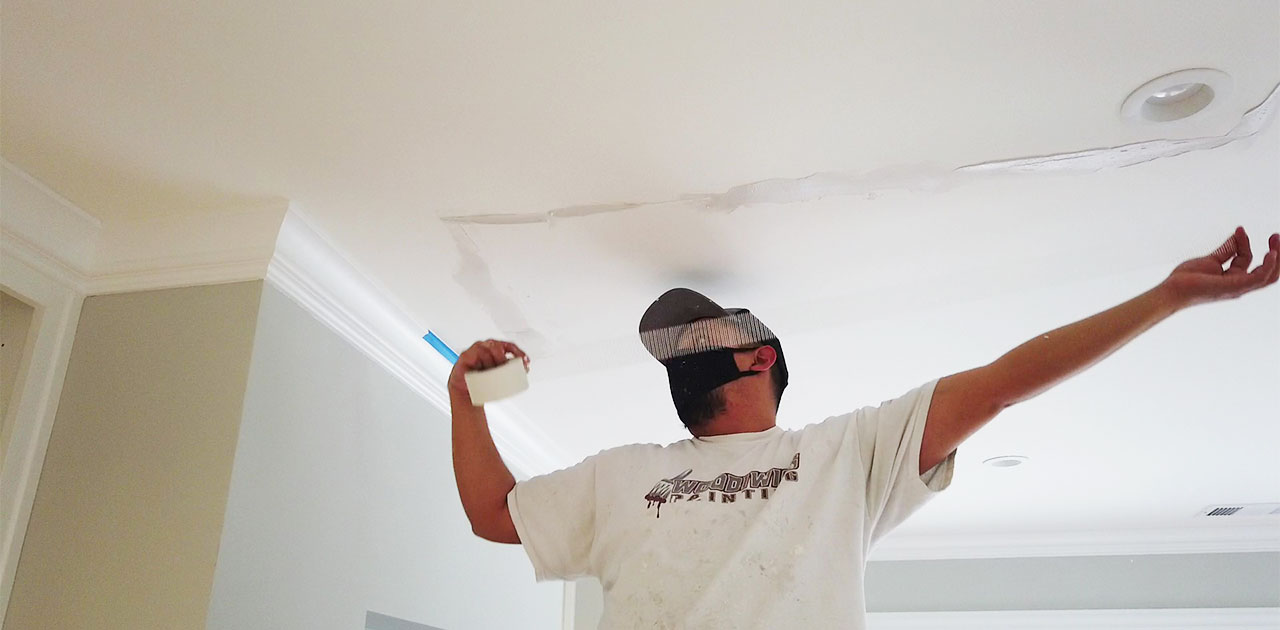
Step 1: Prepare the Room
The first step in painting ceiling edges without tape is to prepare the room properly. This will ensure that the painting process goes smoothly and helps to protect the surrounding areas from accidental paint splatters.
Start by removing any furniture or decorations from the room, or cover them with drop cloths or plastic sheets to keep them safe from paint. Use painter’s tape to secure the coverings in place if necessary.
Next, cover the floor with drop cloths or plastic sheets to catch any paint drips or spills. Make sure the coverings are secure and extend a few feet out from the walls to provide ample protection.
If there are any fixtures or ceiling fans in the room, you may want to cover them with plastic bags or use painter’s tape and plastic sheets to create a barrier around them. This will prevent any accidental paint drips from marring the surfaces.
If the ceiling has any cracks, holes, or imperfections, you may want to consider patching and sanding them before painting. This will help to create a smooth and seamless finished look. Apply primer to these areas if needed and allow it to dry before proceeding.
Once the room is properly prepped and protected, you’re ready to move on to the next step: painting the ceiling edges without tape.
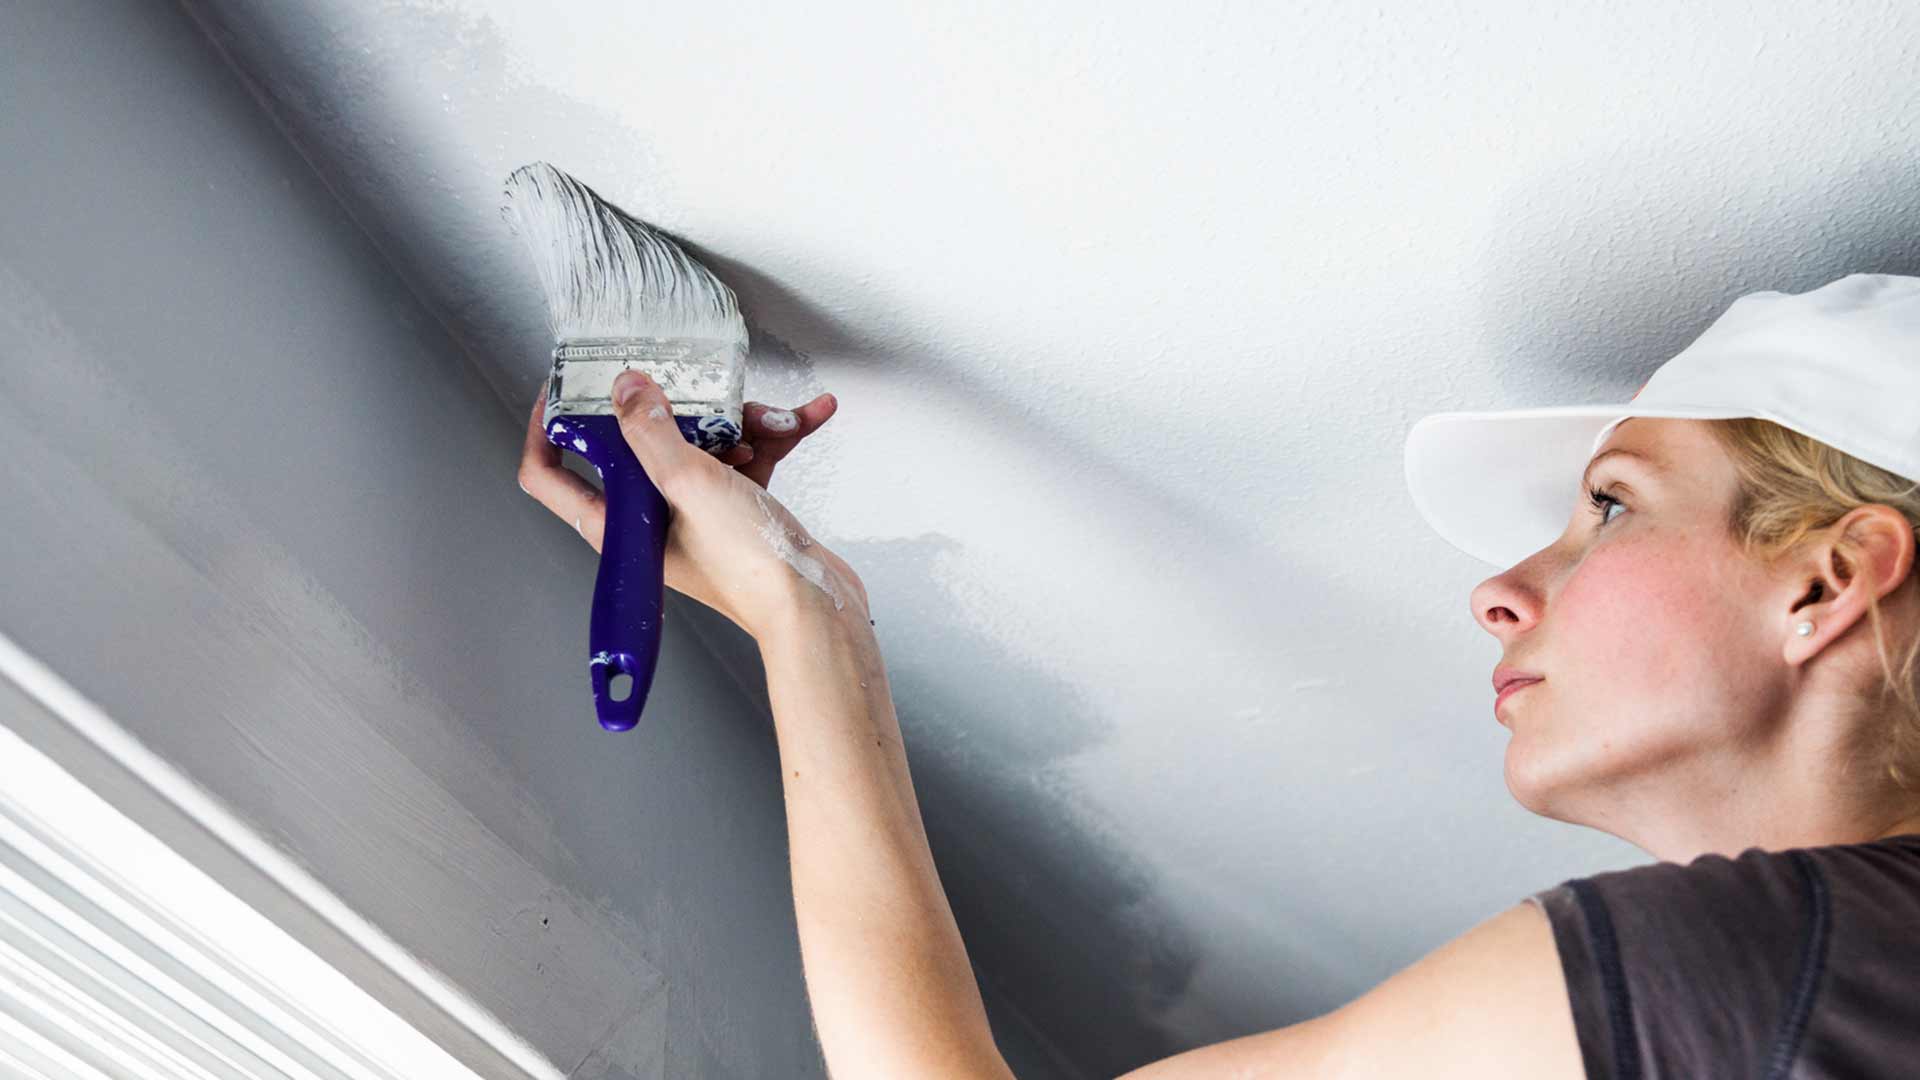
Step 2: Use an Angled Paint Brush
When it comes to painting ceiling edges without tape, using an angled paint brush is essential. The angled shape of the brush allows for more precise control and helps to create clean lines along the edges.
Start by dipping the angled brush into the paint tray or roller pan, loading the brush with an adequate amount of paint. Be careful not to overload the brush, as this can lead to drips and uneven application.
Begin painting the edge of the ceiling by holding the brush at a slight angle, with the bristles angled towards the ceiling. Use controlled and steady strokes to apply the paint along the edge, working your way across the desired area.
It’s important to note that you should start from the corner and work towards the center of the ceiling, rather than the other way around. This will help to blend the paint more effectively and create a seamless transition.
Keep in mind that you don’t need to paint the entire width of the ceiling edge in one stroke. Instead, focus on painting small sections at a time, around 2-3 feet in length. This will allow you to maintain control and ensure that the paint is evenly applied.
By using an angled paint brush, you can achieve precise and clean lines along the ceiling edge, even without the use of tape. This technique requires patience and a steady hand, but with practice, you’ll become more comfortable and proficient.
Once you’ve painted the initial section, continue the process, overlapping the painted section slightly with each stroke. This helps to create a blended and seamless edge without any noticeable lines or gaps.
Now that you’ve mastered the technique of using an angled paint brush, it’s time to move on to the next step: steadying your hand while painting ceiling edges without tape.
Step 3: Steady Your Hand
Keeping a steady hand is crucial when painting ceiling edges without tape. It ensures that the paint lines remain straight and clean, resulting in a professional-looking finish.
To steady your hand, it’s important to find a comfortable and stable position while painting. You can do this by using a ladder or step stool to reach the ceiling. Make sure the ladder is secure and on a level surface before starting.
When painting, it is helpful to hold your non-dominant hand against a stable surface for support. For example, you can place it on the wall near the ceiling edge or brace it against the ladder or step stool. This extra support can help you control the brush and keep your hand steady.
Additionally, take slow and deliberate strokes when painting along the ceiling edge. Rushing can lead to shaky lines and uneven application. Relax and focus on maintaining a consistent movement as you work your way along the edge.
If you find that your hand is still not as steady as you would like, you can also try using a painter’s tool called a “cutting-in guide” or “edger”. This tool acts as a shield, preventing accidental paint from touching the wall while you paint the ceiling edge. It can provide extra stability and precision during the painting process.
Remember, practice makes perfect. It may take some time and practice to develop a steady hand, so don’t get discouraged if your first attempts are not perfect. With each stroke, you’ll gain more control and confidence.
Now that you’ve learned how to steady your hand while painting ceiling edges, let’s move on to the next step: painting in sections.
Use a high-quality angled brush to carefully cut in along the ceiling edges. Start with a small amount of paint on the brush and work slowly to ensure a clean, straight line.
Read more: How To Paint A Ceiling Without Streaks
Step 4: Paint in Sections
To ensure a consistent and even coat of paint along the ceiling edges, it’s best to paint in sections. This approach allows you to maintain control and avoid any visible lines or unevenness.
Start by dividing the ceiling edge into manageable sections, typically around 2-3 feet in length. This will depend on the size of your brush and your comfort level. Using your angled paint brush, apply paint along each section, following the same technique outlined in Step 2.
As you move from one section to another, be sure to slightly overlap the painted areas for a seamless blend. This ensures that there are no gaps or inconsistencies in the finished result.
While painting, it’s essential to maintain a wet edge. This means that you should aim to paint in a continuous motion without letting the paint dry. By working on one section at a time, you can ensure a wet edge throughout the process. This helps to create a smooth and even appearance.
If you notice that the paint is starting to dry too quickly, you can dip your brush into the paint tray or roller pan more frequently to refresh the bristles with new paint. However, avoid applying too much pressure or pressing too hard on the brush, as this can cause drips or unevenness.
Remember to take breaks if needed, especially if you’re working on a larger area. This will prevent fatigue and allow you to maintain your focus and precision.
By painting in sections and maintaining a wet edge, you’ll achieve a consistent and professional-looking finish along the ceiling edges without the use of tape.
Now that you have successfully painted in sections, it’s time to move on to the next step: blending and feathering the edges for a seamless transition.
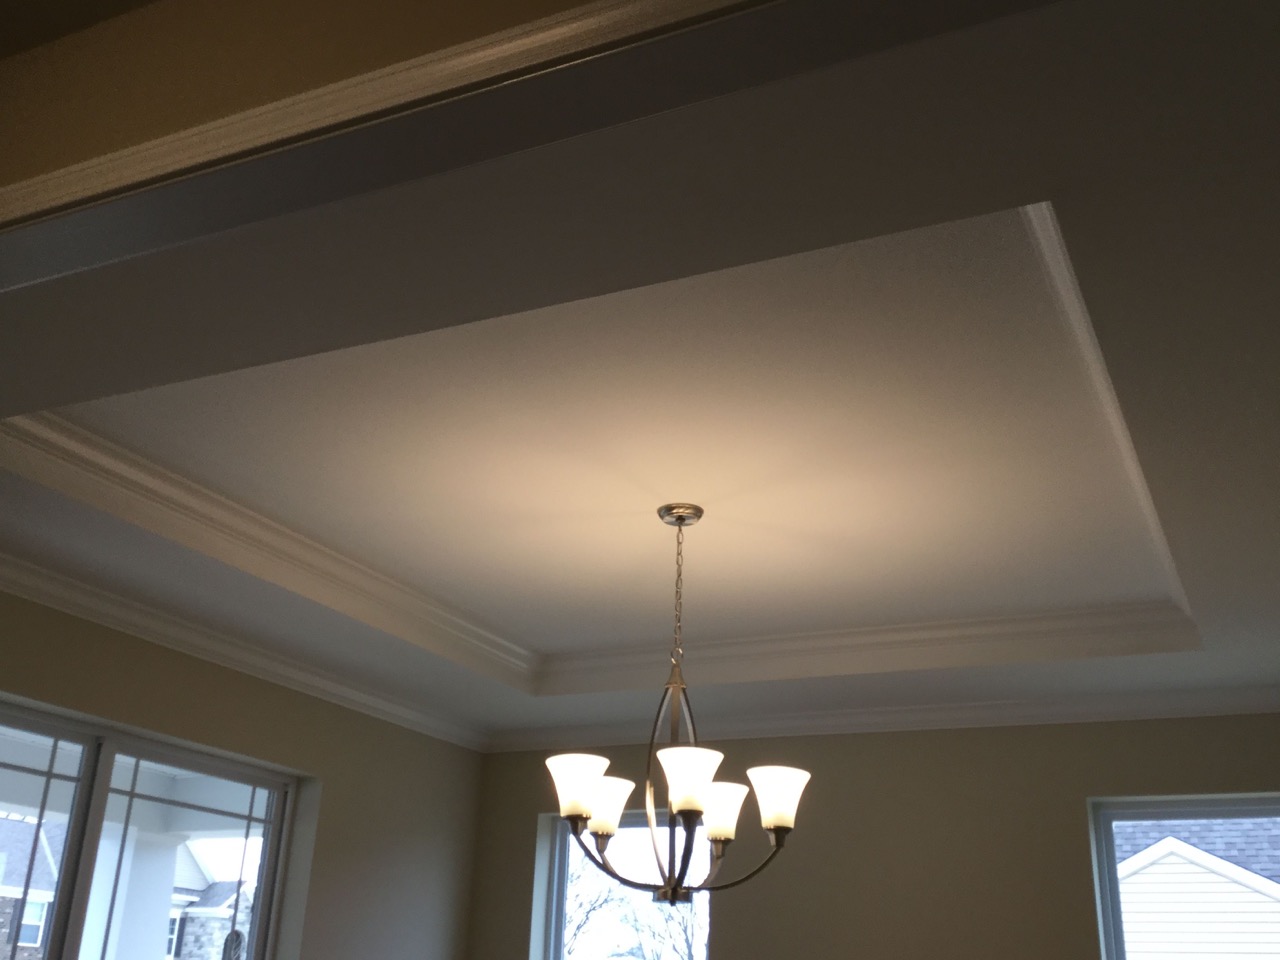
Step 5: Blend and Feather Edges
Blending and feathering the edges of the painted sections is an important step in achieving a seamless transition between the ceiling and the walls. This technique helps to eliminate any visible lines or harsh edges, resulting in a more natural and professional finish.
As you paint each section along the ceiling edge, take a moment to blend the freshly painted area with the previously painted section. To do this, lightly brush the edge of the wet paint into the previously painted area, using smooth and gentle strokes. This technique helps to feather out the paint and create a gradual transition.
Keep in mind that you don’t want to press too hard or blend too aggressively, as this can result in removing too much paint or causing unevenness. The goal is to create a soft and seamless blend between the sections.
If you need to, you can also use a dry brush or a clean, damp cloth to gently soften the transition between the painted sections. This can be particularly helpful if you find that the blend is not as smooth as you’d like.
Throughout the blending process, step back occasionally to assess your work from a distance. This allows you to spot any areas that may need additional blending or touch-up. Take your time and make any necessary adjustments to ensure a flawless finish.
By taking the time to blend and feather the edges of the painted sections, you’ll achieve a cohesive and seamless look along the ceiling edges, without the need for tape.
Now that you’ve mastered the technique of blending and feathering, let’s move on to the final step: touching up any mistakes.
Step 6: Touch Up any Mistakes
Even with careful painting, it’s common to encounter small mistakes or areas that need touch-ups along the ceiling edges. Step 6 focuses on addressing these imperfections to achieve a flawless and professional-looking finish.
Begin by allowing the painted sections to fully dry. This will give you a better idea of any areas that may require touch-ups. Remember to refer back to the lighting conditions in the room when correcting mistakes, as different lighting can reveal different flaws.
Inspect the painted edges closely and use a small, angled paint brush to carefully touch up any areas that require attention. This can include missed spots, uneven paint lines, or feathering that needs adjustment. Dip the brush lightly into the paint and apply it precisely to the desired areas.
If you encounter any dried paint drips or smudges on the walls or ceiling, you can address them by using a cloth or sponge dampened with water. Gently wipe the affected areas and allow them to dry before applying touch-up paint if necessary.
While applying the touch-ups, it’s important to blend the fresh paint with the surrounding area for a seamless look. Feather the edges of the touch-up paint to ensure it seamlessly integrates with the existing painted sections.
Once you’re satisfied with the touch-ups, step back again to assess the overall appearance of the painted ceiling edges. Make any final adjustments if needed, ensuring that the transitions are smooth and there are no noticeable touch-up spots.
By taking the time to address any mistakes or touch-up areas along the ceiling edges, you’ll achieve a flawless and professional finish without relying on tape.
Now that you’ve completed step 6, you’re ready to admire your beautifully painted ceiling edges!
Conclusion
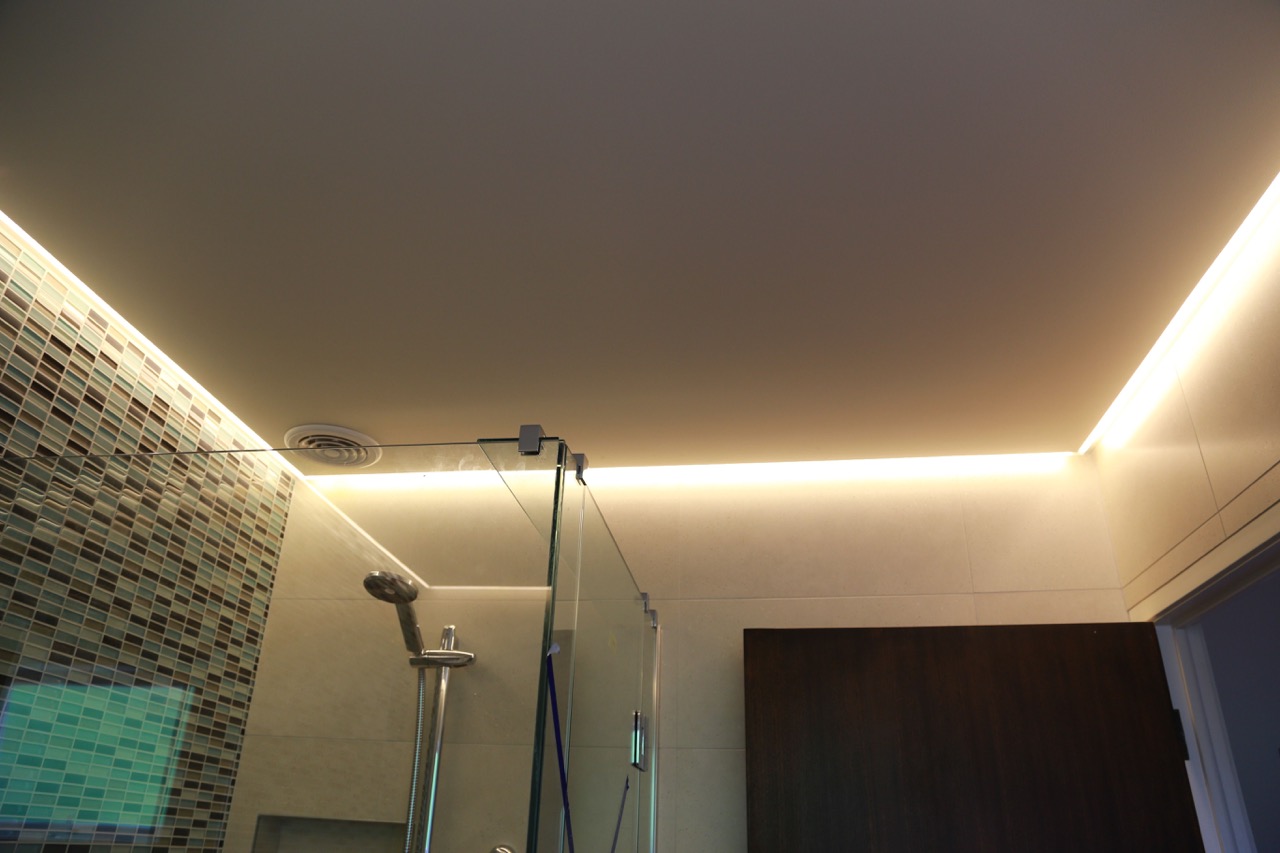
Congratulations, you’ve successfully learned how to paint ceiling edges without the use of tape! By following the step-by-step process outlined in this guide, you can achieve clean, precise, and professional-looking results.
Painting ceiling edges without tape may require a bit more patience and practice, but it offers several advantages. Not only does it eliminate the hassle of applying and removing tape, but it also creates a smoother and more seamless transition between the ceiling and walls.
Remember to prepare the room properly by protecting the floors, furniture, and fixtures. Use an angled paint brush to ensure precise application and a steady hand for clean lines. Paint in sections, blending and feathering the edges as you go. Take the time to touch up any mistakes and achieve a flawless finish.
Throughout the process, don’t be afraid to experiment and find techniques that work best for you. It’s all about finding your rhythm and developing your own painting style.
Now, step back and admire your newly painted ceiling edges. You’ve successfully completed a challenging task and achieved a professional-looking result. Enjoy the transformation and take pride in your DIY skills!
Thank you for following along with this guide. Happy painting!
Frequently Asked Questions about How To Paint Ceiling Edges Without Tape
Was this page helpful?
At Storables.com, we guarantee accurate and reliable information. Our content, validated by Expert Board Contributors, is crafted following stringent Editorial Policies. We're committed to providing you with well-researched, expert-backed insights for all your informational needs.


0 thoughts on “How To Paint Ceiling Edges Without Tape”