Articles
How To Tape Ceiling For Painting
Modified: October 20, 2024
Learn how to properly tape your ceiling for painting with our informative articles. Ensure clean lines and professional results.
(Many of the links in this article redirect to a specific reviewed product. Your purchase of these products through affiliate links helps to generate commission for Storables.com, at no extra cost. Learn more)
Introduction
When it comes to painting the ceiling, proper preparation is crucial to achieving a smooth and professional finish. One important step in this process is taping the ceiling to protect the walls and ensure clean lines. Taping the ceiling may seem like a daunting task, but with the right tools and techniques, anyone can achieve great results.
In this article, we will guide you through the process of taping the ceiling for painting. We will discuss the necessary tools and materials, provide tips on choosing the right tape, explain how to prepare the ceiling, share techniques for applying the tape, offer tips for a clean finish, and guide you on removing the tape once the painting is complete.
By following these steps and utilizing these tips, you’ll be able to tape your ceiling like a pro and create a seamless paint job that will transform any room.
Key Takeaways:
- Proper preparation, including cleaning, repairing imperfections, and protecting surrounding areas, is crucial before taping the ceiling for painting. This ensures a smooth and professional finish.
- Choosing the right painter’s tape, applying it with precision, and following techniques for taping are essential for achieving clean lines and a flawless paint job on the ceiling.
Read more: How To Paint Ceiling Edges Without Tape
Tools and Materials Needed
Before you start taping the ceiling, gather all the necessary tools and materials. Having everything ready beforehand will help streamline the process and ensure you have what you need to complete the job effectively. Here are the tools and materials you’ll need:
- Painter’s Tape: Look for painter’s tape specifically designed for delicate surfaces or ceilings. Opt for a tape that is easy to tear and doesn’t leave residue.
- Step Ladder: Depending on the height of your ceiling, you may need a step ladder to reach all areas safely.
- Clean Cloth or Sponge: Use a clean cloth or sponge to wipe the ceiling and remove any dust or debris.
- Drywall Compound: If your ceiling has cracks or imperfections, you may need drywall compound to fill them in before taping.
- Putty Knife: A putty knife is essential for applying the drywall compound and smoothing it out.
- Sanding Block: To ensure a smooth and even surface, use a sanding block to sand down any rough areas.
- Drop Cloths or Plastic Sheets: Protect your floor and furniture by covering them with drop cloths or plastic sheets.
- Paint and Paintbrushes: Once you’ve finished taping the ceiling, you’ll need paint and paintbrushes to complete the painting process.
- Utility Knife: A utility knife will come in handy for cutting the painter’s tape when removing it.
By having these tools and materials at your disposal, you’ll be fully prepared to tape the ceiling and ensure a successful painting project.
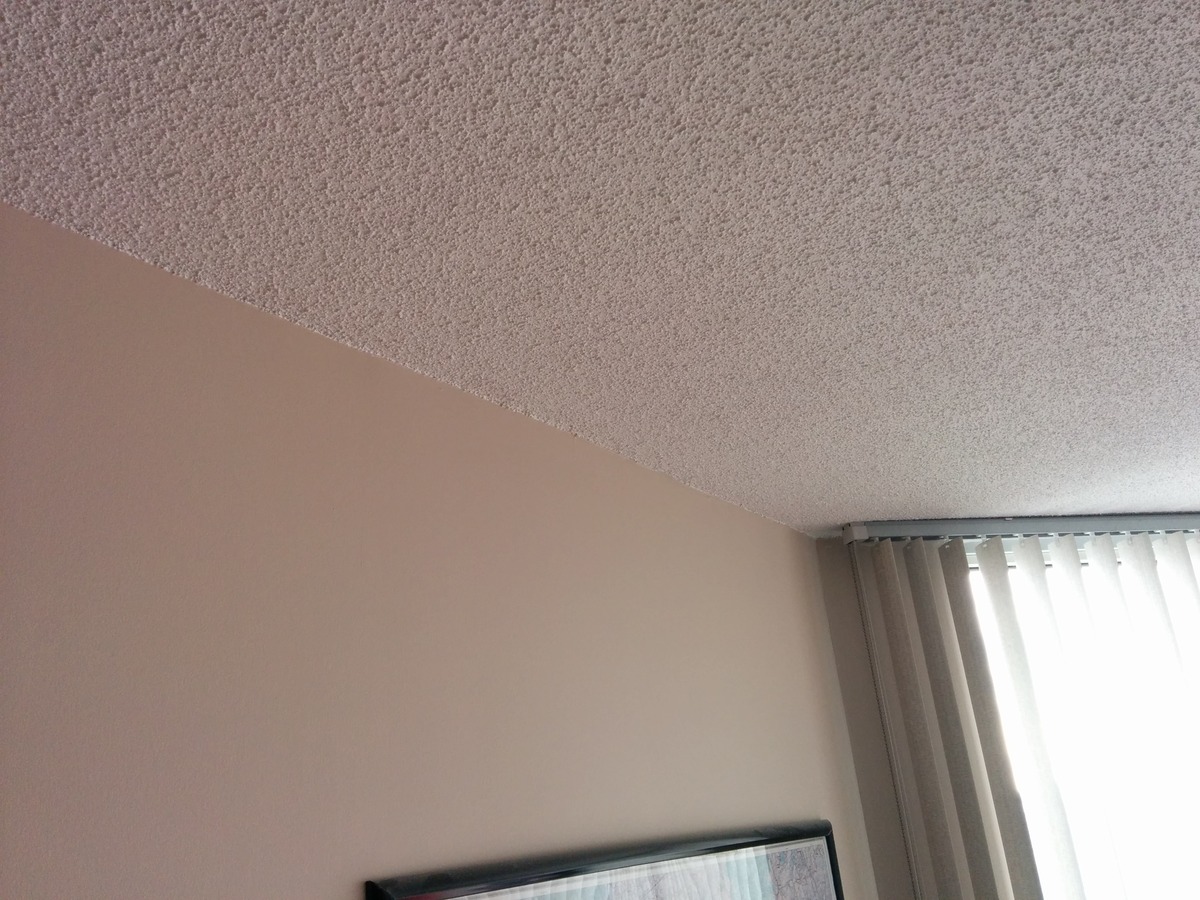
Preparing the Ceiling
Before you can begin taping the ceiling, it’s essential to prepare the surface properly. Follow these steps to ensure a clean and smooth ceiling that is ready for taping:
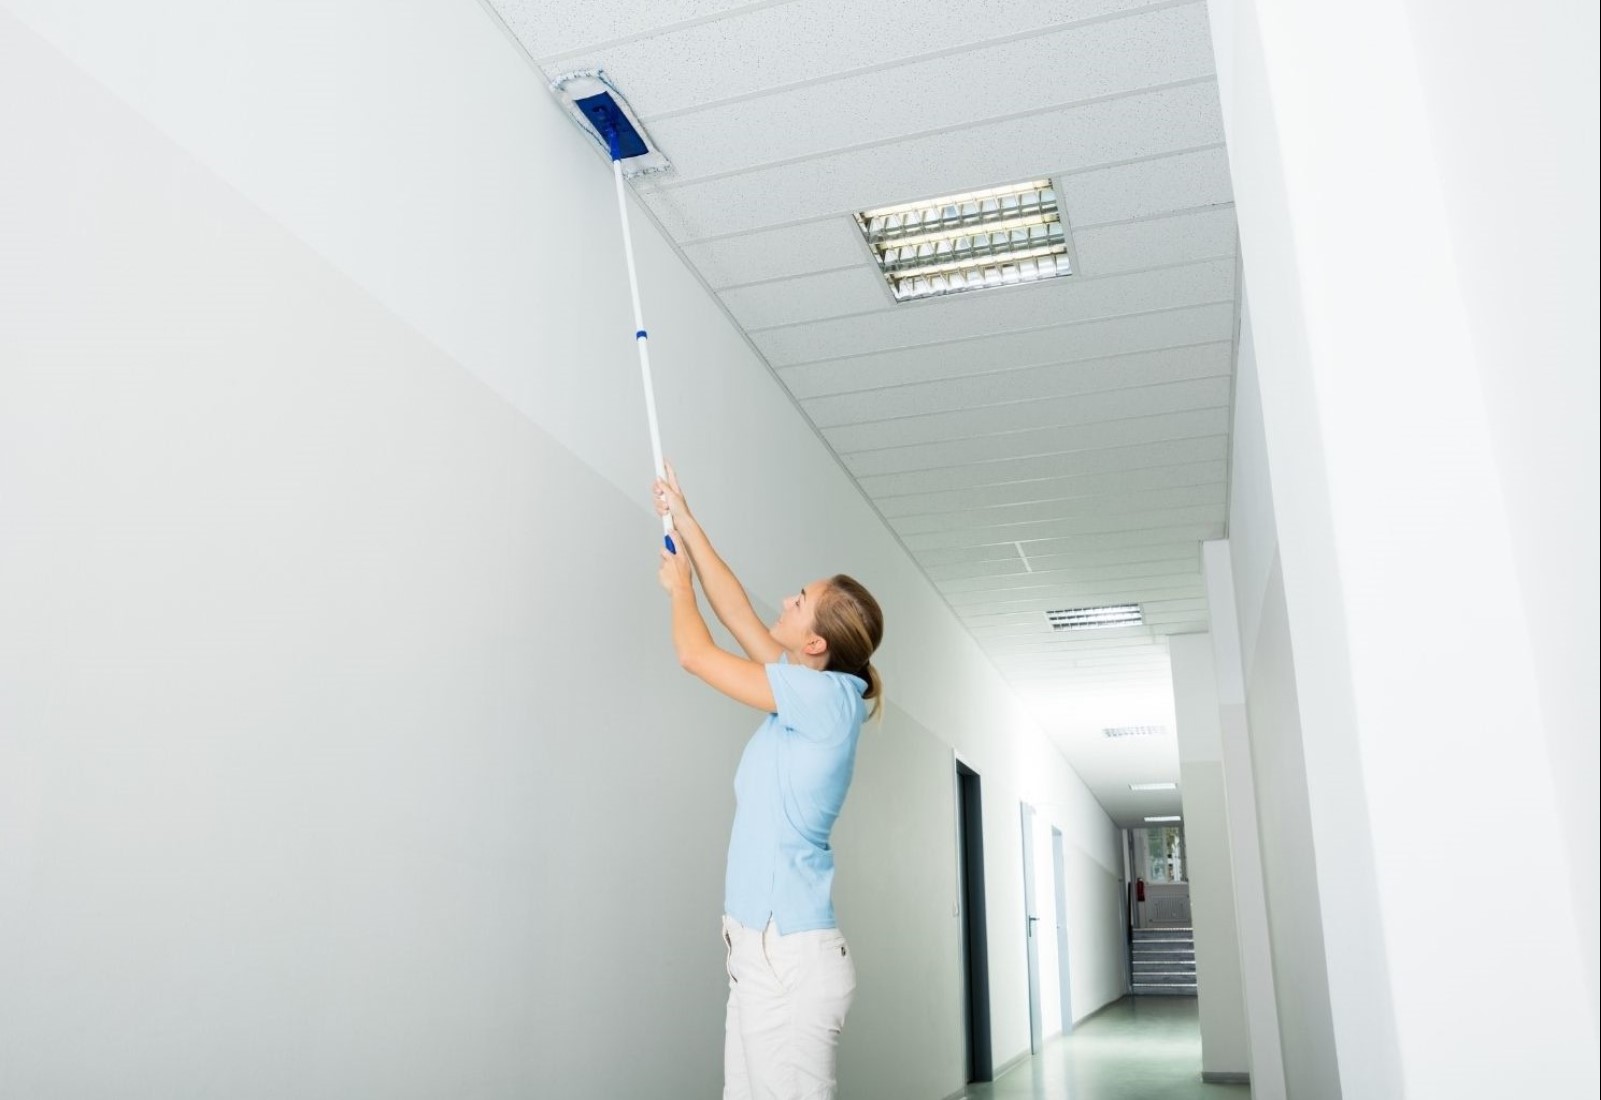
- Clean the Ceiling: Start by using a clean cloth or sponge to wipe down the ceiling. Remove any dust, cobwebs, or loose debris to create a clean surface for taping.
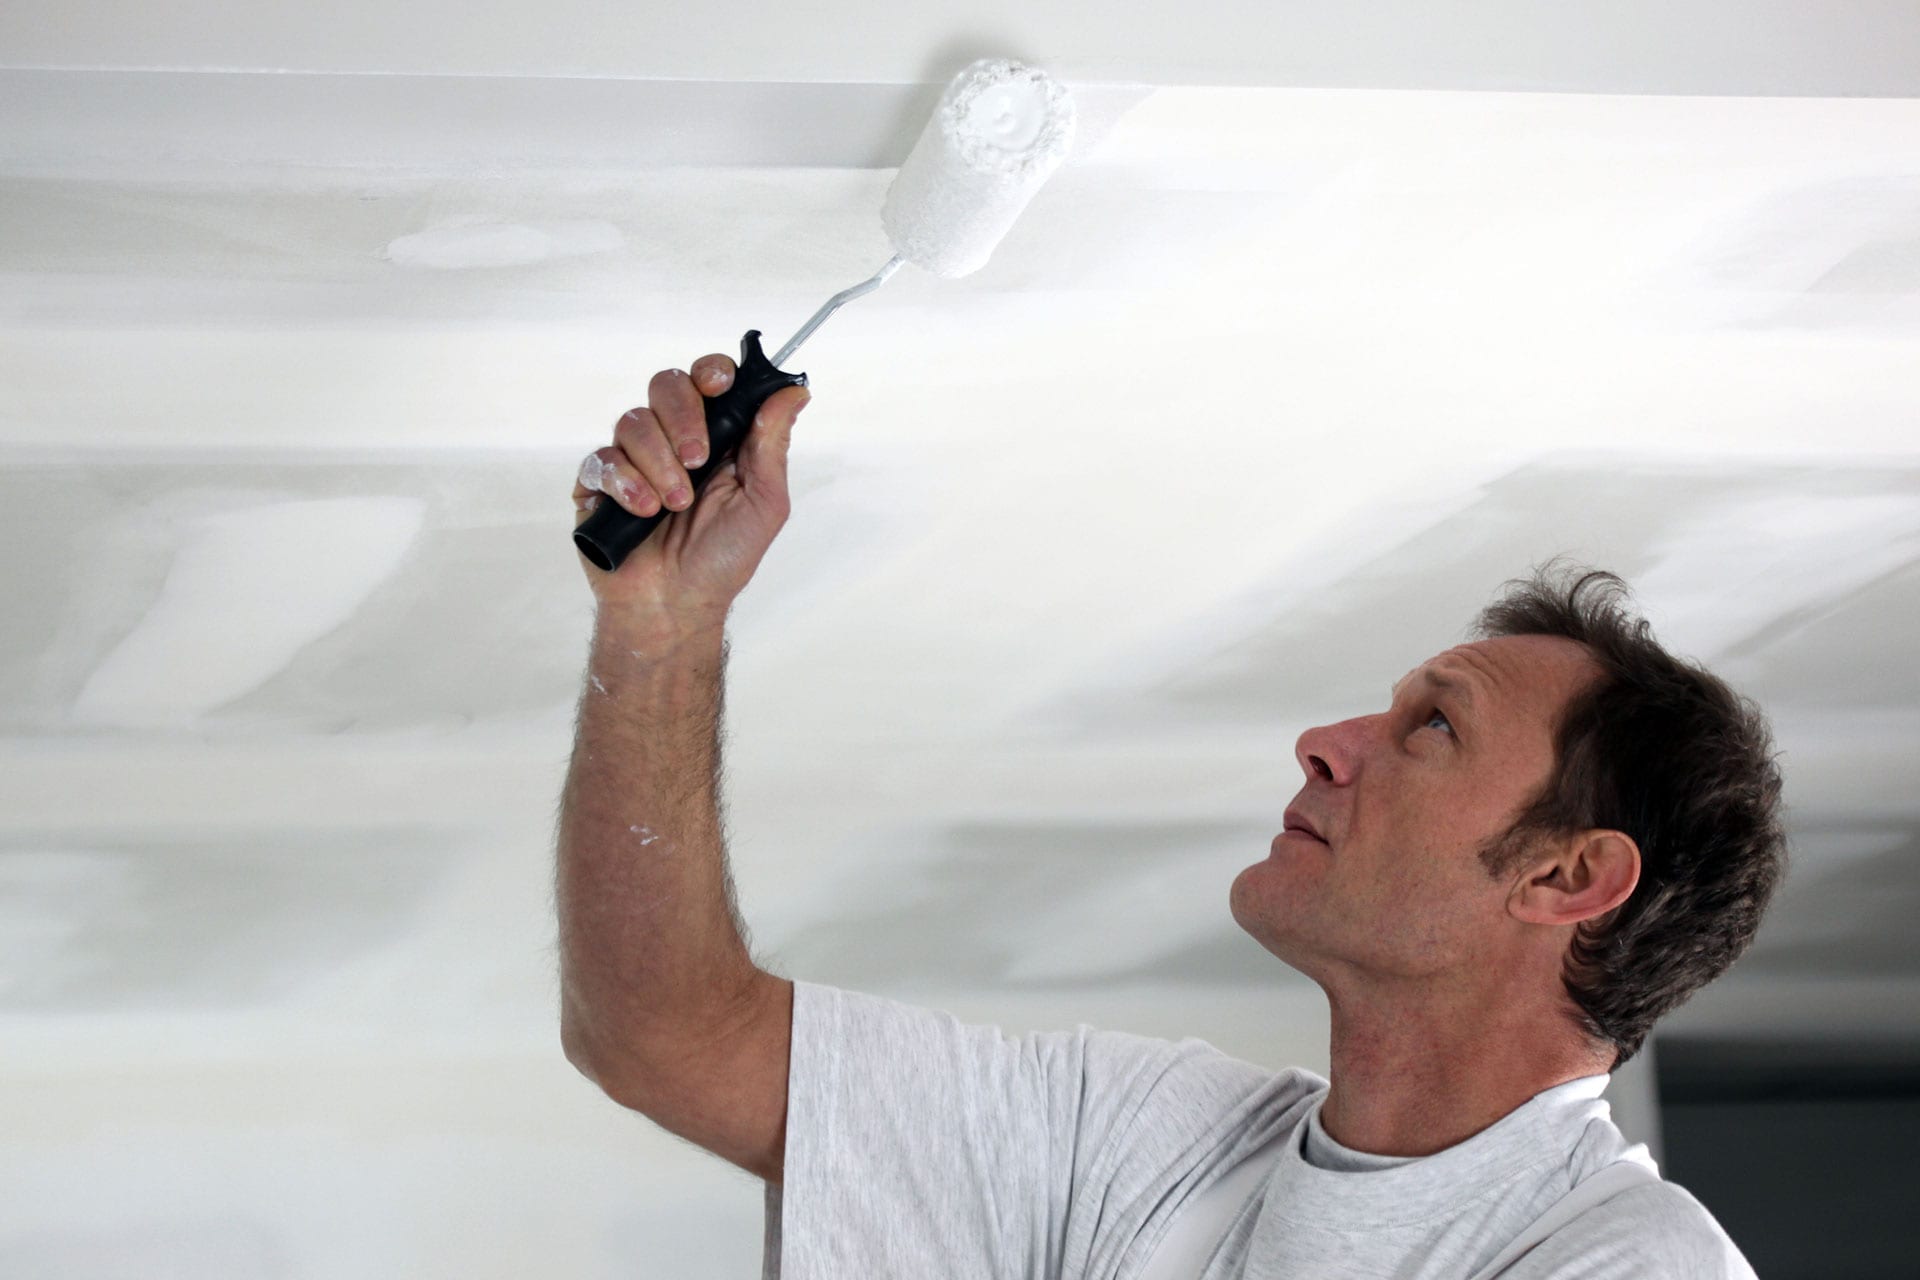
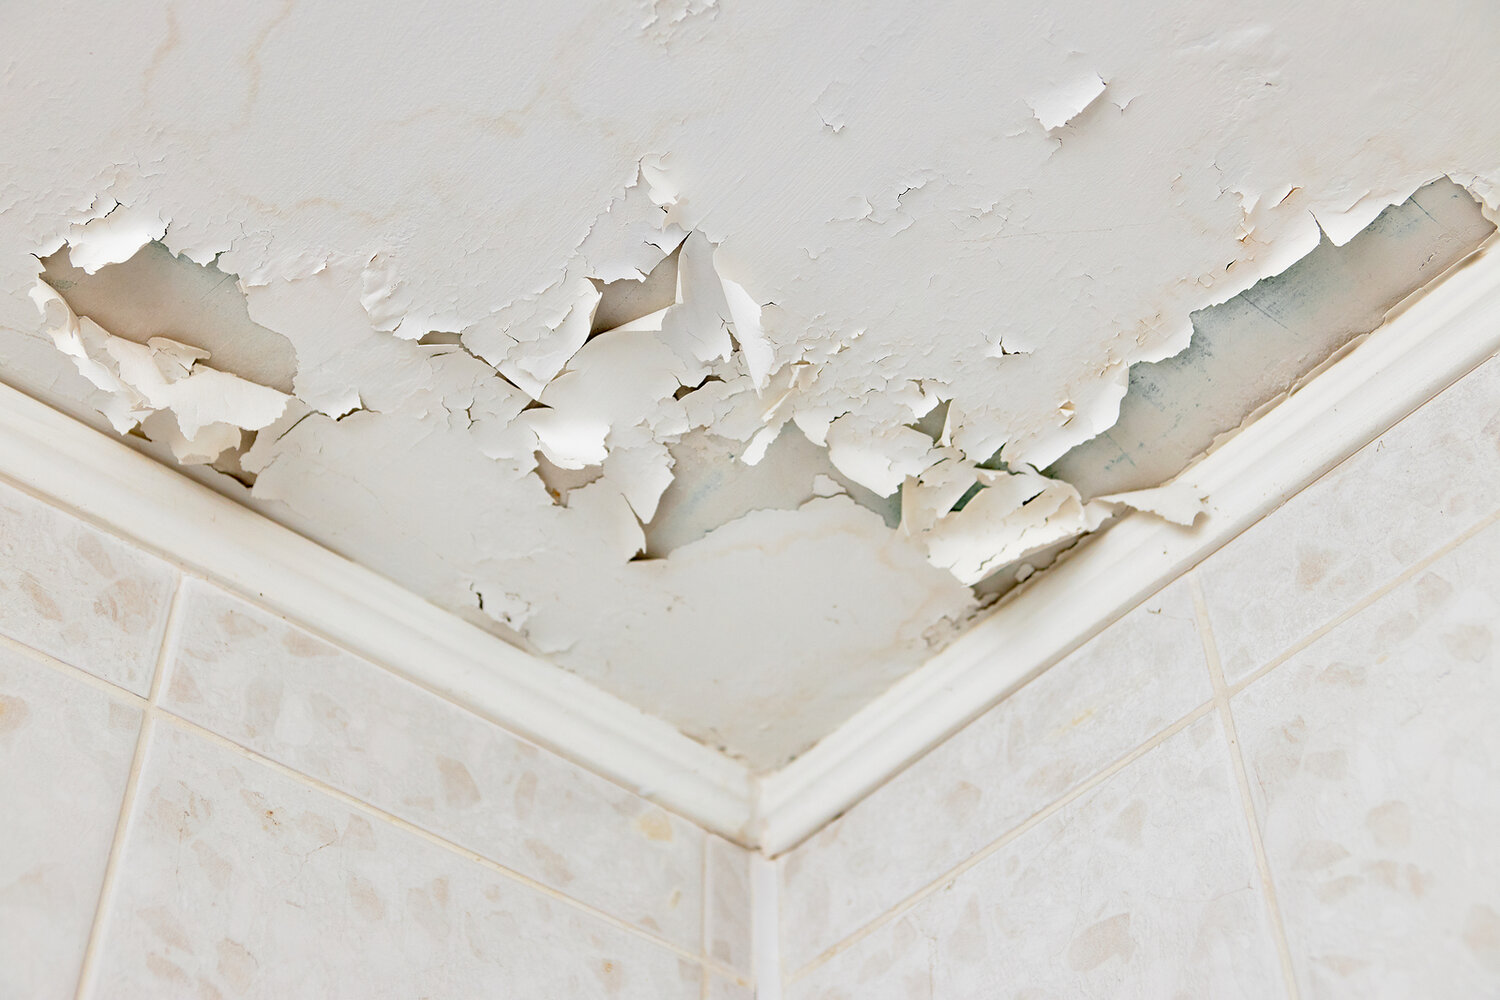
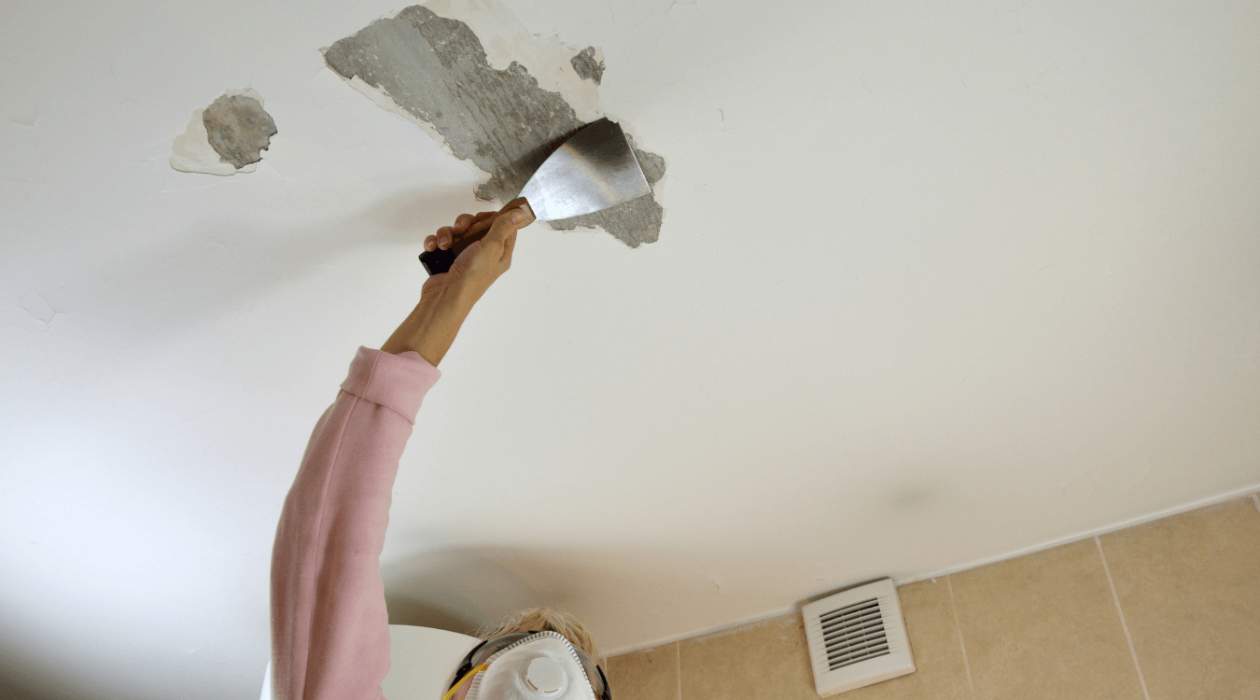
- Repair any Imperfections: Inspect the ceiling for any cracks, holes, or other imperfections. Use drywall compound and a putty knife to fill in these areas, following the manufacturer’s instructions. Allow the compound to dry completely before moving to the next step.
- Sand the Ceiling: Once the drywall compound has dried, use a sanding block to smooth down any uneven areas. Sand in a circular motion to ensure a seamless finish. Wipe away any dust with a clean cloth.
- Protect the Surrounding Areas: Cover the floor, furniture, and any other items in the room with drop cloths or plastic sheets to protect them from paint splatters or damage.
Properly preparing the ceiling will ensure that the tape adheres well and that the paint job looks professional. Take your time with these steps to create a clean and flawless surface for taping.
Choosing the Right Tape
When it comes to taping the ceiling for painting, selecting the appropriate tape is crucial. The right tape will adhere well to the ceiling and create clean and precise lines. Here are some factors to consider when choosing the right tape:
- Type of Tape: Look for painter’s tape specifically designed for ceilings or delicate surfaces. These tapes are often made with low-adhesive formulas to prevent damage or residue upon removal.
- Width of Tape: The width of the tape will determine the width of the paint line. Consider the size of the area you are taping and choose a tape width that will provide the desired paint line width.
- Texture of Ceiling: If you have a textured ceiling, consider using a tape with a stronger adhesive or one specially designed for textured surfaces. This will ensure that the tape adheres securely and prevents paint bleeding through the textured surface.
- Duration of Project: If you plan to leave the tape on for an extended period of time, such as for multiple coats of paint, choose a tape that is designed for long-term adhesion without leaving residue upon removal.
It’s also helpful to read reviews or ask for recommendations from professionals or fellow DIY enthusiasts to get insights on the performance of different tape brands and types. Ultimately, choosing the right tape will contribute to a successful taping and painting process.
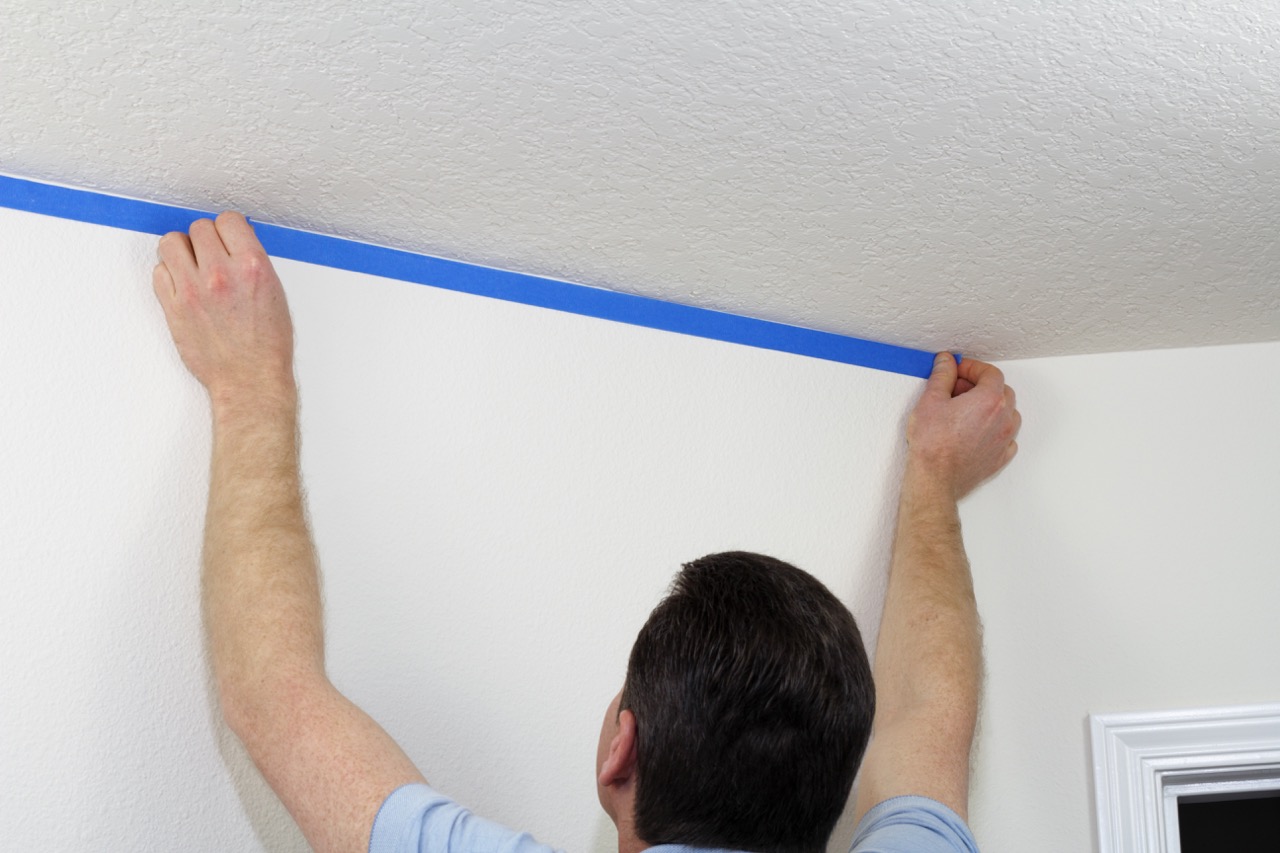
Applying the Tape
Now that you have prepared the ceiling and chosen the right tape, it’s time to start applying it. Follow these steps for a seamless application:
- Start with Clean Hands: Ensure your hands are clean before handling the tape to prevent any dirt or oil from transferring onto the adhesive side.
- Measure and Cut: Measure the length of the area you want to tape and cut pieces of tape accordingly, leaving a few extra inches at the ends for easier removal later.
- Position the Tape: Carefully position the tape along the edge of the area you want to protect, such as the wall or trim. Press the tape firmly onto the ceiling, ensuring it adheres securely. Smooth out any bubbles or creases as you go.
- Overlap the Tape: If needed, overlap the pieces of tape slightly to ensure complete coverage and a thorough seal.
- Press the Tape: Use a putty knife or your fingertips to press the tape firmly onto the ceiling, ensuring a strong bond between the tape and the surface. This will help prevent any paint from bleeding under the tape.
Take your time when applying the tape and make sure it is aligned properly for straight and even lines. Pay extra attention to corners and angles, ensuring the tape is securely adhered to maintain clean edges.
Once you have finished applying the tape, step back and inspect the area to confirm that the tape is in place and properly sealed. Double-check that all areas you want to protect are covered by the tape.
Be sure to use high-quality painter’s tape to create clean, straight lines along the edges of the ceiling. Press the tape firmly to prevent any paint bleed and remove it carefully while the paint is still wet for the best results.
Read more: How To Repair Drywall Tape On Ceiling
Techniques for Taping
Taping the ceiling requires some technique to ensure a clean and professional result. Here are a few techniques to consider while taping:
- Tension Technique: Apply slight tension to the tape as you position it along the edge. This will help create a tight seal and prevent paint from bleeding under the tape.
- Cut Corners: When taping around corners or angles, use a utility knife to make precise cuts in the tape. This will allow for a smooth transition and clean lines.
- Overlap Method: If you are using multiple strips of tape, overlap them slightly to create a continuous barrier against paint bleed-through. This technique helps ensure that there are no gaps or weak points in your taped area.
- Remove Air Bubbles: Smooth out any air bubbles or wrinkles in the tape by pressing them firmly with a putty knife or your fingertips. This will prevent any areas where paint could seep through.
- Seal the Edges: Run your finger along the edge of the tape to ensure it is securely sealed to the ceiling. This additional step will prevent paint from seeping underneath the tape and ruining your clean lines.
Remember to take your time and be patient when using these techniques. The extra effort will result in a beautifully taped ceiling that is ready for painting.
Tips for a Clean Finish
Achieving a clean finish when taping the ceiling is essential for a professional-looking paint job. Here are some tips to help you achieve a clean and flawless result:
- Smooth Transition: Ensure that the tape is applied smoothly and evenly along the edge of the ceiling. This will create a seamless transition between the ceiling and the walls or trim.
- Protective Layer: Consider applying a thin layer of paint along the edge of the tape before painting the entire ceiling. This will help seal the tape’s edge and reduce the chance of paint bleeding through.
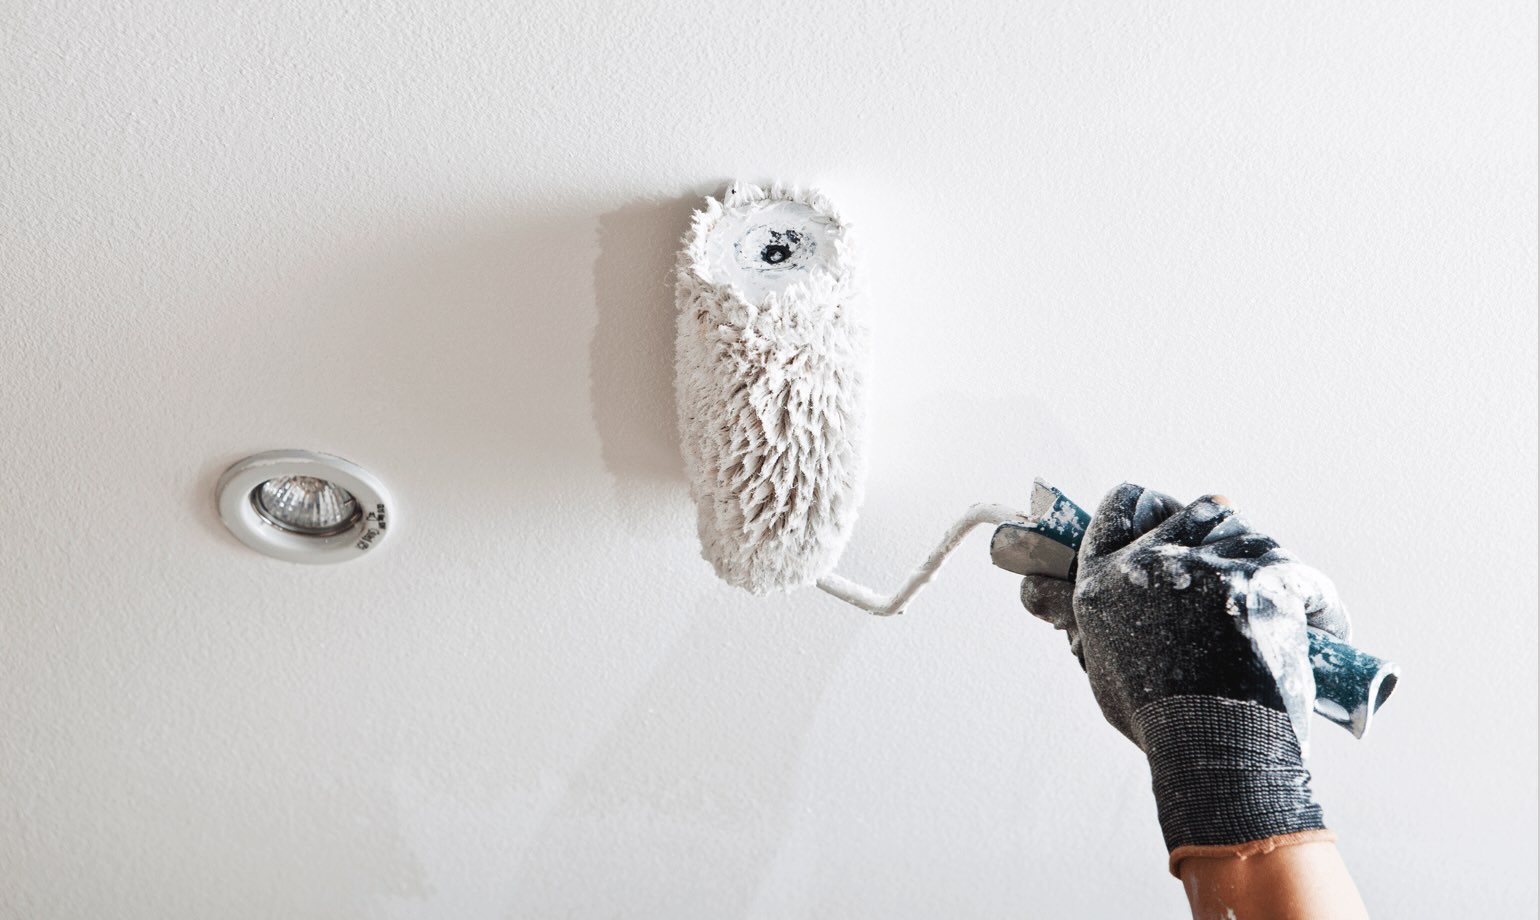
- Painting Technique: When painting the ceiling, use a roller with a smooth and consistent motion. Avoid pressing the roller too hard against the ceiling, as this can cause paint to seep under the tape.
- Multiple Coats: If your ceiling requires multiple coats of paint, allow each coat to dry completely before applying the next. This will prevent the paint from pulling up the tape when removed.
- Remove the Tape at an Angle: When it’s time to remove the tape, do so at a 45-degree angle. This will help create clean lines and prevent any paint from lifting off with the tape.
Remember, achieving a clean finish requires attention to detail and precision. Take your time when painting and removing the tape to ensure a smooth and professional result.
By following these tips, you will be well on your way to creating a beautifully painted ceiling with crisp, clean lines.
Removing the Tape
After you have finished painting the ceiling, it’s time to remove the tape. Follow these steps to ensure a smooth and clean tape removal process:
- Wait for the Paint to Dry: Allow the paint on the ceiling to dry completely before attempting to remove the tape. Refer to the paint can for the recommended drying time.
- Cut the Tape: Use a utility knife to carefully cut through the tape along the edges. This will help prevent any paint from peeling off with the tape.
- Remove at a 45-Degree Angle: Start at one end of the tape and slowly pull it off at a 45-degree angle. Pull the tape back on itself, away from the painted surface. This will help ensure clean lines and prevent any paint from lifting off with the tape.
- Inspect for Bleeding: As you remove the tape, inspect the painted edge for any signs of paint bleeding through. If you notice any, use a small brush and touch-up paint to fix any imperfections.
- Dispose of the Tape Properly: Once you have removed all the tape, dispose of it properly. Fold or roll it up sticky side in to prevent any contact with surfaces.
Remember, removing the tape requires gentle but steady pulling to avoid any damage to the painted surface. Take your time and be patient throughout the process to ensure a clean and professional result.
With the tape removed, step back and admire your newly painted ceiling with crisp and clean edges, ready to showcase your painting skills and enhance the overall aesthetic of the room.
Conclusion
Taping the ceiling for painting is an important step in achieving a smooth and professional finished result. With the right tools, materials, and techniques, anyone can master the art of taping and create clean lines and crisp edges.
By following the steps outlined in this article, you can successfully prepare the ceiling, choose the right tape, apply it accurately, and achieve a clean finish. The tips provided will help you avoid paint bleed-through and ensure a flawless paint job that will enhance the overall appearance of your space.
Remember to take your time and be patient throughout the process. Properly preparing the ceiling, selecting the appropriate tape, and applying it with precision are key to a successful taping job. Additionally, practicing techniques for taping and following tips for a clean finish will help you achieve professional-looking results.
Once the paint is dry and it’s time to remove the tape, follow the steps carefully to ensure clean lines and prevent any damage to the painted surface. Dispose of the tape properly to avoid any sticky residue or contact with other surfaces.
Taping the ceiling may require some effort and attention to detail, but the end result will be well worth it. A flawlessly painted ceiling can transform the look and feel of a room, adding a touch of sophistication and elevating the overall aesthetic appeal.
So, roll up your sleeves, gather your materials, and get ready to tape the ceiling for a painting project that will leave you with a beautifully finished space that you can enjoy for years to come.
Frequently Asked Questions about How To Tape Ceiling For Painting
Was this page helpful?
At Storables.com, we guarantee accurate and reliable information. Our content, validated by Expert Board Contributors, is crafted following stringent Editorial Policies. We're committed to providing you with well-researched, expert-backed insights for all your informational needs.


0 thoughts on “How To Tape Ceiling For Painting”