Home>Articles>How To Paint Straight Lines Between Wall And Ceiling
Articles
How To Paint Straight Lines Between Wall And Ceiling
Modified: January 5, 2024
Looking for articles on how to paint straight lines between wall and ceiling? Find expert tips and tricks to achieve a flawless finish in this comprehensive guide.
(Many of the links in this article redirect to a specific reviewed product. Your purchase of these products through affiliate links helps to generate commission for Storables.com, at no extra cost. Learn more)
Introduction
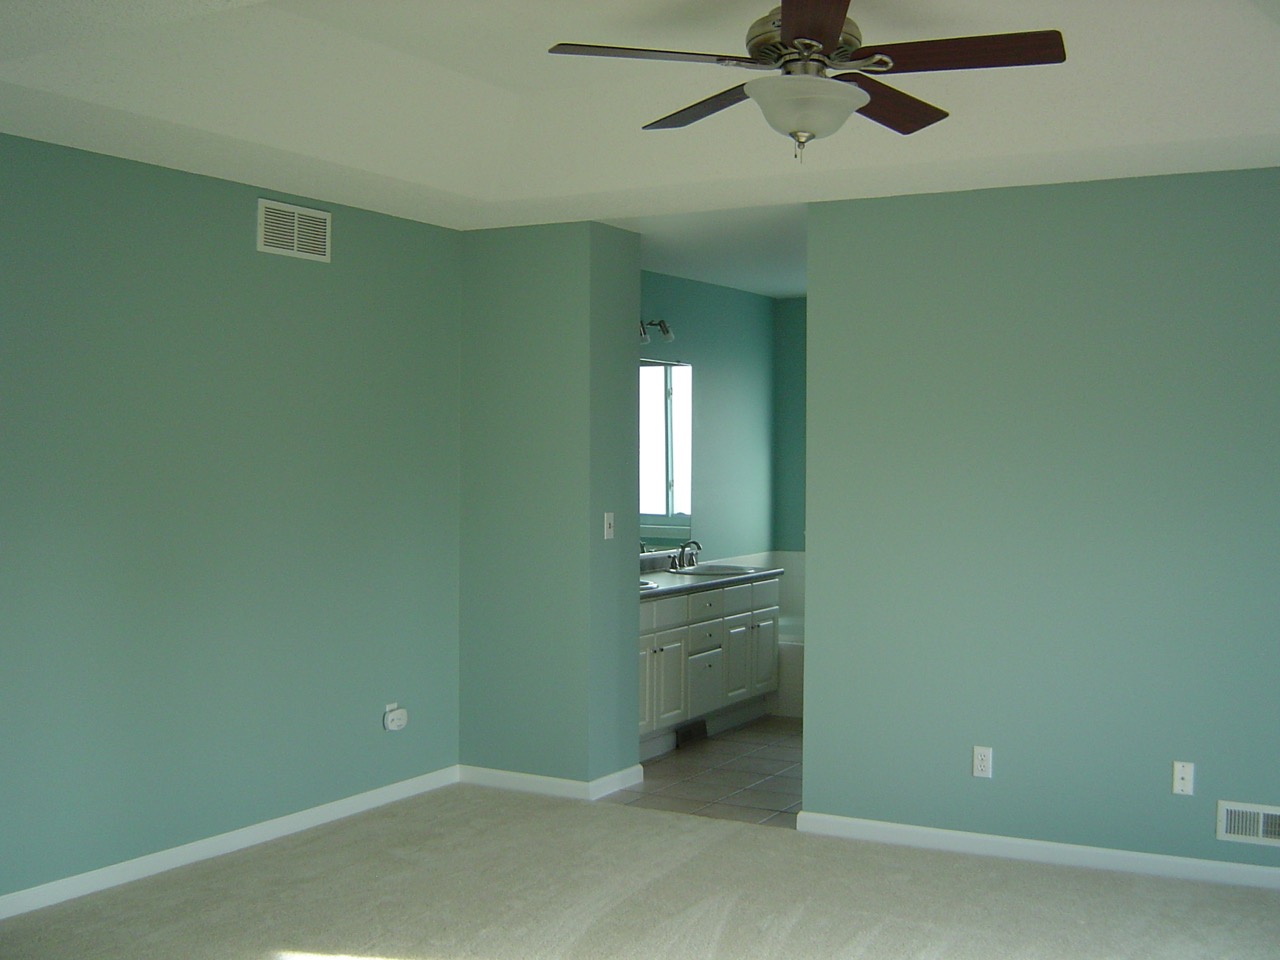
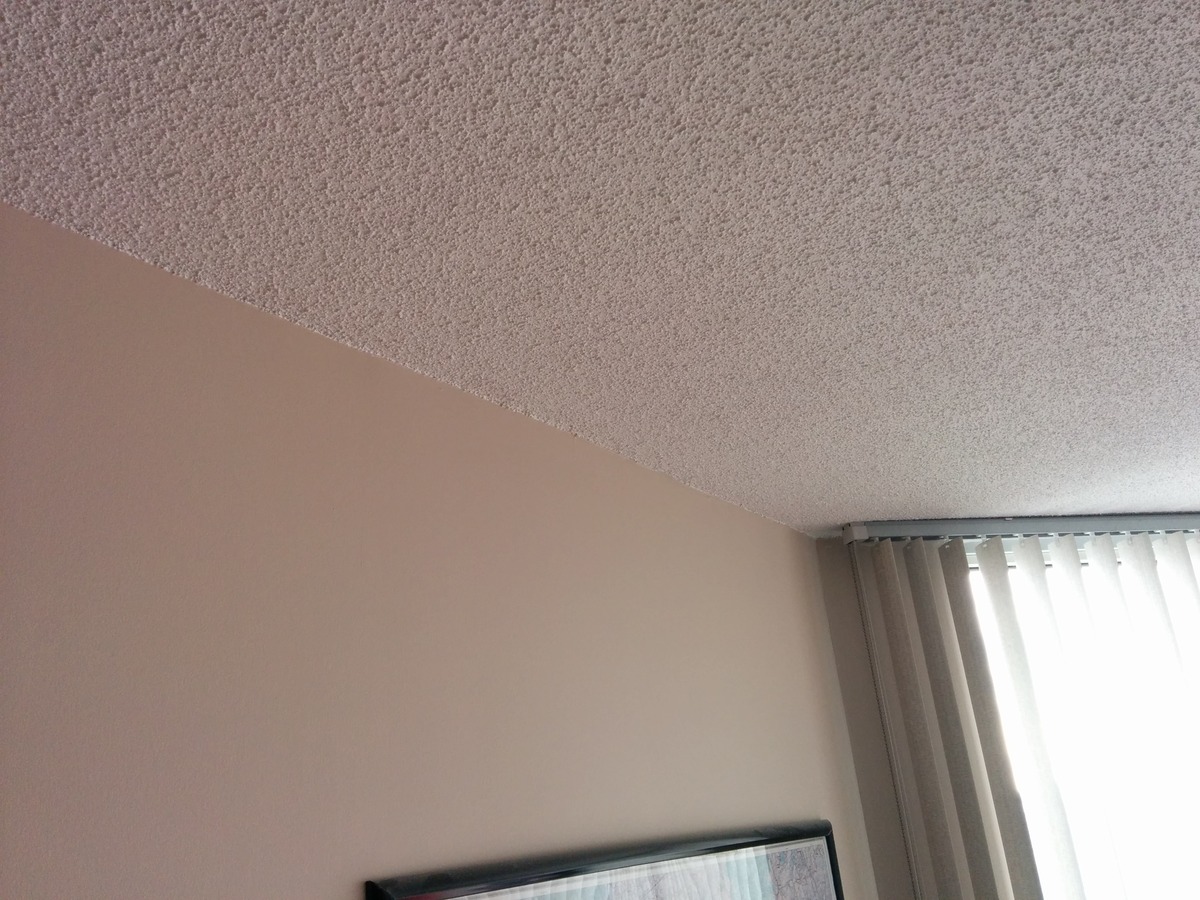
When it comes to painting a room, achieving clean and straight lines between the wall and ceiling can make a big difference in the overall look and feel of the space. A crisp paint line can give a room a polished and professional appearance, while a crooked line can detract from even the best paint job.
In this article, we will guide you through the process of painting straight lines between the wall and ceiling. We will provide step-by-step instructions and tips to help you achieve precise and clean lines, even if you don’t have much painting experience.
To get started, let’s take a look at the tools and materials you will need for this project.
Key Takeaways:
- Achieving clean and straight lines between the wall and ceiling is crucial for a professional paint job. With the right tools and techniques, anyone can master this skill and enhance the overall look of a room.
- Attention to detail and precision are key in painting straight lines. From preparing the space to applying painter’s tape and creating a guideline, each step contributes to achieving a seamless and aesthetically pleasing result.
Read more: How To Fill Gap Between Wall And Ceiling
Tools and Materials Needed
Before diving into the process of painting straight lines between the wall and ceiling, gather the following tools and materials:
- Painter’s tape: Choose a high-quality painter’s tape that is specifically designed for clean, crisp lines.
- Paintbrushes: Select a high-quality angled paintbrush that is appropriate for the type of paint you will be using.
- Roller brush: Opt for a roller brush with a medium nap, suitable for the texture of your walls and ceiling.
- Drop cloth: Protect your floor and furniture by laying down a drop cloth to catch any paint spills.
- Sandpaper: Use sandpaper to smooth any imperfections on the wall or ceiling before painting.
- Primer: If necessary, apply a primer to the wall and ceiling before painting to ensure better adhesion and coverage.
- Paint: Select your desired wall and ceiling paint color in a finish of your choice.
- Paint tray: Use a paint tray to pour and mix the paint for ease of use.
- Ruler or measuring tape: Have a ruler or measuring tape on hand to measure and mark the desired distance for your paint line.
- Sponge or damp cloth: Keep a sponge or damp cloth nearby to quickly clean up any paint splatters or mistakes.
Once you have gathered all the necessary tools and materials, you’re ready to move on to preparing the space for painting.
Preparing the Space
Before you start painting, it’s important to properly prepare the space to ensure a smooth and successful process. Follow these steps to prepare the room:
- Cover your furniture and floor: Use drop cloths or plastic sheeting to protect your furniture and floor from any accidental paint splatters or drips.
- Remove any obstacles: Take down any wall decor, curtains, or light fixtures in the area you will be painting. This will give you a clear and unobstructed space to work with.
- Clean the surfaces: Use a mild soap and water solution to clean the walls and ceiling. This will remove any dirt, dust, or grease that could affect the paint adhesion.
- Repair any imperfections: If there are any cracks, holes, or dents in the walls or ceiling, use spackle or putty to fill them in. Smooth out the surface with sandpaper after the filler has dried.
- Protect adjacent areas: Apply painter’s tape to any areas adjacent to the wall and ceiling where you want to create a clean paint line. This could include door frames, windowsills, or baseboards.
Once you have completed these preparation steps, you’re ready to move on to applying painter’s tape to create a straight line.
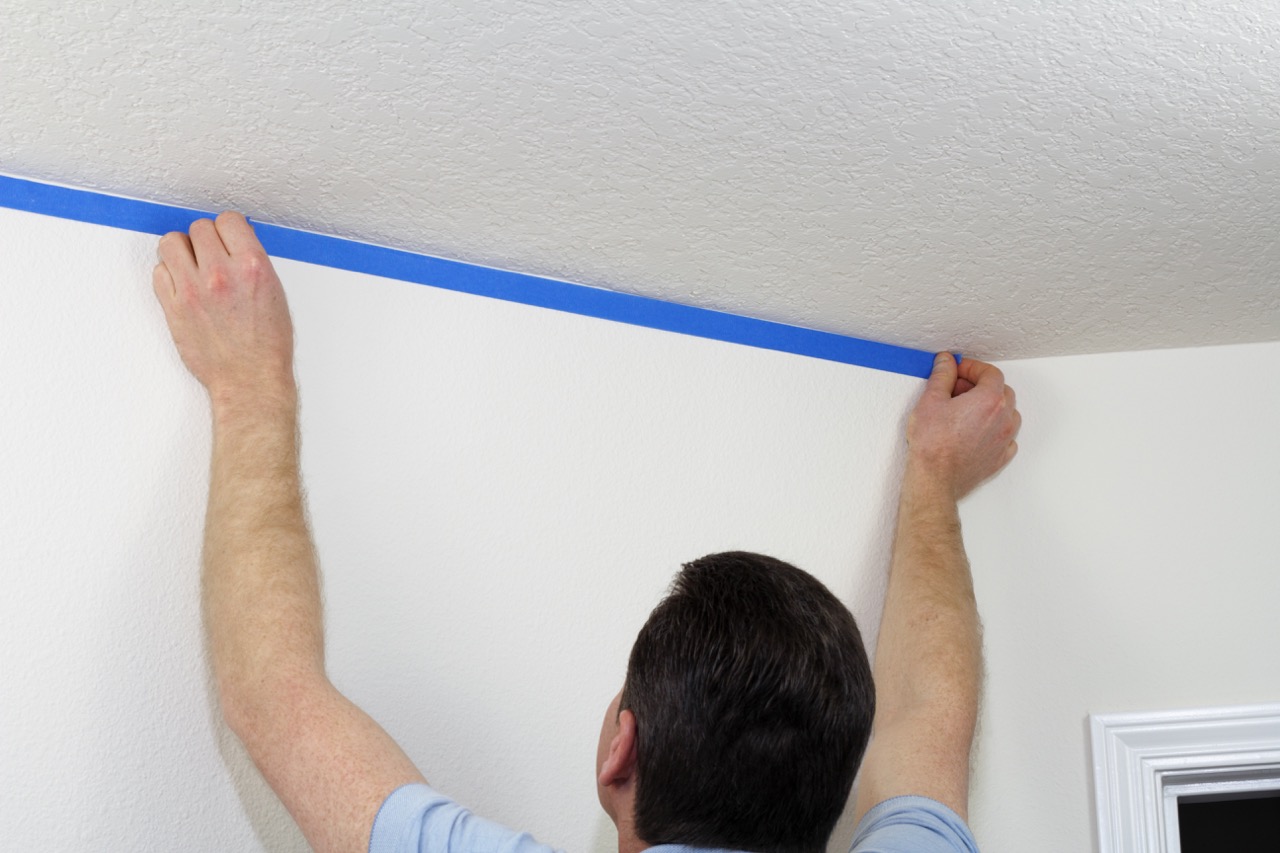
Applying Painter’s Tape
Painter’s tape is a crucial tool for achieving clean and precise lines when painting. Follow these steps to properly apply painter’s tape:
- Start by tearing off a length of painter’s tape that is slightly longer than the section you want to tape off.
- Hold one end of the tape against the wall or ceiling where you want the line to start. Press the tape firmly against the surface to create a strong bond.
- Extend the tape along the desired line, applying light tension to keep it straight. Press down the tape as you go to ensure proper adhesion.
- If you need to turn a corner or create an angled line, gently fold the tape to match the desired shape. Make sure the tape is securely adhered.
- Continue applying the tape until you reach the end of the section you want to tape off. Tear off the tape and press it firmly against the surface to create a clean edge.
- Repeat these steps for any additional sections you need to tape off.
It’s important to note that painter’s tape should be applied carefully and accurately to achieve the best results. Take your time and ensure the tape is properly positioned before moving on to the next step.
Now that you have applied the painter’s tape, you’re ready to move on to the next step: creating a straight line.
Creating a Straight Line
Now that the painter’s tape is in place, it’s time to create a clean and straight line between the wall and ceiling. Follow these steps to ensure a precise result:
- Take a ruler or measuring tape and measure the desired distance between the wall and ceiling where you want the paint line to be.
- Using a pencil or a light-colored marker, make small marks along the tape at regular intervals to indicate the measurement.
- Connect the marks with a straight line using the ruler or a straightedge. This will serve as a guideline for your paint line.
- Double-check the straightness of the guideline before moving on to the next step. Make any necessary adjustments to ensure a perfectly straight line.
- Once you’re satisfied with the guideline, it’s time to paint between the wall and ceiling.
Creating a straight line is an essential step to ensure a professional-looking paint job. Taking the time to measure accurately and create a guideline will pay off in the final result.
Next, let’s move on to painting between the wall and ceiling.
Use a high-quality angled brush and start by cutting in the line with a small amount of paint. Use steady, slow strokes and take your time for a clean, straight line.
Read more: What Do You Paint First: Ceiling Or Walls?
Painting between the Wall and Ceiling
Now that you have your guideline in place, it’s time to start painting between the wall and ceiling. Follow these steps to achieve a clean and seamless result:
- Start by dipping your angled paintbrush into the paint, removing any excess by gently tapping it against the side of the paint tray.
- Carefully and steadily paint along the guideline, making sure to stay within the taped-off area.
- Use long and smooth strokes to apply the paint, starting from one end of the guideline and working your way to the other end.
- Apply an even coat of paint, being mindful not to overload the brush to avoid drips or smudges.
- Work in small sections, gradually painting along the entire length of the guideline.
- If you accidentally go beyond the guideline or get paint on the painter’s tape, immediately wipe it off with a sponge or damp cloth.
- Once you have painted the entire section between the wall and ceiling, move on to the next section, painting in the same manner.
- Allow the paint to dry according to the manufacturer’s instructions before moving on to the next step.
Remember to take your time and be patient during the painting process. By following these steps, you will achieve a straight and even paint line between the wall and ceiling.
Now that the painting is done, it’s time to remove the painter’s tape.
Removing the Painter’s Tape
Now that the paint has dried, it’s time to remove the painter’s tape to reveal your clean and straight paint line. Follow these steps for a smooth removal process:
- Start by taking a utility knife or a sharp blade and scoring along the edge of the tape where it meets the wall or ceiling.
- Gently peel back the tape at a 45-degree angle, pulling it away from the painted surface.
- Continue peeling off the tape slowly and evenly, making sure not to rip or tear the paint.
- If you encounter any resistance or notice that the tape is pulling up the paint, stop and use the utility knife to score along the edge again.
- Dispose of the used painter’s tape properly.
As you remove the tape, admire the clean and straight line you have achieved between the wall and ceiling. It’s a satisfying moment to see your hard work and attention to detail pay off.
Now that the painter’s tape is removed, it’s time for the final steps: clean-up and finishing touches.
Clean-up and Finishing Touches
After completing the painting process, it’s important to properly clean up the space and add the finishing touches to ensure a polished look. Follow these steps:
- Dispose of the drop cloths or plastic sheeting and remove any protective coverings from furniture and floors.
- Inspect the painted area for any imperfections or areas that may need touch-up. Use a small paintbrush to fix any mistakes or uneven spots.
- Wipe down the walls and ceiling with a damp cloth to remove any dust or paint splatters.
- Clean your paintbrushes and roller thoroughly with soap and water. Allow them to dry completely before storing them.
- Inspect the overall look of the painted area from different angles and lighting conditions. Make any necessary adjustments or touch-ups as needed.
- Take a step back and admire your newly painted room with its clean and straight lines between the wall and ceiling. The attention to detail and precision you put into creating those lines have made a significant difference in the overall aesthetics of the space.
Congratulations – you have successfully painted straight lines between the wall and ceiling!
Remember, practice makes perfect. Don’t be discouraged if your first attempt doesn’t turn out exactly as you envisioned. With time and experience, you will become more skilled in creating straight and precise lines.
Now that you have mastered the art of painting straight lines, you can use this technique to enhance the overall look of any room in your home. So, grab your brushes, paints, and painter’s tape, and let your creativity flourish!
Happy painting!
Conclusion
Painting straight lines between the wall and ceiling can transform the look and feel of a room, giving it a professional and polished appearance. With the right tools, materials, and techniques, achieving clean and precise lines is attainable for anyone, regardless of their painting experience.
In this article, we have provided a step-by-step guide to help you paint straight lines between the wall and ceiling. From preparing the space and applying painter’s tape to creating a straight line and painting between the taped-off areas, each step is crucial in achieving a seamless and aesthetically pleasing result.
Remember to take your time throughout the process and pay attention to detail. Measure accurately, apply the painter’s tape carefully, and use smooth and consistent paint strokes. By following these guidelines, you can create beautiful and crisp lines that will enhance the overall look of your room.
Once you have finished painting, don’t forget to remove the painter’s tape carefully to reveal the clean lines you have created. Clean up any paint splatters or imperfections, and take a moment to admire your hard work and attention to detail.
Now that you have learned how to paint straight lines between the wall and ceiling, you can confidently tackle your next painting project. Whether it’s a bedroom, living room, or any other space in your home, you have the knowledge and skills to achieve professional-looking results.
So, gather your painting supplies, follow the steps outlined in this article, and let your creativity shine. Enjoy the process of transforming your space with clean and straight paint lines!
Happy painting!
Frequently Asked Questions about How To Paint Straight Lines Between Wall And Ceiling
Was this page helpful?
At Storables.com, we guarantee accurate and reliable information. Our content, validated by Expert Board Contributors, is crafted following stringent Editorial Policies. We're committed to providing you with well-researched, expert-backed insights for all your informational needs.


0 thoughts on “How To Paint Straight Lines Between Wall And Ceiling”