Home>Interior Design>Quick And Easy Paint Projects: 10 Speedy And Stylish Ideas
Interior Design
Quick And Easy Paint Projects: 10 Speedy And Stylish Ideas
Modified: September 2, 2024
Transform your space with these 10 quick and stylish interior design paint projects. From accent walls to furniture makeovers, these ideas are easy and impressive.
(Many of the links in this article redirect to a specific reviewed product. Your purchase of these products through affiliate links helps to generate commission for Storables.com, at no extra cost. Learn more)
Introduction
When it comes to transforming the look and feel of your home, paint has the power to work wonders. Whether you’re looking to give your space a quick refresh or add a touch of personality, paint projects offer a speedy and stylish solution. With just a few coats of paint, you can completely revamp the appearance of any room, furniture piece, or even outdoor elements.
In this article, we’ve compiled a list of 10 quick and easy paint projects that will inspire you to get creative and transform your space. From refreshing your front door to painting ceiling medallions, each idea is designed to be simple yet impactful. So, grab your paintbrushes and let’s dive into these exciting projects!
Key Takeaways:
- 1. Quick and easy paint projects offer a fun and rewarding way to transform your home’s interior and exterior, adding personalized style and visual appeal to every space.
- 2. From refreshing front doors to revamping furniture, these paint projects allow you to unleash your creativity while enhancing the functionality and aesthetics of your home.
Read more: 10 Quick And Easy Deck Ideas To Try
Refreshing your front door
Your front door is the first thing guests see when they enter your home, so why not make a statement? Refreshing your front door with a fresh coat of paint is a quick and easy project that can instantly elevate your curb appeal.
Start by choosing a color that complements the exterior of your home. Bold and vibrant colors like red, yellow, or blue can add a pop of personality, while neutral tones like gray or black can create a timeless and sophisticated look. Don’t be afraid to get creative and go for a unique color that reflects your personal style.
Before painting, make sure to thoroughly clean the door surface and remove any dirt or debris. Use sandpaper to smooth out any rough spots and apply a primer to create a smooth painting surface. Then, apply two coats of paint, allowing proper drying time in between.
To further enhance the look of your front door, consider adding decorative elements like a wreath or house numbers. These small details can make a big impact and give your front entrance a polished and welcoming vibe.
Refreshing your front door with a fresh coat of paint not only improves its appearance but also provides added protection against the elements. So, go ahead and give your front door a new lease on life with this simple and rewarding paint project.
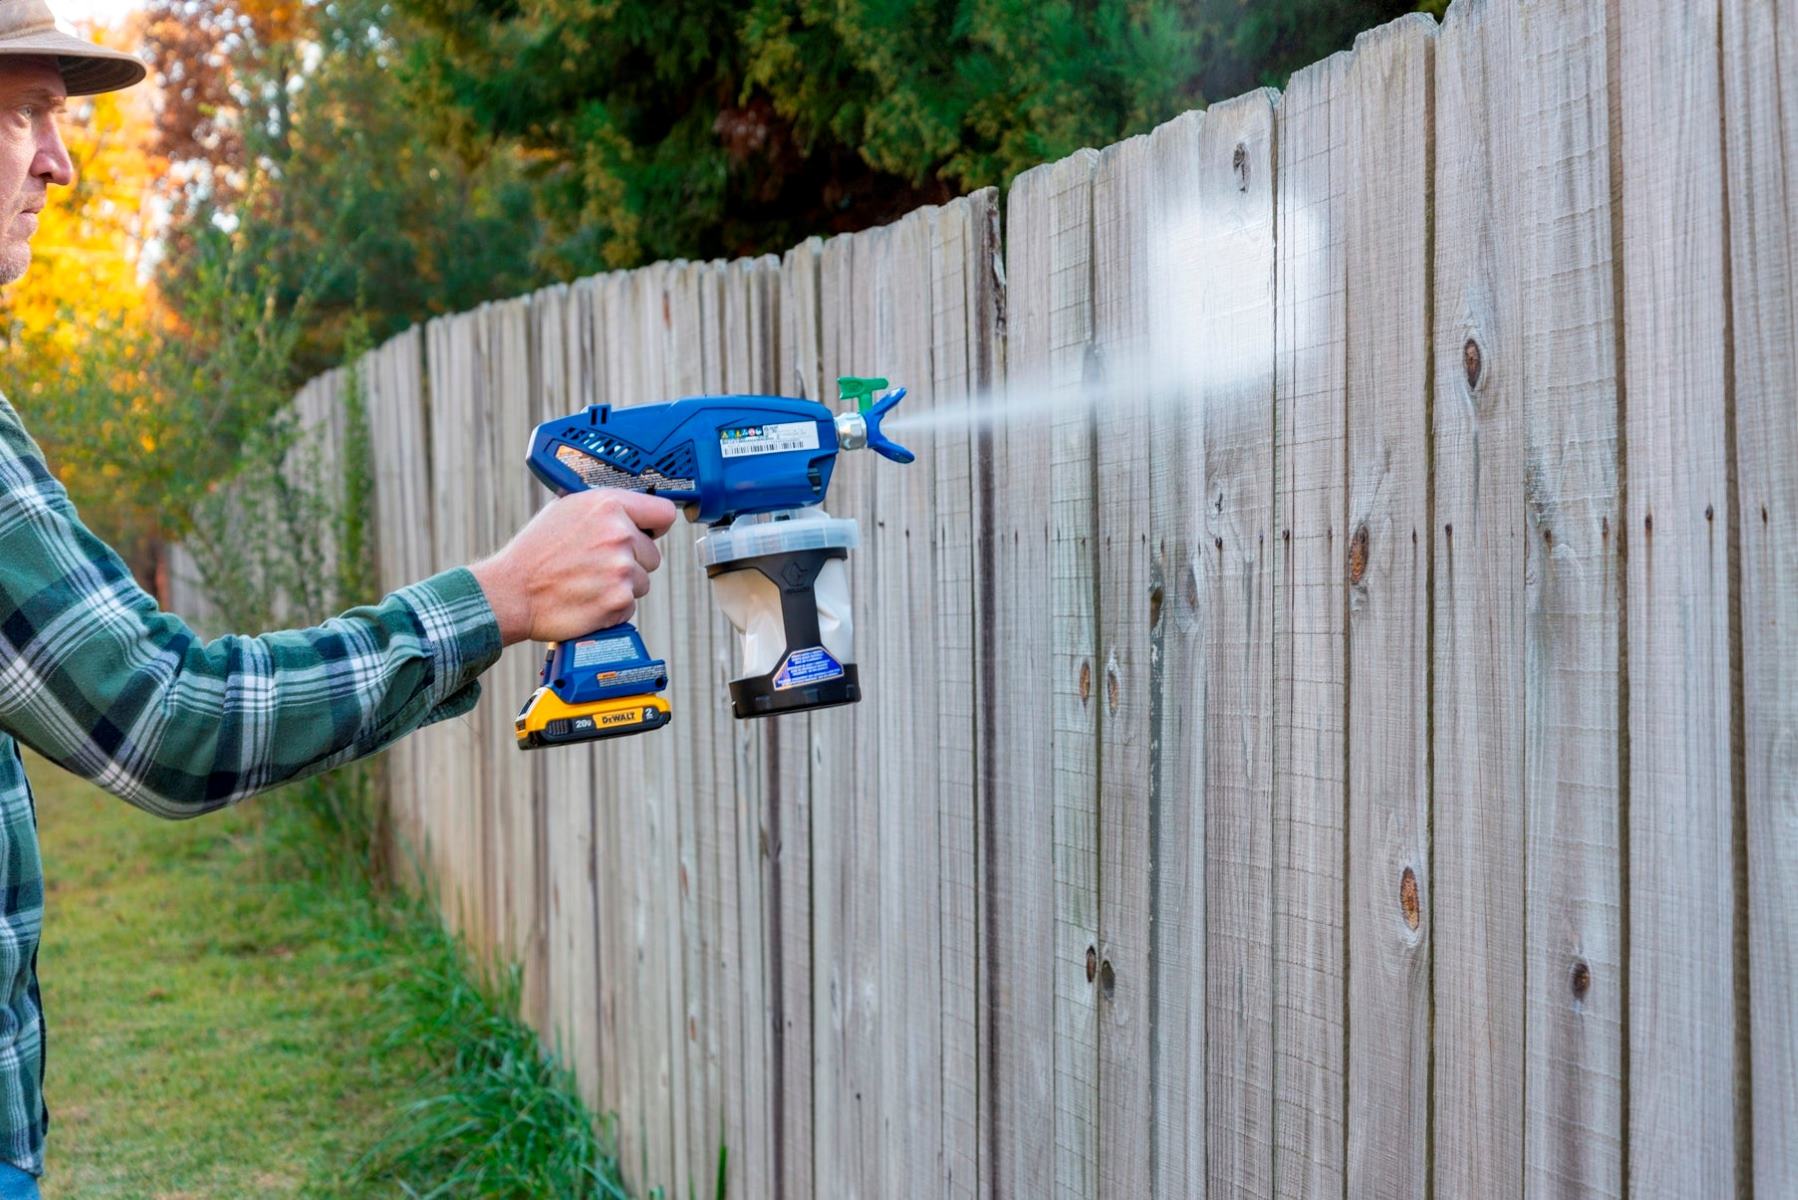
Statement accent wall
If you want to transform a room and make a bold statement, an accent wall is the way to go. Adding a splash of color or a unique design to one wall can instantly change the look and feel of the entire space.
Start by choosing a wall that will serve as your accent wall. It’s typically the one that catches the eye when you enter the room or the one that provides a focal point. Once you’ve selected the wall, decide on the color or design that will make it stand out.
If you’re opting for a solid color, choose a hue that complements the existing color scheme of the room. This could be a contrasting color that adds depth and visual interest or a complementary color that harmonizes with the other walls. Don’t be afraid to experiment with bold or vibrant colors to create a dramatic effect.
If you’re feeling more adventurous, consider adding a unique design to your accent wall. Some popular options include geometric patterns, stripes, or even a mural. You can use painter’s tape to create crisp lines or stencils to achieve intricate designs. Remember to plan and measure before starting to ensure a precise and cohesive look.
Once you’ve decided on the color or design, prep the wall by cleaning it and repairing any imperfections, like cracks or holes. Apply a coat of primer to create a smooth painting surface and then start painting. Use a brush or roller and apply multiple coats if needed, allowing drying time in between.
The accent wall will instantly become the focal point of the room, creating a visual impact and adding character and dimension. It’s a simple and cost-effective way to transform any space and give it a stylish and personalized touch.
Upcycled furniture
Looking to give your old furniture a new lease on life? Upcycling is a fantastic way to transform outdated or worn-out pieces into stylish and unique statement pieces for your home.
Start by selecting a piece of furniture that you want to upcycle. This could be a dresser, a coffee table, or even a chair. Consider the style and shape of the furniture and envision how you want it to look once you’re done.
Before painting, make sure to clean and prep the furniture by sanding it to remove any existing finish and create a smooth surface for the paint to adhere to. Fill in any gaps or cracks with wood filler and give it a good wipe down to remove any dust.
Next, choose a paint color that suits your style and complements the overall aesthetic of your space. You can opt for a neutral color for a sleek and modern look, or go for a bold and vibrant hue to make a statement. Apply two to three coats of paint, allowing each coat to dry thoroughly.
If you want to add some extra flair to your upcycled furniture, consider incorporating techniques like distressing or adding a stencil design. Distressing can give your piece a vintage or rustic look, while stenciling can create unique patterns or motifs.
Once the paint is dry, apply a protective topcoat or sealant to ensure the longevity of your upcycled furniture. This will help protect the paint from scratches and damage, keeping your piece looking fresh for years to come.
Upcycled furniture not only adds character to your space but also promotes sustainability by giving new life to old items. It’s a great way to showcase your creativity and create one-of-a-kind pieces that reflect your personal style.
Colorful plant pots
Plants are a fantastic way to bring life and beauty into your home, and you can take their aesthetic one step further by giving your plant pots a vibrant makeover.
Start by gathering a variety of plain plant pots in different shapes and sizes. These can be ceramic, terracotta, or even plastic. The key is to have a diverse collection to create visual interest.
Before painting, make sure to clean the plant pots thoroughly and allow them to dry completely. This will ensure that the paint adheres smoothly to the surface. You can use soap and water or a mild cleaning agent to remove any dirt or residue.
Next, choose a color palette that complements your interior decor or the theme of your space. It could be a monochromatic look with different shades of the same color, or you can opt for a bold and contrasting combination. Consider using high-quality outdoor paint that is suitable for withstanding moisture and temperature fluctuations.
Now comes the fun part – painting! You can use a brush or a sponge to apply the paint to the plant pots, allowing your creativity to guide you. Experiment with solid colors, patterns, or even create a gradient effect by blending different shades together.
Once the paint has dried, consider adding additional design elements like stencils, stickers, or even hand-painted patterns. This will add a personalized touch to your plant pots and make them truly unique.
Finally, don’t forget to seal the painted plant pots with an outdoor varnish or sealant. This will protect the paint from wear and tear and ensure its longevity.
Colorful plant pots not only add a pop of color to your indoor or outdoor space but also serve as a decorative element that complements your beloved plants. They can be arranged in a group or scattered around your home to create a cohesive and visually appealing display.
Painted picture frames
Do you have old picture frames lying around that could use a fresh update? Painting them is a creative and budget-friendly way to add a touch of color and style to your wall decor.
Start by gathering a collection of picture frames that you want to paint. They can be various sizes and shapes, as the goal is to create an eclectic and visually interesting display.
Before painting, remove any glass, photos, or artwork from the frames. Clean them thoroughly to remove any dust or residue. You can use a mild soap and water solution or a damp cloth for this purpose.
Next, choose a paint color or combination of colors that complements your room’s aesthetic. You can opt for a cohesive color scheme that matches your existing decor or go for bold and contrasting hues to make a statement.
When it comes to painting the frames, you have several options. You can paint them with a brush for a smooth and even finish, or you can try techniques like distressing or dry brushing for a more rustic or vintage look.
For distressing, lightly sand the edges and corners of the frame to create a worn and weathered appearance. This adds a touch of character and charm to the frames. Dry brushing involves dipping a dry brush in paint and lightly brushing it onto the frame, creating a textured and imperfect finish.
Once the paint has dried, you can further embellish the frames with additional decorative elements. Consider using stencils, stickers, or even decoupage techniques to add patterns, designs, or images.
Finally, reassemble the frames by inserting the glass, photos, or artwork back into place. Hang them on your walls or display them on shelves or mantels to showcase your newly painted picture frames.
Painted picture frames allow you to personalize your wall decor and add a pop of color to your space. They are a fun and creative way to transform old frames into unique pieces of art.
When painting a room, start with the ceiling and work your way down to the walls and then the trim. This will help you avoid drips and splatters on your freshly painted surfaces.
Revamped lampshades
Lampshades often go unnoticed, but they play a significant role in the overall ambiance of a room. Revamping your lampshades with a fresh coat of paint can breathe new life into your lighting fixtures and add a touch of style and personality.
Start by selecting the lampshades you want to update. They can be fabric, paper, or even plastic. Make sure they are clean and free from any dust or debris.
Choose a paint color or colors that complement your existing decor or make a statement. Lighter shades can create a soft and airy feel, while bolder colors can add a vibrant and eye-catching element to the room.
Before painting, it’s important to prepare the lampshades. If they have any stains or discoloration, you can try spot-cleaning them with a mild soap and water solution. Make sure the lampshades are completely dry before proceeding.
Next, protect the base or hardware of the lamp by covering it with tape or plastic wrap. This will prevent any accidental paint splatters on the surface that you don’t want to be painted.
Now you can start painting the lampshades. You can use a brush or a spray paint specifically designed for fabric or paper surfaces. Apply thin and even coats until you achieve the desired color intensity. Let each coat dry before applying the next one.
If you want to add some extra flair to your revamped lampshades, consider using stencils to create patterns or designs. This will add a unique and personal touch to the lampshades.
Once the paint has dried completely, remove any tape or plastic wrap from the base or hardware of the lamp. Reattach the lampshades to the lamps and enjoy the refreshed look and feel they bring to your space.
Revamped lampshades allow you to customize your lighting and create a cohesive and stylish look in any room. It’s a simple and cost-effective way to add a fresh and personalized touch to your home decor.
Painted mason jars
Mason jars have become a staple in home decor, and painting them is a creative way to add a pop of color and charm to your space. Whether you use them for storage, as flower vases, or as candle holders, painted mason jars can instantly transform any room.
Start by gathering a collection of mason jars in various sizes. Make sure they are clean and free from any labels or residue. You can use soap and warm water to wash them or soak them in a vinegar solution to remove any stubborn labels.
Next, choose a paint color or colors that suit your decor style and the desired mood of your space. You can go for a monochromatic look using different shades of the same color or opt for a vibrant and eclectic mix of hues.
When it comes to painting mason jars, you have a few options. One approach is to apply a base coat using a brush or spray paint. Once the base coat is dry, you can create designs or patterns using stencils or tape. Alternatively, you can create a distressed look by lightly sanding the painted surface to reveal some of the underlying glass.
If you prefer a more translucent effect, you can try painting the inside of the jars. Pour a small amount of acrylic paint into the jar and swirl it around until the inside is evenly coated. Let the excess paint drip out and then let the inside of the jar dry completely.
Once the paint is fully dry, you can further embellish the mason jars with additional decorative elements. Consider using glitter, twine, or ribbon to add extra flair. You can also attach labels or tags to personalize them or use a clear topcoat to protect the paint and make it more durable.
The versatility of painted mason jars makes them suitable for any room in your home. They can be used as vases for flowers, as storage containers for small items, or even as candle holders to create a cozy ambiance.
Painting mason jars allows you to unleash your creativity and customize your home decor with a touch of rustic and vintage charm. They make for wonderful DIY projects and can be easily personalized to match your unique style.
Painted staircase risers
If you’re looking to make a bold and stylish statement in your home, consider painting your staircase risers. This often overlooked part of the stairs can be transformed into a unique and eye-catching design element with a simple coat of paint.
Start by assessing the condition of your staircase risers. Ensure they are clean, free from any dust or debris, and in good repair. If there are any cracks or imperfections, patch them up and sand the surface to create a smooth base for painting.
When it comes to choosing a paint color or design, the options are endless. You can opt for a solid color that complements the overall color scheme of your home, or get creative with patterns and designs.
If you’re hesitant to commit to a permanent design, you can try using removable adhesive wallpaper or stencils. This way, you can easily change the look whenever you desire without the need for repainting.
Measure the dimensions of each riser carefully and mark the boundaries of the area you want to paint. Use painter’s tape to mask off the areas adjacent to the risers to ensure clean and precise lines.
Start by applying a coat of primer to the risers, especially if they are made of wood. Primer helps the paint adhere better and provides a smoother and more durable finish.
Once the primer is dry, it’s time to apply the paint. You can use a small roller or a brush, depending on the size and complexity of your design. Apply thin and even coats, allowing each coat to dry before applying the next one.
If you’re feeling adventurous, you can experiment with different patterns, such as stripes or geometric designs. You can also consider adding a touch of creativity by using different shades of the same color or incorporating complementary colors.
Once the paint has dried completely, remove the painter’s tape carefully to reveal clean and crisp lines. If desired, you can apply a clear topcoat to protect the paint from wear and tear, ensuring its longevity.
Painted staircase risers are a fantastic way to add character and style to your home. They serve as a focal point and can transform a mundane staircase into a work of art. Whether you choose a simple and elegant design or something more elaborate, painted staircase risers are sure to impress anyone who walks up the stairs.
Read more: Easy Ways To Give Your Home Character
Painted window shutters
Windows are an essential feature of any home, and adding a pop of color to your exterior by painting your window shutters can enhance the overall curb appeal. This simple and effective paint project can instantly transform the look of your home and add a touch of charm and personality.
Before starting the painting process, ensure that your shutters are clean and free from any dirt or grime. Use soap and water or a mild cleaning solution to wash them thoroughly. If there are any rough spots or imperfections, sand them down to create a smooth painting surface.
Choose a paint color that complements the exterior of your home and blends well with the surrounding elements. Consider the architectural style of your house and your personal preferences when making your color choice.
Start by applying a coat of primer to the shutters. Primer helps the paint adhere better and provides a uniform and long-lasting finish. Allow the primer to dry completely before moving on to the next step.
Next, apply the paint. Use a brush or a roller to ensure an even application. Apply multiple thin coats, allowing each coat to dry before applying the next one. This will result in a more professional-looking finish.
If you’re feeling creative, you can consider adding an accent color or a decorative design to your window shutters. For example, you could paint the louvers a different color than the rest of the shutter or add stripes or a stencil pattern.
Once the shutters are completely dry, you can reattach them to your windows and step back to admire the beautiful transformation. The painted shutters will not only add visual interest but also protect and prolong the life of the shutters by providing a layer of protection against the elements.
Painted window shutters are a budget-friendly way to give your home’s exterior a fresh and inviting look. They offer endless possibilities for customization while enhancing the architectural beauty of your house.
Painted ceiling medallions
Ceiling medallions are elegant decorative features that can instantly enhance the beauty and character of any room. By painting them, you can add a personalized touch and make them stand out as unique focal points on your ceiling.
Before painting the ceiling medallions, ensure that they are clean and free from any dust or debris. Wipe them down with a damp cloth and let them dry completely before proceeding.
Choose a paint color that complements the overall color scheme of your room and matches your desired aesthetic. You can opt for a bold and striking color to make a statement or go for a subtle tone that blends harmoniously with the ceiling.
Start by applying a coat of primer to the ceiling medallions. This will help the paint adhere better and provide a smooth and even finish. Allow the primer to dry according to the manufacturer’s instructions.
Next, use a small brush or a fine-tipped paintbrush to carefully paint the medallions. Take your time to ensure that each intricate detail is coated evenly. If needed, apply multiple thin coats, allowing each coat to dry before adding the next.
If you want to create a more dramatic effect, consider using multiple colors on different sections of the medallion. This can help highlight specific details and add depth to the overall design.
Once the paint has dried completely, inspect the medallions for any imperfections or uneven areas. Touch up any areas that require additional attention and let them dry again.
After the paint is fully dry, you can further enhance the look of the ceiling medallions by adding additional decorative elements, such as metallic accents or a faux finish. These touches can elevate the elegance and visual appeal of the medallions.
When it’s time to install the painted ceiling medallions, ensure that they are securely attached to the ceiling following the manufacturer’s instructions. Step back and admire the unique and customized look of your painted ceiling medallions.
Painted ceiling medallions are an exquisite way to add elegance and personality to any room. They can transform a plain ceiling into a captivating focal point, creating a truly enchanting atmosphere in your home.
Conclusion
Paint projects offer a fantastic way to breathe new life into your home’s interior and exterior. From refreshing your front door to painting ceiling medallions, each idea presented in this article can bring a dose of style and personality to your space. By incorporating these quick and easy paint projects into your home decor, you can create a customized and visually captivating environment.
When embarking on any paint project, it’s important to start with proper preparation. Clean and prime the surfaces to ensure a smooth and long-lasting finish. Choose paint colors and designs that align with your personal taste and complement your existing decor. Allow ample drying time between coats to achieve a professional-looking result.
Whether you want to make a statement with a statement accent wall, breathe new life into old furniture with upcycling, or add pops of color to your plant pots or picture frames, each project can be a fun and rewarding experience. Don’t be afraid to let your creativity shine and experiment with different techniques and patterns.
As you embark on your journey of transforming your home with paint projects, remember to strike a balance between creativity and functionality. While adding a unique and personalized touch is important, also consider factors such as durability and practicality to ensure lasting results.
By implementing these quick and easy paint projects, your home can undergo a remarkable transformation. Not only will you enjoy the process of painting, but you will also have a space that reflects your personal style and creates a warm and inviting atmosphere.
So, pick up your paintbrushes and let your imagination run wild. With these paint projects, you have the power to turn your house into a home that truly showcases your individuality and design sensibilities.
Frequently Asked Questions about Quick And Easy Paint Projects: 10 Speedy And Stylish Ideas
Was this page helpful?
At Storables.com, we guarantee accurate and reliable information. Our content, validated by Expert Board Contributors, is crafted following stringent Editorial Policies. We're committed to providing you with well-researched, expert-backed insights for all your informational needs.


0 thoughts on “Quick And Easy Paint Projects: 10 Speedy And Stylish Ideas”