Home>Furniture>Living Room Furniture>How To Build A Crate Coffee Table
Living Room Furniture
How To Build A Crate Coffee Table
Modified: March 16, 2024
Transform your living room with a stunning crate coffee table. Learn how to build this unique piece of living room furniture and add a rustic touch to your space.
(Many of the links in this article redirect to a specific reviewed product. Your purchase of these products through affiliate links helps to generate commission for Storables.com, at no extra cost. Learn more)
Introduction
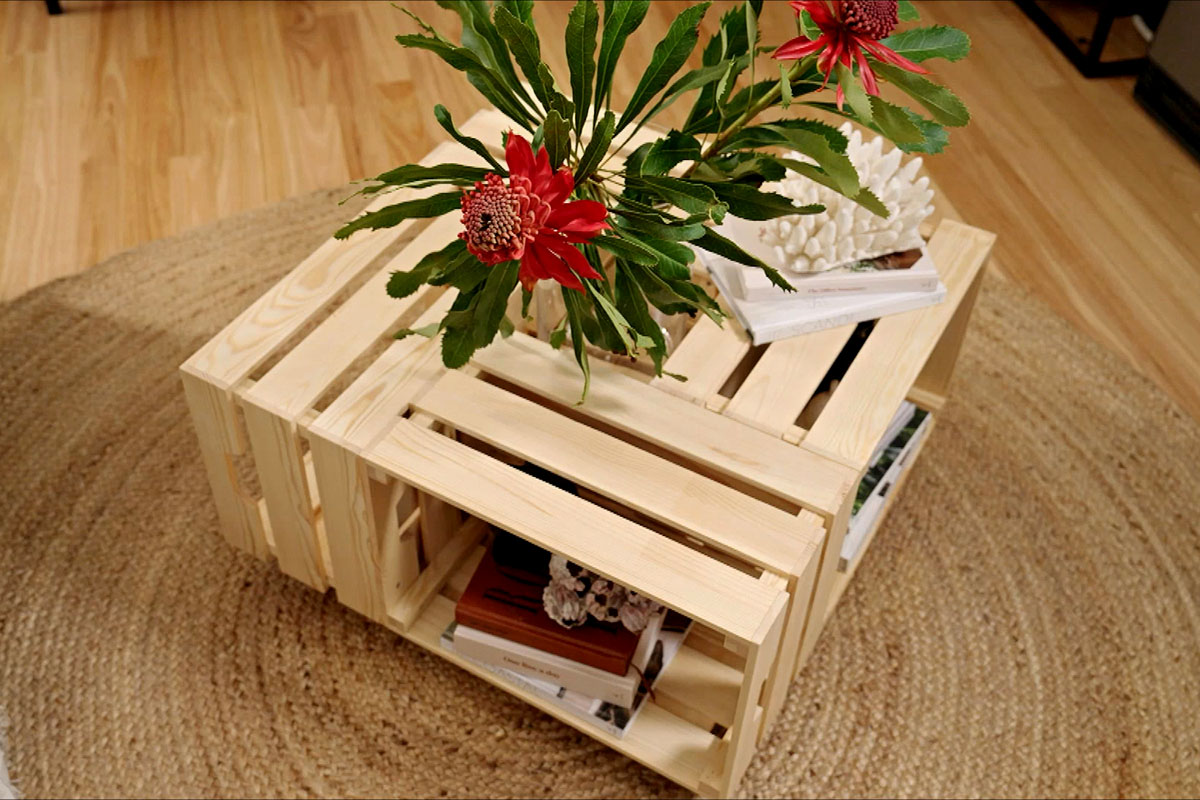
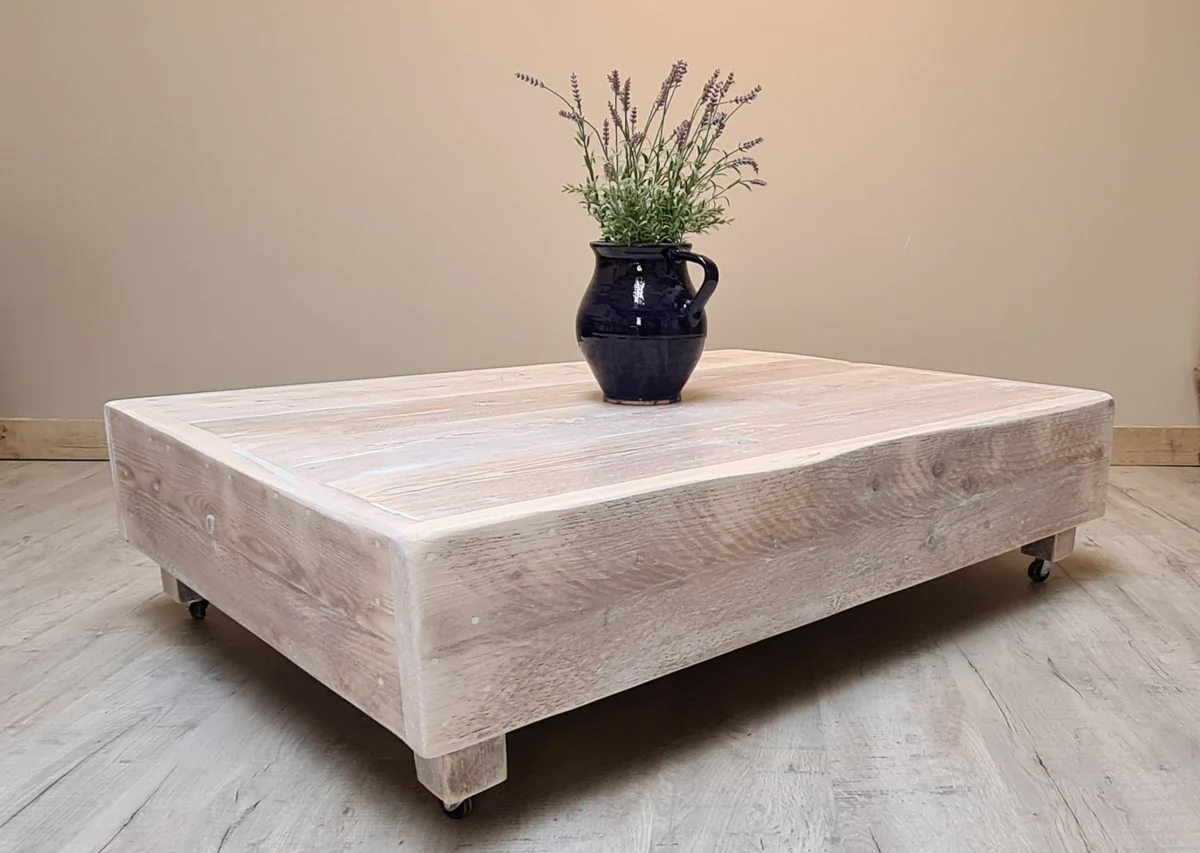
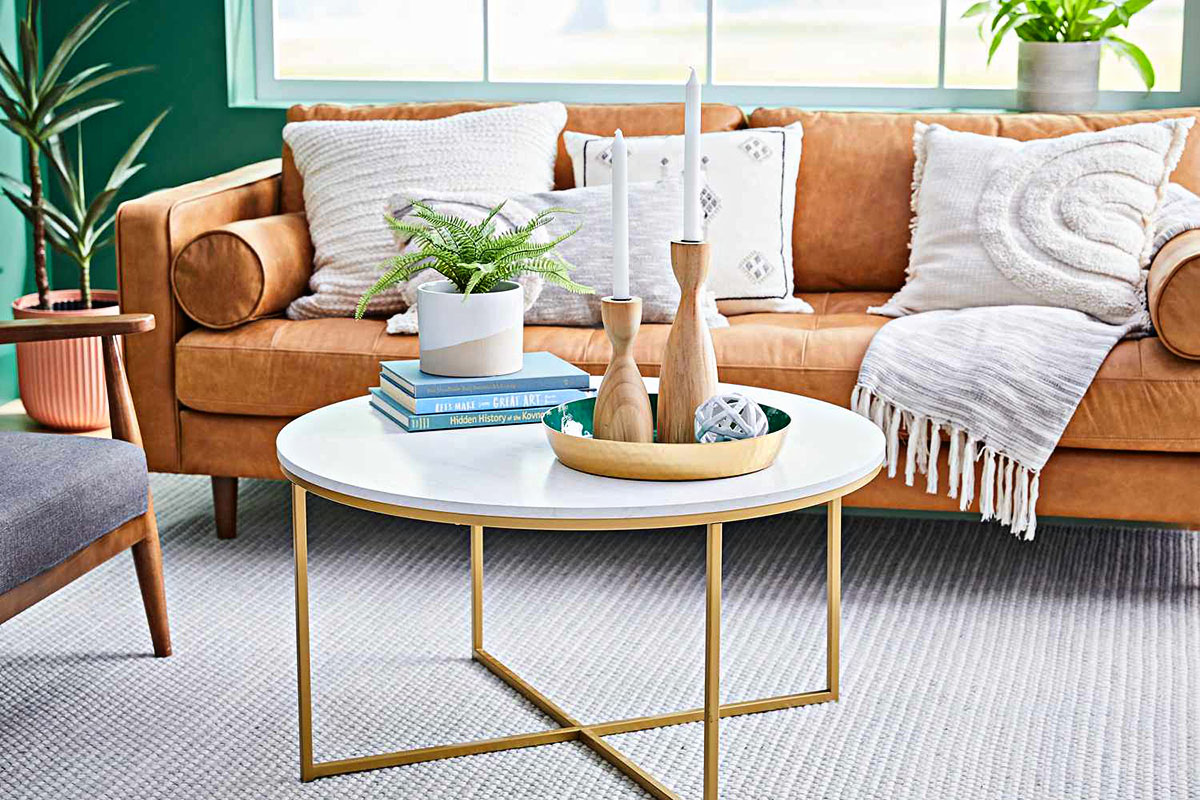
Welcome to the world of DIY furniture! One of the most versatile pieces you can add to your living room is a crate coffee table. Not only is it a functional and stylish addition, but it also adds a touch of rustic charm to your space. Plus, it’s a relatively easy and budget-friendly project that you can tackle on your own.
In this article, we will guide you through the step-by-step process of building your very own crate coffee table. We’ll cover everything from gathering the materials to adding the finishing touches, so you’ll have a beautiful and unique piece that reflects your personal style. So let’s roll up our sleeves and get started!
Key Takeaways:
- Building a crate coffee table is a fun and budget-friendly DIY project that adds rustic charm to your living room. Gather materials, sand, paint or stain, and assemble the crates for a unique and personalized piece of furniture.
- Adding optional legs and finishing touches like clear coat or decorative elements can elevate your crate coffee table. Embrace your creativity, save money, and enjoy the satisfaction of crafting a stylish and functional centerpiece for your home.
Read more: How To Build A Round Coffee Table
Materials Needed
Before you get started, it’s important to gather all the necessary materials for building your crate coffee table. Here’s a list of what you’ll need:
- Wooden crates – the number of crates depends on the size of the coffee table you want to build. You can find wooden crates at your local hardware store or even repurpose old ones.
- Sandpaper – to smooth out any rough edges and prepare the surface for staining or painting.
- Stain or paint – choose the color that fits your aesthetic preferences. Stain enhances the natural wood grain while paint offers more customization options.
- Paintbrushes or foam brushes – for applying the stain or paint evenly.
- Wood glue – to secure the crates together.
- Clamps – to hold the crates in place while the wood glue dries.
- Wooden legs (optional) – if you want to elevate your coffee table, you can attach decorative wooden legs to the bottom of the crates.
- Screws or brackets (optional) – for attaching the legs to the crates.
- Screwdriver or drill – for inserting screws or brackets if you choose to add legs.
- Clear coat or sealant (optional) – to protect the surface of the coffee table from spills and stains.
Make sure to have these materials on hand before you begin your project to ensure a smooth and uninterrupted building process.
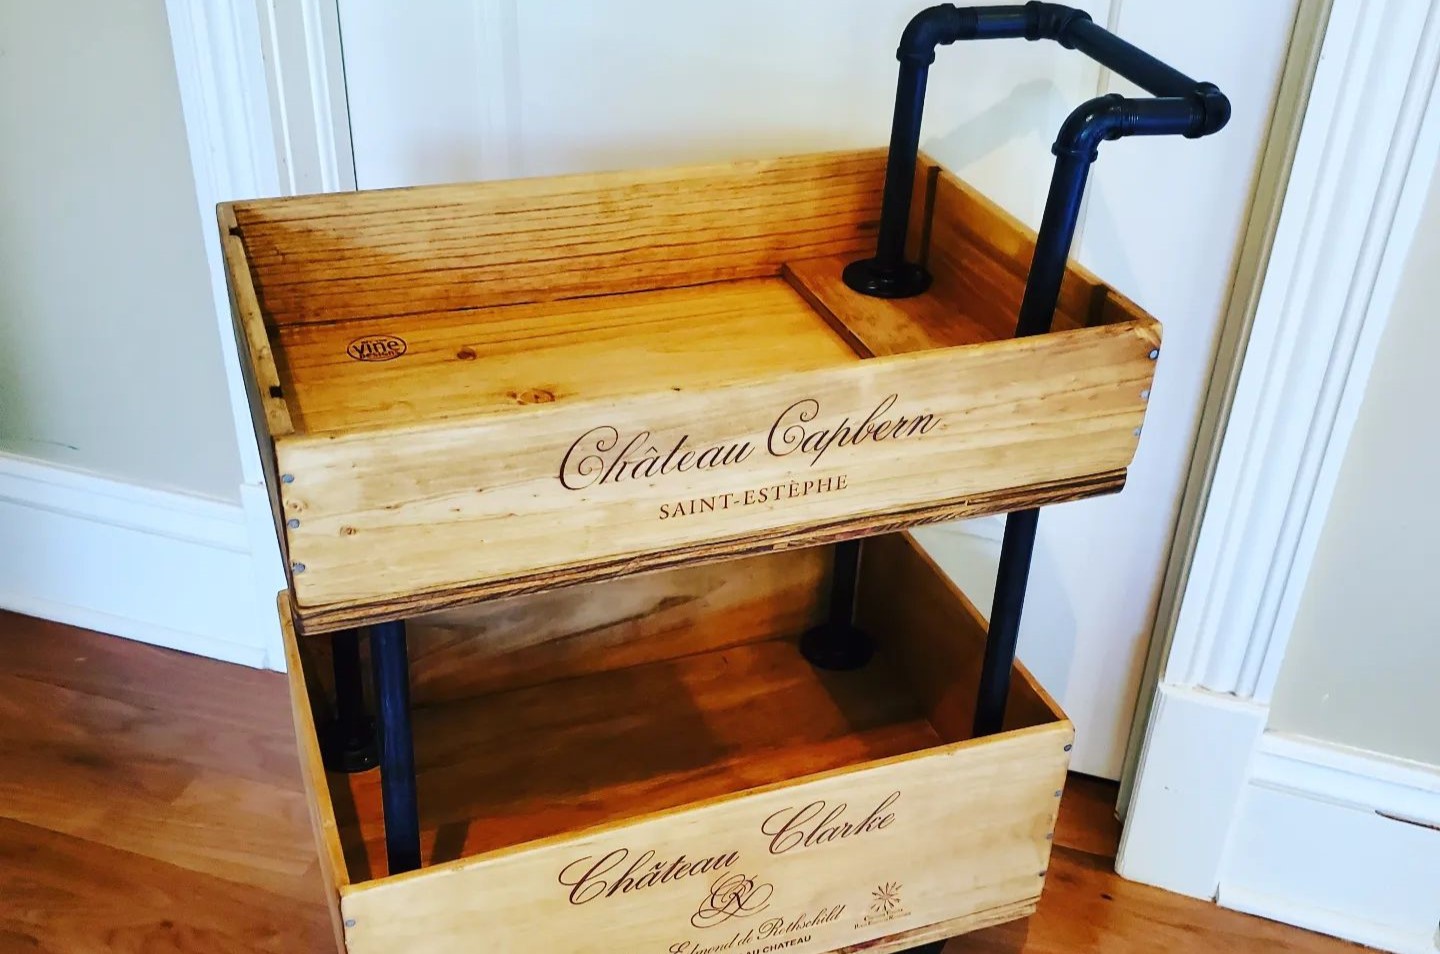
Step 1: Gathering the Crates
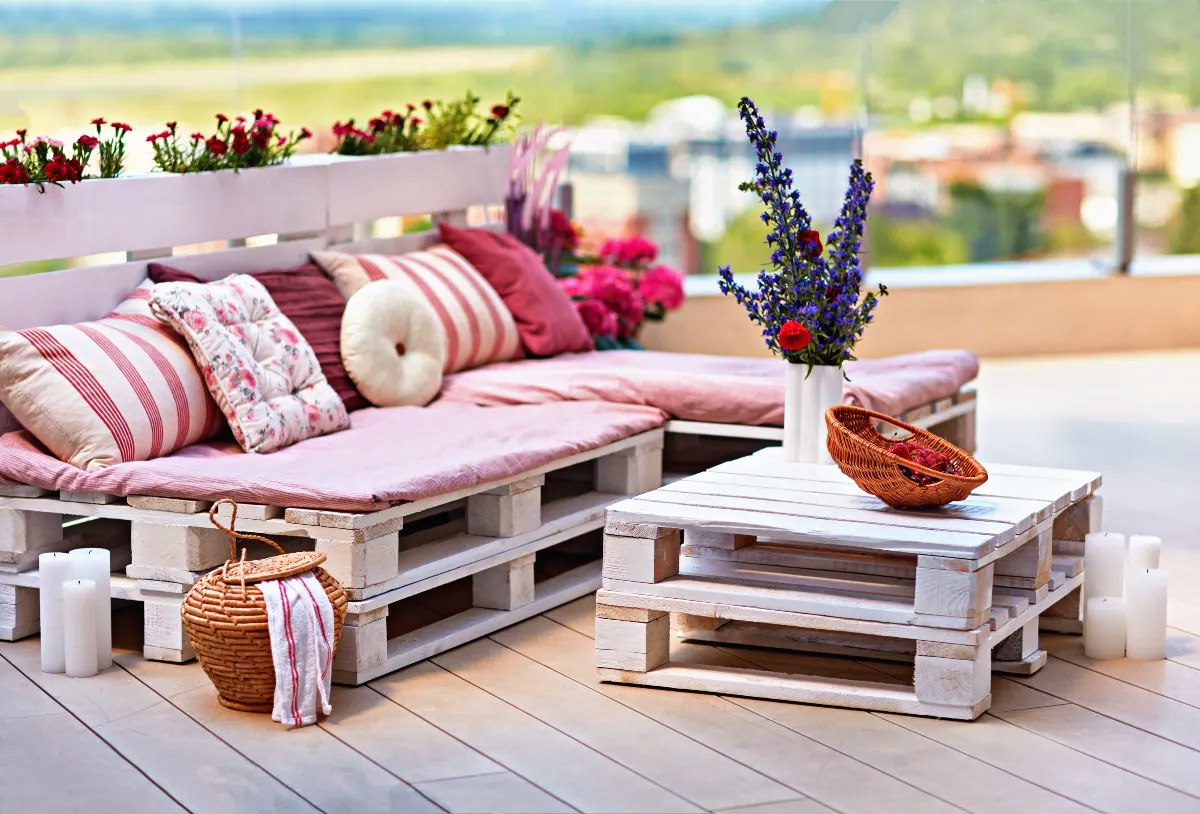
The first step in building your crate coffee table is finding the perfect wooden crates. You can purchase new crates from your local hardware store or search for secondhand ones to give your table a more rustic and unique look.
If you’re opting for secondhand crates, you can often find them at flea markets, thrift stores, or even online. Look for sturdy crates without any major damage or rot. It’s also a good idea to measure the dimensions of the crates to ensure they will fit together properly.
Keep in mind that the number of crates you’ll need depends on the size of the table you want. For a standard-sized coffee table, two or three crates should suffice. However, feel free to get creative and use more or fewer crates to achieve your desired design.
Once you have your crates, give them a thorough cleaning to remove any dust or dirt. You can use a damp cloth or sponge with mild soap to gently clean the surfaces. Allow the crates to dry completely before moving on to the next step.
Gathering the crates is an exciting part of the process as it sets the foundation for your unique coffee table. Enjoy the hunt for the perfect crates and envision how they will come together to form a stunning centerpiece for your living room.
Step 2: Sanding the Crates
After gathering your wooden crates, the next step is to sand them to create a smooth surface. Sanding not only helps to remove any rough edges or splinters but also prepares the surface for staining or painting.
Start by inspecting each crate for any sharp corners or jagged edges. Use sandpaper with a medium grit (around 120-150) to carefully sand these areas, smoothing them out to create a safer and more comfortable piece of furniture.
Once you’ve addressed any rough spots, proceed with sanding the entire surface of each crate. Use long, even strokes in the direction of the wood grain to achieve the best results. Be sure to sand all sides of the crates, including the top, bottom, and inside, if applicable.
The amount of sanding required may vary depending on the condition of the crates and your personal preference. If you prefer a more distressed or weathered look, you can sand the crates more aggressively, focusing on areas that would naturally show wear and tear.
After sanding, wipe down the crates with a clean cloth or brush to remove any dust or debris. This step ensures that the surface is clean and ready for the next stage of the process.
Sanding the crates not only improves the appearance and feel of the wood, but it also creates a smoother canvas for staining or painting. Take your time with this step to ensure a polished and professional-looking coffee table.
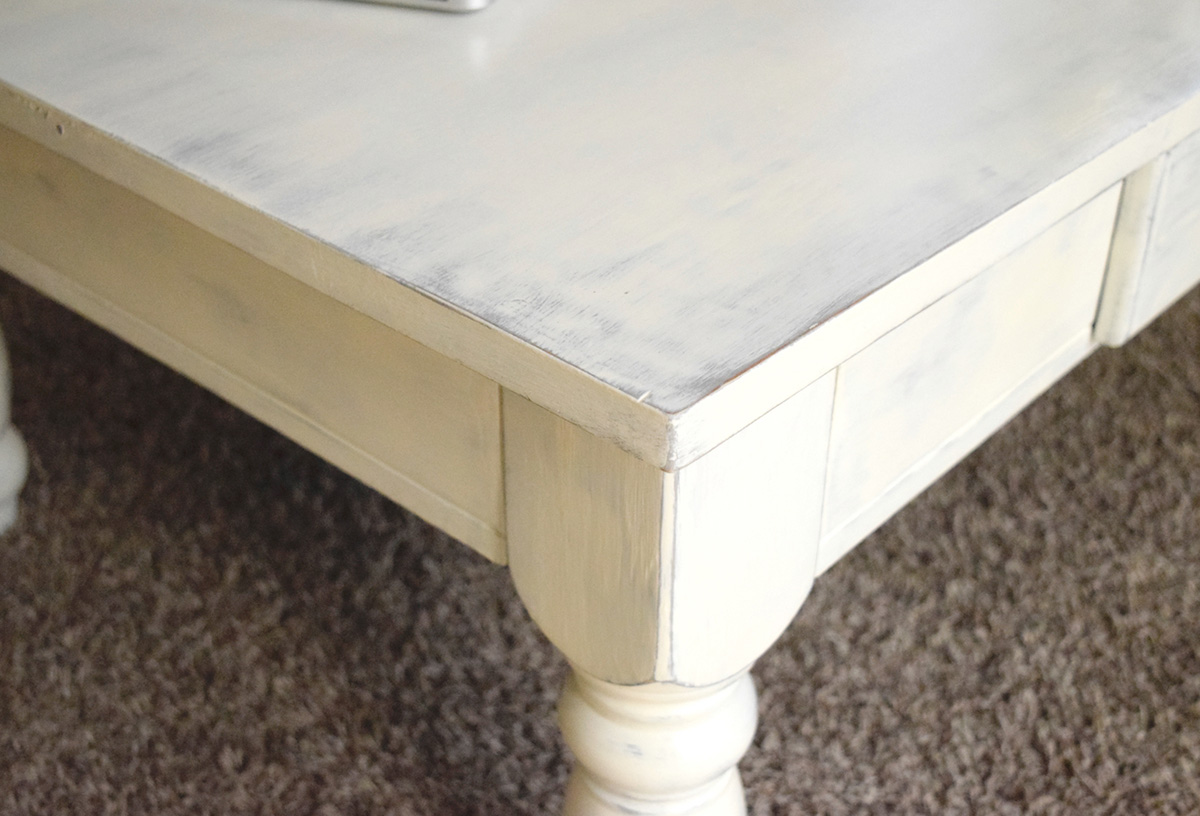
Step 3: Staining or Painting the Crates
With the crates sanded and prepped, it’s time to add color and personality to your coffee table by staining or painting the crates. This step allows you to customize your table to match your existing decor or create a standout statement piece.
If you prefer the natural beauty of wood, staining is a great option. Choose a stain color that complements your overall color scheme and desired aesthetic. There are various types of wood stains available, including water-based, oil-based, and gel stains. Follow the manufacturer’s instructions for application and drying times.
Apply the stain with a brush or cloth, ensuring even coverage over the entire surface of each crate. For a deeper shade, you can apply multiple coats, allowing each coat to dry before adding another. Remember to wipe off any excess stain with a clean cloth to achieve a smooth and consistent finish.
If you have a specific color scheme in mind or want to add a pop of vibrant color, painting the crates is an excellent choice. Acrylic or latex paint works well for wooden surfaces. Before painting, apply a primer to ensure better adhesion and longevity of the paint.
Using a brush or roller, apply the paint evenly to the crates. You can experiment with different painting techniques, such as distressing, layering colors, or creating a washed-out look, to achieve your desired result. Allow the paint to dry completely between coats and ensure proper ventilation during the painting process.
Whether you choose to stain or paint the crates, consider applying a clear coat or sealant to protect the finish from spills and stains. This step will help preserve the beauty of your coffee table for years to come.
Staining or painting the crates is an opportunity to showcase your personal style and creativity. Take your time to achieve the desired look and enjoy the transformation as the crates come to life with color.
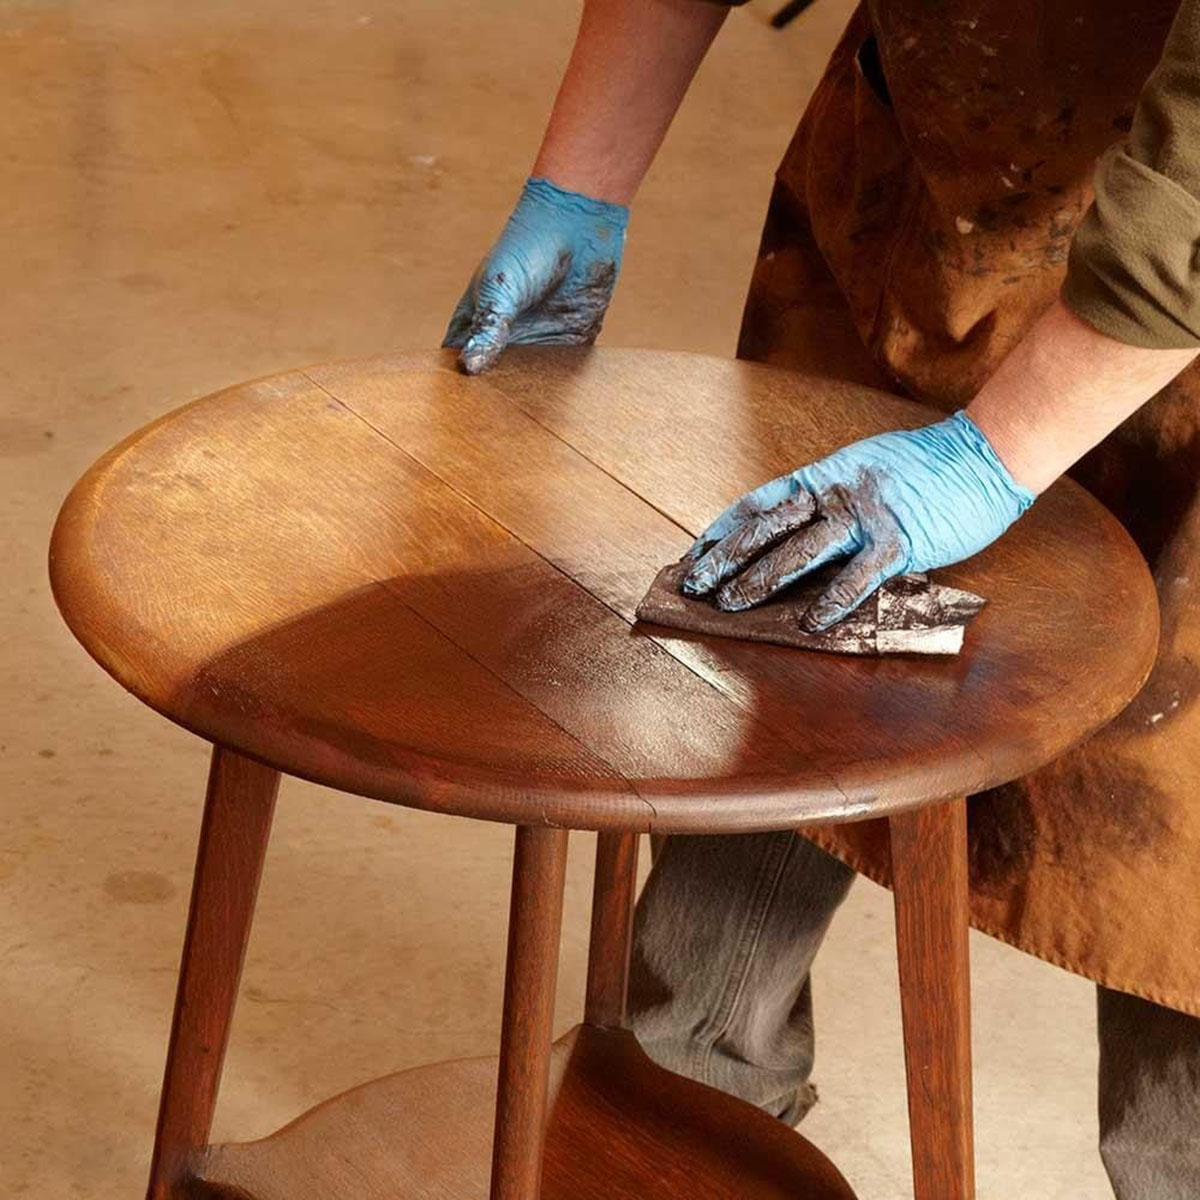
When building a crate coffee table, make sure to sand the wood thoroughly to avoid splinters and create a smooth surface for painting or staining.
Read more: How To Build A Modern Coffee Table
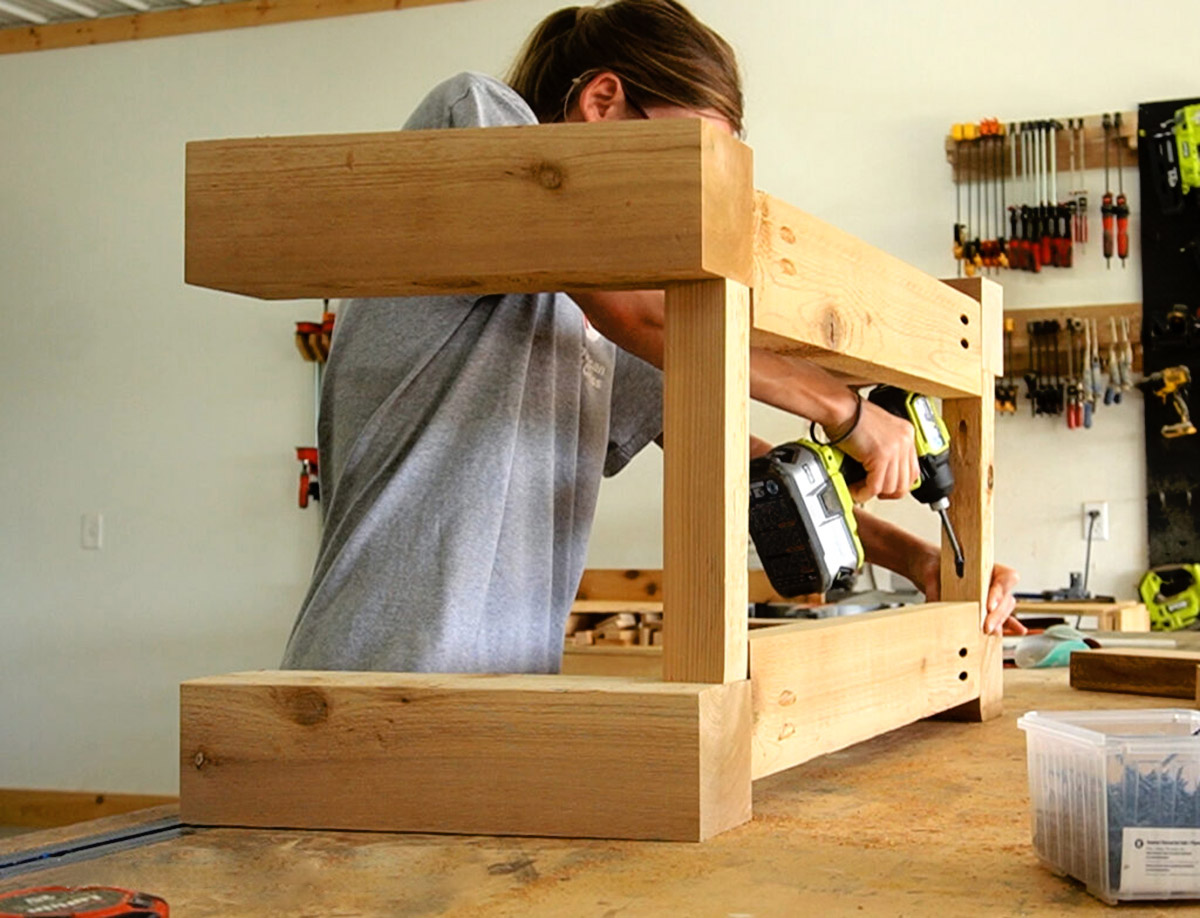
Step 4: Attaching the Crates Together
Now that your crates are stained or painted and have dried completely, it’s time to assemble them into a cohesive coffee table. This step involves securely attaching the crates together to create a stable and functional piece of furniture.
Start by positioning the crates in the desired configuration. You can stack them vertically or horizontally, depending on your preference and the size of the crates. Ensure that the crates are aligned properly and sit flat on the ground.
Using wood glue, apply a generous amount along the edges of the crates that will be joined together. Press the crates firmly together, making sure they are aligned and creating a tight bond. Wipe away any excess glue with a damp cloth.
To strengthen the bond and hold the crates together while the glue dries, you can use clamps. Place the clamps strategically around the crates, ensuring even pressure is applied. Leave the clamps in place as per the recommended drying time stated on the wood glue label.
Alternatively, you can also use screws or brackets to reinforce the connection between the crates. Predrill pilot holes to prevent the wood from splitting, then insert screws or attach brackets at the corners or sides where the crates meet. This method provides additional stability to your coffee table.
Once the wood glue has fully dried or the screws/brackets are secured, remove the clamps if used. Give the table a gentle shake to test its stability and make any necessary adjustments.
Attaching the crates together is a crucial step in creating a strong and durable coffee table. Take your time to ensure that the crates are securely joined, and the table is stable before moving on to the next step.
Step 5: Adding Legs (Optional)
If you want to elevate the style of your crate coffee table or add some extra flair, you have the option to add decorative wooden legs. This step is entirely optional but can provide a more sophisticated and polished look to your table.
First, you’ll need to choose the type of legs that match your desired style. You can find wooden legs in various styles and heights at your local hardware store or online. Consider the overall design and measurements of your table when selecting the legs.
Before attaching the legs, flip the table upside down to access the underside of the crates. Measure and mark the positions for each leg, ensuring they are placed evenly and aligned properly with the corners or sides of the crates.
If the legs come with mounting plates, attach them to the underside of the crates using screws or bolts. Make sure the plates are securely fastened and stable. Alternatively, if the legs have screw holes directly on the bottom, you can directly attach them using screws.
Once the legs are attached, flip the table back over and check for stability. Give it a gentle shake to ensure that the legs are firmly in place and there are no wobbles or imbalance.
Adding legs to your crate coffee table not only enhances its aesthetic appeal but also raises it to a comfortable height. If you opt to include this step, take your time to select the right legs and ensure that they are securely and evenly attached to the table.
Step 6: Finishing Touches
Congratulations! You’re nearing the final step of building your crate coffee table. Now, it’s time to add those finishing touches that will truly make your table shine.
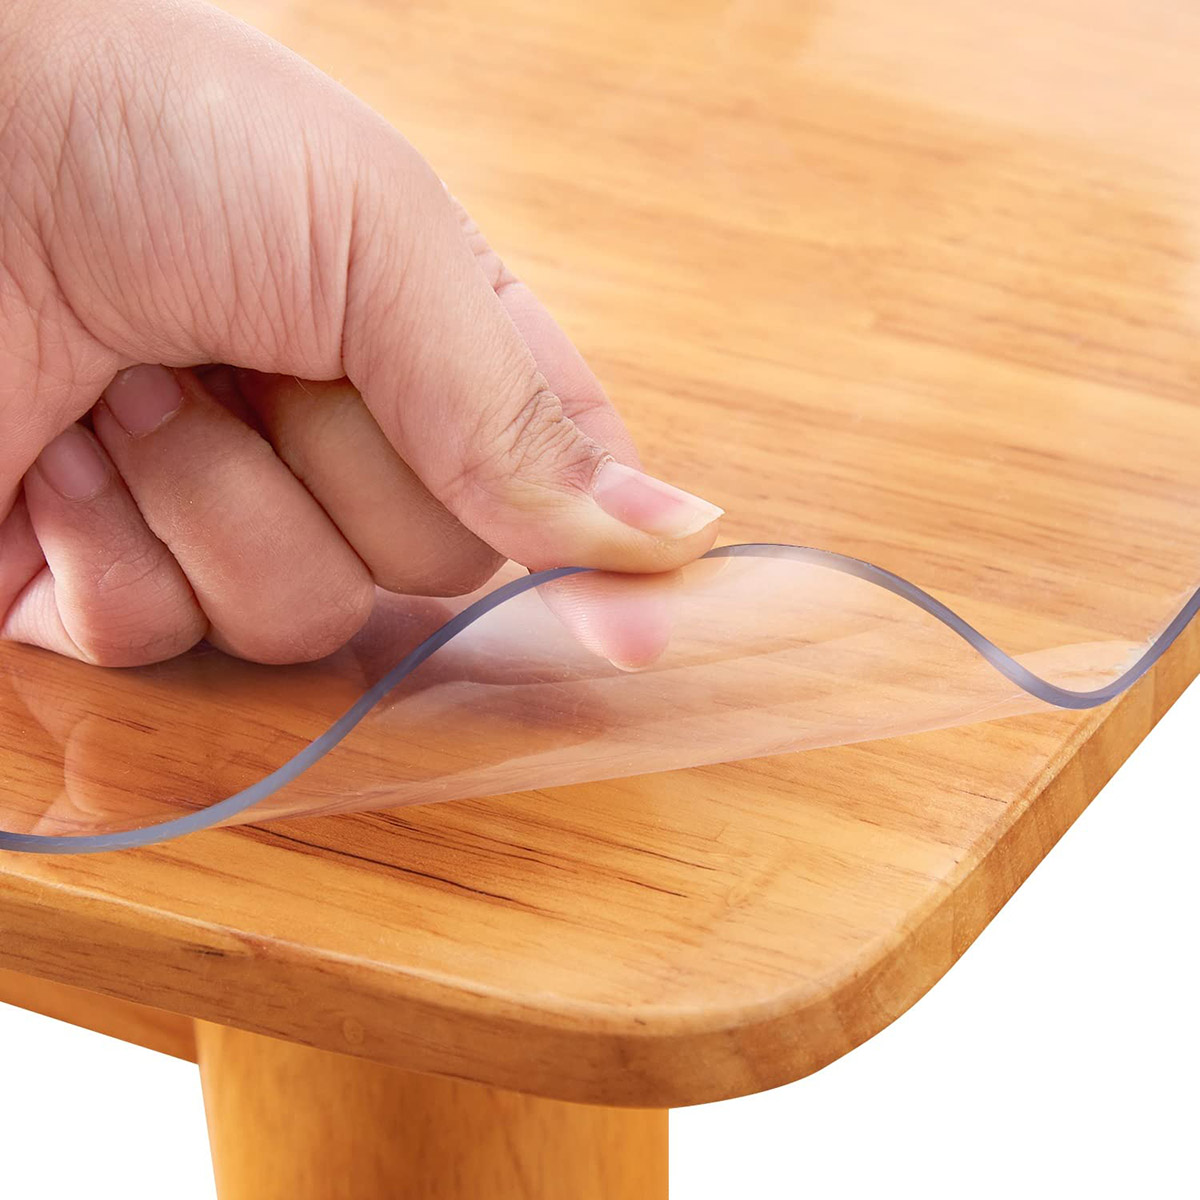
If you’ve opted to stain or paint the crates, you may choose to apply a clear coat or sealant to protect the surface and enhance its durability. Follow the manufacturer’s instructions for the specific product you’re using, and ensure proper ventilation during the application process. Allow the clear coat or sealant to dry completely before using the table.
Consider adding decorative elements to your coffee table, such as handles, knobs, or drawer pulls. These small additions can not only enhance the functionality but also contribute to the overall aesthetic of your table. Choose hardware that complements the style and color scheme of your living room.
You may also want to personalize your table with additional embellishments like stencils, decoupage, or even a glass top. These creative touches can add a whimsical or artistic element to your coffee table and make it a true conversation piece.
Lastly, take some time to clean and polish your newly constructed coffee table. Use a soft cloth or furniture polish to gently clean the surface, removing any dust or fingerprints. This final step will help to accentuate the beauty of your table and keep it looking its best.
Remember, the finishing touches are an opportunity to add your own unique style and personality to the coffee table. Let your creativity shine and make the table truly reflect your individual taste and flair.
Conclusion
Congratulations! You have successfully completed the journey of building your very own crate coffee table. Through careful planning, gathering materials, sanding, staining or painting, attaching the crates together, and adding optional legs, you have created a beautiful and functional piece of furniture that enhances your living room space.
By taking on this DIY project, you have not only saved money but also added a personal touch to your home decor. Each step of the process allowed you to showcase your creativity and craftsmanship, resulting in a coffee table that is unique and tailored to your style.
Your crate coffee table is not just a stylish addition to your living room but also a conversation starter. You can proudly share with friends and family that you built it with your own hands. It’s a testament to your skills and the satisfaction of creating something from scratch.
Now that your crate coffee table is complete, it’s time to sit back, relax, and enjoy the fruits of your labor. Gather around with loved ones, place a cup of coffee or a favorite book on the table, and admire the beauty that you brought to life.
Remember, this is just one of many DIY projects you can undertake to transform your home. Embrace your creative side, explore new ideas, and continue to add personal touches to make your living space truly your own.
Thank you for joining us on this DIY adventure. We hope you found this guide helpful and inspiring. Happy crafting!
Frequently Asked Questions about How To Build A Crate Coffee Table
Was this page helpful?
At Storables.com, we guarantee accurate and reliable information. Our content, validated by Expert Board Contributors, is crafted following stringent Editorial Policies. We're committed to providing you with well-researched, expert-backed insights for all your informational needs.

0 thoughts on “How To Build A Crate Coffee Table”